

After a very long wait, MakerBot recently released a new 3D printer, the Replicator+. We had an opportunity to give it a good test. This is part 2, read part 1 here.
Printing on the Replicator+ is a bit different from what you might expect to see on other desktop units, as the company has adopted a very strong “network” strategy. It seems that the machine and its software is designed around the concept of working within an office: it’s a shareable system.
While you can certainly use the Replicator+ in standalone mode by storing your sliced 3D models on a USB stick, that’s really not how the system defaults. No, you’ll instead be using network mode.
It all starts with the use of a new software system, MakerBot Print. This replaces the older MakerBot Desktop system that has been used for years on all MakerBot models and is still supported. However, if you’re using the Replicator+, you MUST use MakerBot Print – with one exception that I’ll describe later.
What do I mean by “network mode”? It’s simply this: when you’re working on slicing a 3D model in MakerBot Print, at some point you’re ready to print. Then, you simply hit “Print” (on the correct Replicator+).
Then some interesting effects occur: the sliced GCODE is sent wirelessly to the target Replicator+. No, the data stream doesn’t travel directly through your LAN; instead it travels up to the cloud where it is bounced off to your device. With this style of configuration, you can literally initiate a print or other machine operations from anywhere, so long as you are connected to the internet.

This also means you can monitor the print from anywhere, which is especially easy when using the MakerBot Print smartphone app. The app can even initiate prints that have been previously sliced – but unfortunately it cannot miraculously clear a filled build plate remotely. That will require someone to invent a magic robotic solution.
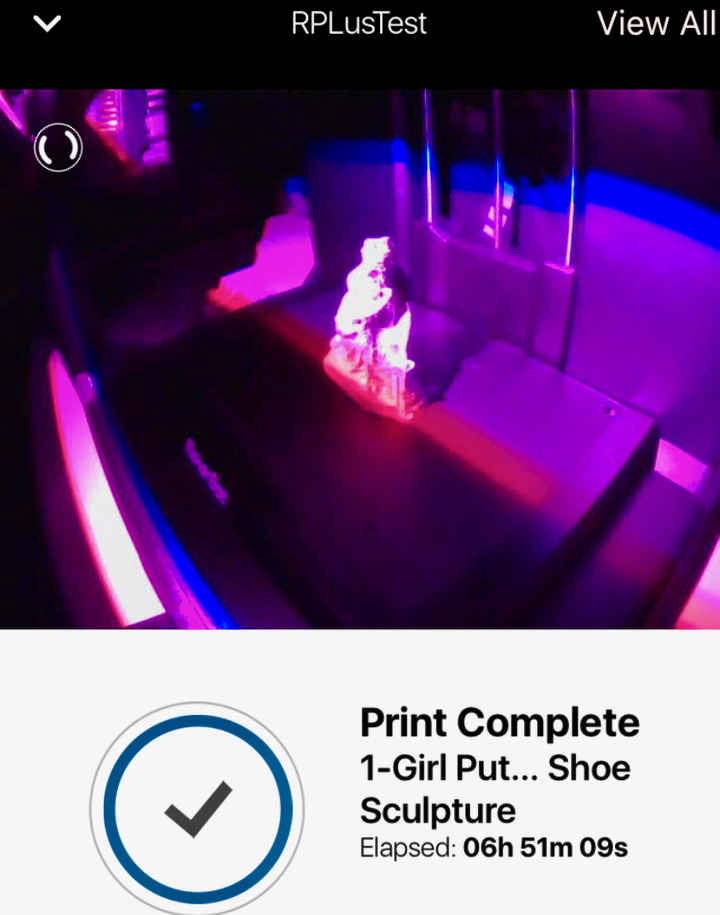
One issue I note with remote monitoring is that the machine’s build volume lighting doesn’t seem to sufficiently cover the build plate as you can see in this image. If you really want to see if a print finished properly, you might consider ensuring there are supplementary lighting options installed.
There’s another key benefit here: when the GCODE is wirelessly transferred to the Replicator+, it is buffered on the printer itself. This means that after the GCODE has transferred, you can safely shut down MakerBot Print and your computer and the print will still proceed normally.
This feature makes the Replicator+ act in the same manner as a normal 2D paper printer would work: the printer works as a standalone, but networked device. It seems very familiar to use the device in this way, even though it is different from most other 3D printers you may encounter.
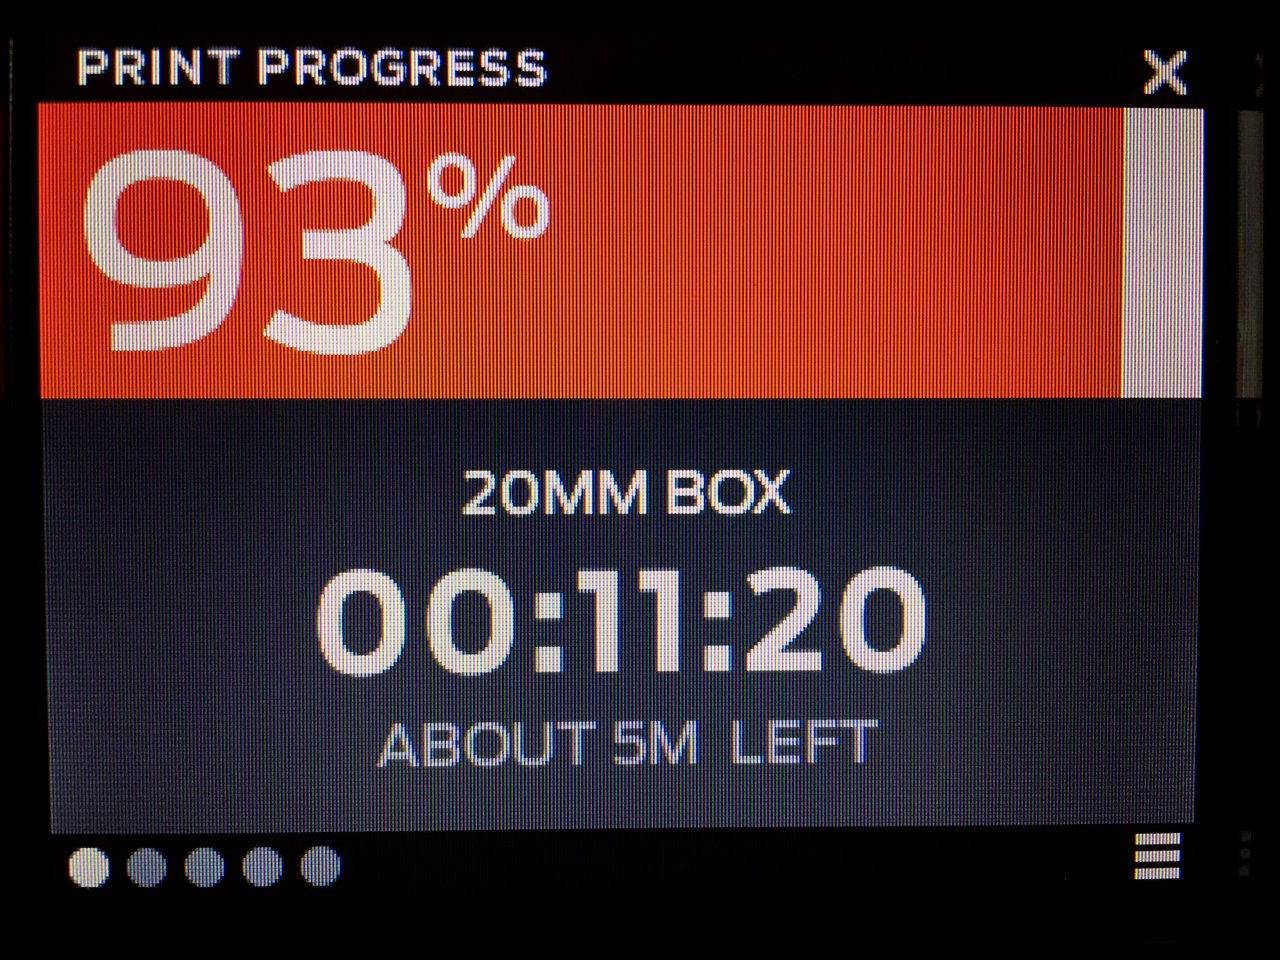
There’s a nice color screen that brilliantly shows much information about ongoing prints. It’s not a touch screen, so you’ll be using the nearby knob to navigate, but that’s not really an issue.
Using MakerBot Print is a bit different than typical slicers, as the software seems set up for more serious production work.
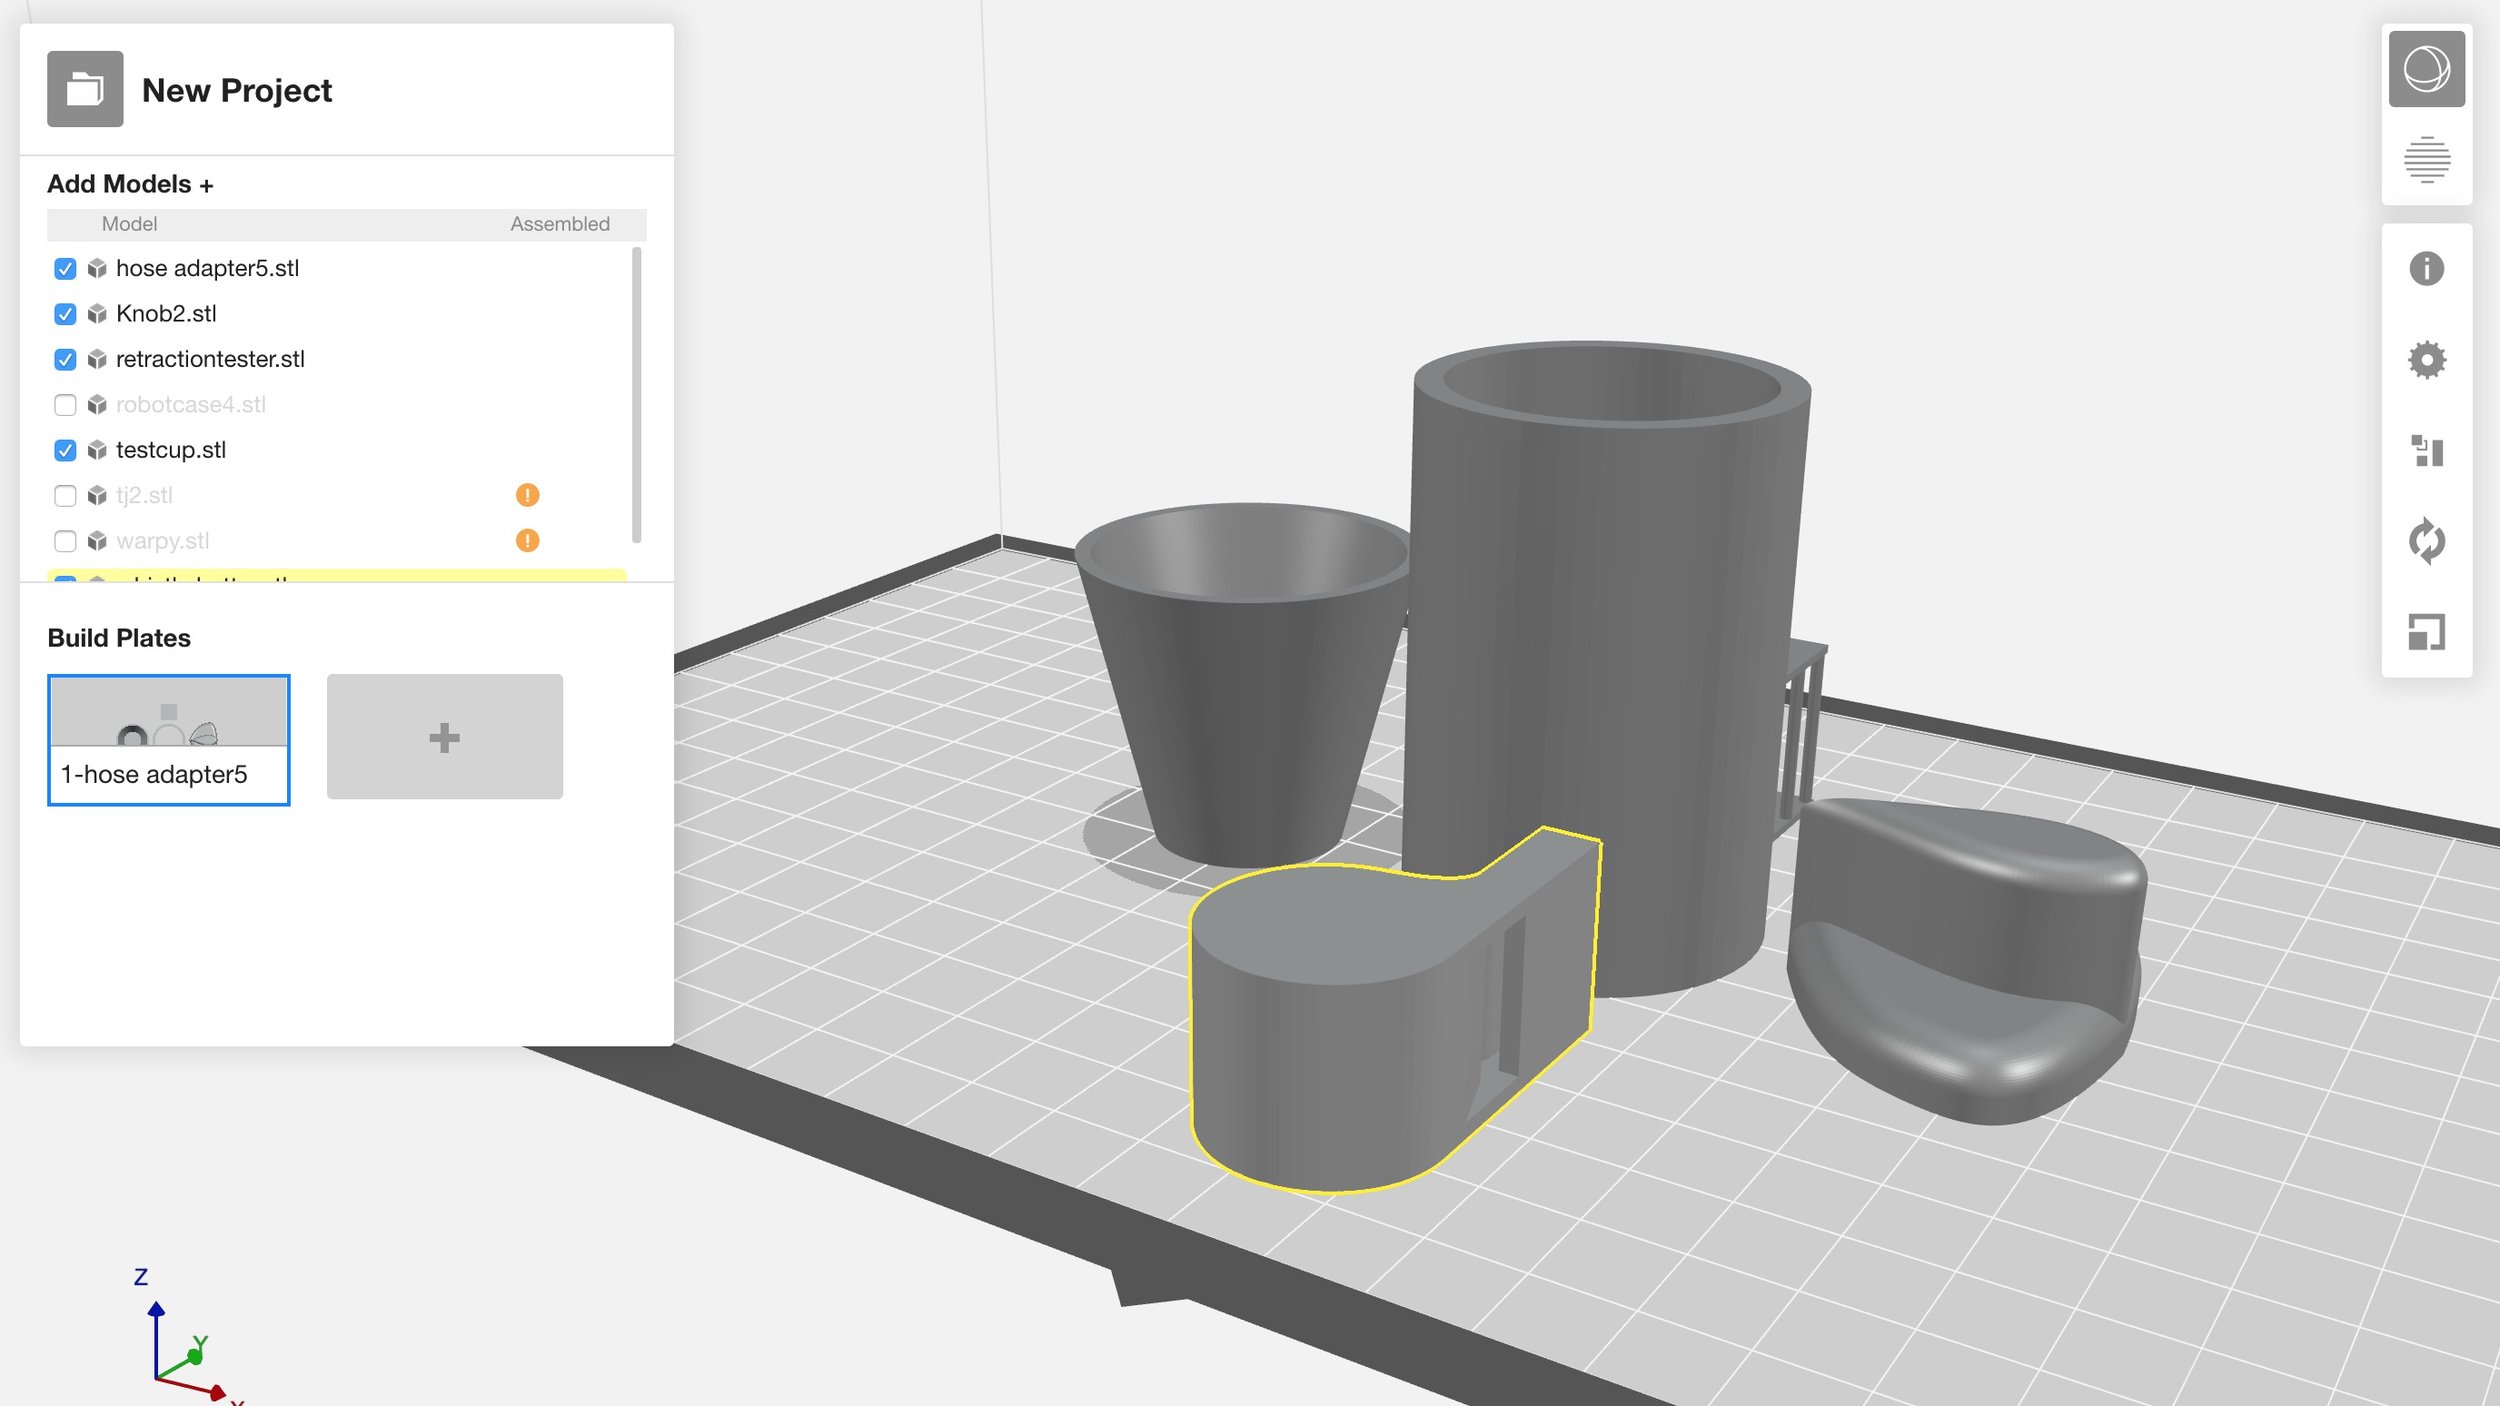
One of the major features in the software is the ability to easily prepare multiple 3D models for printing. Typical slicers require a fair bit of human intervention to position models. However, MakerBot Print automatically positions new 3D models as you drop them onto the simulated build plate.
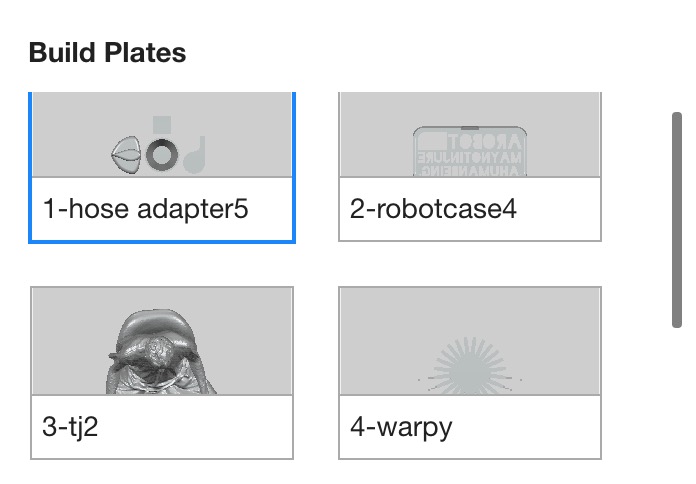
And there’s a very interesting feature: if you keep adding 3D models, you may eventually run out of room on the build plate. If that happens, MakerBot Print will automatically generate a new virtual build plate to place additional models. In fact, it can keep generating as many build plates as required to fit a group of 3D models.
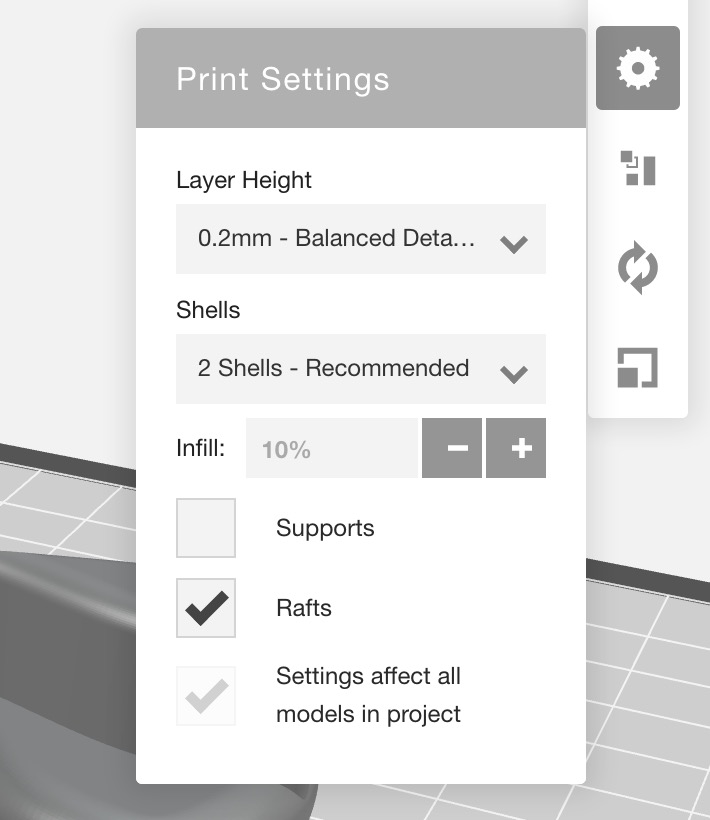
Of course, you can still re-orient and resize 3D models as is possible in other slicers.
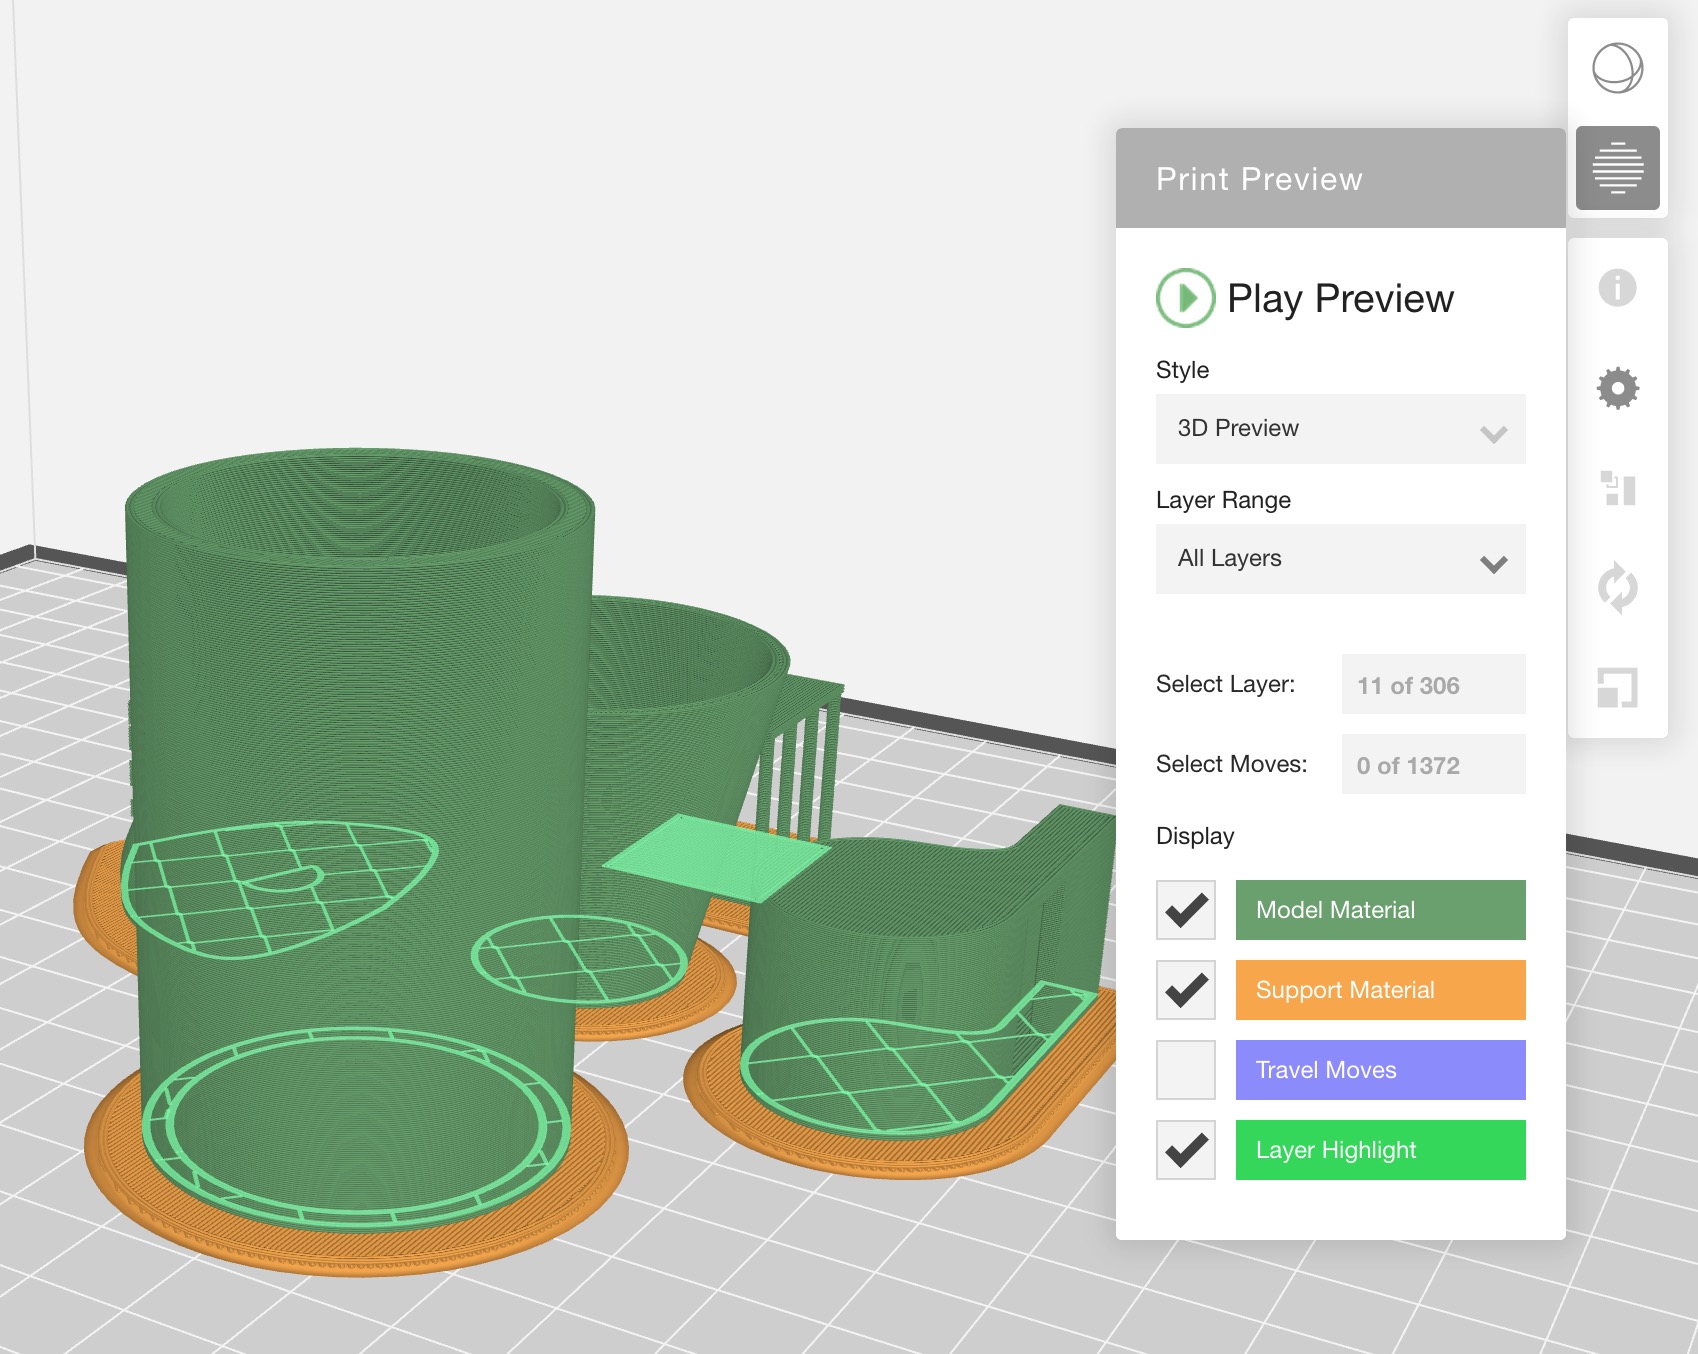
To perform the actual slice, you simply hit the “Show Print Preview” button, which is styled as a circle of layers. This is appropriate because MakerBot Print will display the GCODE execution path when slicing completes. Slicing itself is reasonably fast, but not nearly as fast as Simplify3D. However, using that program doesn’t really make sense with the Replicator+ as it would negate many of the network benefits described above.
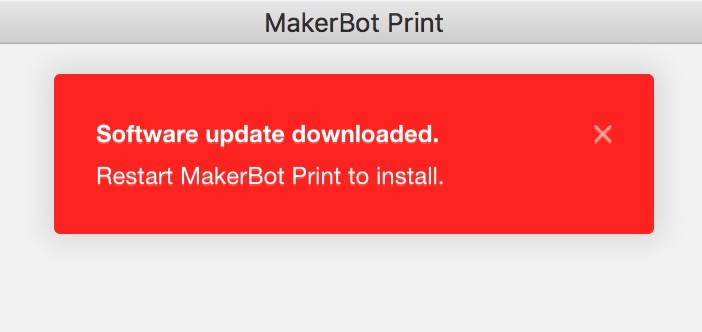
Oh, and I should say that MakerBot Print also auto-updates when new releases appear, so it should always be up to date with the latest fixes.
To catch up, read part one: setup of this three-part series. Part three is here.
Via MakerBot