![This briefing chart image from a successfully completed 2017 SBIR Phase I technology project shows the planned setup for LMT [Image: NASA ]](https://fabbaloo.com/wp-content/uploads/2020/05/SBIR_2017_1_BC_Z3.01-8785_img_5eb091a39d54a.png)
As metal additive manufacturing continues to see rising adoption, so too does attention paid to the quality of the parts produced.
It was only a few days ago we heard about a $1.5M grant awarded to Auburn University for advanced metrology for 3D printed parts, and shortly on the heels of that more major funding is set to move forward more advanced inspection.
This time, the US Defense Logistics Agency (DLA) has awarded a $1M contract to a team led by Connecticut-based Flightware.
Layer Topographic Mapping
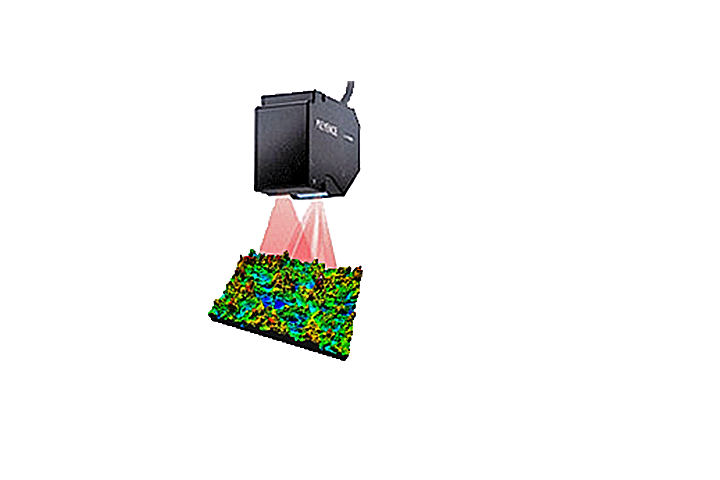
The grant will extend years-long work Flightware has been leading in the Layer Topographic Mapping (LTM) method. This method, they explain, “determines melt quality directly from as-formed layer surface measurements, unlike other in-situ methods that measure process variables such as temperature to infer as-formed quality anomalies.”
In-situ testing is of rising importance, particularly as applications become more advanced and parts mission-critical, to examine performance in real time. Flightware explains of their LTM work:
“Under the initial effort Flightware demonstrated that the LTM in-situ method can detect melt flaws such as lack of fusion, in real time, on a layer-by-layer basis, with 98.2% detection rate and only 1% false detection rate. Furthermore, after detecting these flaw regions, appropriate repair procedures were automatically defined and then performed, as a demonstration of closed loop control. This essentially eliminated the initial flaw porosity (up to 14%) and the repaired layer was restored to unflawed layer quality (less than 0.2% porosity). This salvaged the part, and allowed acceptance (based on CT scan results) of a part that otherwise would have been scrapped.”
Flightware President Dave Maass adds a bit more, telling us:
“While many in AM are familiar with methods like melt pool monitoring, our approach is fundamentally different because it is based on measurements of the as-formed layer itself, rather than the process conditions used to create the layer.”
Flightware has been awarded several SBIR (Small Business Innovation Research) awards for its LTM method over the last few years, and this latest step will continue this work.
DLA Contract
For this two-year contract, Flightware is working with the Edison Welding Institute (EWI) and Universal Technology Corp. (UTC).
Each plays an important role, as Flightware continues to expand on its work with LTM, EWI develops a “large area profilometry sensor” that can provide precise measurement of the full 3D printer bed, and UTC will see the sensor installed on a Panda system.
We met Panda this year at RAPID + TCT. The large metal 3D printer is from OpenAdditive, UTC’s dedicated additive manufacturing business unit. Designed to be open materials and open architecture, the laser powder bed system is well positioned as a testing base for the in-situ monitoring process.
“…We’re trying to do with laser powder bed fusion metal additive manufacturing what needs to be done,” Ty Pollak, PhD, Director of OpenAdditive, told us when we first saw the Panda.
Now, “what needs to be done” is monitoring. Coupons will be produced on the Panda system to help Flightware validate and improve its algorithms “to reliably determine layer quality of both the as-formed melt and the powder bed.”
Importance Of Inspection
A few terms are common now when discussing metal additive manufacturing; key among them are quality and repeatability.
These technologies are moving rapidly toward production-scale use — but even at lower volumes, quality remains critical. This latest support, from the Department of Defense, highlights the seriousness with which government entities with demanding applications are taking additive manufacturing today.
“DLA is actively applying the benefits of AM to better perform our mission supplying spare parts to the warfighter. Flightware’s in-situ inspection method can reduce scrap and improve yield, which reduces the cost and lead time of parts made by AM methods,” says Denise Price, DLA’s Program Manager for the Small Business Innovation Program.
These oft-touted benefits of 3D printing — reducing cost, weight, waste, and time — mean nothing if the parts produced aren’t up to par. Ensuring, in-situ, that processes are working as intended will help ensure the same for the parts produced.
Via Flightware


A research thesis details the incredibly complex world of volumetric 3D printing. We review the highlights.