
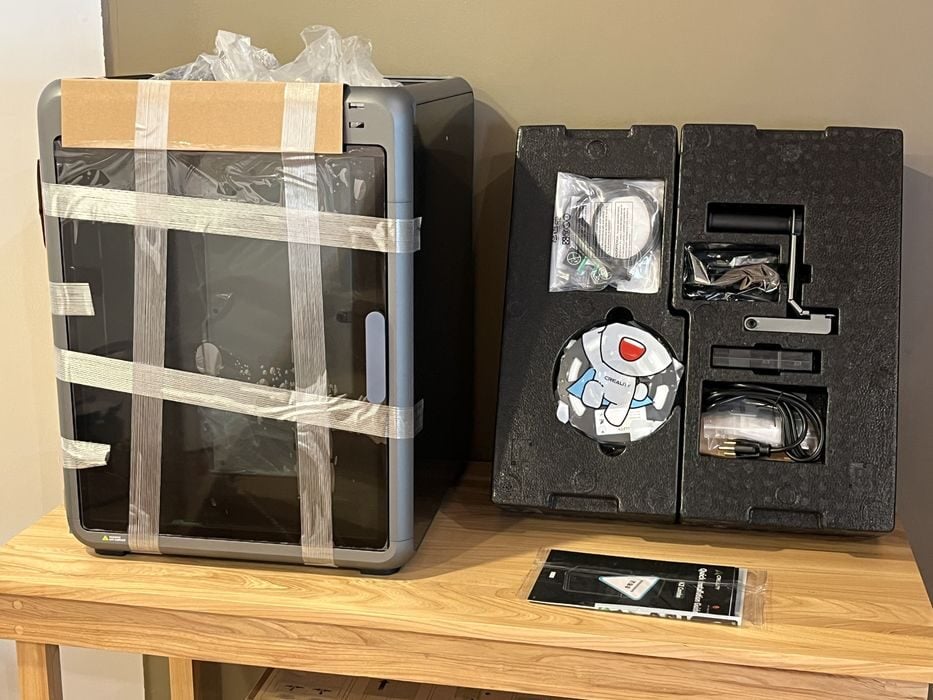
We’re testing the Creality K2 Combo 3D printer this week.
This is part one of a four part series, please read parts two, three and four.
Creality K2 Combo Background
Shenzhen Creality 3D Technology Co., Ltd., better known as Creality, is a world-leading brand of consumer 3D printers, established in 2014. Creality are known for their popular Ender-3, HALOT, and Sermoon 3D printers, and also have a large ecosystem of adjacent products including 3D scanners, laser engravers, filaments, and other accessories. The K2 Combo is part of Creality’s new Flagship printer line and has a CoreXY motion system paired with a Creality Filament System (CFS) multi-material unit. The machine is targeted at the beginner 3D printer operator market.
Creality K2 Combo Specifications and Features
Creality’s new K2 Combo is presented as an affordable, compact, and beginner-friendly system that offers high speed printing and AI features. It has a 260 × 260 × 260 mm build volume, supports high-speed printing up to 600 mm/s (although only 300mm/s for practical purposes), with up to 20,000 mm/s/s acceleration.
The printer comes equipped with a single direct drive extruder and hardened steel hot end rated up to 300C and a 40 cubic mm/s volumetric extrusion rate. This is paired with a 100C heated bed and dual-sided coated flexible steel build plate.
All of this makes the machine more than capable of printing PLA, PETG and certain basic engineering filaments such as PLA-CF and TPU.
The K2 includes smart AI camera detection, dynamic auto leveling, and CFS system support.
A sturdy metal frame provides overall physical stability, with the printer operating quietly at less than 45dB, making it suitable for home, office, or classroom environments.
For connectivity the K2 offers WiFi, USB, Creality’s proprietary 485 port (for CFS attachment), with 8GB of internal storage. The built-in 720p @ 30fps camera monitors the build chamber during print jobs, and can capture timelapse videos of prints as they progress.
Creality K2 Combo Unboxing and Assembly
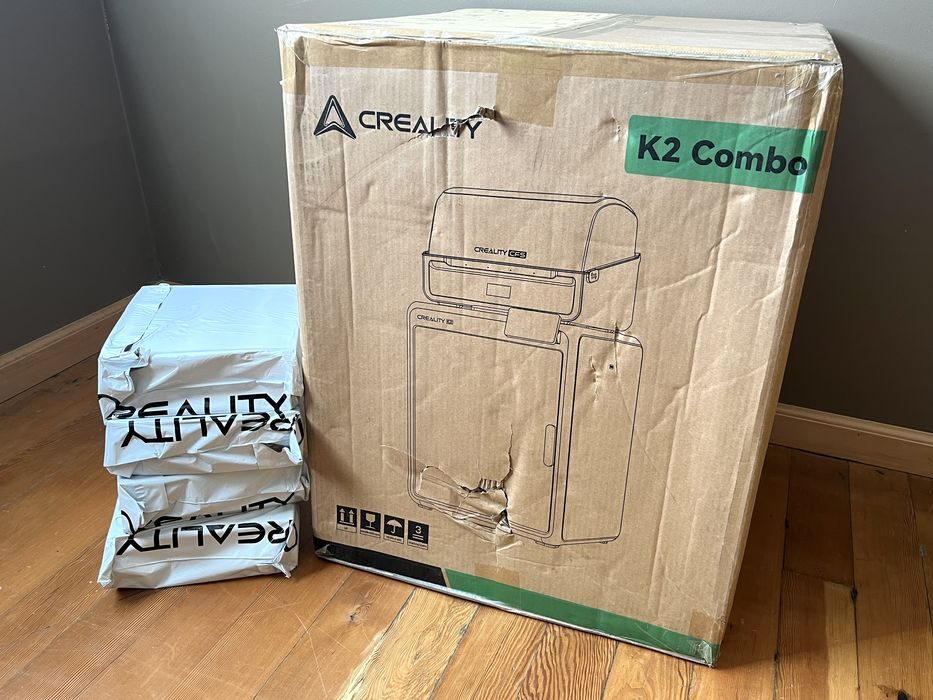
The Creality K2 Combo ships in a sturdy cardboard box and is fairly hefty at 30kg / 66lbs. A quick glance at the outside top of the box showed us something new.
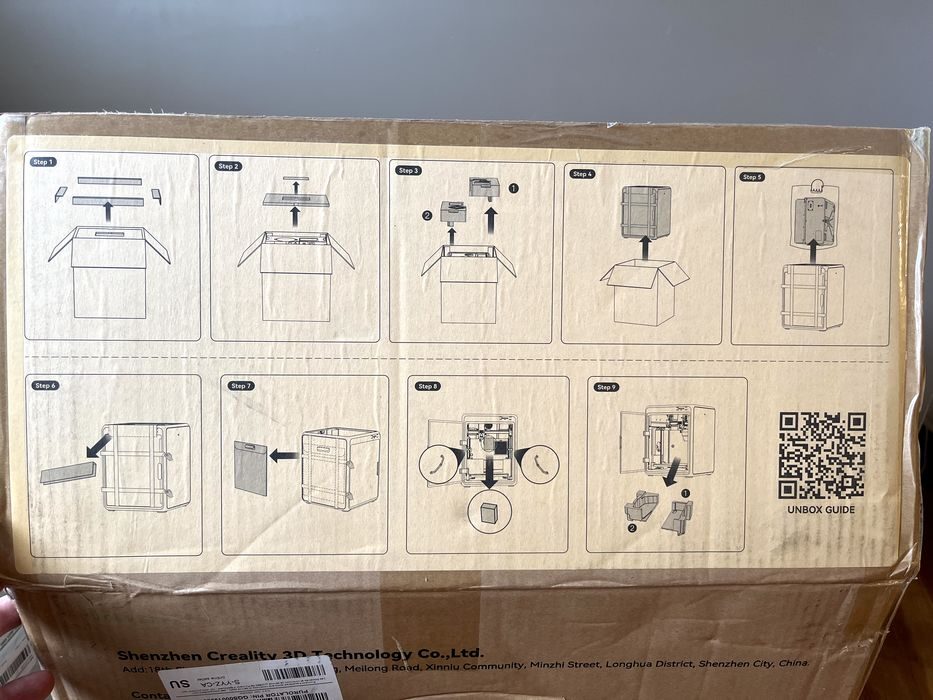
Printed right on the outside flaps was a nine-step illustrated unboxing guide and QR code leading to a YouTube video walking through the entire unboxing & setup of the machine. Bravo Creality!
These instructions will go a long way for 3D printing newbies, making the set up of their very first printer a good experience. We gave the video a watch and found it covered not only unboxing & set up of the printer and CFS, but even included the launching of the first print. There should be no surprises when unboxing this printer!
Opening the box we found the quick start printed installation guide manual on the first layer – again a good thing.
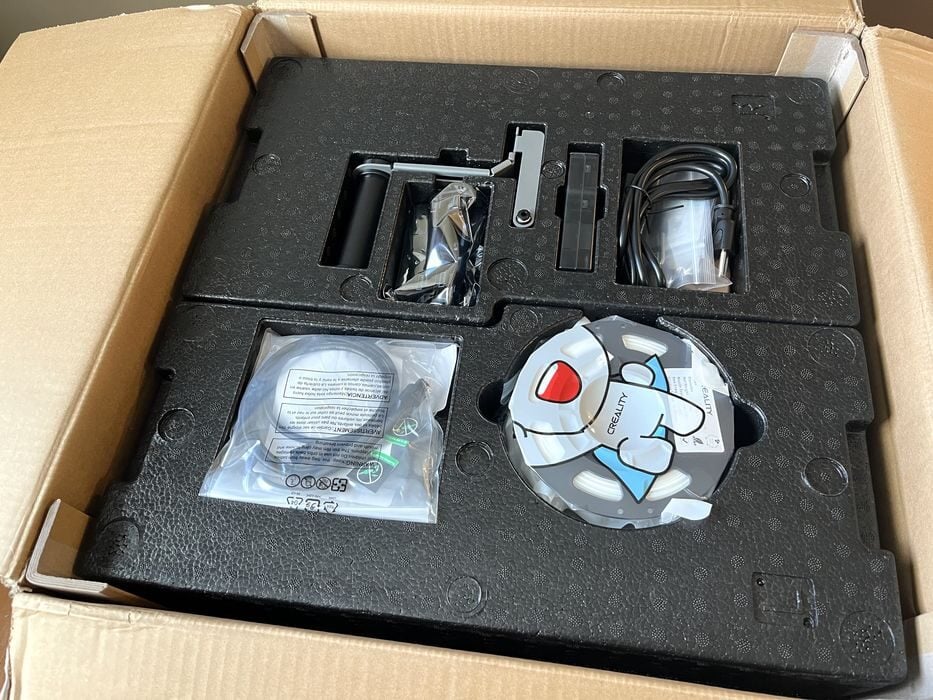
We removed some styrofoam packing inserts loaded with various accessories for the printer, uncovering the bagged K2 printer in the process. A quick peek inside the bag showed us yet another bag – the CFS unit had been carefully nested inside the cavity of the printer. This is an approach used by several companies selling filament swapping combo 3D printers to save shipping space, and we think that’s a good idea.
The entire bundle was a bit of a lift for one person, but still quite doable. If needed, a single operator could probably reach inside the bagged printer and remove the CFS first to lower the overall weight before lifting the printer on to a table.
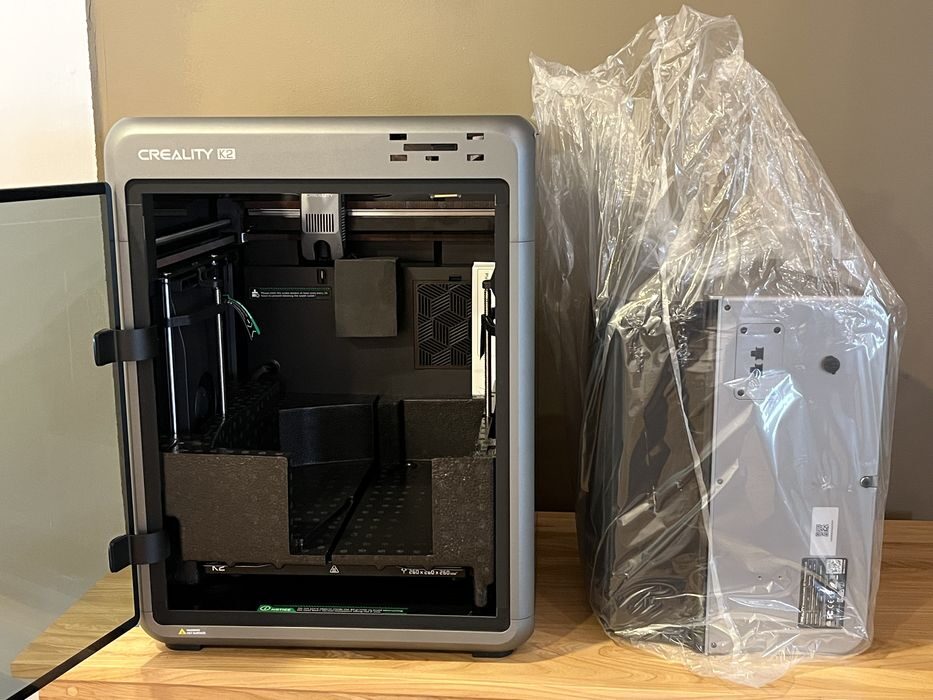
Once the printer was out of the box, unpacking everything else was easy. We removed some tape and cardboard, pulled the CFS from the printer build chamber, removed some shipping foam blocks, detached a package mounted onto the side of the K2 that appeared to be the glass lid, and finally removed two custom brackets holding the Z-axis in place for transport.
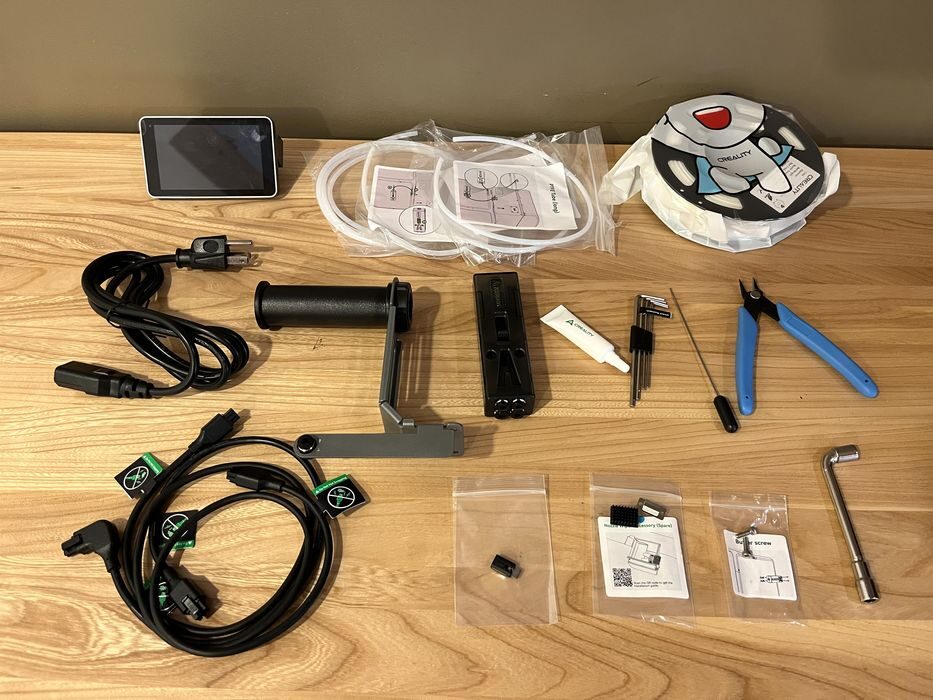
We spread all the printer accessories out on our workbench to get a good look at everything before proceeding with assembly. Included was the LCD panel, an assortment of PTFE tubes, a small sample roll of filament, the power cord, the spool holder, the filament buffer, a tube of grease, some hex wrenches, nozzle cleaner, side cutters, communication cables, spare cutting blade, spare nozzle wiper, nozzle wrench, and a few screws. Creality has included basically every tool you might conceivably use on the K2 Combo.
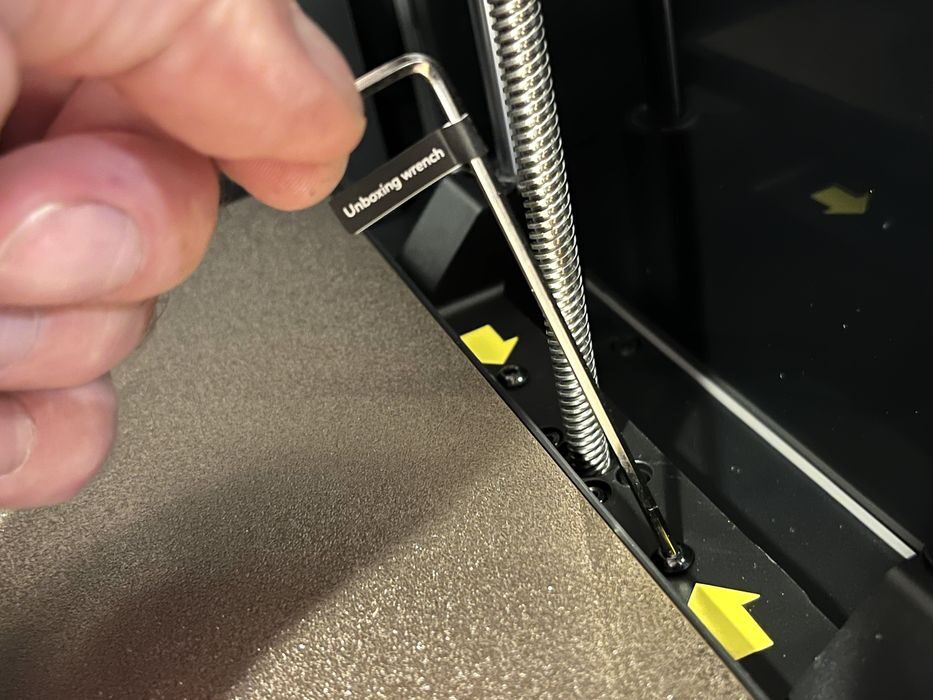
Assembly began by removing four well marked screws holding down the print bed for shipping. This task was made even easier, as Creality had even labelled the specific hex wrench to use for removing the screws — we haven’t seen that before on any 3D printer setup.
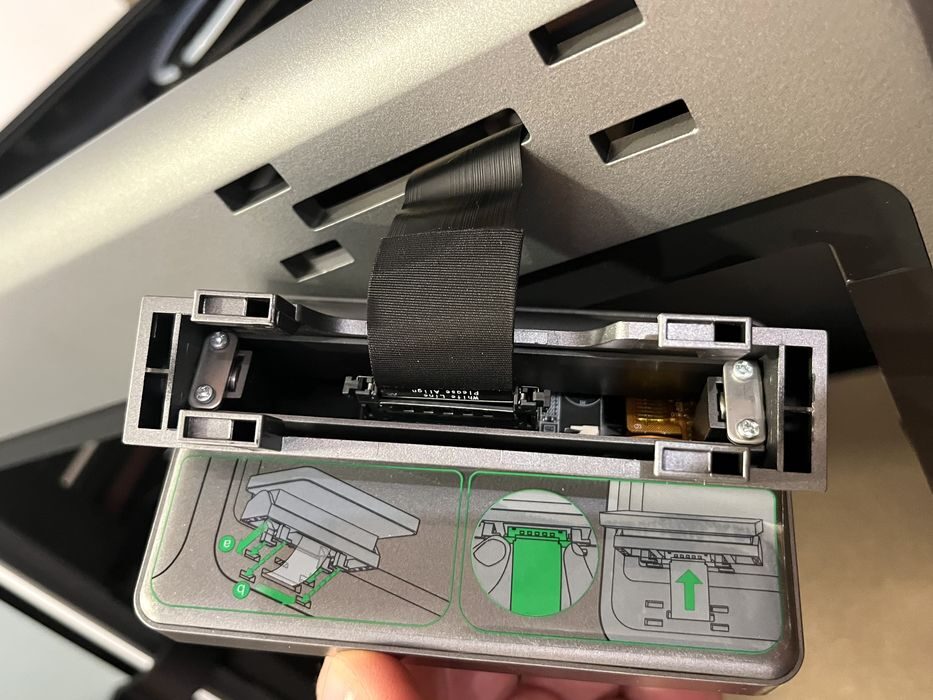
The control panel install was simple and just involved freeing the cable from the top of the chassis, plugging the connector into the LCD, and clicking the unit into place at the top of the printer.
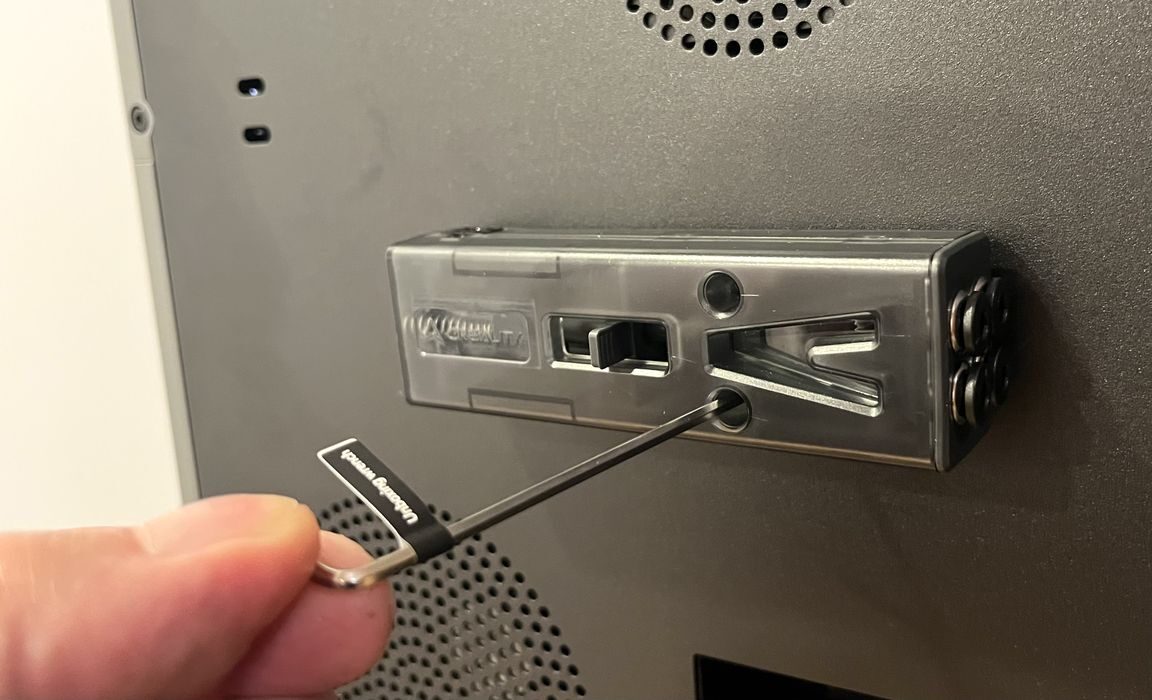
The filament buffer attached to the rear of the machine using the two supplied screws, and the spool holder attached to the right of the machine by first removing two existing screws and then using them to fix the spool holder in place.
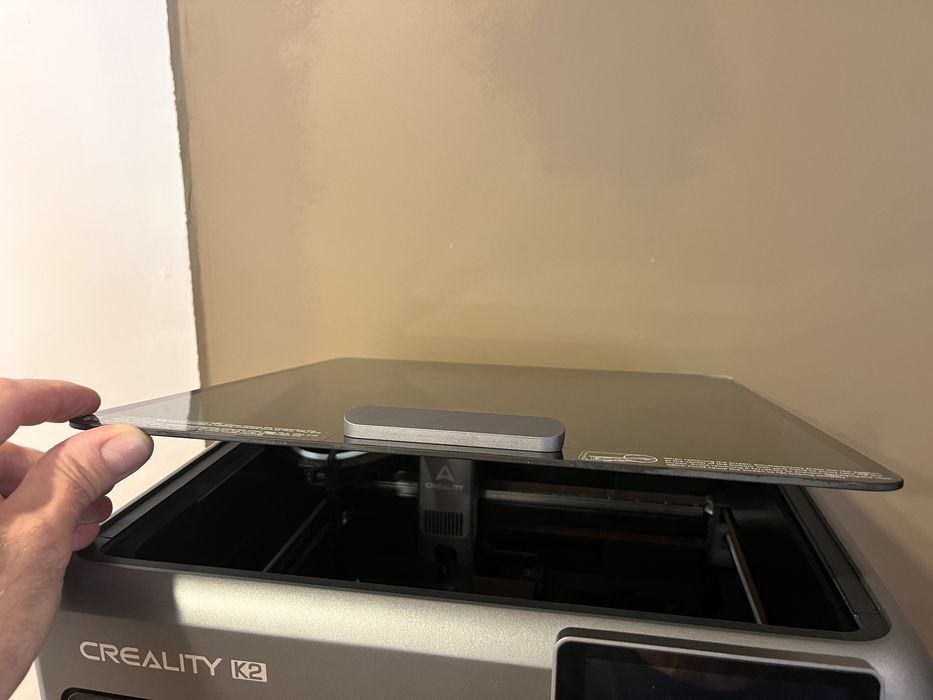
We removed the glass lid from its protective shipping envelope and installed it on top of the machine, peeling off some protective film before proceeding with CFS install. Glass lids of this style seem to be becoming a standard design feature on today’s CoreXY systems.
Prepping the CFS was very simple and we just removed two desiccant packages from their plastic shipping bags and reinstalled them. That done, we placed the CFS on top of the K2 and attached the 485 communication cables and PTFE tubes that interconnect the printer, buffer and CFS unit.
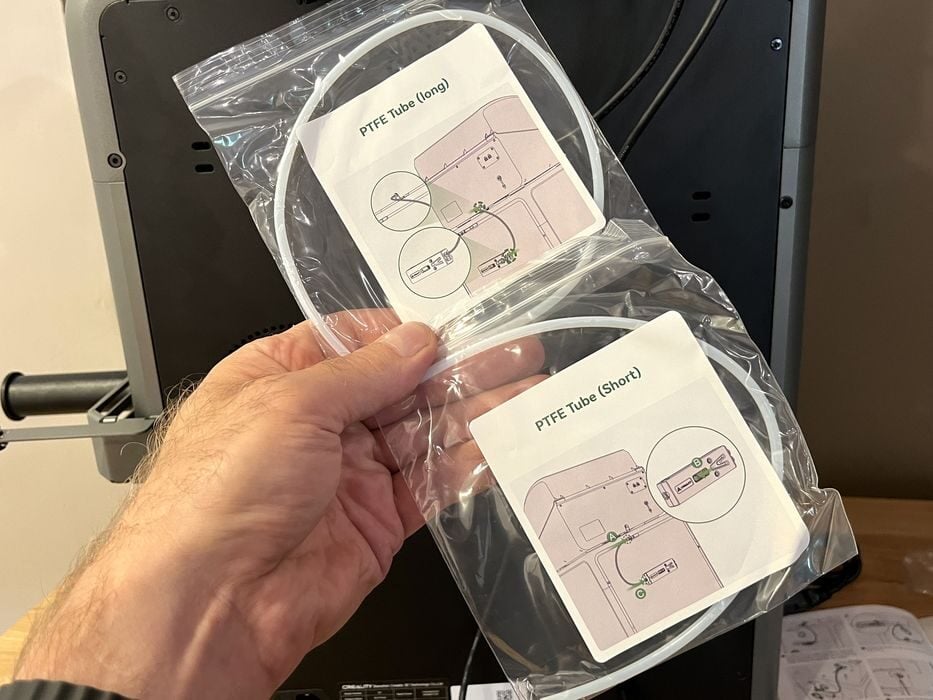
We were happy to see that Creality included a separate PTFE tube specifically for use with the spool holder – an important addition, as there would be no need to ever “borrow” (remove) the PTFE tube from the output port of the filament buffer to use it with the spool holder.
In a previous review of the Creality HI 3D printer we found that a filament buffer without a PTFE tube on the output port was prone to being damaged. If the CFS inadvertently passed filament through the buffer during a power-on sequence while the output PTFE tube was not installed, the filament might not be able to exit the buffer and would instead coil up inside the buffer and damage the delicate electronics inside.
A package of spare PTFE tubing was also included, which is handy as the stuff does eventually wear out and need replacing.
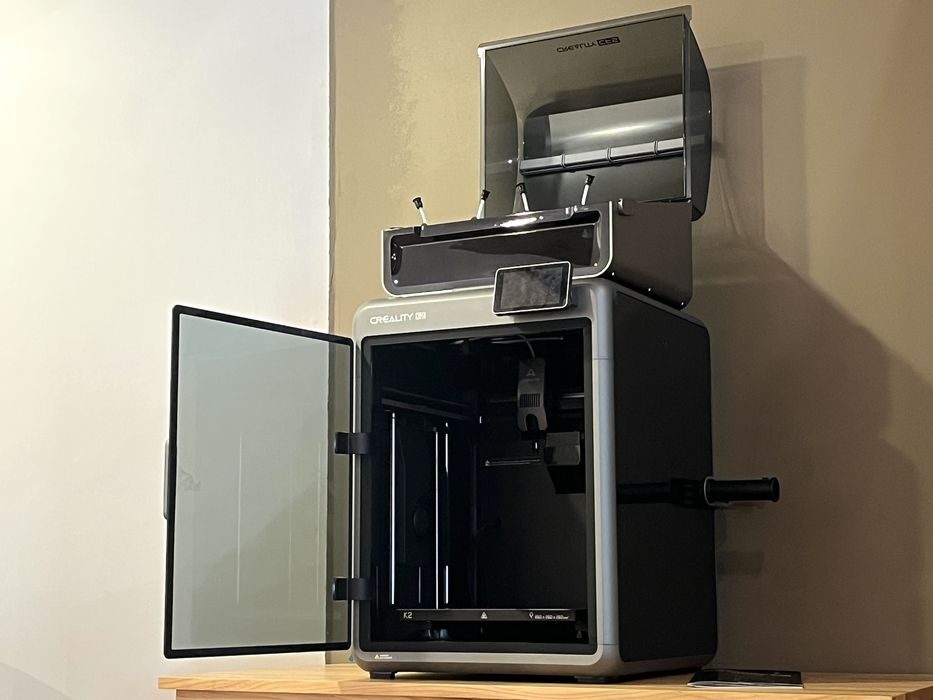
The final assembly item was to double check to see if input voltage needed to be changed. However, Creality’s power supply looks after this by automatically switching voltages. So we just plugged in the power cord and were done!
Creality K2 Combo Setup and Calibration
When we flipped the switch on the K2 it powered up and greeted us with a brightly lit build chamber and Creality logo on the control panel, which eventually transitioned into the usual on-screen setup instructions.
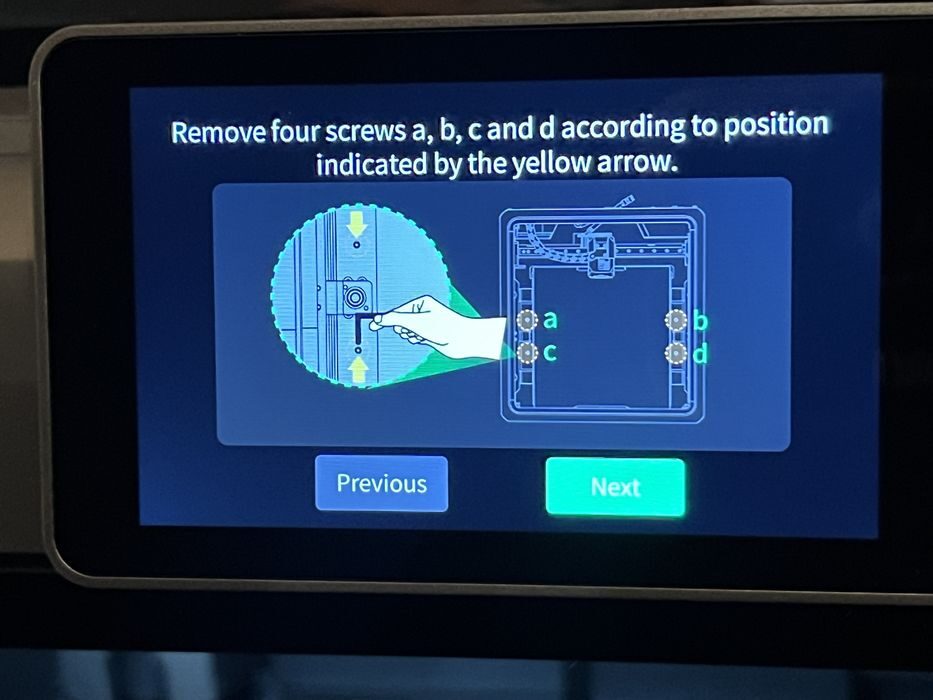
We chose our language, confirmed that the four shipping screws holding down the Z-axis had indeed been removed, confirmed the build chamber was clear of debris, and agreed to the privacy policy. Then we logged into our WiFi network, chose our time zone settings and bound the K2 to our Creality Cloud account. If you don’t have an account, now would be the time to set one up.
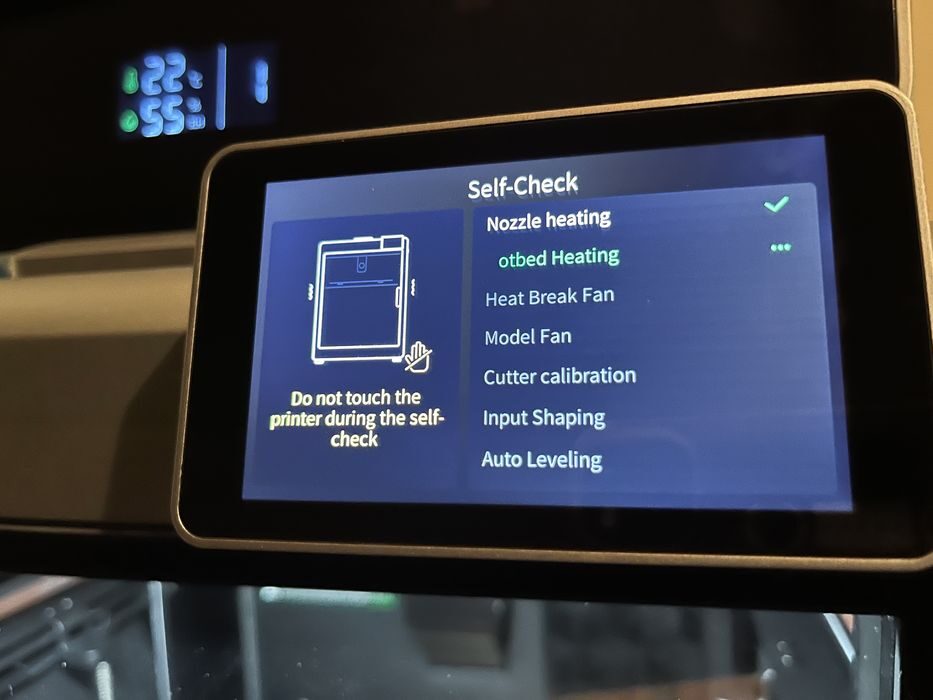
It is fairly typical nowadays for printers to perform a variety of system checks before declaring themselves operational, so we launched the K2’s sixteen minute automatic setup routine and grabbed a cup of coffee while we waited.
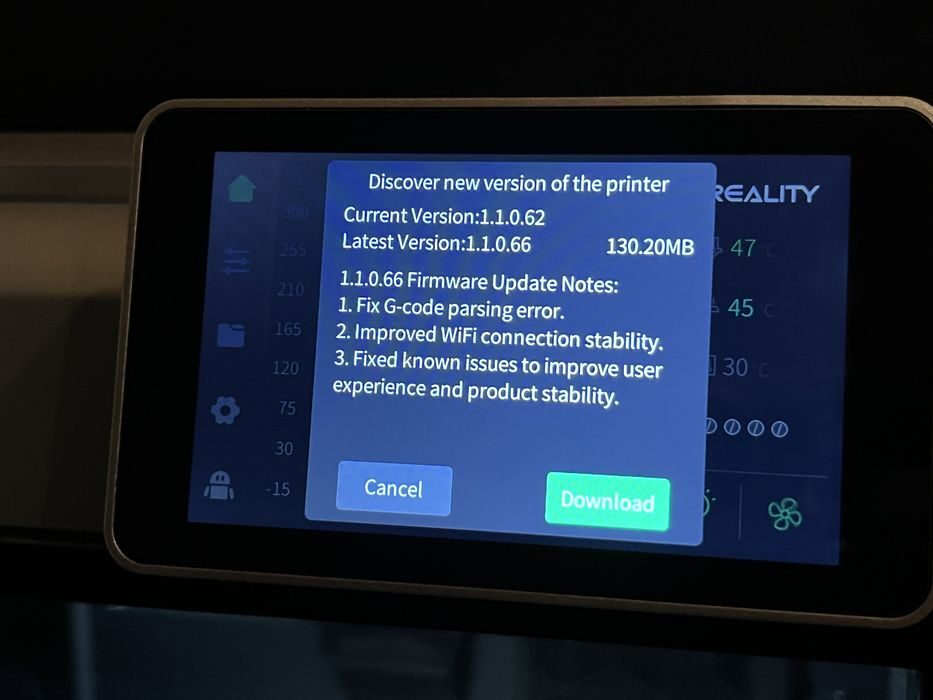
Once complete, the printer alerted us that there was a new version of firmware to download, which we promptly took care of. This is quite typical for machines that sit in a warehouse for shipping, and updates happen during the wait. Top marks to Creality for listing the fixes that are included in this update, that’s something we haven’t seen on many machines.
When the firmware update completed, we were told to recalibrate the printer again. Ideally the firmware check could be done before launching the 16 minute calibration to avoid the duplication of work and save the operator some set up time. Fortunately, the coffee pot was not yet empty.
This is part one of a four part series, please read parts two, three and four.
Via Creality