
Our review of the Creality K2 Pro Combo 3D printer continues with a look at setup, calibration, operations and software.
This is part two of a four part series, please read parts one, three and four.
Creality K2 Pro Combo Setup and Calibration
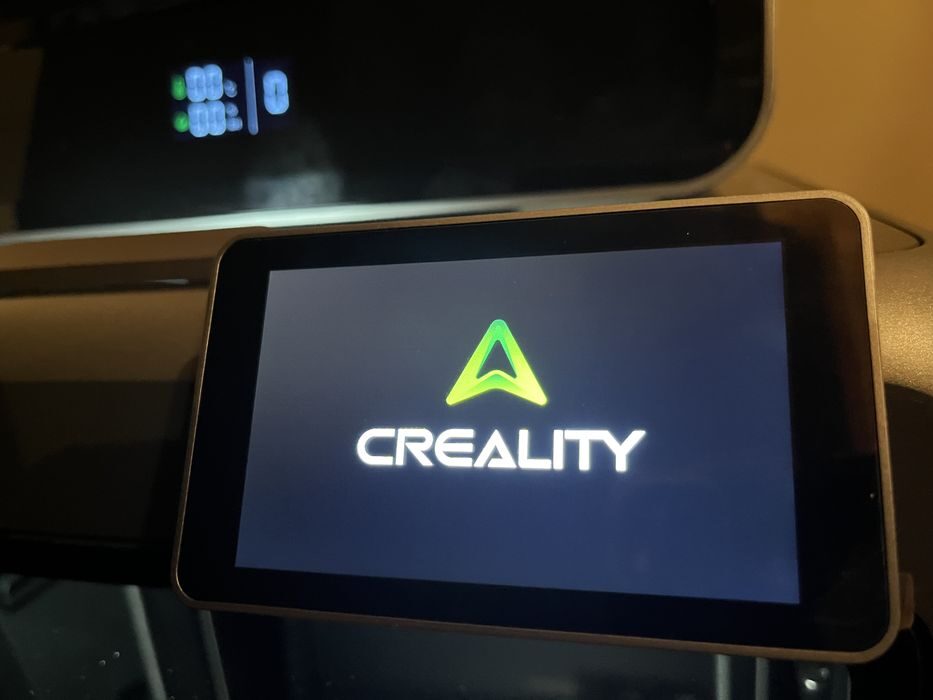
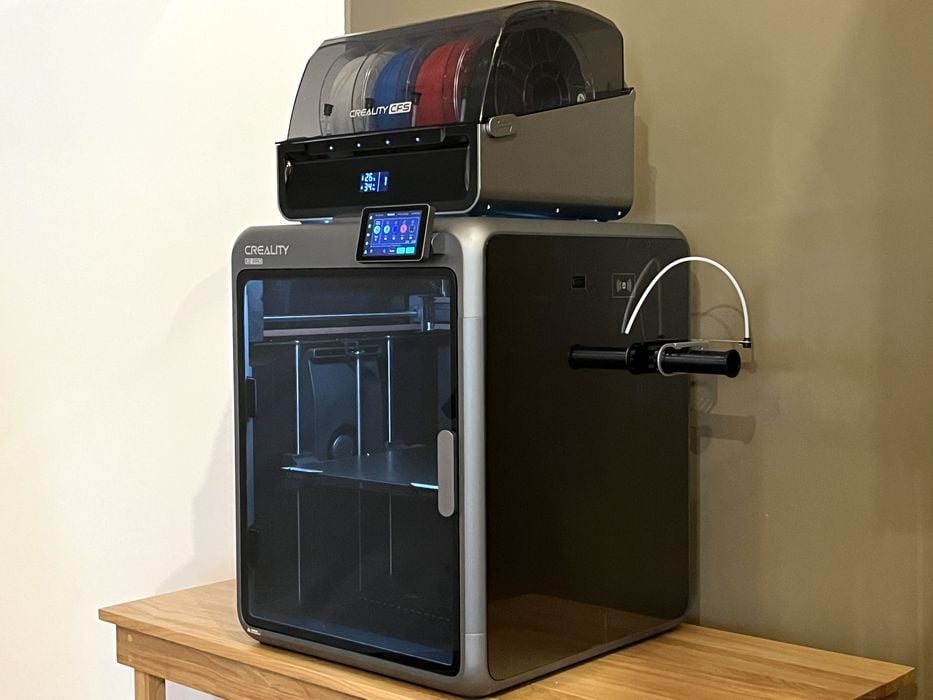
When we flipped the power switch on the K2 Pro, it powered up and greeted us with a brightly lit build chamber and Creality logo on the LCD screen, which eventually transitioned into some on-screen setup instructions.
We chose our language, and then were told to “Please keep the green cube in the diagram clear of debris and click ‘next’”. We agreed to the privacy policy, set up our wireless network, chose our time zone, and bound the printer to our Creality cloud account by using a QR code displayed on the panel.
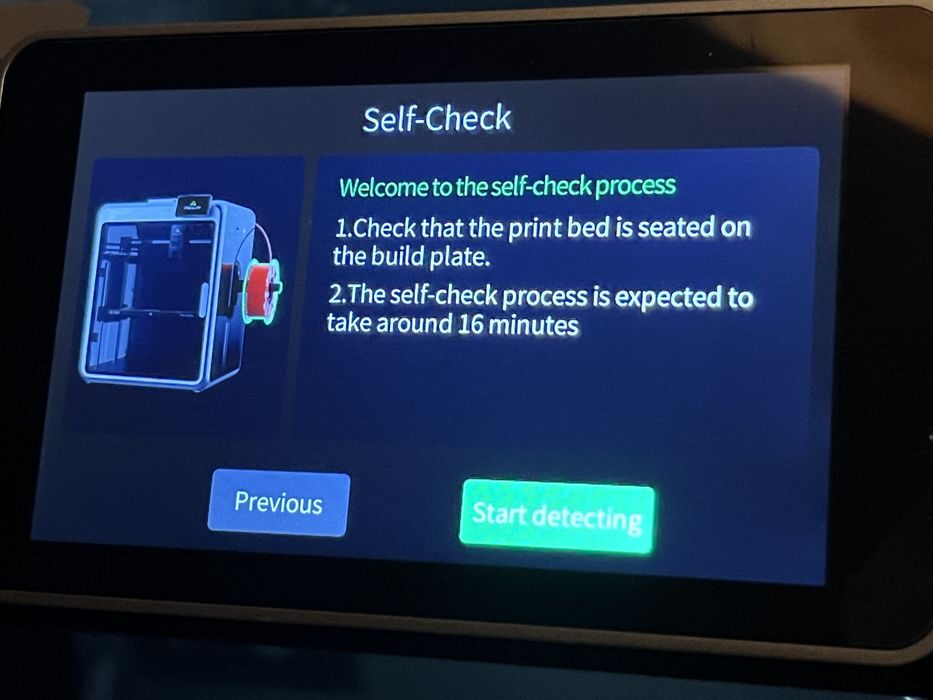
The printer then asked us to confirm that the print bed was seated on the build plate, so it could safely perform a self-check that would last about 16 minutes. It’s not unusual for printers to perform rigorous checks before declaring themselves operational, but 16 minutes is a pretty lengthy, so to pass the time we went out for coffee.
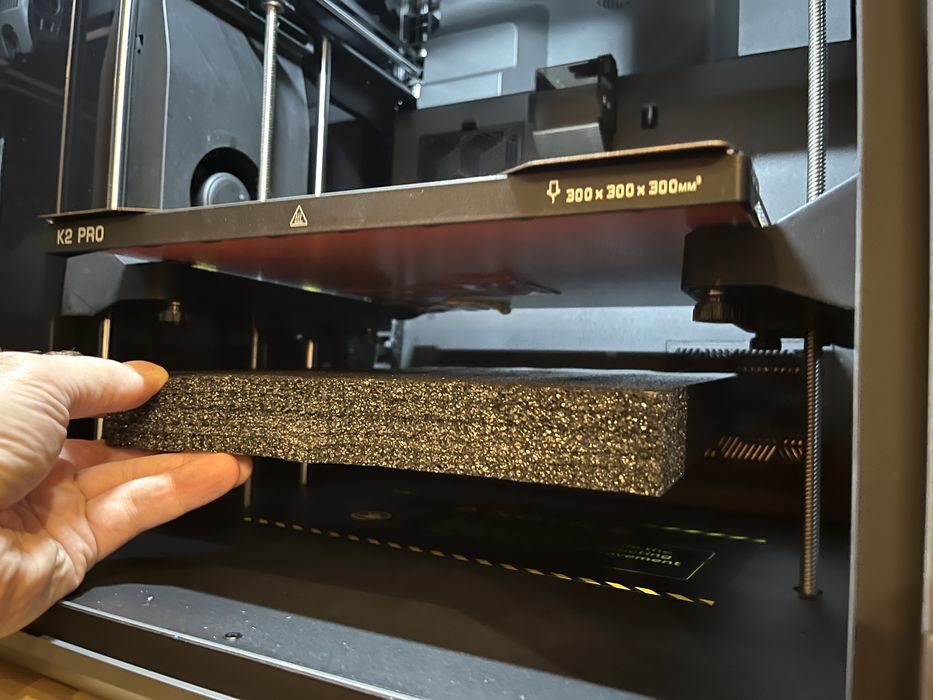
But then — just before we walked away, we saw the build plate begin rising to the top of the z-axis, so we jumped at the chance to snatch and remove that trapped piece of foam beneath the heat bed.
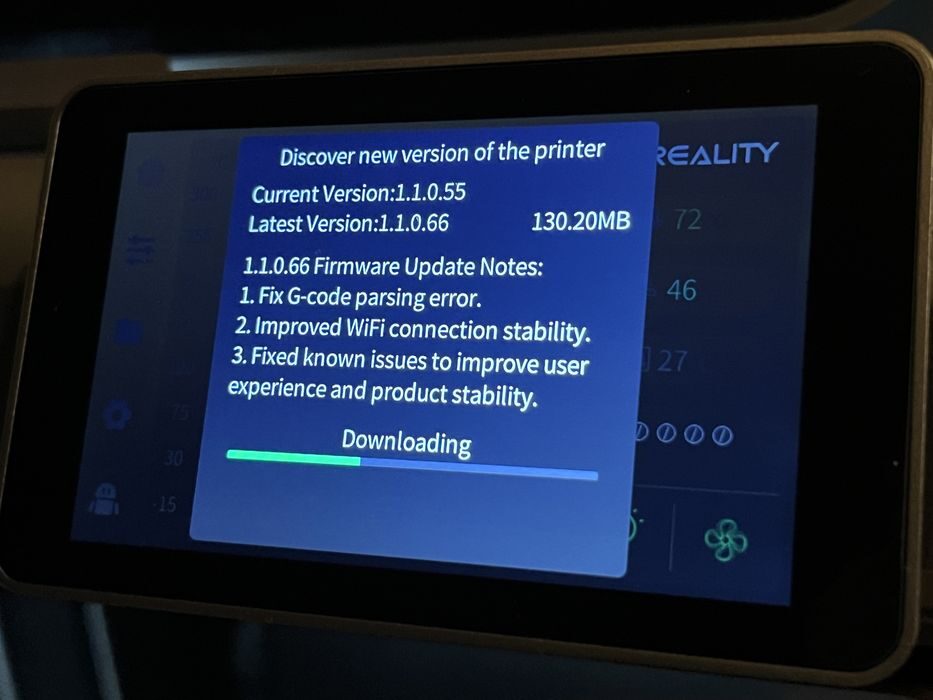
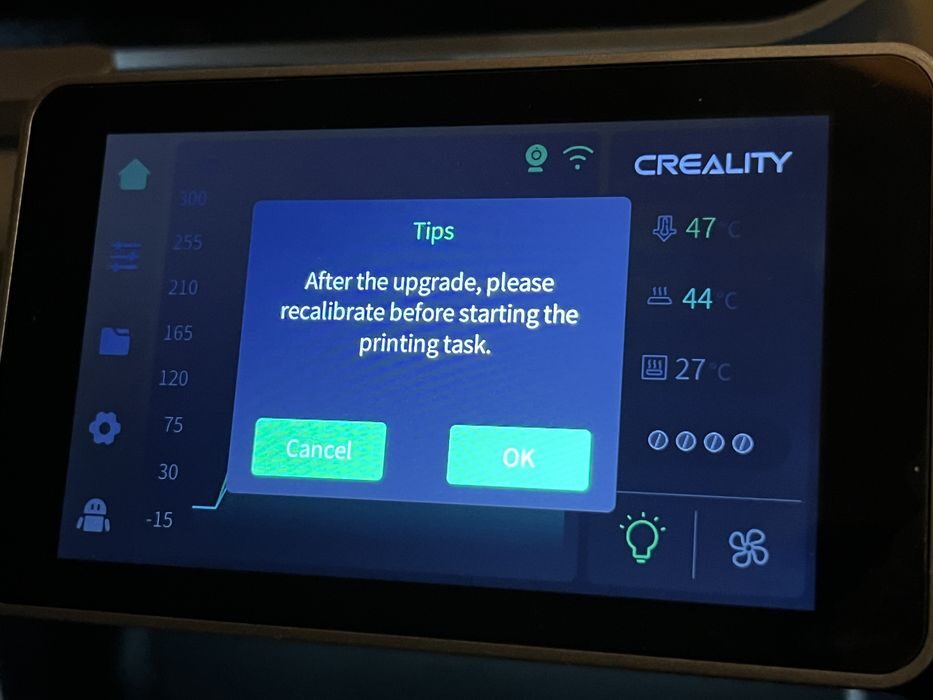
Back from coffee, we found the self-check had completed successfully. The next prompt we launched searched for and discovered a new version of firmware, which we agreed to download and install. When the update completed, the printer rebooted and then asked to be calibrated (again) for 16 minutes.
Wait, what? Didn’t we just do that? Of course if you’ve read our K2 Combo review, you knew all along that was going to happen and that we were already busy pouring ourselves yet another coffee to pass the time.
Ideally the firmware update check could be done BEFORE launching the 16 minute calibration, and avoid the duplication of work to save the operator some set up time. But coffee is nice, too.
Creality K2 Pro Combo Operations
Browsing the K2 Pro’s control panel, we found the menu structure nearly identical to the K2, with the typical important system functions monitored on the home screen, such as live temperatures for nozzle & build plate, print progress, etc., with additional screens offering a variety of other functions.
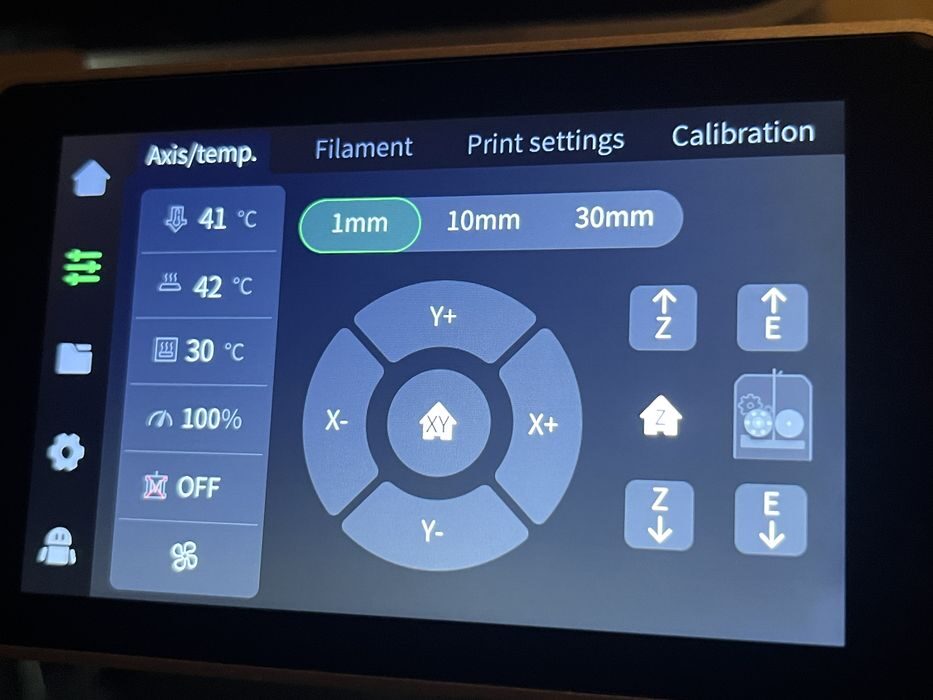
A second screen had axis/temp control, filament loading, print settings, and calibration functions. A third screen had print file management and history. A fourth showed general settings, network, firmware update, and account management. A fifth and final screen offered a QR code to get to the WIKI as well as maintenance and logs.
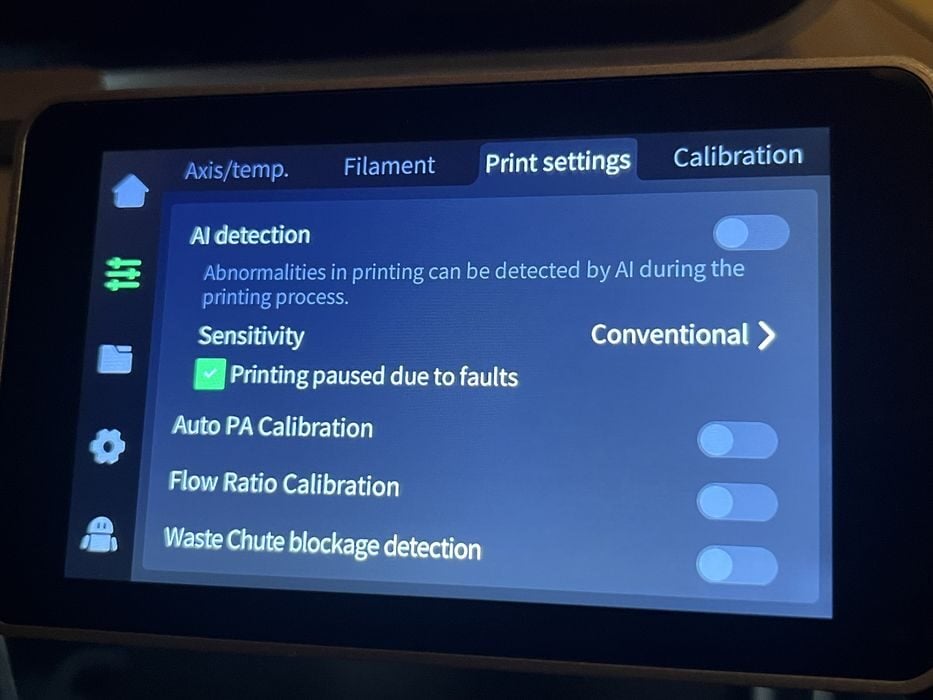
The most interesting screen for us was “Print Settings”, where we found AI Detection was turned OFF by default, which we enabled. We also enabled three functions that were new to the K2 Pro – Auto PA Calibration, Flow Ratio Calibration and Waste Chute Blockage Detection.
Now it was time to print one of the pre-sliced files that are typically supplied with a new printer. We prepped the 500g filament sample and went about loading it into the Creality K2 Pro Combo.
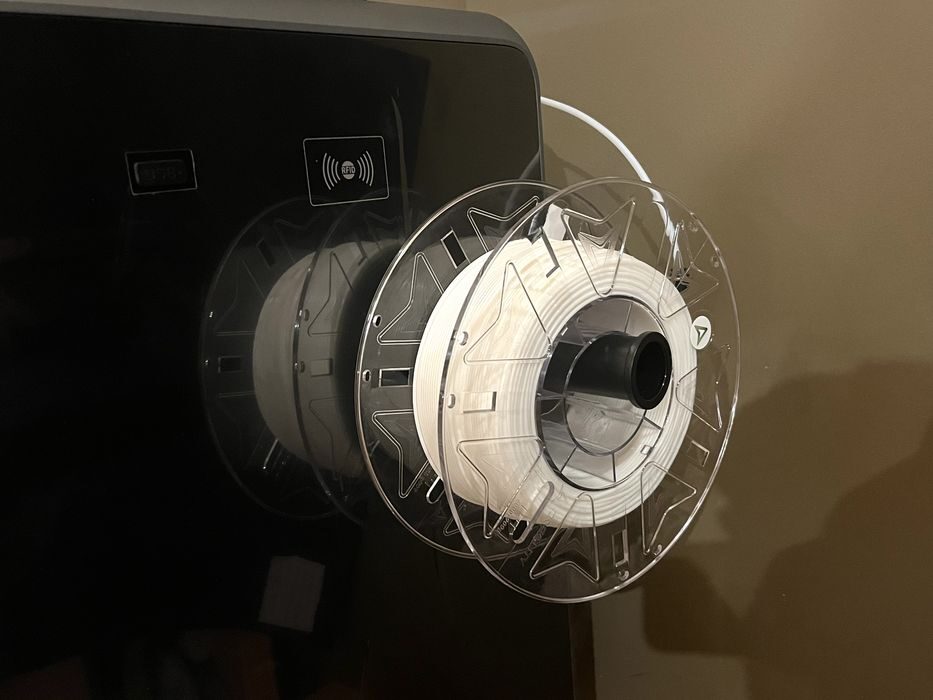
Before we did, we made sure to remove the CFS’s PTFE tube from the filament feed port in the rear of the printer and swap over to the spool holders shorter PTFE tube. We then manually fed filament through the tubing until it stopped at the extruder gears, placed the roll onto the spool holder, navigated to the Filament screen on the LCD and clicked Extrude – but nothing happened.
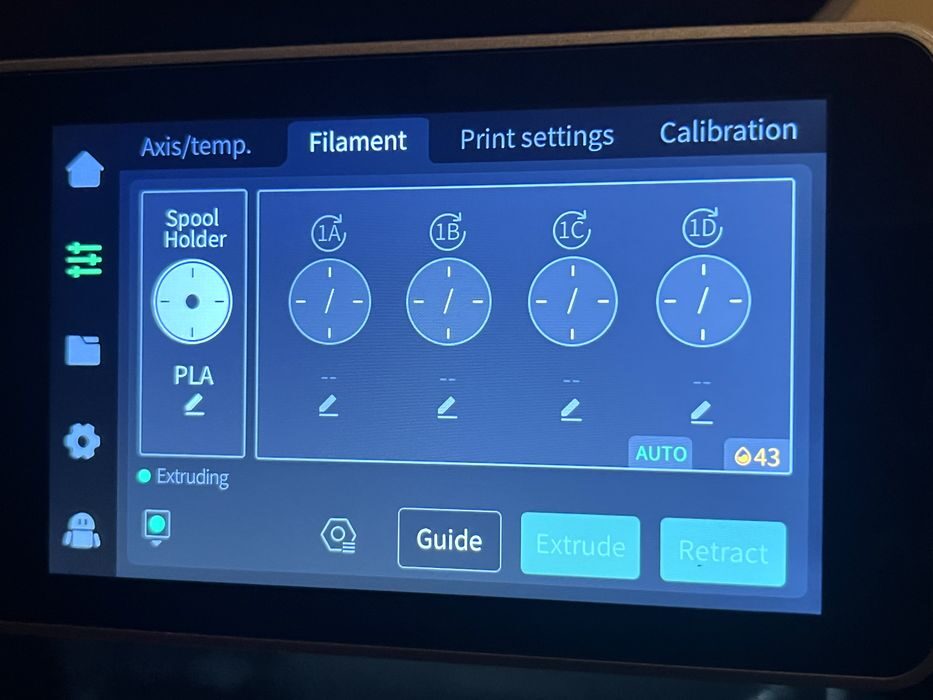
The supplied roll of RFID’d Creality filament was not being recognized by the side mounted RFID reader. Perplexed, we clicked the edit command on the Spool Holder menu item and manually entered the spool information to be “Creality Hyper PLA White”. This time when we hit extrude, the filament load procedure began.
As with the K2, the filament load procedure includes several instances of purging filament & wiping the nozzle before declaring the filament properly loaded. That said, there is no documentation as to how to catch all the purge “poop” that gets ejected from the rear of the printer and no physical container is supplied in that regard. However, we still had our makeshift poop bin from the K2 review, so we were all set to start printing on the K2 Pro.
We decided to take a closer look at the side-mounted RFID device issue and removed the filament spool from the holder and placed the spools RFID’d Creality logo DIRECTLY onto the RFID reader graphic located on the side of the printer. We were immediately greeted with a BEEP and the spool data was recognized. So the RFID function worked after all, but you need to tap the RFID chip on it directly on the reader each time. Being in close proximity to the reader won’t do the trick.
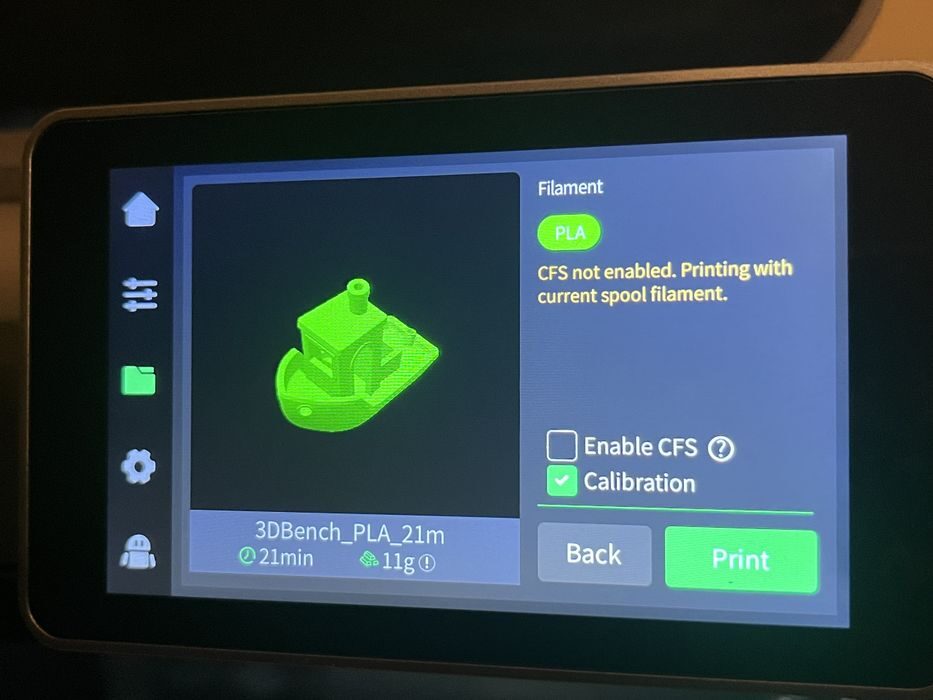
We checked the local storage on the Creality K2 Pro Combo and found a pre-sliced #3DBenchy with an estimated build time of 21 minutes. We left “Calibration” selected in the print options, but made sure to uncheck the CFS, as we were printing from the Spool Holder, and then started the print.
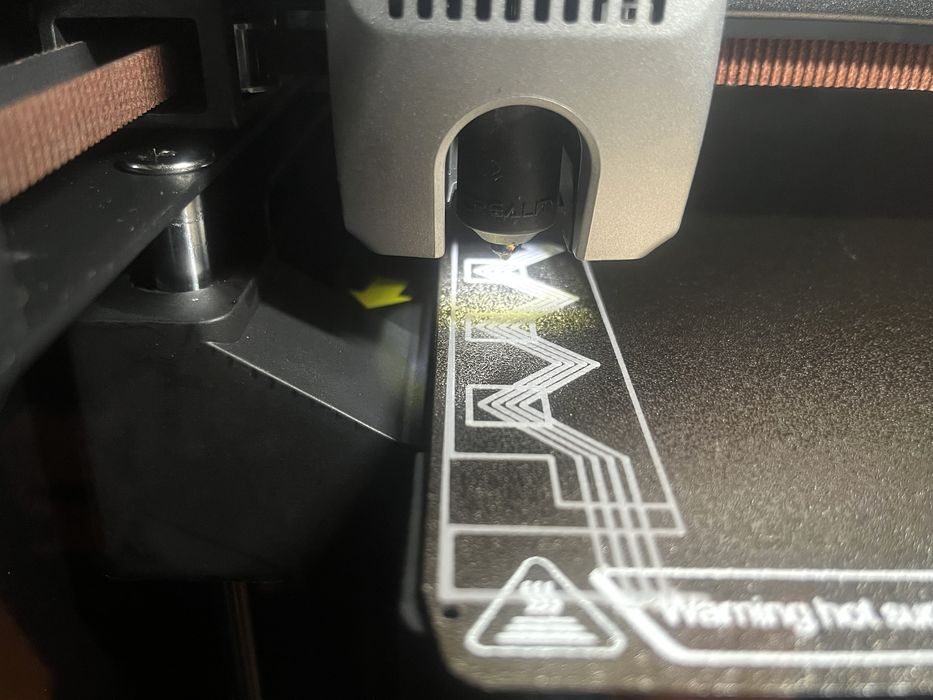
The printer came to life, heated up the build plate and nozzle, did a bed leveling procedure, and then performed two separate calibrations – a pattern printed and scanned on the left side of the build plate followed by a different pattern printed and scanned on the right.
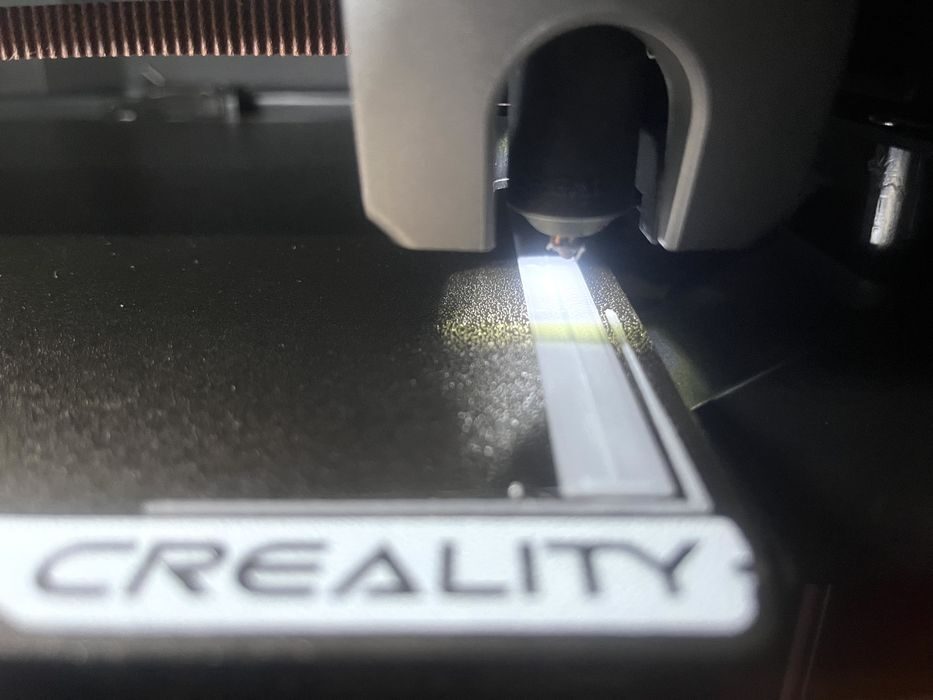
Once all that was done, the #3DBenchy began printing, completing in 21m using 11g of filament, with the finished print looking quite good. While the print was in progress we found the K2 Pro was very quiet, even when printing at higher speeds.
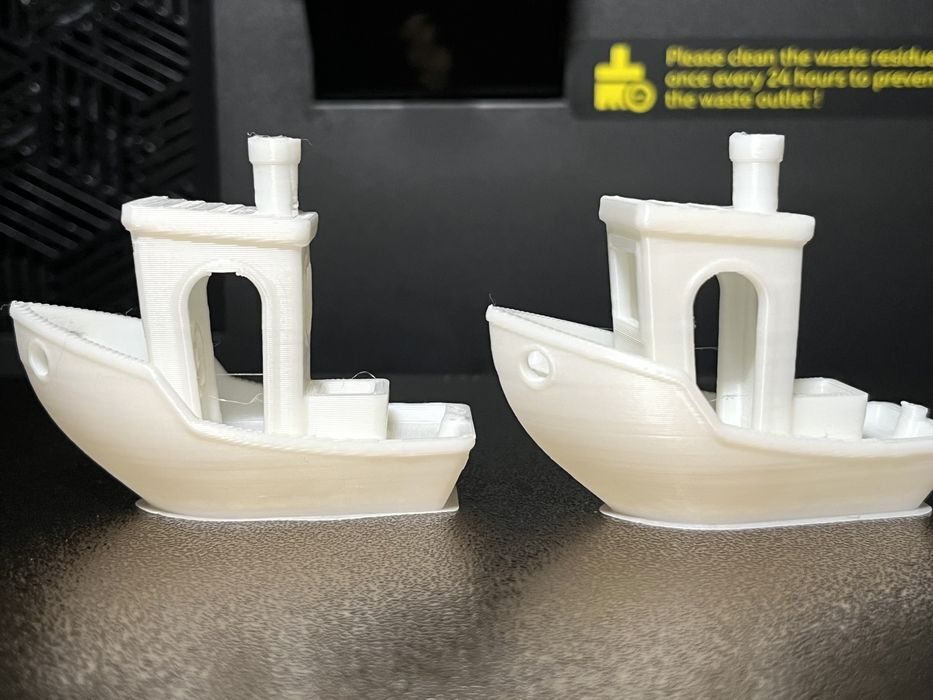
We relaunched the pre-sliced print, but this time we deselected calibration to see if there would be a difference in quality. There wasn’t.
Creality K2 Pro Combo Software
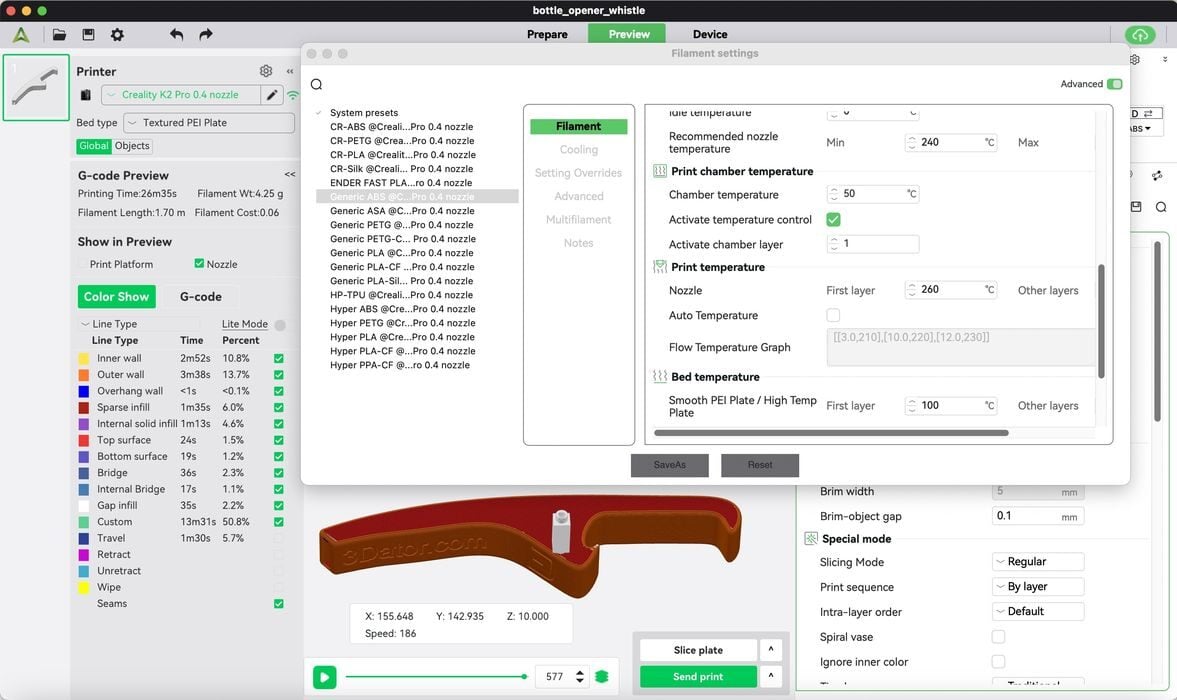
Now it was time to slice our own prints. Creality offers up a few options for slicing models for the K2 Pro: an app or web based interface, both of which are cloud based, or, just go with their traditional desktop slicer application, Creality Print. It’s based on the open source OrcaSlicer, with some Creality enhancements.
We chose the desktop app and used it for the bulk of the review, since the desktop application offered much better screenshots for the story. That said, we also used the cloud app for monitoring prints in progress and honestly that is where we found it really shines.
Much like the other Creality printers we’ve reviewed recently, there was no supplied USB stick with slicing software, sample files, etc, so we went to Creality’s website and downloaded the latest version of the slicer, CrealityPrint-6.3.0.3420, for installation.
Then we added the K2 Pro printer profile, pairing it to the printer we had bound to our account earlier. Now we could slice and send our files directly to the printer with ease.
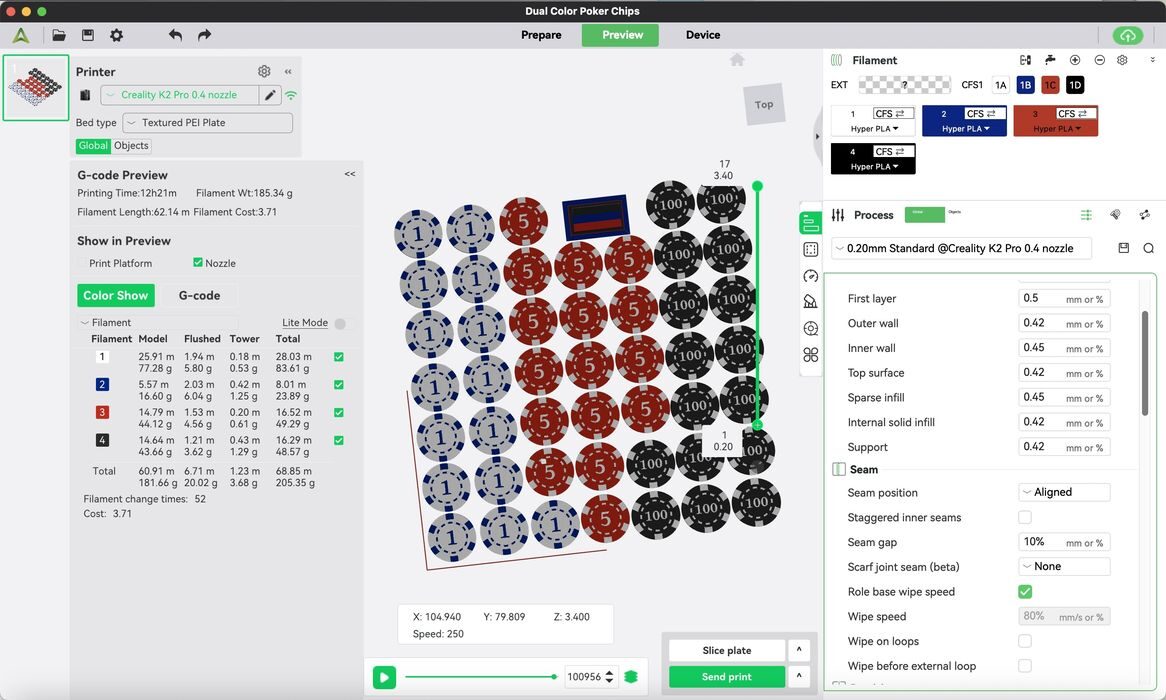
Over the course of several printer reviews, we have found that slicing in Creality Print is fairly straightforward for models requiring a single material, and for the most part, setting up for multi-material prints is quite easy too. An operator just needs to always make sure that the flush multiplier gets set up correctly to avoid ending up with blended colors, or wasting too much material with flushing.
This is part two of a four part series, please read parts one, three and four.
Via Creality