
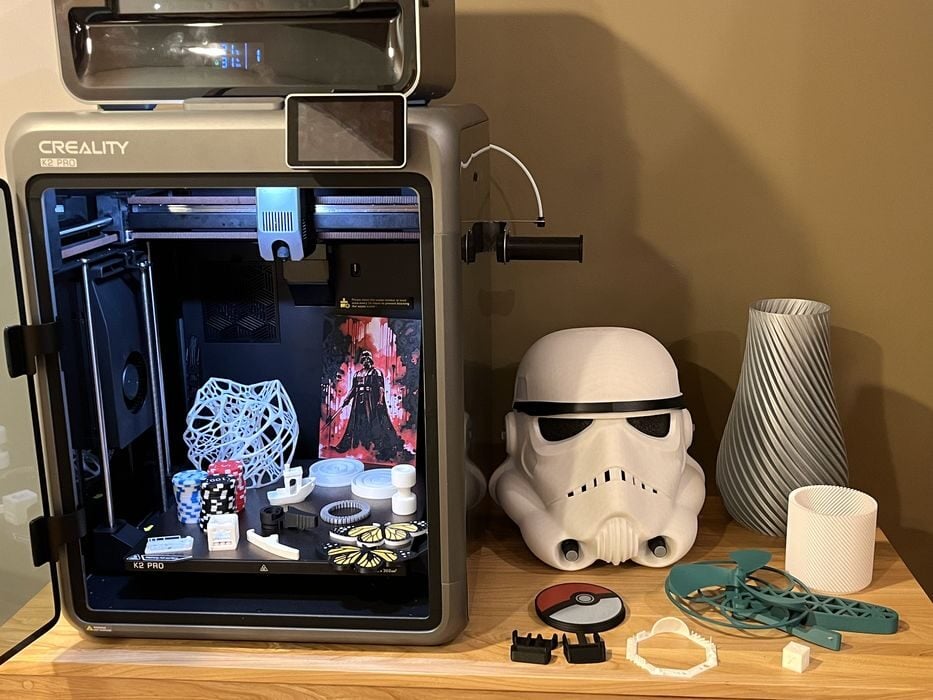
Our look at the Creality K2 Pro Combo 3D printer concludes with final thoughts.
This is part four of a four part series, please read parts one, two and three.
Creality K2 Pro Combo Final Thoughts
Much like the smaller K2, the K2 Pro Combo’s packaging has been well thought out. Not only does it get the printer to its destination safely, Creality have included some handy unboxing instructions printed right on the box, even including a QR code pointing to an excellent unboxing/setup video. This is a good thing, since separate manuals are provided for both the printer and CFS, instead of a “Combo” manual. That could lead to some important assembly instructions not properly being covered, which could confuse a novice.
Unboxing was straightforward given the two piece shipping box. We lifted off the top part of the box instead of trying to pull a large bagged printer up and out. That said, the CFS is bracketed in place inside the build chamber with several screws. So if an operator is not comfortable with lifting the combined weight of printer & CFS up and onto a table, then some work would be required at floor level to remove the CFS to lighten the load.
There really wasn’t much to do in the form of assembly of the printer and CFS, and we were done fairly quickly after watching the unboxing video. Initial setup, self-check and calibration was a breeze, with a series of prompts walking us through the process. The only issue we had was with the repetition of the calibration procedure that occurred after an automated firmware update. Creality could look at doing the firmware update BEFORE the calibration to avoid duplicating the process.
In addition to the bed levelling and input shaping calibrations done during self-check, the K2 Pro has a few other calibrations that can be added to each print job – Auto PA (pressure advance) and Flow Ratio. You’ll need to make sure you have the space on your print job to run them, as they use up a portion of the build plate on both the left and right sides. You might not use them for every print, but they certainly do make a difference.
The K2 Pro and CFS are fairly quiet during high speed printing, and for the most part, we didn’t have many failures. Our biggest issue was stumbling onto the firmware bug, where filament refused to load and the hot end stayed at 300C. Creality were quick to provide a solution that got us back up and running, and it’s likely that a permanent fix will be forthcoming.
The only other problems we had were adhesion print failures that weren’t picked up by the AI detection system. So the sensitivity for that would most likely need to be increased from the default value.
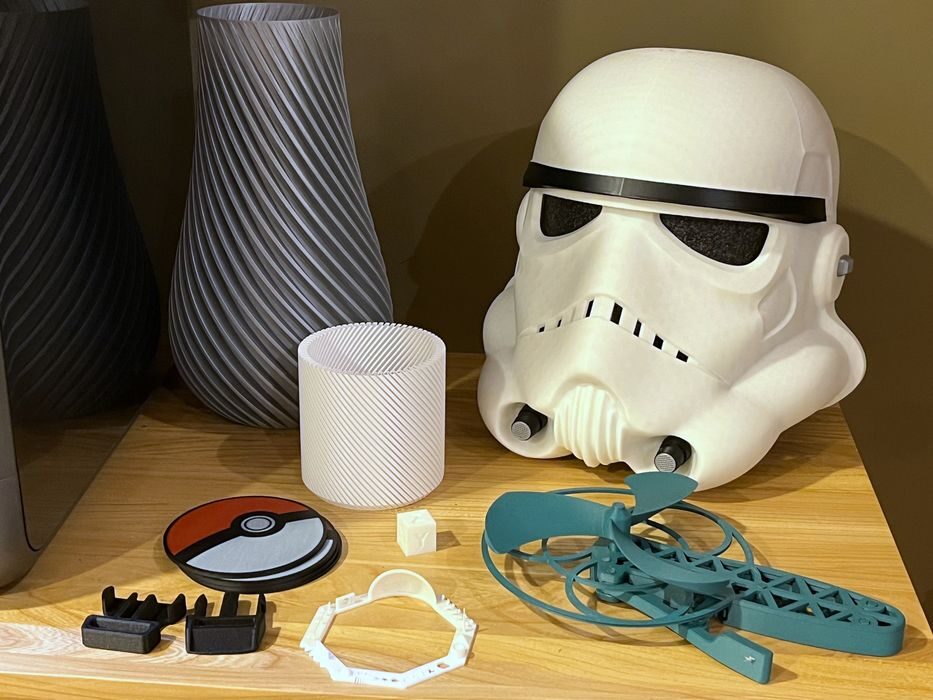
We really liked the larger build chamber of the K2 Pro for large prints or multi-part prints, and the heated build chamber was a great improvement when printing materials such as ABS, because we could print ABS and ASA models without using a brim.
The CFS was superb for multi-material printing but also came in handy for our large print, automatically swapping over to another spool of the same material mid-print when it ran out. This could be a great way to use up partial spools.
The hardware performed quite well for the duration of the review. The only thing that we could be picky about was that the side-mounted RFID reader needed to have the spool chip tapped directly on the sensor in order to be read. But in the end it did work.
Finally, there was no poop bin, but we managed.
CREALITY
K2 PRO COMBO
★ BEGINNER 8/10
★ ENTHUSIAST 9/10
★ PRODUCTION 8/10
BEST FEATURES
✔︎ Quiet
✔︎ Large volume
✔︎ Heated chamber
QUESTIONS
✖︎ Firmware issue
✖︎ Separate manuals
✖︎ RFID detection
This is part four of a four part series, please read parts one, two and three.
Via Creality