

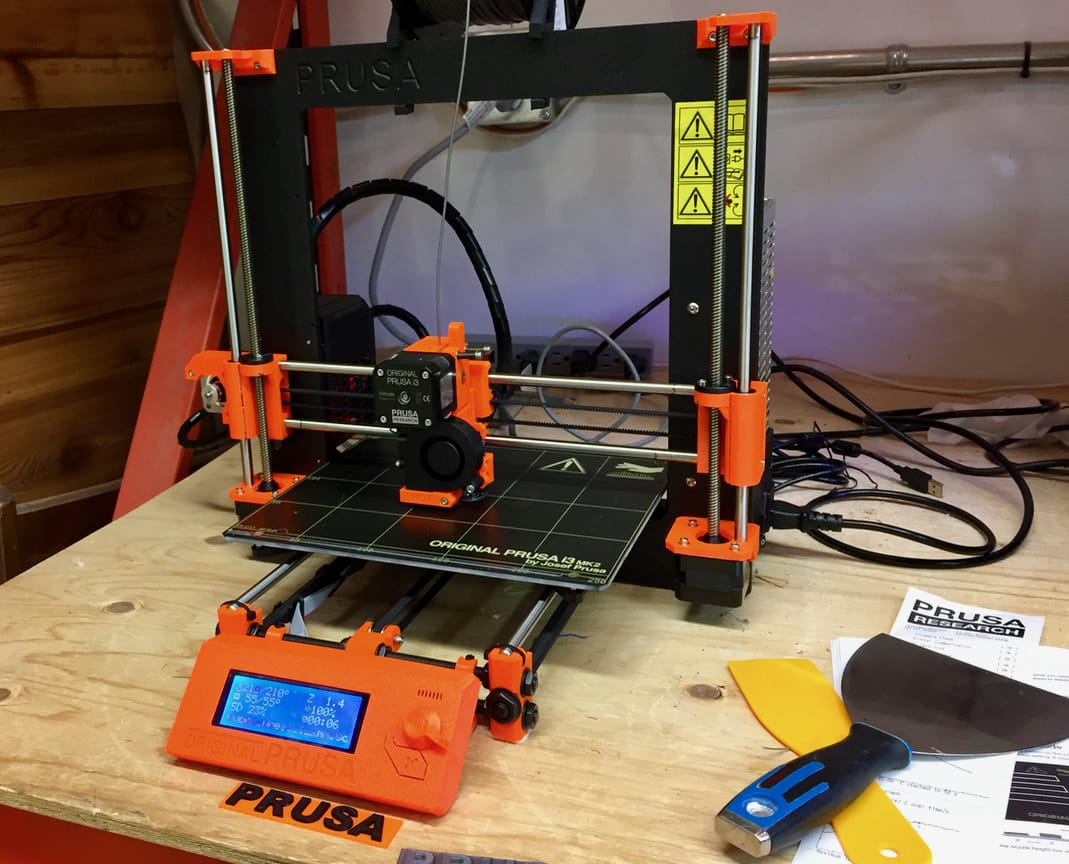
We got our hands on with a pair of assembled Original Prusa i3’s and ran them through some basic tests.
The Original Prusa i3 is one of the most popular desktop 3D printers these days, and I think it’s due to two reasons: one, it carries a very low price, and two, it actually works.
There are far too many desktop 3D printers available that are expensive and complex to use. Many of them are fragile in the sense that it’s all too easy to cause a print failure.
That’s not the case on this machine.
The Original Prusa i3 comes either assembled or as a kit. We’re hoping to review a kit in the future, but this review examines the pre-assembled version that costs slightly more than the kit. It also gets you up and running a lot faster.
We chose to review the single-extruder version of the Original Prusa i3; a recently announced upgrade permits multiple materials to be used in the machine, and we’re hoping to review one of those in the future.
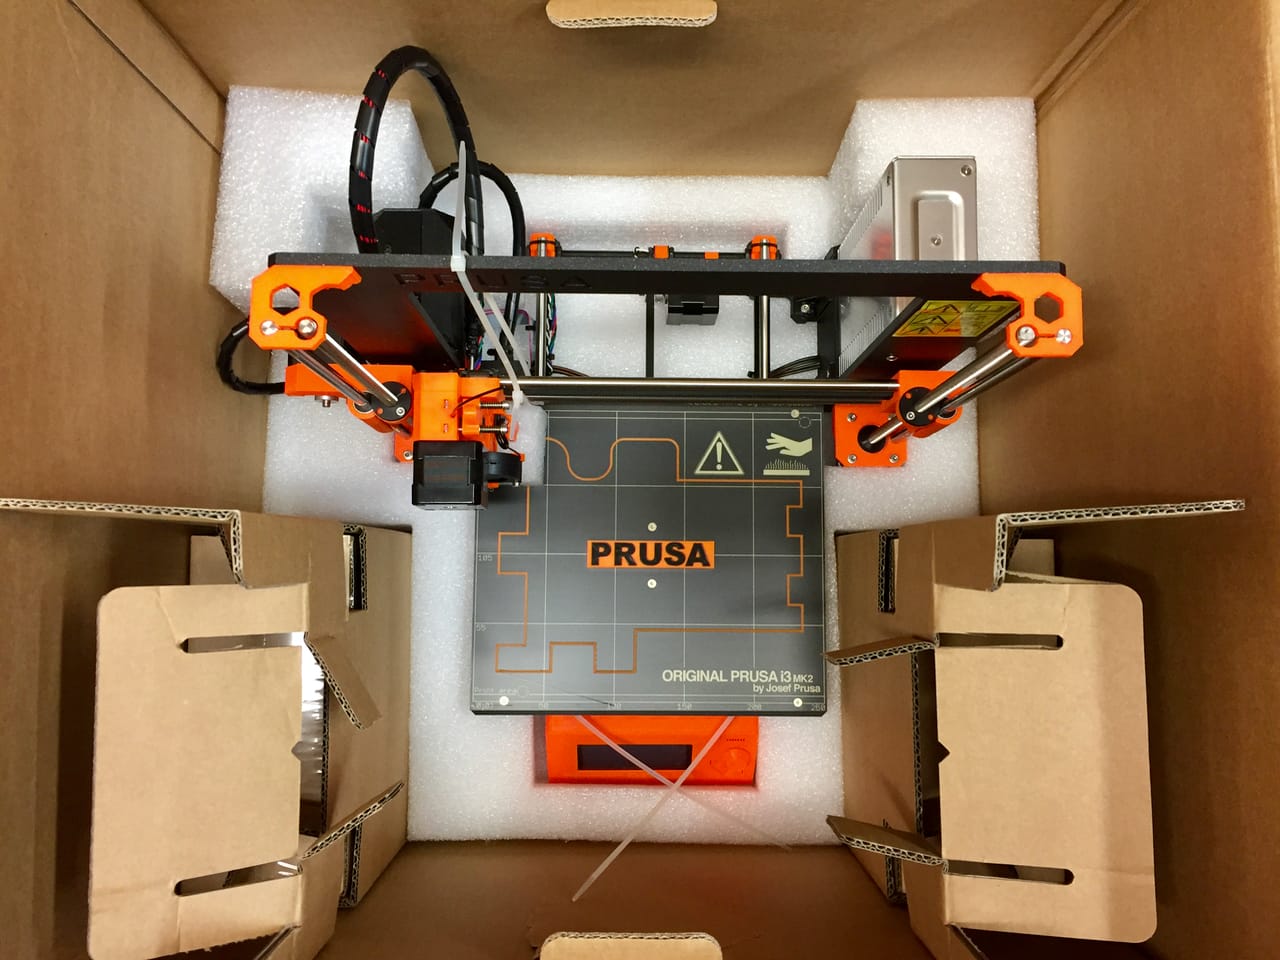
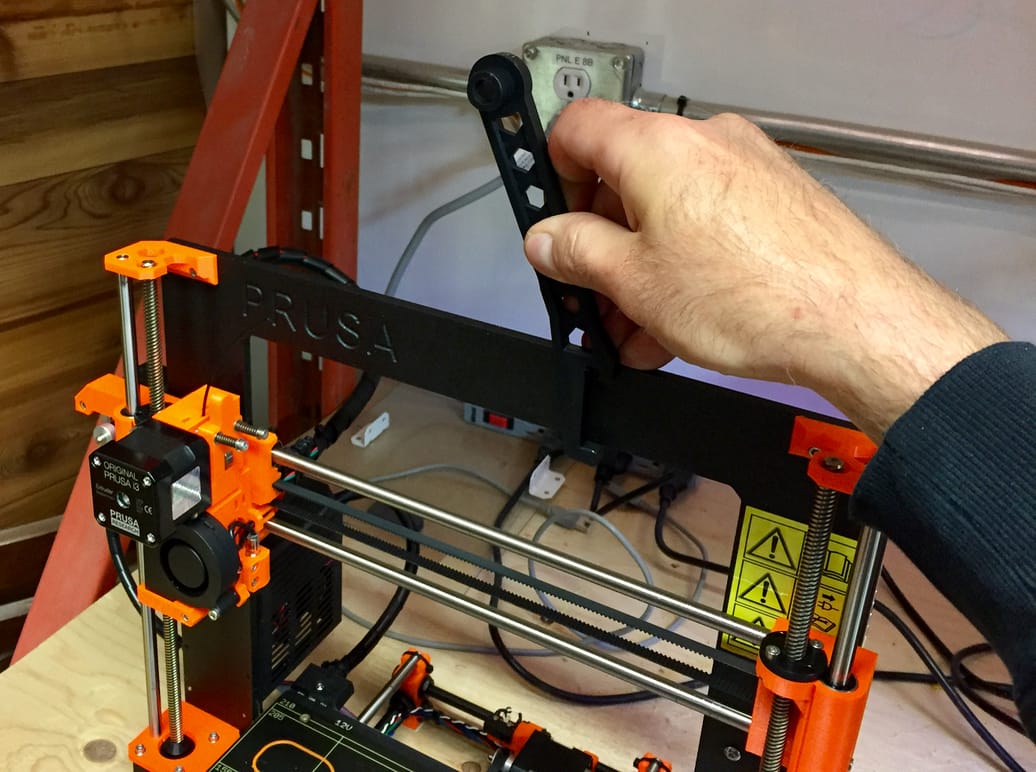
Inside the box the Original Prusa i3 is packed nicely, and is quite easy to lift out. It’s not a heavy machine, as it sports an open format design. There are a few ties and blocks to remove, but that’s done in less than a minute.

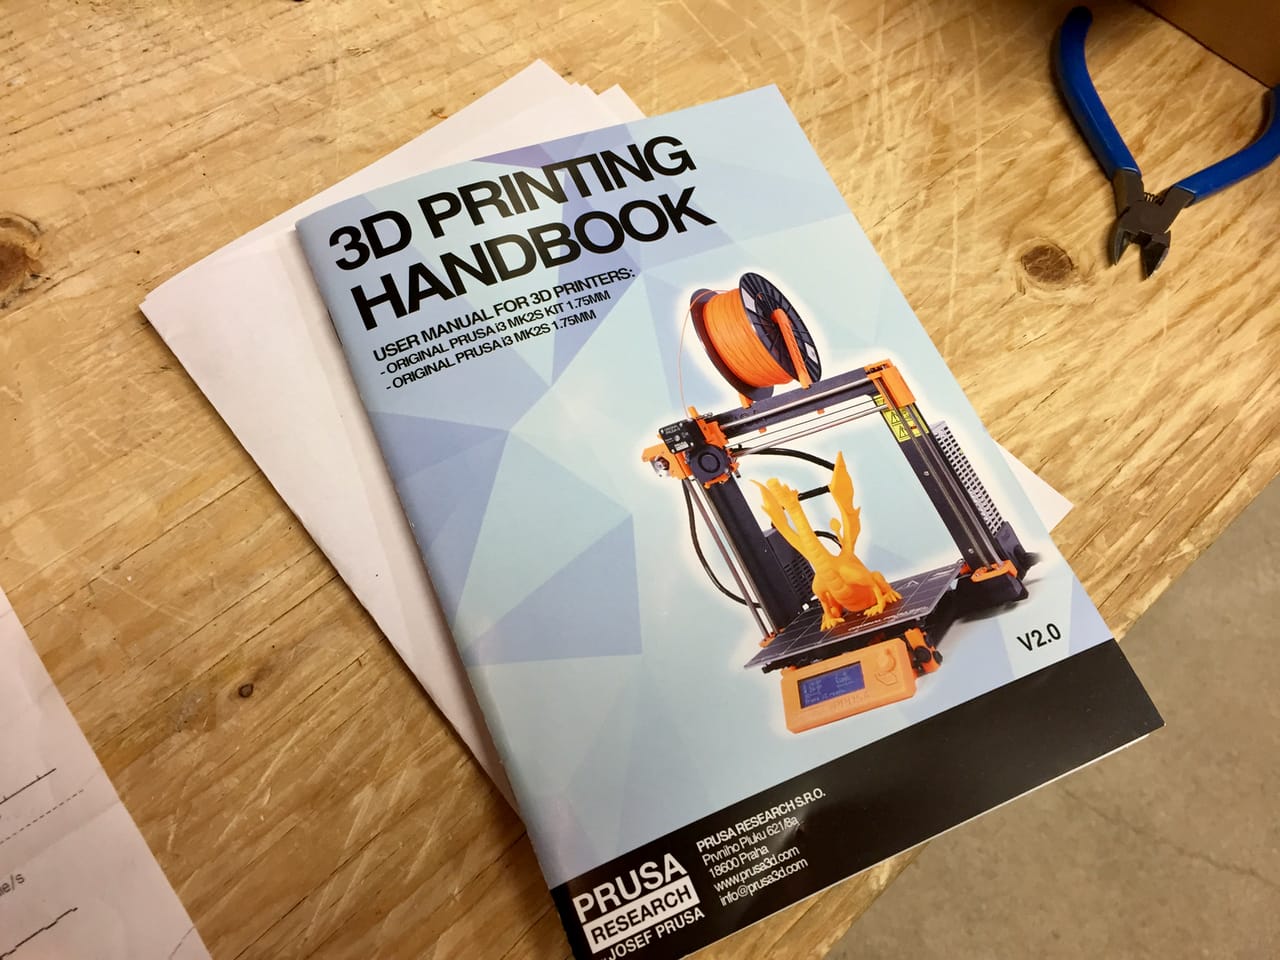
The Original Prusa i3 comes with a box of all the supplies you’ll need to operate the machine, and some candy, a very nice touch. While the candies disappeared quite quickly, we were more interested in the easy to use handbook that is included with all Prusa equipment. Nevertheless, it should be required that all 3D printer vendors include candy in their shipments, even the big guys.
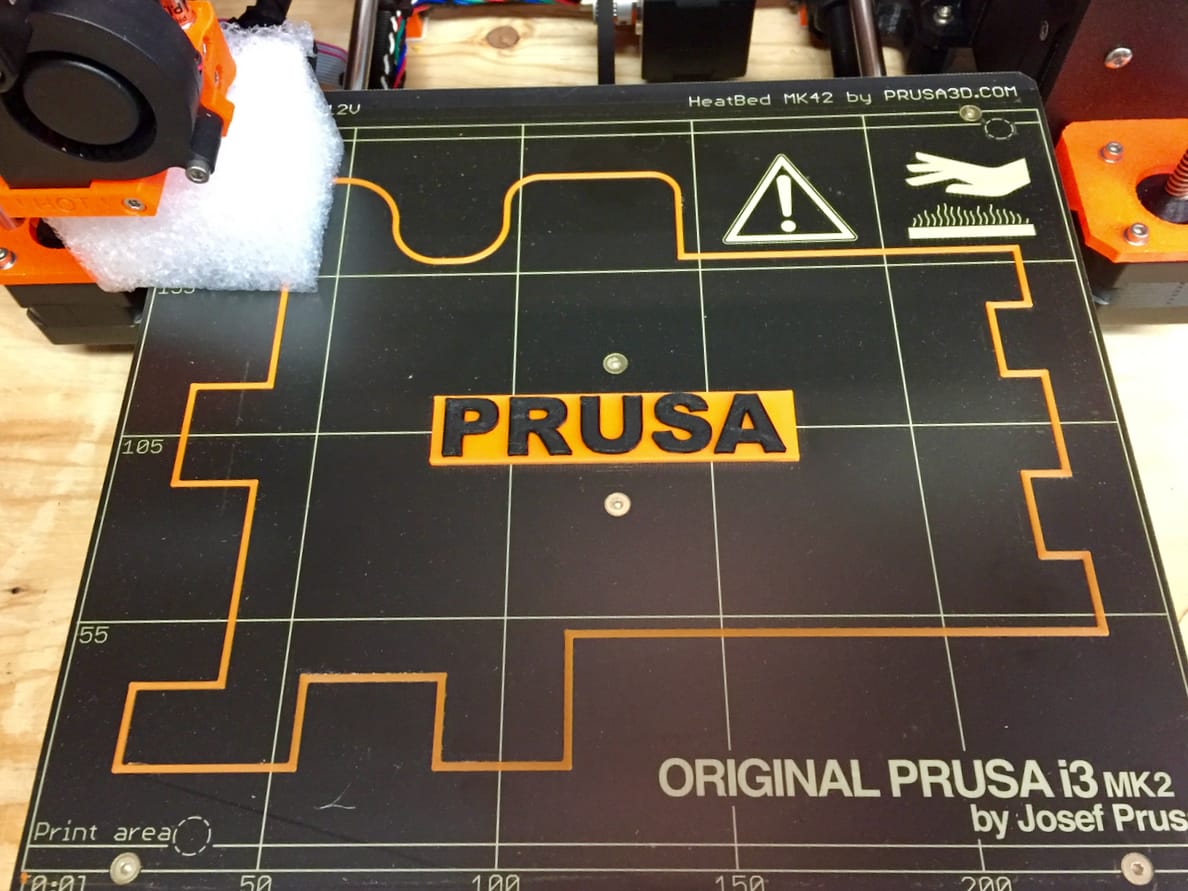
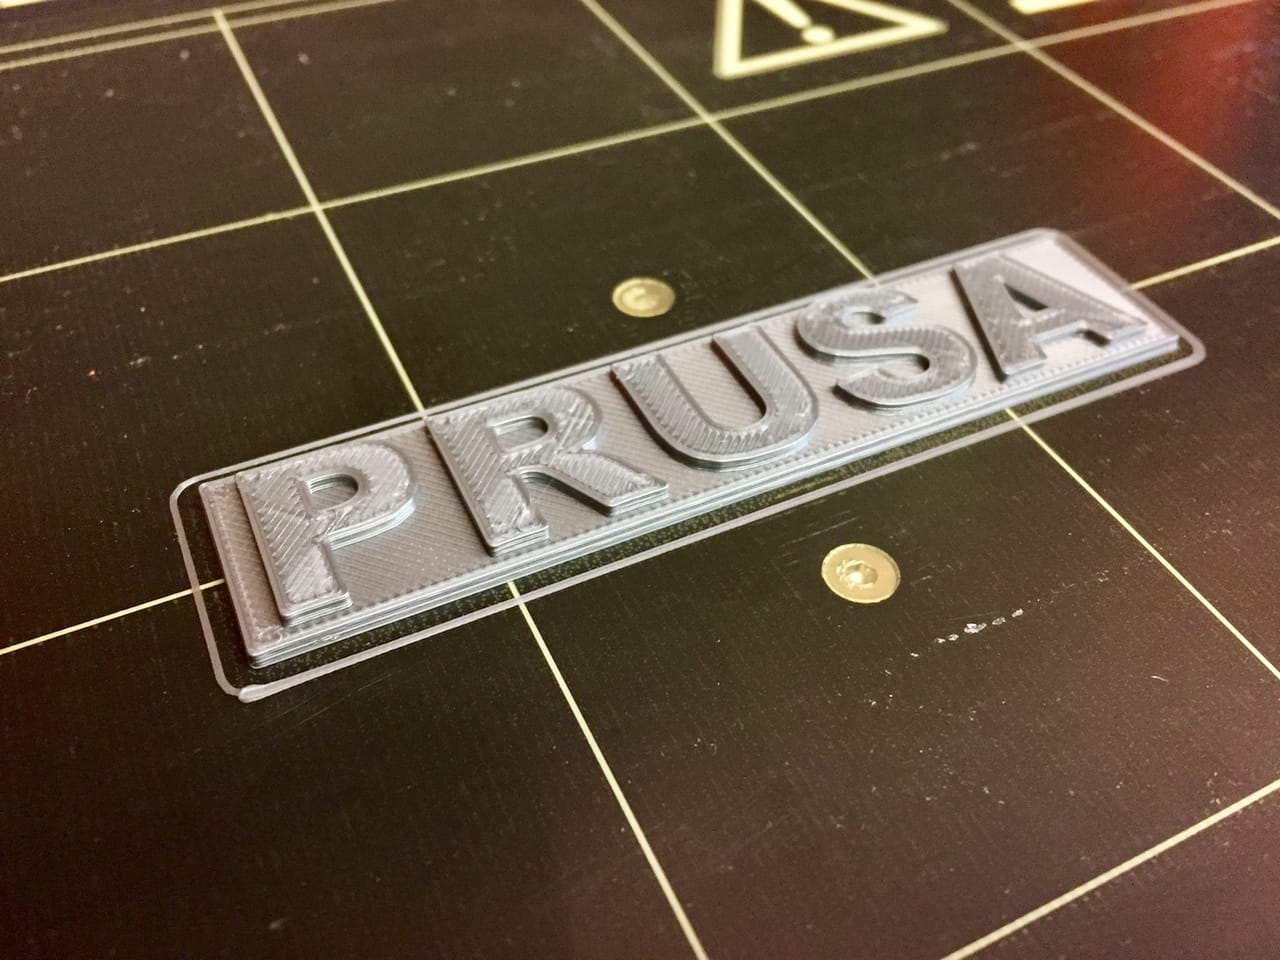
The assembled Original Prusa i3 is well tested before it ships, and indeed it has a successfully completed 3D print laid on the print bed for you to see that this machine truly worked before it left the factory. Of course, the print is in orange material to match the machine itself and the color was changed to black to highlight the word “Prusa” in mid-print. (Aside: that’s an excellent and easy method to easily enhance your desktop 3D prints of words).
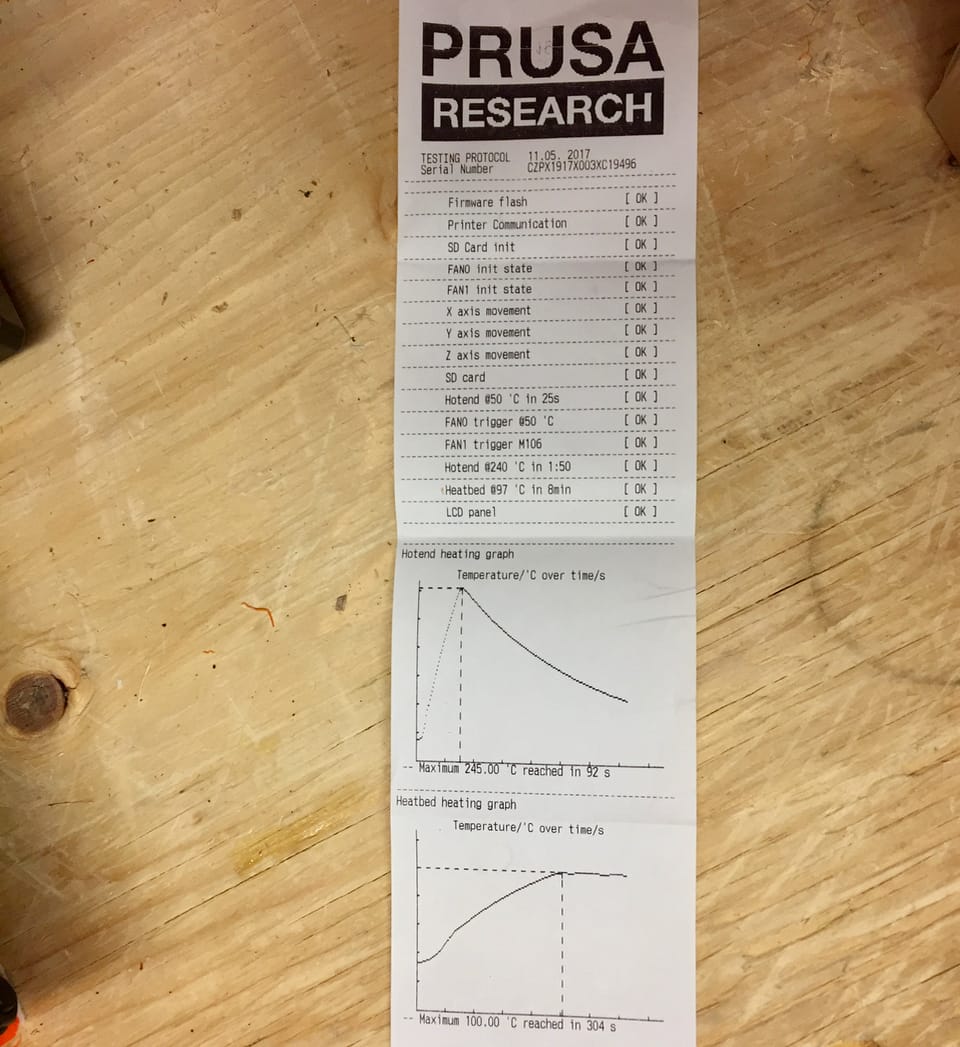
But was this machine truly calibrated properly? Inside the box we found a printed report in which the following are reported:
- A checklist of test results, such as movement and fan triggers
- A chart of heated bed operation over time
- A chart of hotend performance over time
This simple printed report provides a great deal of confidence that this machine was assembled properly and will work reliably. I wish every manufacturer did this style of visible testing – but I suspect that some less reputable manufacturers might not pass this test!
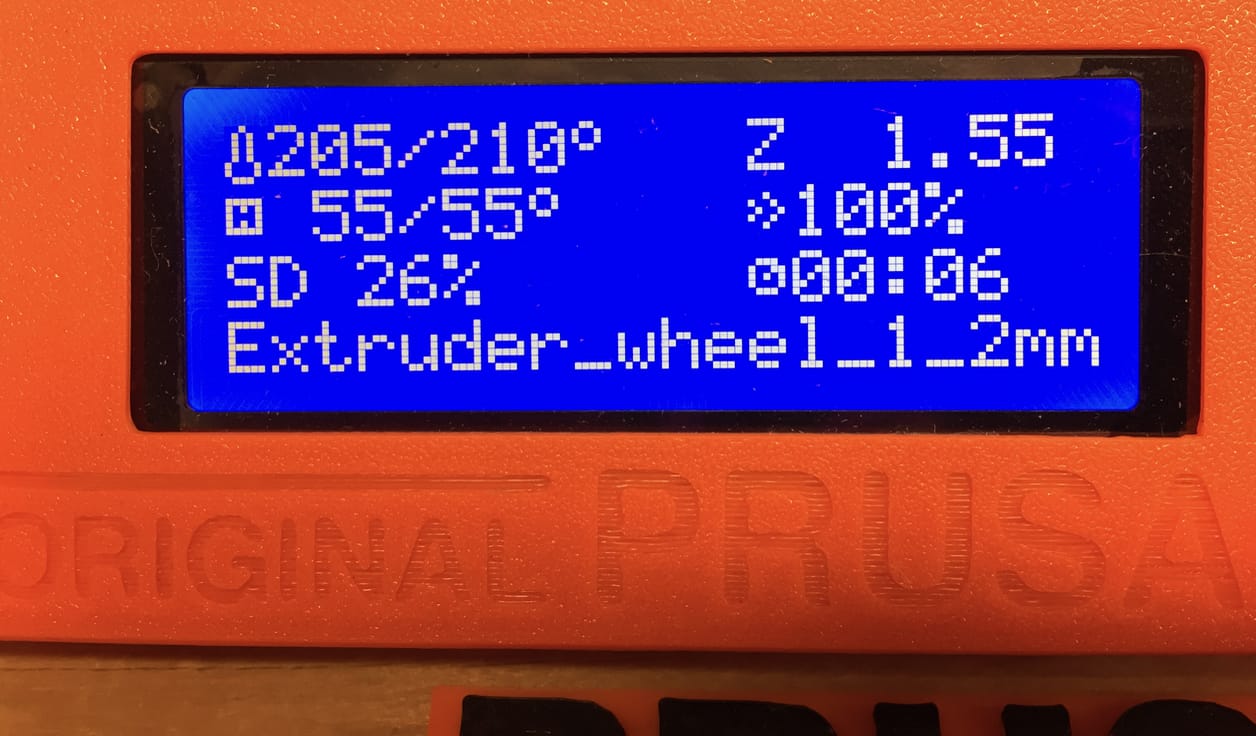
Software installation is very straightforward. Prusa recommends using their customized version of Slic3r, although you can also use Simplify3D and Cura – but you will have to ensure the appropriate profiles for the machine are installed.
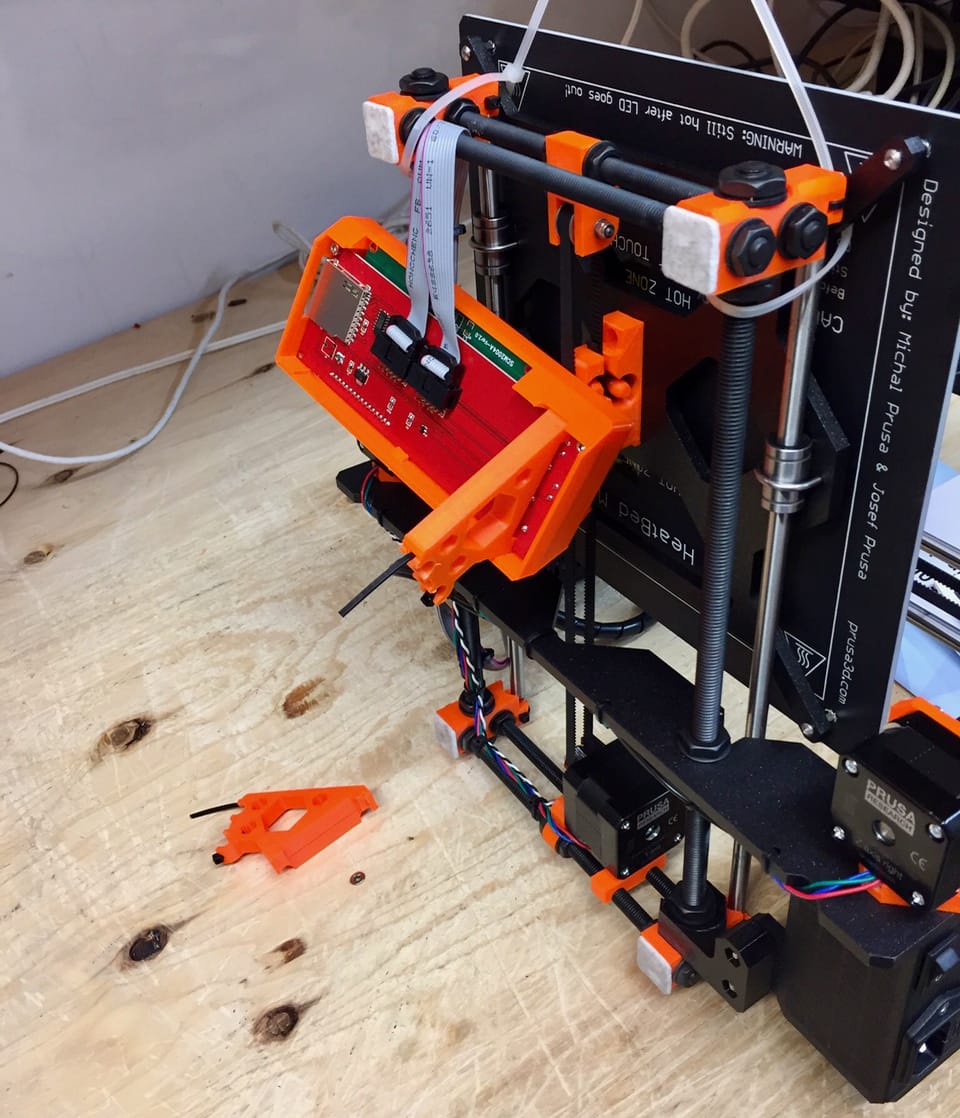
One problem we found in our two Prusa’s was a broken tie-wrap. This led to the loosening of the control panel. But this was easily rectified by installing a replacement. Evidently the shipment must have been sufficiently jostled to break this tie, but even so the machine worked perfectly after this minor fix.
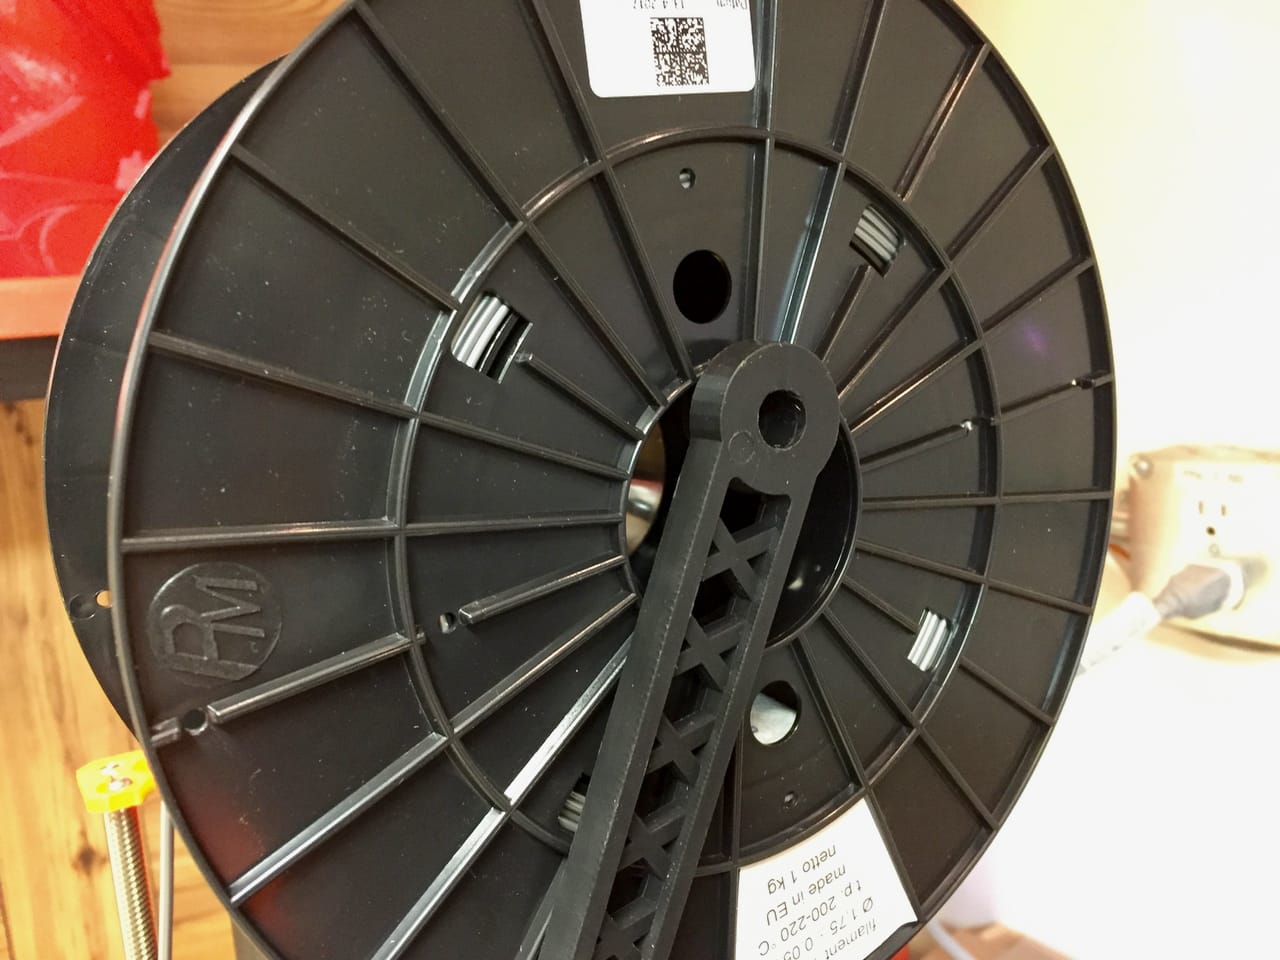
Setting up the spool holder is a bit unusual. I’m used to spool holders that have a continuous rod through the spool axis, but that’s not the case on the Original Prusa i3. Instead the spool hub sits off center on a nub at the end of the spool holder. You can insert a rod between them, but it doesn’t seem to be included in the package.
I feared that the spool holder arms would spread during printing and cause the spool itself to fall, but this has not occurred. It seems that the spool arms are designed to be sufficiently rigid.
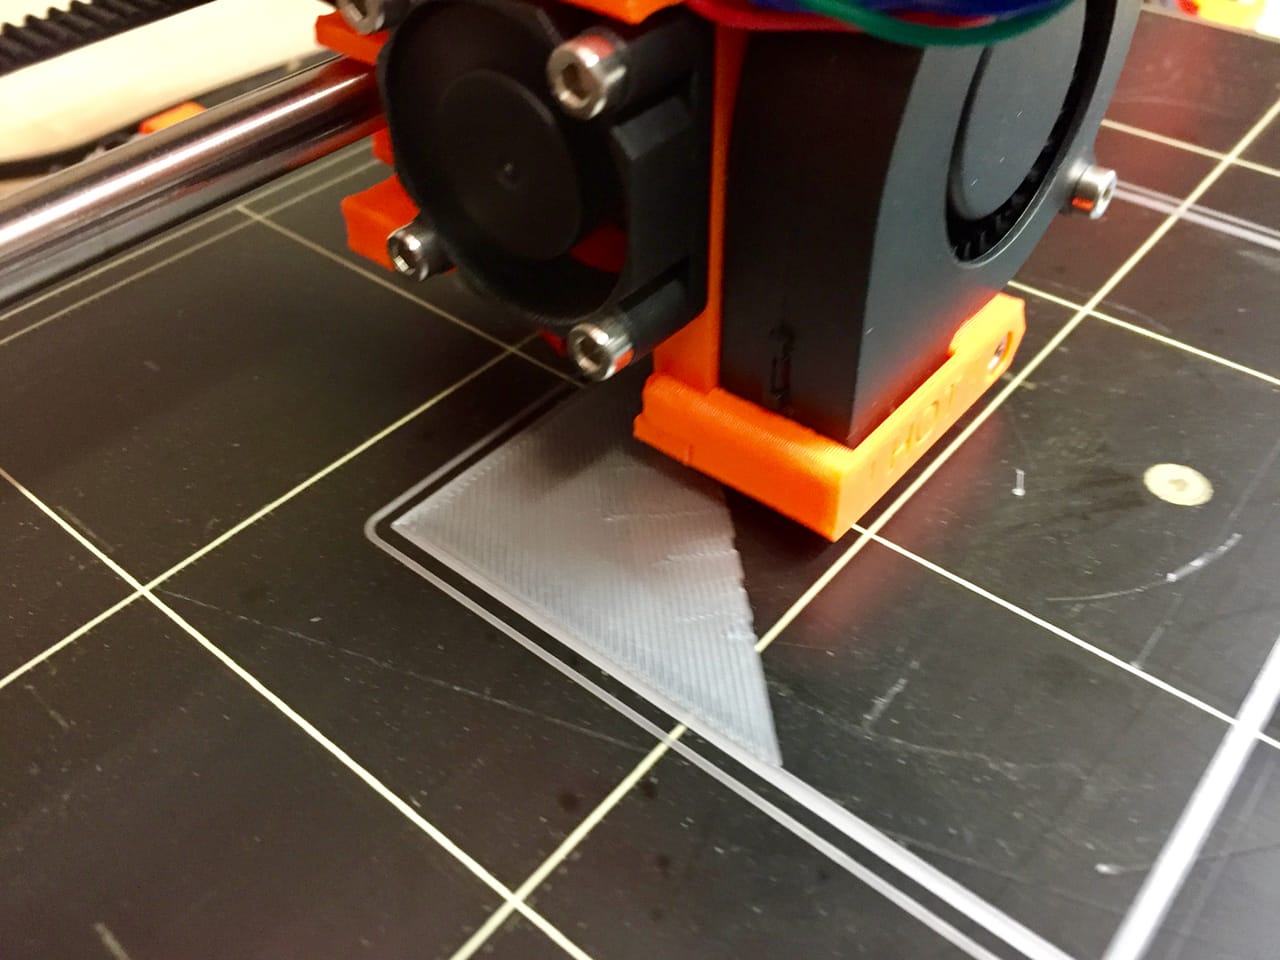
After removing the factory print, we loaded up some filament and were ready to attempt a first print.
The first print we chose was in fact the same as the factory print. You can find this print on the provided SD card as a pre-sliced set of GCODE.
And of course, it came out perfectly.
One reason for perfect printing is that the Original Prusa i3D includes an automated leveling system. Before each and every print, the machine tests nine spots on the print bed to determine the precise height and then acts accordingly during printing. We have never had a first layer problem on this machine, although that’s likely possible if you attempt to print pathologically shaped 3D models.
The leveling process takes a fraction of a minute, so it slows down the print a small bit, but it’s definitely worth it.
How much so? It’s a pleasure to watch a perfect first layer emerge each and every time you print.
After the initial print, we attempted to print our own objects with our own slicing into GCODE.
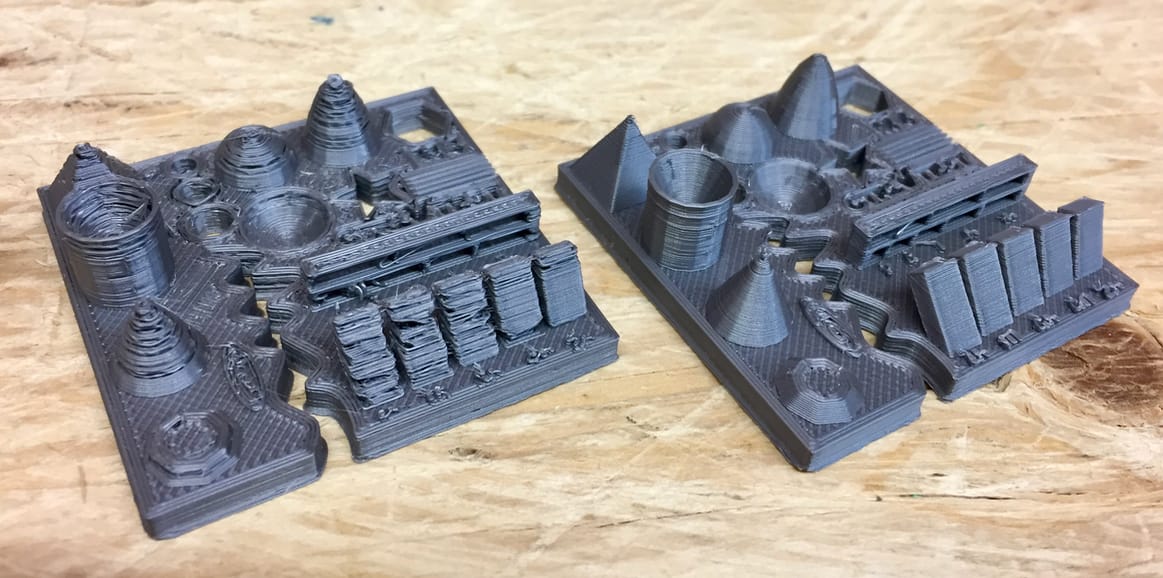
We printed a standard CTRL-V calibration test using the default Slic3r settings and were quite disappointed with the results. This turned out to be a rather extreme 4mm retraction setting, which we adjusted to 1mm and reprinted. You can see the difference immediately: the left image is with default settings and the right with the adjusted retraction.
[UPDATE] With the help of Josef Průša himself, we believe we now know why this happened. It seems that somehow we must have been using the presets for the multimaterial version of the MK2, which use a 4mm retraction setting. The machine we tested was the single material version, which should use only 1mm retraction. The multimaterial machine requires a much larger retraction setting as it has to pull the different filaments quite clear of the hotend during operations. Moral of the story here is this: Make Sure You Use The Correct Presets!
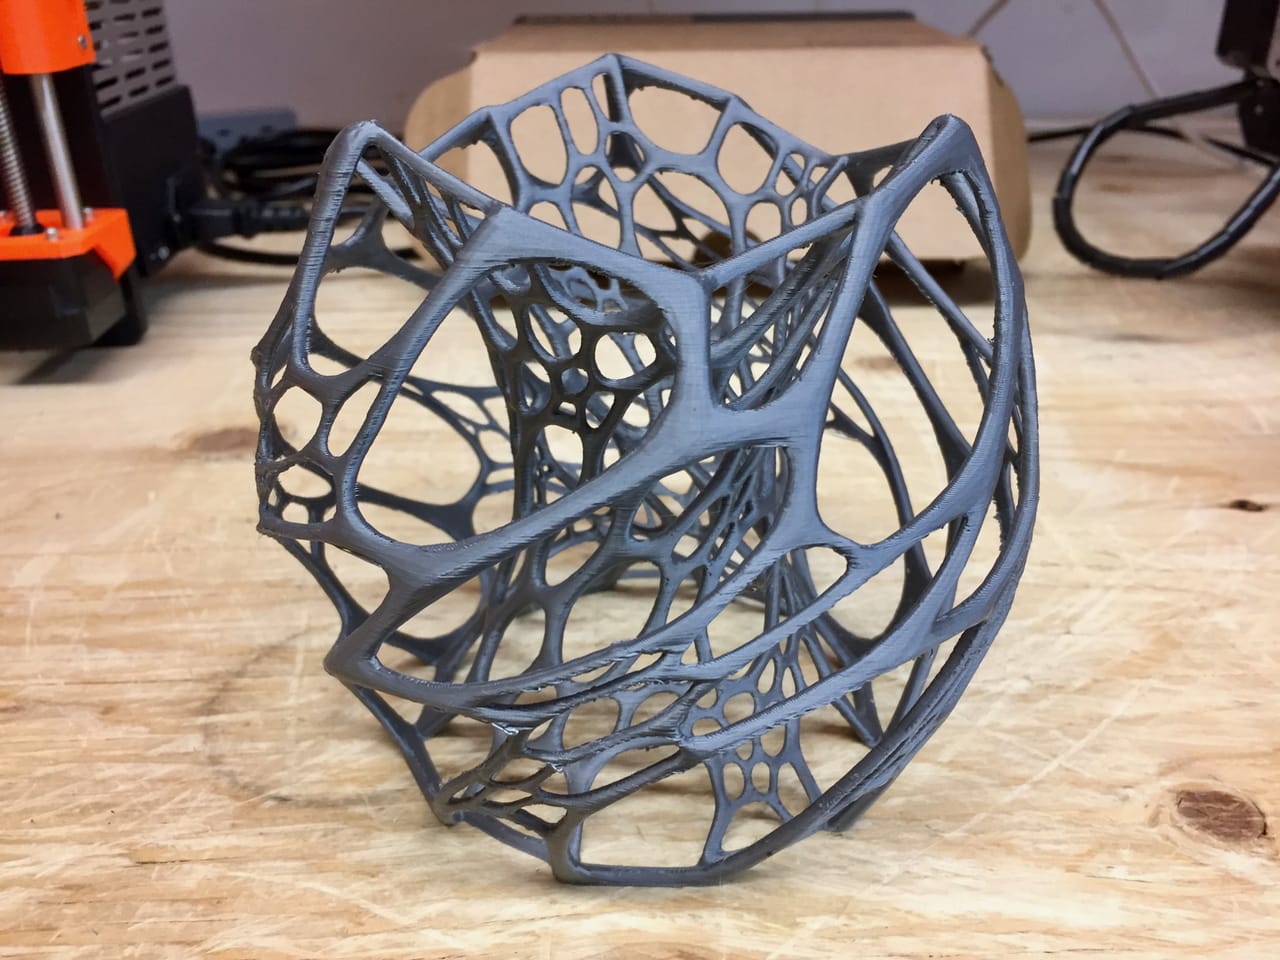
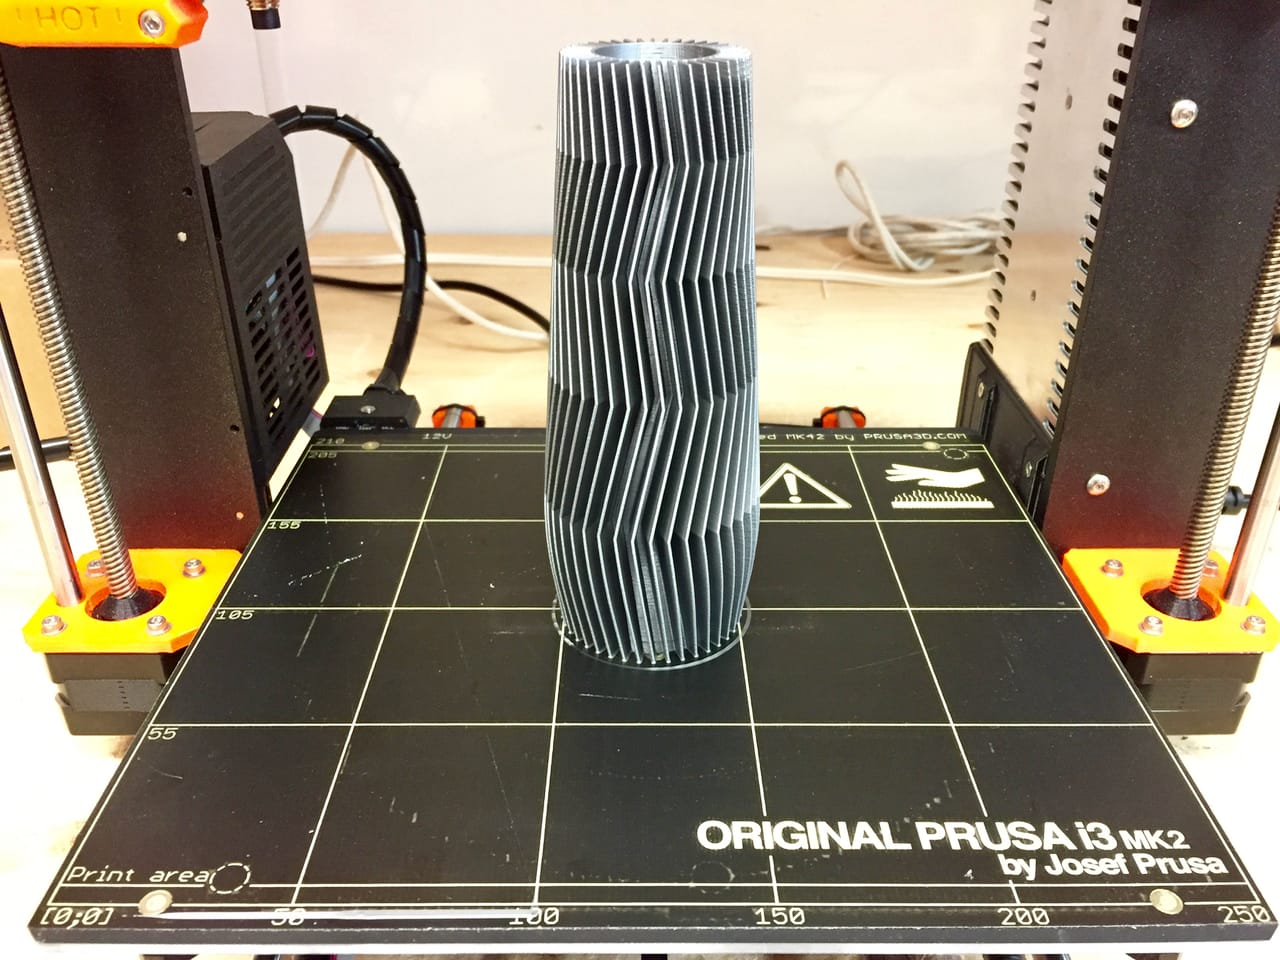
Does the machine work with more complex prints? It does indeed. Here we attempted to print the famous Cellular lamp by Nervous Systems. Note that to print this properly, you should slice off the irregular bottom to ensure there’s sufficient flat area to stick to the bed. This particular 3D model is a long duration print and requires quite a bit of retraction, making it a challenging print.
And of course the print came out near perfect once again.
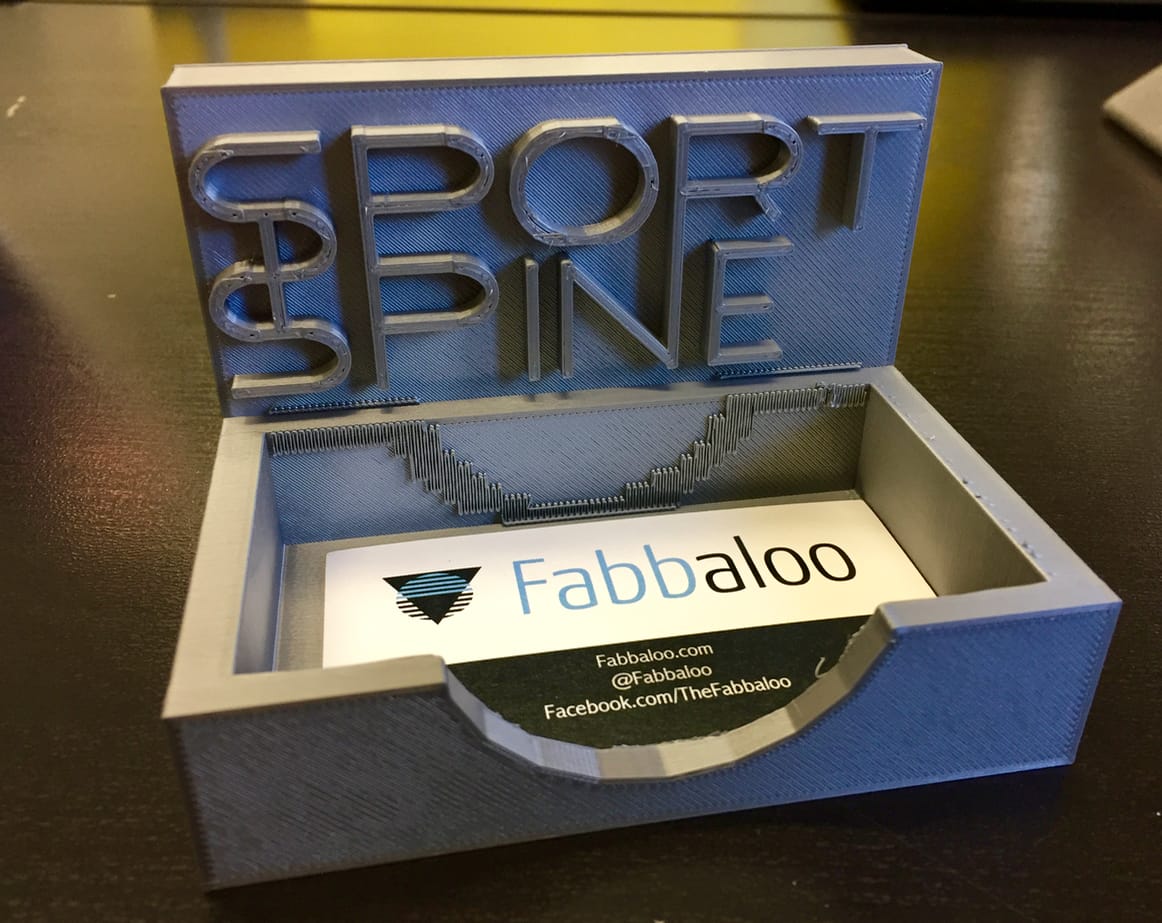
Here’s another sample print of a business card box. This print has wonderful detail, rivaling our much more expensive Stratasys uPrint.
So what’s wrong with the Original Prusa i3? Not much. If there was one thing I’d like to improve, it might be the operating panel, which is pretty rudimentary. It definitely works, but appears simple compared with some of the touch screens coming out. However, it is straightforward to add an external controller box to the machine from several companies to overcome this issue, if it’s an issue at all.
The fully assembled system as reviewed here cost us USD$899, a great deal on a very reliable desktop 3D printer. Now we know why people talk about this machine so much: it really works well.
You may want to order one, but beware: the popularity of this machine is so high that there is quite a waiting list, currently at “10-11 weeks”. The kit also has a long wait time of only 7 weeks. It’s probably worth the wait.
Via Prusa Printers