
This week’s question delves into the science of producing life-size head sculptures.
Reader @OfficiousJim writes:
“I would like to scan and print life-size human heads for art work, cosmetics, and for making masks.
Who can help me with such a project?”
Jim responded to a story we wrote last year about Stratasys’ GrabCAD “Make It Real” Challenge, which asked entrants to produce designs evoking “realism”. Our own Managing Editor, Sarah Goehrke, was one of the judges for this event.
But back to Jim’s question. Like anything there are many considerations, but let’s make some assumptions here before we get too deep:
- We’re not producing medical 3D models with transparent sections and internal details
- We’re producing either color or mono-color 3D prints of scanned heads
- We don’t need ultra-realistic-level resolution
- Jim has a basic 3D modeling capability (if not, he’ll need to have a helper who does)
The project would be laid out in three parts in sequence:
- The 3D Scanning
- The 3D Model Editing
- The Printing
Let’s go through each.
The 3D Scanning
In a way this could be the most straightforward of the three steps, and it might not require much special equipment unless we want to achieve supreme detail.
There are several practical approaches to obtaining a 3D scan.
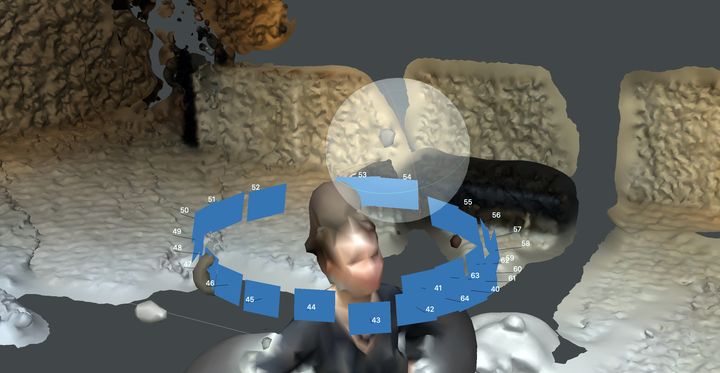
One way would be to use photogrammetry. In this approach the subject is photographed from multiple directions with a long field of view in each image. The 200+ images (yes, you’ll need that many) would then be fed into special software that transforms them into a 3D model. While the subject of photogrammetry software is beyond the scope of this story, there are plenty of inexpensive (or even free) options to consider, including Agisoft Metashape (US$179) Reality Capture (pay-as-you-go) or MeshRoom (Free!)
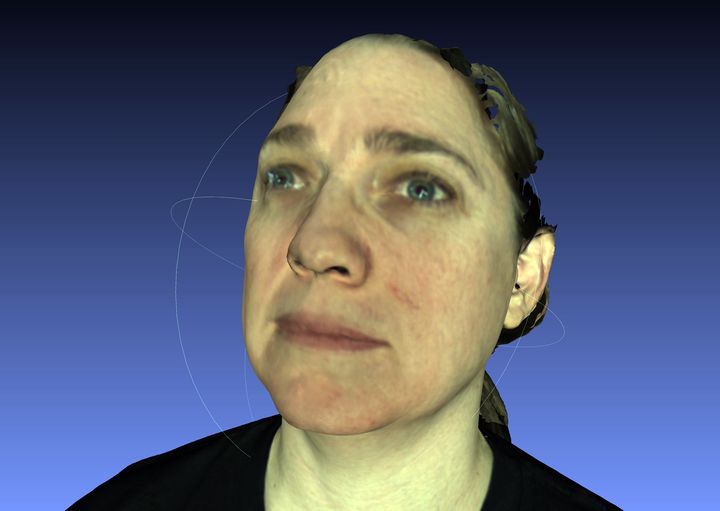
Another approach would be to use an inexpensive smartphone app to capture the heads. One that I’ve recently used that works quite well is Bellus3D, which offers facial and head 3D scanning for a variety of purposes. You’ll pay a very modest fee to download the resulting 3D model. Here’s a print of my head I made from a Bellus3D scan to illustrate the potential of this app:

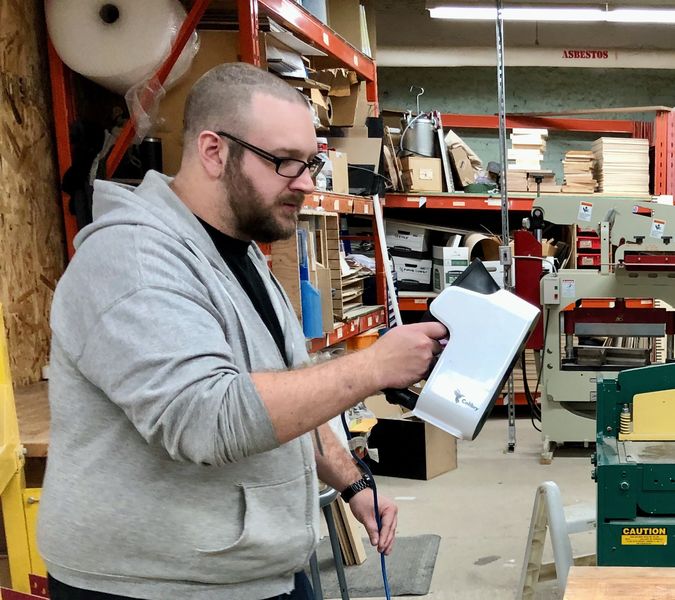
There are handheld 3D scanners that can capture human subjects in great details, but they are not always easy to find. For a small project their price is likely out of range, although we recently reviewed a rather inexpensive one, the Calibry.
It’s also possible someone in your region might offer rental units or even be able to perform the 3D scan with a handheld unit, but again this is likely an expensive option.
Finally there are 3D scanning booths available in some cities. These are essentially a 3D photo booth with dozens or even over a hundred cameras that simultaneously fire to capture many images of a subject in ideal lighting conditions. These images are then sent to photogrammetry software that develops the 3D model. It’s essentially a short-cut, automated process for the photogrammetry option above. Booths are very expensive and this should be considered only if one is available regionally at low cost.
The 3D Model Editing
Once the 3D scan is obtained it almost certainly will require some editing to prepare it for 3D printing. Here are some considerations:
- The scan will have “junk” that’s not required, such as the floor the subject was standing upon, or the table in the background. These will have to be eliminated
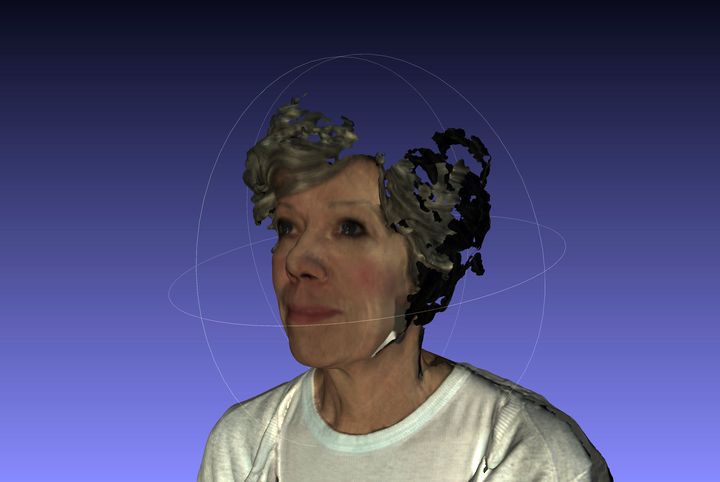
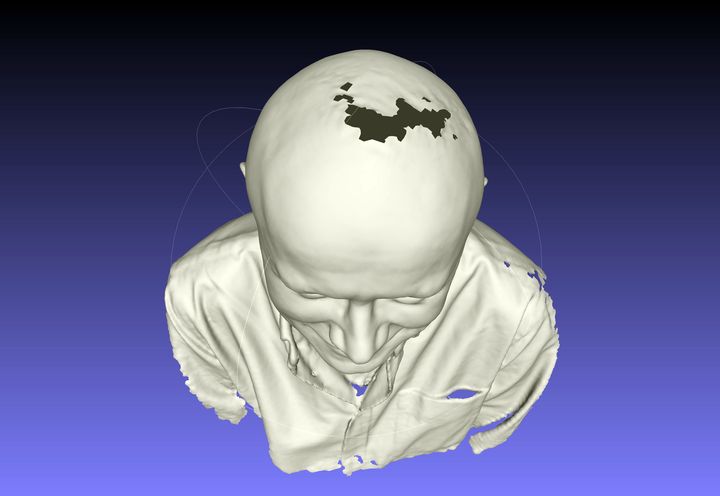
- For a head scan there will be segments to delete, such as the shoulders and portions of the neck. There may also be stray hair structures, particularly if the hair has complex geometry
- There will be holes in the 3D scan where the scanning process didn’t compute a surface. These will have to be filled by 3D model editing software
- The 3D model will have to be hollowed, otherwise you will end up 3D printing a lot of wasted material on the interior. Many 3D model editing software options offer this functionality
- If preparing a mask, then the “clean” 3D scan will have to be “subtracted” from a solid to form the mask surface. This step could be challenging for beginning 3D modelers
How can you edit the 3D scan? There are plenty of options, and the first question to ask would be whether the 3D software you already own and know how to use can perform the editing. If so, that’s the one to use. If not, here are some options:
- Autodesk Meshmixer (Free!)
- Meshlab (Also Free!)
- Autodesk NetFabb (not Free)
- Blender (Free)
- ZBrush (Not Free)
3D modeling systems geared towards mechanical part design are usually not good for this type of 3D modeling, as they sometimes have relatively low limits to the number of faces on a 3D model.
The 3D Printing
If all these steps have been completed, then you can contemplate 3D printing the resulting 3D model. One thing to do is to ensure the model is in fact “life size”. This can be done by measuring something on the subject, perhaps the distance between pupils, and then scaling the 3D model to that same size.
A life size head happens to be an awkward size, as they may not fit within the build volume of most desktop 3D printers. A full head and a bit of neck might be getting close to 400mm in height, so you’ll have to choose a 3D printing option that’s able to handle that build volume.
There are many 3D printers that are of this size, but they are not as common as, say, a 200mm height build volume 3D printer. You may have to look around for this.
If many “head” projects are envisioned, then one option is to purchase one’s own 3D printer. On the other hand, if there are only a few projects envisioned, then it might be best to have someone else 3D print the models on their equipment for a fee. There are many local 3D printer operators with spare time that would be glad to do this, but you can also consider using a 3D print service like Sculpteo or Shapeways.
One other consideration is whether the 3D print is to be made in color. If that’s the case, then a number of the steps above would have to be adjusted. For example, MeshMixer isn’t able to handle color 3D models easily, so you’d have to use another tool like ZBrush.
For 3D printing in color there are far fewer options, and the machines are far too expensive for individual owners. You’ll have to link up with a 3D print service that offers full color 3D printing, which today is best done by either Stratasys or Mimaki equipment who can both produce Pantone-level colors on their gear.
Jim, I hope this answers your question, or at least leads to further discussion.