
I had a chance to try out the Creality LD-006 desktop 3D printer. In this post we look at setting up and operating the machine.
This is part two of a three-part series on the Creality LD-006 desktop 3D printer. Please read parts one and three.
Creality LD-006 Setup
Setting up an assembled machine is usually quite straightforward, and it should be with the LD-006. However, I did encounter one problem that was easily rectified.
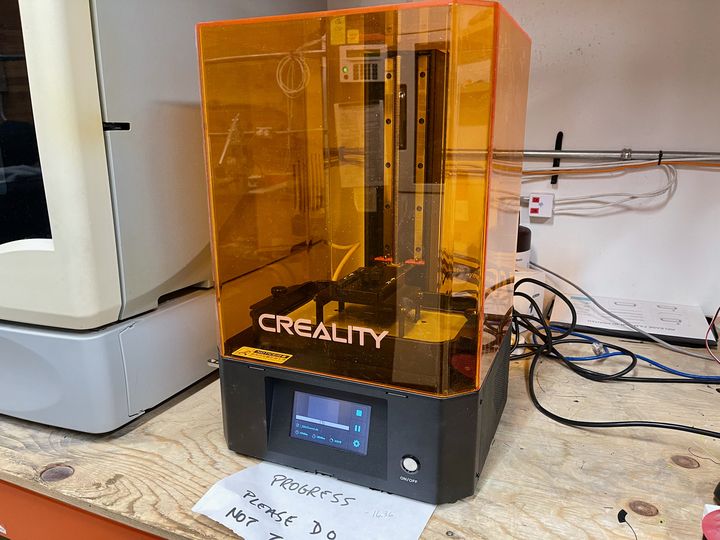
To set up the machine you simply place the base unit on a table, insert the resin vat, place the UV cover and plug in the power cord. At that point you can power up the machine and begin calibration.
But that’s when I encountered a problem. Watch this view of my power up sequence and see if you can tell what went wrong:
For some reason the touchscreen was unresponsive. I contacted Creality for advice and they quickly suggested that one of the cables might have come loose during shipment. They recommended reseating the cables on the control board.
I quickly opened up the machine and found the control board, shown here:
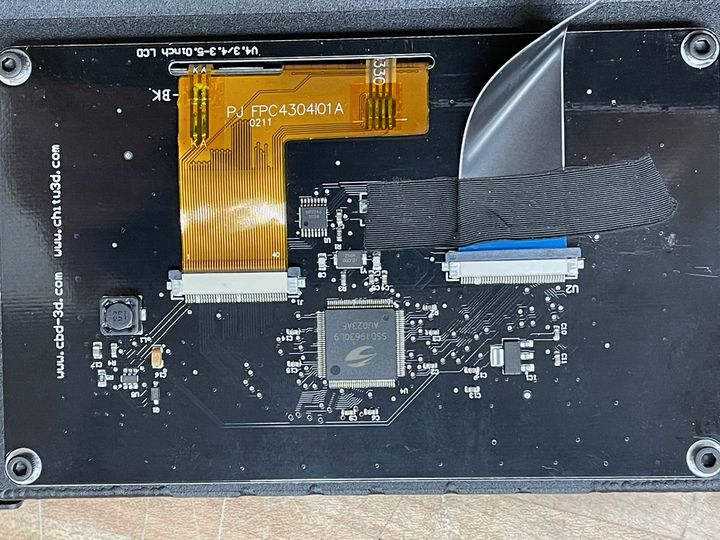
There were only two ribbon cables, so I very carefully reseated both, and then buttoned up the machine. Amazingly, the machine came to life after this quick fix and I’ve not seen a problem since. If you have a similar issue with your LD-006, you might want to reseat those ribbon cables.
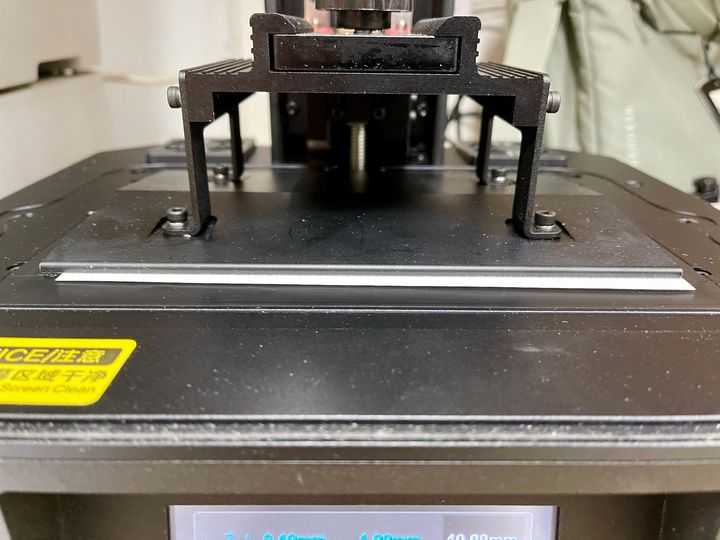
After the machine was successfully powered up it was time to calibrate the print plate. This is essentially ensuring it is perfectly level with the imaging system. The idea is to make sure the “zero point” is the thickness of the calibration card. Creality’s documentation said it’s probably good from the factory, and that’s exactly what I found. It’s pretty easy to adjust if you need to, however, by simply loosening some bolts with the accompanying Allen keys and allowing the plate to settle flat before tightening the bolts once again.
Exploring the Creality LD-006’s Features
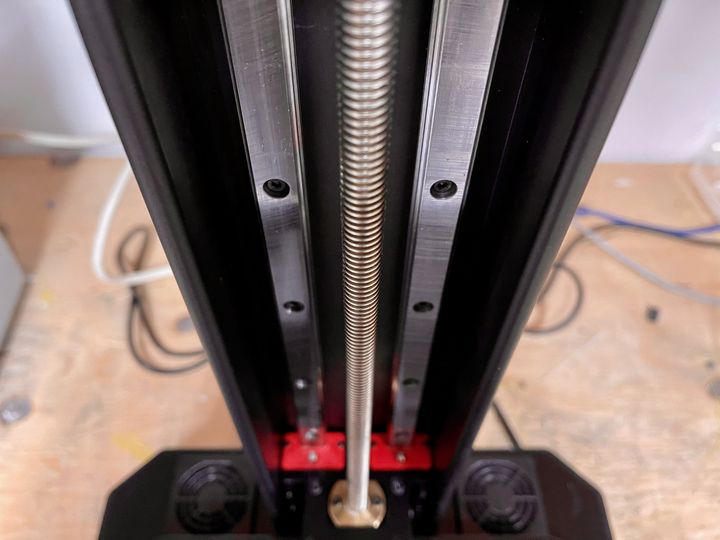
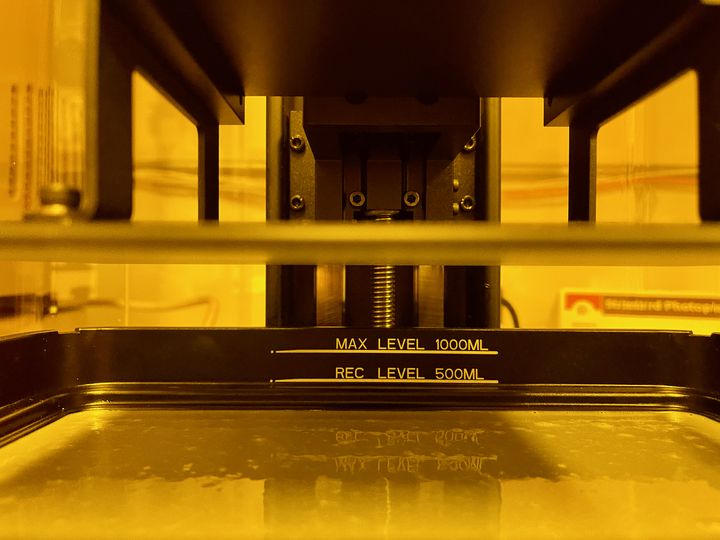
Once the machine was set up, I took some time to explore its features. One very visible aspect is the machine’s size. This is a large resin 3D printer, and especially so when you look down the Z axis as above.
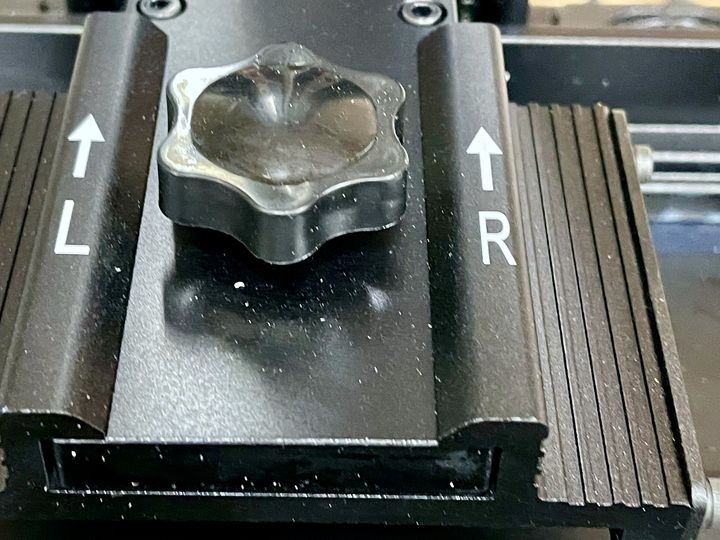
The build plate is detachable, as always with resin 3D printers. But the LD-006 includes a “Left Right” marking to ensure you place it in the same orientation. On some other machines it’s possible to accidentally reverse the orientation and potentially compromise the careful leveling procedure.
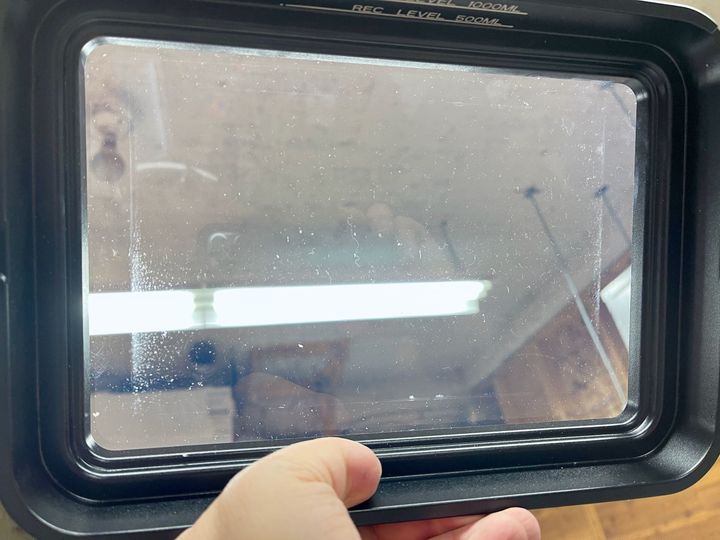
The resin vat for the LD-006 is quite robust. It’s made of strong metal and holds the film quite tightly, as it should.
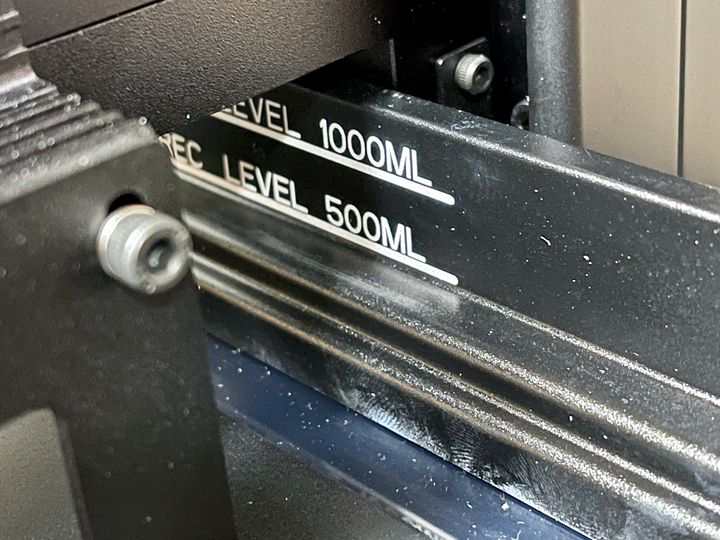
One interesting feature on the resin tank is a fluid level indicator, shown here. It’s always troublesome to figure out how much resin is in the tank: you want enough to complete the job, but not too much because you may slop some of the extra on the surrounding area. Too much resin can also get all over the build platform, too.
The level indicator helps you understand how much resin you’ve poured in, which is quite helpful on the much larger vat on the LD-006.
Creality LD-006 Operation
3D printing on the LD-006 is quite straightforward, but there are some complications that are present with any resin 3D printer.
Above you can see how the fluid level indicator roughly shows the amount of resin in the vat, which is not very much in this case.
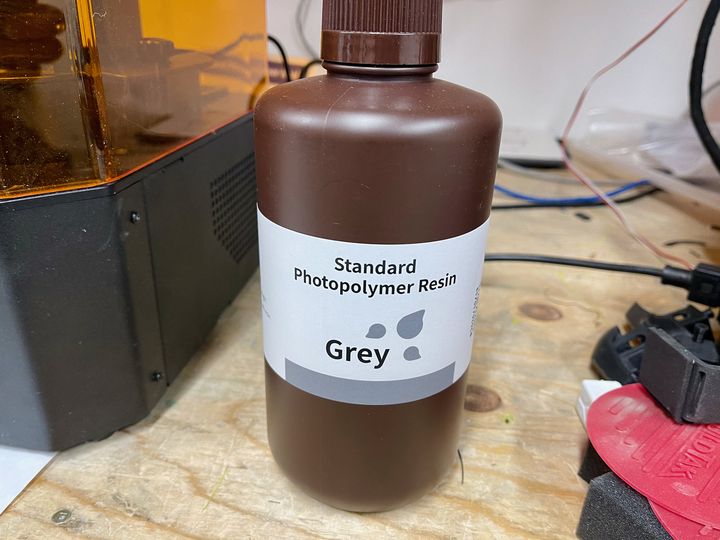
For my testing I used a jug of Elegoo standard grey resin, as I could not easily find any official Creality resin. It seems to be a rather challenging item to source, at least in my area. However, you can use pretty much any resin in the LD-006; you just have to experiment with print settings to ensure the job proceeds correctly.
Job preparation for the LD-006 is normally done with the popular third-party Chitubox system. It even includes a preset for the LD-006, which is convenient. However, the default configuration does not include many non-Creality resins and you’ll have to figure out the best print parameters yourself.
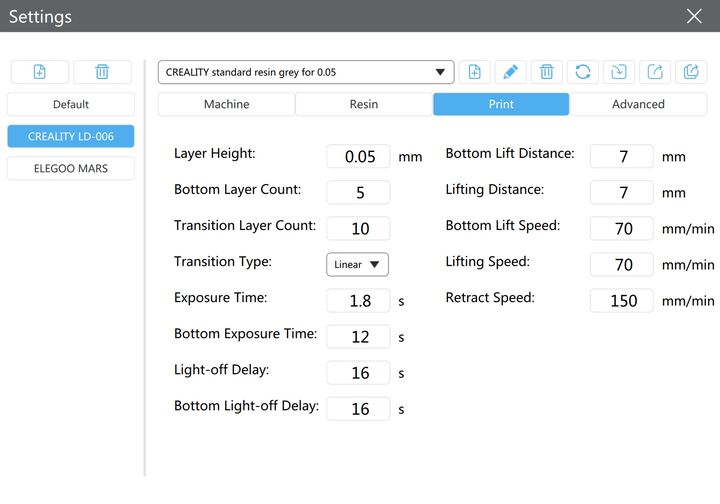
Fortunately Chitubox allows easy entry of the required parameters, as shown here. Typically you’ll need to fiddle with the exposure time for each layer. With the LD-006’s monochrome light engine you may have to set the exposure time lower than you may have used in the past on other machines.
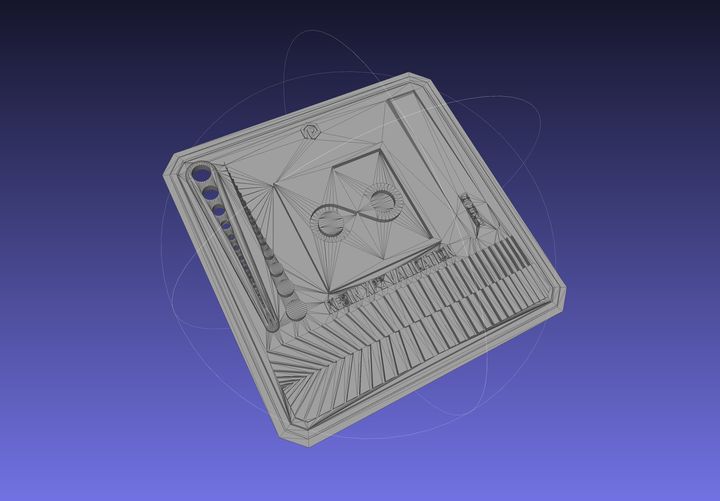
I strongly recommend performing a series of test prints with varying parameters to dial in the correct settings. A good test file for this is the “Photonsters Validation Matrix V2” by Thingiverse contributor X3msnake. It takes only a few quick prints to rapidly “configure” for a given resin.
I should mention that in order to achieve the best prints you will have to spend some time in Chitubox (or alternative resin slicer) to get the print job to work properly. While that’s beyond the scope of this review, let me say that you have to consider not only the print parameters, but also the object’s orientation, geometry, support structures and more. Perhaps I’ll do a story on that in the future.
Once you’ve got your job figured out, it’s saved to a USB stick, perhaps the one supplied by Creality. That stick is inserted in a slot on the left side of the printer. I thought this was an odd place for it, as it requires some clearance space on the left side for access. This might be important in a crowded installation.
Chitubox produces .ctb files, which can then be easily selected on the LD-006’s touchscreen. Conveniently, the LD-006 shows a quick visual of the file in 3D so that you can verify you’ve got the right file.
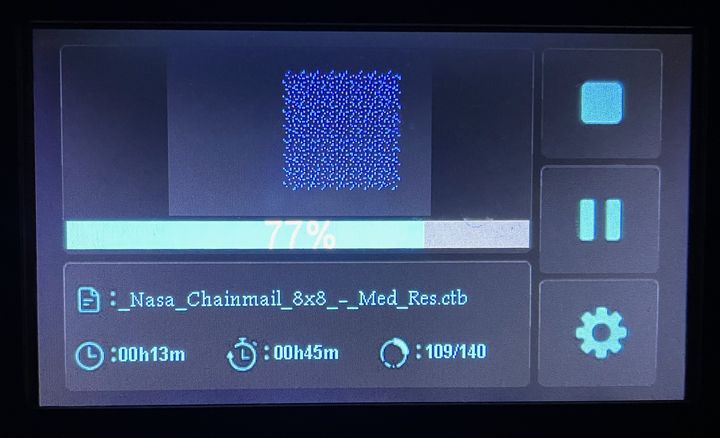
During printing the touchscreen displays the progress of the print, as seen here. The information available includes the filename, time remaining and elapsed, and the current layer. At top is a visualization of the current layer’s image pattern.
There’s one strange thing, however. The current layer display shows the current layer number and the maximum layer number. But the icon beside it appears at first to be an animated circular progress display, similar to what you’ve seen on other software systems. However, it’s not. It’s a fixed icon permanently showing “one-quarter” done. Just look at the numbers instead.
This is part two of a three-part series on the Creality LD-006 desktop 3D printer. Please read parts one and three.
Via Creality