
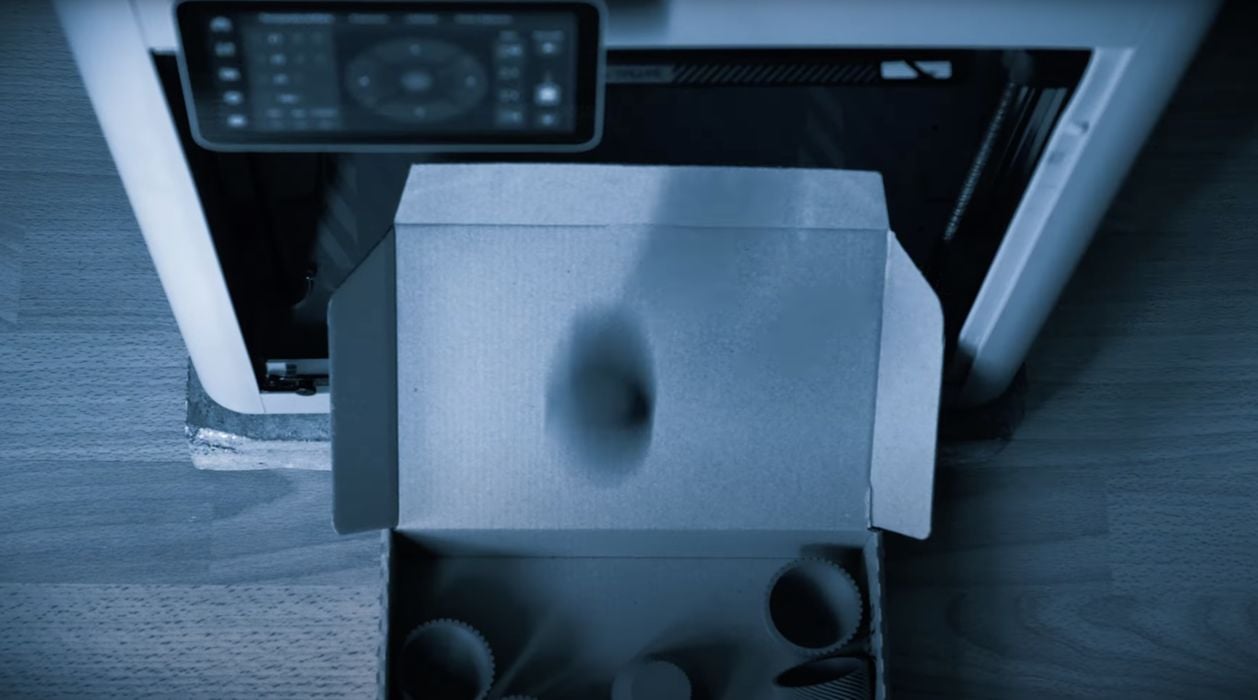
The complexities of automated part ejection from a 3D printer are shown in a recent video.
Part ejection is a rare feature on 3D printers, but it is an incredibly valuable one. The only machine I’ve successfully used auto-eject on is my now-ancient MakerBot Thing-o-Matic, which included a belt-driven print plate.
To make it work, I simply added a “rotate the belt one turn” GCODE instruction into the file, and then pasted the entire code set N times into a large production file. Easy!
With this configuration, I was able to print literally hundreds of parts continuously. As each part completed, the belt moved forward, and the new part fell into a bucket. It transformed my little 3D printer into a manufacturing system.
Since then, we’ve seen very little development in 3D printers that can automatically eject completed prints, aside from belt 3D printers. Belt printers do work but tend to be much more expensive than standard 3D printers.
Another approach is to use the toolhead to push the print off the print plate, as is done by 3DQUE’s farm subscription service. This is possible when the plate has cooled enough to break the bond between plate and print.
That sounds easy: just add some GCODE at the end of the print job to move the toolhead to the rear and then forward to push off the print.
Nope, it’s not easy at all. A new video by Factorian Designs details how this can be done for Bambu Lab P1x and X1x machines, and I was shocked at the number of considerations required.
Unlike my MakerBot experiment from years ago, things are vastly different now, and it isn’t just as simple as pasting code over and over. Some of the considerations described by Factorian Designs include:
- Avoid recalibrating the machine at each iteration.
- Disabling repeated prime line.
- Disable introductory filament purge.
- Turn off heating between prints to avoid drips.
- Reduce chamber fan speed (since the door is open).
- Adding an “in model purge.”
- Ensuring model geometry is “pushable.”
- Identifying push points.
- Adding cooldown phase.
- Adding push movement code.
- Determining optimum plate release temperature
- Adding plate cooling sequence
- Consideration of tilting the machine for easier release
- And much more
As you can see, implementing toolhead ejection on a modern desktop 3D printer is not the easiest thing to do. However, it is entirely possible, based on Factorian Design’s excellently detailed video.
While the video focuses on Bambu P1x and X1x systems, the principles of this approach should be quite doable on other systems. Machines have the same physical elements; it’s just a software problem.
It is theoretically possible for 3D printer manufacturers to include “ejection mode” in their software, just as Factorian Design has done manually. While there would be some constraints, such a feature would no doubt be welcomed by most 3D printer operators.
Via YouTube