
Our review of the AnkerMake M5C continues with a look at setup and operations.
This is part two of a three part series, please read parts one and three.
AnkerMake M5C Setup and Calibration
True to form, there really isn’t much to do to set up the M5C. AnkerMake has done a great job in simplifying the machine, and it’s one of the easiest we’ve yet tested.
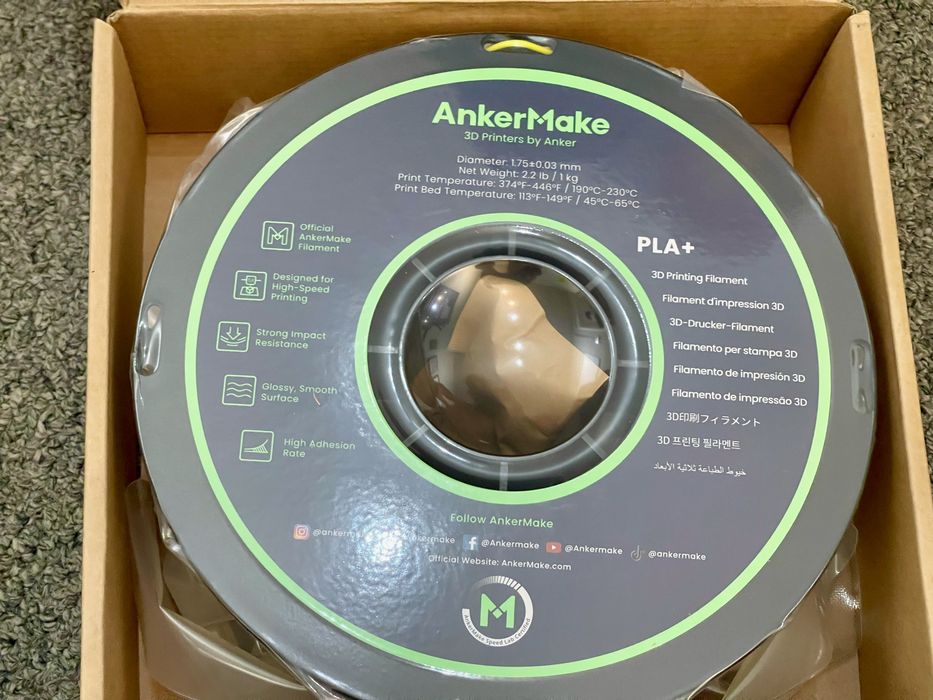
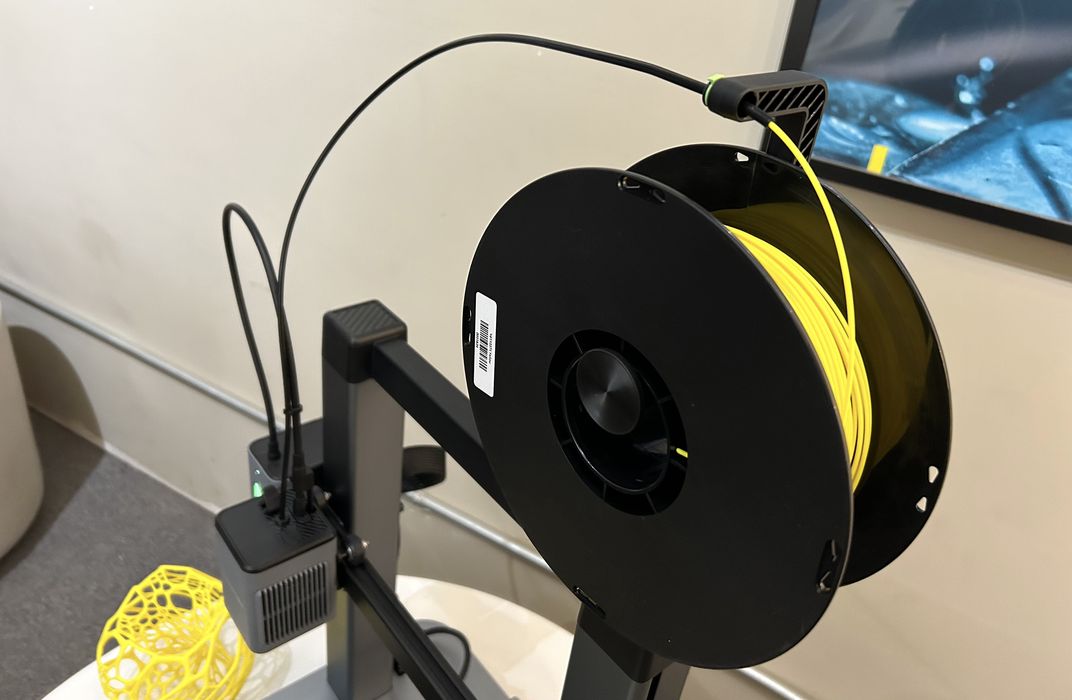
One important step is to load the filament. The machine arrived with a spool of PLA+ filament, as shown here.
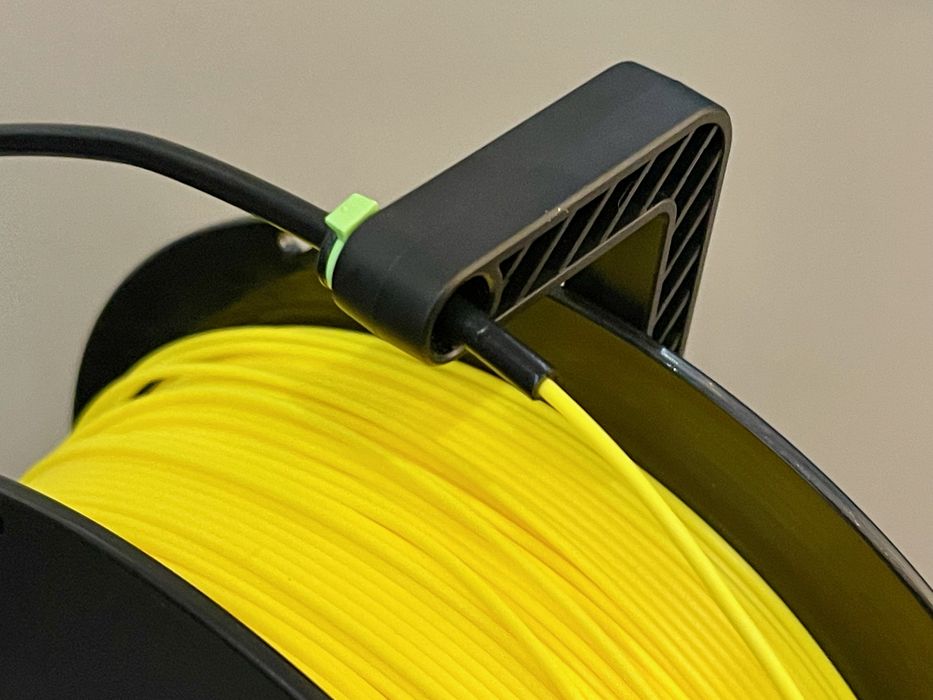
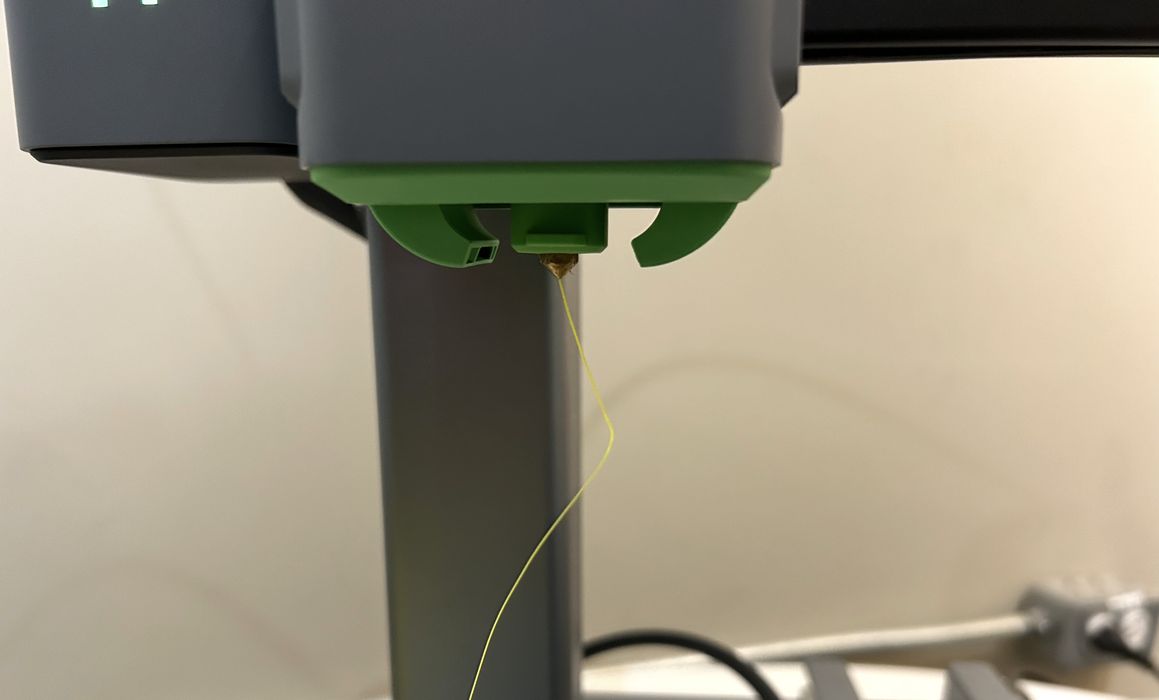
The filament fits on an open-air spool, and it must be manually threaded through this tube towards the hot end.
It’s at this point you may notice that the M5C has NO control panel. This is quite unlike other desktop 3D printers, which universally have a control panel. Instead the M5C requires you to use a dedicated smartphone app to control the device.
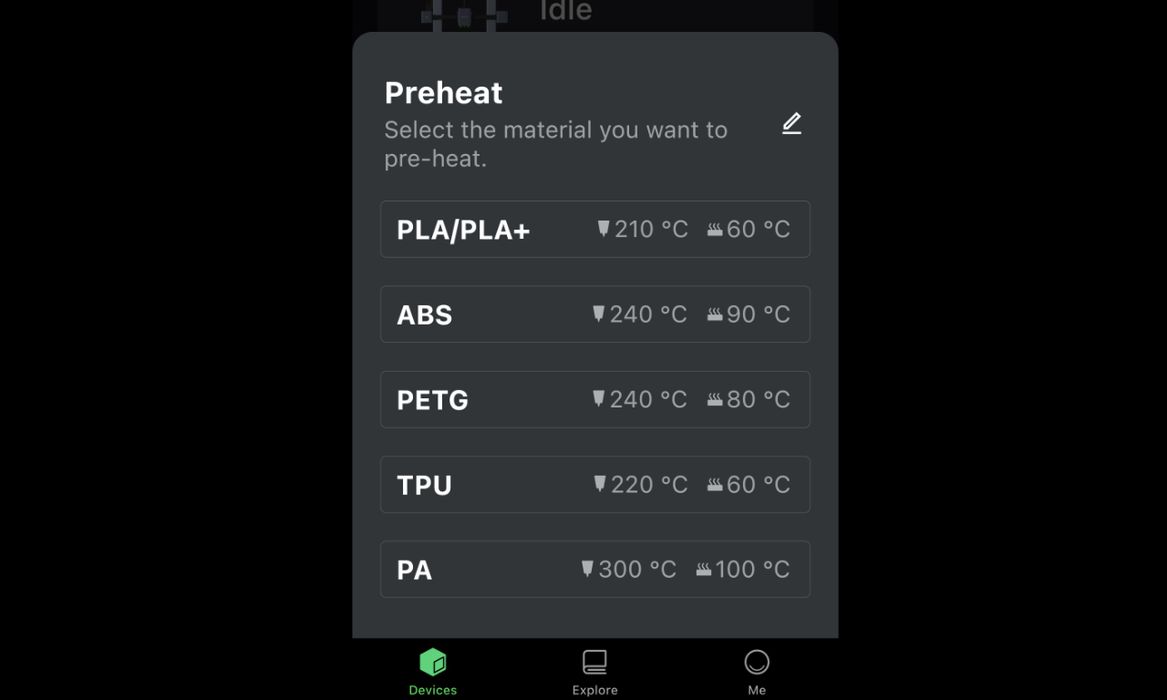
For loading filament we had to select a pre-heat setting, as shown above. You can see that the machine is capable of handling quite a variety of materials, in spite of its consumer-friendly orientation.
We were soon able to get the machine extruding material.
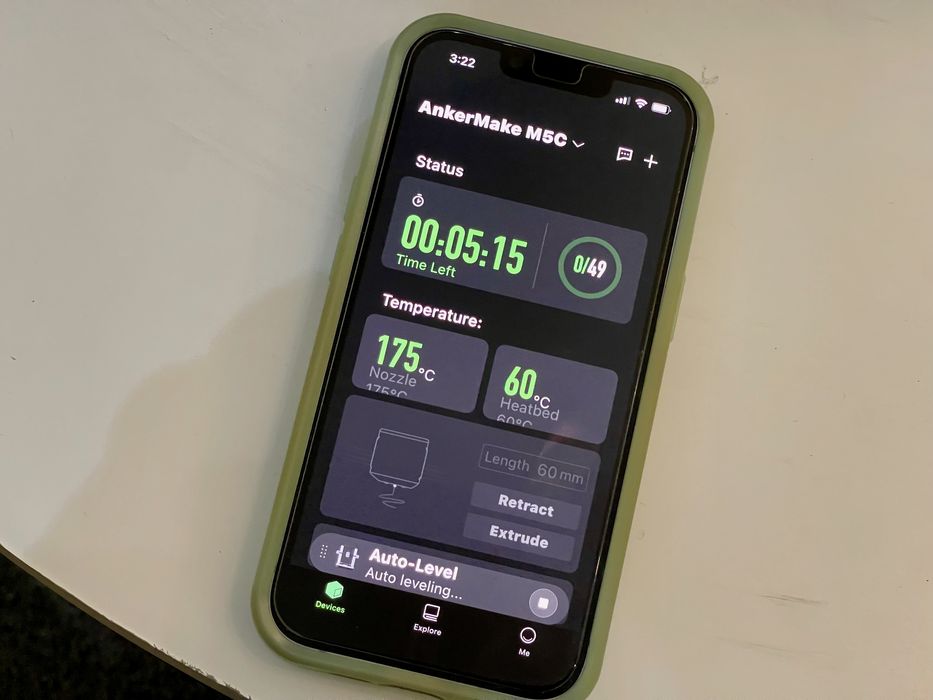
The next step was to calibrate the print surface through a completely automated leveling process. Well, it’s not completely automated: you have to tell the machine to do it. This didn’t take long at all, and the M5C uses a 7×7 matrix of probe locations.
At this point we were ready to print things!
AnkerMake M5C Operations
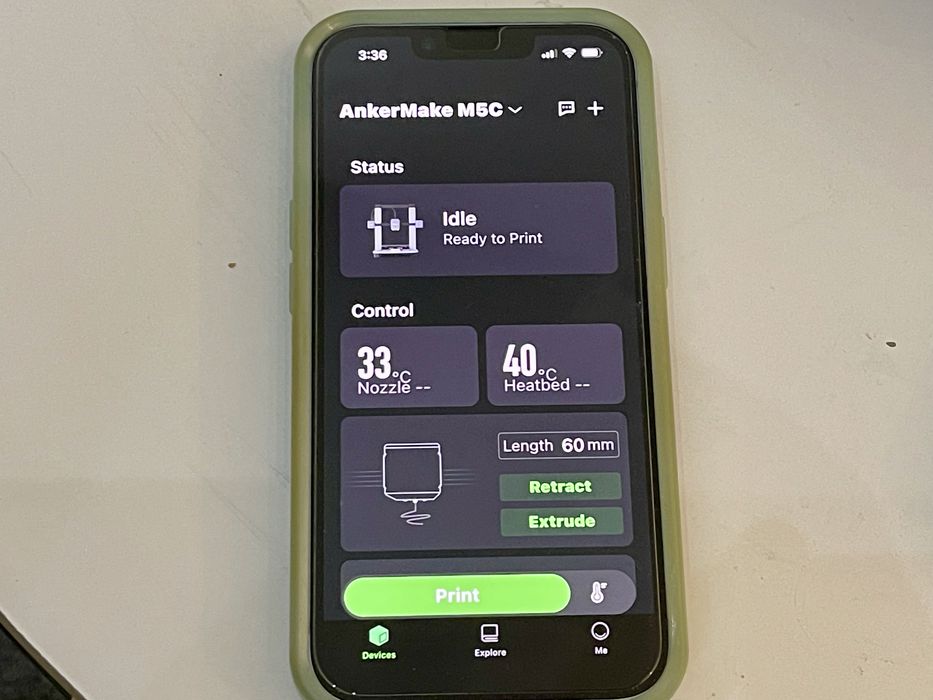
Operating the M5C takes a little practice because there’s no display on the printer, and instead the display is on your computer and also on a smartphone app.
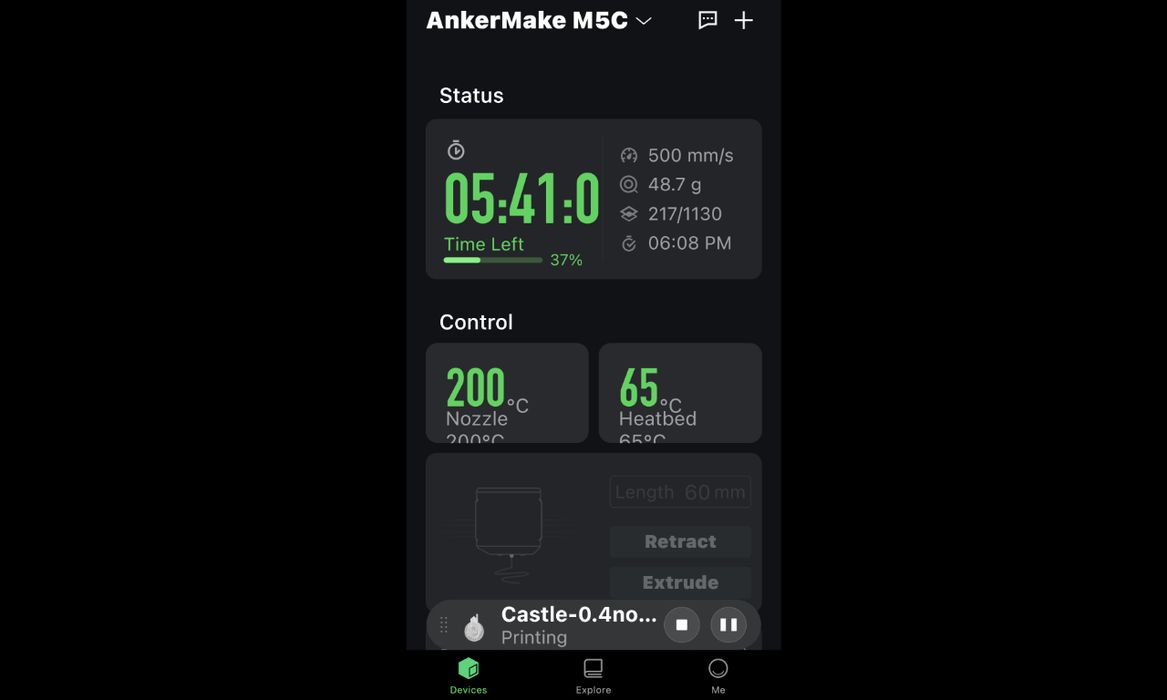
On the computer is the slicer, where you download your part, set the print parameters and monitor the print.
The app on your phone is used to view the status of your print (however, not live video). The app also has a convenient and free model library if you want to try printing directly from the library. That method doesn’t require use of a PC at all, and you can trigger a print completely from your smartphone.
I found the Quick Start Guide that came with the printer was not quite enough tell me how to extract and retract (load) the filament.
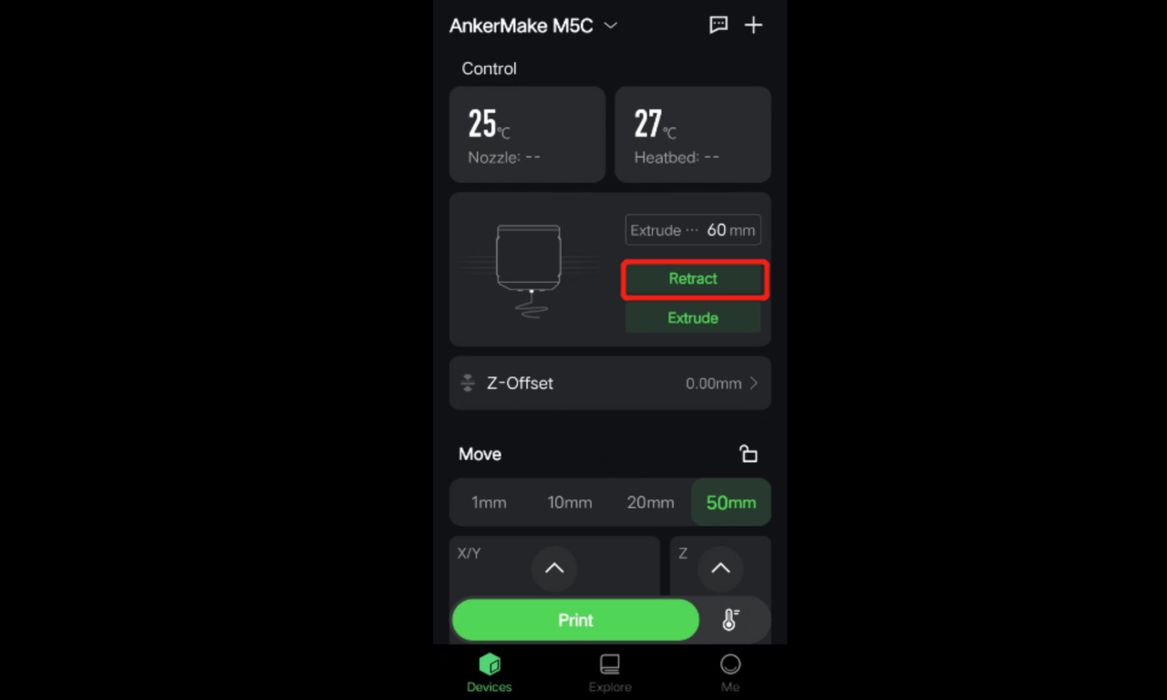
I initially thought that this setting would have been somewhere in the PC slicer. When I could not find it, I went online to search AnkerMake support on how to load and unload filament.
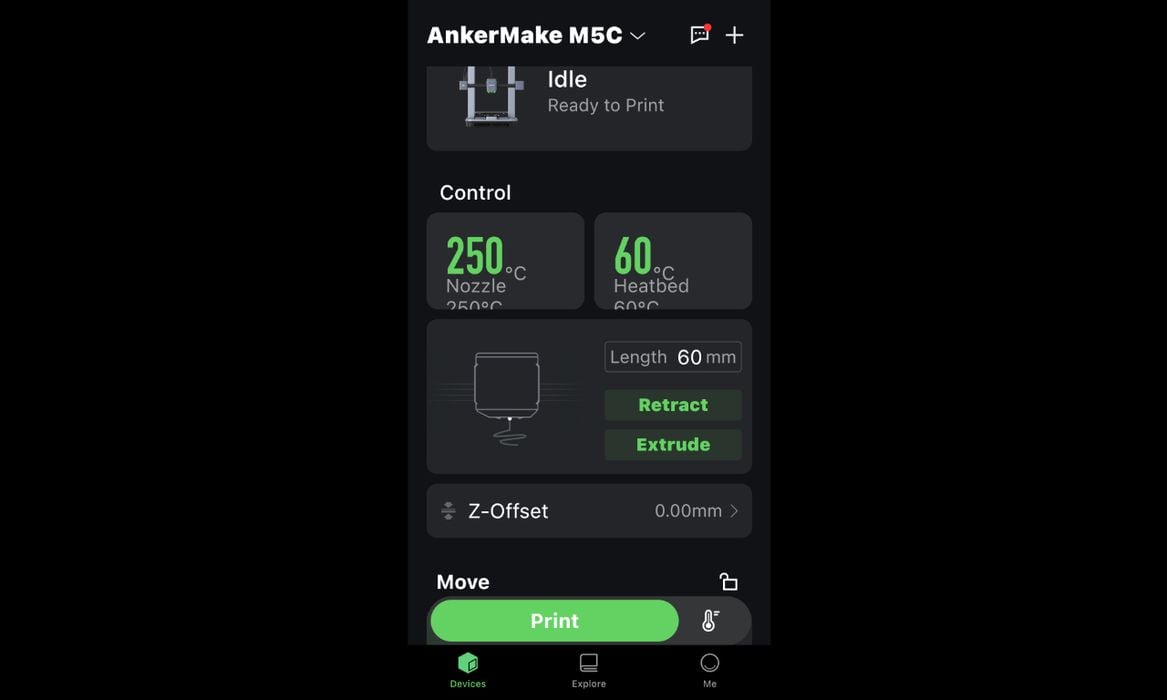
The app on my phone was used to manually select 250 degrees nozzle heat temperature and to extrude or retract the filament. I did not read anywhere that the nozzle had to be at 250 degrees to unload the filament until the pop up message appeared when the nozzle was not hot enough.
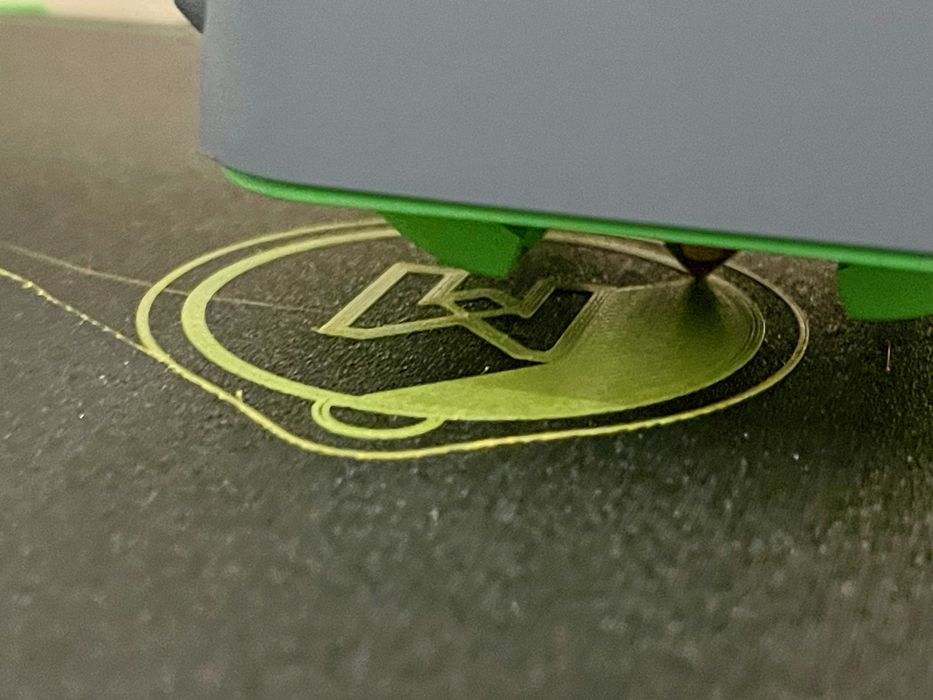
Finally we got printing, and here you can see the first layer going down. The leveling worked very well, and we found all prints to properly stick to the print plate.
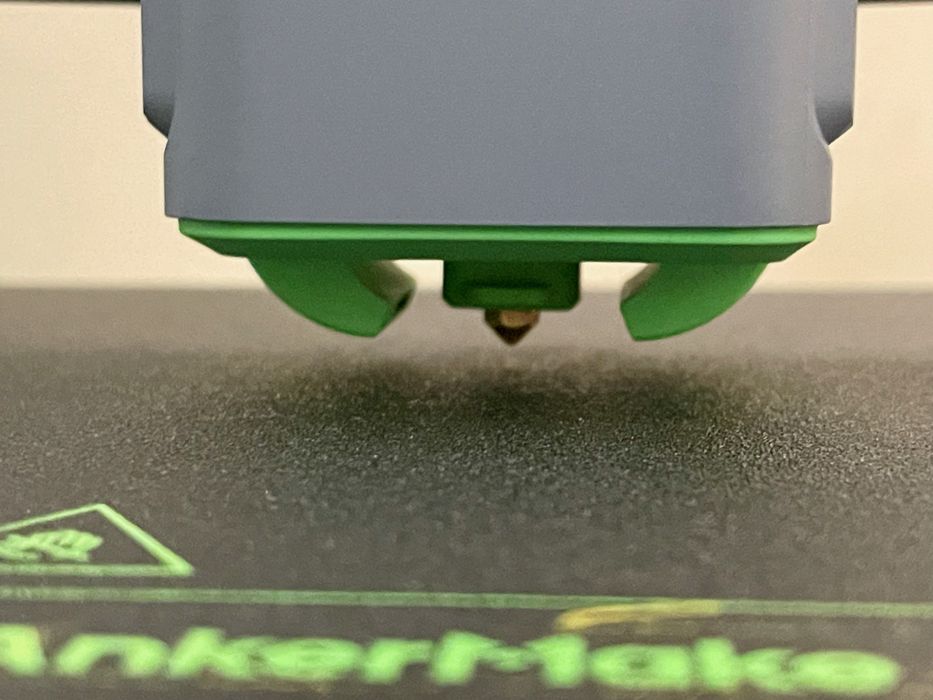
If you look closely, you’ll see that the hot end is cooled from both sides through fancy air ducts. This ensures that each layer is solidified before proceeding to subsequent layers. This is a critical feature required for high speed 3D printing.

When jobs complete there is a prominent notification on the smartphone app. You can see a few examples here from some prints I completed. Note that the #3DBenchy finished in 31 minutes, which is a bit longer than billed. However, I suspect we could have tweaked the settings to get it done faster. Nevertheless, 31 minutes is still pretty quick.
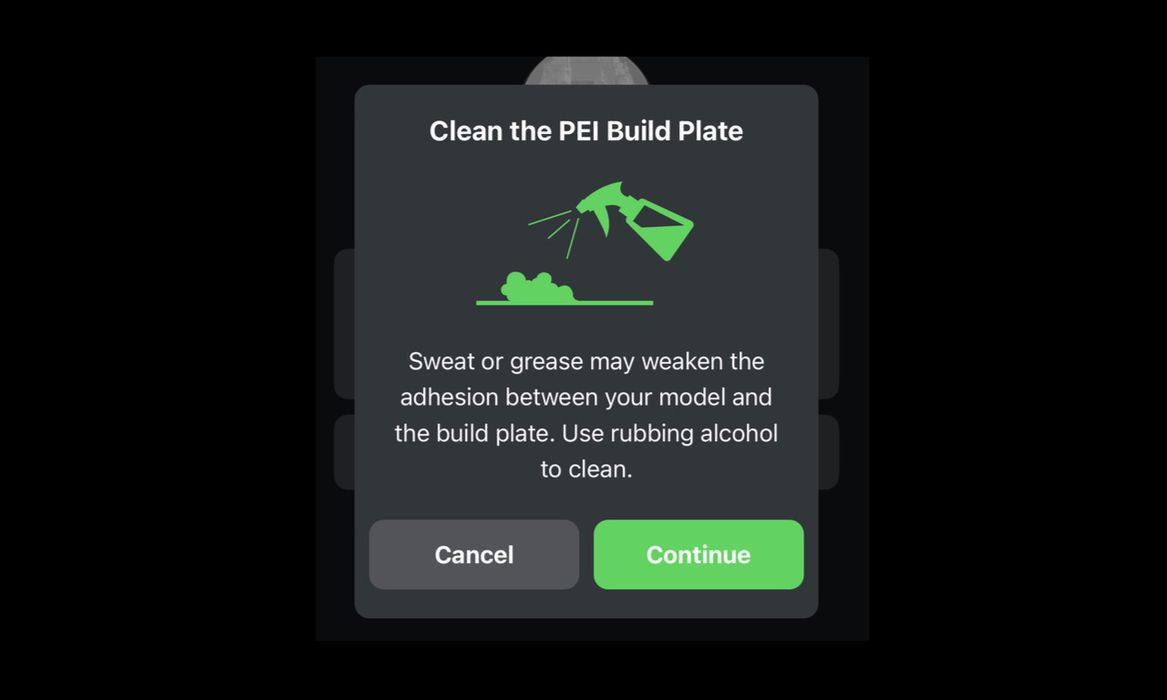
After printing several parts, I appreciated seeing a message reminding me to clean the build plate. This is a really good idea, because print plates inevitably become contaminated with hand grease and adhesion fails. This reminder will get you cleaning your print plate more often.
I find using the smartphone app it to be more convenient when I am on my computer and phone for most of the day anyways. The cloud-based software also allows me to connect and print remotely. However, this software-based printing workflow seems to be most convenient for a single operator printer.
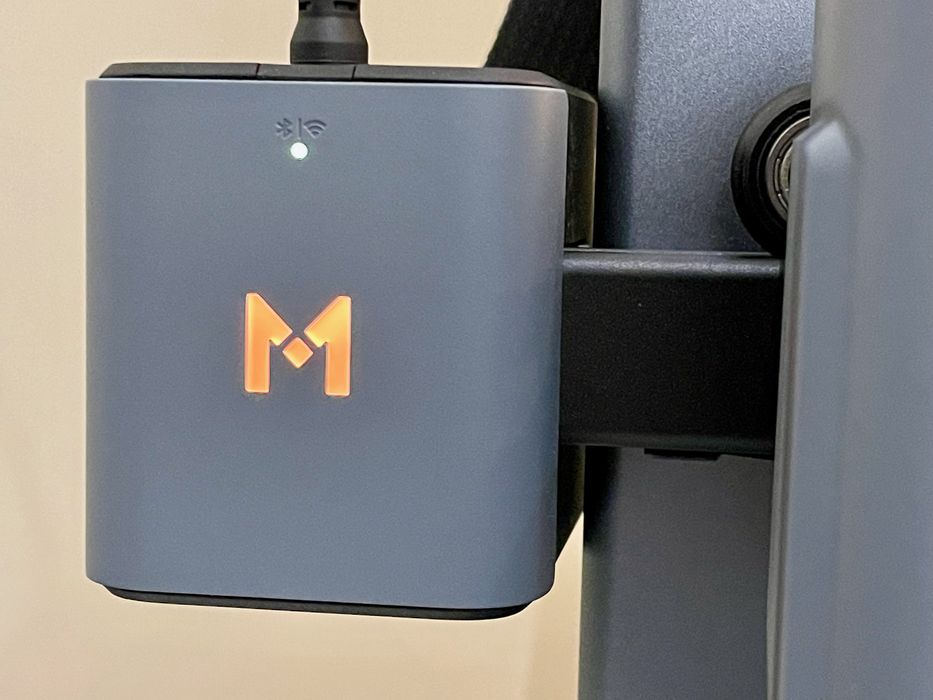
An interesting feature is a light that shows the state of the device. When the machine is heating, it’s orange, for example.
The operation of the printer is very quiet with no vibration, even running at higher speeds up to 500 mm/s, which happen when using fast mode. The speed of the AnkerMake M5C is supported by PowerBoost 2.0, a motion control system with a powerful stepper motor.
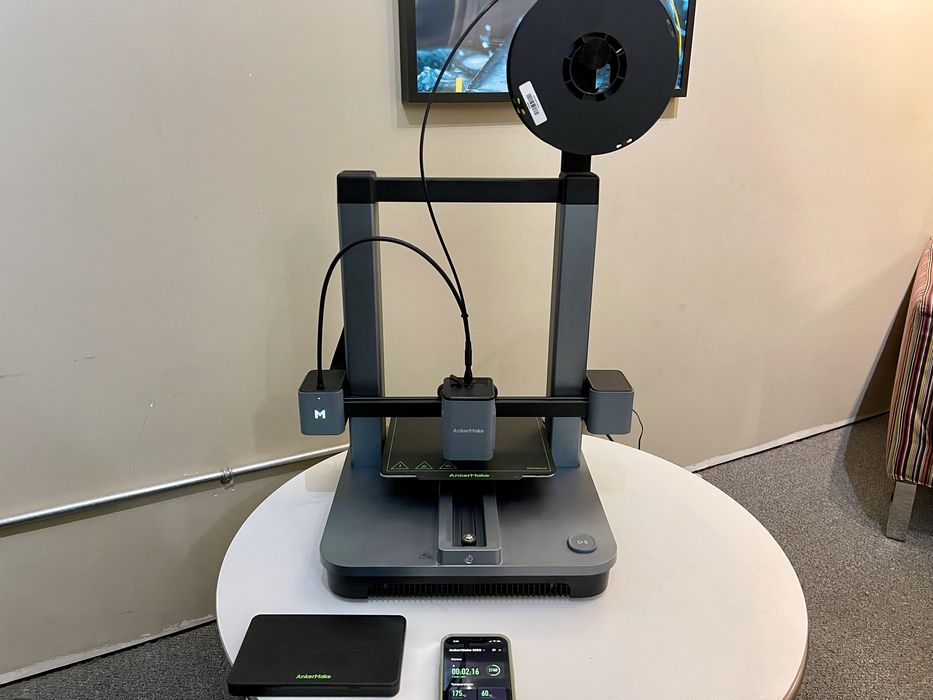
The AnkerMake M5C has a stable, durable looking structure. The weight of the base is increased and reduces the center of gravity to achieve less vibration when printing at high speed. The base of the printer is made with aerospace-grade aluminum alloy material combined with a surface treatment that gives it a stylish, polished look.
I’m sure you’ll agree the M5C has a very different appearance from most desktop 3D printers. It has a sleek design that hides much of the mechanical elements, and should be friendlier to consumers.
This is part two of a three part series, please read parts one and three.
Via AnkerMake