
Our review of the AnkerMake M5C concludes with a software, print results and final thoughts.
This is part three of a three part series, please read parts one and two.
AnkerMake M5C Software
AnkerMake provides three options for preparing jobs for the M5C: their own Slicer PC software, PrusaSlicer, and UltiMaker Cura. For our testing we stayed with AnkerMake’s software.
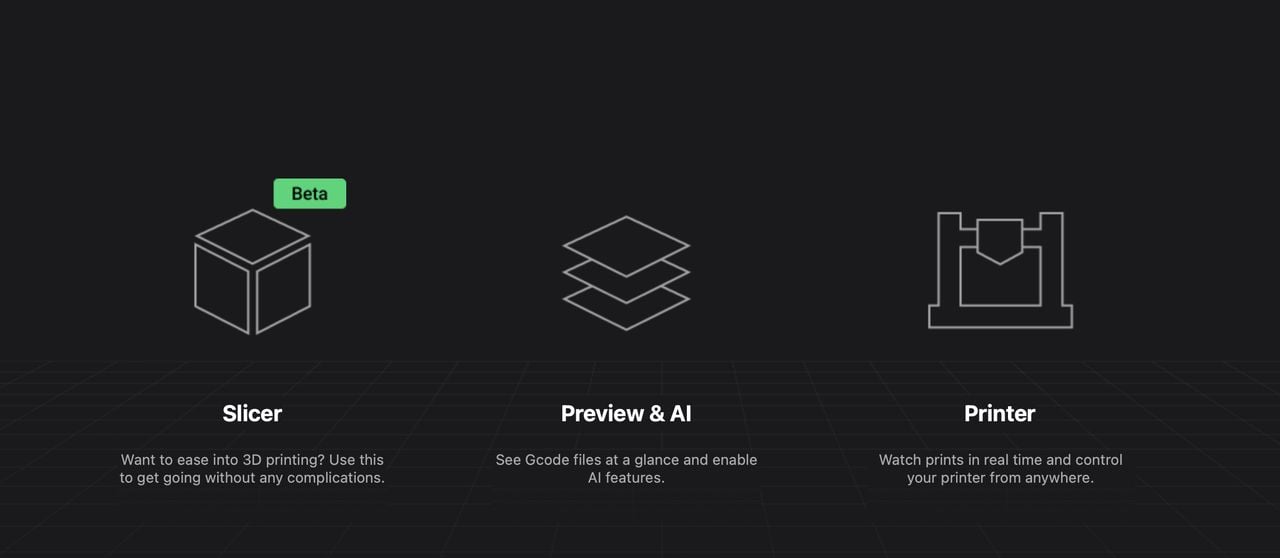
The desktop software provides three abilities: slicing to prepare jobs; job preview; and job monitoring.
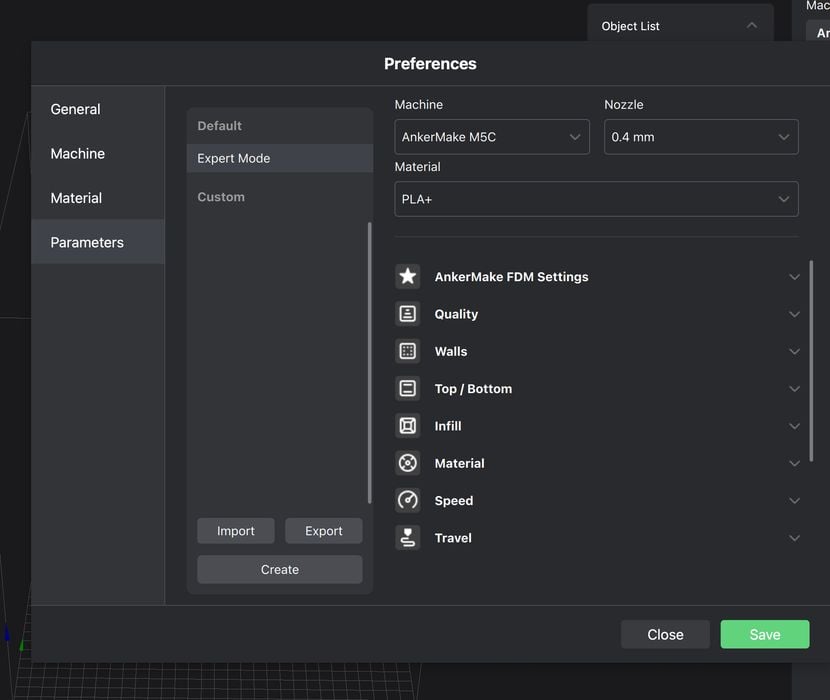
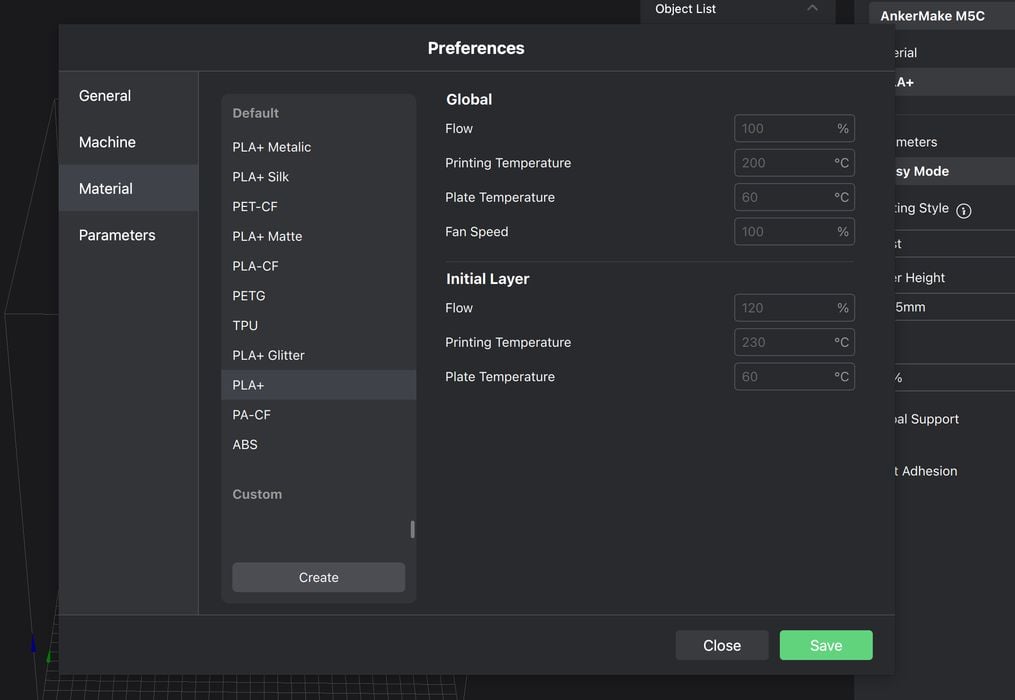
The software allows you to select different modes. It defaults to beginner mode, but you can select “Expert” mode to expose more parameters if required.
The print parameters used in the slicing software are pretty standard, and anyone who’s used other slicing software should have little trouble understanding the settings.
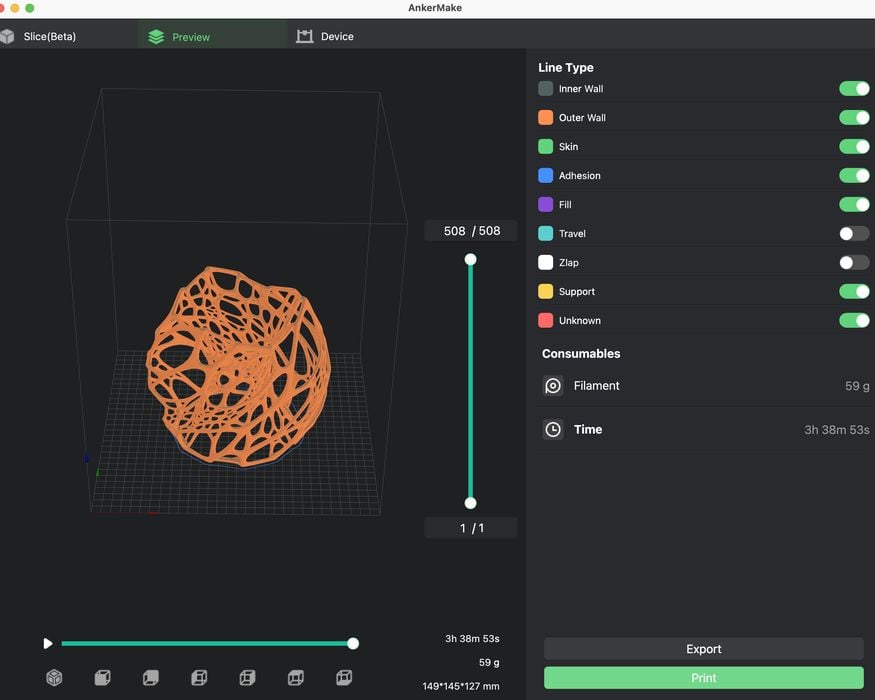
When in preview mode, I like how you can easily move the print around to view it at different angles and the print by layers.
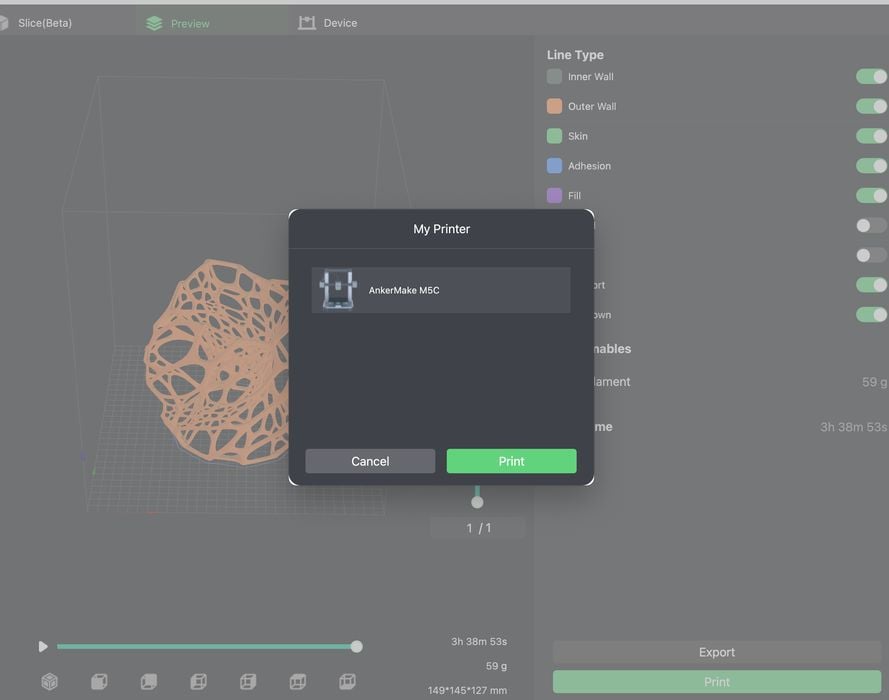
Once you’ve got your job set up, it’s an easy matter to send it to the printer, as shown here.
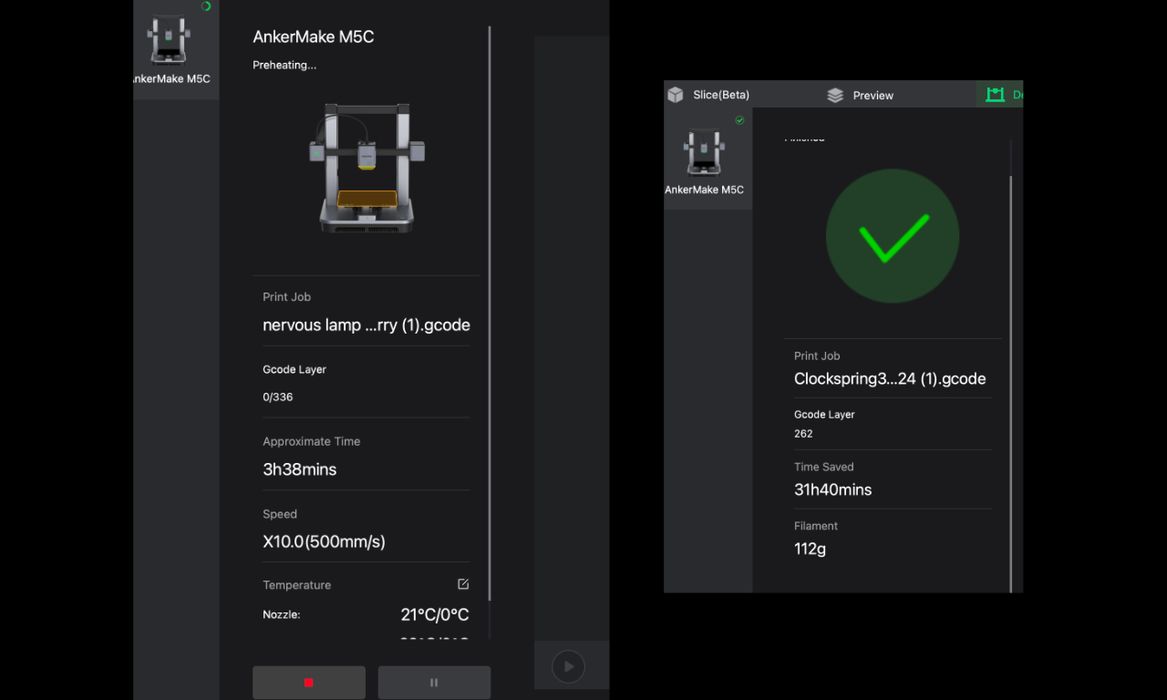
The software has a consumables indicator and displays the estimated amount of filament used by print. I don’t remember ever seeing another printer with the consumables displaying the estimated amount of filament used. This is a valuable feature especially if you need to calculate a price per print.
The app also tells you time saved. The printer can print up to 500 mm/s so the time saved, compared to a standard operating speed of 250 mm/s.
The software displays realtime print speed and the prints I am testing are all up to 500 mm/s. That’s very quick and the print durations were noticeably shorter than most of the other printers we use.
I found the software to make operating the M5C to be quite straightforward. It’s fairly easy to learn in spite of it being quite different from most machines, and works pretty well.
AnkerMake M5C Print Results
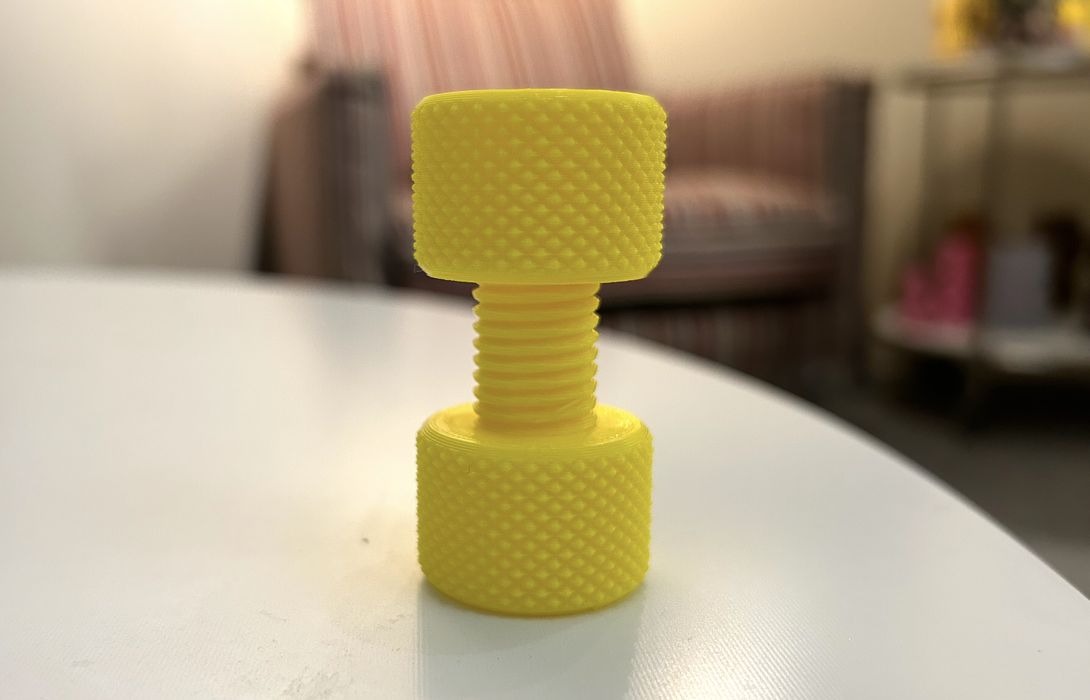
The print results are exceptional. This is the first printer that I have tested that had absolutely zero failed prints!
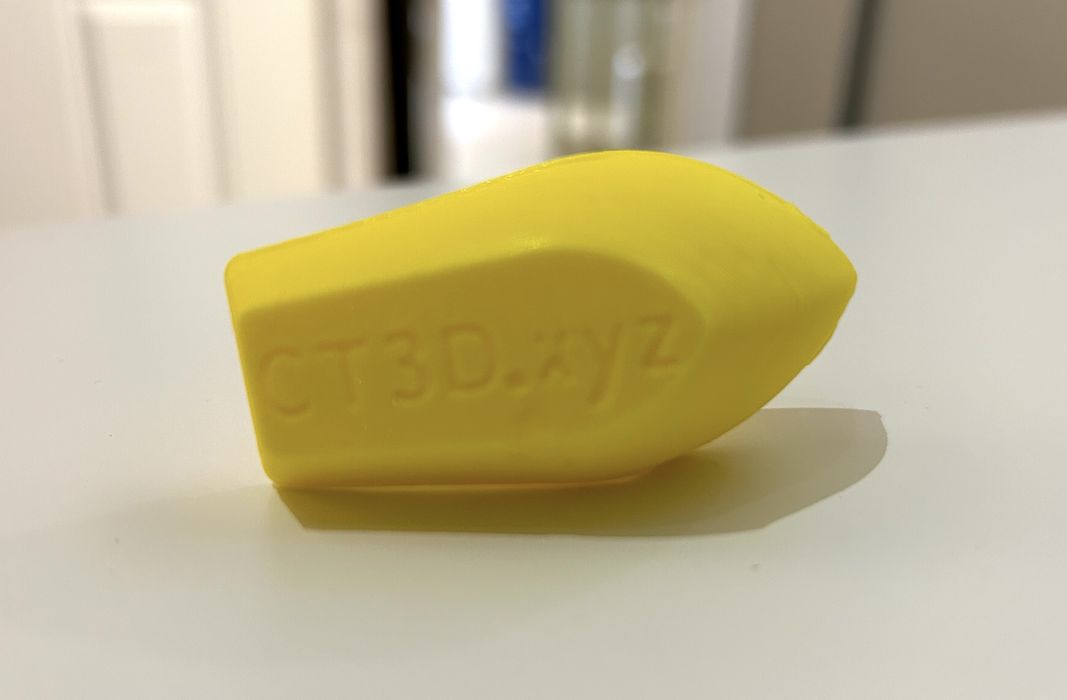
The benchy test print was completed in 31 minutes and 48 seconds. Here you can see the bottom of the ship, where the lettering is clearly readable.
The nervous lamp print was completed in 3 hours and 38 minutes.
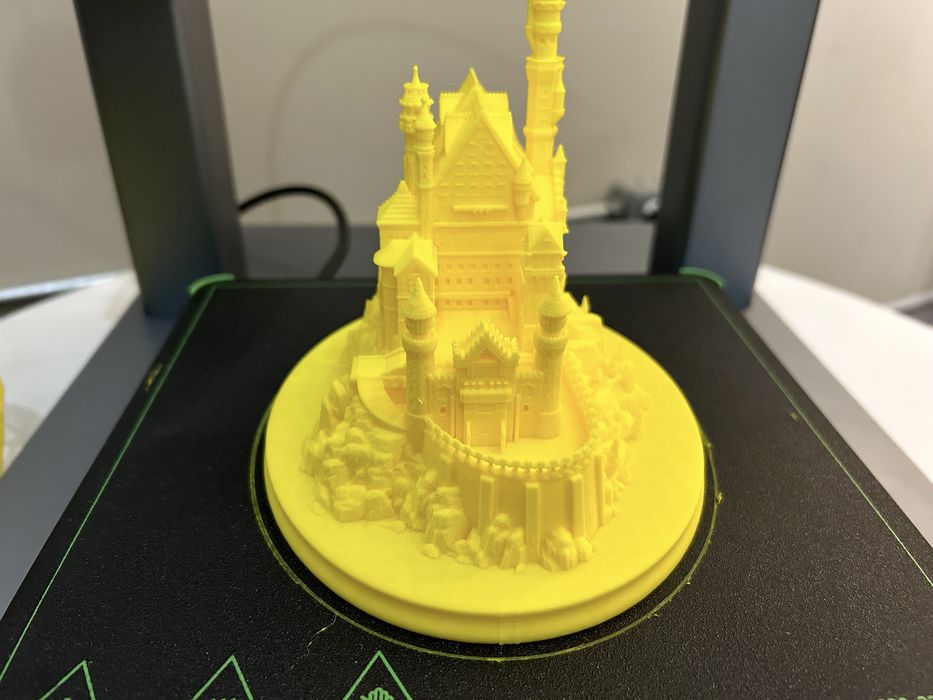
The large castle print has very precise detail, and it printed far faster than it would have on our older devices. It’s a good feeling when you have confidence that a large and complex print like this will almost certainly succeed.

Finally, we printed the “torture toaster”, which is a complex articulated test part. As you might have guessed, it came out perfectly on the first try.
AnkerMake M5C Final Thoughts
The M5C is an unusual 3D printer that successfully focuses on ease of use. Their software environment is straightforward and quite convenient.
For US$399 the M5C is an incredibly good value for a 3D printer of this quality. If you are a beginner looking for your first printer or needing an additional, easy to use 3D printer with exceptional print quality results — and high speed 3D printing — definitely look at AnkerMake M5C.
This device might not be suitable for those hoping to tinker with the machine; it’s really set up to print accurately and reliably as is, and doesn’t require modifications.
For professional use, the machine is able to print in a variety of materials, and the ease of use just might it quite appropriate for some implementations.
ANKERMAKE
M5C 3D PRINTER
★ BEGINNER 9/10
★ ENTHUSIAST 5/10
★ PRODUCTION 8/10
BEST FEATURES
✔︎ High speed
✔︎ Seamless setup
✔︎ Print quality
QUESTIONS
✖︎ No enclosure
✖︎ No webcam
This is part three of a three part series, please read parts one and two.
Via AnkerMake