
We’ve been testing the unusual Wash & Cure Max post processing system from Anycubic.
This is part one of a two part series, please read part two.
Wash & Cure Max Background
Washing and curing is an essential step for resin 3D printing, and desktop MSLA units are no exception. When prints are completed they are always coated with a layer of slimy resin that must be removed to reveal details. After that step, the print must be cured in a bath of UV light to complete the hardening and eliminate any toxic liquid resin.
Initially, desktop MSLA users would simply dunk their fresh prints in a tub of IPA to rinse off the resin, and then place them on a windowsill to collect UV light from the Sun. Those days are long past, as now there are automated solutions that do all these steps automatically and with precision.
Anycubic’s first Wash & Cure device was dual function: it could power wash resin, and then could be converted into a UV bath chamber. To do so required the operator to first place the print in the IPA tub, and then reconfigure the device to operate as a UV chamber. It worked well, but there were a lot of steps to do.
The new Wash & Cure Max attempts to solve this by greatly simplifying the process: you put a print into the machine and hit the button. That’s it.
Well, mostly, as you’ll see.
Wash & Cure Max Specifications and Features
Most wash and cure machines are actually two devices, which this is not. The Wash & Cure Max does not look like the two-step convertible machines, either. It has a unique look that is more reminiscent of a small clothes washing machine than anything to do with 3D printing.
Inside the device is a rather large chamber of 14.9L capacity, which is accessed from a flat lid at the top. The lid is transparent, but blocks UV radiation during the cure cycle. The lid also locks during washing to eliminate the possibility of fluid being sprayed on a careless operator.
There’s a bright and large control panel that’s very easy to read.
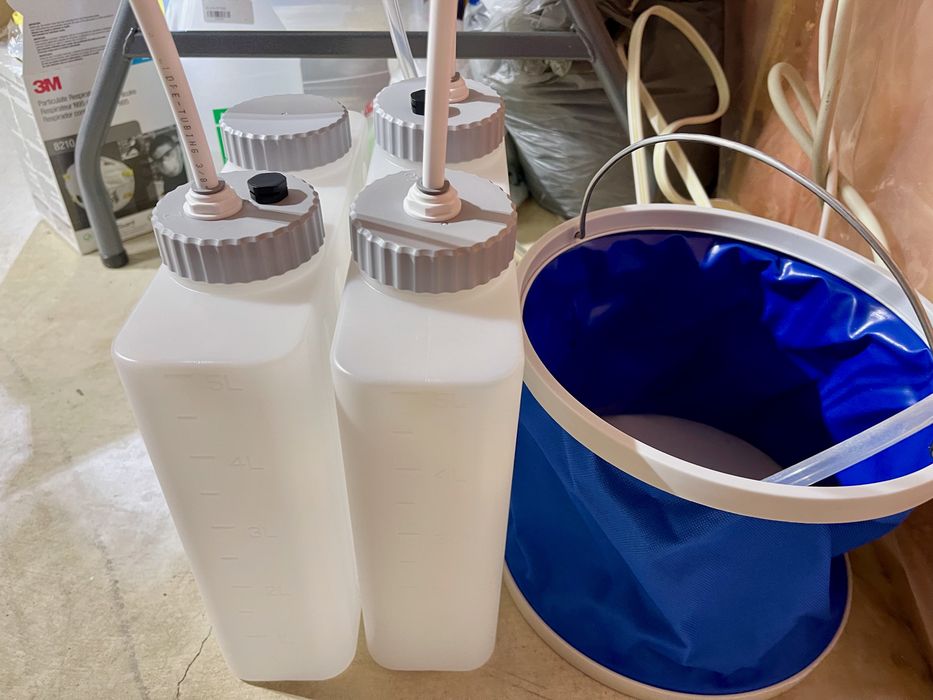
While the unit itself looks quite neat, there are three other mandatory accessories that must be plumbed into the main Wash & Cure Max unit:
- A container for recycled IPA
- A container for fresh water
- A pail for collecting waste water
This was all quite different from the typical wash and cure convertible units, so I was extremely curious to see how all these parts worked together.
Wash & Cure Max Unboxing and Assembly
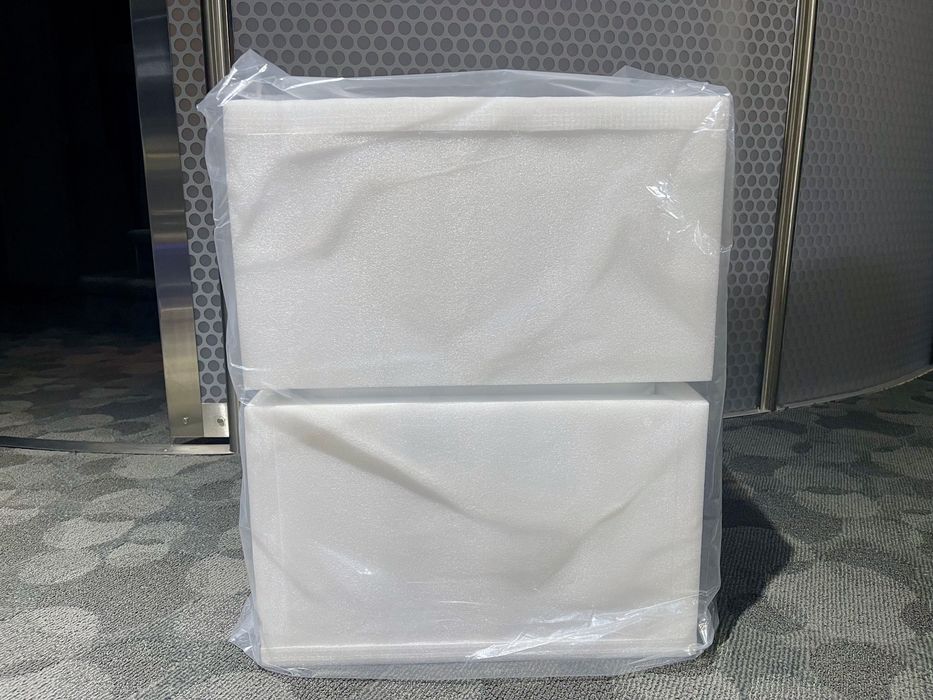
The Wash & Cure Max unit is completely assembled, aside from plugging it in, so there’s not much to do there. However, the assembly work is all in plumbing the mandatory accessories.
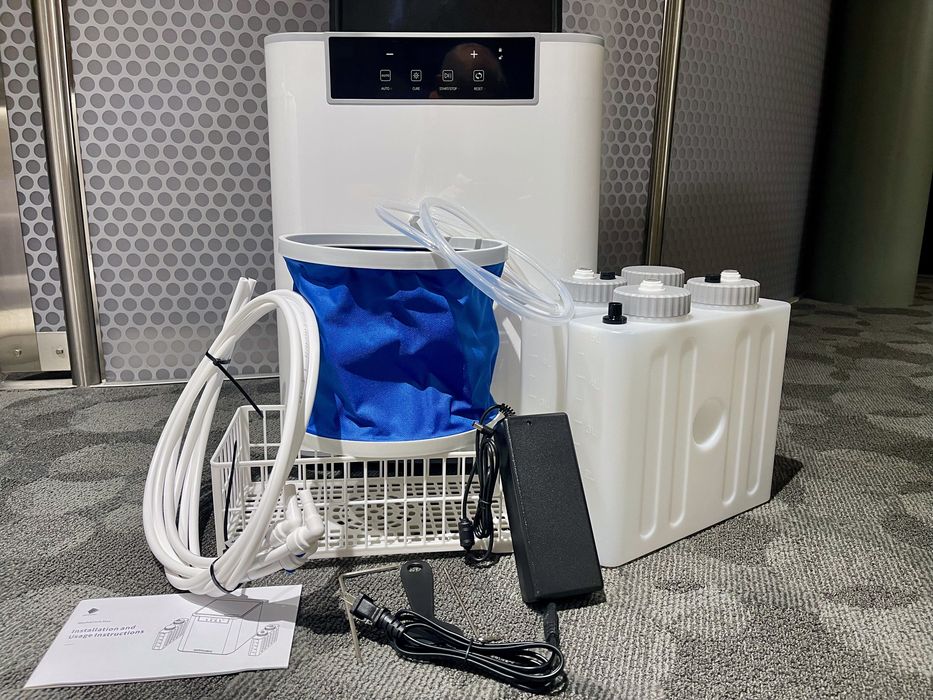
There were quite a few parts, more than one might expect to see in a typical wash and cure unit, and some very strange items. What is the pail for? I was confused, no other systems seem to require a pail, what was it for?
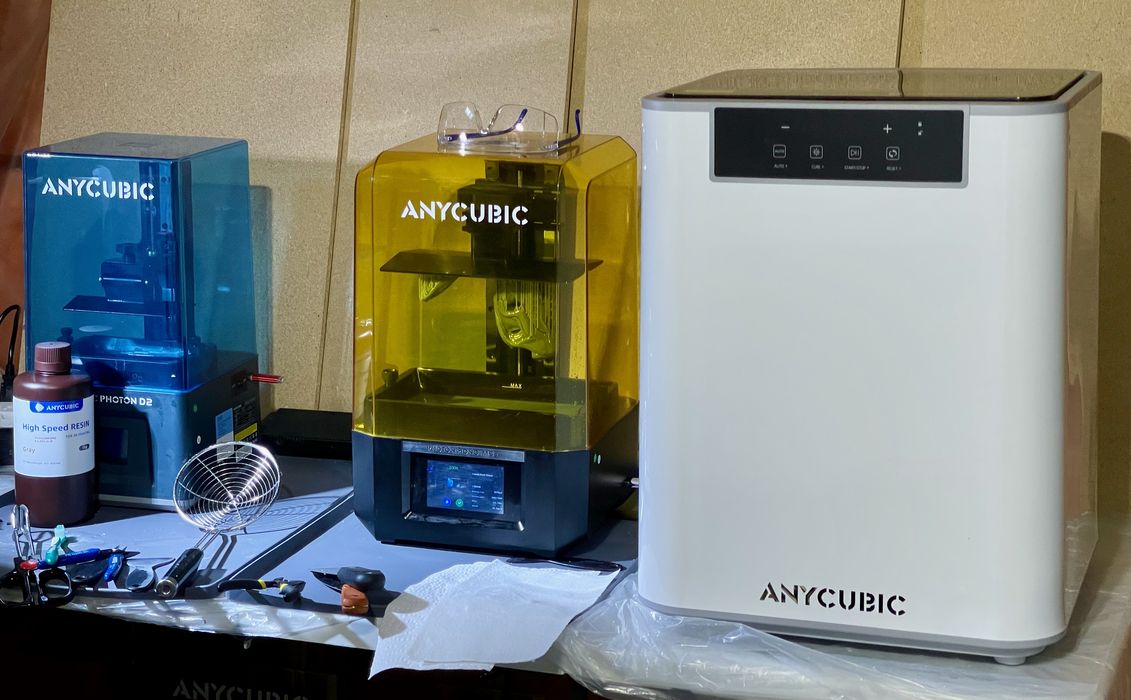
The Wash & Cure Max is “max”. It’s a rather large unit that you can see beside the not-small Anycubic Photon M5S 3D printer. The capacity of the unit seems large enough to handle a couple of print tray’s worth of parts in a single run. This suggests that it could be quite useful for low volume manufacturing.
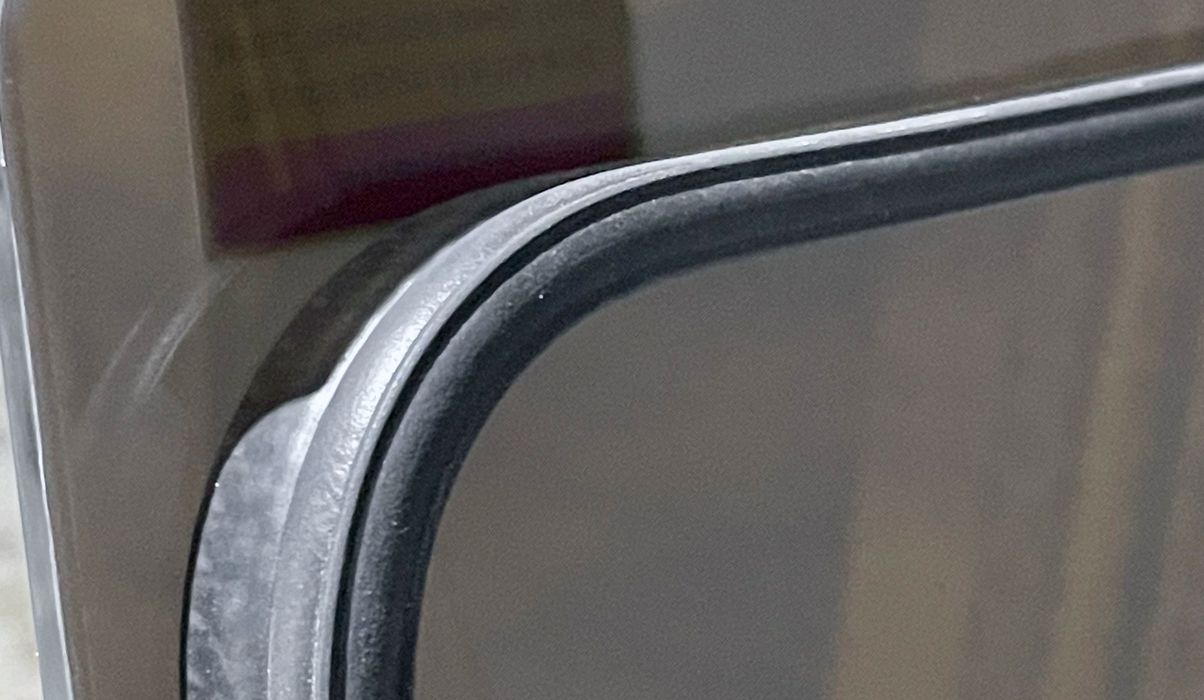
The lid is different from typical resin 3D printer lids: it has a foam edge. This is designed to keep splashes from coming out of the unit, and keep the unit itself clean.
But then there’s that pail. What was going to go into this pail? At this point I was quite baffled as to the processing sequence of the Wash & Cure Max: it is doing things very differently than typical wash and cure systems.
But how? I read the manual carefully several times, and it did not explain what is happening at all. The manual simply explains which hose to attach where and which button to push. It’s as if they assume you know what the device is going to do. I could make some educated guesses, but with toxic materials at play, there is no room for guessing. Would I end up with a pail of waste IPA? What do I do with it then?
Also, how would the chamber fill up with IPA to bathe the prints? The IPA container seemed far too small for that.
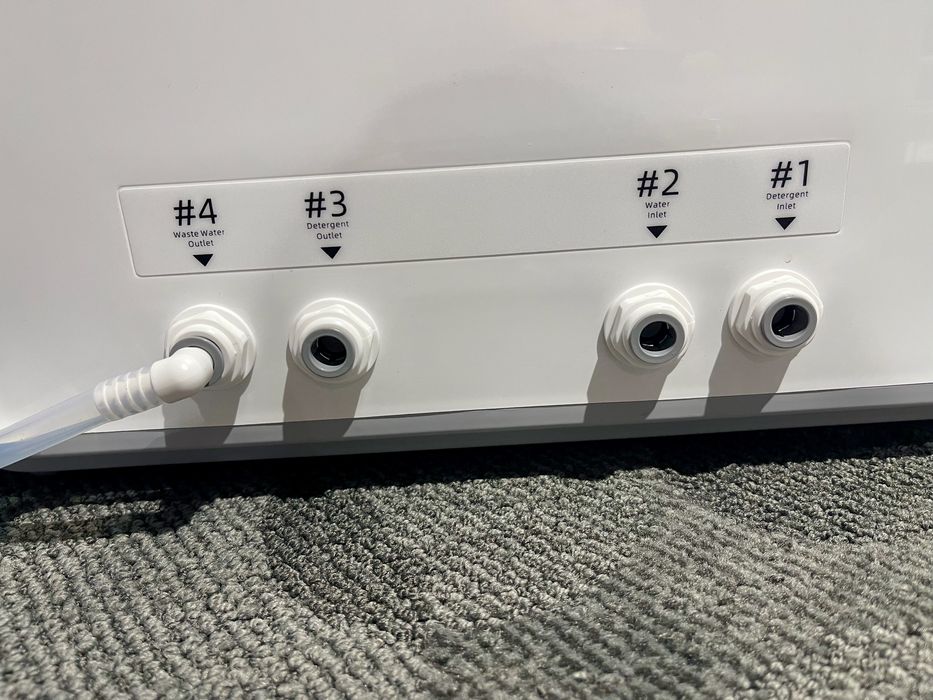
I proceeded with the assembly, which turned out to be pretty straightforward. At the back of the unit there are four plumbing connections:
- IPA in
- IPA out
- Water in
- Water out
It turned out that the water out leads to the pail, while the other hoses go to the two sealed containers.
Fortunately, Anycubic has properly labeled everything, although the extraordinarily thin numbering on the containers could be made bigger.
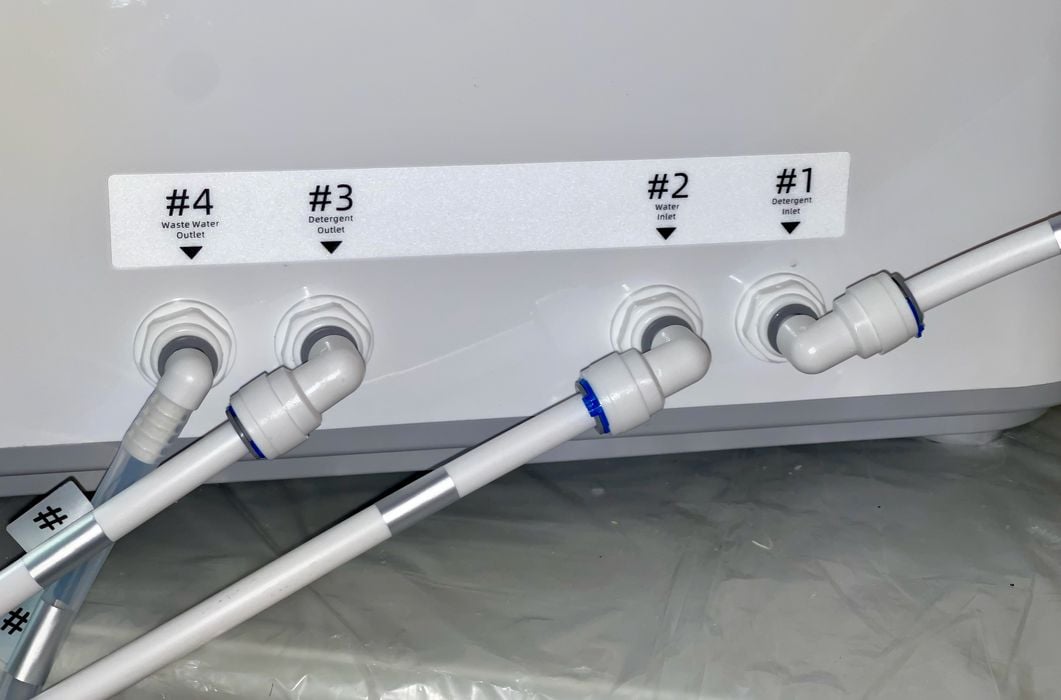
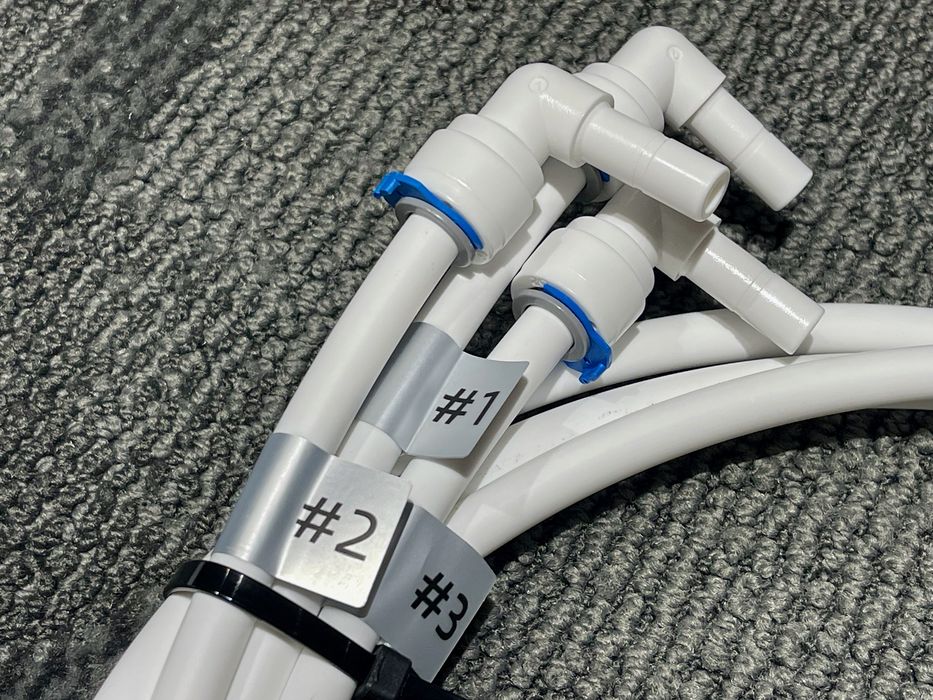
The hoses are easily connected, and the elbows are super useful: you can place the unit far back against a wall and you don’t bend the hoses.
One tip: when you insert one of these hoses into the unit, they will stick very hard. They can be released by pressing the edge of the connector, but it’s quite difficult to remove. Make sure you put them in the correct spot the first time.
I was curious to see how this system worked. One question was whether the entire tub is filled with IPA, as is done with other cleaning systems.
It turns out this is not how the Wash & Cure Max works at all. Instead there are tiny sprayers located on the sides of the processing chamber. There are several all the way down the black strip.
This meant that the parts are not bathed in IPA; they are showered with IPA! This is never mentioned in the documentation, but that’s how it works. For those coming from “bath” systems, it’s quite a change.
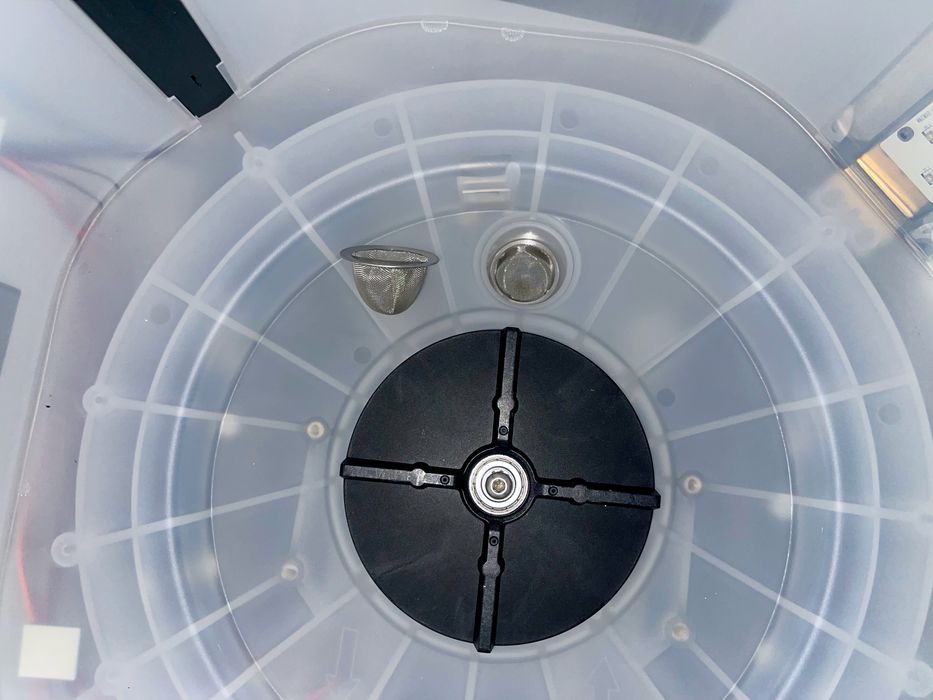
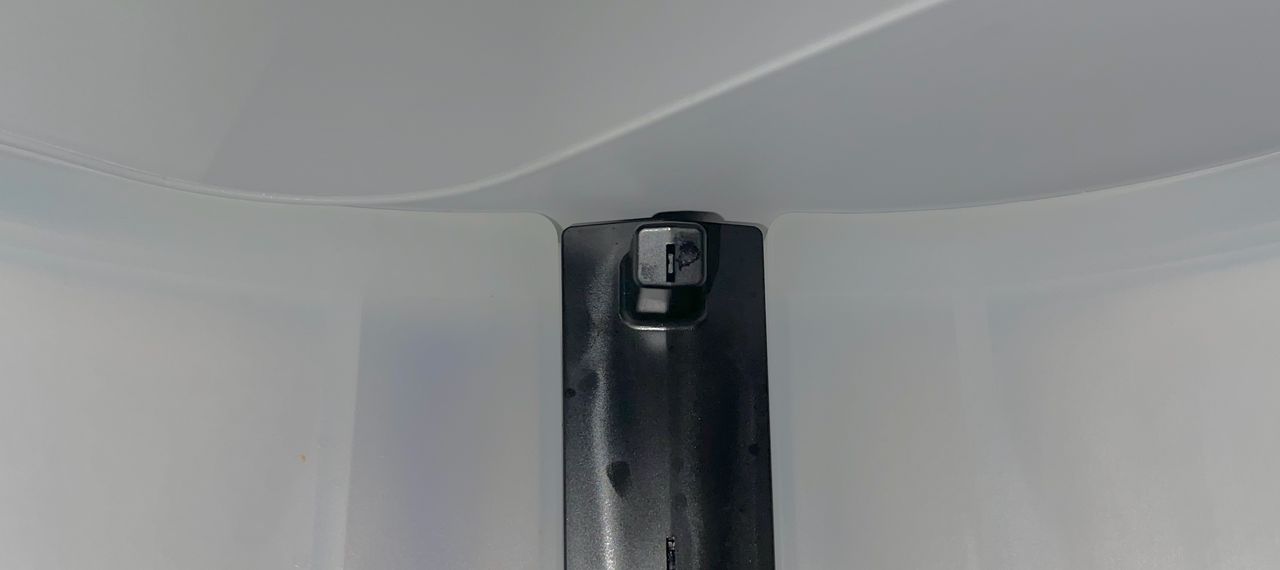
At the bottom of the chamber is a drain to recapture the fluids, and there’s a small filter. Important: Anycubic provides two of these, as they presumably get clogged up over time. The second filter is placed on top during shipping so be sure to remove it before use.
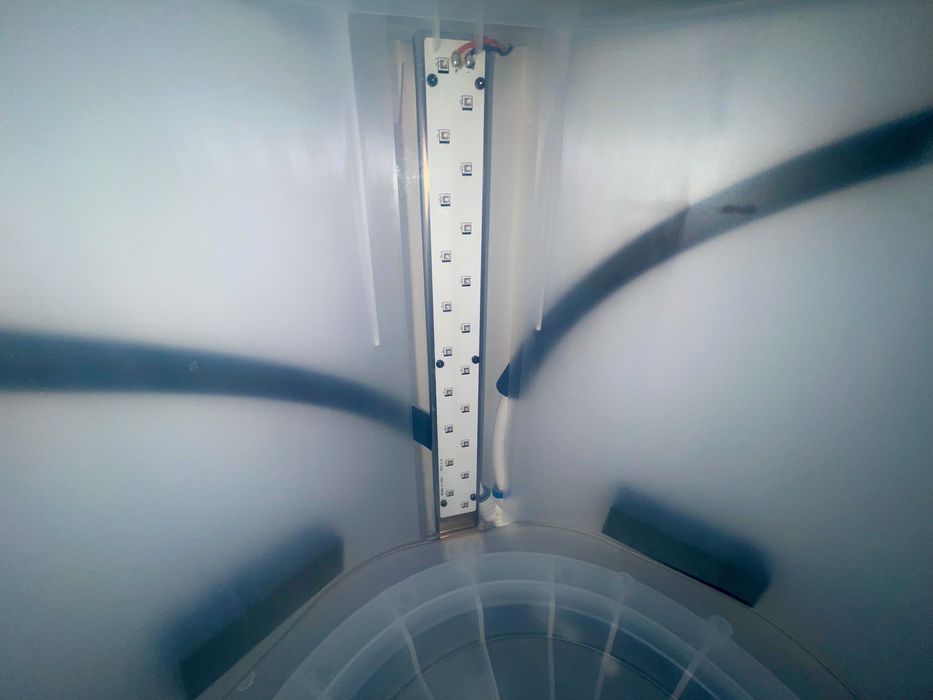
Also inside the chamber is a UV light strip, used when curing.
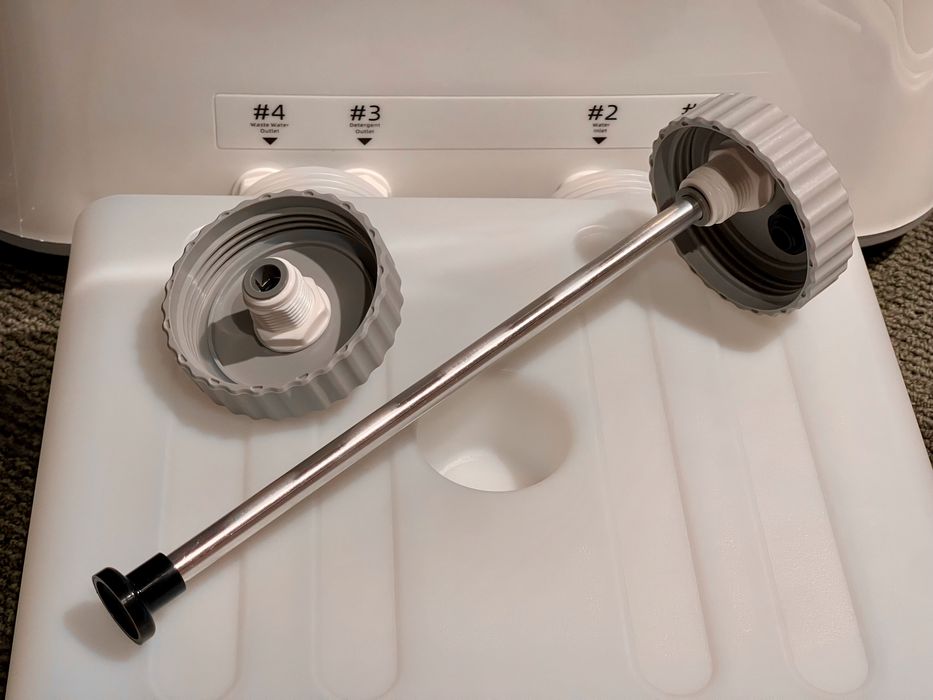
The sealed containers have screw-on lids that also act as mounts for the plumbing. Here you can see how they collect fluid from the bottom of the containers during operation.
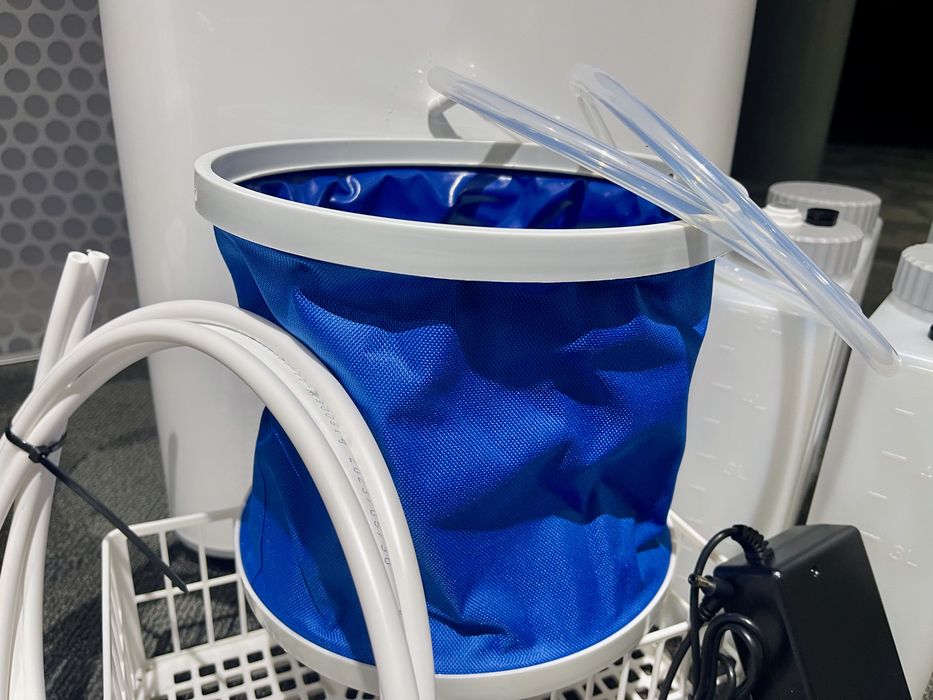
Once I had everything plumbed, this is what it looks like. However, I did notice that the stiff hoses tended to tip over the containers if they were empty.
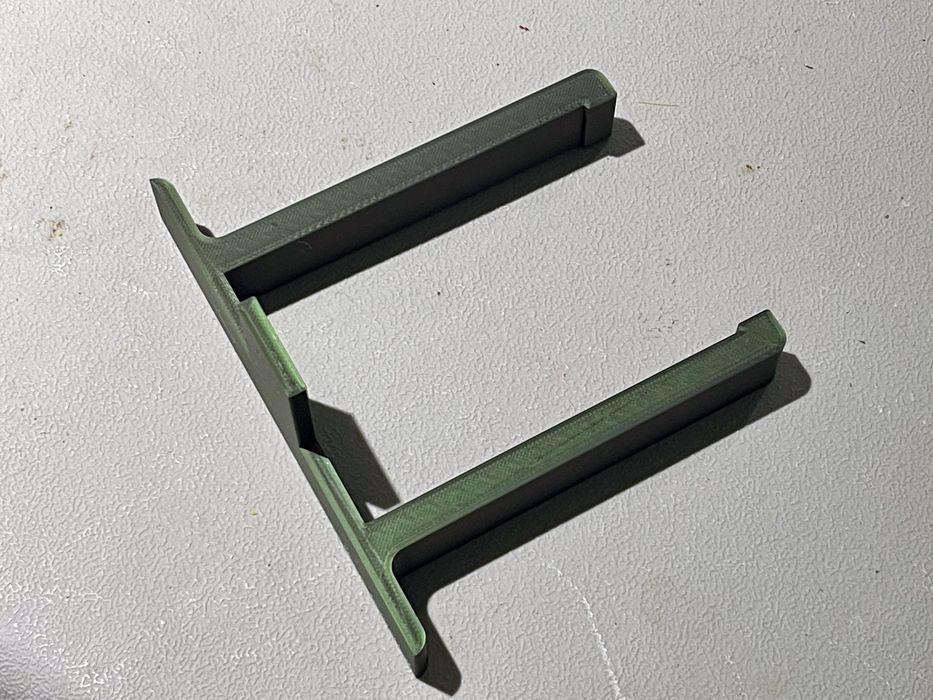
To solve this problem, I designed a simple bracket to hold the containers up; 3D printing saves the day once again.
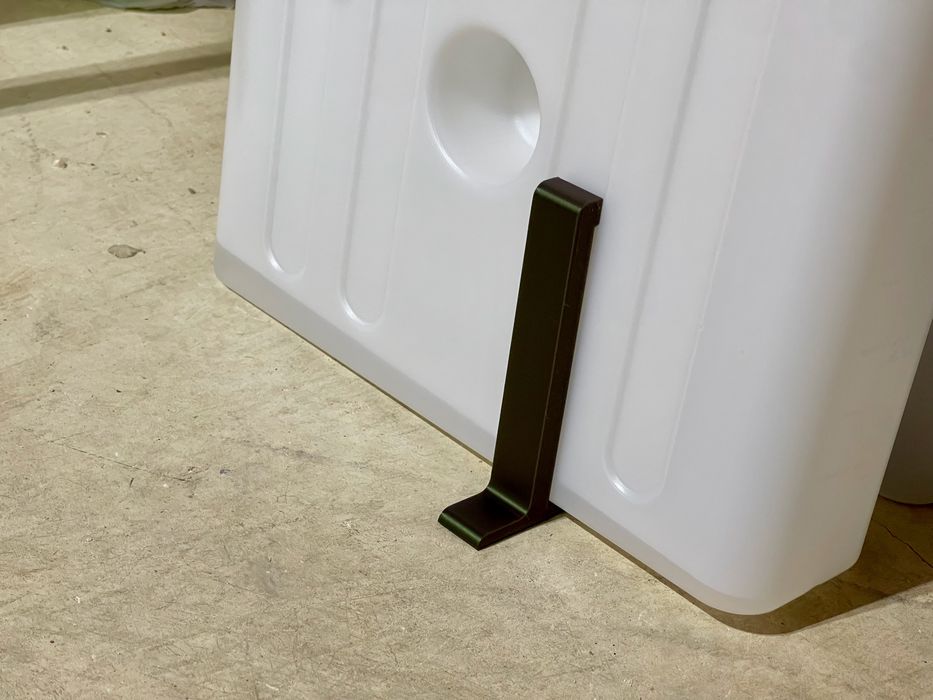
Here is the bracket installed on one of the containers, and it worked very well.
At this point the Wash & Cure Max was ready for action.
This is part one of a two part series, please read part two.
Via Anycubic