
Our look at the Anycubic Wash & Cure Max concludes with a look at operations, print results and final thoughts.
This is part two of a two part series, please read part one.
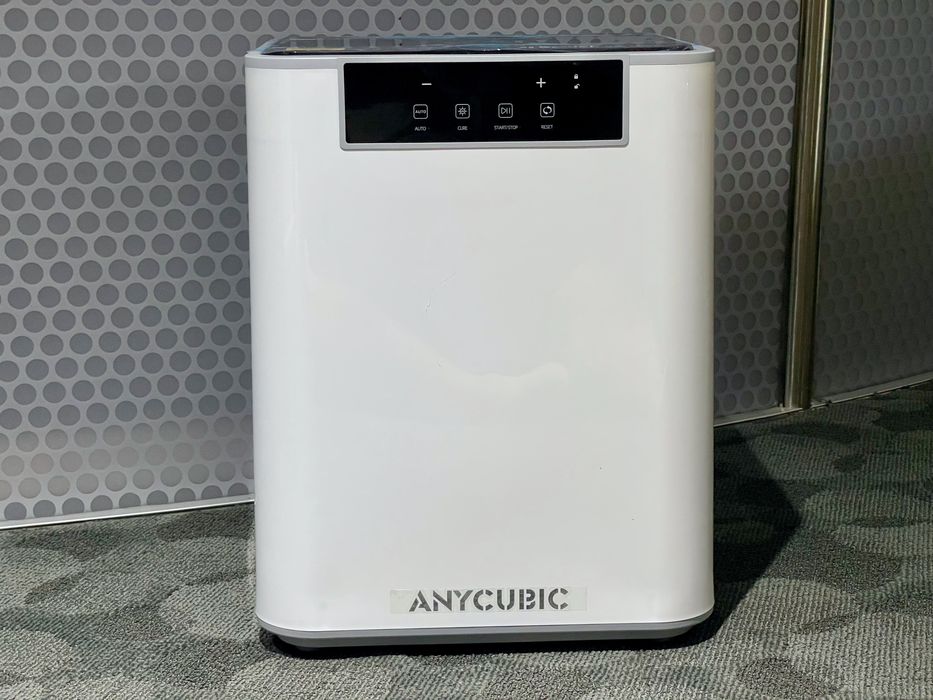
Wash & Cure Max Operations
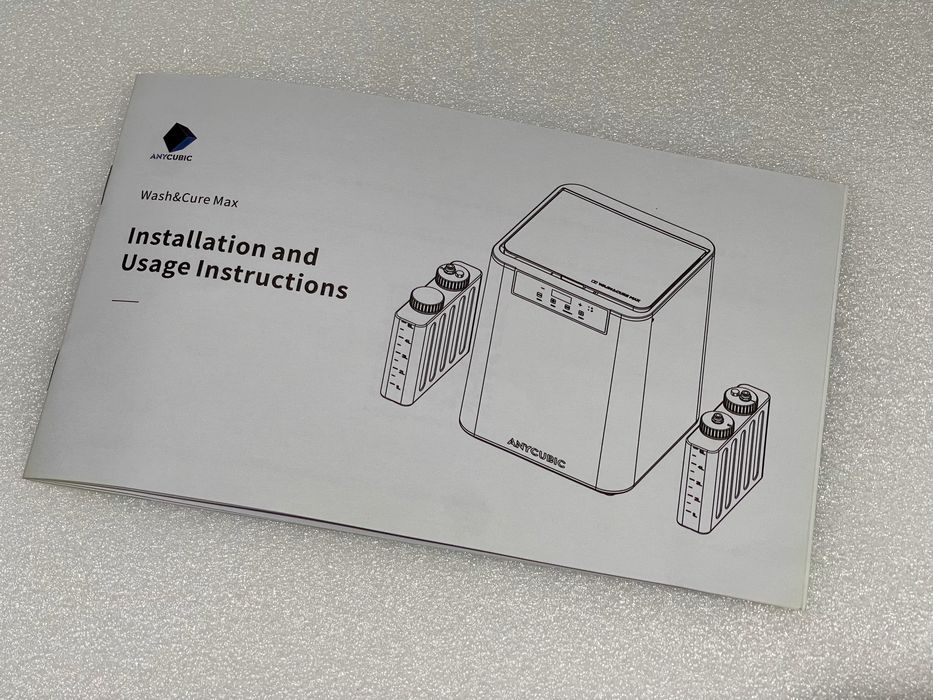
The instructions are actually good, but they don’t explain much about how the system is supposed to work. I think this is something that Anycubic should consider, since the Wash & Cure Max is so very different from other wash and cure systems.
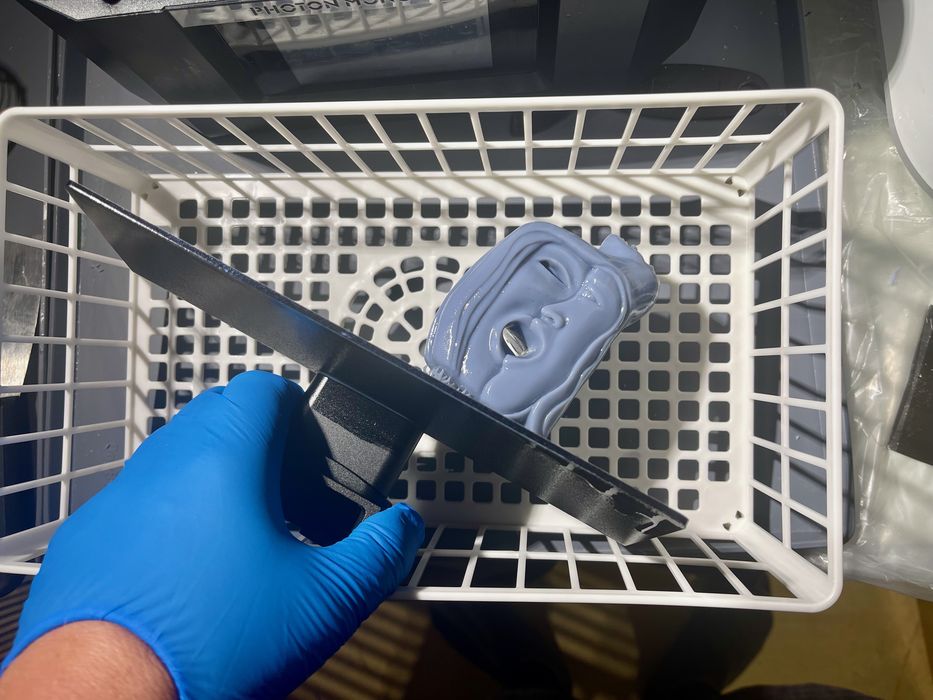
Loading the unit is done by first removing a small tray from the Wash & Cure Max. This tray then takes up the fresh prints for processing.
I eventually realized that the best workflow would be to simply take the entire print plate over top of the tray and release the prints into the tray. This saves a step and is a bit cleaner; less resin is dripped onto the table.
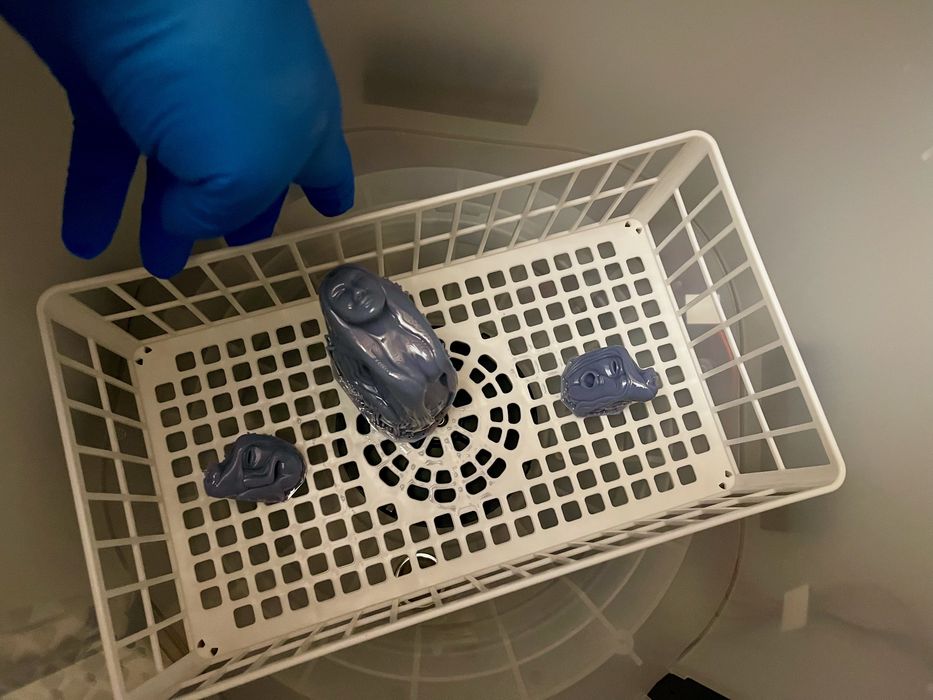
The tray is then re-inserted into the chamber, but it must mate with the gear below. This is easily done by giving the tray a spin to ensure it feels correct. The tray will spin during cleaning and curing.
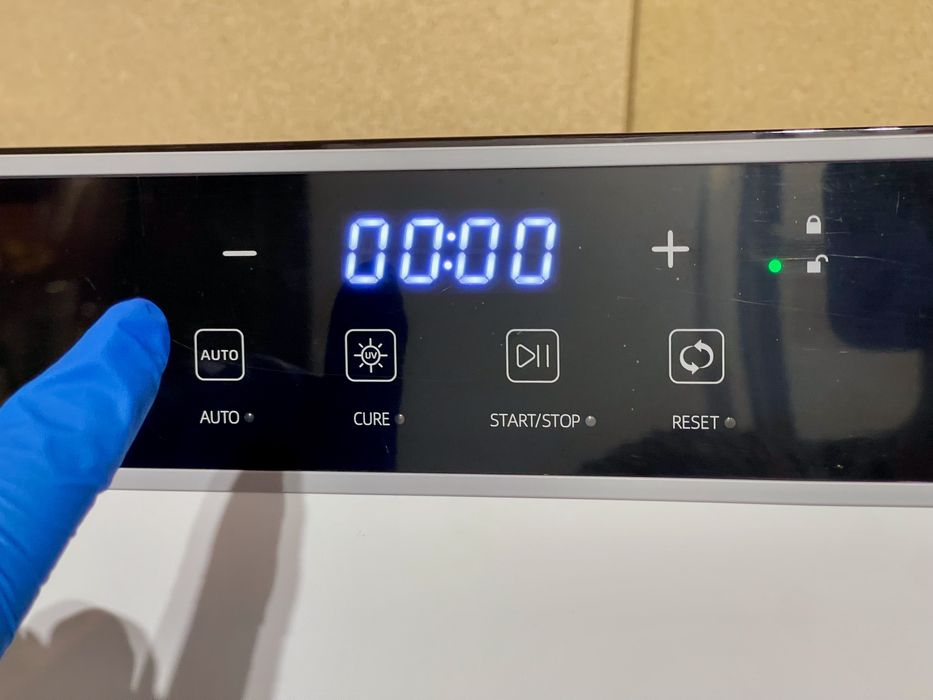
At this point everything is ready for processing, so I turned on the machine and considered the processing cycles.
It turns out that Anycubic has defined an “auto” cycle that will first wash, then cure your prints. This is all done with a single touch of the button as above.
Once started, the lid immediately locked, and you cannot open the lid during the 15m wash cycle. However, you can look inside.
The view through the semi-transparent lid is basically black during operations, as there is no light inside. However, if you shine a light through you can see what’s happening. Basically the tray rotates about 30 degrees and then gets exposed to the IPA spray. This continues for several revolutions.
Once the washing is complete, the unit then pumps the IPA back into the sealed container. This allows for re-use of the IPA. However, over time it will get increasingly dirty and I suppose it would have to be switched out eventually. Anycubic recommends changing the IPA after a month or approximately twenty 25cm models.
I noticed that the IPA container basically filled right up again, suggesting that almost all of the IPA was recovered.
After the IPA washes the parts, the water cycle begins. This is something I never did with other wash units, so the use of water was a surprise. It seems that the prints are repeatedly rinsed with the water to remove the IPA.
How much water is used? A little bit? Just enough to spray the parts?
No. ALL OF THE WATER IS USED.
The entire 5L container was sprayed onto the parts, and the result was this:

I ended up with a pail containing dirty water and a completely dry water container. It smelled like IPA. What am I supposed to do with this pail now? More on this in a bit.
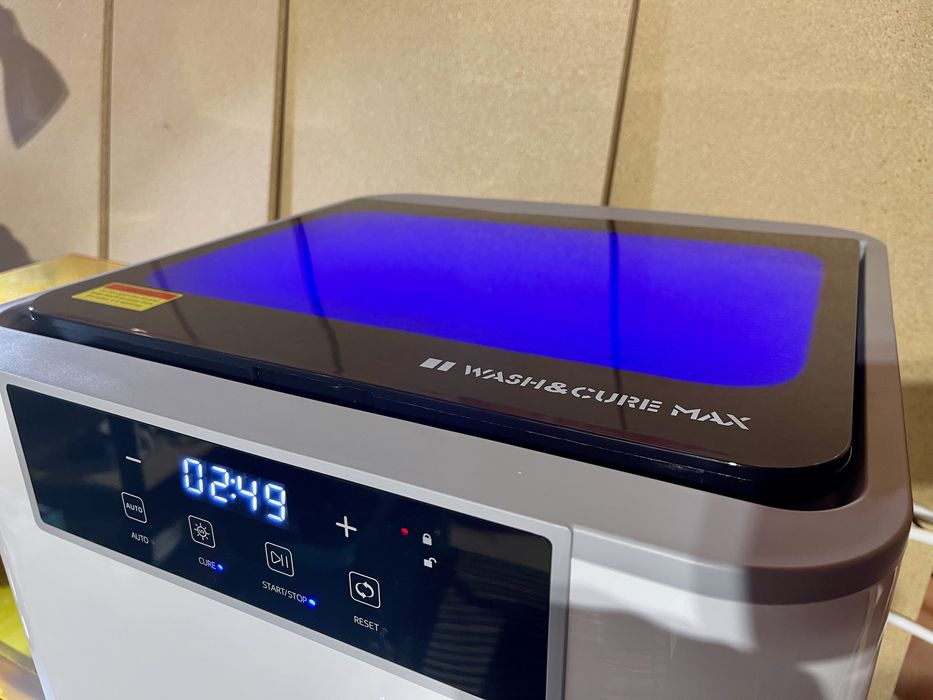
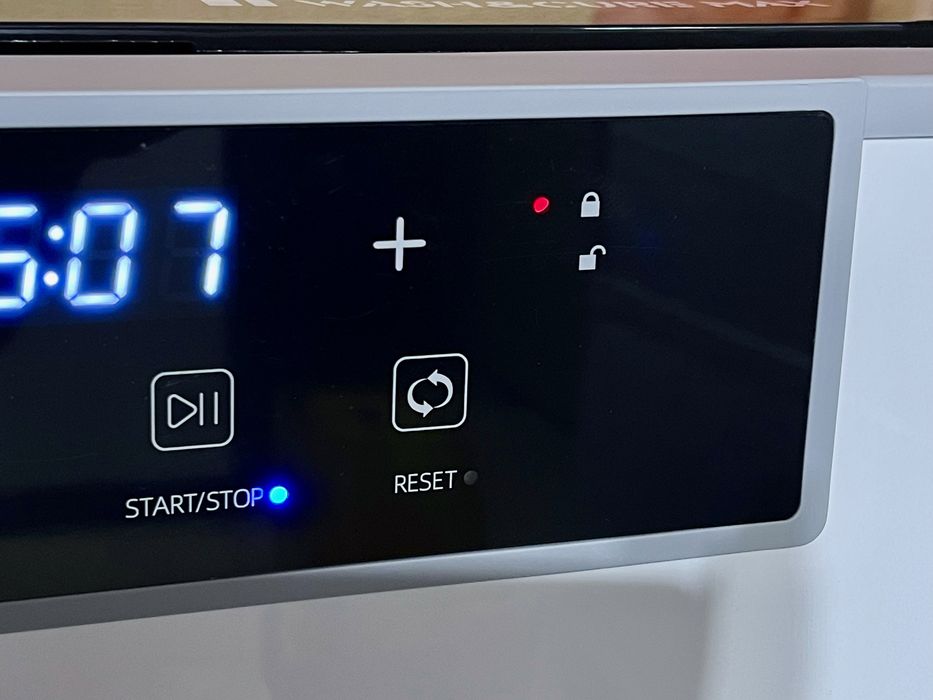
Meanwhile, the Wash & Cure Max proceeded to the curing stage. Here the unit can be interrupted and opened up, after the fluids are processed. However, I let this run through the automatic cycle. Once finished, the lid can be opened and the parts removed.
Wash & Cure Max Questions
After going through a few cycles I ended up with a few questions.
First, there was the question of what to do with the waste water. It seem that each time you run the auto cycle you will end up with a full pail of possibly toxic water.
Anycubic explained that there should be very little IPA or resin in that water, but my nose tells me differently. The formerly clean water was quite foggy — I used grey resin in my testing.
Anycubic’s instructions say to leave the pail sit for ten hours, and then it should precipitate to the bottom. Then you should leave the pail in the sun to cure any leftover resin and then dispose of the water in the appropriate manner.
In my testing, the grey fog in the water did not settle out even after more than 24 hours. It seems that it might be the dye from the resin? In any case, I had more prints to do, but only one pail. I left the pail in the sun for two days, and found basically no solid precipitate other than some dust. This suggests that Anycubic is correct, there is very little resin in the water.
But I still had to dispose of the water. In the end I poured it out on a concrete surface in the sun, in a way that would not go down any drains. The water spread out very thinly and was exposed to the sun which would quickly cure any residual resin. The water just evaporated.
That worked fine, but I wonder how I’m going to do this in the winter: The water would freeze.
While Anycubic does not advise re-using the water due to the possibility of debris gumming up the plumbing, I think I will give it a try by filtering the waste water with several coffee filters. This should clean it sufficiently for reuse. At least until spring arrives!
The only other question I had was about the workflow. Sometimes you want to remove support structures after washing but before curing so that they are softer. This is not what the auto cycle does. To do this it turns out you have to run the auto cycle, and then pause immediately when it switches to curing mode. You can then take off the supports and place the parts back into the unit for curing. IMPORTANT: If you reset the machine during washing, it will dump ALL the fluids before unlocking the lid. You will get an extra pail of waste water.
Wash & Cure Max Print Results
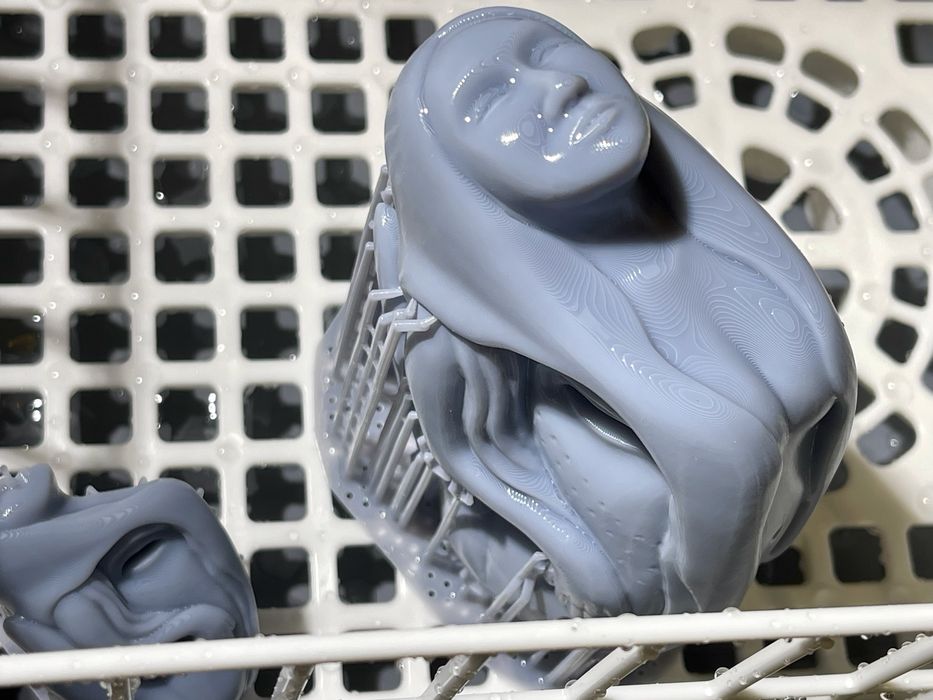
I found the parts to be exceptionally cleaned and cured. Everything I ran through the unit was near perfect. There was no evidence of slime, just a bit of leftover water that quickly evaporated.
Part details were perfect, and in some prints you could even see the layer lines. This suggests that the cleaning was very extensive, as no resin was left to “smooth out” rough surfaces.
I’m very impressed with the quality of the cleaning and curing on this device.
Wash & Cure Max Final Thoughts
The Wash & Cure Max is a huge step forward in desktop resin 3D printing. It provides a safer and more reliable method of processing resin prints that produces outstanding results.
Because of the utterly different washing approach in this unit, Anycubic should really explain this better to buyers who might be used to other approaches.
Operating the unit was quite simple and I had no difficulties at any point.
One area for improvement is the water handling. I kind of felt that Anycubic was leaving me with a pail of toxic water to deal with, and that didn’t feel so good. They should provide more extensive suggestions for what to do with the water, or devise a way to re-use water in a future unit.
Finally, there’s the price. The pre-order price for the Wash & Cure Max is only US$299. That seems like a steal for such a large and capable automated unit. If you can afford one, it’s worth buying.
This is part two of a two part series, please read part one.
Via Anycubic