
We had the opportunity to test out the brand new Bambu Lab A1 desktop FFF 3D printer, and it’s quite a machine.
This is part one of a three part series, please read parts two and three.
Bambu A1 3D Printer Background
Bambu Lab shocked the 3D print world two years ago with their sudden introduction of their professional equipment. These machines were faster, cheaper and printed with better quality than almost anything else on the market.
The makers of inexpensive desktop 3D printers observed, but were then themselves shocked as Bambu Lab then introduced the A1 mini, which brought many of their professional innovations to the lower end of the market. We had a long look at the A1 mini, and found it to be an incredible machine, the first we’ve ever ranked as a “10”.
A few months later, Bambu Lab introduced the A1, see our detailed review here. As you might suspect, it’s basically an A1 mini, without the “mini”. It has a very similar architecture, but with a much larger build volume.
We were quite encouraged to check out the A1, and especially compare it to the A1 mini.
Bambu A1 3D Printer Specifications and Features
The A1 is a desktop FFF device handling 1.75mm filament. It has only a single 0.4mm nozzle (quick swappable), but can operate in multi-material mode with the optional AMS lite 4-spool filament swapping accessory. Our test included the AMS lite unit, as well as swappable nozzles we previously obtained during the A1 mini review.
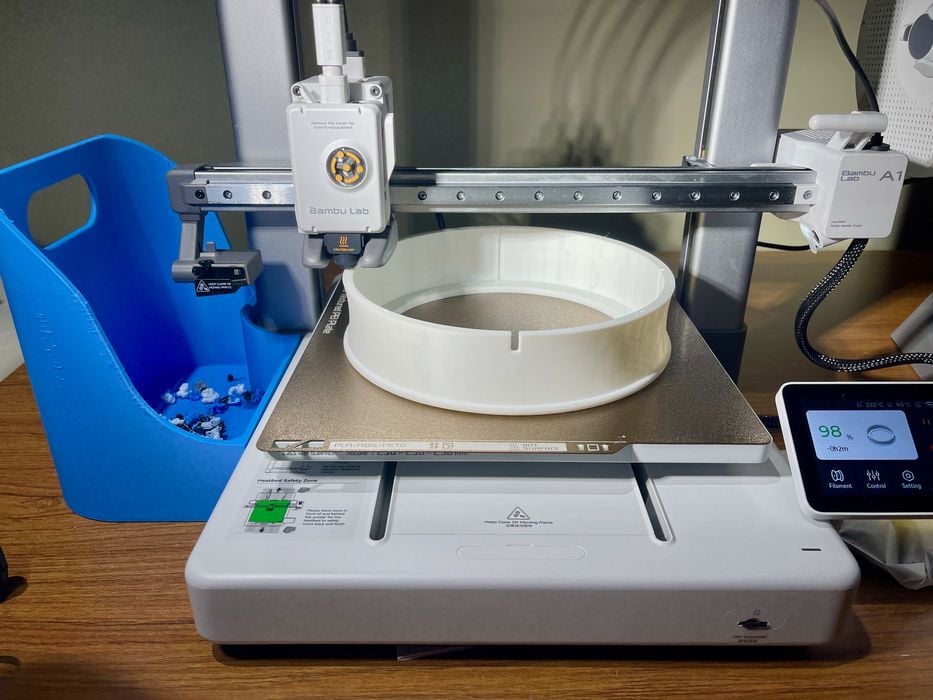
The machine’s build volume is a very healthy 256 x 256 x 256, quite a bit larger than the A1 mini’s 180 x 180 x 180 mm. The print surface is a magnetically attached spring steel plate, and comes with a textured PEI surface. It’s possible to use alternate plates, like Bambu Lab’s Cool Plate, as the form factor is identical to the company’s professional machines.
The all-metal hot end can reach 300C, making the A1 easily able to handle a variety of materials. The default nozzle is made of stainless steel. There optional 0.2, 0.6 and 0.8mm nozzles for this machine, which by the way are also swappable with the A1 mini.
The maximum volumetric flow rate is 28 cubic mm per second, which is sufficient to enable true high speed 3D printing.
There are a number of advanced features that are shared with the A1 mini:
- Advanced filament monitoring, including tangle detection
- Active vibration compensation
- Metal linear rail motion system
- Motor noise cancellation
- Completely automated leveling
- Dynamic flow rate compensation
These features are rarely found on professional machines, let alone an inexpensive desktop device like the A1.
Bambu A1 3D Printer Unboxing and Assembly
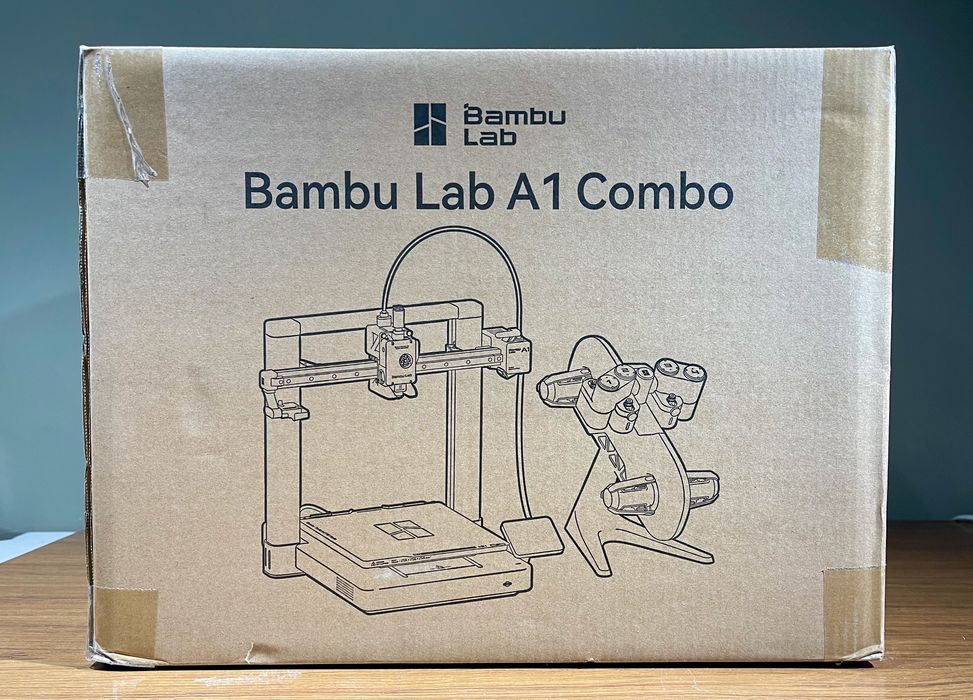
The A1 ships in a larger box than the A1 mini, as one would expect, but there’s more surprises inside, as we will see.
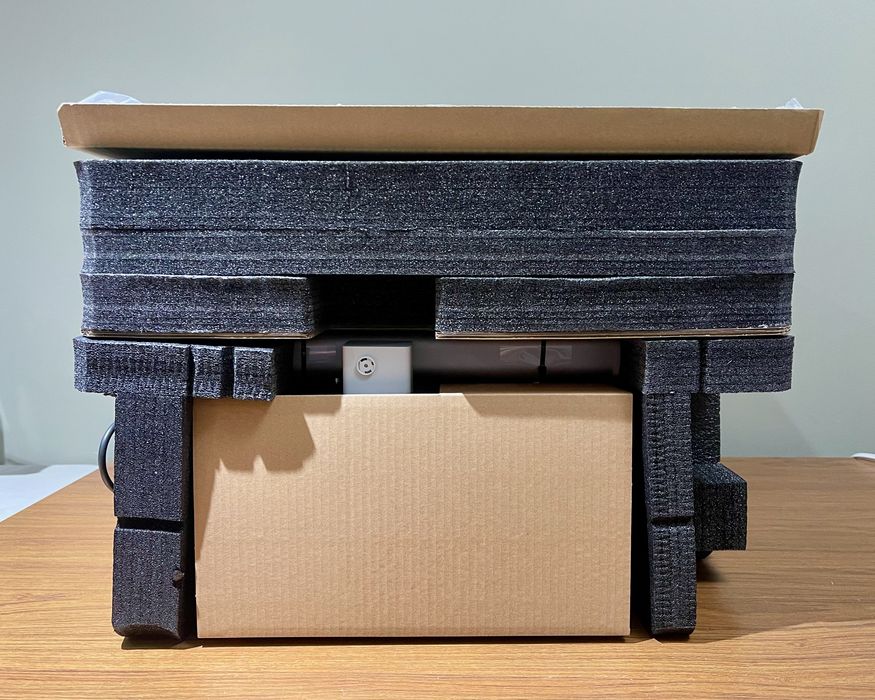
As usual, Bambu Lab does an incredible job packing their devices. I’ve seen some rather shoddy shipping practices from some other 3D printer manufacturers, but Bambu Lab is far ahead of everyone.
Here you can see how much care is taken to protect each of the components. Everything is quite tight, and it’s near impossible to damage the box unless you’re trying to do so.
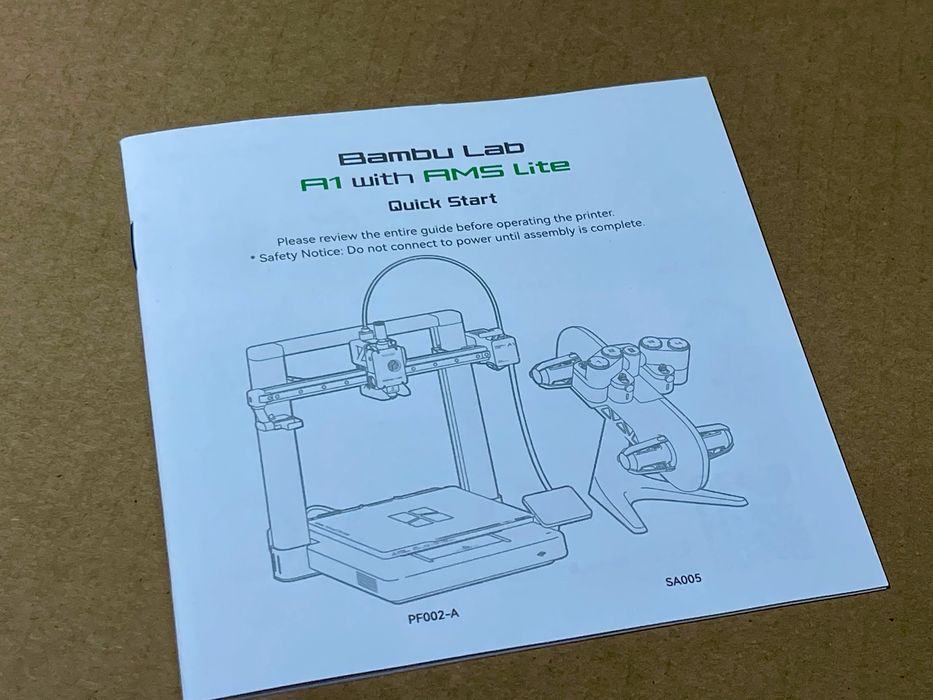
The first item you’ll encounter is the Quickstart guide. This is a small booklet that walks you through the steps required to get the machine going. While a bit small for my eyes, it did the job and, unlike instructions from many Asian companies, read in proper English.
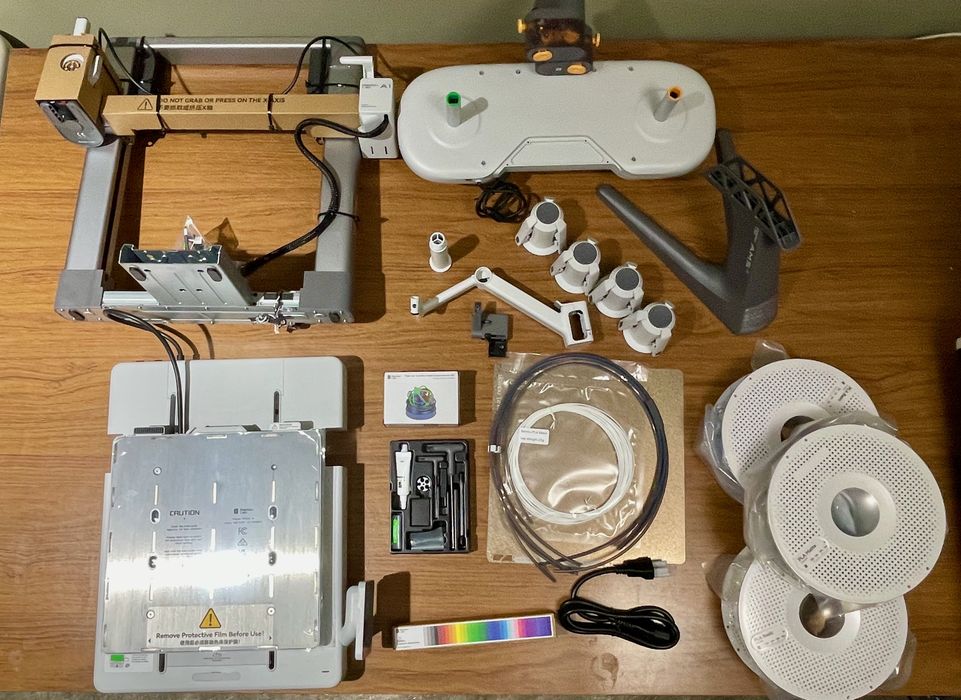
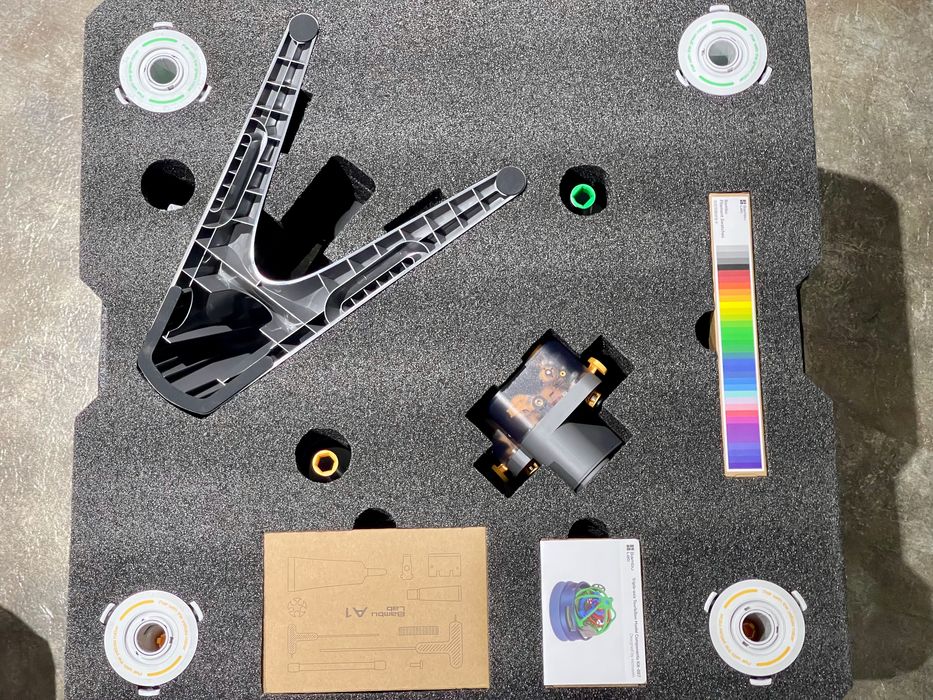
Here’s the layout of all the shipped parts, once de-boxed. You’ll immediately note a big change from the A1 mini: there’s a lot more assembly to do on the A1.
The A1 mini is shipped more or less completely assembled, with just a few bits to bolt on. However, the A1 is a larger machine, and evidently to reduce the shipping volume Bambu Lab decided to split the machine into two parts: the base and gantry. This is a common practice among desktop 3D printers, but a first for Bambu Lab.
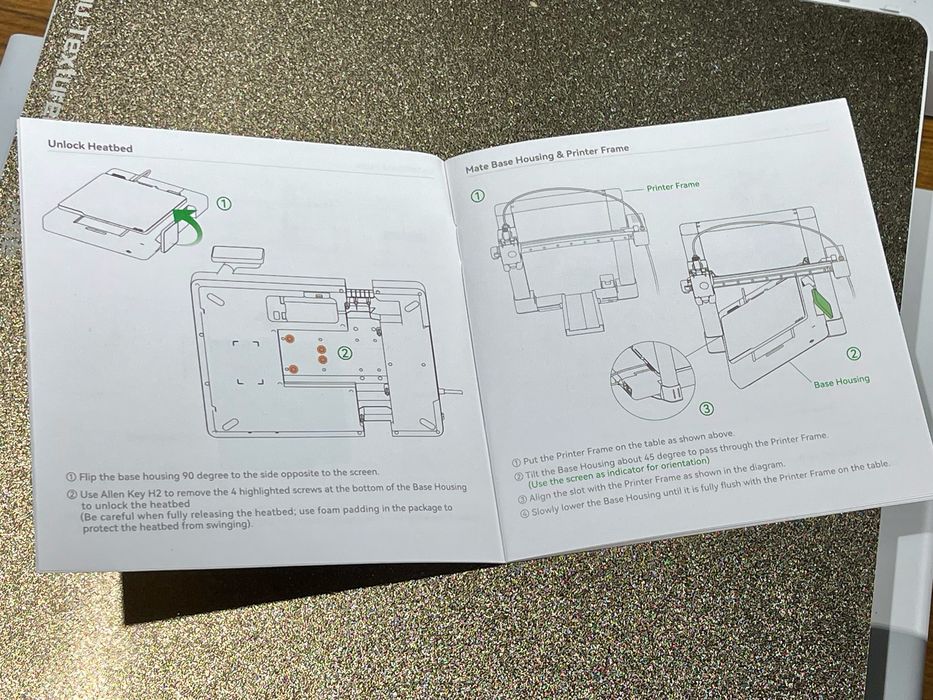
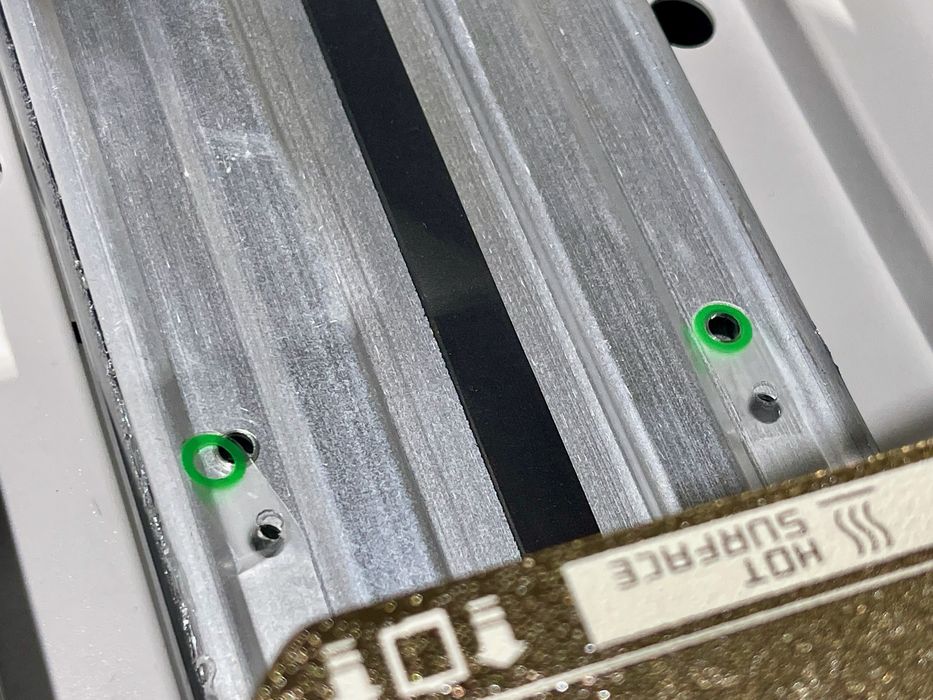
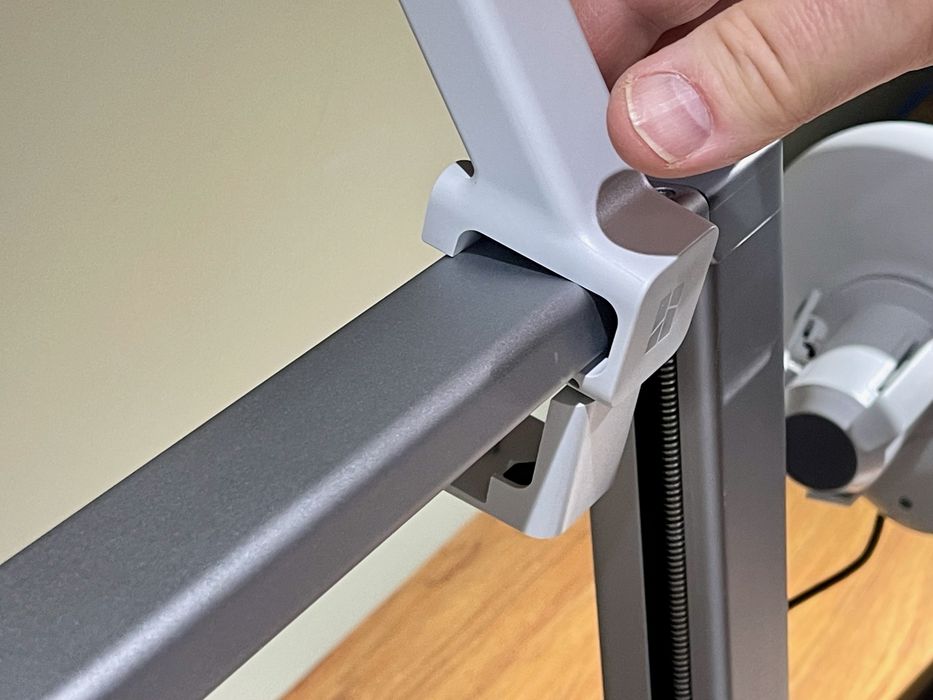
The major step in assembly is to join the base and gantry, and this requires removal of a large cover on the base to expose the bolt holes. Most desktop FFF 3D printers don’t have such a cover, which protects the machinery from stray bits.
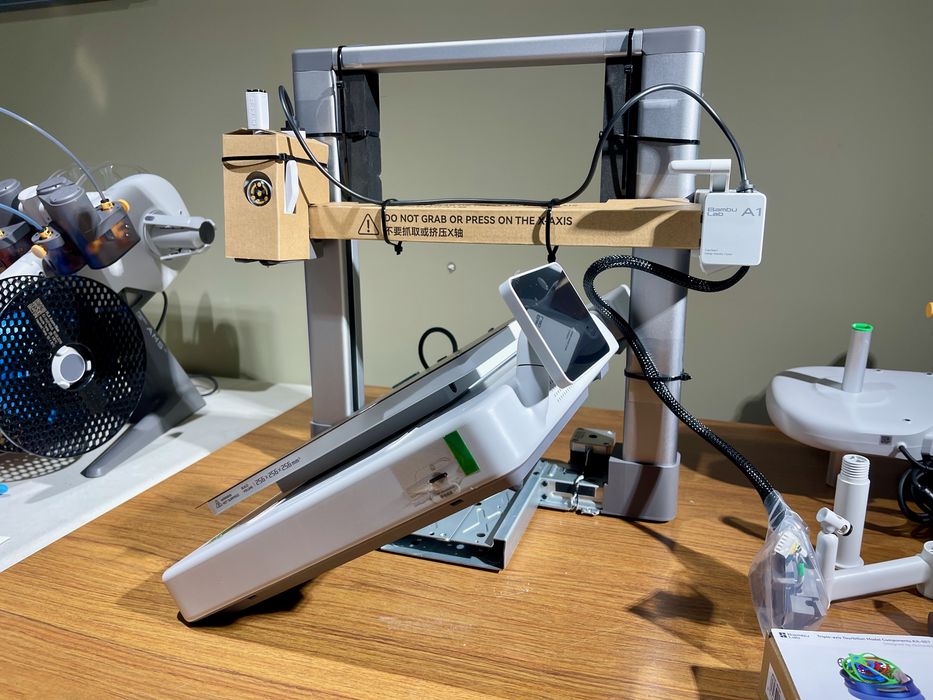
You’ll have to twist the base and slide it in-between the gantry towers as shown here. This is a bit different from most kit assemblies, which simply bolt the gantry on top of the base. Here we are instead bolting the base on to the gantry.
I found a manufacturing mistake! As you can see above, the bolt hole indicator label is slightly misaligned by a few millimeters!
More seriously, these labels are terrific as they easily guide you to where you need to insert bolts. No more looking around and experimenting!
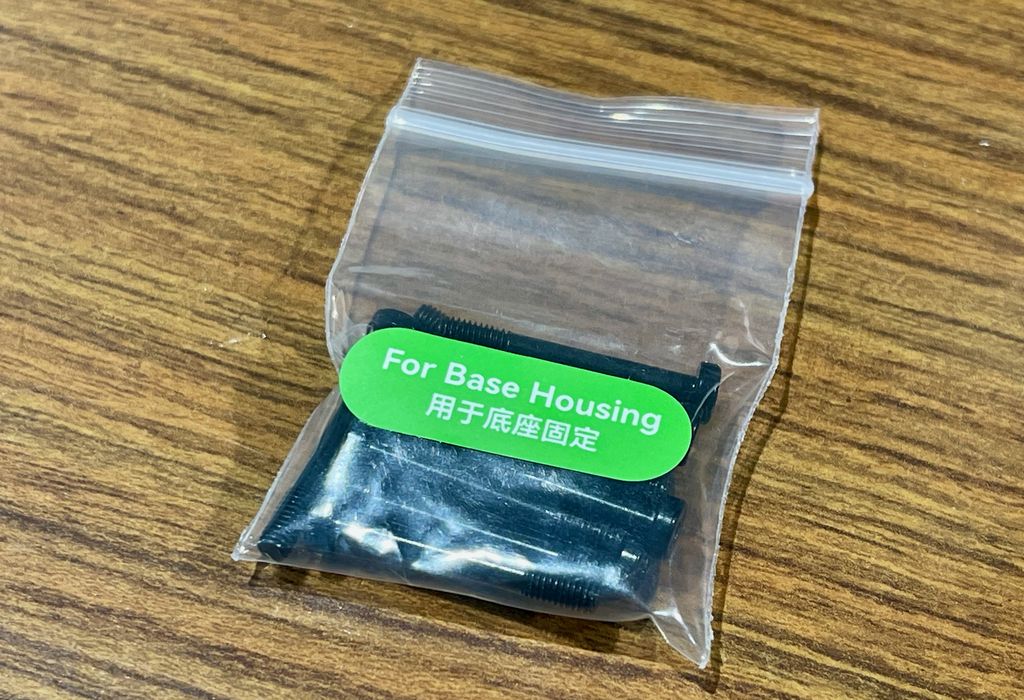
Bambu Lab also does a great job on the parts. Here you can see one of the several bags of bolts required for the install. They are very clearly labeled and it’s near impossible to mix them up.
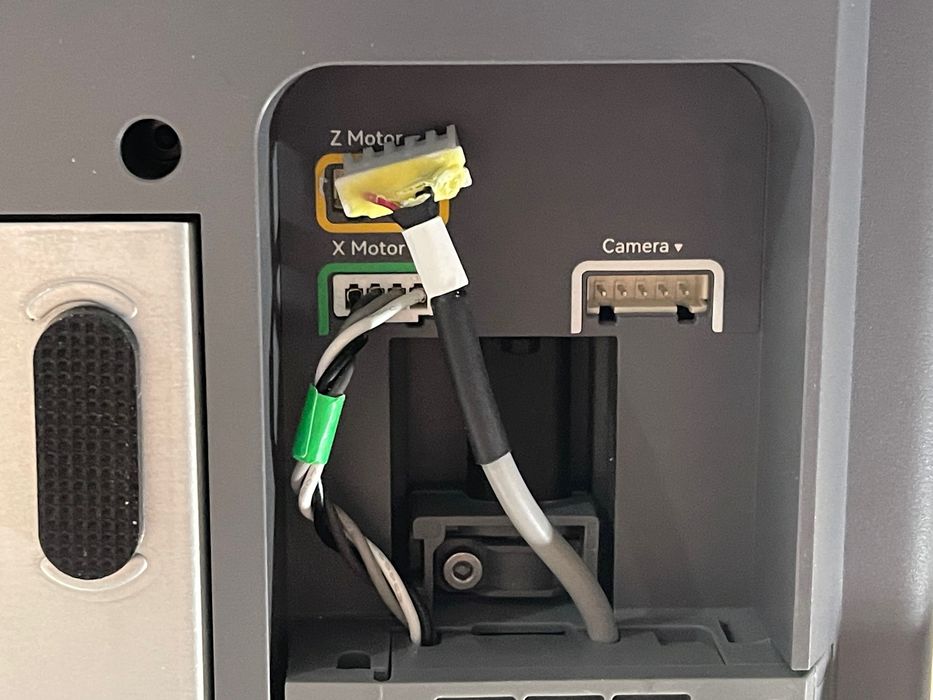
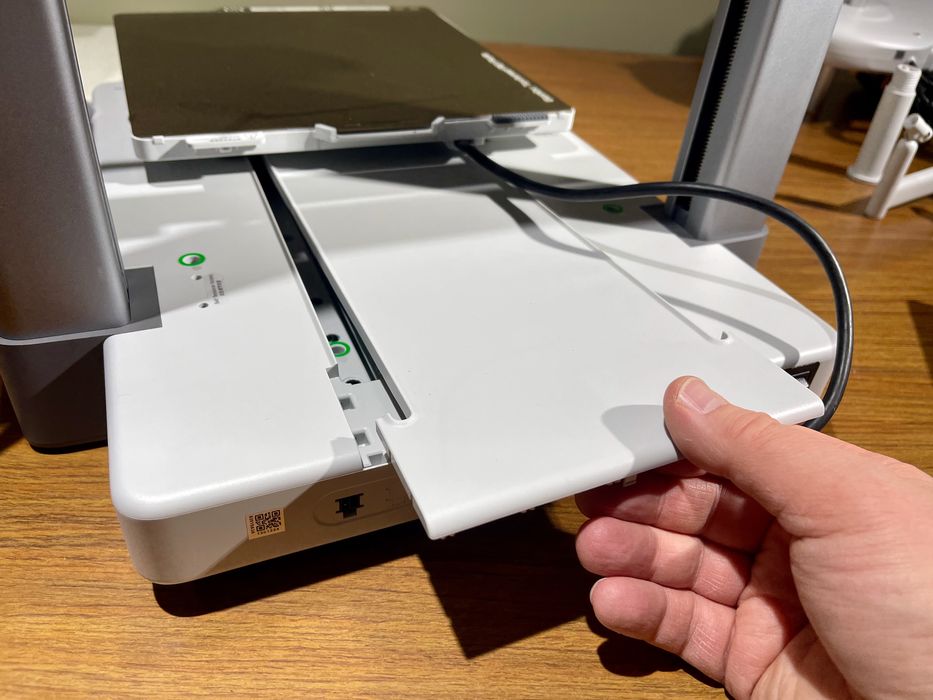
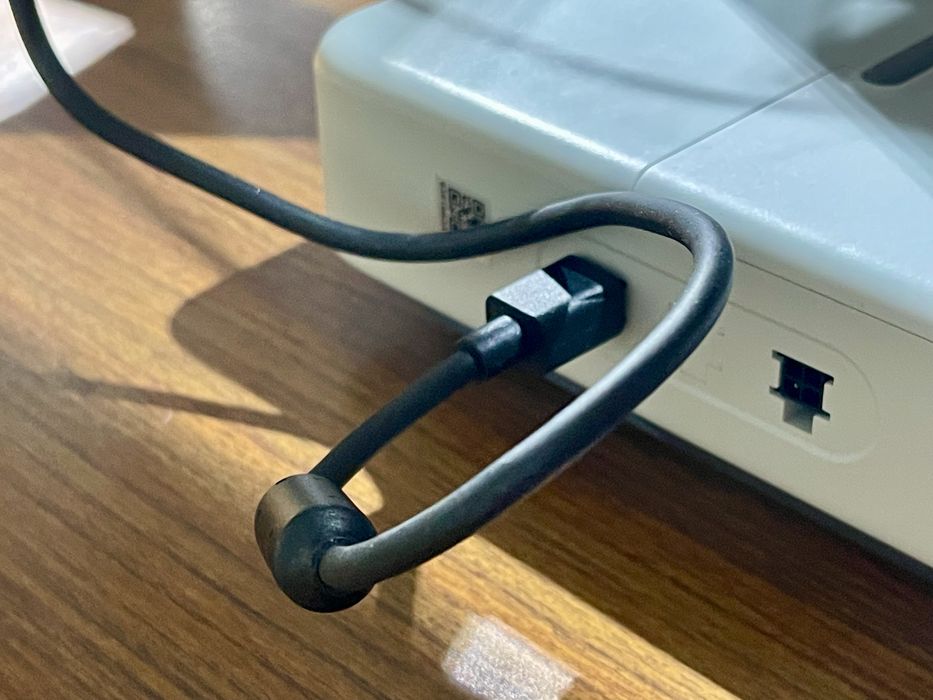
Once the major pieces are attached, there are a few cables to plug in. They are relatively easy to identify, and they are of different formats so you can’t put one in the wrong spot.
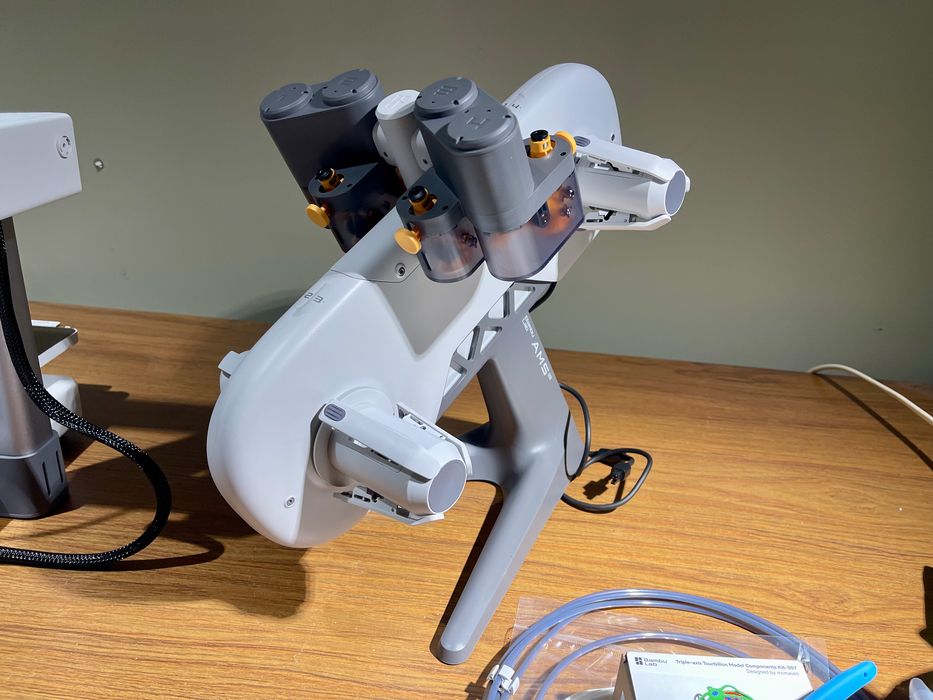
It was then time to assemble the AMS lite unit, which sits to the right of the A1 itself, which begins with bolting the base onto the main unit.
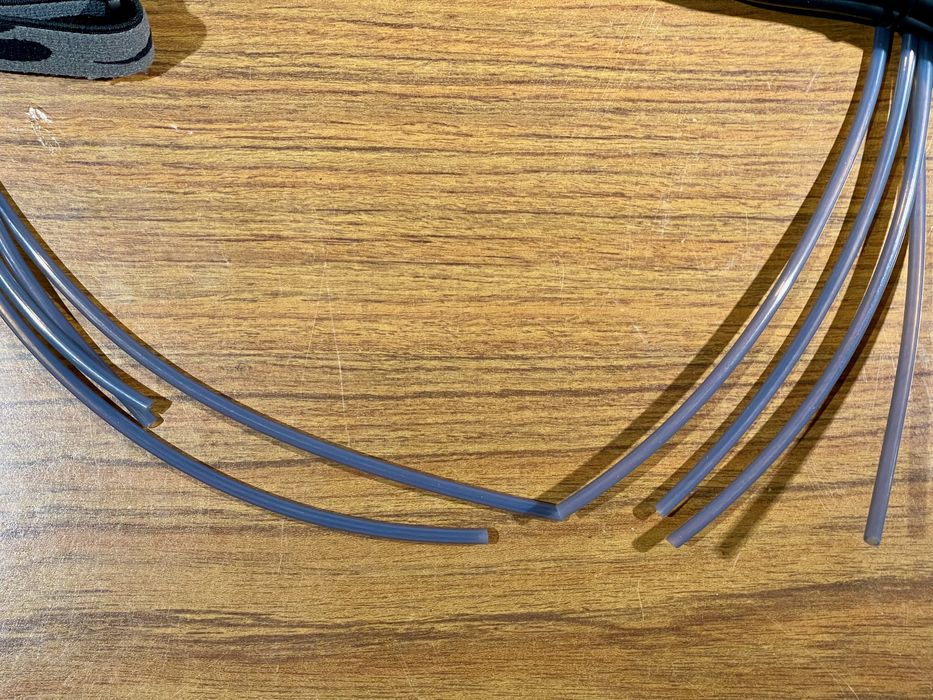
I immediately noticed that two of the filament tubes were longer than the others. This is because the two spools on the far right side require a bit of extra distance to reach the toolhead. Make sure you put the longer tubes on the right.
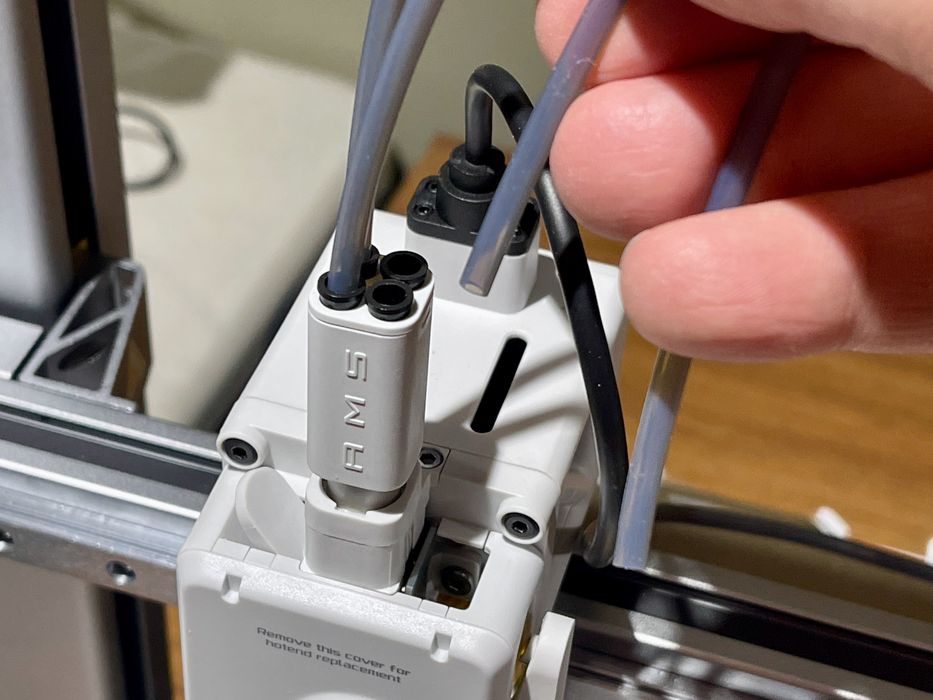
The tubes all lead to the toolhead, which has four tube receptacles. It doesn’t matter which one goes where, as they all lead to the hot end.
That’s about it for the AMS lite, it’s an easy build. You do have to plug in the cable, however. Note there are two AMS cable ports, so I’m wondering if the A1 will eventually support two AMS lite units at once in the future? The A1 mini also has two such ports.
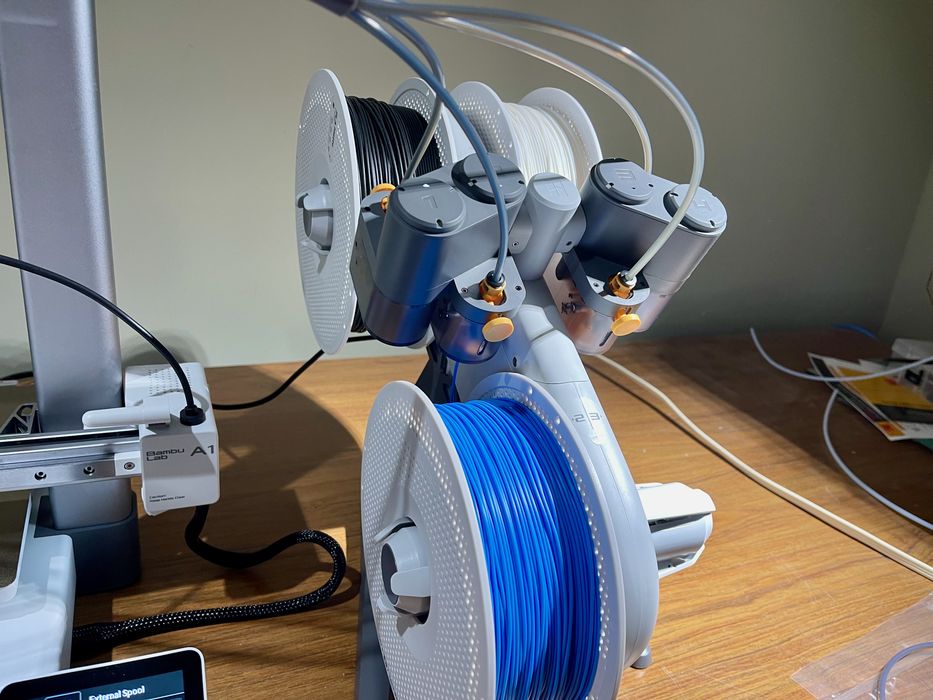
The AMS lite was ready to go at this point.
One final step is to assemble the spool holder, which is used to hold filaments that don’t work in the AMS lite, such as TPU. The spaghetti-like TPU material can’t be pushed up the tubes properly.
The assembly was complete, and it wasn’t too difficult to do. However, there are many more steps required than when assembling the A1 mini.
This is part one of a three part series, please read parts two and three.
Via Bambu Lab