

Our look at the Bambu Lab A1 desktop FFF 3D printer continues with a look at setup, calibration, and operations.
This is part two of a three part series, please read parts one and three.
Bambu A1 3D Printer Setup and Calibration
The A1 was ready for power on, which immediately greeted us with a welcome screen.
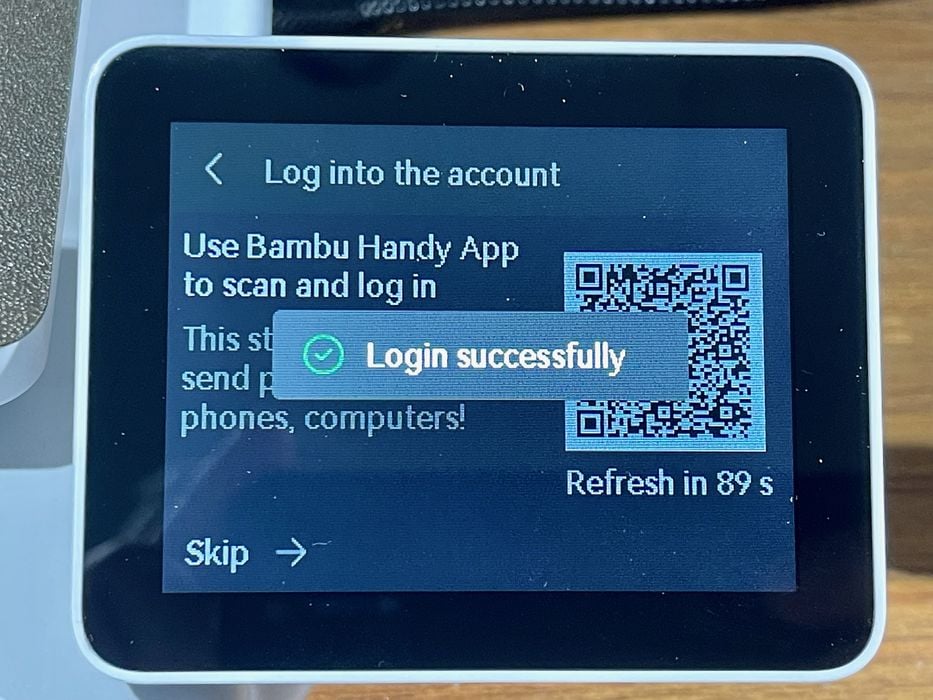
The first step once powered up is to associate the device with your Bambu Lab account. This is done with a QR code read by the app. This connection allows you to use their cloud system to route jobs from PC or app to the printer and monitor operations. More about this later.
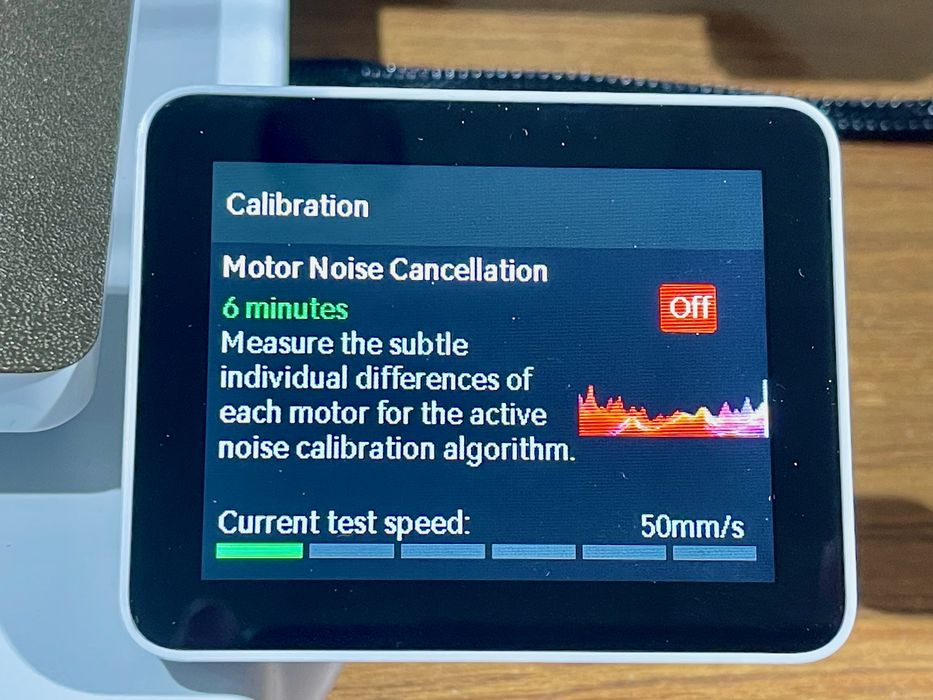
The A1 then undergoes a lengthy calibration sequence, which begins with the motor calibration. The idea here, which is the same on the A1 mini, is to calibrate motor vibrations. Once known, the machine is then able to compensate for motor noise during printing. In other words, this makes the machine somewhat quieter. This may sound unusual, but it actually works. The machine is pretty quiet, but slightly quieter once calibrated.
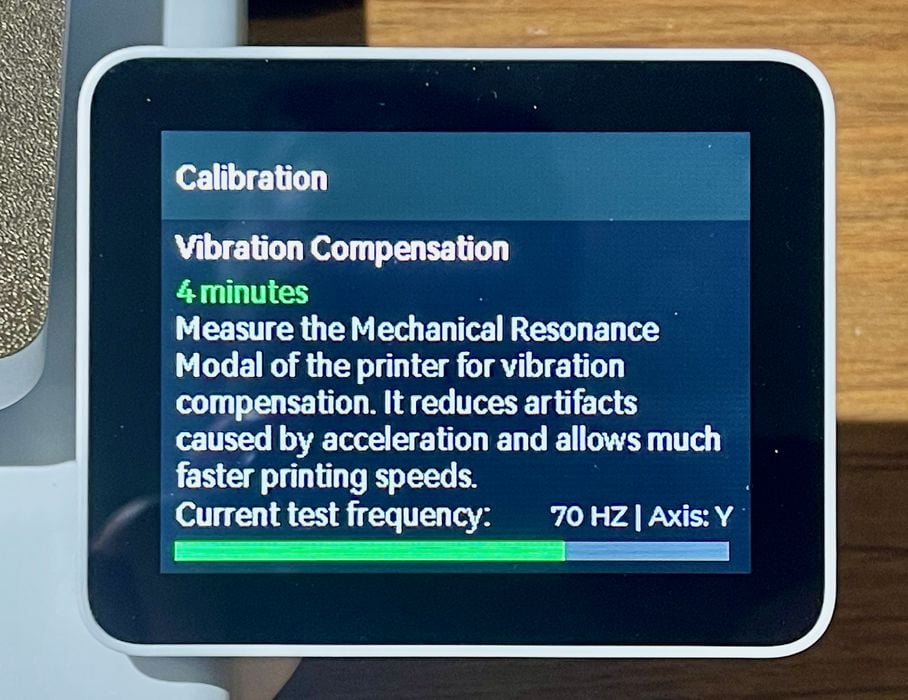
The next calibration is for vibration. This enables the machine to operate at very high speeds without incurring the “ringing” effect on surface quality. While the machine does this calibration once during setup, it can also do this before every job, which is something I ended up doing.
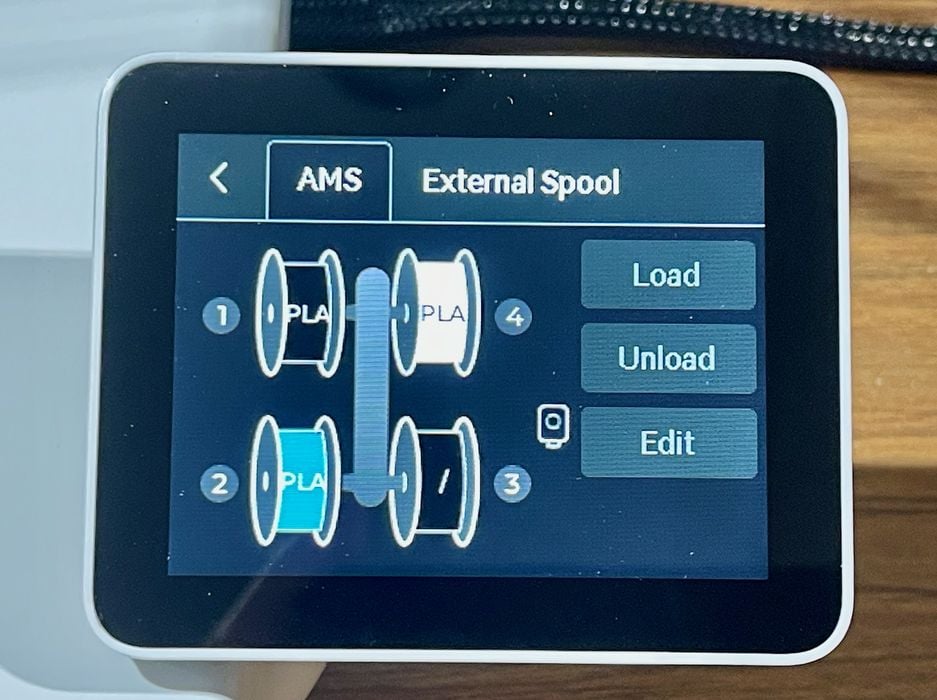
I loaded up three spools of Bambu Lab filament onto the AMS lite, and was surprised to find that the unit reads an RFID tag on the spools. This meant that there was no need to manually identify the spools to the A1; it “knew” what was mounted automatically.
This does not happen with third party spools, where you have to use the touchscreen to identify them. It’s not hard to do, but does allow you to use any third party filament in the AMS lite.
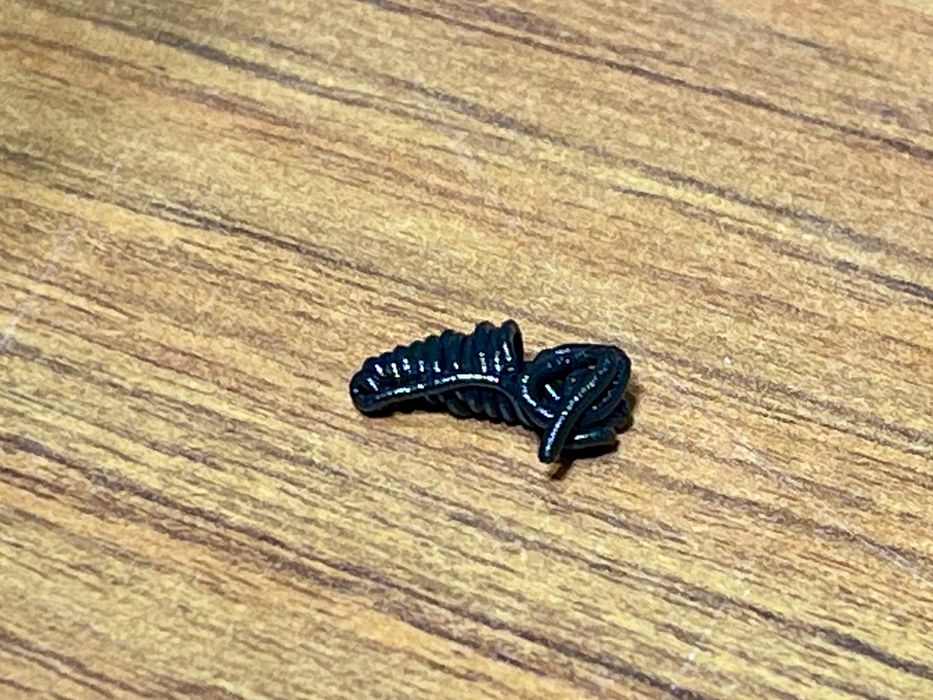
Finally, the machine found a filament and loaded it up, producing its first “poop”. This is a short purge extrusion created when the filament is loaded or swapped.
Bambu A1 3D Printer Operations
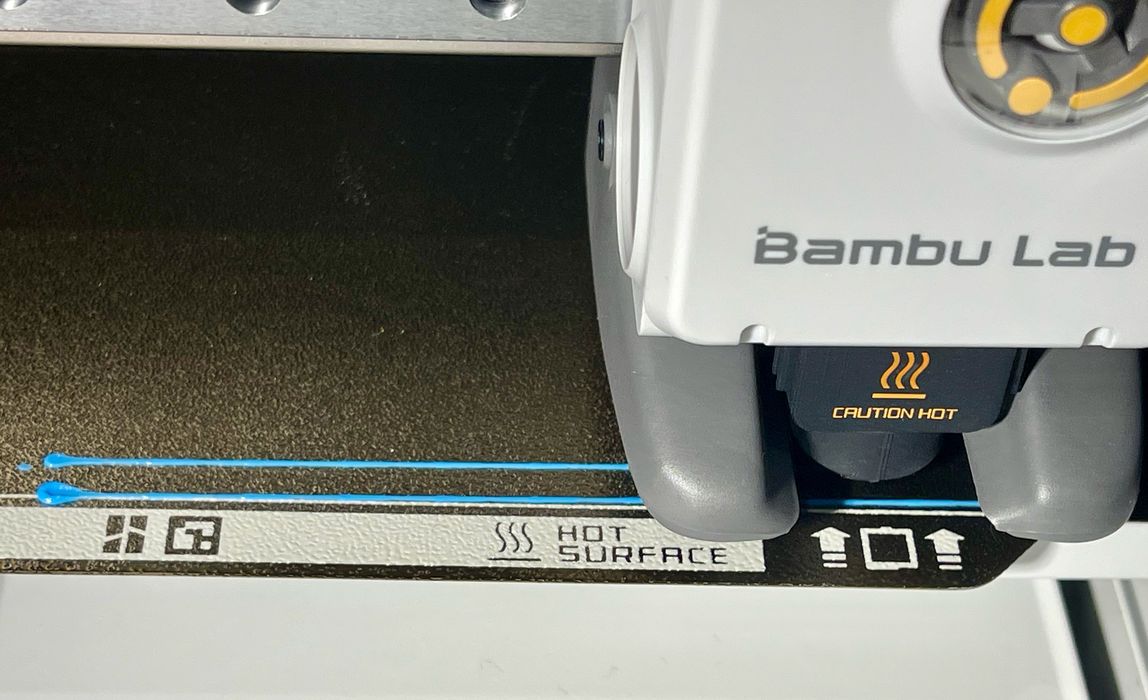
One of the most interesting features of the A1 is its dynamic flow calibration. The idea here is to ensure the proper amount of material is always extruded, regardless of the variations of the input filament. To do so, the machine must calibrate its flow by doing a short test before each job. Here you can see the flow calibration extrusion lines.
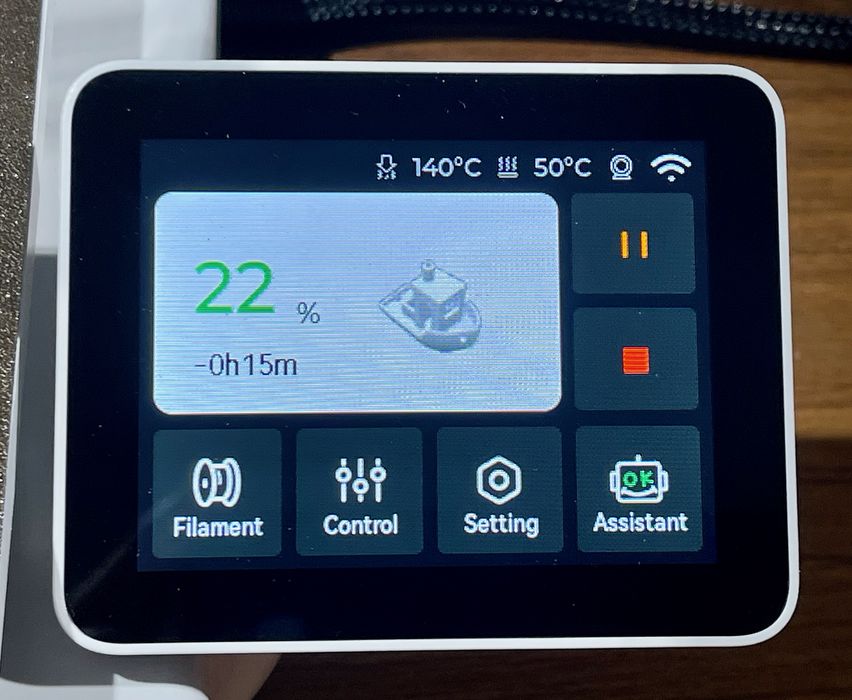
During operations the touchscreen (which is larger than the A1 mini’s) shows an informative display of information about the current job. I found it pretty easy to navigate, and it’s basically identical in user interface to the A1 mini.

Due to the precision leveling and dynamic flow rate, the first layers on the A1 are almost magical to watch. They are inevitably perfect, as you can see here.

Here’s something interesting. I noticed that this first layer had some slight aberrations, which are light colored in the image. I’ve seen these before on other devices, but I noticed that the pattern seems to be much like fingerprints! I’m now wondering if fingerprints cause this effect on first layers. In any case, I’m regularly washing the print plates for the A1.
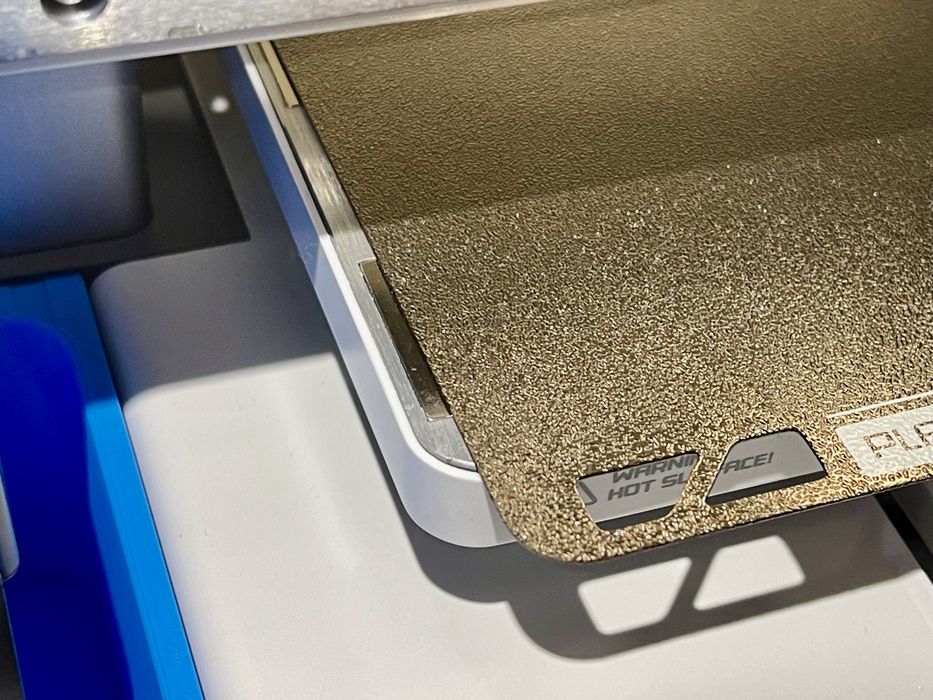
The print plate is easily laid down on the magnetic surface, but I found it sometimes a bit tricky to get it “perfectly” aligned. While there is a structure at the rear of the plate to cause alignment, the larger size of the plate allows more variation at the front. I ended up being extra careful to align the plate every time it was mounted.
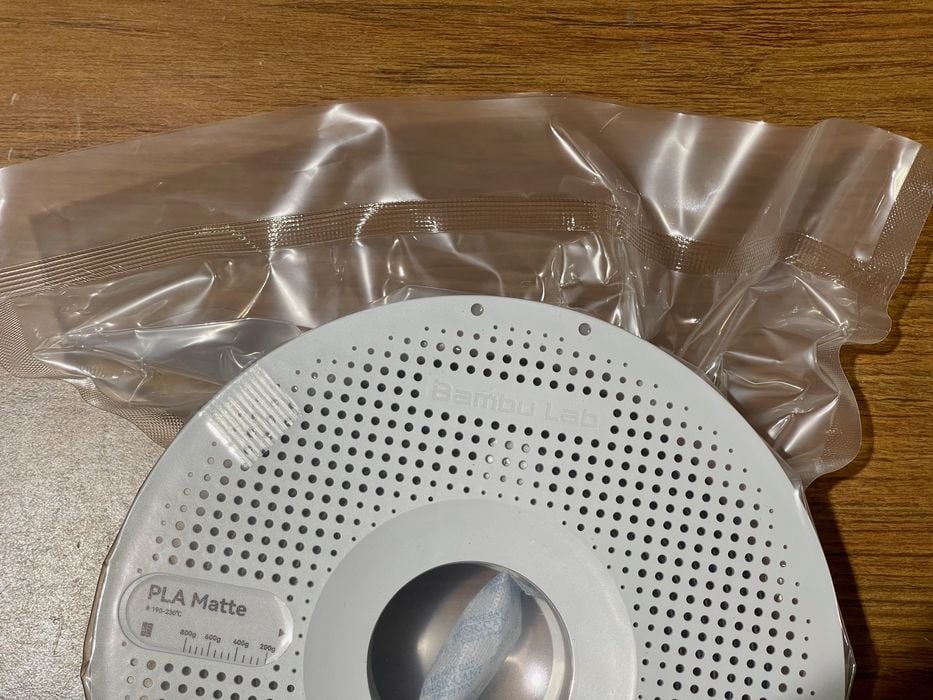
Here’s the bag for one of the Bambu Lab filaments. While the filament itself and the spool are terrific, I wish they would ship them in resealable bags. This would allow operators to swap filaments and keep them dry. Instead, I have to find other bags to keep spools while not in use.
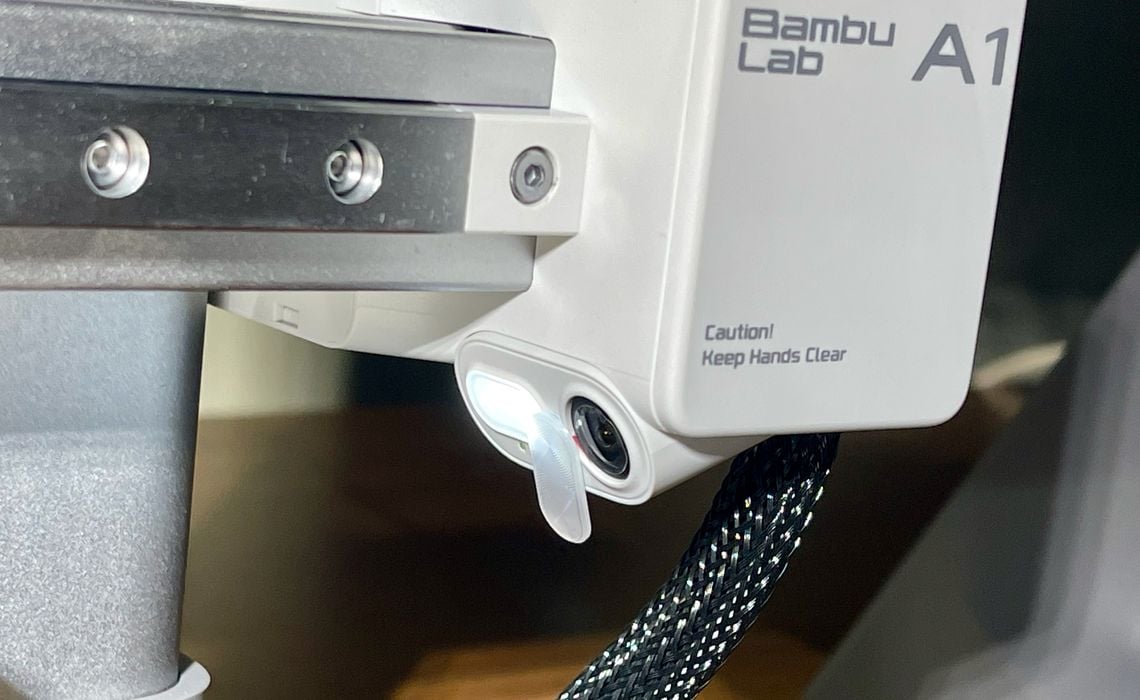
The camera is mounted in an awkward position on the gantry, and has a privacy cover that you might consider using. The camera views are not great due to the location of the camera, but Bambu Lab didn’t have a lot of good choices due to the machine’s geometry.
I found the camera to be useful only to sometimes determine if a print had failed, as it doesn’t really show enough of the action. I also found that many times the video would not start, presumably because the cloud system is busy. In the end I didn’t use the camera very often.
I did have a couple of print failures during my testing, and that’s not unusual for typical 3D printers. However, it is unusual for Bambu Lab printers, which are quite reliable.
I found that inevitably my failures were due to me. Yes, my print failures were all caused by something I did wrong., and there were two ways I generally caused a failure.
The first was due to incorrect print settings, and I’ll get into that a bit more later.
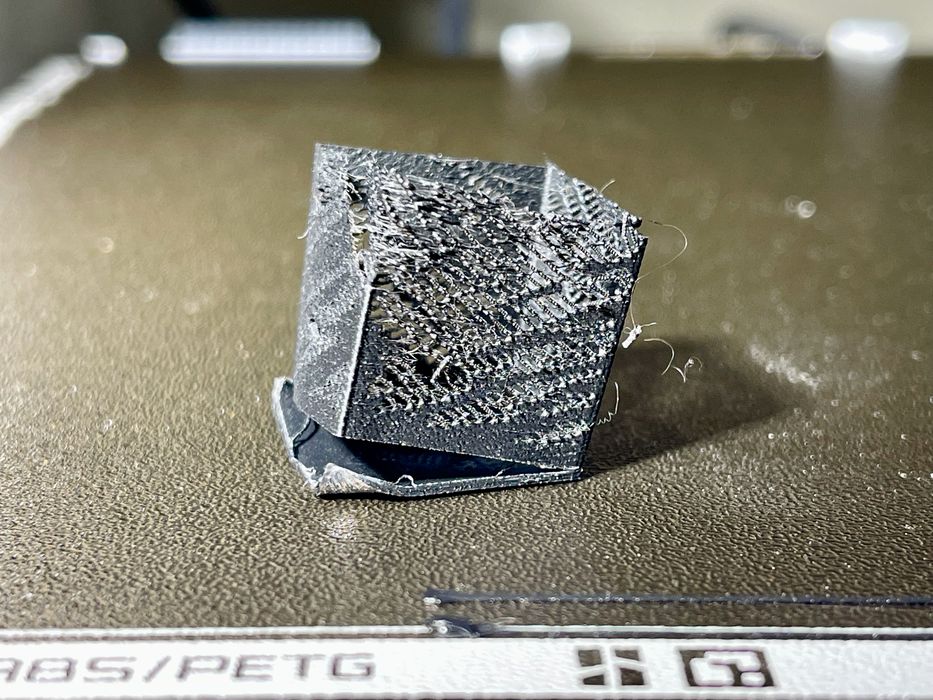
The second was because I didn’t keep the print plate clean. I found that I had to wash the print plate in soap and water every three or four prints in order to ensure there would be proper adhesion.
If I did both of these properly, the prints would always complete successfully.
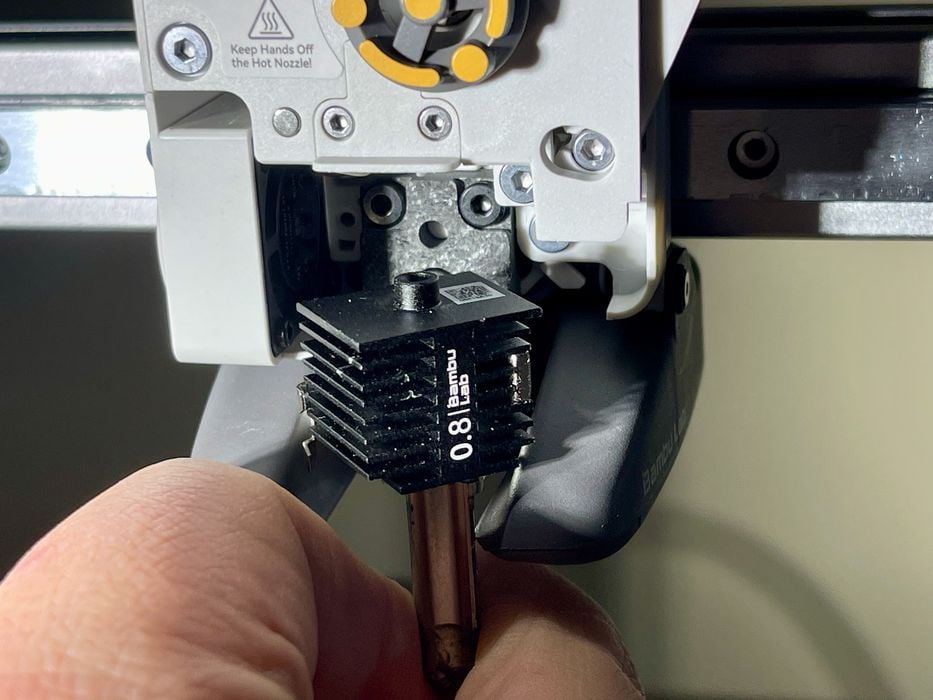
The toolhead on the A1 is the same as the A1 mini, and thus it is able to perform quick nozzle swaps. The process is to remove the silicone jacket, clip-on cover, and release the latch.
Then — and this is important — you slide the toolhead to the right to click the lever that cuts the filament. Then the nozzle just lifts out. On the A1 mini I found that I had to heat the nozzle to do this, but on the A1 I did not and the nozzles are easily swapped.
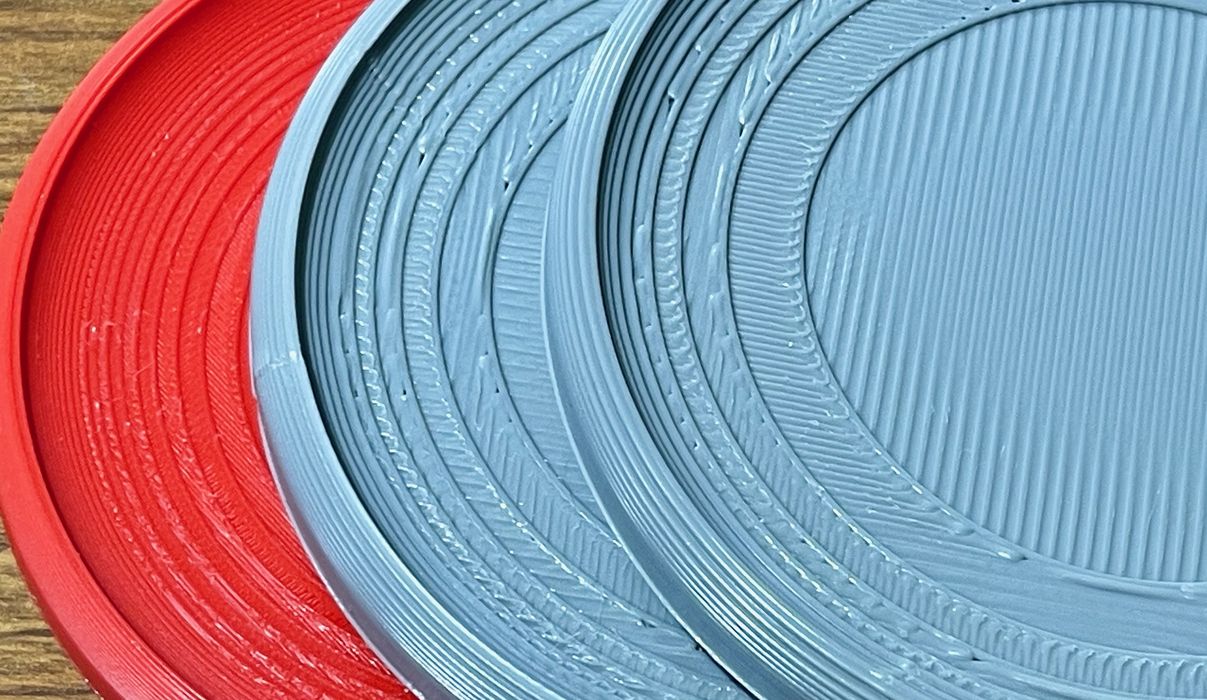
I put in the 0.8mm nozzle and tried a few prints. Here you can see the results of three prints with 0.2mm layers with 0.4mm nozzle, 0.4mm layers with 0.8mm nozzle, and 0.56mm layers with 0.8mm nozzle.
While the prints are obviously more coarse, did the print time decrease? I found the use of the 0.8mm nozzle would speed up the print time slightly, but no where near what I thought. The print speeds on the 0.8mm profiles are a lot slower than the 0.4mm nozzle profiles. I suspect this is because we’d be hitting the volumetric flow rate capacity.
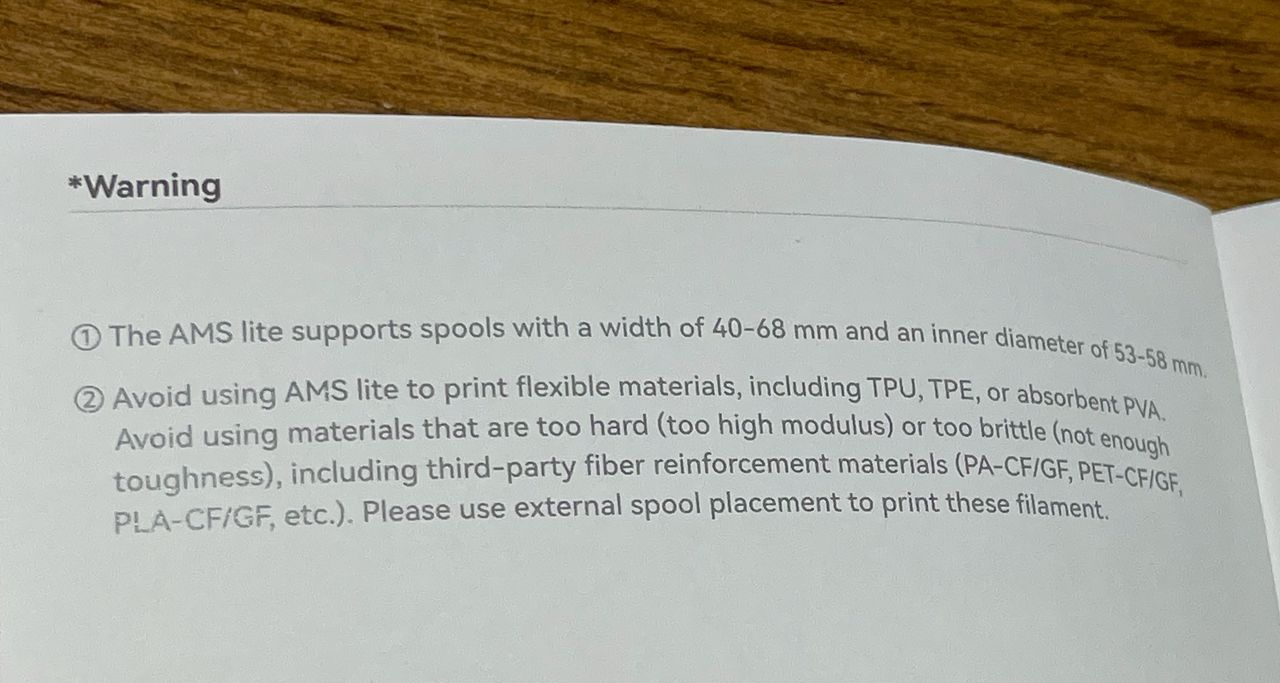
The AMS lite can handle a variety of materials, but not TPU. Note that the spools must fit on the AMS lite’s hubs, which only handle a specific range of spool diameters. I’m hoping that the popularity of the AMS systems will trigger filament manufacturers to move to standard spool dimensions.
The A1 can make timelapse images of print jobs using the camera. The videos are stored on the SD card, which you can retrieve later. I found the videos to be not particularly useful because of the lighting and awkward view of the camera.

However, I found another issue with timelapse videos: during each layer the toolhead moves to the side to allow the camera to capture a clear view of the print. While it’s waiting on the side, the nozzle is still hot and a short drip appears.
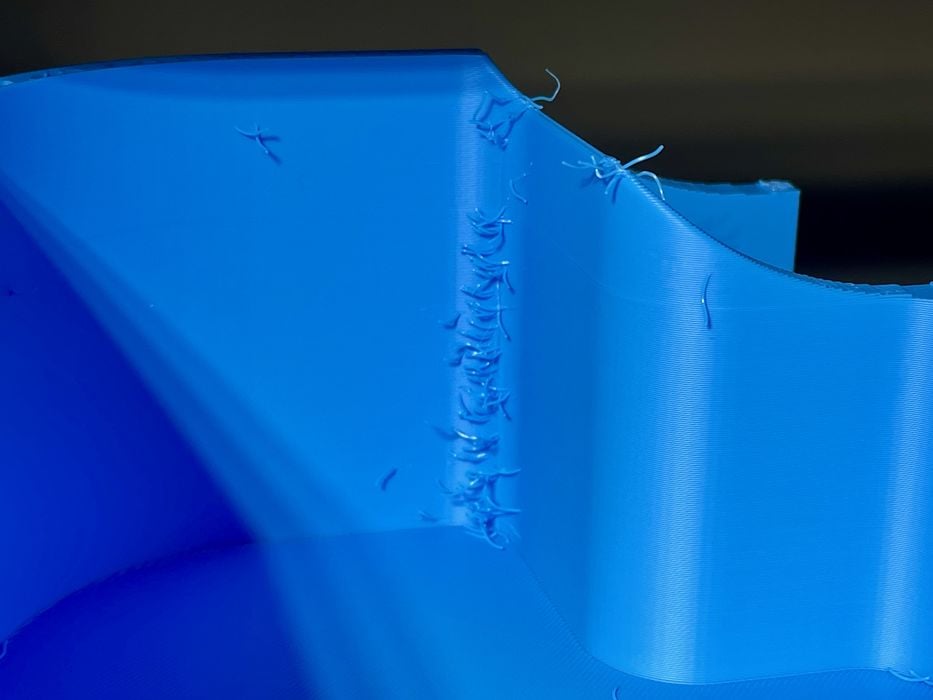
This drip is then carried by the toolhead back into the print job, where it inevitably lands somewhere on the printed object. This is not very good, and perhaps the timelapse process should involve a retraction? In the end I decided that the timelapse option is just something you shouldn’t bother using.
One item that should be mentioned is the floor space occupied by the A1 and AMS lite. I have them set up on a table and it takes about a square meter for everything. That’s a lot of table space, most of which is due to the AMS lite.
Bambu Lab does offer a 3D model to print that is a mount for the AMS lite on the top of the gantry. I haven’t tried this because I do have the desk space, but others report that it does work, although it seems wobbly. Somehow the prints continue to come out with excellent quality.
Operations of the A1 are very straightforward, bu most of the action takes place in the software, not on the machine itself.
This is part two of a three part series, please read parts one and three.
Via Bambu Lab