
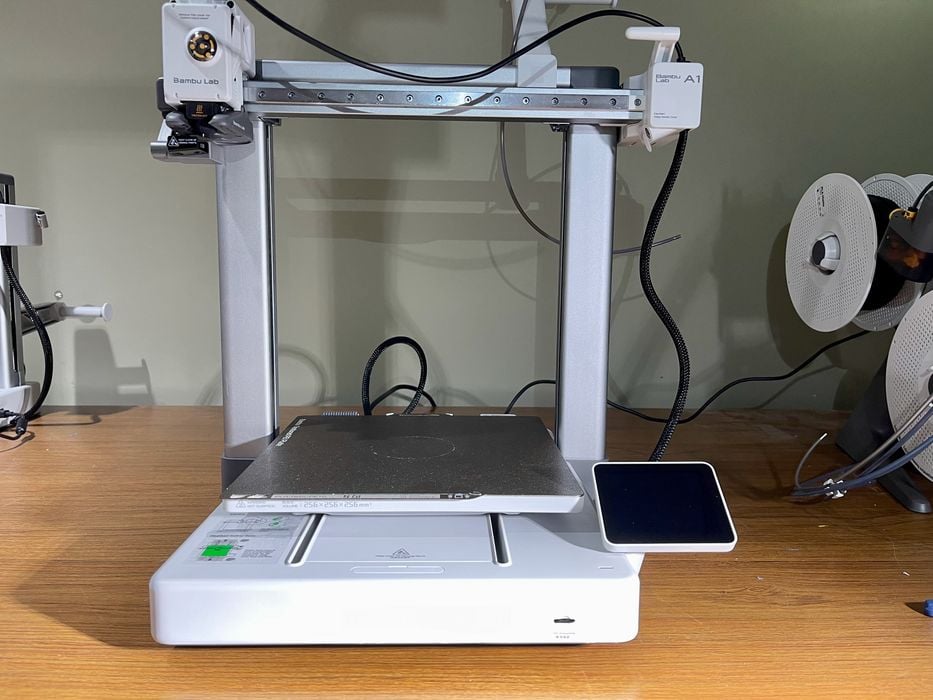
I just completed the long-awaited Bambu Lab A1 heat bed retrofit project, and can tell you all about it.
The retrofit was the outcome of a substantial recall by Bambu Lab. This was required after the certain initial A1 3D printer operators discovered a design flaw in the otherwise excellent 3D printer (which we reviewed here).
The flaw had to do with the cable mount point on the back of the A1’s base unit. This cable provides power and signal to the heated print plate, which moves rapidly back and forth during printing. That movement requires a flexible cable.
The problem arose when some A1 operators would tilt their machine backwards. This might be done, for example, to clear out plastic poop that slid under the machine’s base.
That tilting would cause a bend in the flexible cable, which was simply sticking out of the back of the frame. In some rare cases that bending was sufficient to break the insulation and cause electrical shorts. These were sometimes bad enough to cause small burns on the cable. Not good, so Bambu Lab almost immediately issued a recall.
The recall involved either sending your A1 back to the company for refurbishment or waiting for a retrofit kit to replace the heat plate entirely. That’s what I did, and here’s how it went down.
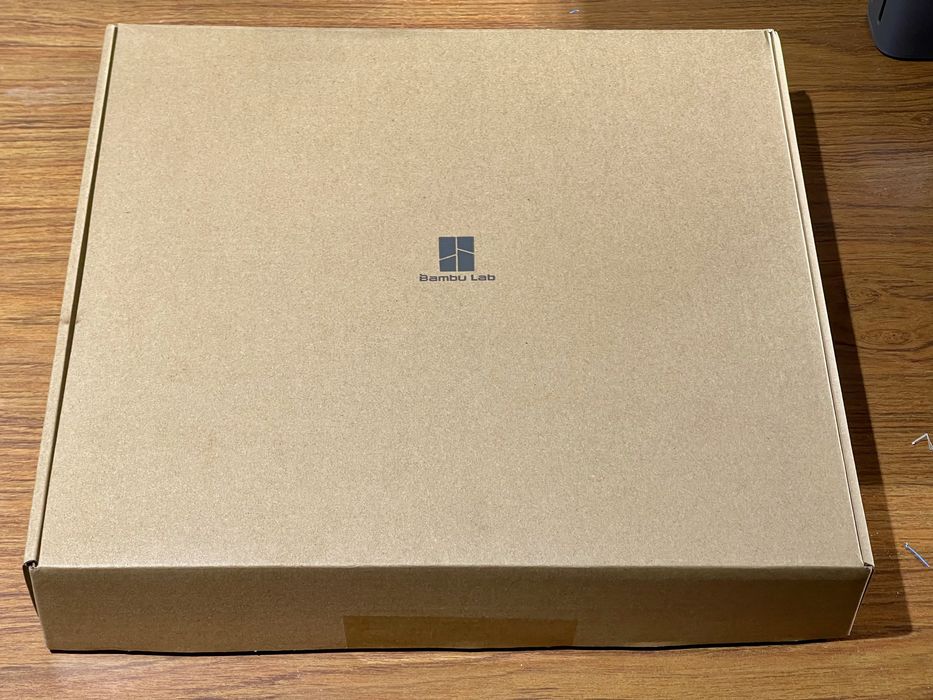
The kit is shipped in a rather slim box, which I suppose is unsurprising given that it’s basically a heat bed with a cable. It’s packed reasonably well, as you might expect from Bambu Lab.
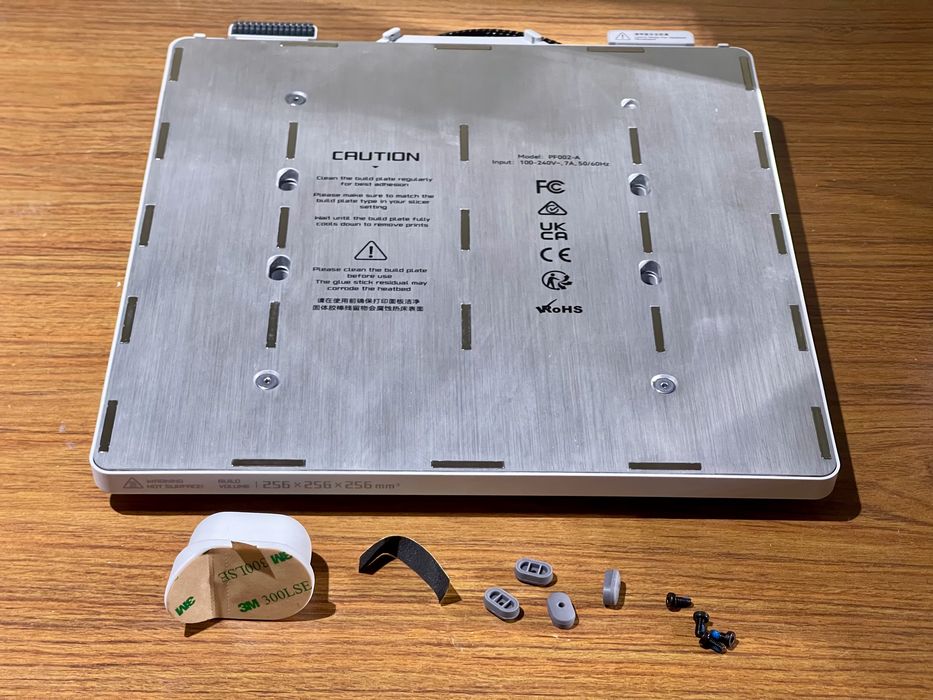
Inside there are few parts. There’s the heat plate itself taking up the majority of the box, with its already attached cabling. There’s also a small bag of bolts and a curious plastic knob.
One item that was NOT included was any instructions! Given the relatively complex deinstall / reinstall procedure, instructions are truly required. While they are not included in the box, they ARE provided on Bambu Lab’s online Wiki. You can find the retrofit instructions here.
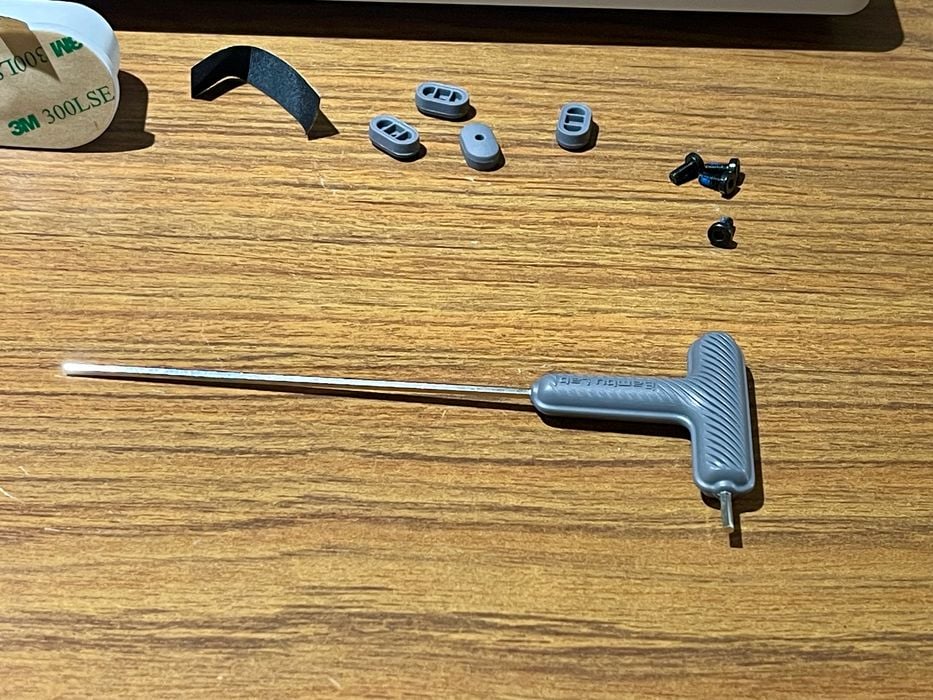
The tools required, according to the Wiki, are simply the Allen key wrench. That’s included with the A1, so you should have one handy. I also find this key design to be quite functional and easy to use.
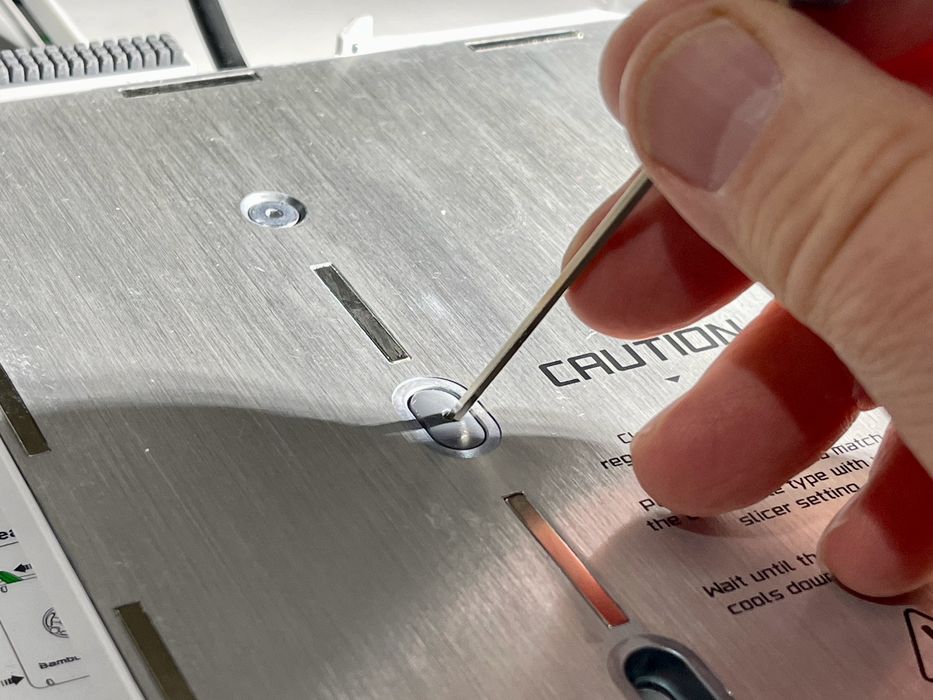
However, I found that I made good use of a fine pair of needle nose pliers to pick up small items beyond the reach of my fat fingers.
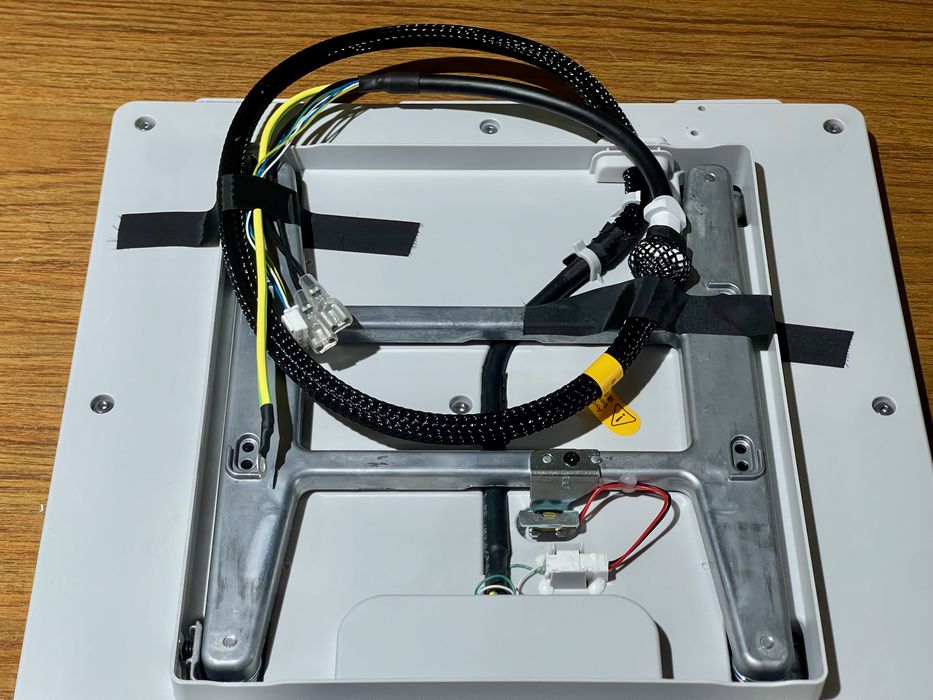
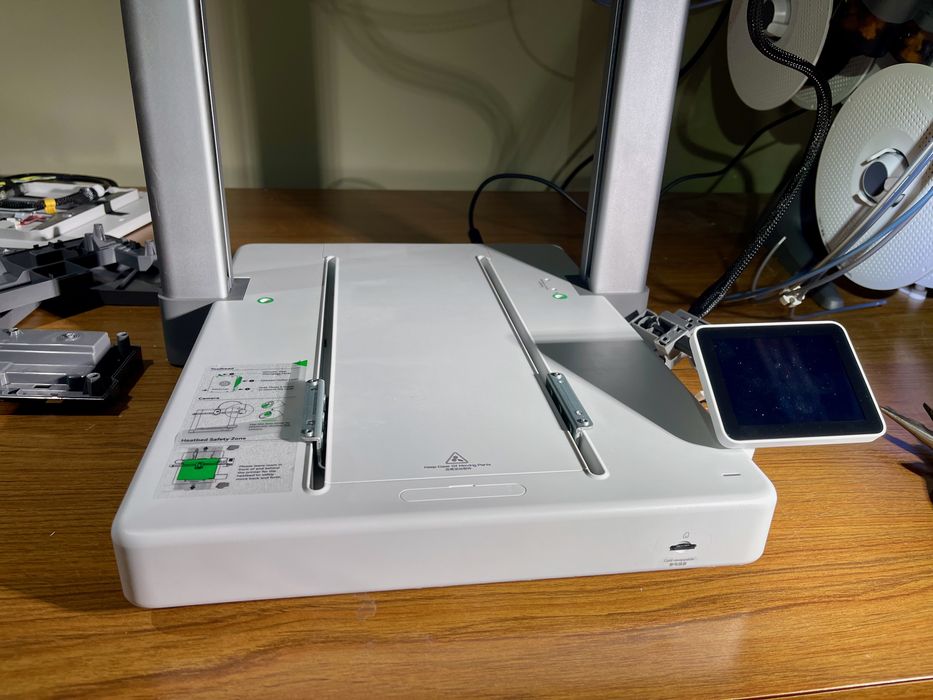
The heat bed is plain on top, but on the bottom we can see quite a bit. There’s the metal structure that attaches to the base unit, as well as the long signal & power cable.
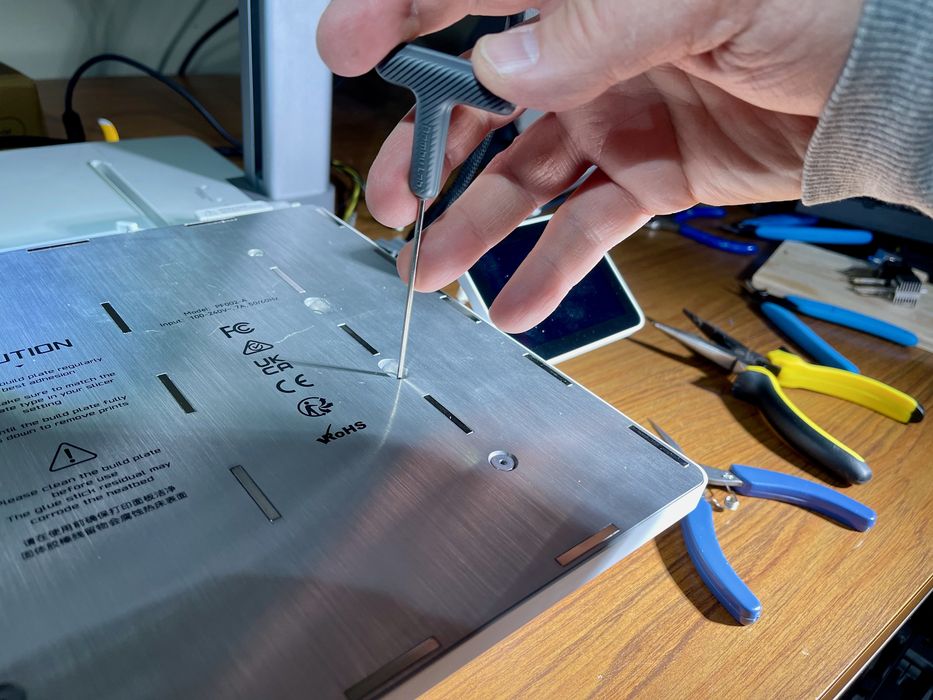
The first step is to remove the old heat bed, and don’t forget to remove the textured print plate. This is easily done by popping off four silicone covers and removing the screws beneath.
That allows you to lift the heat bed off the base unit, but it’s still attached via cables that must be disconnected.
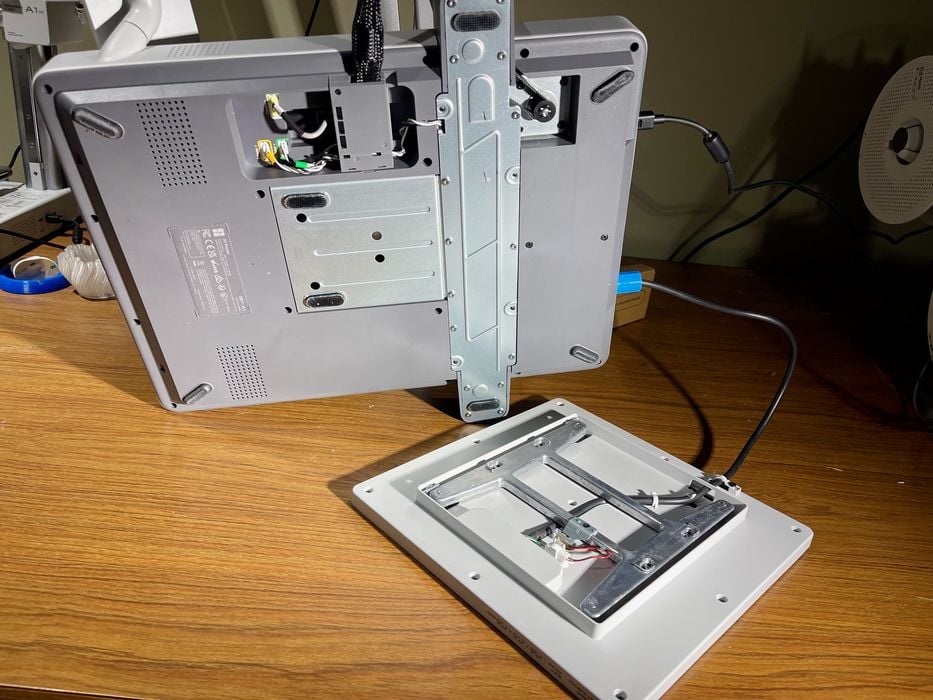
To access the cables, you must tip the machine over. This is actually rather delicate, as the A1 is not really designed to be place on its side — the poop ejector would take the brunt of the weight, and that’s not good. Bambu Lab advises to use a box of filament as a support for that area.
I found this to work, but please be careful: as you fiddle with bolts and cables you may slide the machine off the filament box.

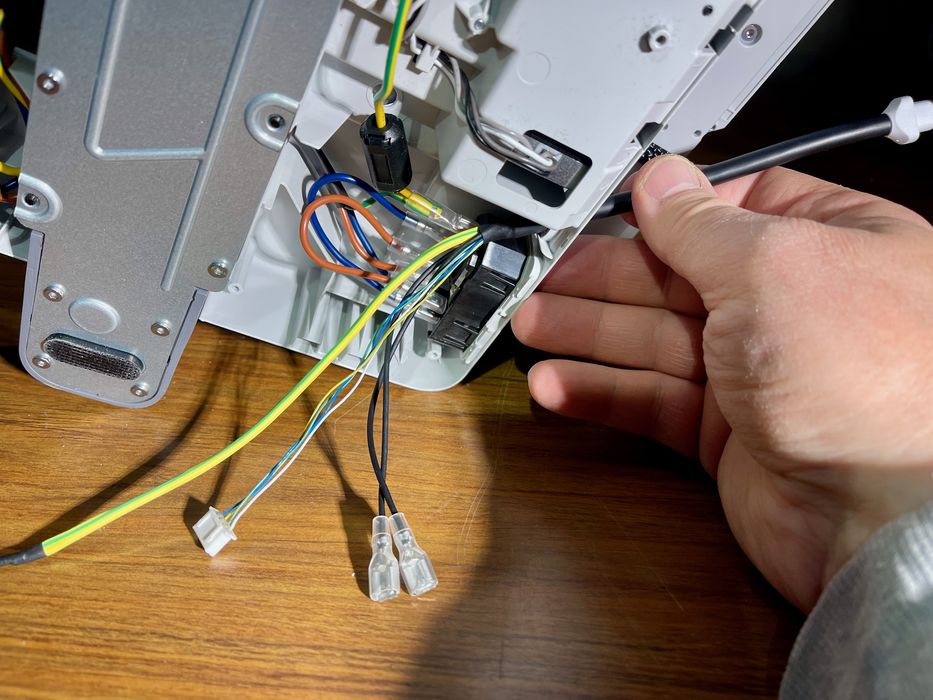
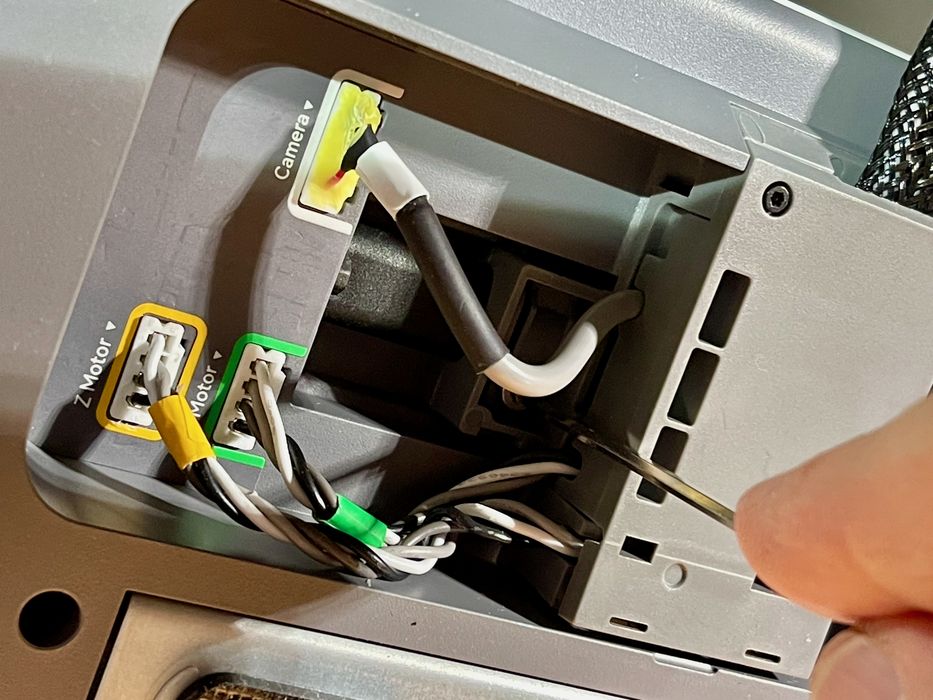
The next step is to gain access to the cable area from the bottom base unit. This requires unplugging some of the other cables in the A1, including the camera, z-motor and x-motor.
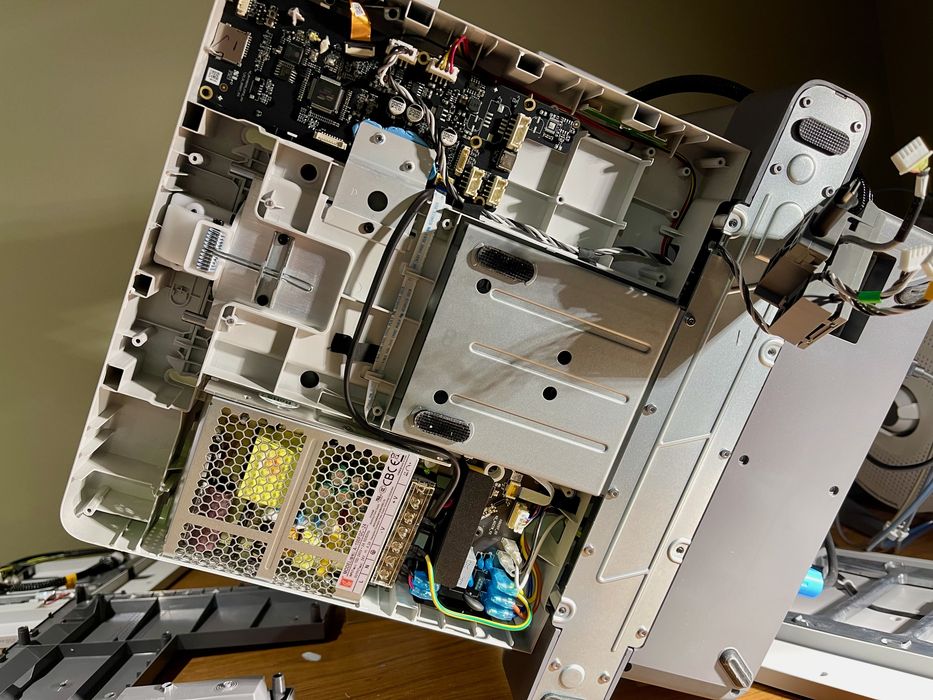
After those are disconnected you can remove the bottom plate and the entire system is exposed. There’s quite a bit going on in there, if you care to look around.
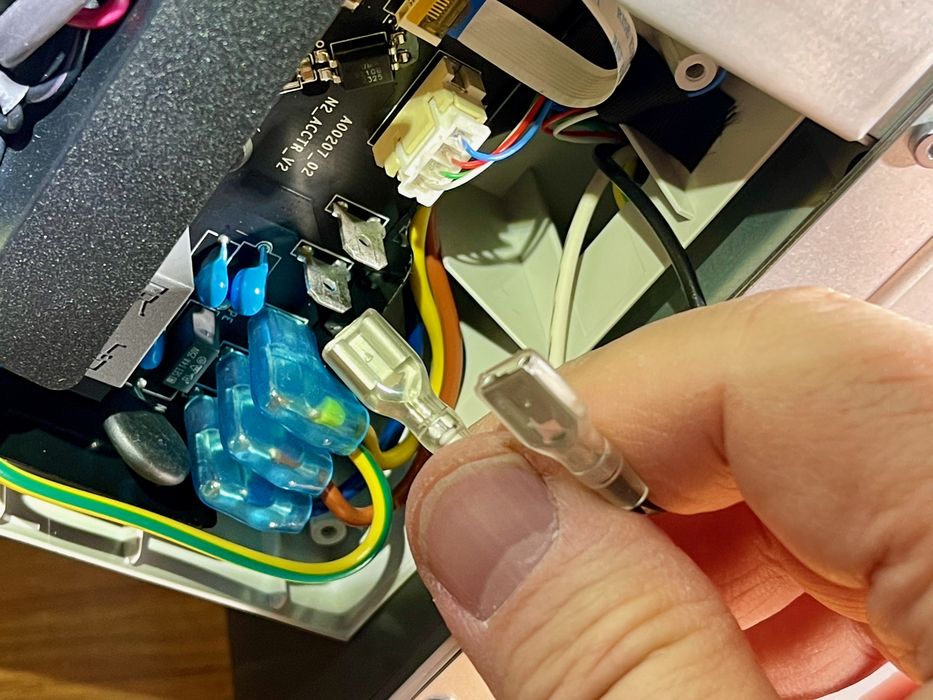
Finally it’s possible to remove the heat bed cables. There are two main power cables to unplug, as shown above. There’s also the signal cable to remove, just above the power plugs. Once these and the grounding wire are disconnected it’s easy to pull the cable right out, removing the old heat bed.
After the old heat bed is completely removed we must start installing the replacement. Tipping the machine over we can see the mount points for the heat bed. There’s four bolts, so this should be easy.
Or is it? How does one align the heat bed on those mount points, which by the way slide back and forth as you fiddle with the heat bed?
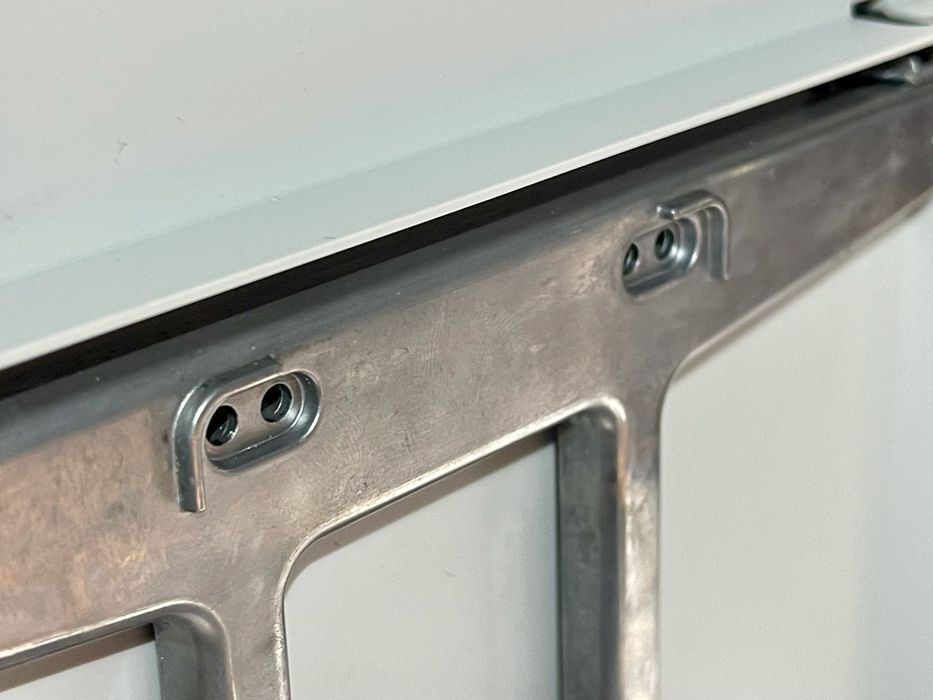
It turns out Bambu Lab thought of this: the metal attachment on the bottom of the new heat bed has some metal guides that almost instantly lock the heat bed in the correct position. The only thing to be concerned about is that the heat bed must be pushed one direction to ensure the holes are flush.
The new heat bed is then bolted down using the new bolts. Why don’t we use the old bolts? I have no idea, they seem to be similar, but I used the new ones, just because. There are also new silicone covers for them.
The new heat bed cable must be threaded through the pathway to the plug in points. There’s two holes to go through, and I found the needle nose pliers quite useful to gently grab the cables as they went through. Note that the grounding wire goes through only one hole for its attachment point.
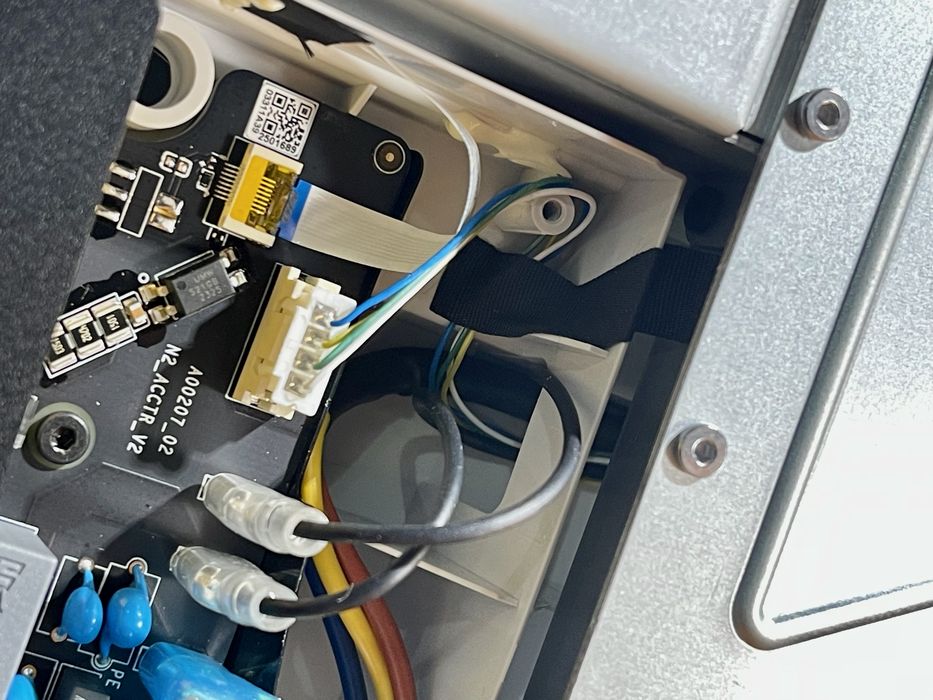
Here we see the new cables plugged in. Note that the signal cable must be wound around the pillar and secured with tape. I’m not sure why this strain relief is required, but you’d better do it. Bambu Lab asks that an image be captured of this part to ensure you did it correctly.
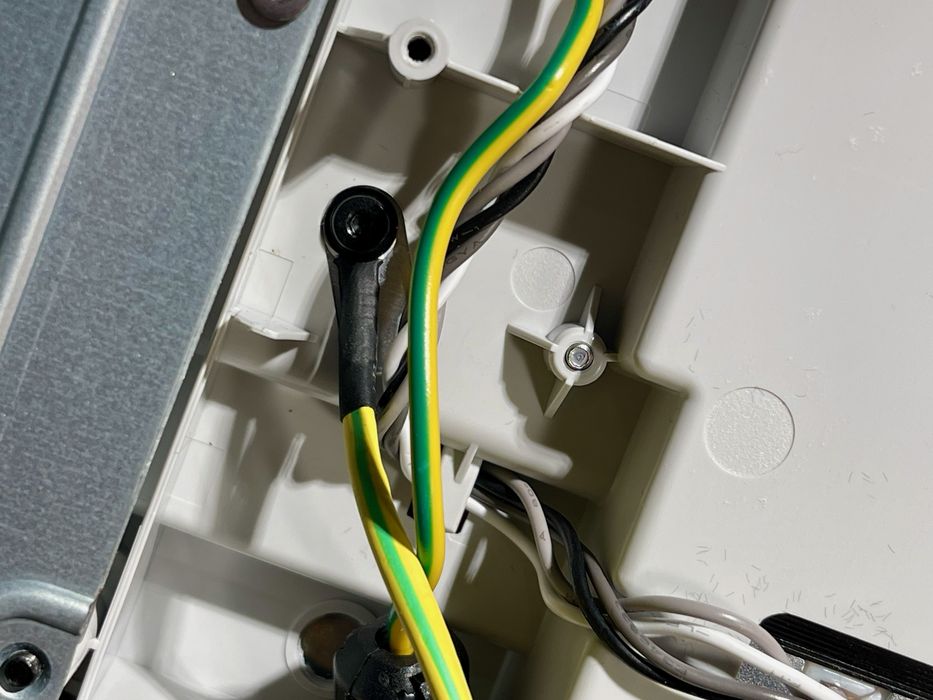
The grounding wire must also be attached, and that’s easy to do.
The new main cable looks a bit different, but easily snaps into its mount point. I noticed that the base unit bottom cover has some material that helps keep it in place. At this point the bottom covers can be replaced with the same bolts that held them in previously.
The other cables that were removed previously for access must now be placed back in their spots. There’s one bolt required for the USB-C connection, which slides back and forth in this area. All easy to do.
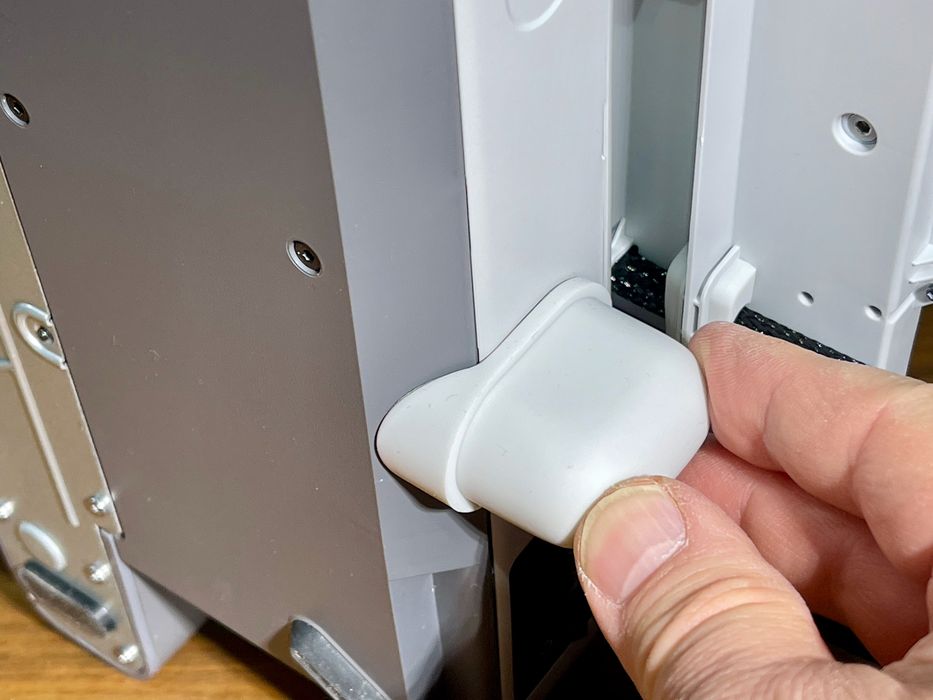
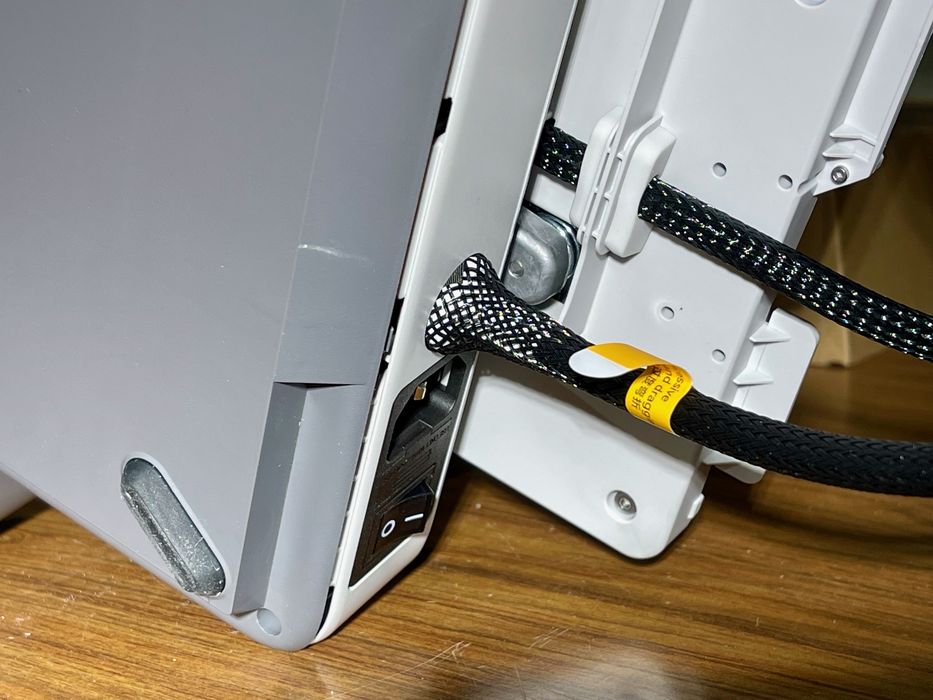
This is the key step: that mysterious knob. It’s a soft plastic chunk that is surface mounted beside the main heat bed cable. This acts as a protector for the cable, should the A1 operator tip the machine over — and you know they will.
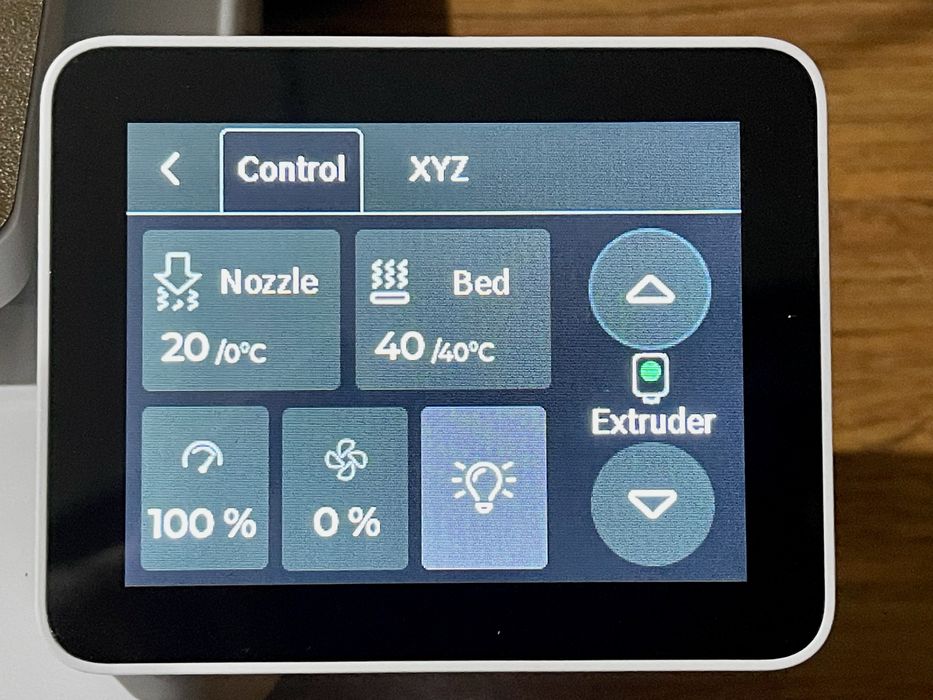
At this point it was time for a test. The Bambu Lab instructions suggest attempting to heat the plate to 40C. If that temperature is reached they consider the upgrade successful. Here you can see my A1 not only powered up successfully after all the cable work, but also quickly reached 40C.
Mission accomplished!

But there was one more problem. Since the A1 was then ready to go, I thought it appropriate to print something — perhaps a better test than just going to 40C.
Unfortunately I discovered that the filament that had been sitting in the AMS tubes for the past several weeks awaiting the retrofit kit had dried out and broken in several spots. The A1 reported it was unable to retract the filament, which was obviously the case.
After some manual filament removal, I was able to successfully 3D print a small item.
The upgrade was completed!
The instructions for the upgrade seem quite lengthy, but in reality this is not a very difficult procedure. If you follow the well-written instructions it should be done in less than an hour.
If I can do this, you can too.