
Our review of the Bambu Lab mini A1 continues with assembly and setup.
This is part two of a four part series, please read parts one, three and four.
Bambu Lab A1 mini Assembly
There is very little required to assemble the A1 mini, but there are steps to follow.
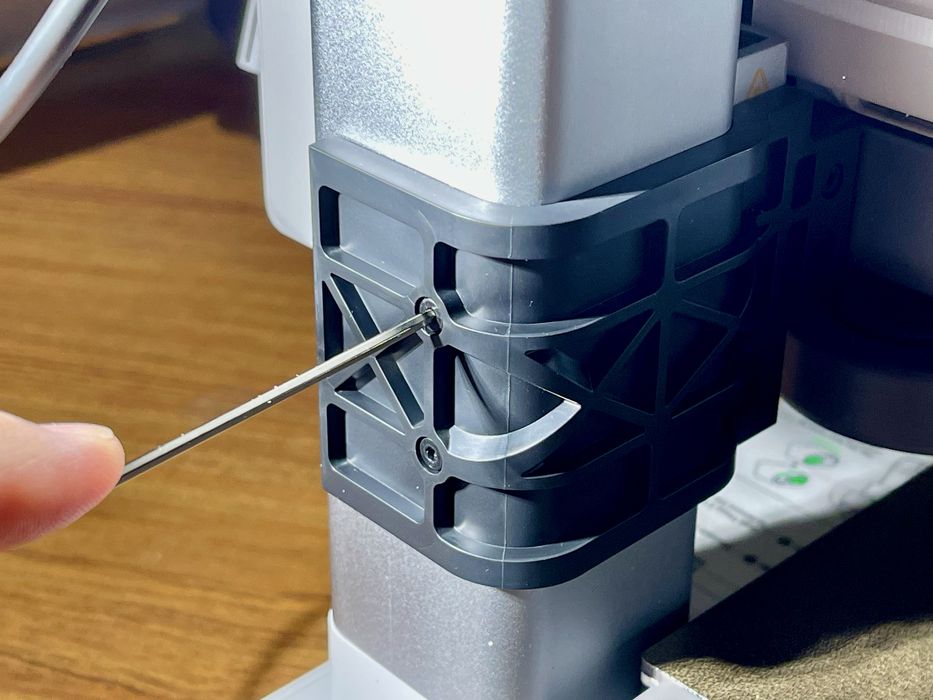
The first item was to remove an injection-molded bracket that holds the motion system stable during shipping. Aside from straps and foam, this was the only shipping item to remove.
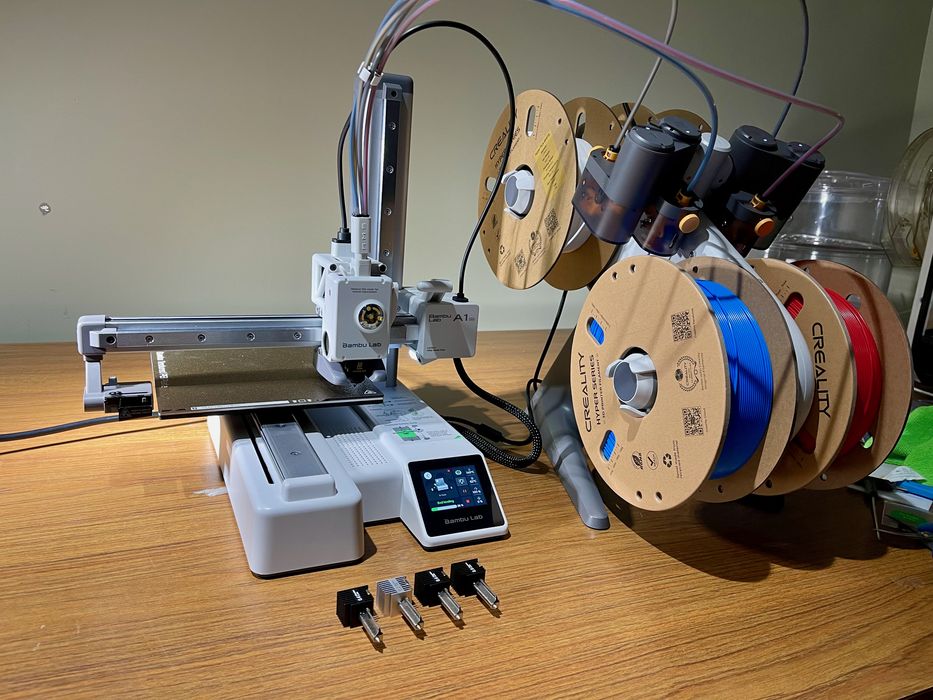
The one item to install on the printer is the ejector. This is a mechanism to collect extrusions and eject them when the filament is being purged during a color change. It includes a “sweep” that can push off any extrusions to the left of the printer. The ejector is easily attached with the appropriately labeled bolts and a driver from the toolkit.
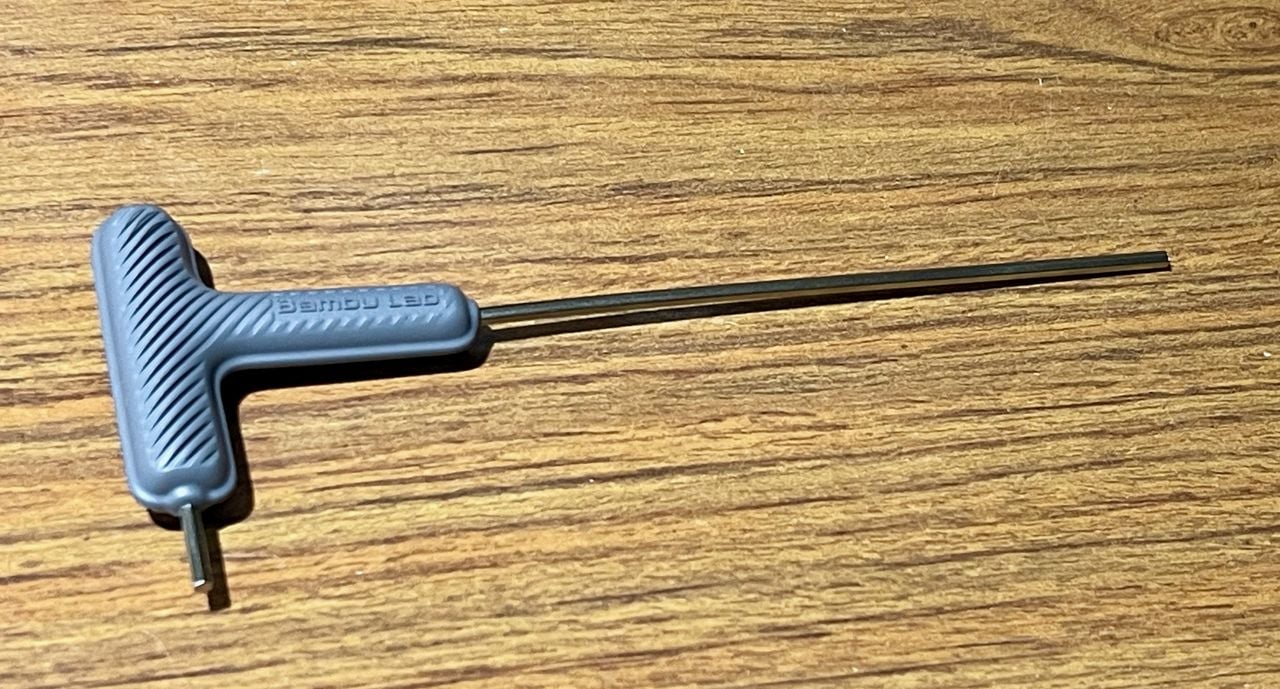
At this point I have to commend Bambu Lab for their driver tool. Most manufacturers include standard L-shaped Allen key, but this one has handles and I found it far easier to use. This style should be the standard included with 3D printers.

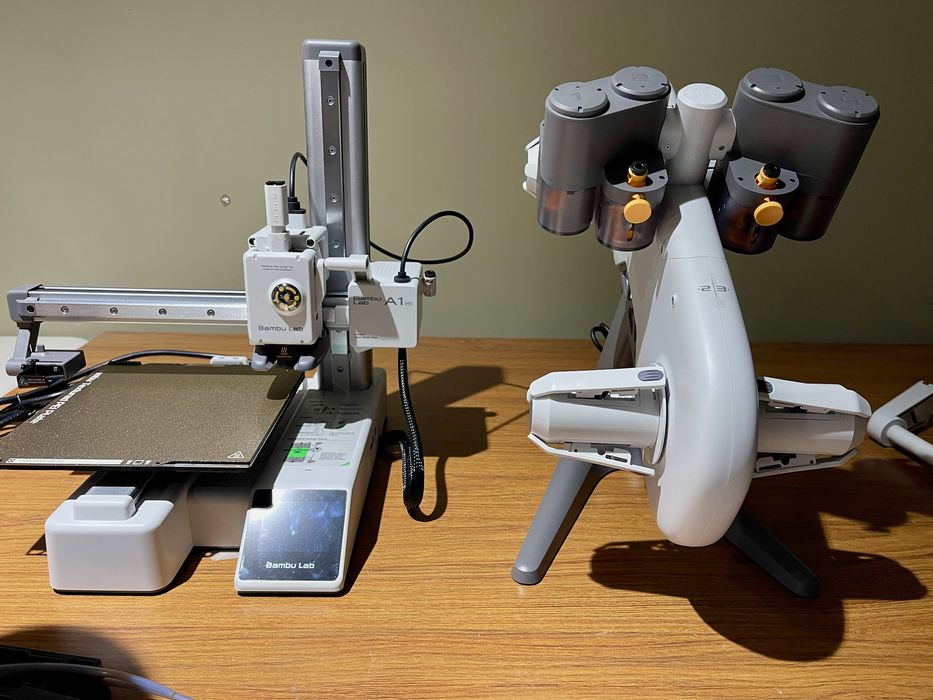
At this point I tackled the AMS, which is probably the majority of the work to assemble the A1 mini. It’s a four-spool configuration that is curiously at an angle. It turns out there is a reason for this that we’ll learn about later.
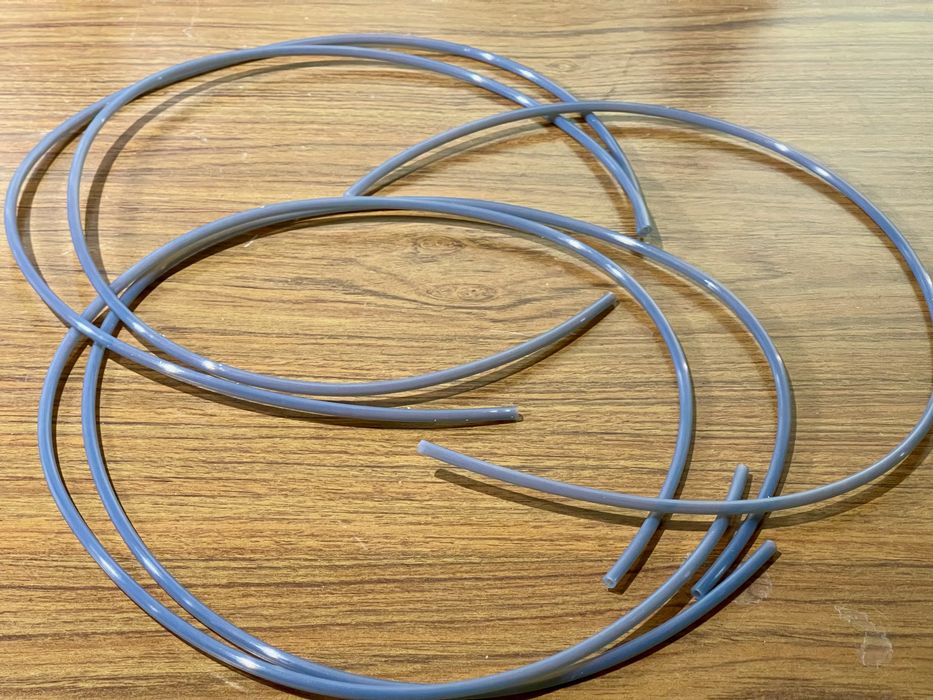
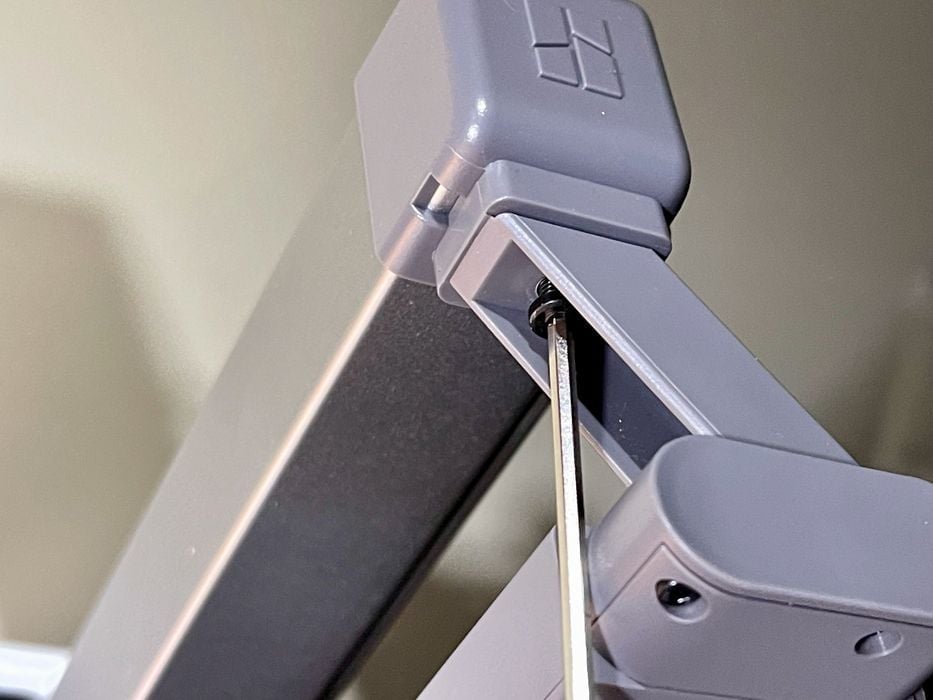
The main job here is to assemble the PTFE tubes that lead the filament from the spool to the extruder.
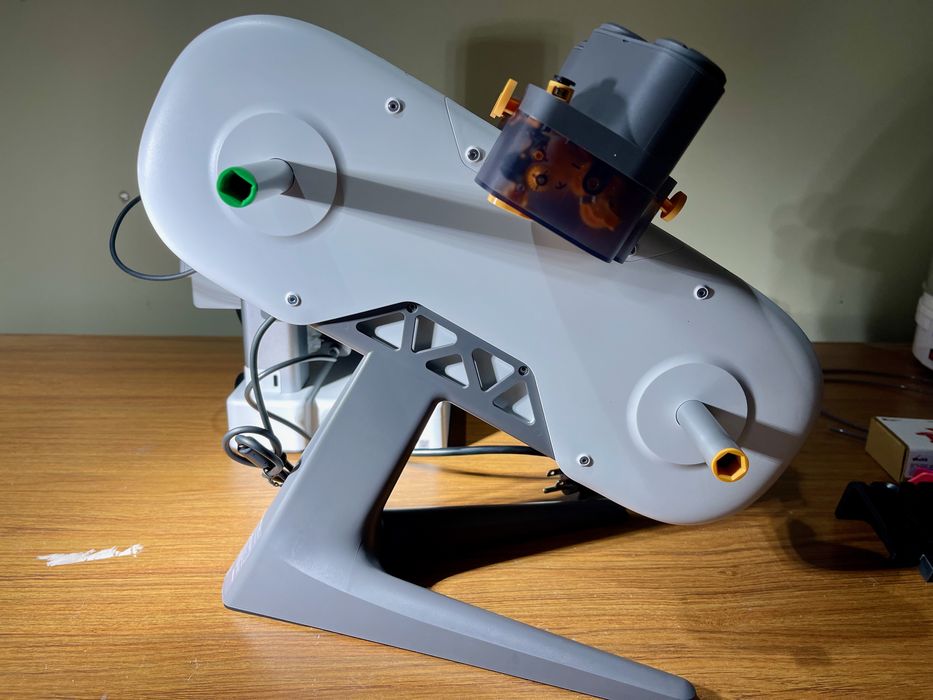
Do you see it? Each spool has a color, here yellow and green. These are important, because the spools turn differently: two work clockwise and the others counterclockwise during operation.
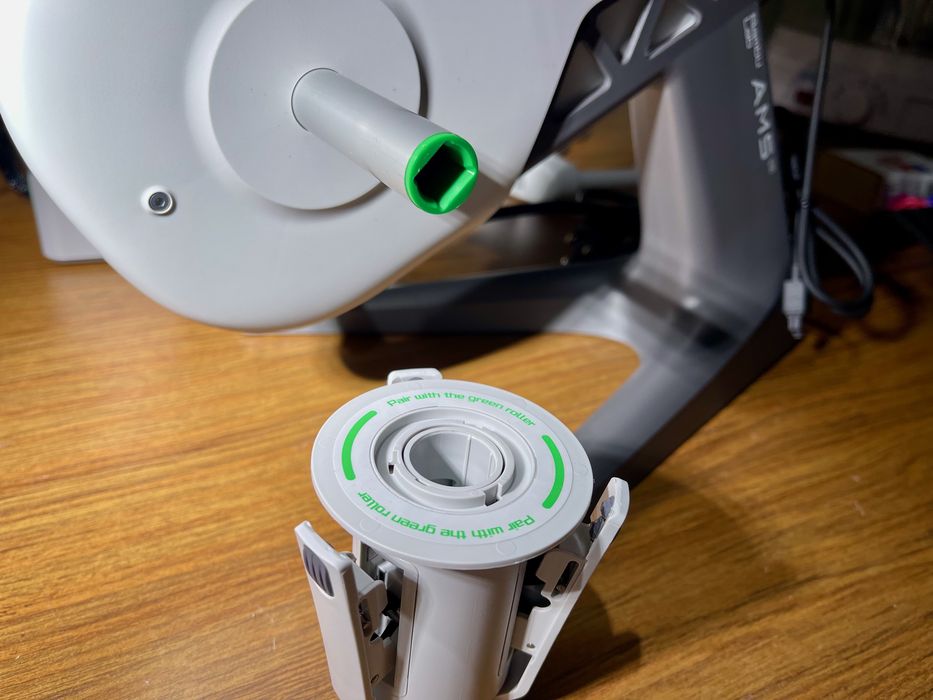
The job is to match the colors, which is easily done.
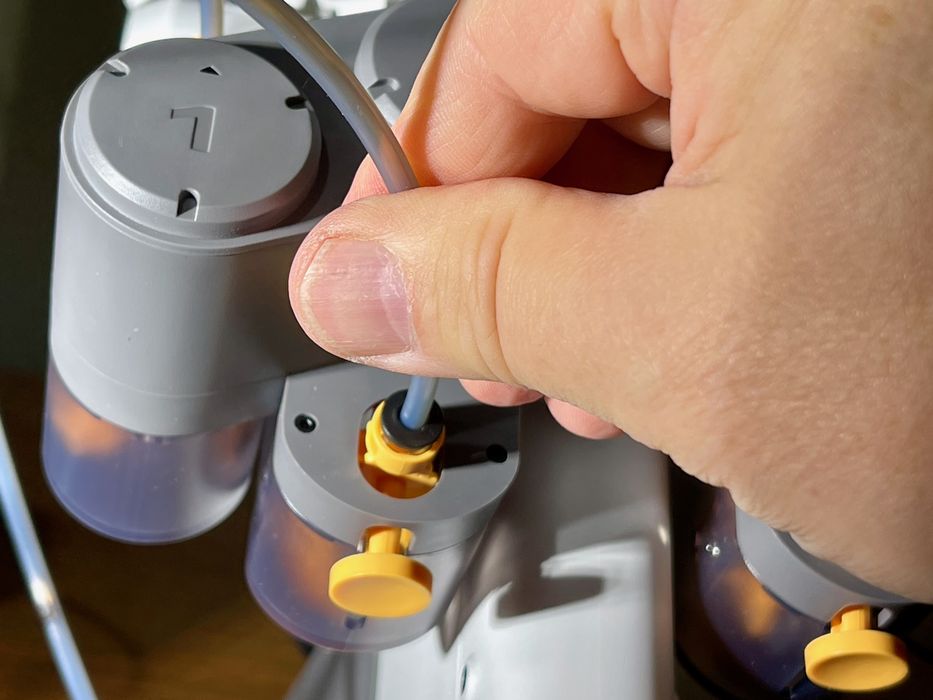
The next step is to affix the PTFE tubes. They travel from a mount point on the AMS to a four-filament receptacle on top of the extruder. At this point I realized the AMS has a motor on each spool to push and pull filament.
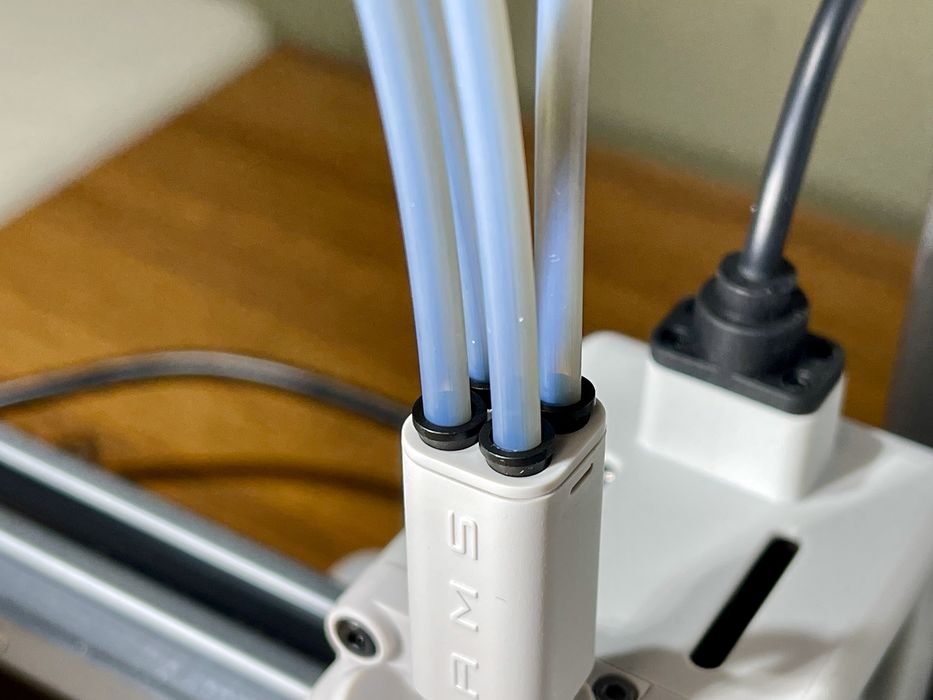
Here I’ve completed mounting the tubes on the receptacle. I was careful to match the path from spool to point on the receptacle, but in reality I don’t think it matters: all filaments push into the same nozzle at the end anyway.
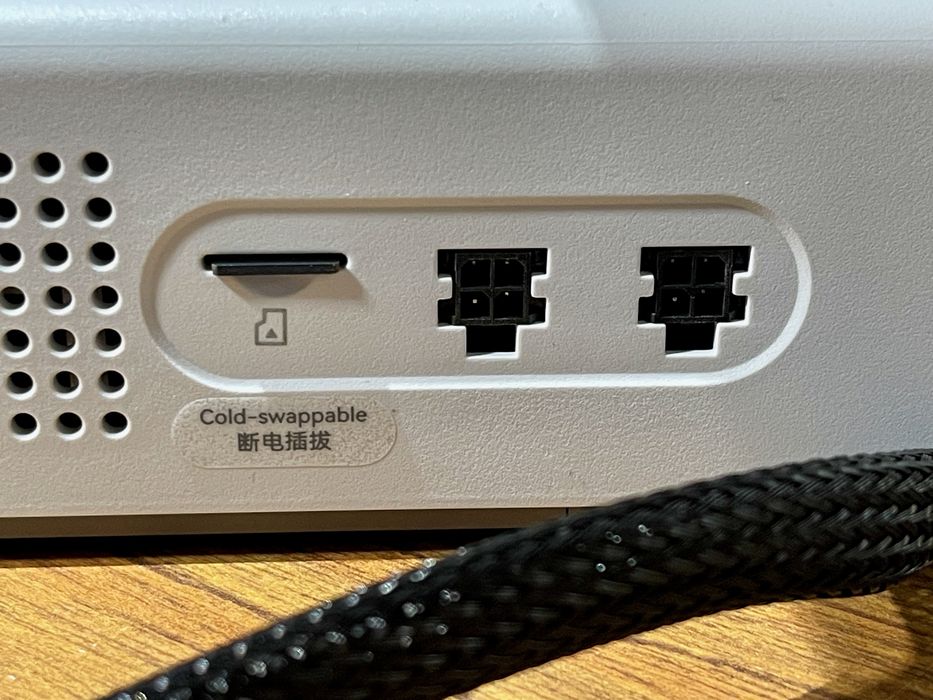
The AMS is cabled to the base unit through one of these two ports. This provides power and control to the AMS. What’s interesting is that there are TWO ports, but only one is used. Could this mean that the A1 mini could potentially use dual AMS units for eight materials in the future?
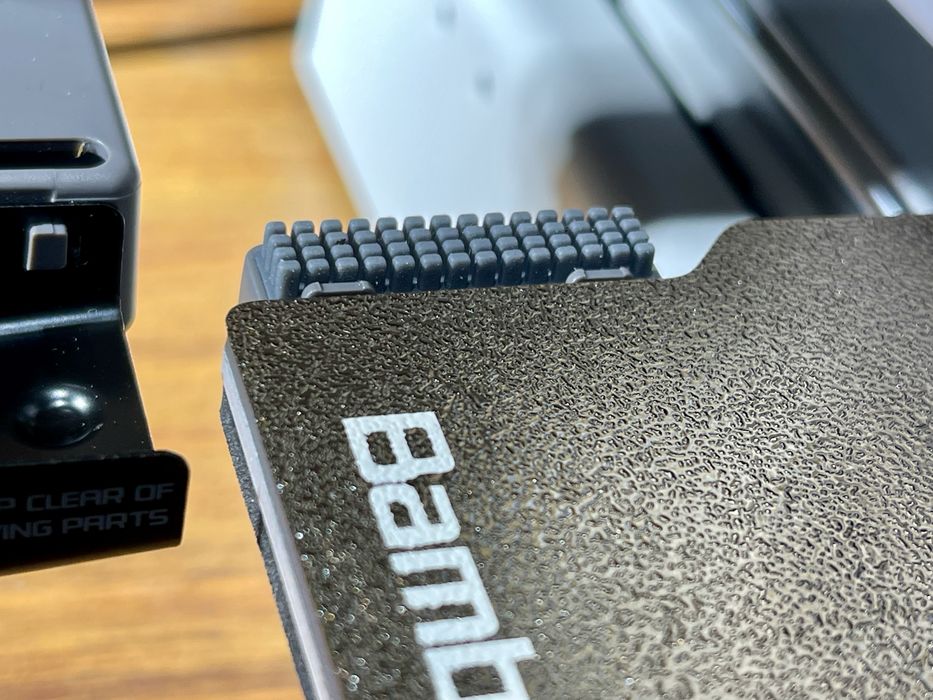
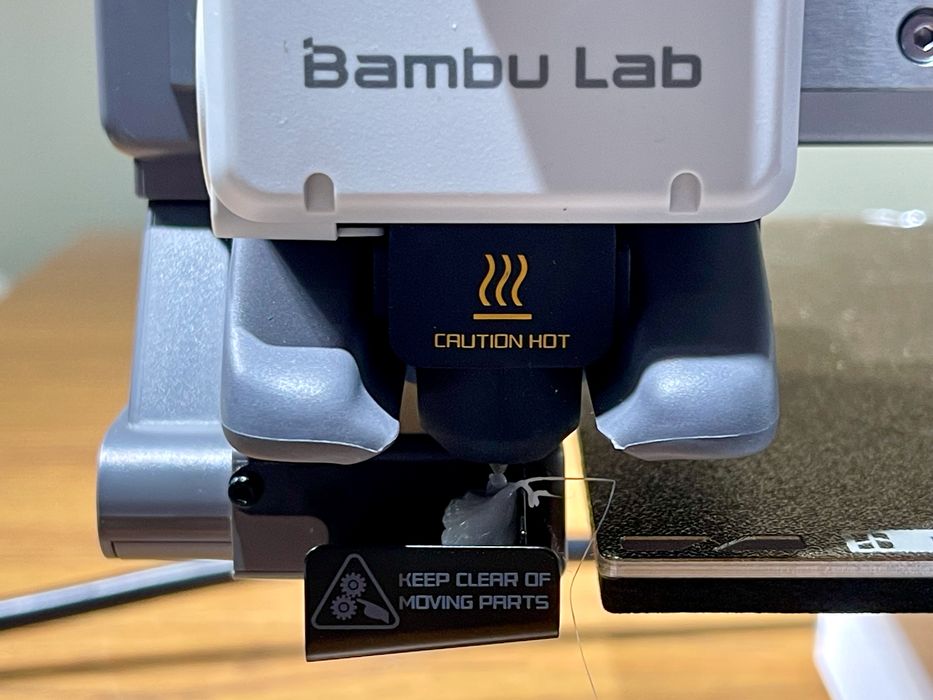
At this point the A1 mini was basically assembled, and I took a “walk” around the machine to take note of several features. Here I noticed a “brush” at the back of the build plate, no doubt for cleaning the nozzle.
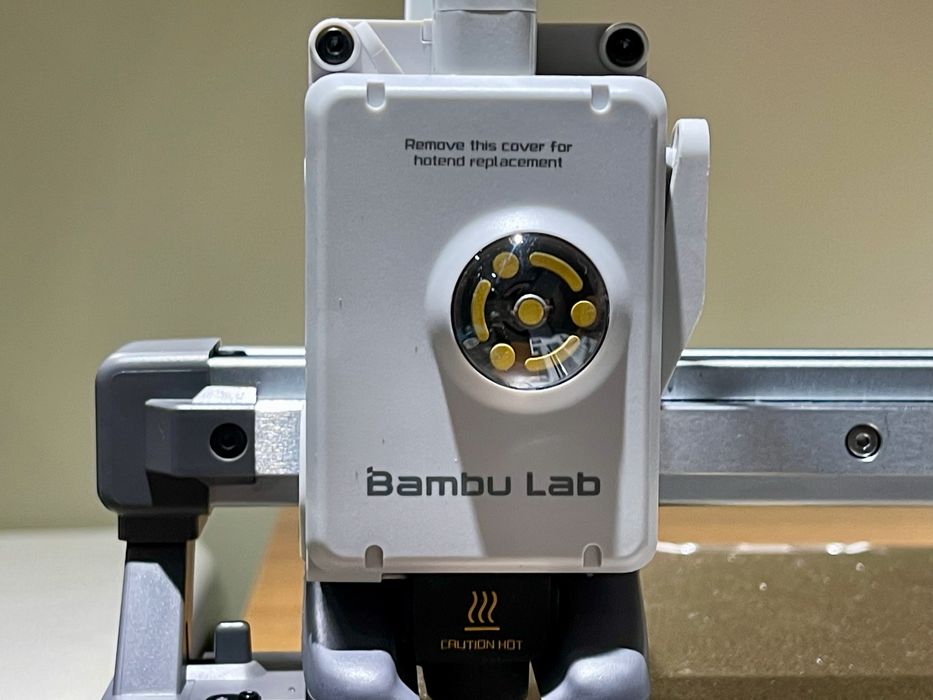
The extruder is quite small, but has an interesting window on the front. This will rotate as the extruder turns, visually showing the machine operations.

At this point I was ready to power up the machine and get it running.
Bambu Lab A1 mini Setup and Calibration

The first thing to do on the A1 mini is to set the interface language. Unlike some desktop 3D printers, the A1 mini has a wide selection available.
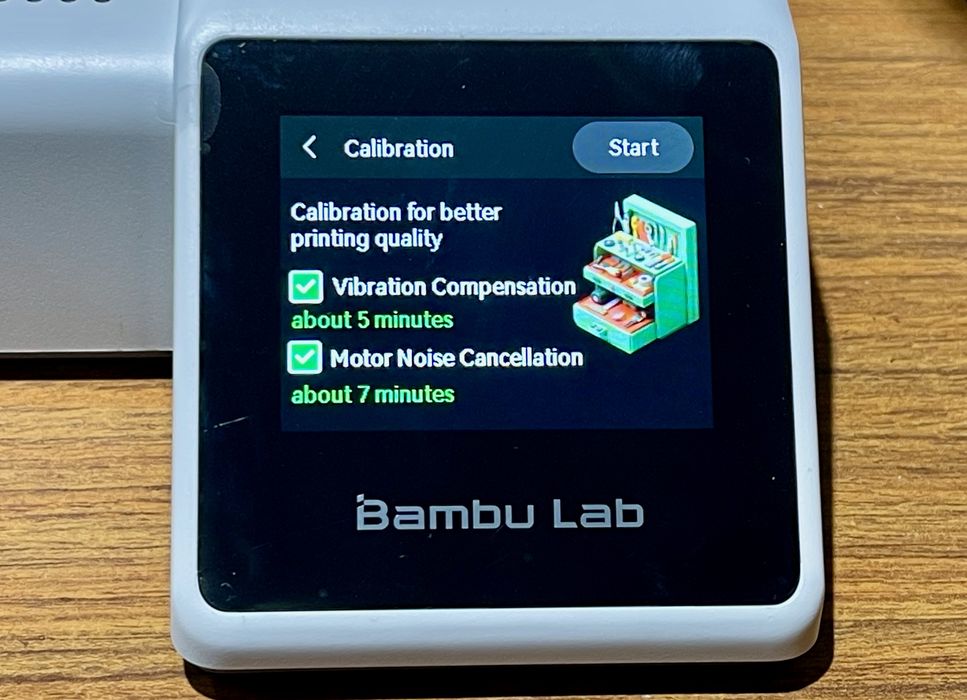
The A1 mini is touted as having fully automatic calibration, and that’s what I was interested to see. Here the machine is readying to perform two important calibrations, vibration and then motor noise cancellation.
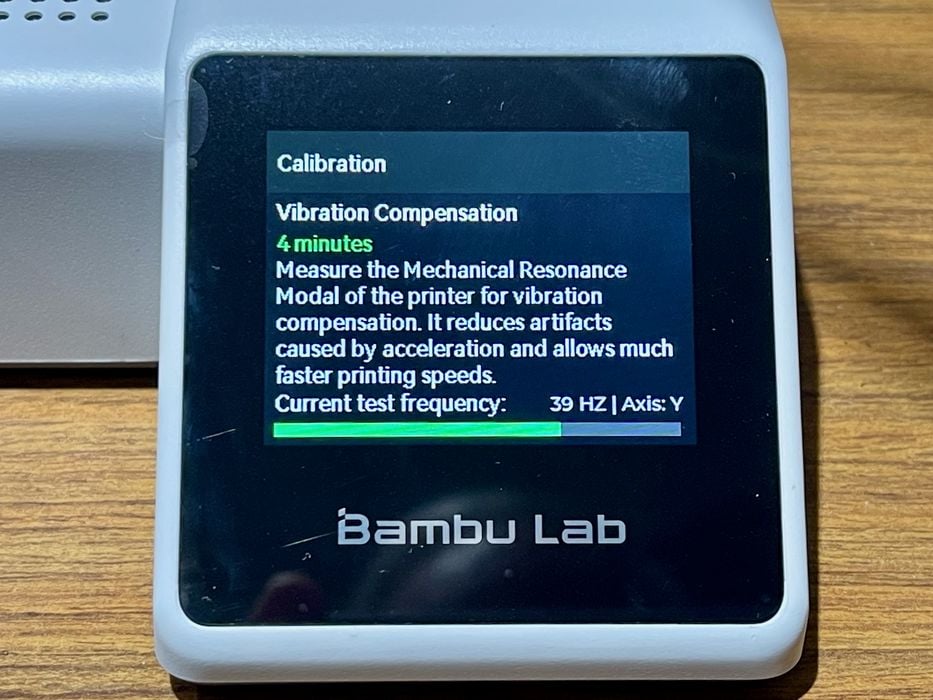
Vibration calibration will be familiar to anyone using Klipper or similar firmware. The machine positions the toolhead in the middle of the axes and then proceeds through a sequence of increasing frequency movements that generate cool noises. In reality, the machine is recording the movement for future compensation during printing.
Note that the machine can also perform this calibration before each print job.
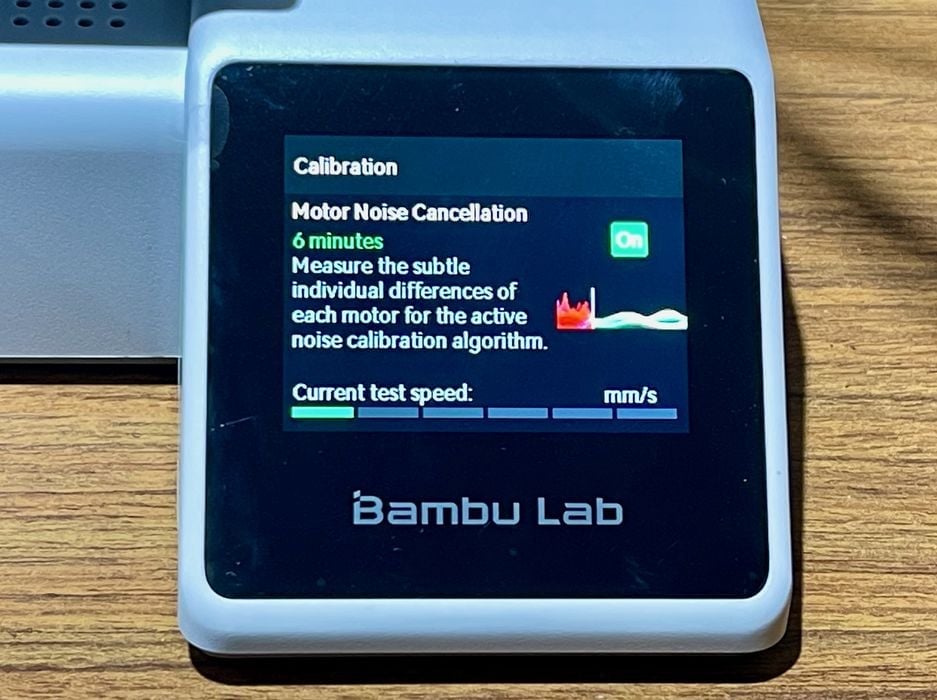
The next step was unusual: The A1 mini is able to compensate for motor noise! I have not seen this on any other device. The sequence is similar to the vibration compensation. It’s hard to tell how much quieter it runs because you never hear it in un-compensated mode. I can say that the machine is ridiculously quiet, however.
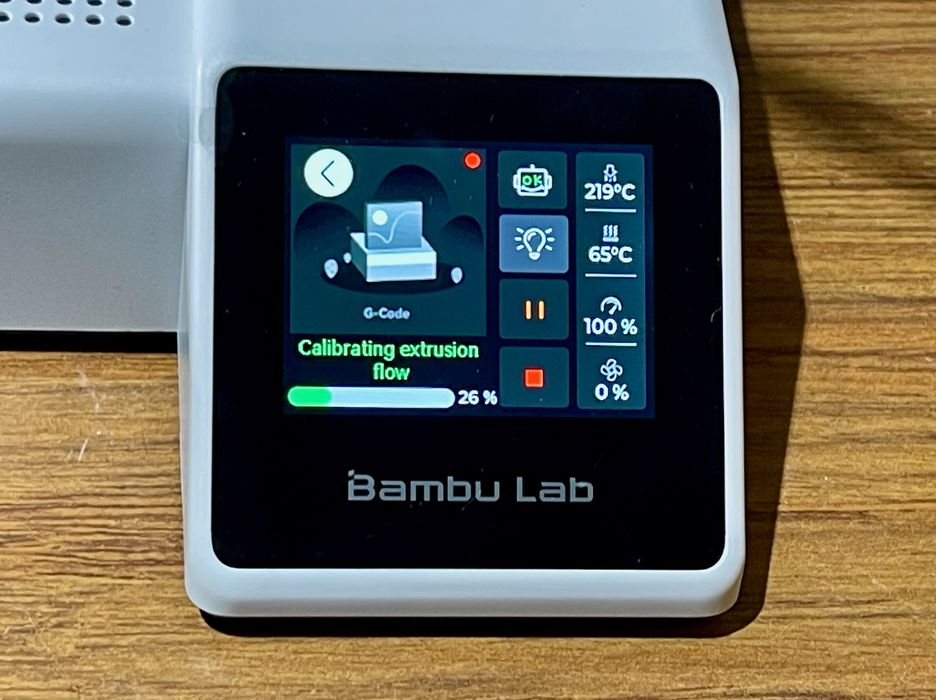
Another interesting capability is the machine’s ability to manage the flow rate of prints. To do this, the machine calibrates itself by performing a small extrusion.
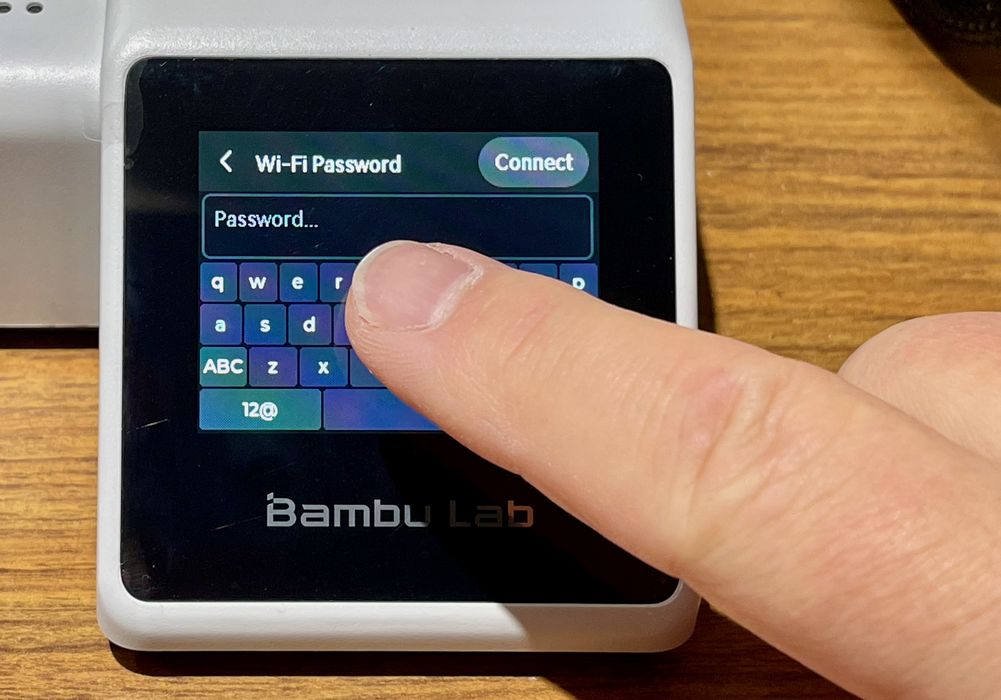
The A1 mini is enabled for WiFi, but you have to specify the access point information. Somehow the tiny screen was quite usable, in spite of my large fingers.
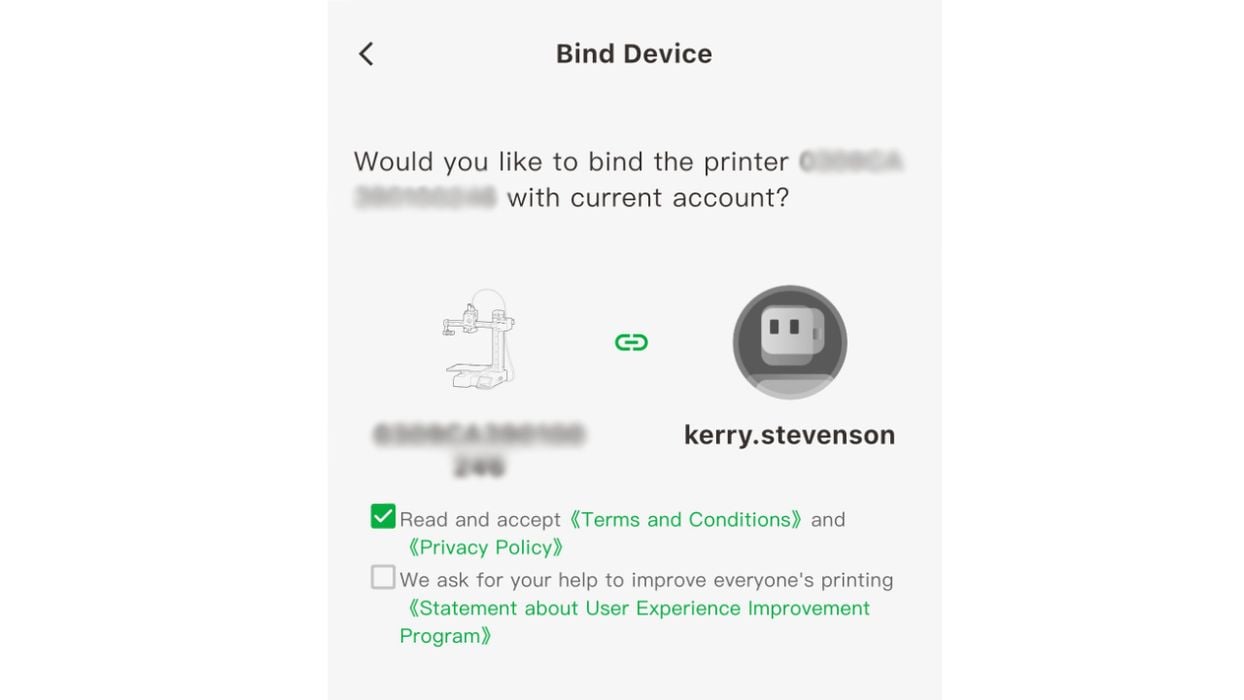
The A1 mini is part of Bambu Lab’s ecosystem, which can be accessed through their app, “Bambu Handy”. However, you have to bind the machine to your account first, which is easily done. After that you can monitor and control the 3D printer from your smartphone.
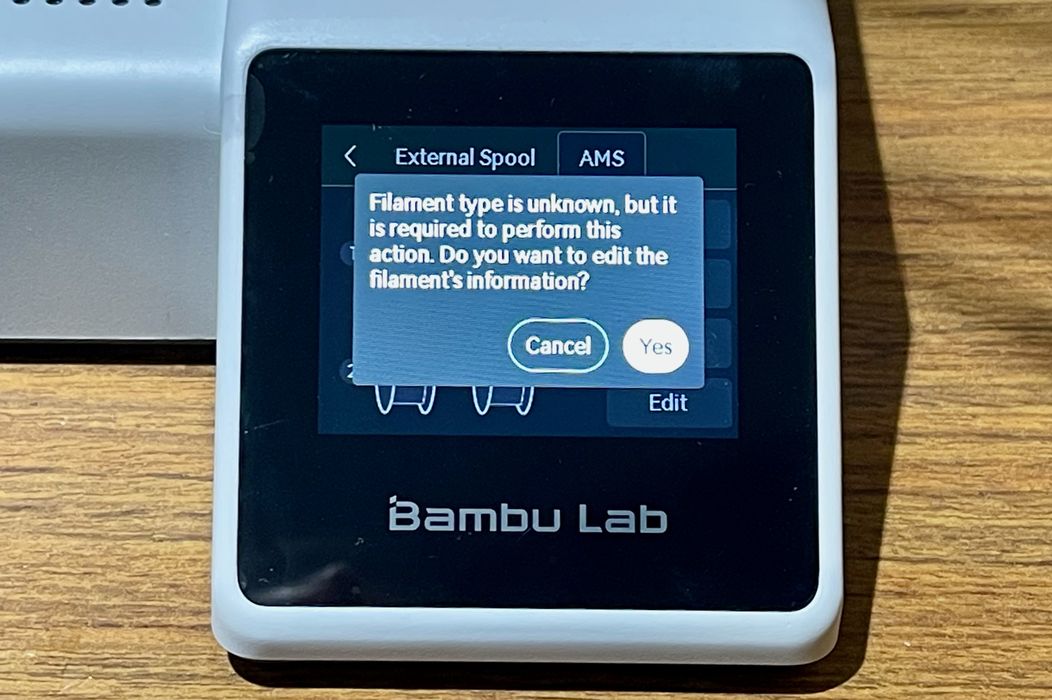
The next step was setting up the AMS, which is actually more than just loading up some spools of filament.
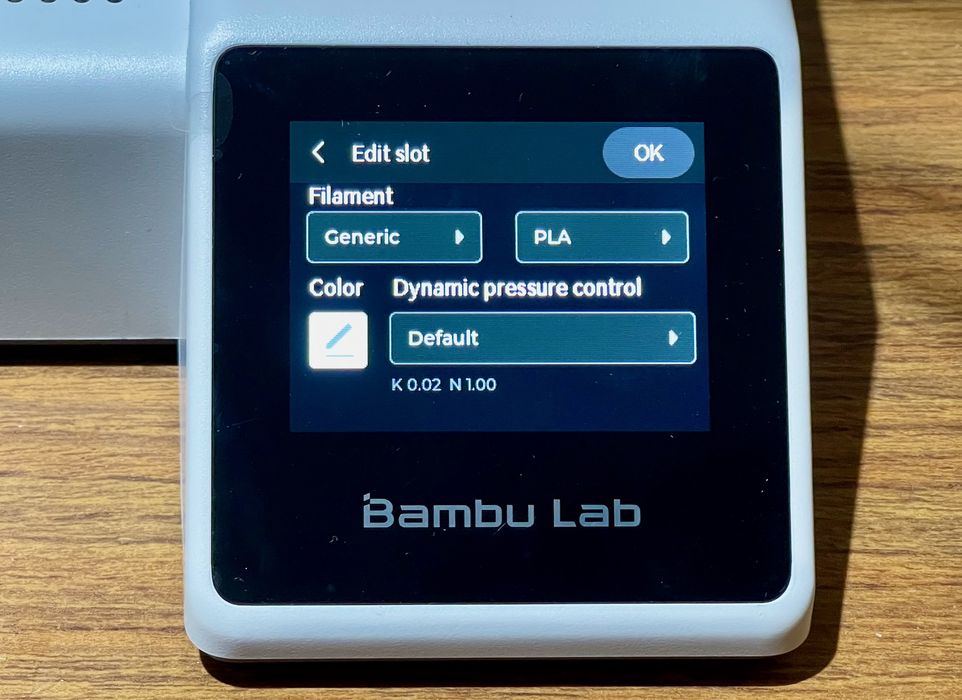
The AMS has to “know” which filaments are in each position. That information includes the color and type of material. The editing window doesn’t present options for not-recommended materials, like ABS, ASA, PA, PC, etc. It does include various types of PLA, PETG, TPU and HIPS.
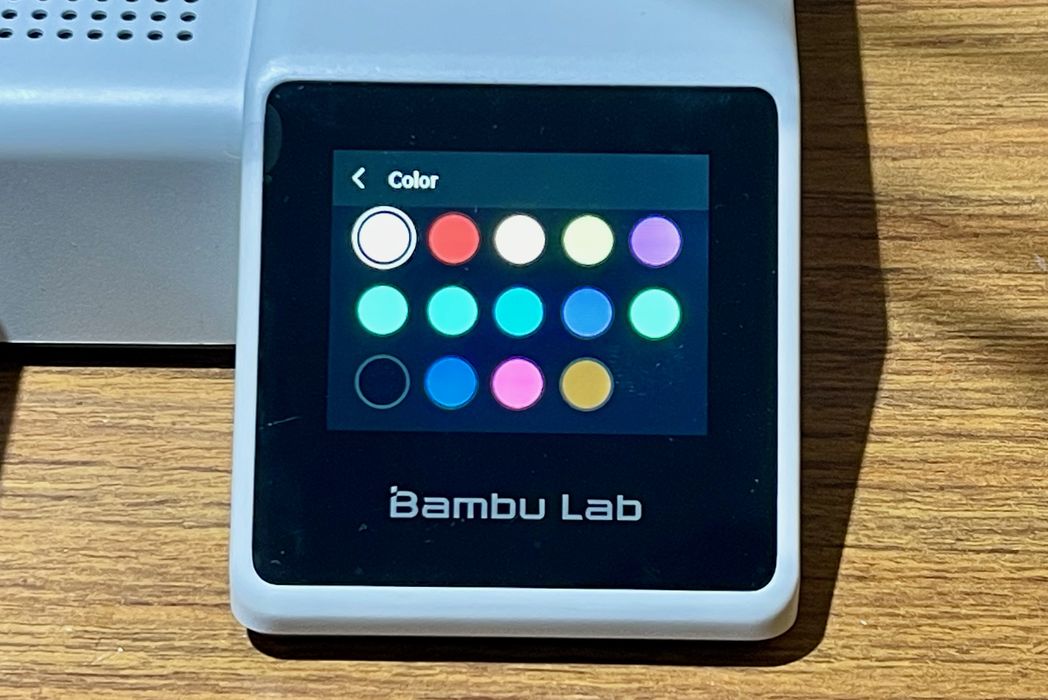
You have to set the color on each spool, which will be useful for print previews and generally keeping track of what’s going on. However, the color choices may not exactly match the color of your spool. After all, there are hundreds of colors available on the market these days, you just have to pick something close.
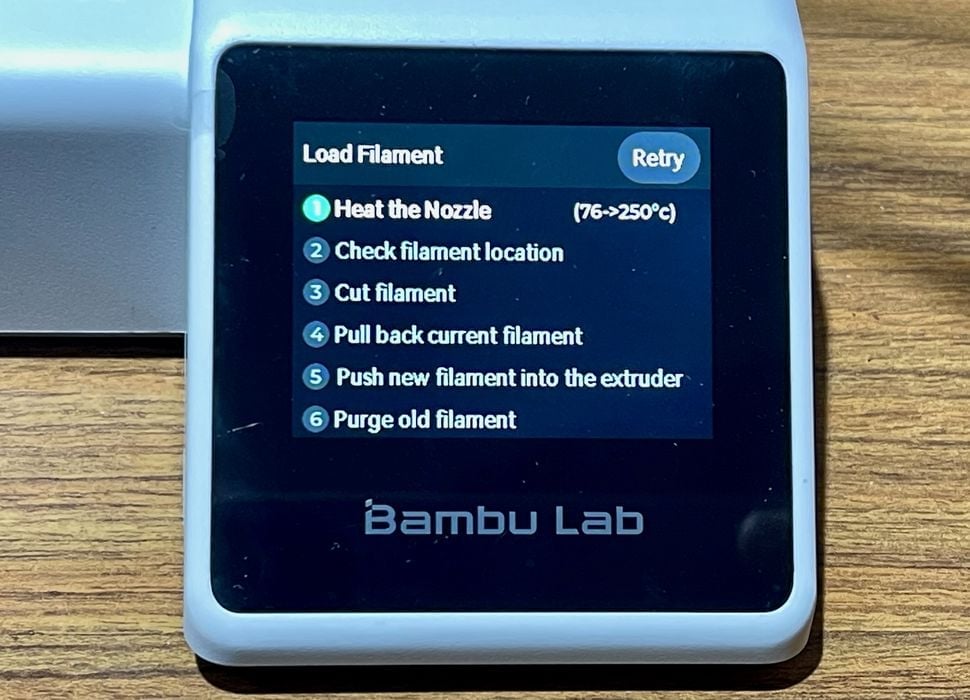
Loading the filament is a well-understood process that the machine takes you through, and it’s quite easy to follow.
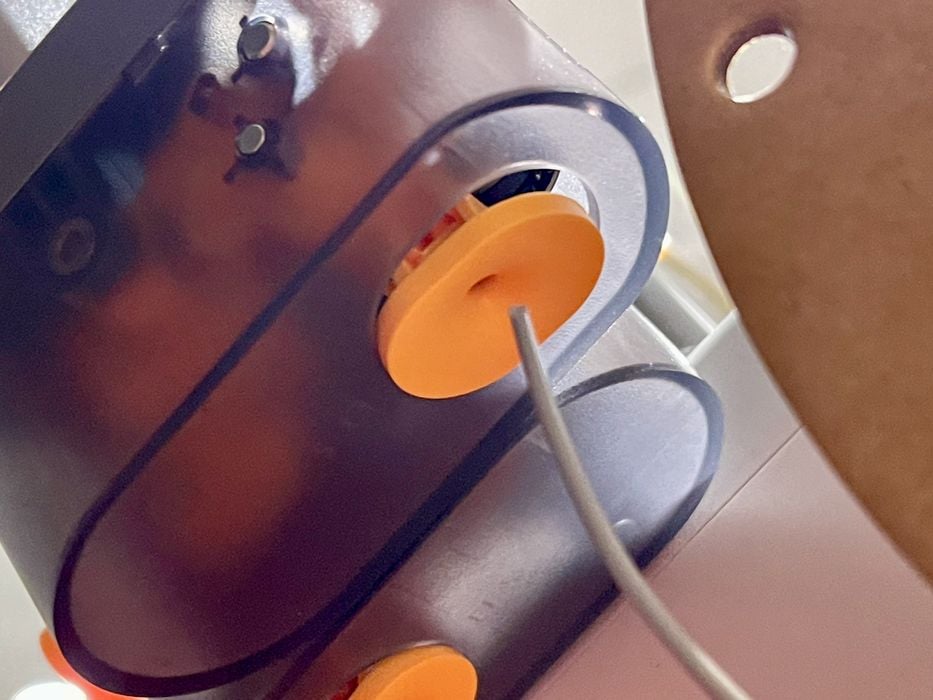
I have to point this out: the input port for the filament on the AMS has a kind of “funnel” shape that makes it very easy to insert the end of the filament — even though the port is upside-down and hard to see. This is a great feature that should be on every 3D printer.
Our first extrusion followed shortly thereafter.
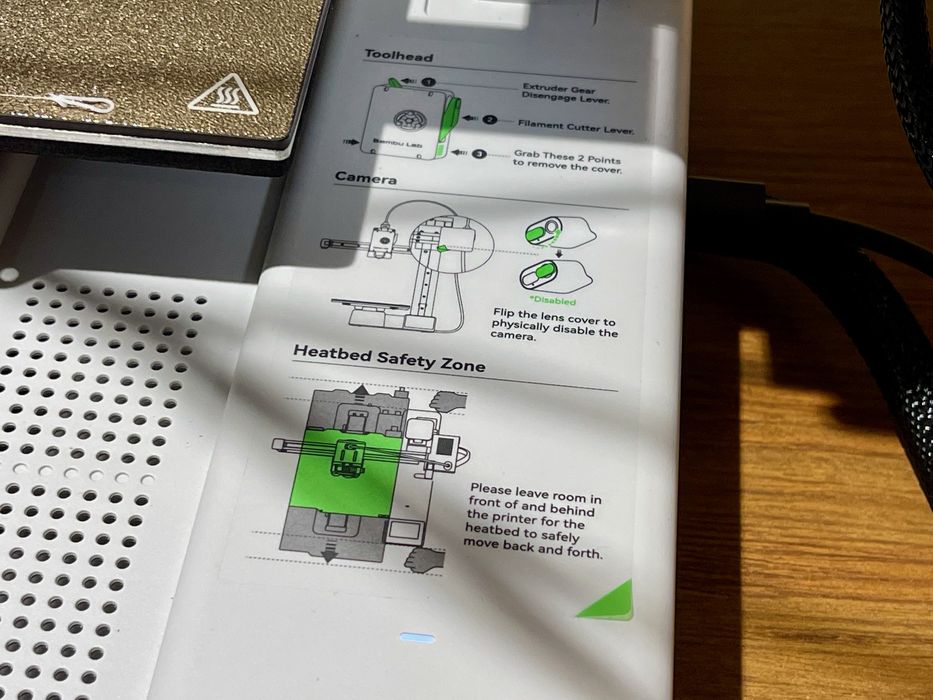
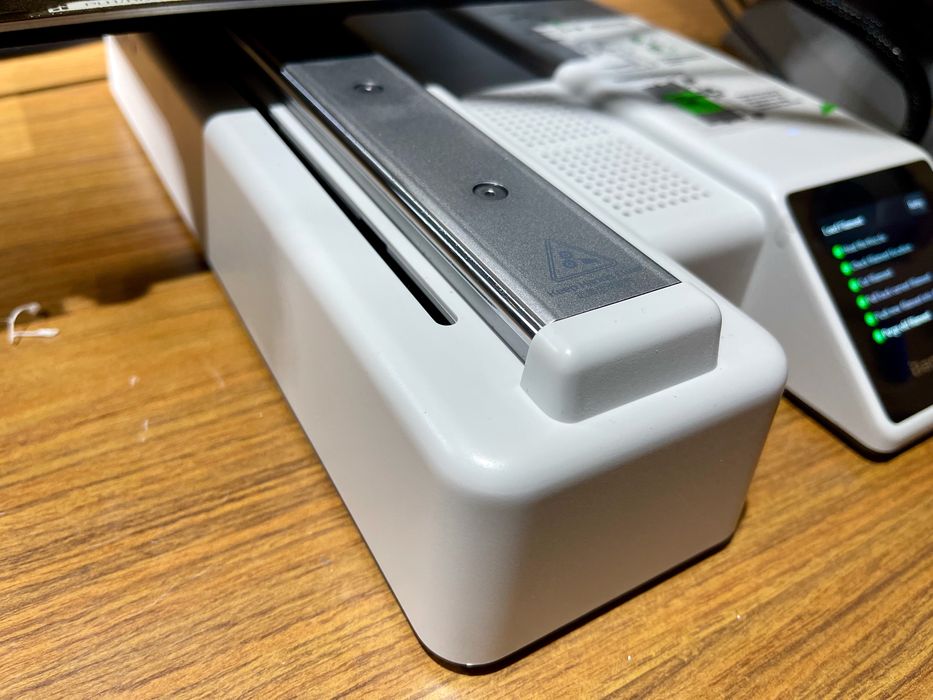
Again strolling around the machine I noticed more interesting features, like these instructions pasted on the base unit. They are permanently there, ready for use at any time. I don’t think I’ve seen any other desktop 3D printer with instructions like this.
The motion system of the A1 mini is hidden with injection molded covers. There is minimal probability of scraps falling into the gap, reducing potential problems.
This is part two of a four part series, please read parts one, three and four.
Via Bambu Lab