
Our review of the Bambu Lab P2S desktop 3D printer continues with a look at assembly and configuration.
This is part two of a four part series, please read parts one, three and four.
Bambu Lab P2S Combo Unboxing and Assembly
We’re testing the “combo” unit, which means that there is not only the 3D printer, but also an AMS (Automated Material System). The AMS can hold four spools at a time and can automatically switch them during a print job for multicolor objects.
Note that the AMS version shipping with the P2S is the latest AMS 2 Pro, which not only serves filament, but it can also act as a filament dryer.
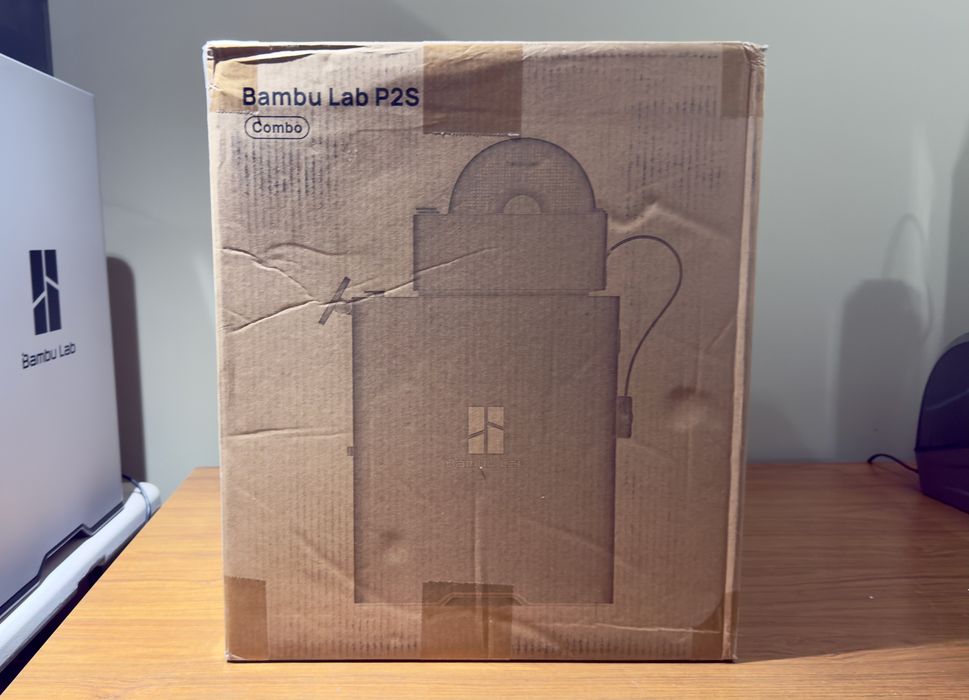
The first thing I noticed was that the shipping box was surprisingly small. It was in fact just about the size of the P2S, with no room at all for the AMS.
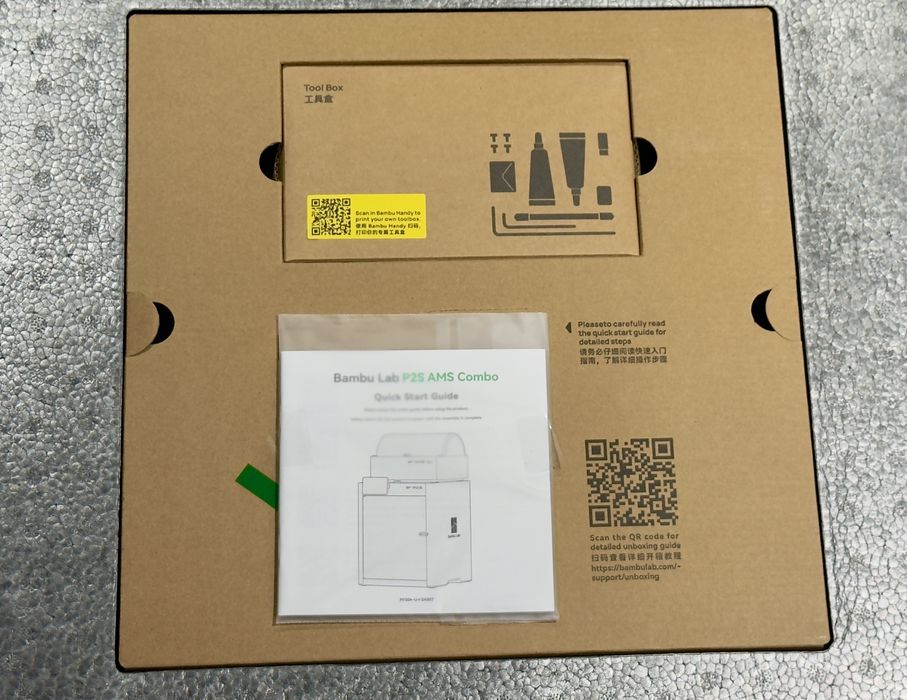
Opening the box the first thing you see are the instructions and a QR code for more information, including video walkthroughs. Most of the leading 3D printer manufacturers have taken up this practice that helps those new to 3D printing get started more easily. It’s a sign of a mature product.
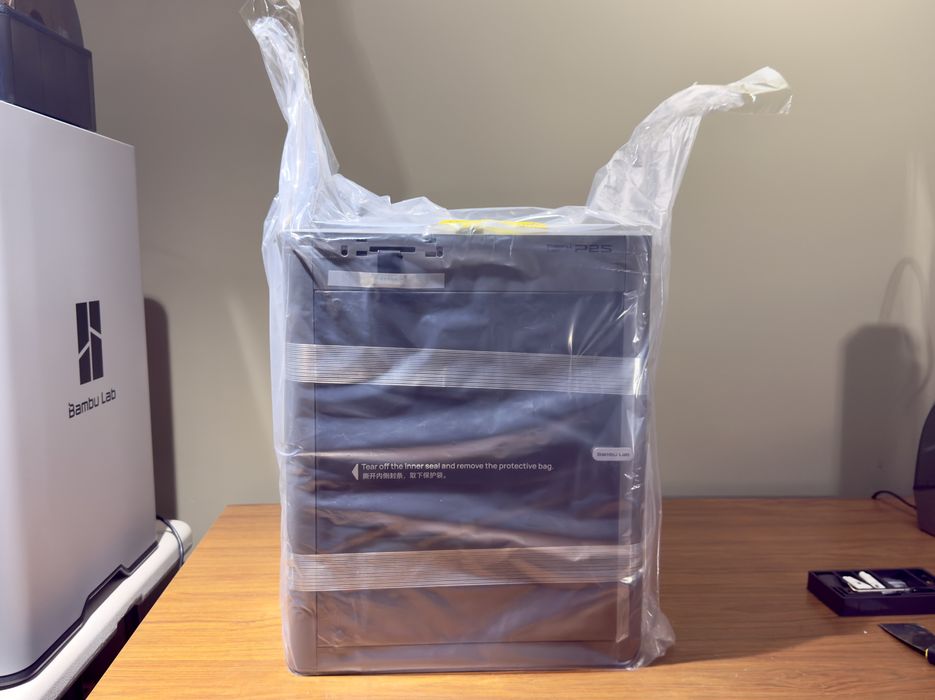
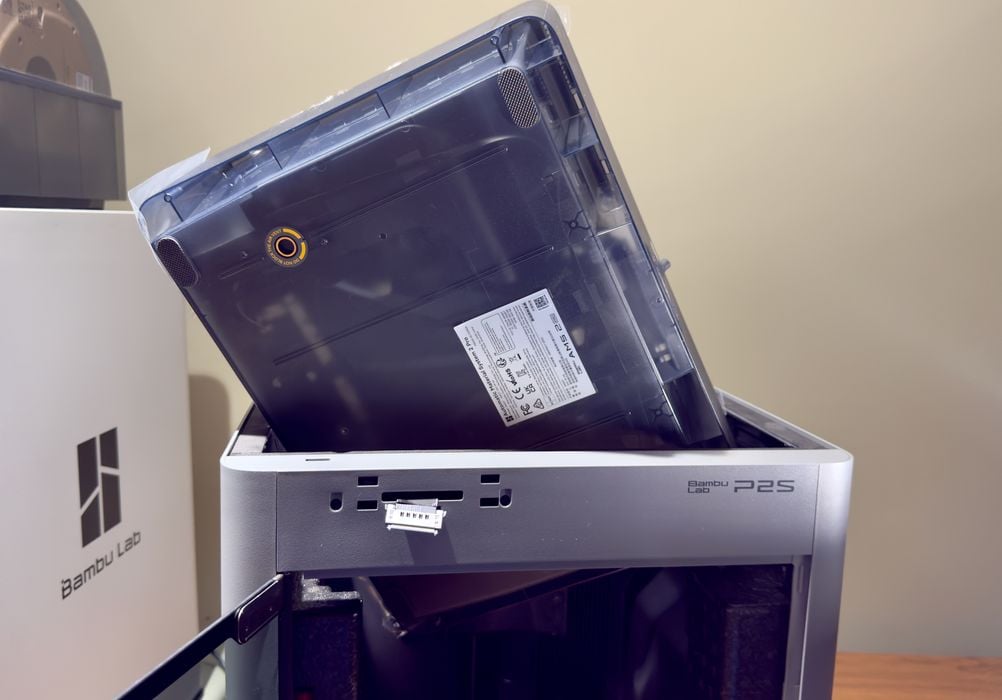
Removing a machine from its box is always a bit of fun, and sometimes is quite difficult, particularly with heavier machines. Here Bambu Lab takes a very unusual approach by bagging the printer and having you lift the bag by the ears, right out of the box. Some may find this step a bit difficult due to the weight, so consider having an assistant handy if necessary.
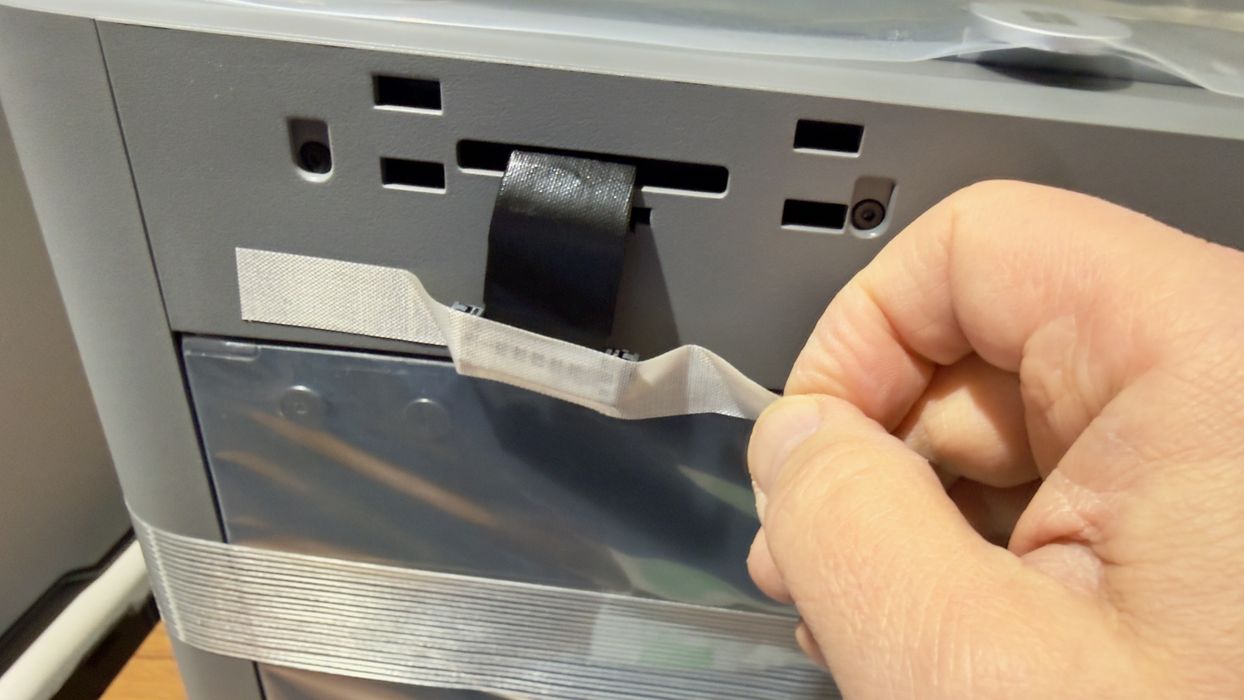
Assembly proceeds with the usual steps to remove tape and foam used to keep the machine safe during transport. There is quite a bit of this on the P2S. Even the front glass door is completely bagged in plastic.
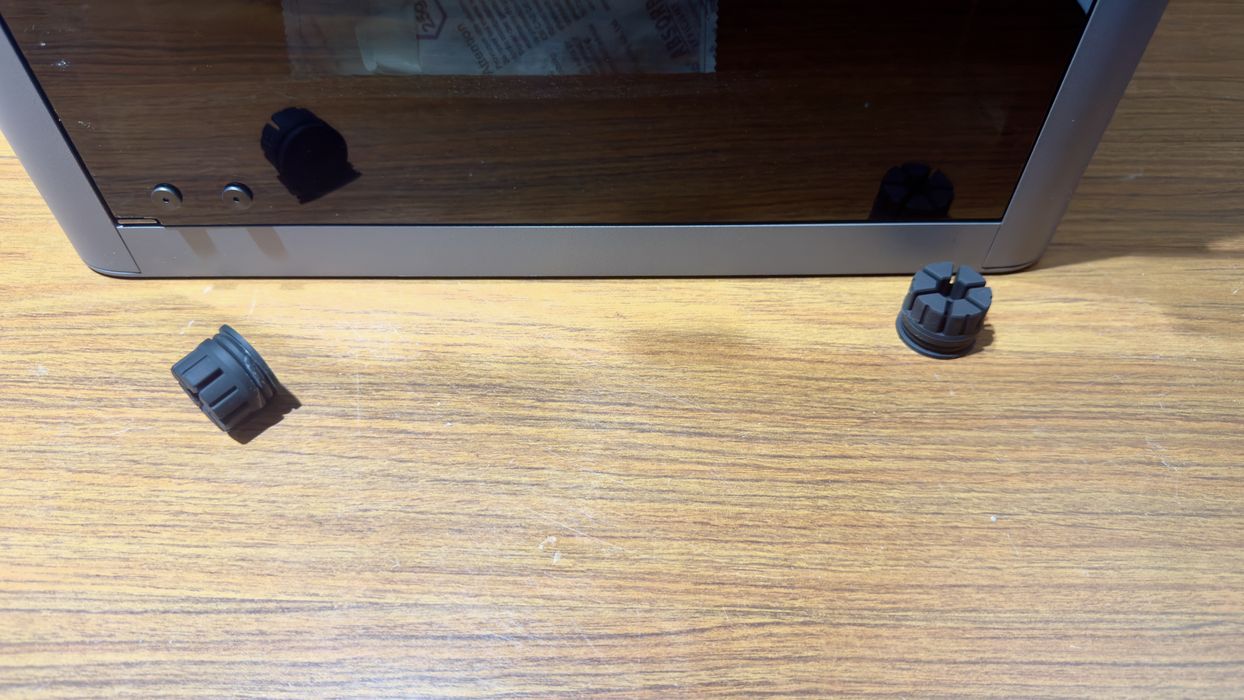
While rotating the P2S around my work table during this stage, I noticed these rubber feet. They easily pop off if you aren’t careful when sliding the P2S around. They are very squishy to absorb significant vibrations when the P2S is busy printing. They are very easy to reinstall.
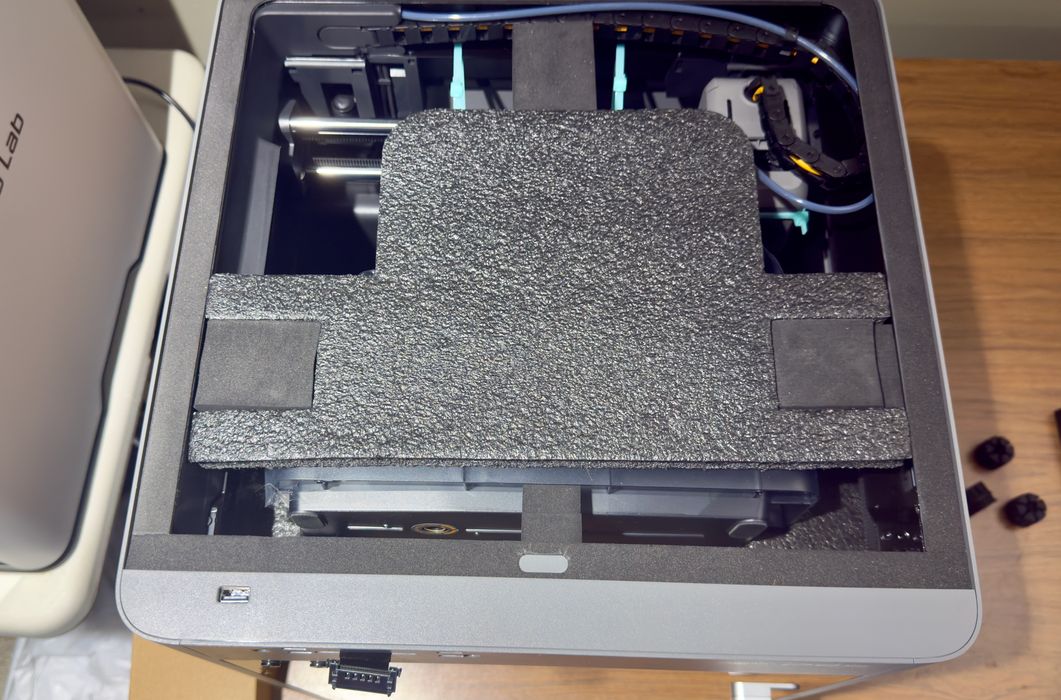
Inside the machine it’s a highly dense environment. Bambu Lab’s packaging engineers have done what might be the most advanced packing configuration I’ve yet seen. Virtually every space inside the machine is occupied with components or foam.
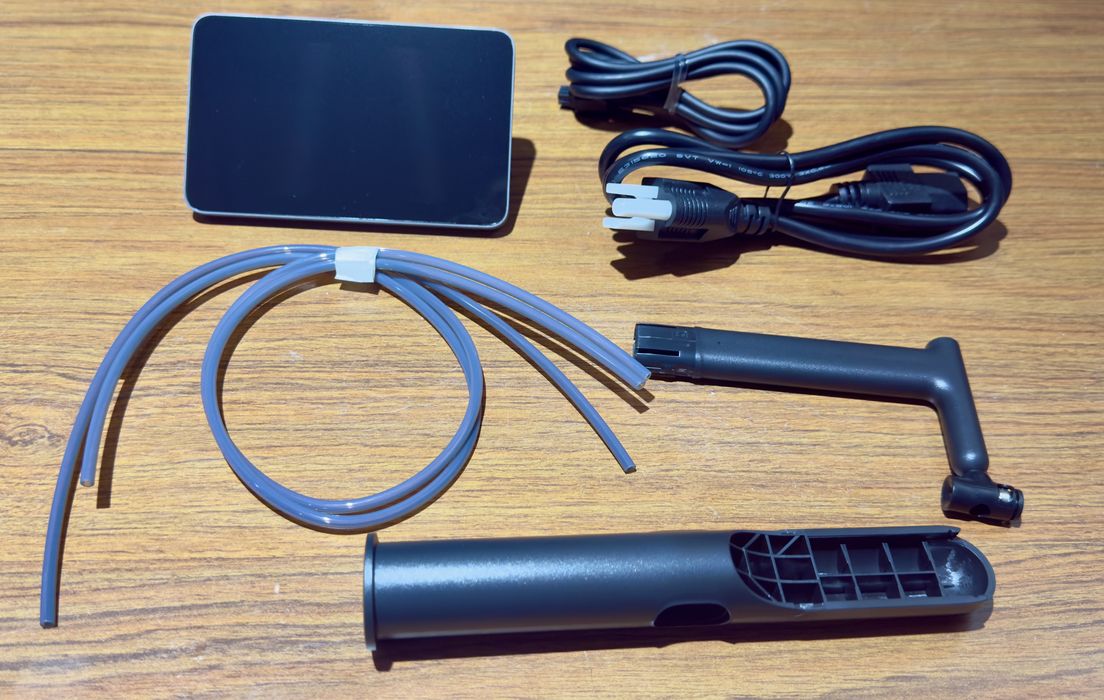
There’s a box with the parts you need to finalize the P2S assembly, but there really aren’t very many parts. The P2S is a lot more “assembled” than some of the other machines we’ve been testing recently.
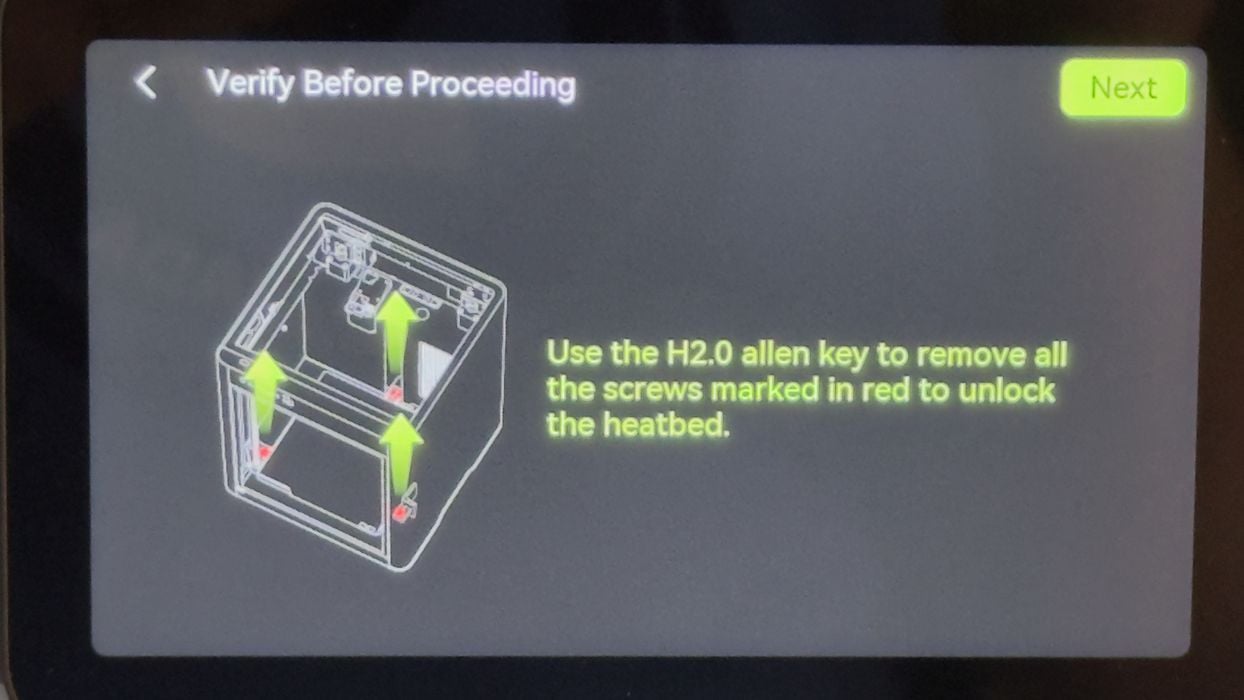
Early on 3D printer manufacturers discovered that the motion system could slam around during shipping, so various approaches were devised to prevent damage. Most CoreXY systems now bolt down the build plate at the bottom of the chamber, surrounded by foam. These shipping bolts must be removed to release the build plate before you can proceed.
There is a smalls set of tools shipped with the P2S to be used during assembly and maintenance. Here I noticed that the Allen keys can be placed on the door’s magnets if you want to keep them handy during assembly.
And where was the AMS? Inside the build chamber, of course. Bambu Lab has somehow jammed the AMS inside, where it can be pulled out the top after loosening its shipping bolts.
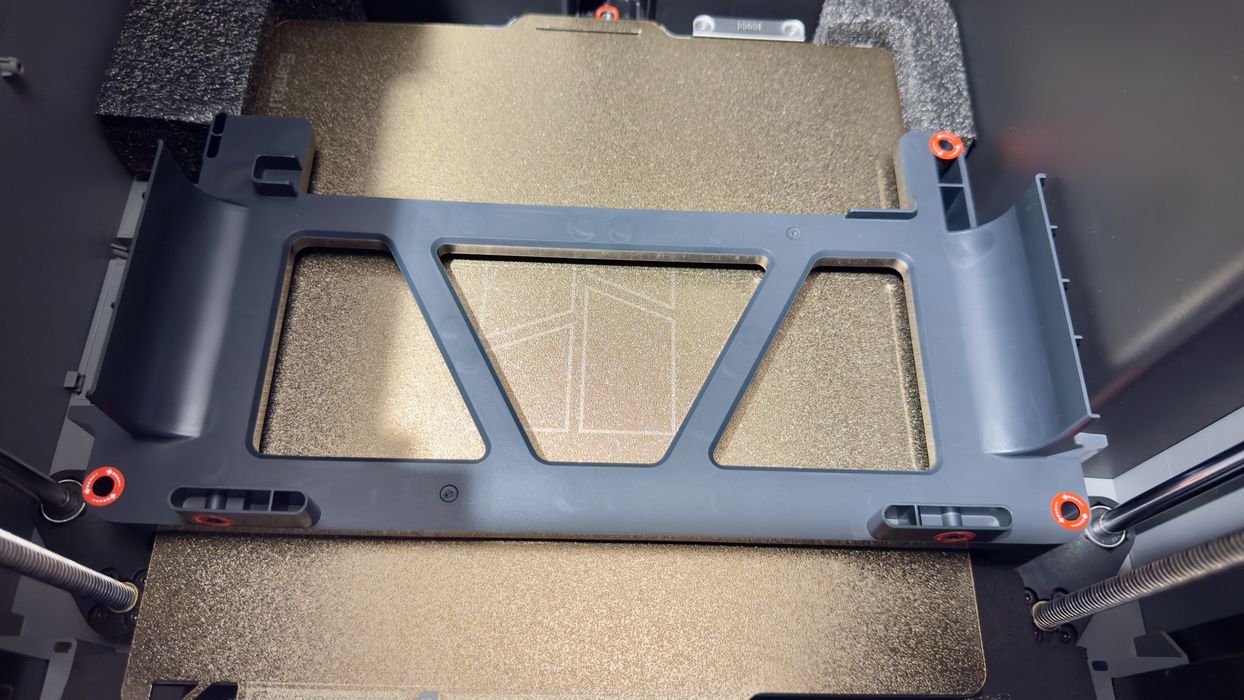
The AMS is held in place by this large throw-away bracket, which must be removed.
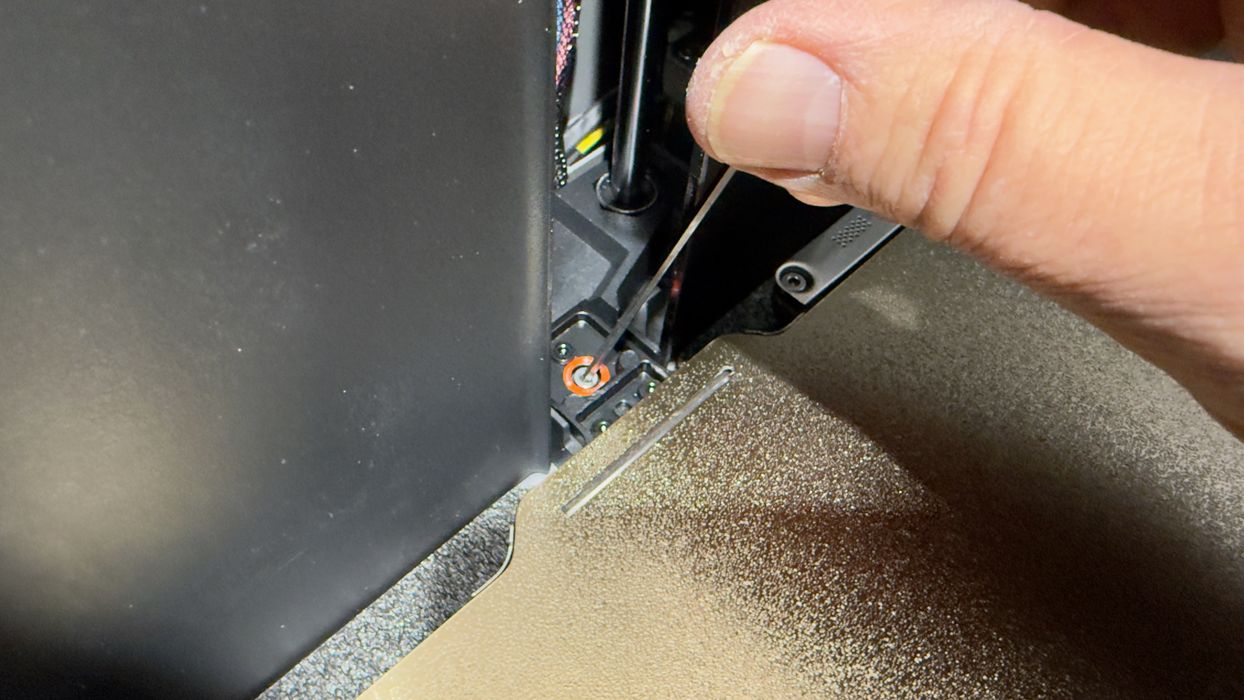
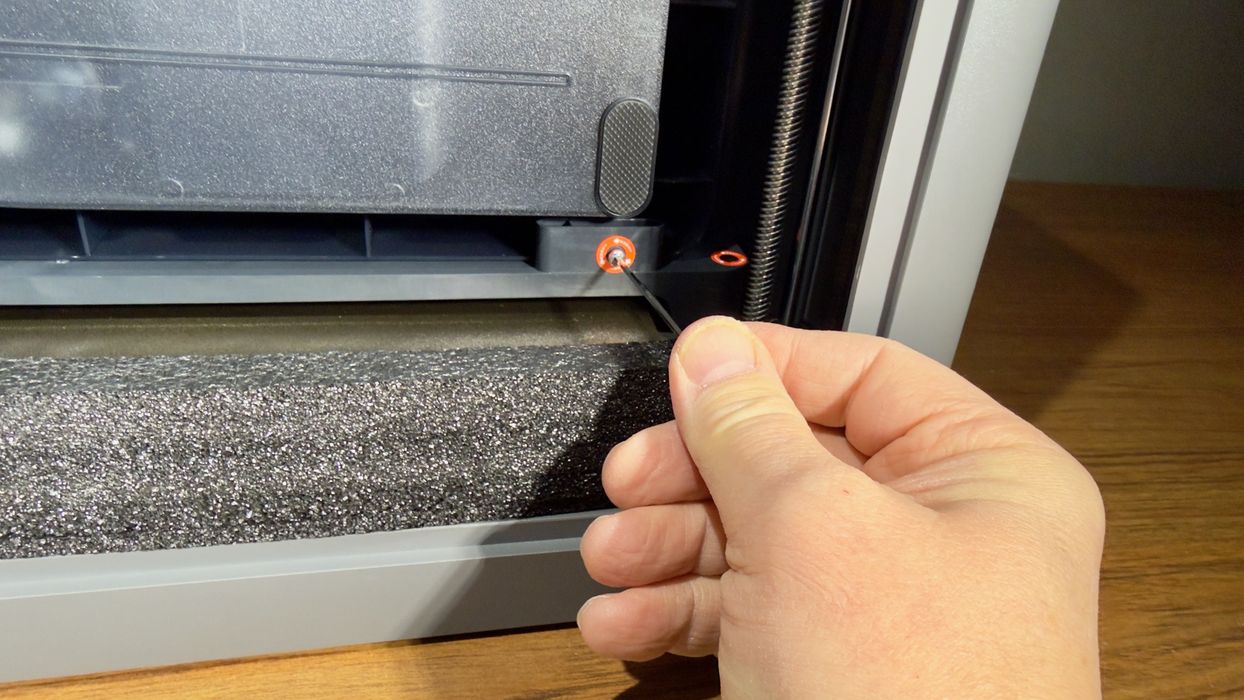
Then I proceeded to remove the shipping bolts holding down the build plate as mentioned above. The front two were easily accessed, but I had a major issue with the rear bolt: it simply turned and turned, and never loosened. I was stuck.
I tried a number of approaches to release this bolt, but it was impossible because the nut is somewhere underneath, and you cannot reach around due to a protective cover at the back. I was stuck.
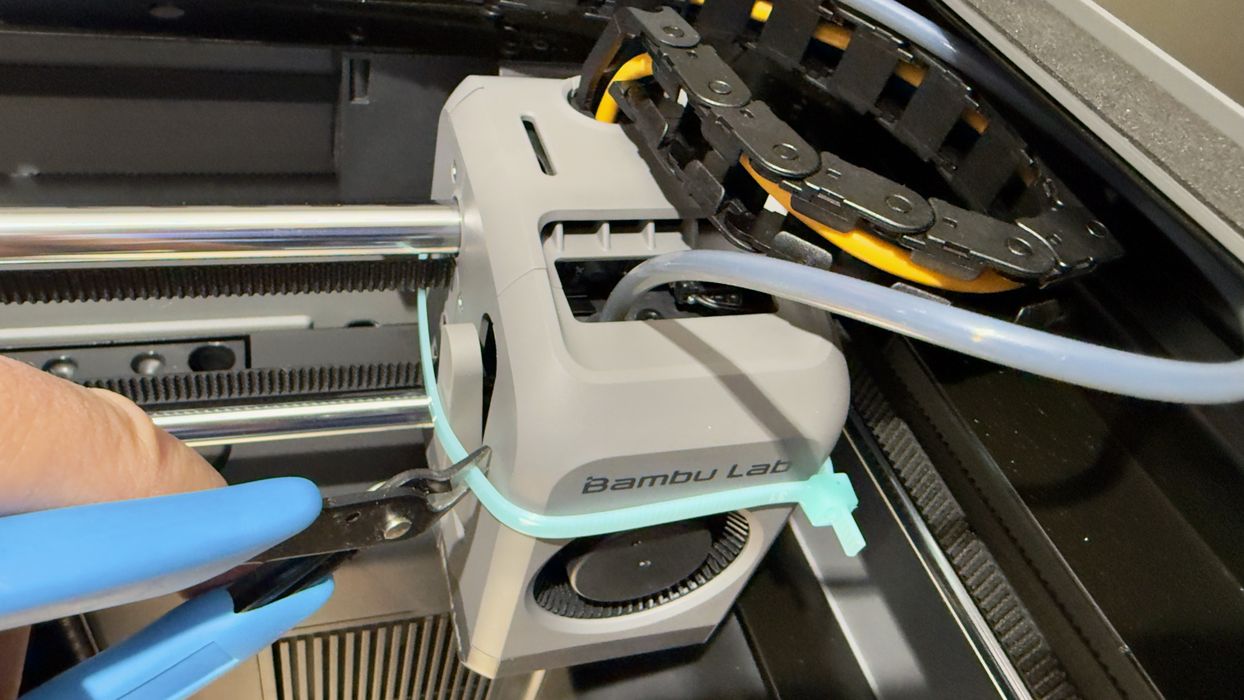
While puzzling over the bolt problem, I proceeded with other assembly steps, like removing the tie wraps holding the X-axis during shipping.
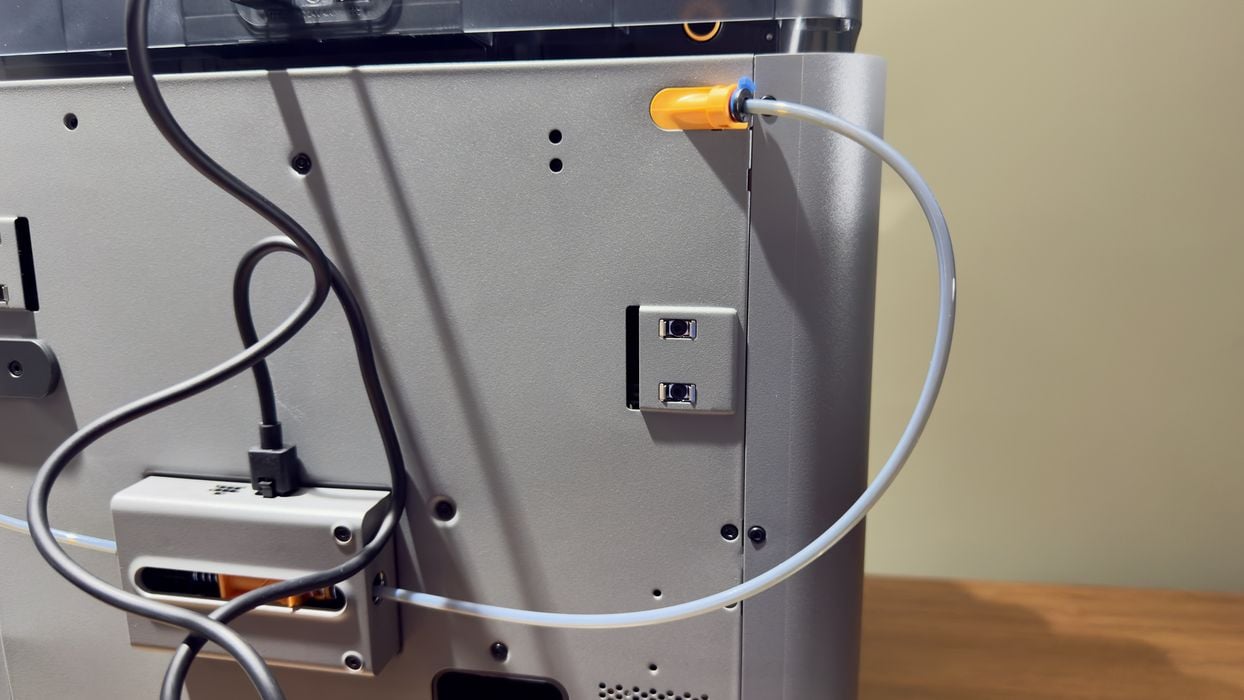
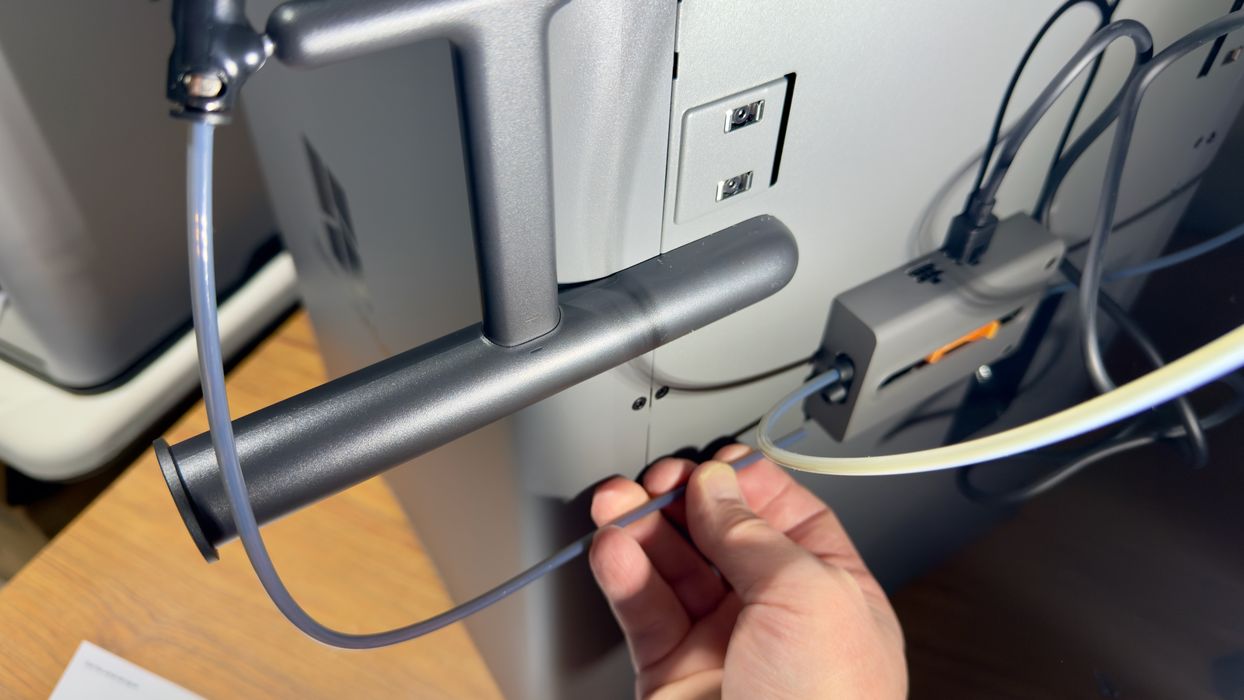
At the rear of the machine you must plug in the AMS’s signal and filament paths. I noticed that the buffer, which receives the filament from the AMS, has two inputs. This will become very important later.
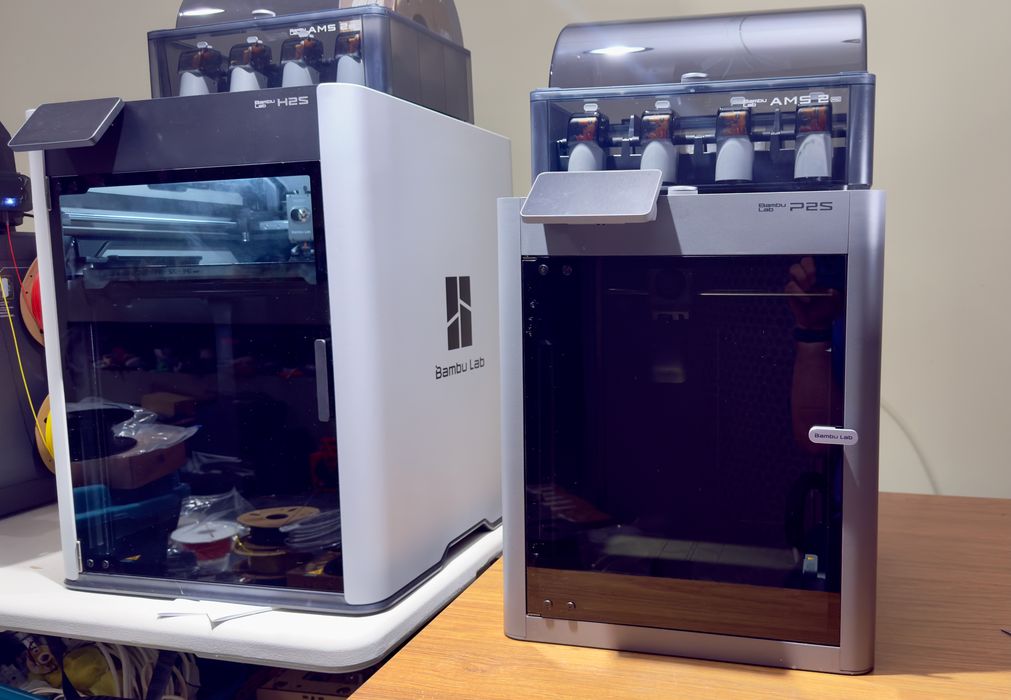
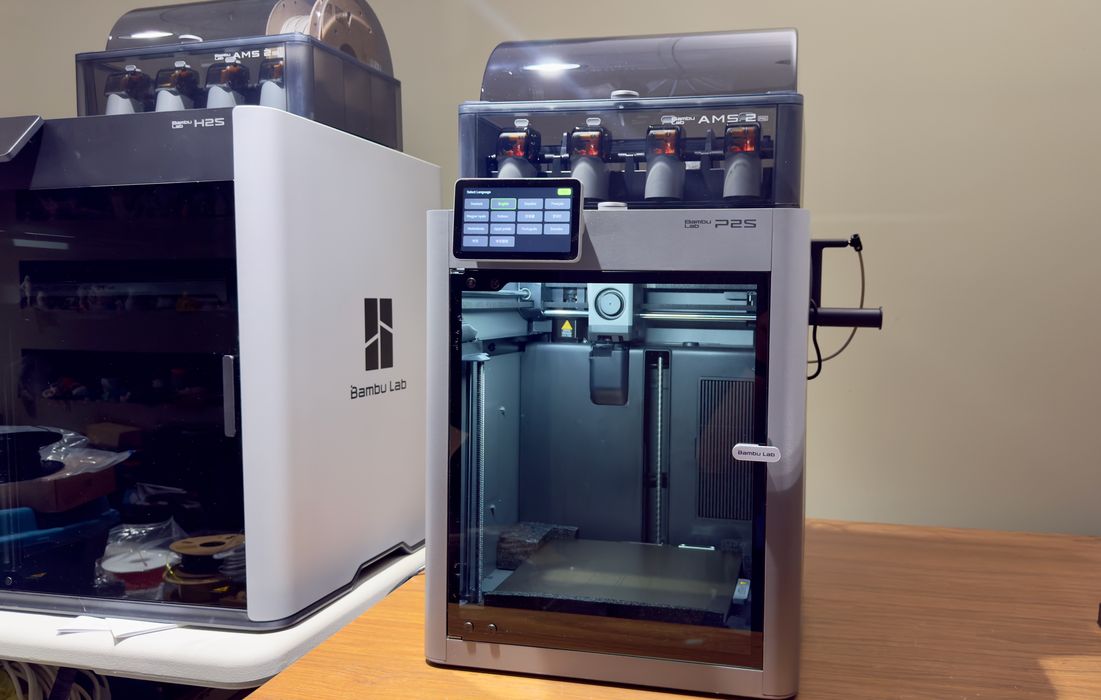
At this point I noticed the difference between the new P2S and our H2S that happened to be right beside it. The H series machines are quite a bit larger than the P series — and here the P2S’s work table is a bit taller, so the size difference is more than the picture indicates.
While most of the printing on the P2S takes place from the AMS, it is also possible to mount a filament spool directly on the external mount. Again, this will become very important later.
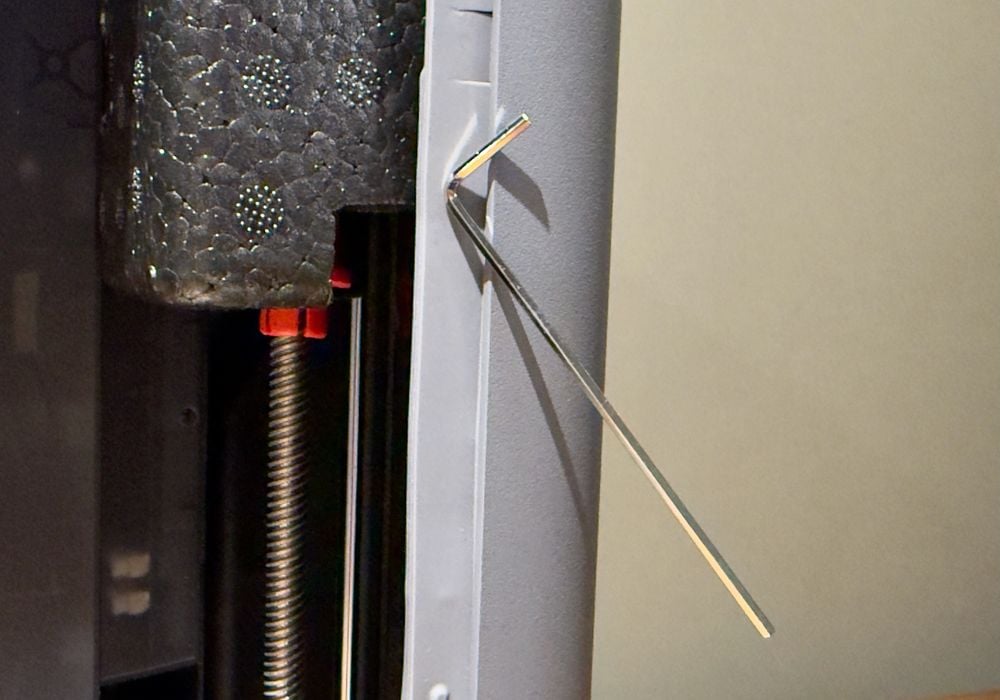
It was at this point I realized there might be another way to solve the stuck build plate problem. Here’s what I did, in case you have a similar issue: I manually rotated the build plate upwards by hand-turning the Z-axis threaded rods. Yes, I got a little greasy. My thinking was that perhaps the hidden nut didn’t have anything pressing against it, so why not apply some pressure by moving the plate?
After the manual Z-axis rotation, the shipping bolt was easily removed! The build plate must have settled during shipping, leaving the nut loose. This might be something Bambu Lab could investigate, as some owners may not be able to figure out a solution.
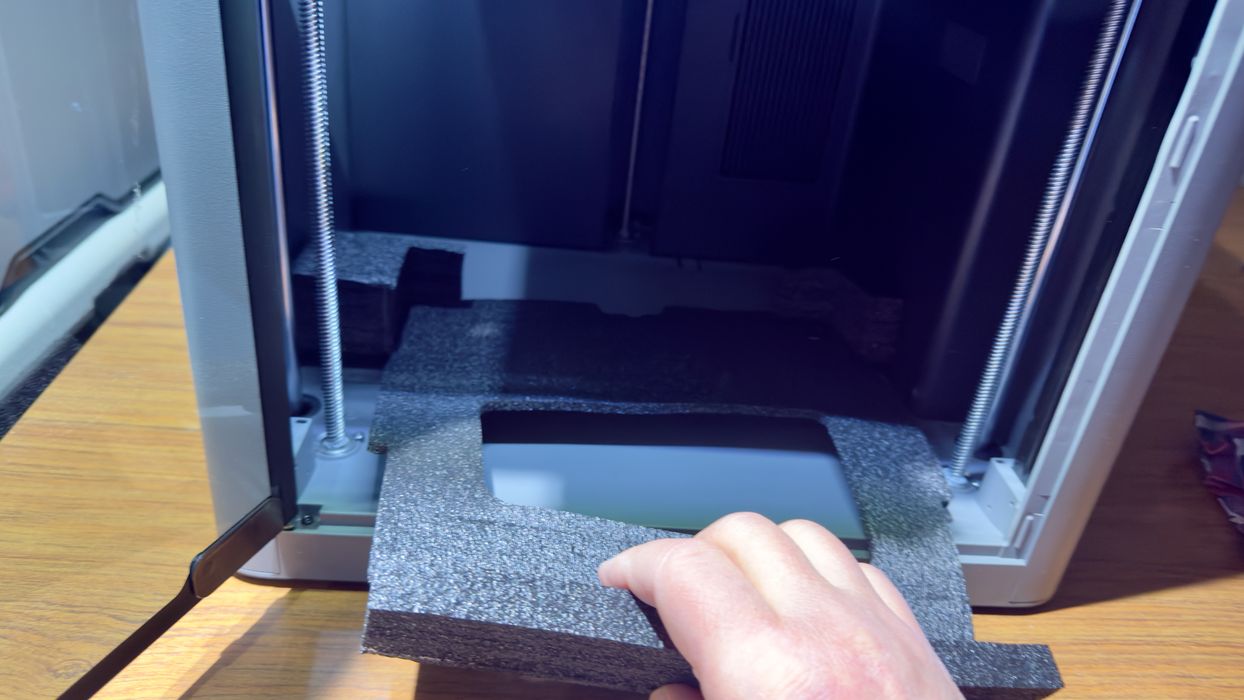
I could then safely power on the machine — because the first thing it would do is attempt to raise the build platform. That wouldn’t work if the shipping bolt was attached. I was then able to remove the foam under and around the build plate and proceed with power up.
Bambu Lab P2S Combo Setup and Calibration
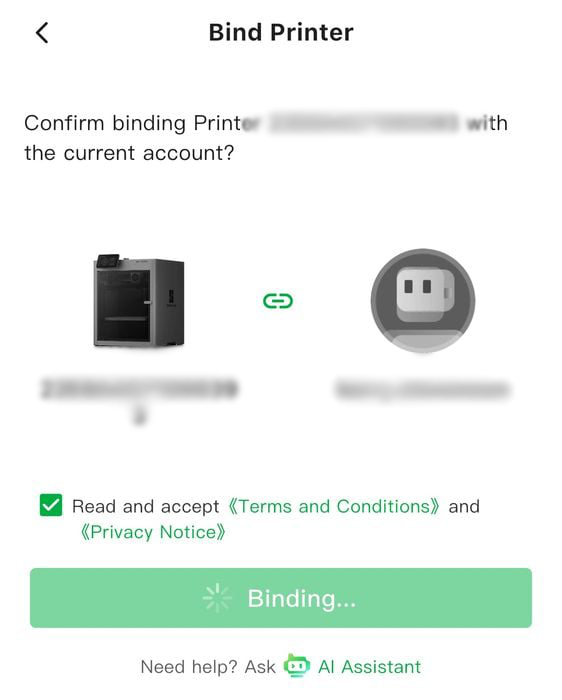
Upon power up, the first task is to bind the printer to your Bambu Lab account, assuming you’re going to use their cloud system. It is possible to operate the machine in standalone mode on your LAN, but that’s not what we’re testing today. We’re going through the “default” experience on a P2S.
Binding is very straightforward: the P2S displays a QR code, which you then scan using the Bambu Handy app. This connects the P2S to the Bambu Lab cloud and your account in particular.
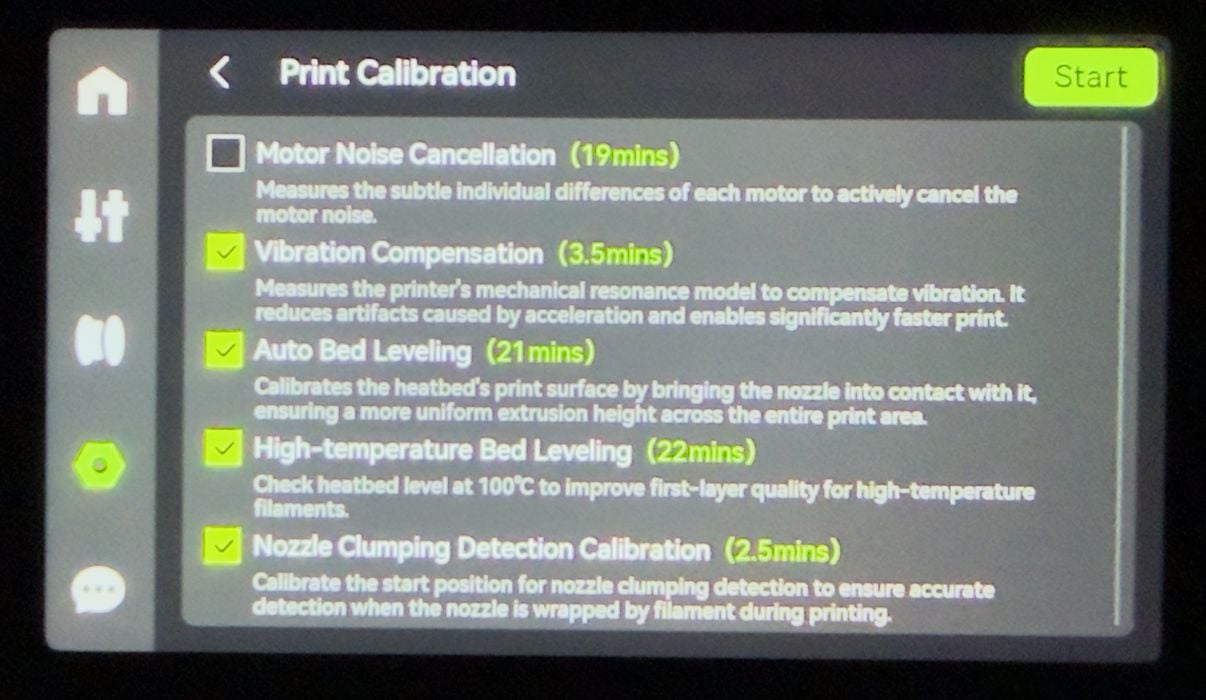
The next step is calibrating the P2S. This is a process where the machine “discovers” its own limits, structure and behavior so that that can all be accounted for during print jobs. Basically, it’s a required step for obtaining quality 3D prints.
The unfortunate part is that calibration takes a very long time, as you can see in the image. There’s a total of 68 minutes required, but in practice it is always longer because you’re off for lunch while this takes place and you’re not back until after it’s completed. The good news is that you need to do this only once.
Or so I thought.
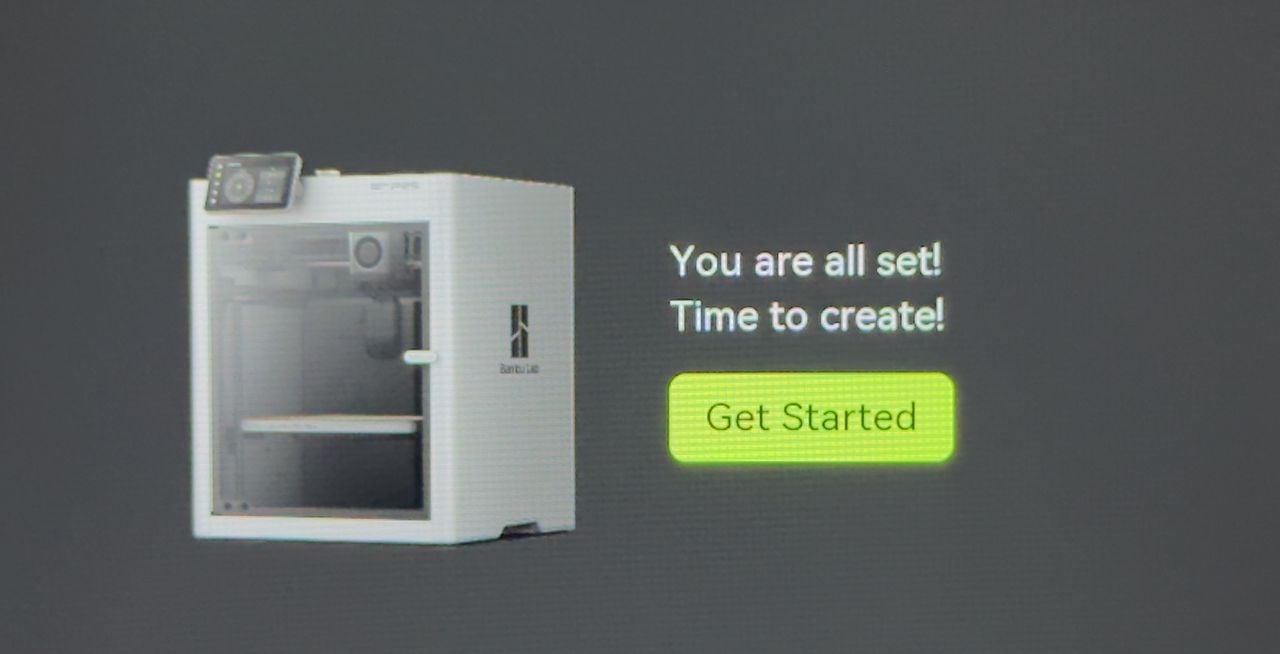
Finally, after all that, the P2S is ready for action.
This is part two of a four part series, please read parts one, three and four.
Via Bambu Lab