
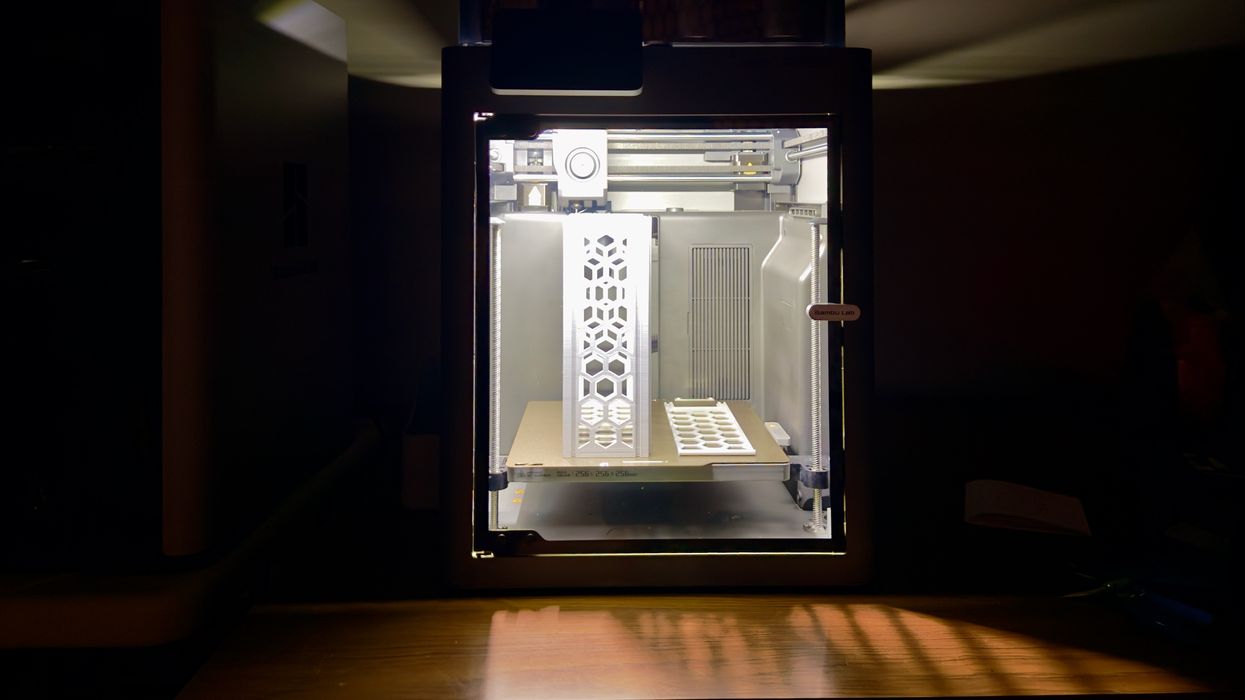
Our review of the Bambu Lab P2S desktop 3D printer continues with a deep look at operations.
This is part three of a four part series, please read parts one, two and four.
Bambu Lab P2S Combo Operations
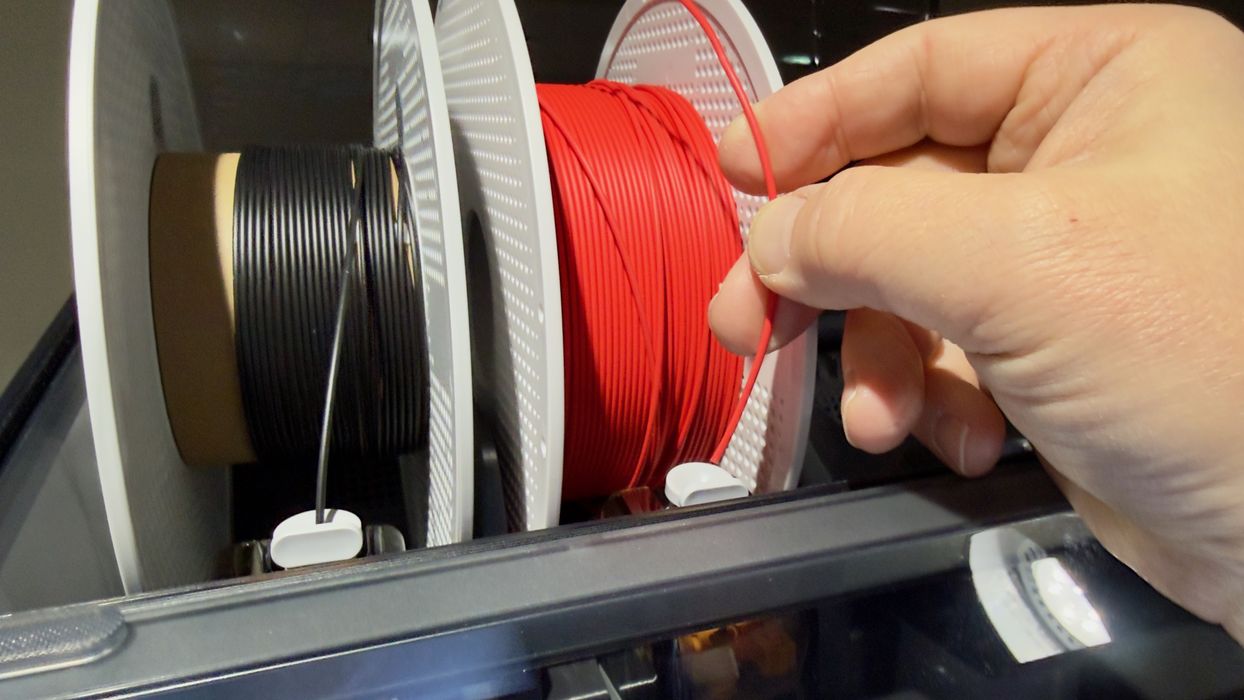
The P2S can’t do anything without filament, so I had to load some up. This involves placing the spools into the AMS and feeding the leads into the AMS ports. It’s a very easy process, and once a spool is mounted, the P2S spins them around to read the tag.
Tag? Bambu Lab spools are all electronically tagged to allow the machine to automatically “know” what type of material and color is on that spool. It can also perform “odometer” functions by tracking the usage of that specific spool over time, and show you the remaining amount of material.
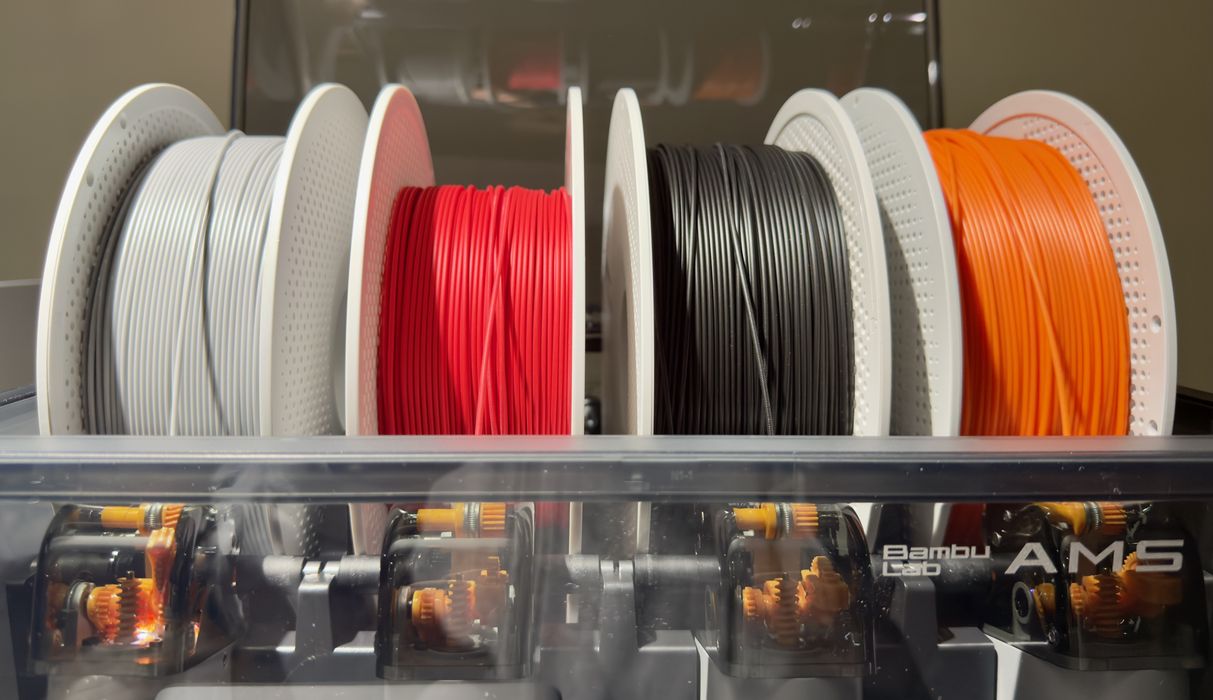
It’s also possible to use non-Bambu Lab spools in the AMS, so long as they are able to fit. However, you do have to manually identify them to the P2S because they don’t have the proprietary Bambu Lab tags.
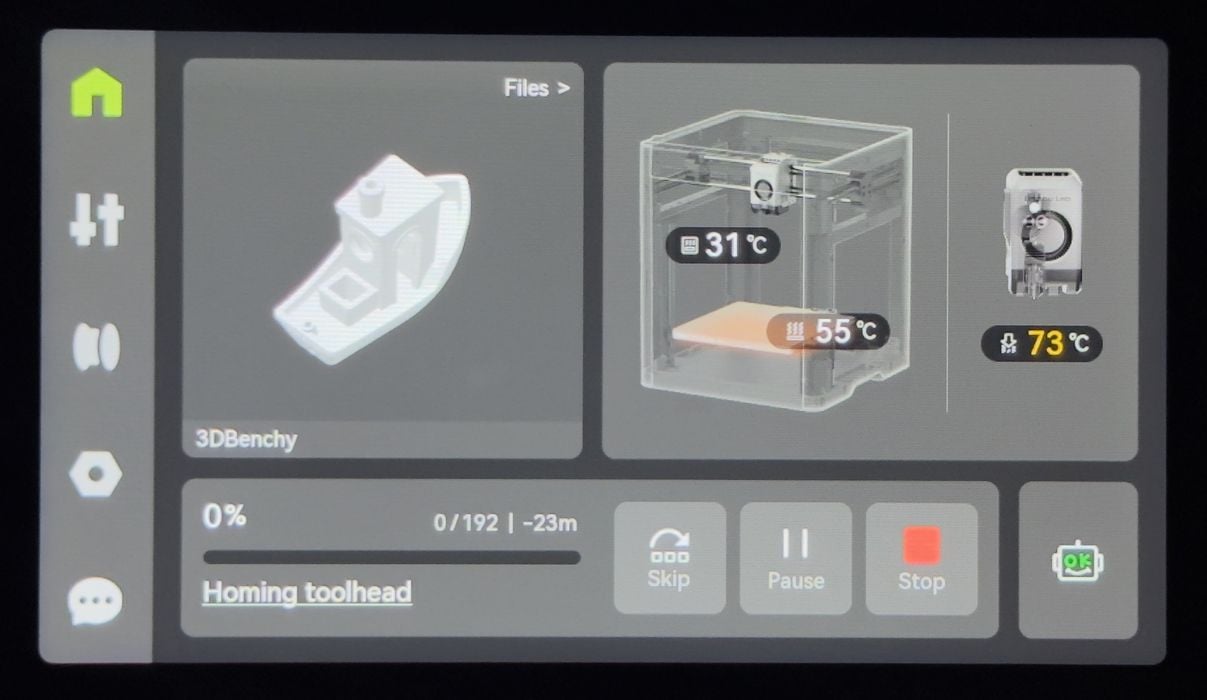
We were now ready to attempt a print, and as is customary, I chose a #3DBenchy job that was pre-sliced and placed in the P2S’ storage. Aside from starting the job, the only thing to do was to choose which spool to use.
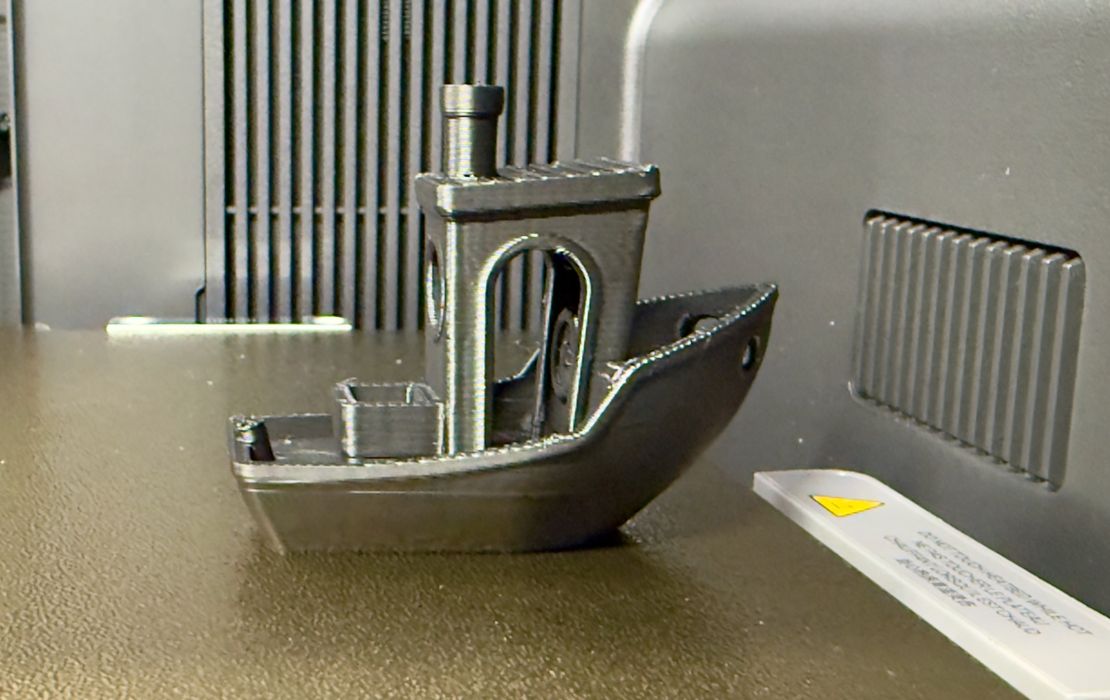
The #3DBenchy print completed perfectly, and the print itself was of pretty good quality. This wasn’t a speed test at all, but rather just to make sure the machine works. It did.
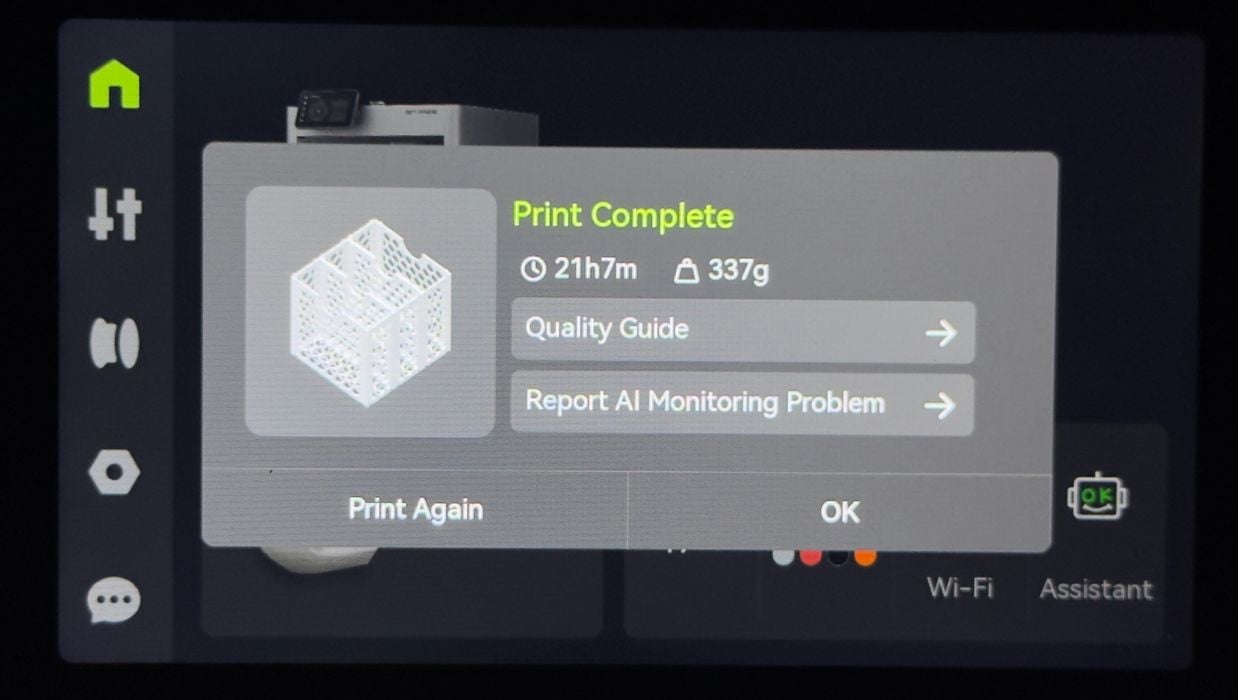
When jobs complete the P2S displays this informational panel. Note that if there are issues you can immediately get assistance directly from this panel.
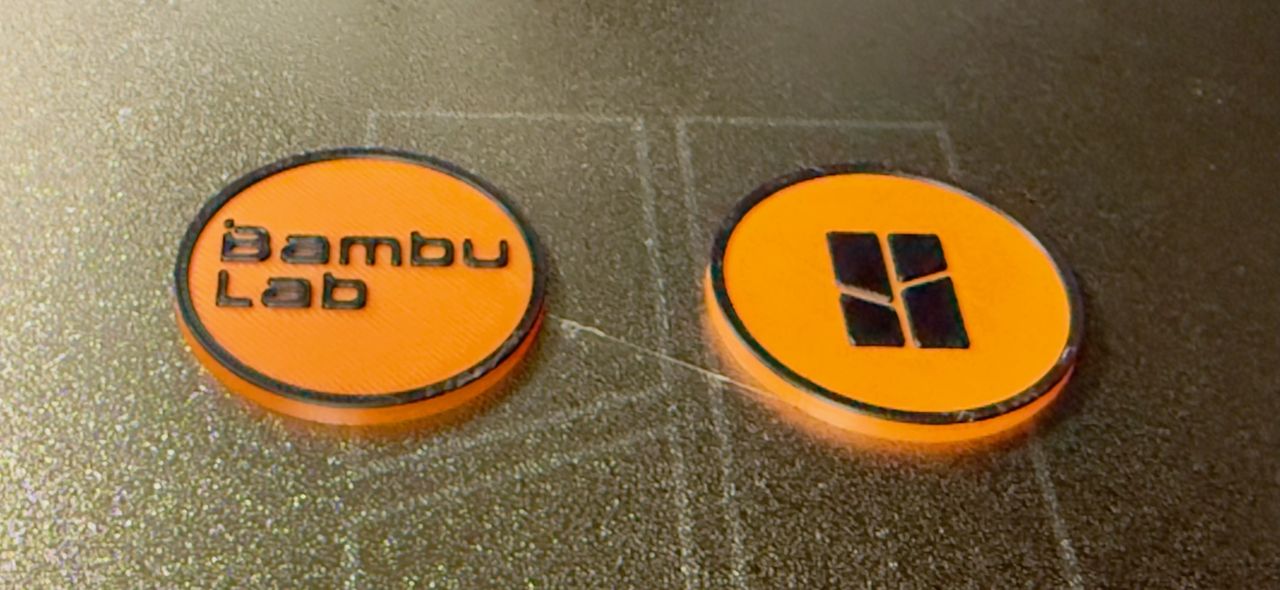
I tried a multicolor 3D print next to exercise the P2S’ ability to push and pull filaments during a job. This 3D model was also pre-sliced and stored on the P2S. No, I did not happen to have official Bambu Lab colors loaded, so the logos look a little off. But they printed very well.
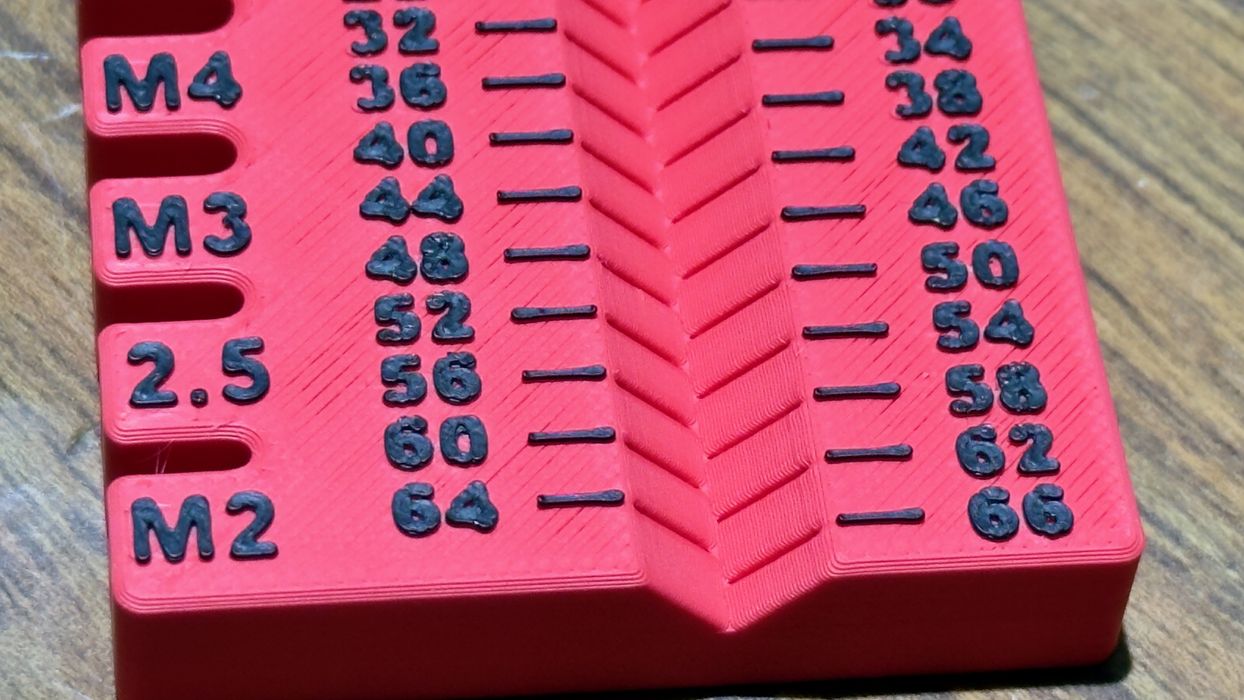
Next I tried printing the bolt tester, another pre-sliced job. Here I found that there was a slight under extrusion on the top layer. Certainly this could be fixed with a tuning tweak, but I am testing the default experience here. However, since I am using a Bambu Lab job on a Bambu Lab 3D Printer with Bambu Lab material, it should work a little better than this.
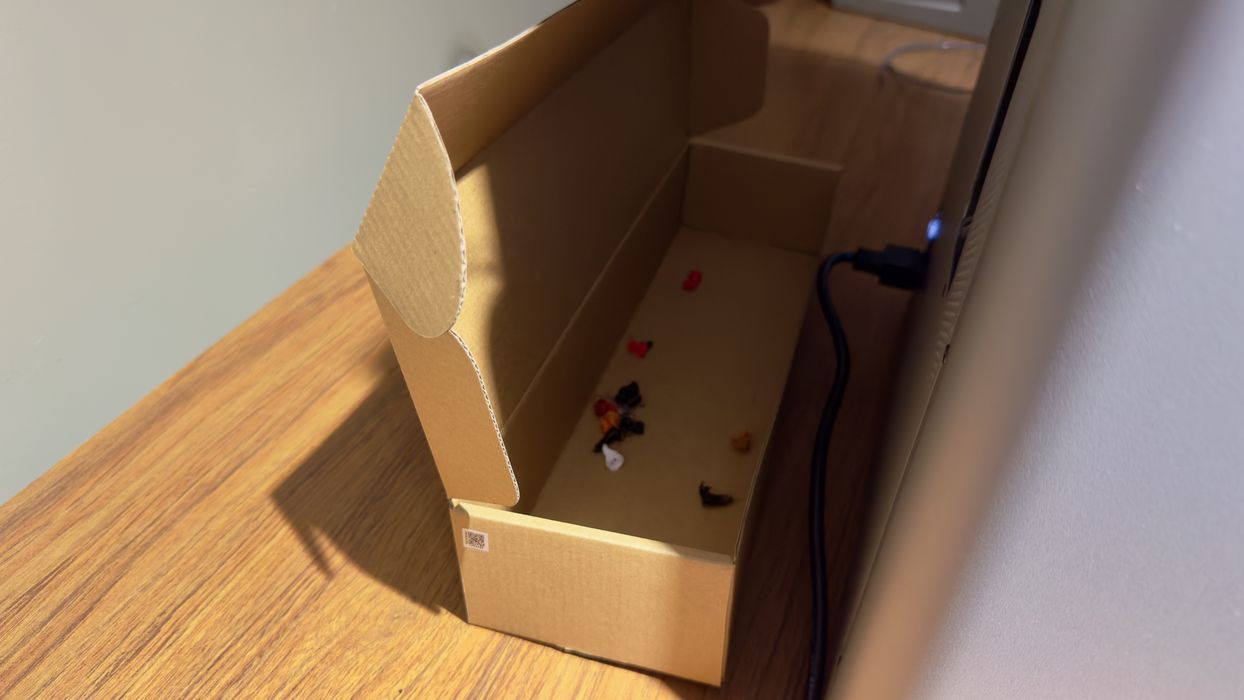
During filament changes, the P2S will issue a little “poop” out the back when it purges the previous material. These poops will collect, so you really need to put a box to catch them. I used the parts box from the shipment, which works very well if you use the lid as a backstop.
I began printing all types of objects, and you’ll see more in the Print Results section coming up. Here I was to print using PLA—CF, that’s normal PLA with a mix of chopped carbon fiber for additional rigidity.
This material is quite abrasive — it’s like sandpaper to touch. This means it (and other CF materials) should never be used from the AMS. If you did so, the abrasive material would wear away multiple mechanical parts in the AMS very quickly.
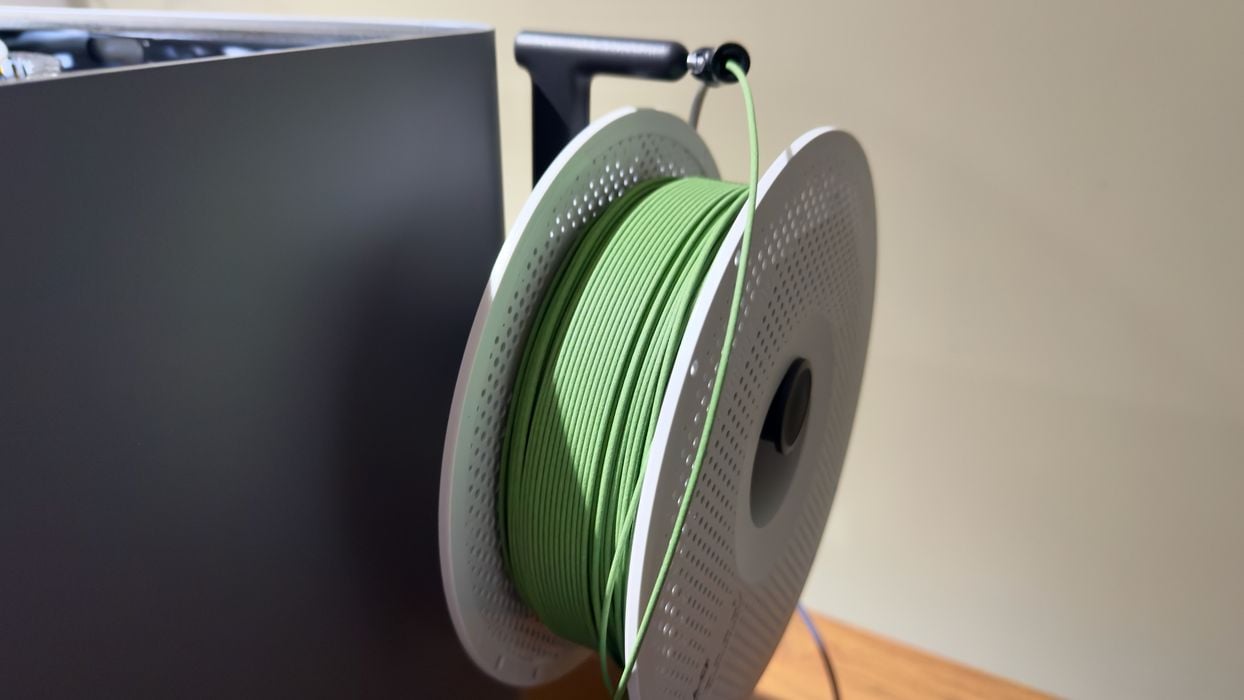
Instead you have to mount the PLA-CF on the external spool outside the P2S, and feed it into the buffer. This is where that second port on the buffer becomes instantly useful: just hook up the external spool’s PTFE tube there, and leave the AMS PTFE tube in place.
There’s one catch: the external spool has no motor. Well, it kinda does: it’s you. You have to manually push the filament through the PTFE tubes and buffer until it reaches the extruder. There it will be grabbed when you begin extrusion.
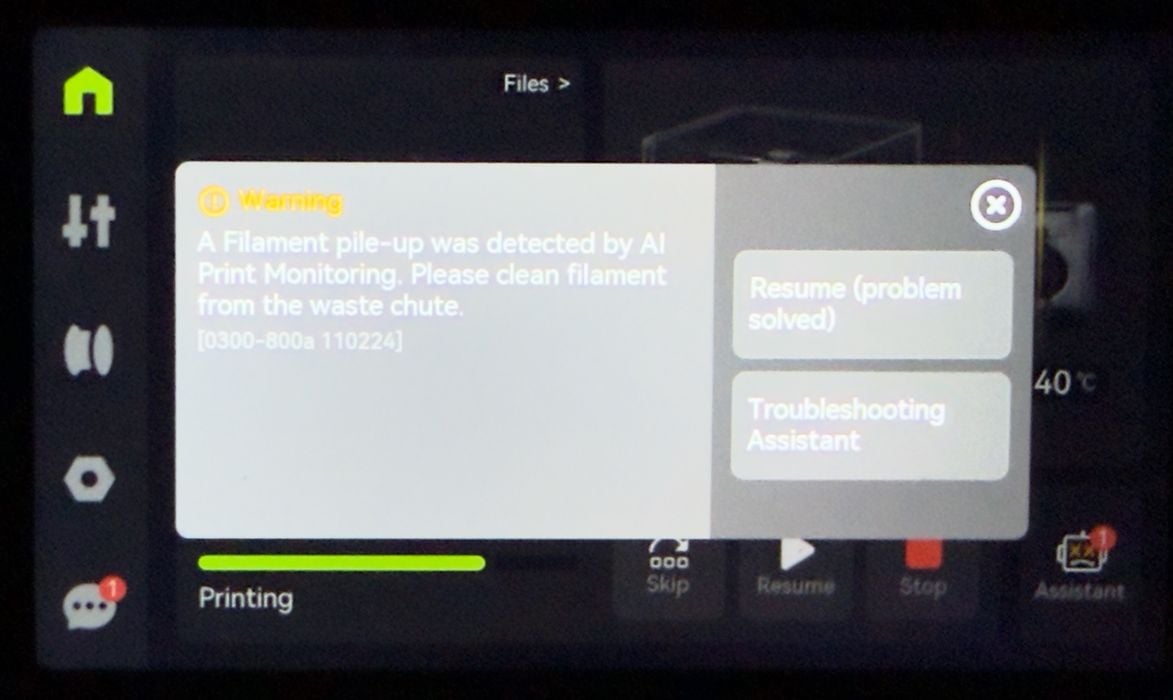
One particular print test I attempted was quite wasteful: the model was only 11g, while the waste generated was 116g — more than 90% waste. There are two caveats here: be very careful when you set up multicolor jobs on the P2S, as you can accidentally waste a huge amount of material. The second caveat is shown above: there was so much poop that it jammed in the waste port, and caused this error message.
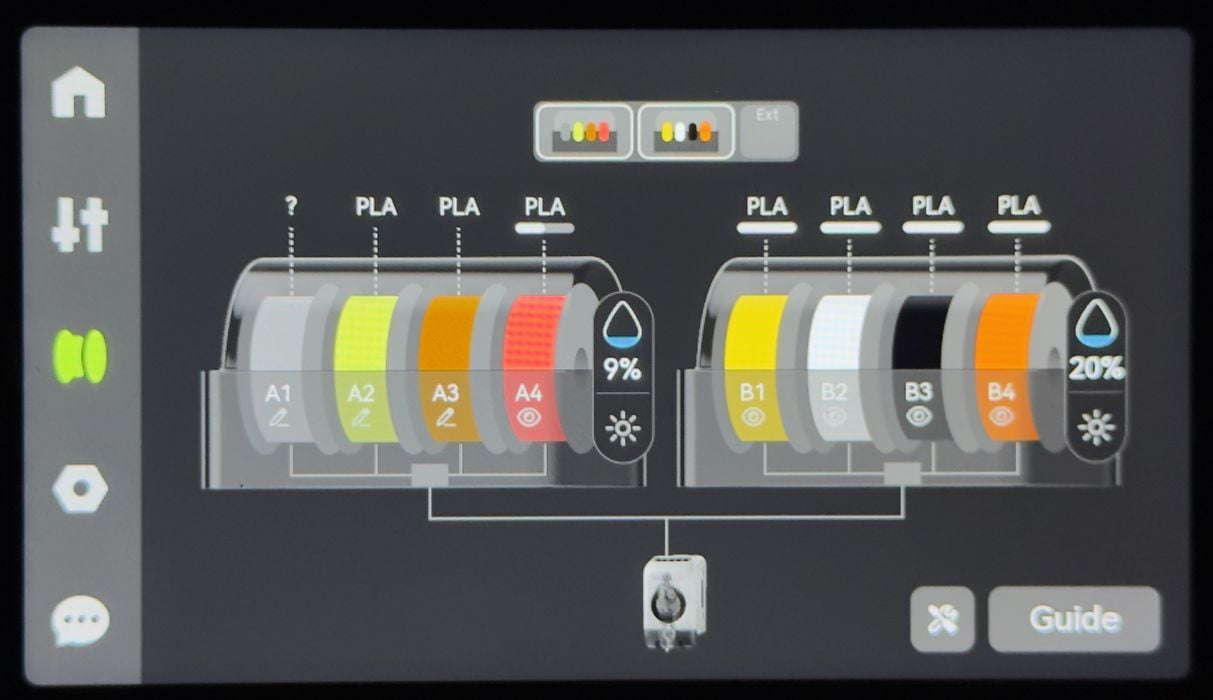
The P2S’ buffer has two PTFE ports, but the P2S also has two bus ports for AMS units. Could I attach a second AMS? I gave it a try. It worked! The P2S immediately detected not only the second AMS, but also all the filaments within it. If you have a second AMS handy, this is incredibly easy to do, and you immediately gain access to up to eight filaments per job.
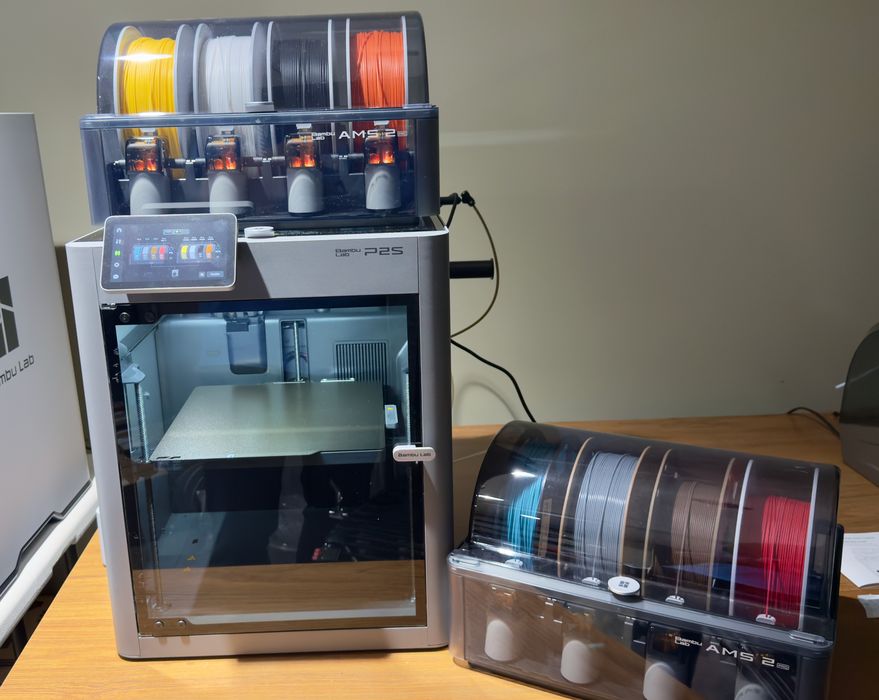
One problem, however, is that you loose some table space. The design of the AMS 2 Pro is non-stackable, so you can’t put it on top of the first AMS. I suspect the design is constrained by the need to pack it into the build chamber during shipping, so that’s why you can’t stack them.
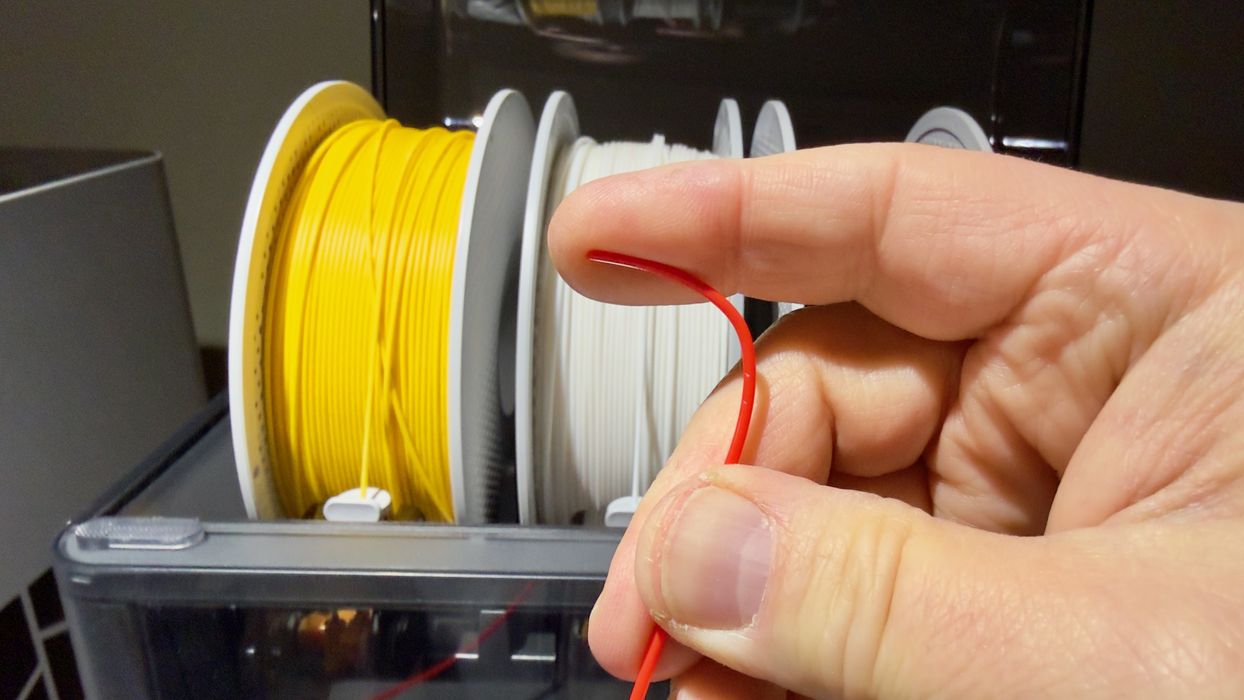
TPU is a tricky material to print with. It’s so bendy that it really can’t be used in the AMS, which pushes filament down the PTFE tubes. You can’t push wet spaghetti, so you normally must use TPU from the external spool.
But Bambu Lab offers something called “TPU for AMS”, which supposedly works in the AMS. Basically it’s a TPU that is sufficiently rigid for AMS pushes and pulls.
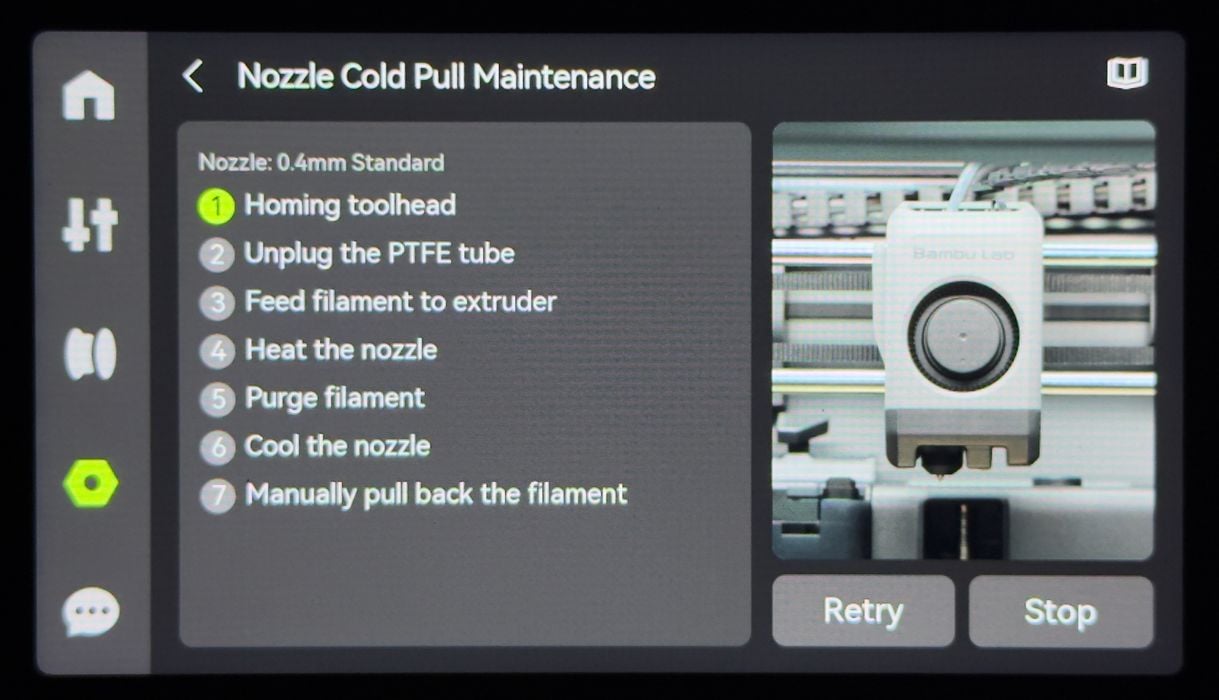
Hold on, the P2S insists on doing a cold pull before printing TPU. This is to clear out any other material leftover, and apparently this can cause jams with tricky flexible TPUs.
A cold pull is a process where you insert a filament into the extruder, heat it up, and then wait until just before it solidifies. Then you quickly pull it out, and that should pull all leftover junk out of the hot end.
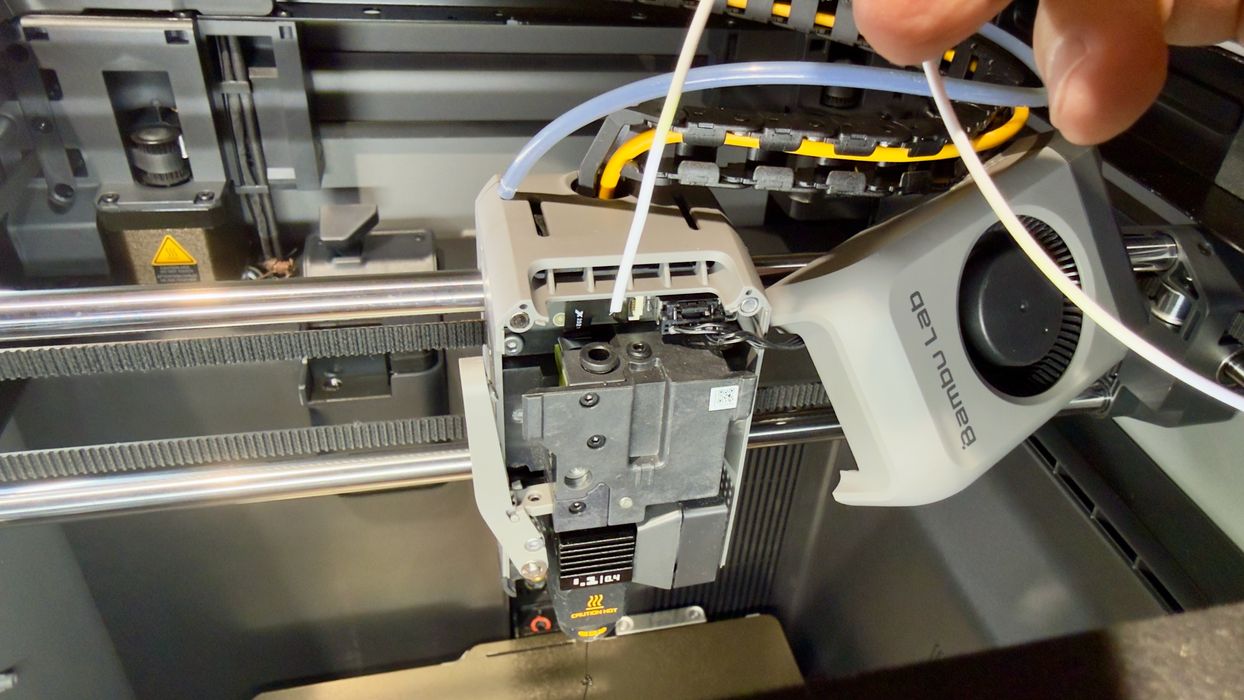
To do this you have to open up the toolhead to manually insert the filament. Here I was pleasant surprised to find that the toolhead cover is magnetically attached! No need for tools or dramatic yanks here. Just lift it off and put it to the side. Amazing.
The cold pull process suggests using a lengthy piece of filament, and they are not kidding. The process automatically extrudes 30cm of filament, so make sure you have enough.
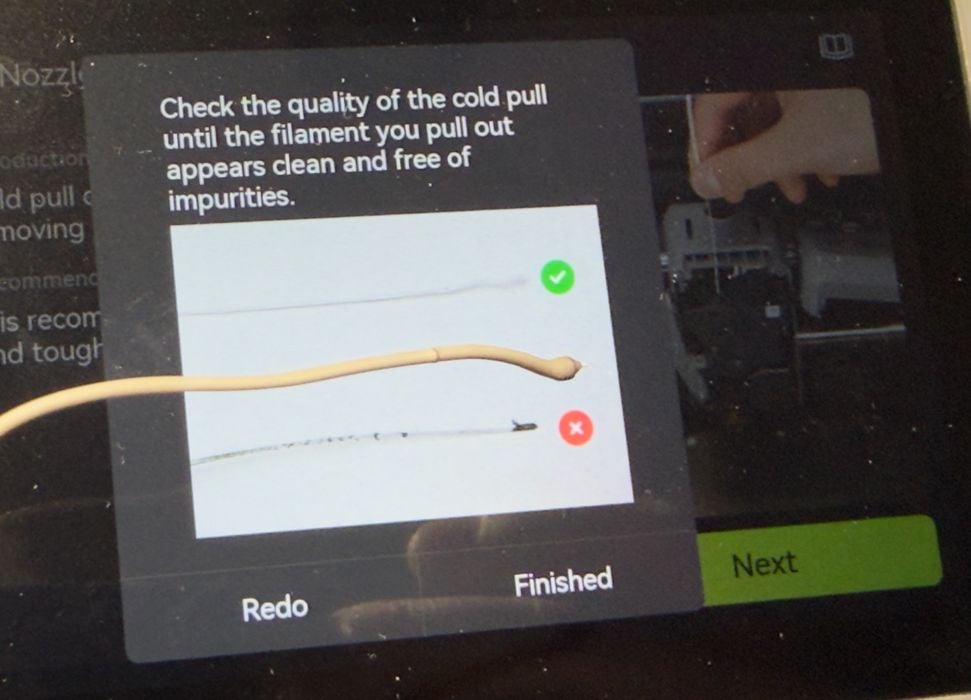
After completion, the P2S shows you a nice image of what you should see on your pulled filament. I think mine did a decent job of cleaning the hot end.
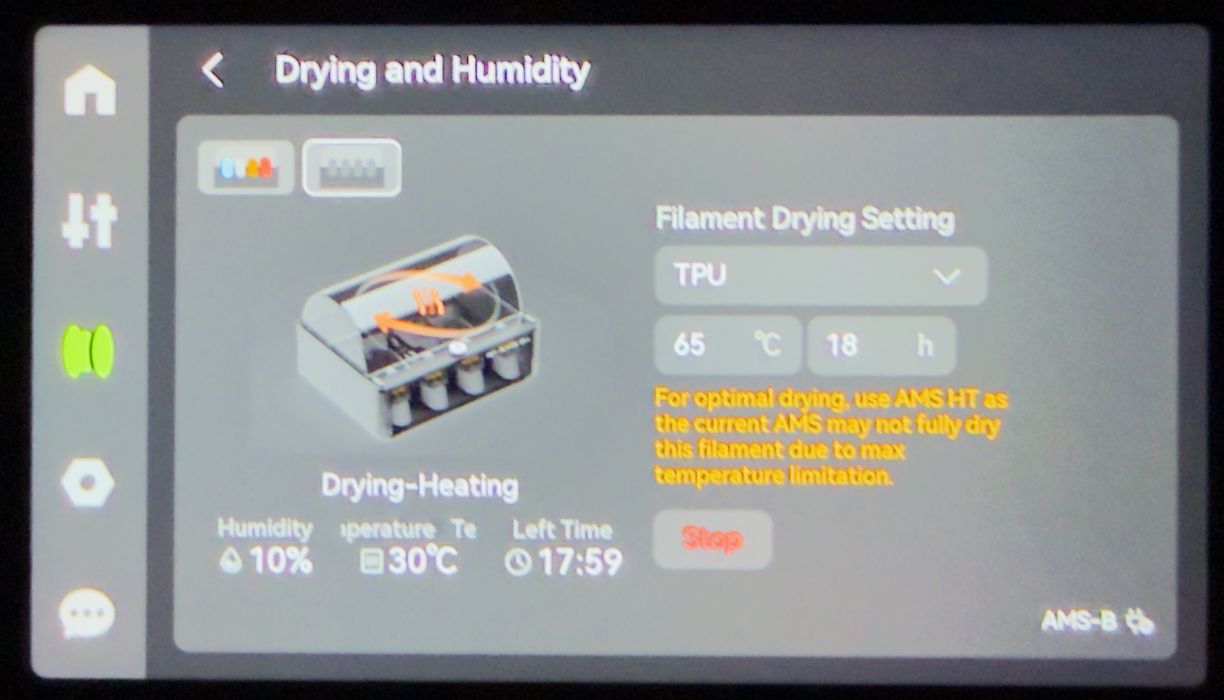
The AMS doubles as a filament dryer, which you should always do, especially on exotic materials like TPU, PA and others.
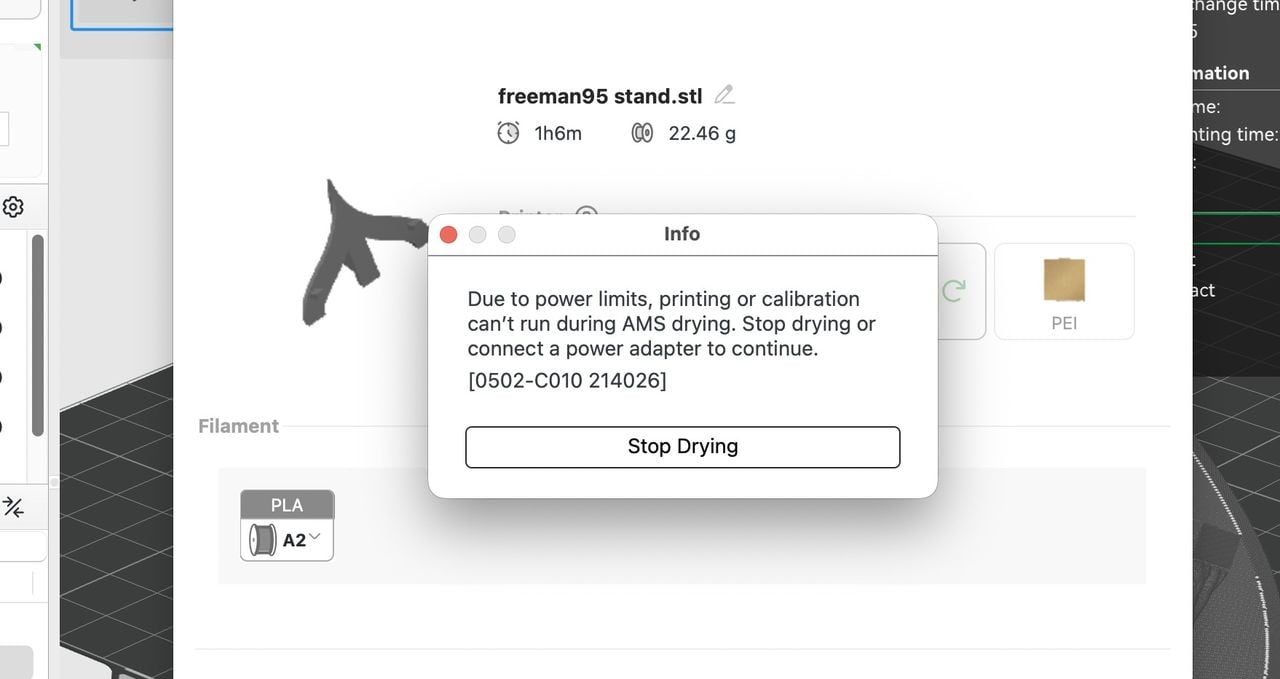
It’s very straightforward to set it up, but unfortunately you cannot (at least as of this writing) dry AND print at the same time. The procedure would be to dry first, then print immediately after.
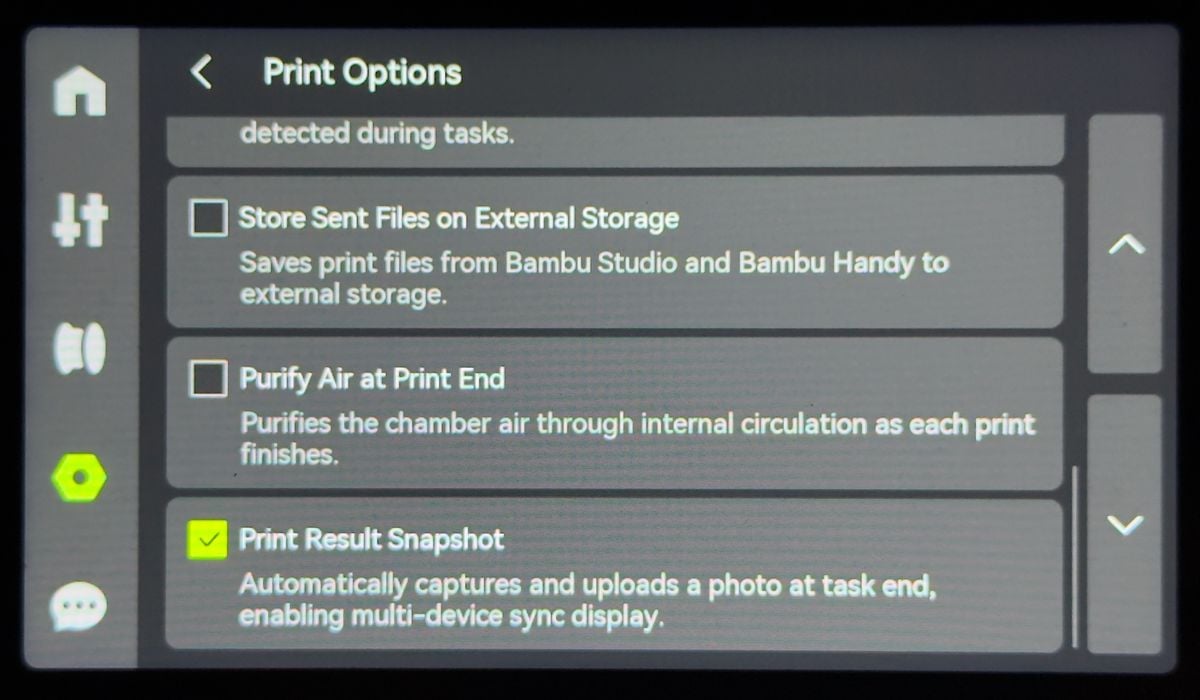
Digging into the menus on the P2S, I discovered several intriguing features. The purification option should likely be left on by default, because otherwise the nanoparticles generated during printing take a while to settle. If you open the chamber up right away, they escape into the air.
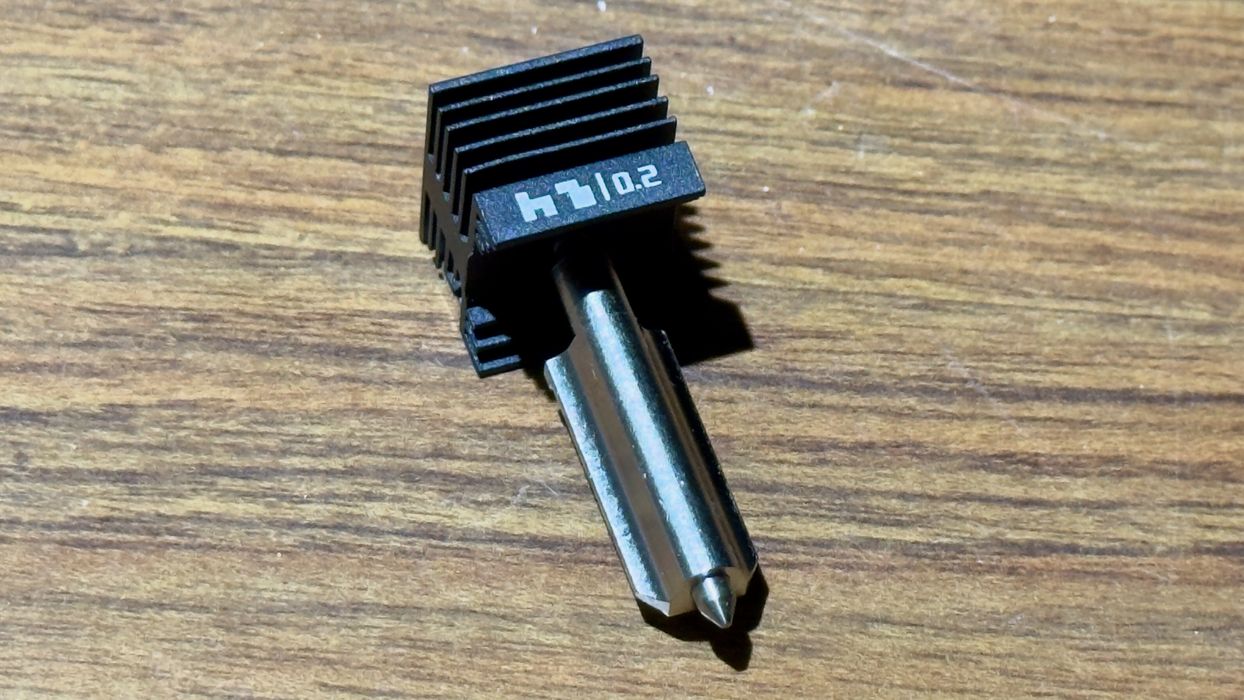
Now it was time to test some different nozzle diameters. I first attempted using the smaller 0.2mm nozzle instead of the stock 0.4mm nozzle. This should provide far more detailed prints.
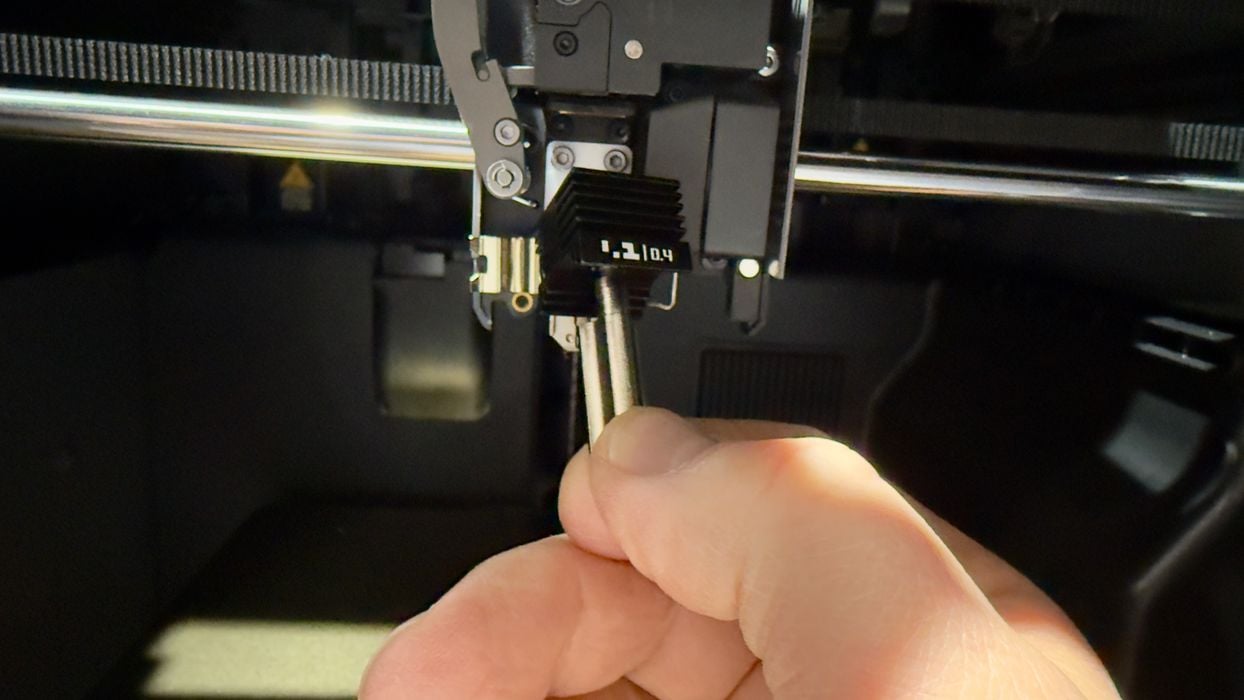
Swapping nozzles on the P2S is a breeze. It almost cannot be simpler. You remove the toolhead cover as before, remove the rubber hot end protector, unclip the nozzle and remove it: it’s magnetically attached.
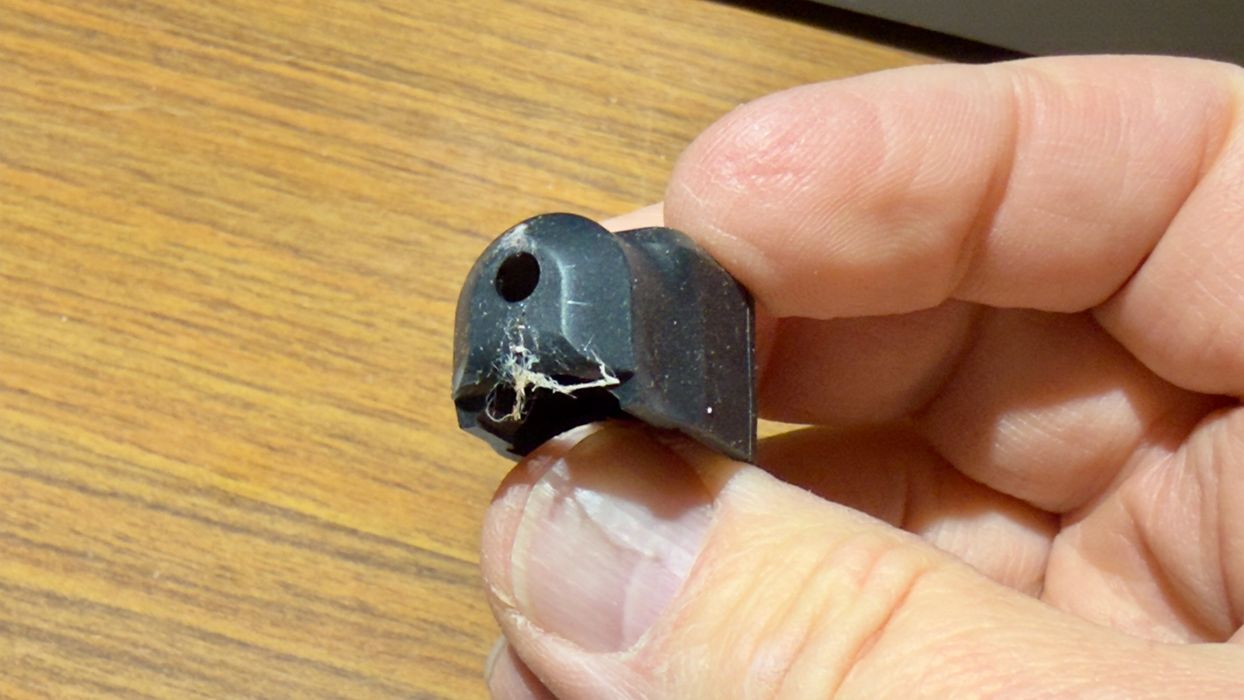
When you swap nozzles on the P2S, it’s also a good time clean your rubber shield. They tend to accumulate stringy bits that might pollute future prints.
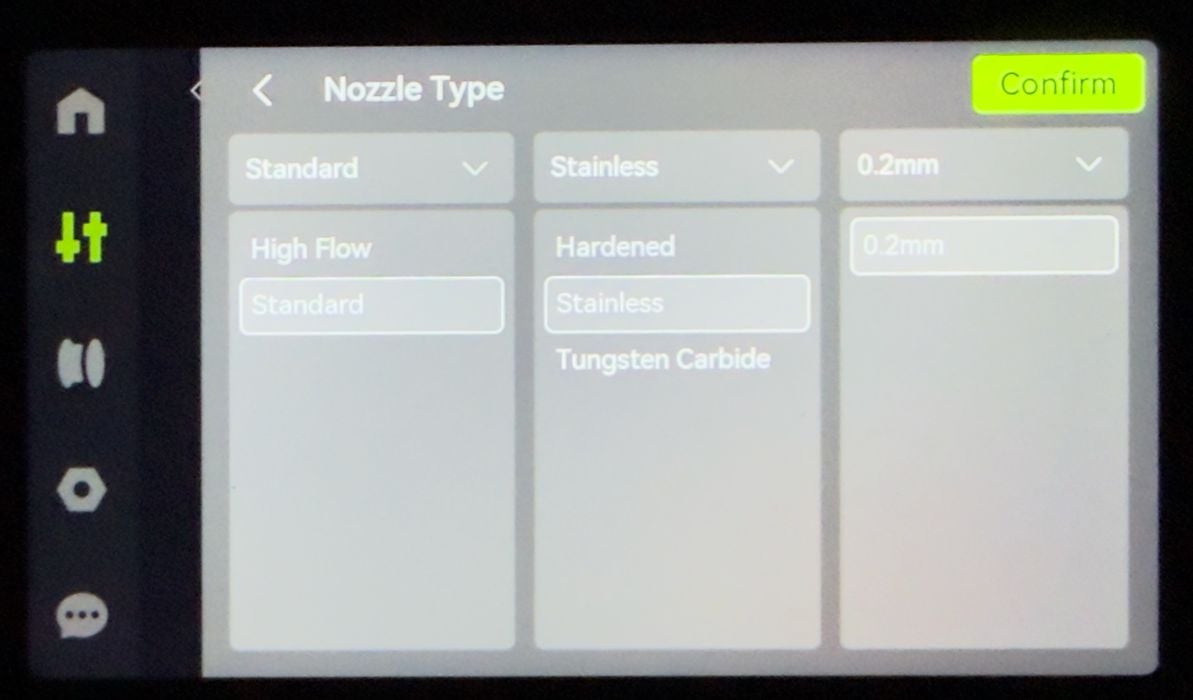
Another step to do when replacing the nozzle. The P2S cannot automatically “know” which nozzle you just installed, so you have to tell it via this panel. Make absolutely certain you set it correctly, otherwise slicing mayhem may occur.
Once the nozzle has been changed, you must recalibrate the P2S — the weight of the toolhead has changed, as well as the nozzle distance to the print surface. Be prepared for another hour wait to recalibrate.
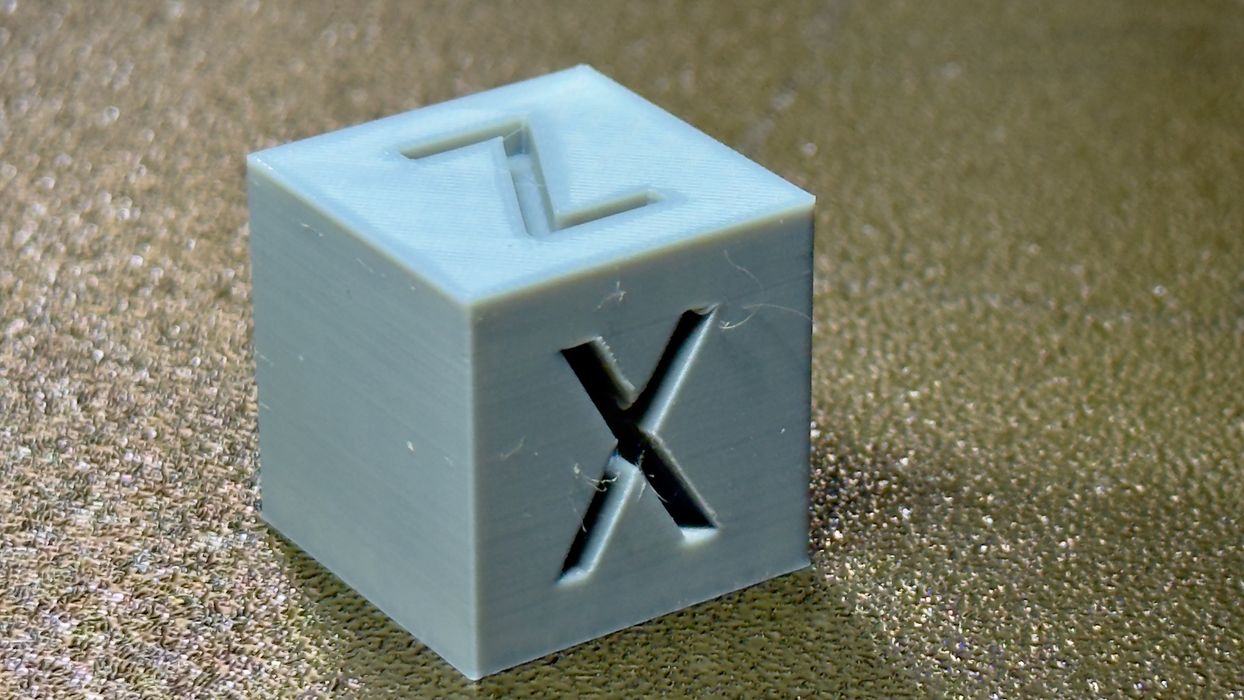
A quick test with the new 0.2mm nozzle installed showed significantly more detail on the XYZ test cube.
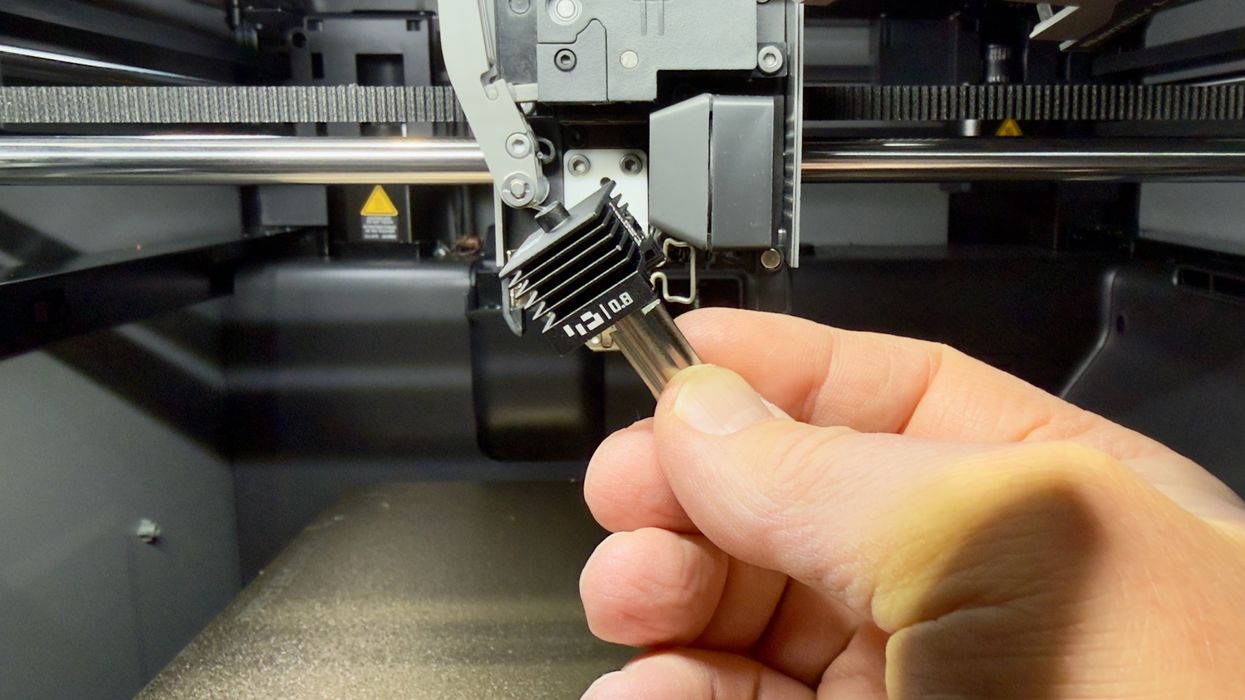
The final material to test was “raw” TPU, not that wimpy “TPU for AMS” material. These highly flexible filaments must be printed with a 0.6 or 0.8 mm nozzle, so I swapped in the 0.8mm nozzle.
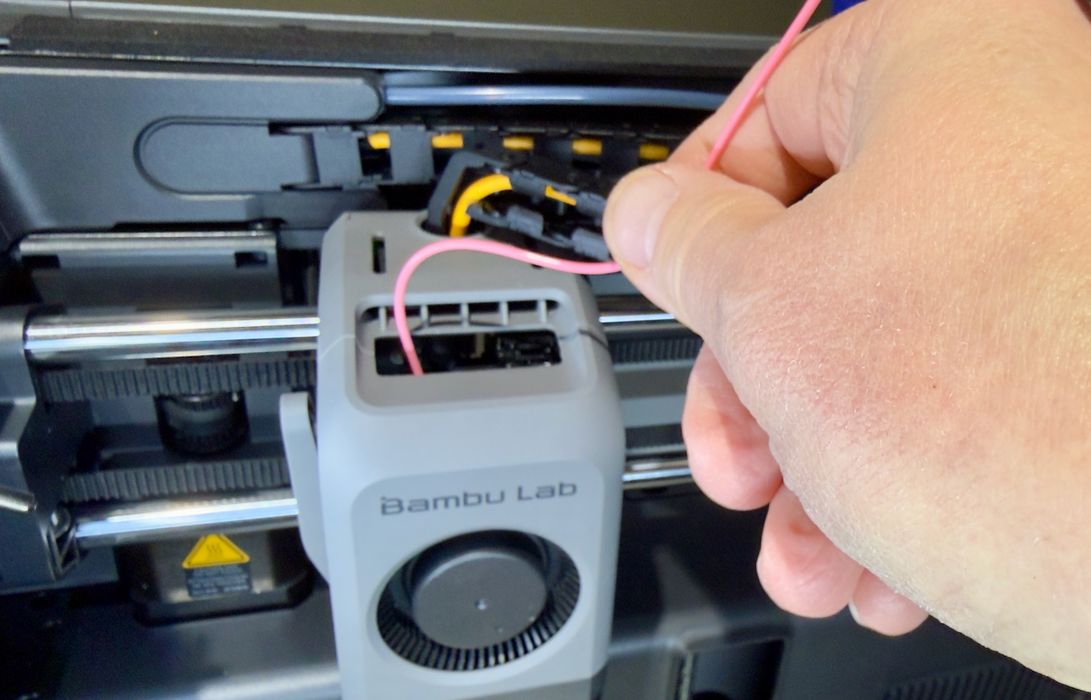
TPU must be dried before printing, so I printed a mounting bracket and set up an AMS HT unit on top of the P2S. This would dry and feed the filament to the extruder directly, bypassing the buffer and all PTFE tubes, as suggested by Bambu Lab.
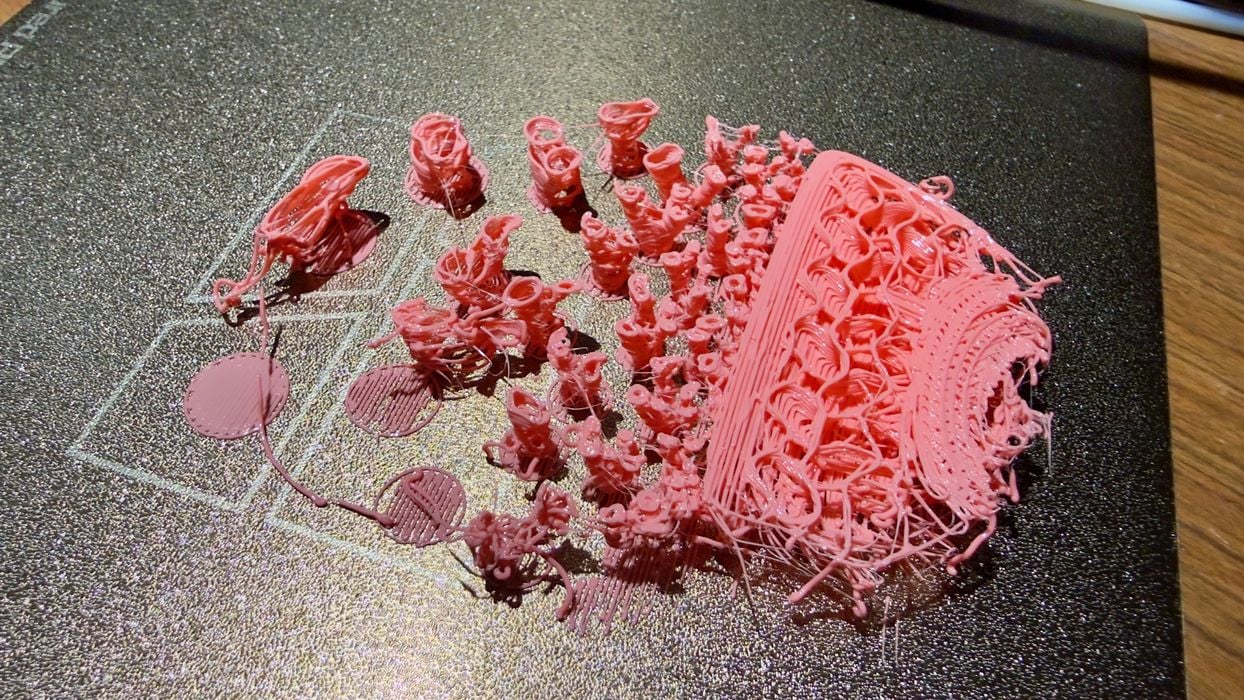
My TPU90A print failed miserably, as you can see here.
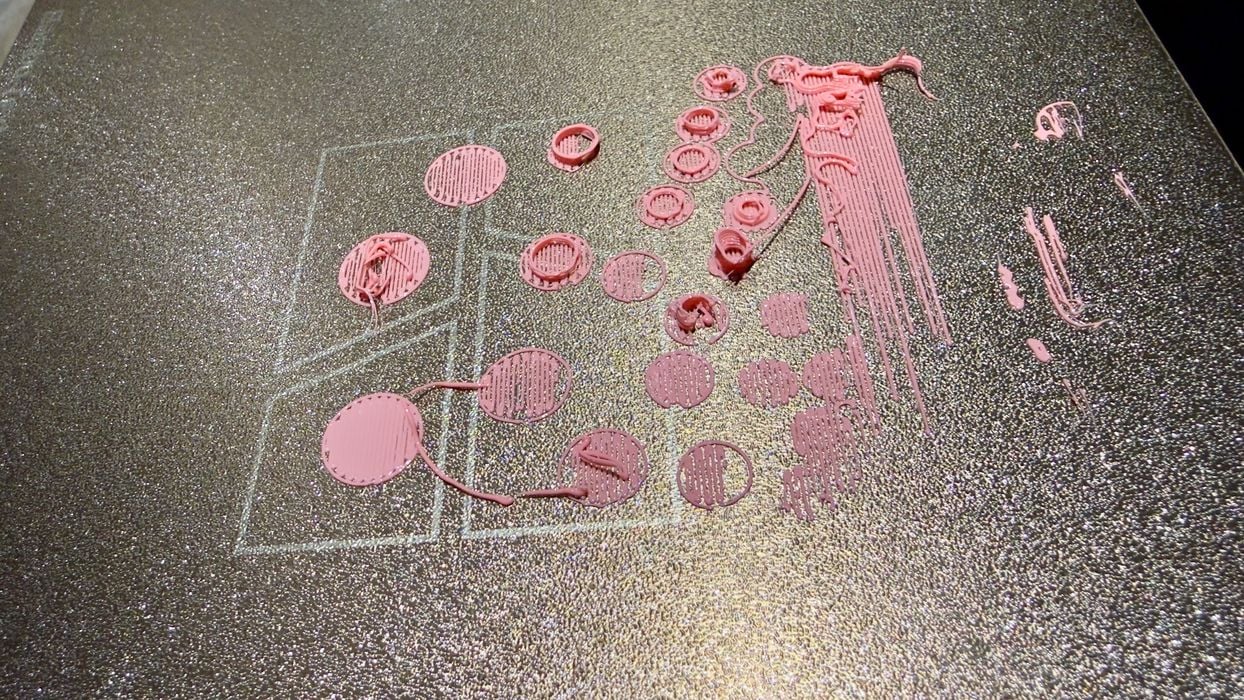
Worse, I had to painstakingly peel off these TPU deposits from the build plate. This took quite a while because TPU is extremely adhesive, and doesn’t pop off like rigid materials.
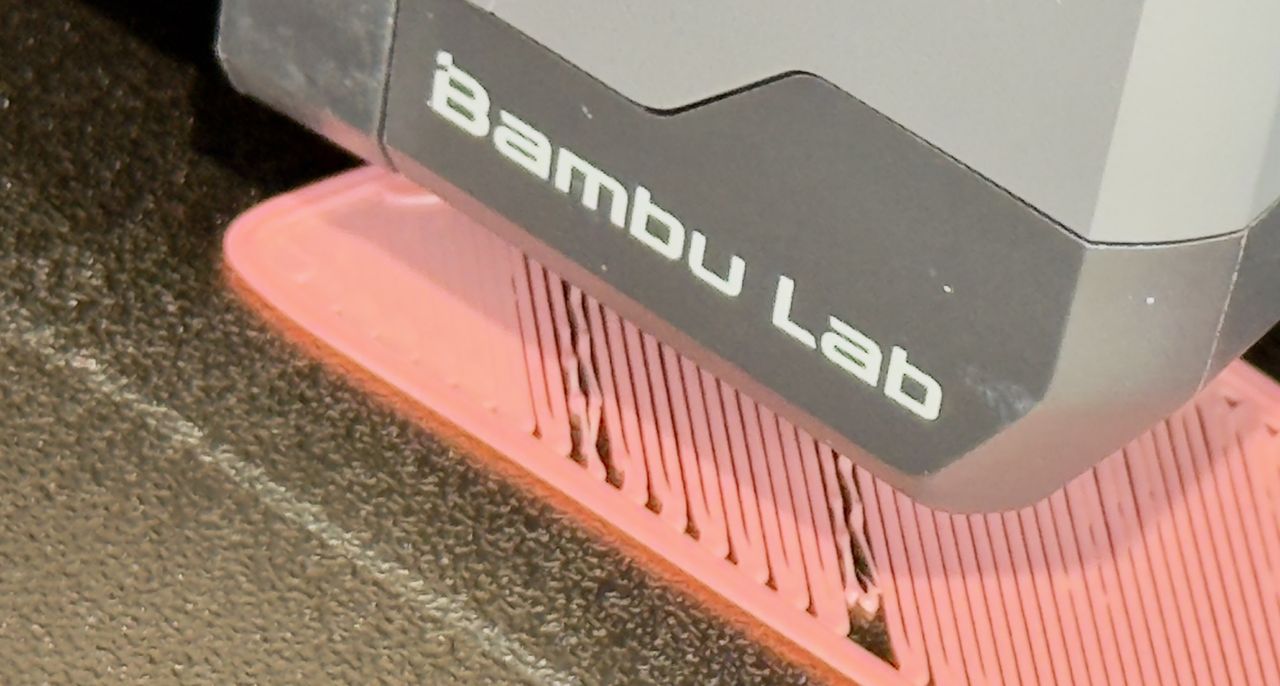
What was wrong? In this test you can see significant under extrusion, which is solved on the left.
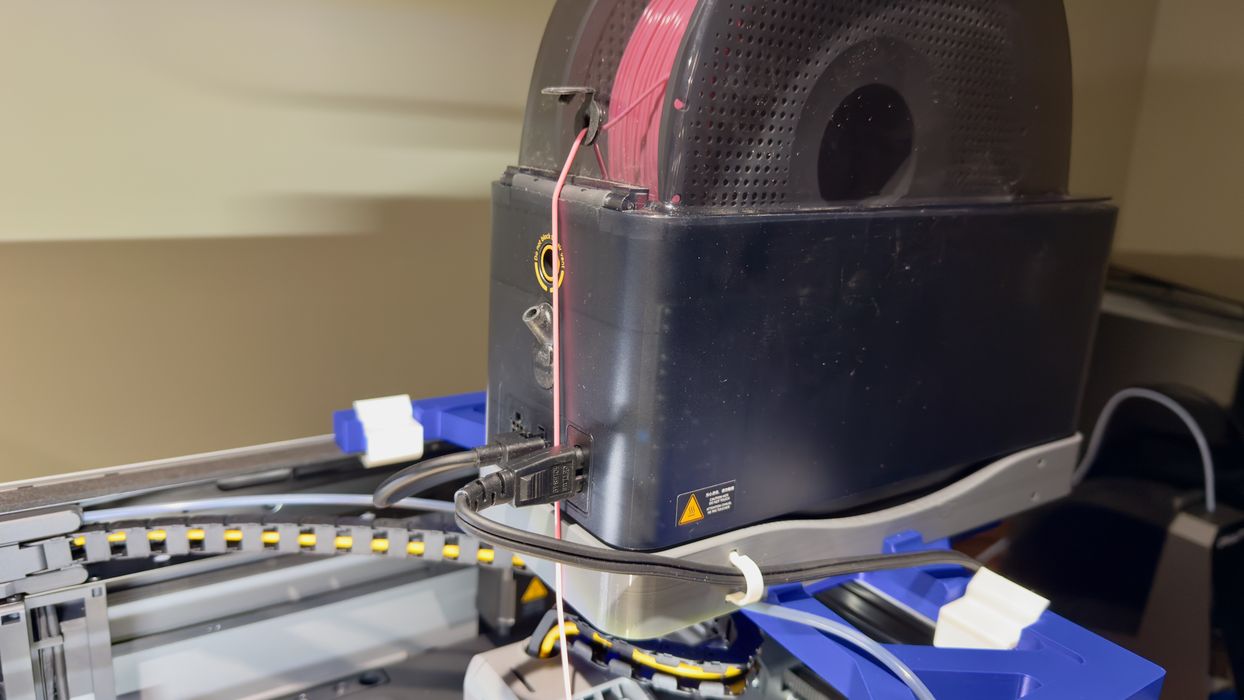
The problem was visible here: the path through the AMS HT port had way too much friction, so not enough material was reaching the nozzle. When I gave it some slack, the extrusion immediately became normal as shown above.
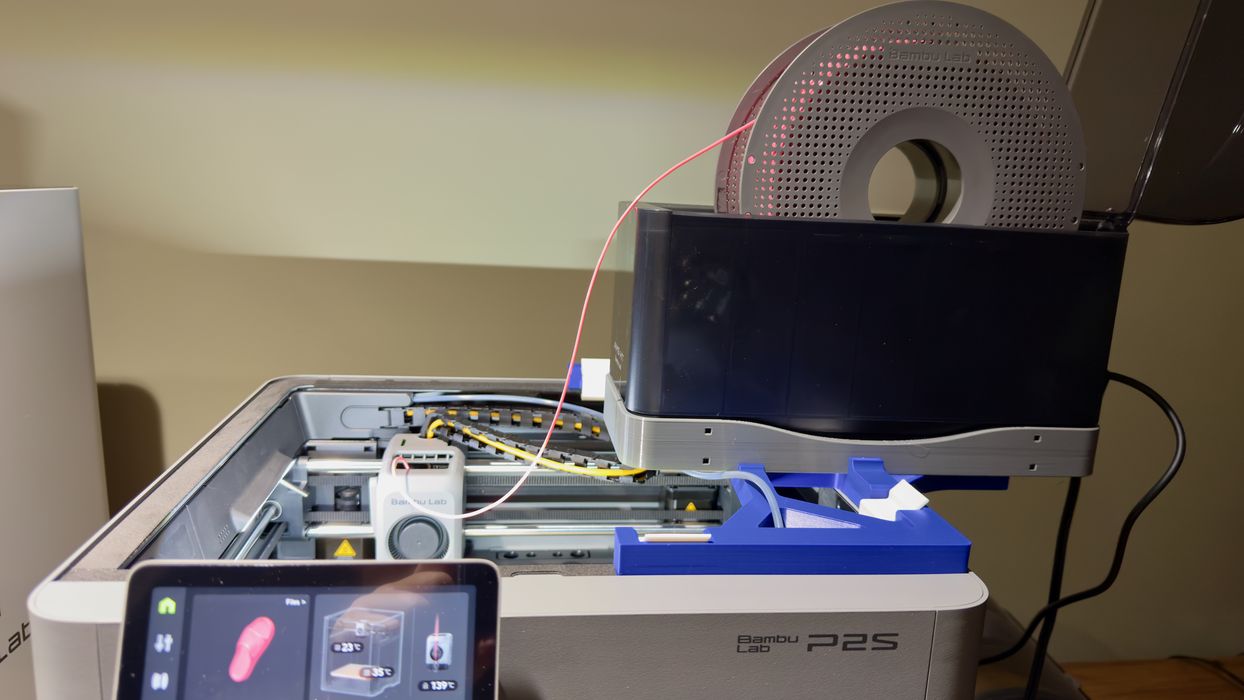
The solution was to open up the AMS HT and feed the filament directly, not through a port. This offered basically no friction at all, and the TPU prints tended to work after that.
This is part three of a four part series, please read parts one, two and four.
Via Bambu Lab