
We tested the very unusual Drywise in-line filament dryer.
This is part one of a three part series, please read parts two and three.
Drywise Background
Drywise is a 3D print accessory produced by Thought3D, the same folks behind the myriad of adhesion solutions that go under the brand name “Magigoo”. Based in Malta, the company has had great success with Magigoo, and the Drywise is their first major departure from their original product line.
What is it? It’s a very unusual filament drying solution.
Filament drying has become much more popular in recent years because of the introduction of high performance engineering filaments. Many of these materials tend to absorb humidity from the air and that can severely corrupt print quality.
Basically the absorbed water boils as it goes through the hot end, forming zillions of tiny bubbles. These bubbles mess up surface quality, as you might imagine, but can also dramatically weaken the part because, well, there’s air instead of solid material.
This requirement has led to a variety of drying solutions, ranging from simply putting spools in sealed bags with desiccant, to complex heated cabinets that slowly dry the material over many hours. Sometimes these “dry boxes” are integrated directly into the 3D printers themselves.
However it’s done, all of these solutions have one thing in common: the filament must be entirely dried before you can use it in the printer.
Drywise takes a very different approach. Instead of waiting for the entire spool to dry over many hours, the filament is actually dried AS IT IS BEING PRINTED!
It’s analogous to an in-line water heating system versus a hot water tank.
The benefit is that you don’t need to wait hours to dry the filament before you can print. With the Drywise you mount the spool and start printing — almost, as you will see.
How does it work? It’s not entirely clear, but there is heat involved, and it appears there is a pump. The pump might be used to lower the air pressure around the filament to provoke the evaporation of moisture in the filament.
Drywise Specifications and Features
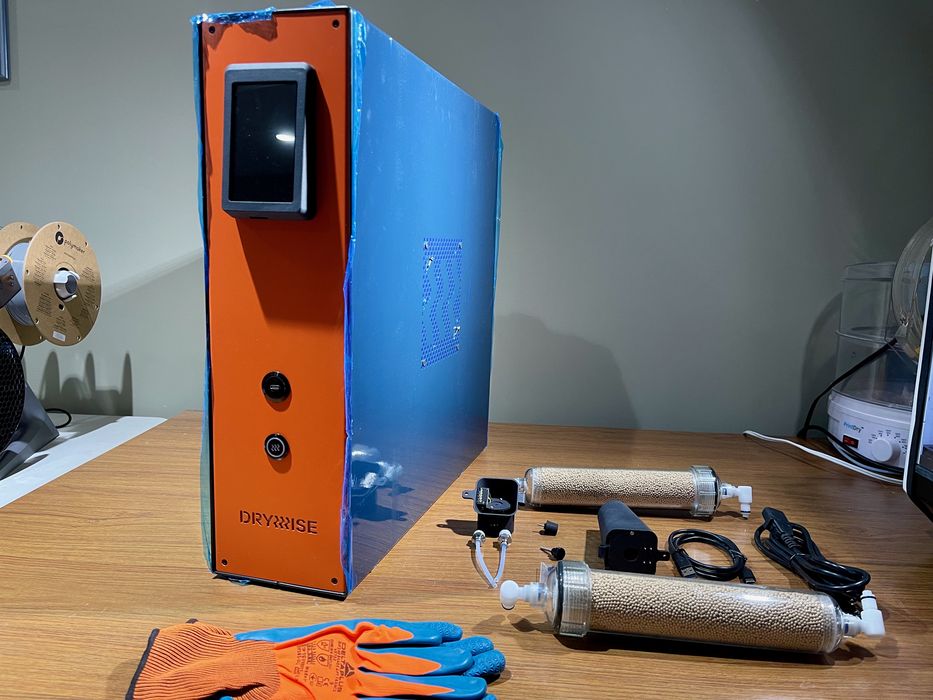
The Drywise is a box about the depth and height of a 3D printer, but with a slim width. The intention is to have it sit beside the 3D printer during printing operations.
It’s available in two versions: one for 1.75mm filament and one for 2.85mm filament. This is because the filament entry ports must exactly match the diameter of the filament in order to maintain the air seal.
We tested the 1.75mm version.
Drywise Unboxing, Assembly, Setup and Calibration
Drywise is shipped almost fully assembled, so there’s really not much to do. Basically all you’re doing is attaching a few items that would otherwise make the shipping box bigger.
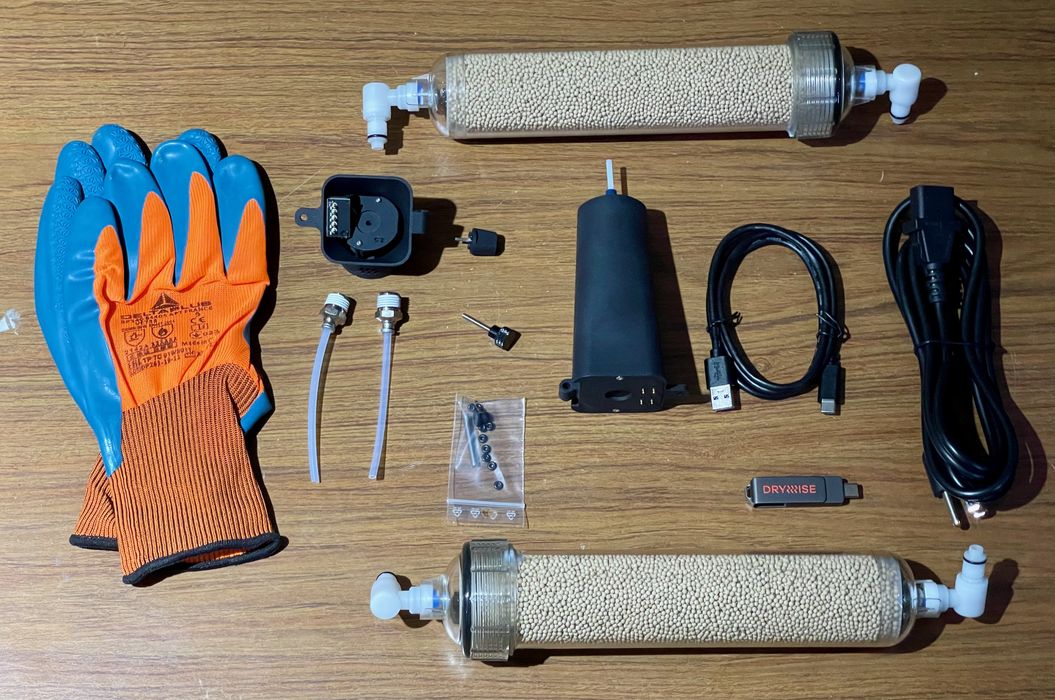
Aside from the main pre-assembled unit, all of the other parts and bits are in the accessory box.
The parts are quite different from what you’d expect to see in a 3D printer kit, and that’s entirely understandable: this is not a 3D printer. Here we find dual drying cartridges, thermal gloves and a few other mysterious items.
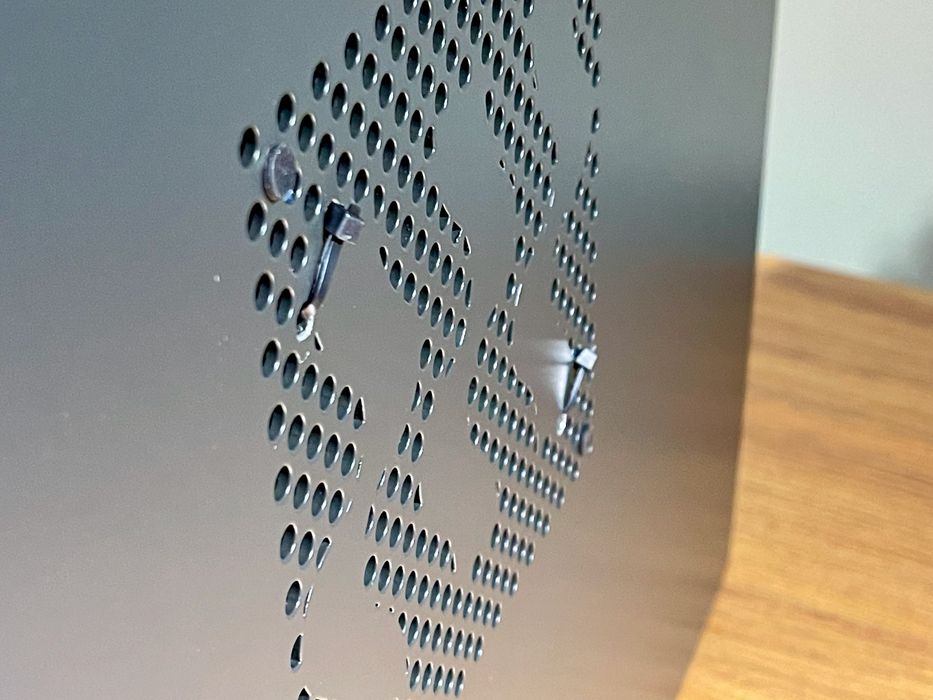
Something odd I noticed was two tie wraps seemingly coming from the interior of the Drywise. When unboxing a machine I have a kind of “radar” for tie wraps that must be removed. I saw these right away. However, there didn’t seem to be any instructions on removing them, so I assumed they were part of the machine and left them alone. I’m not sure what’s going on inside the machine that would require visible tie wraps like this.
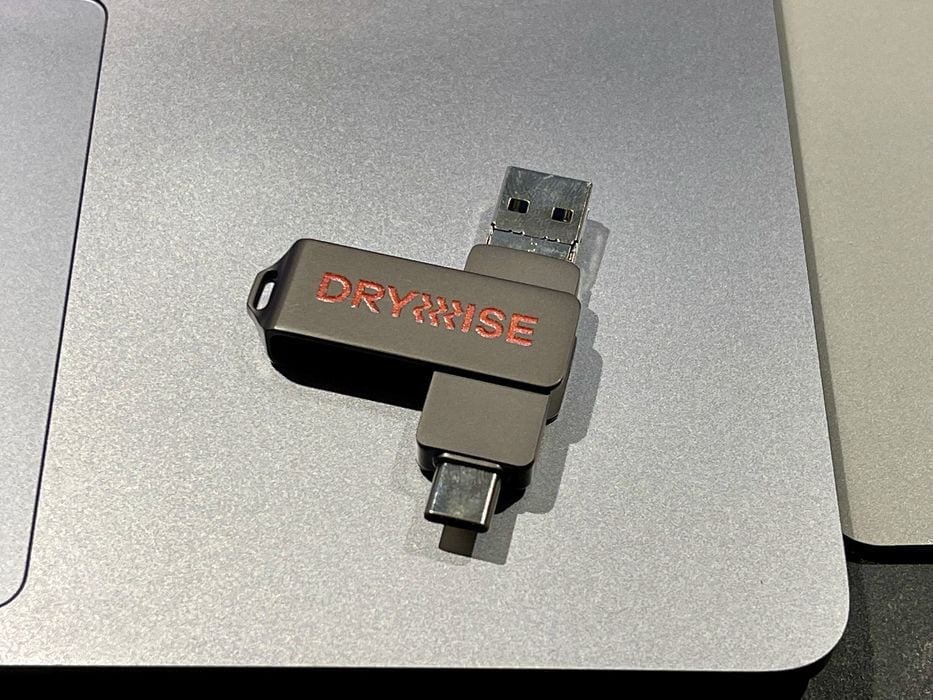
There’s no software to run on your PC for the Drywise, but there is a USB stick enclosed. I was quite impressed: this is a dual USB-A / USB-C stick, the first one I’ve seen. What’s on it? It turns out that’s where you find the instruction manual, which you will need for the assembly process. You can also download this from their site.
One of the first and probably most important steps is to remove this large bolt. It’s apparently placed there to hold something in place during shipping. I kept it in case I need to move the machine later.

The key part for the Drywise is the drying cartridge. It’s a plastic affair that’s filled with desiccant bits. These absorb humidity during the drying process.
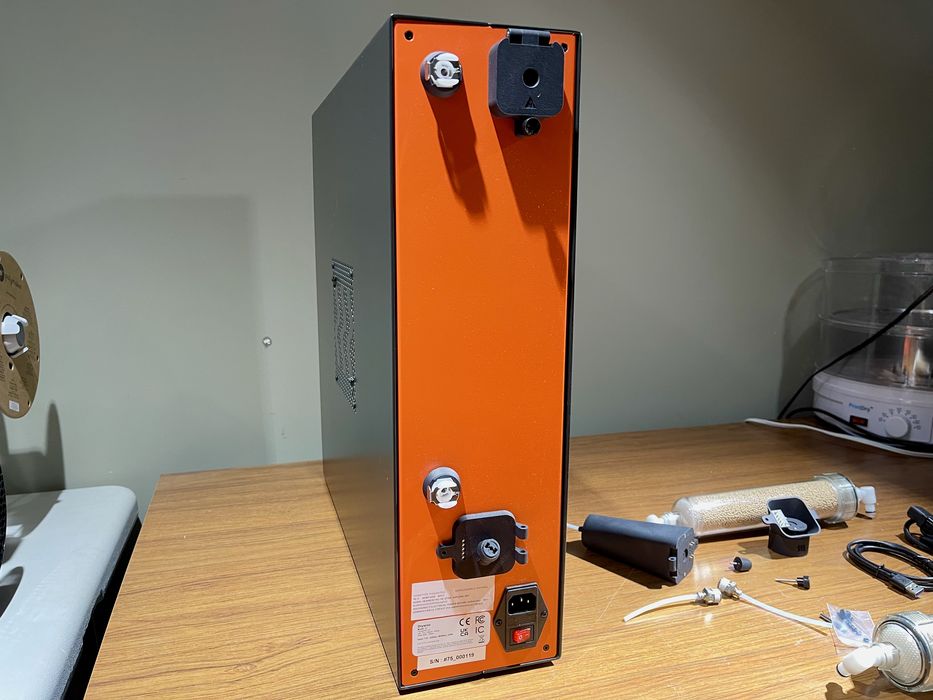
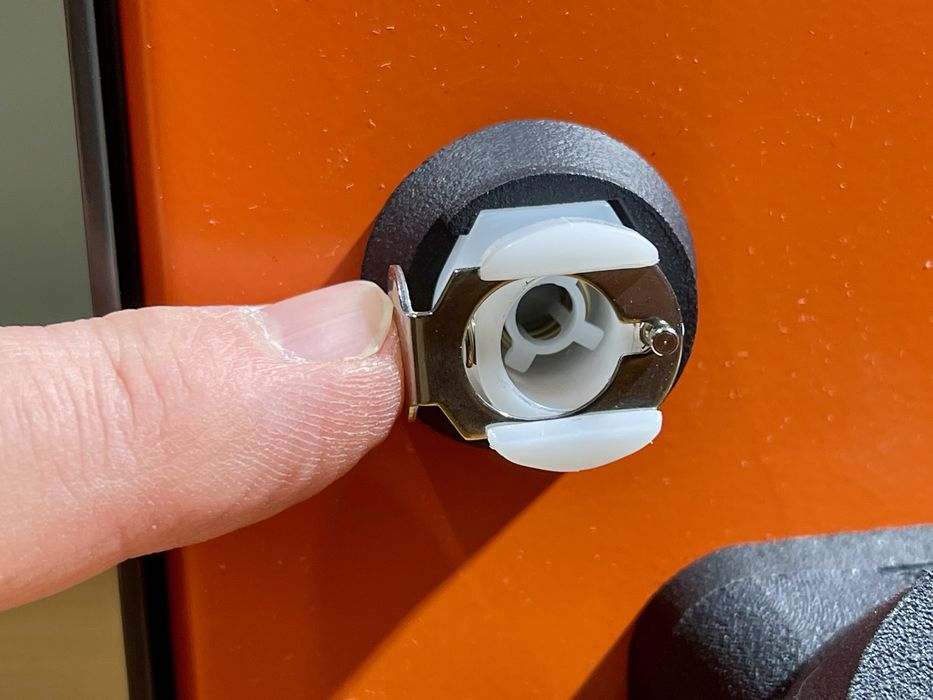
There are two ports on the back of the unit, the top for filament entry, and the bottom for dry filament to exit the Drywise. The interior of the Drywise is a highly controlled environment, so the entry and exit ports are designed to carefully seal it from the outside air.
The top and bottom ports are maintained by these swinging doors, which hold an o-ring to provide the seal.
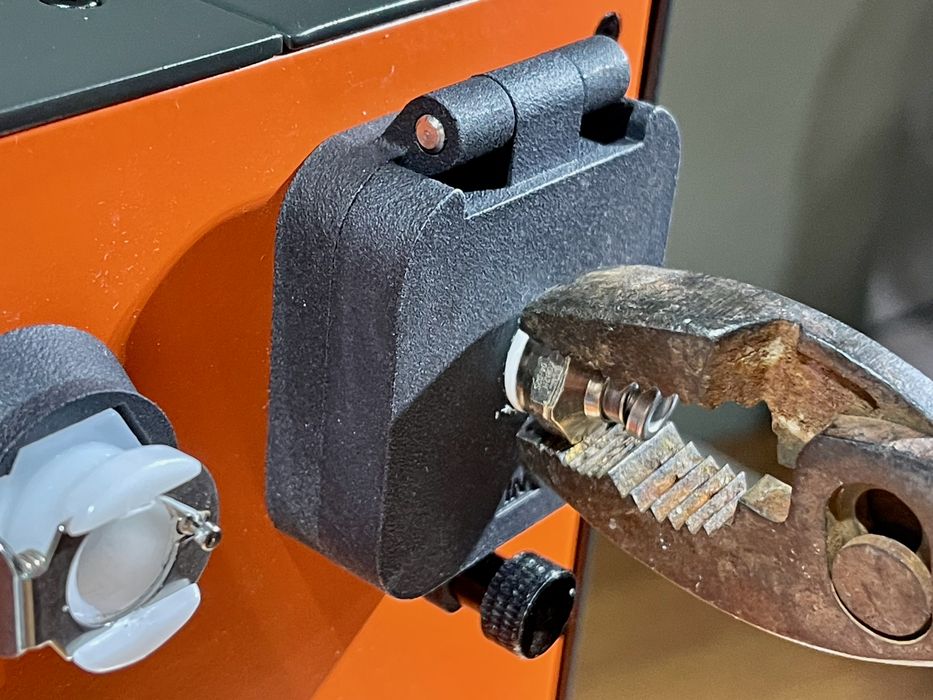
There are some connectors to be mounted on the ports. I found them pretty tight and I had to use pliers to get them on properly. These are used to attach the PTFE tubes for the filament path.
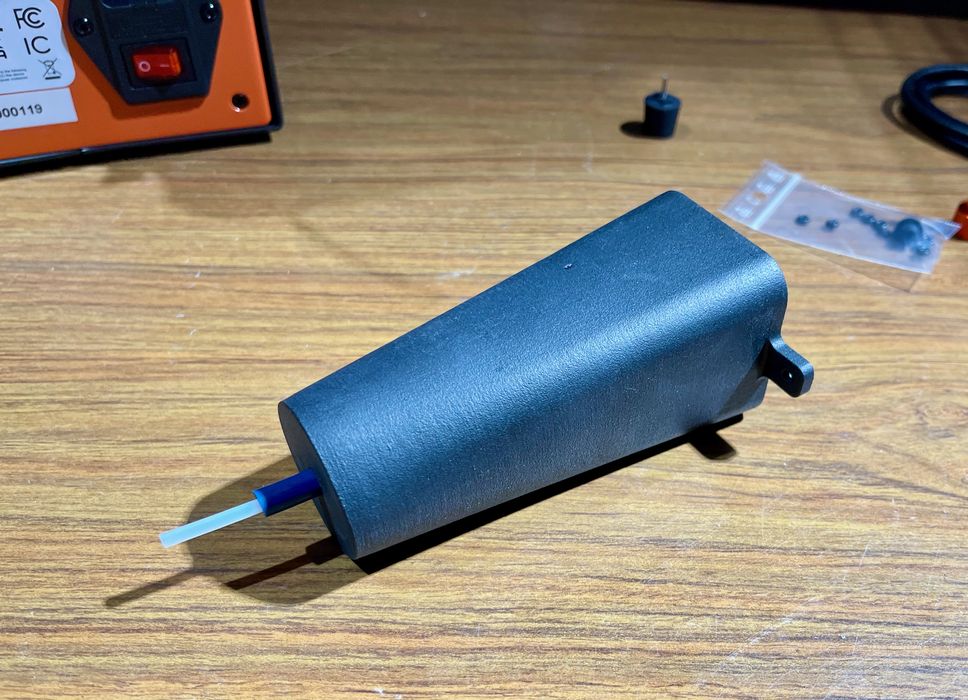
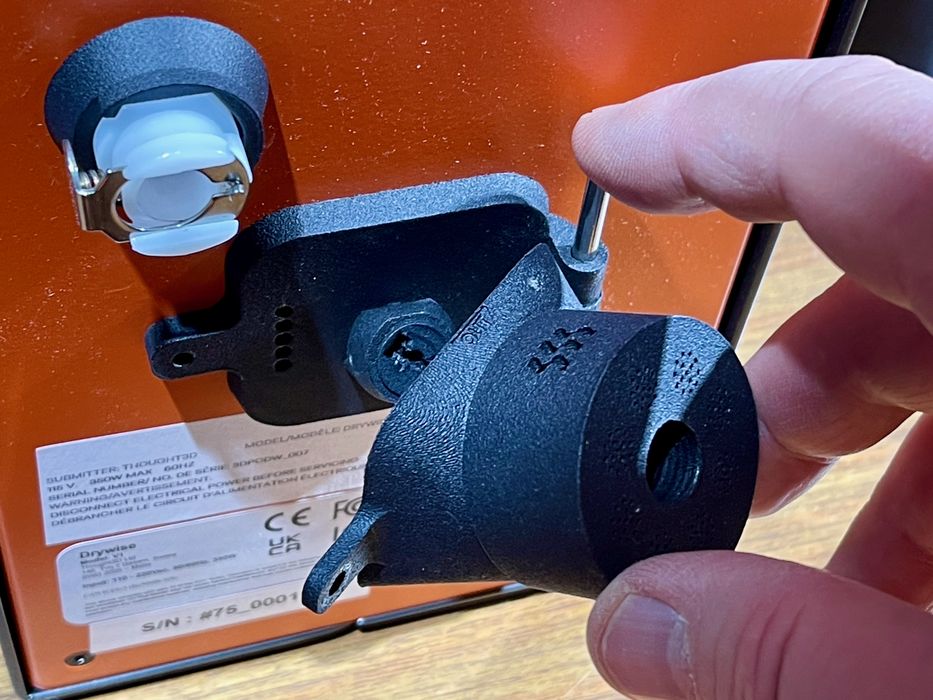
During assembly I realized there was a part that wasn’t in the instructions. After a moment of confusion, I discovered that this was an optional pre-heater attachment. It’s used to provide extra heating for certain challenging materials. Basically the Drywise works on more materials if you have this optional component.
Of course, I’d already installed the top port door, which is where the pre-heating unit is to go. I had to remove the cover and install the pre-heater, as shown here.
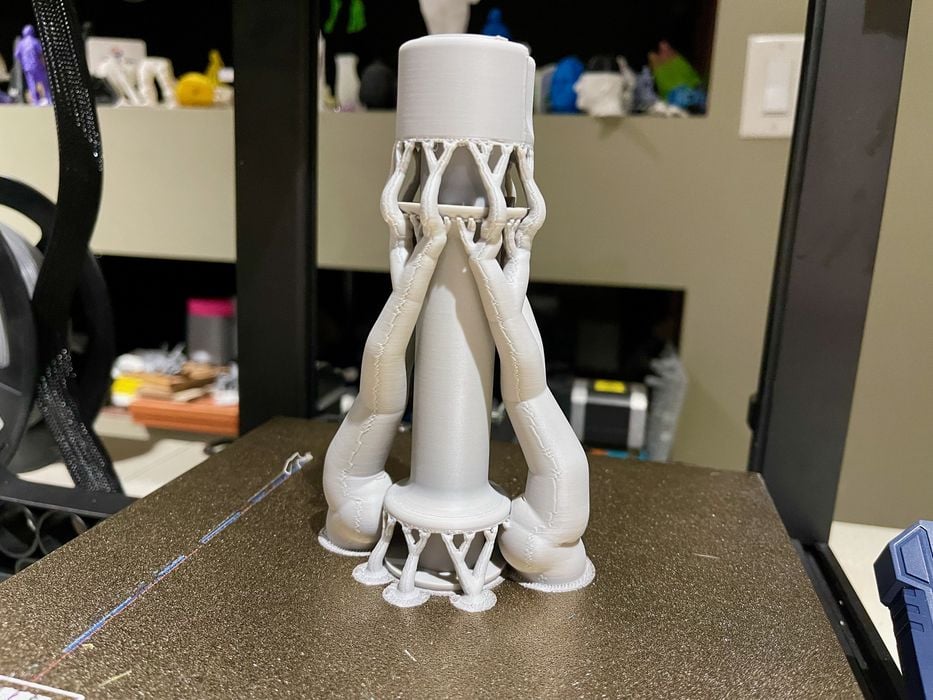
How is the filament held for input to the Drywise? There’s a spool holder that must be separately 3D printed, and then mounted on top of the Drywise. This is a pretty smart move as it’s easy to print and saves a bit on shipping. The holder seems capable of handling 1kg spools.

To install the spool holder you’ll have to pop out the four bolts at the top rear of the Drywise. The spool holder fits perfectly.
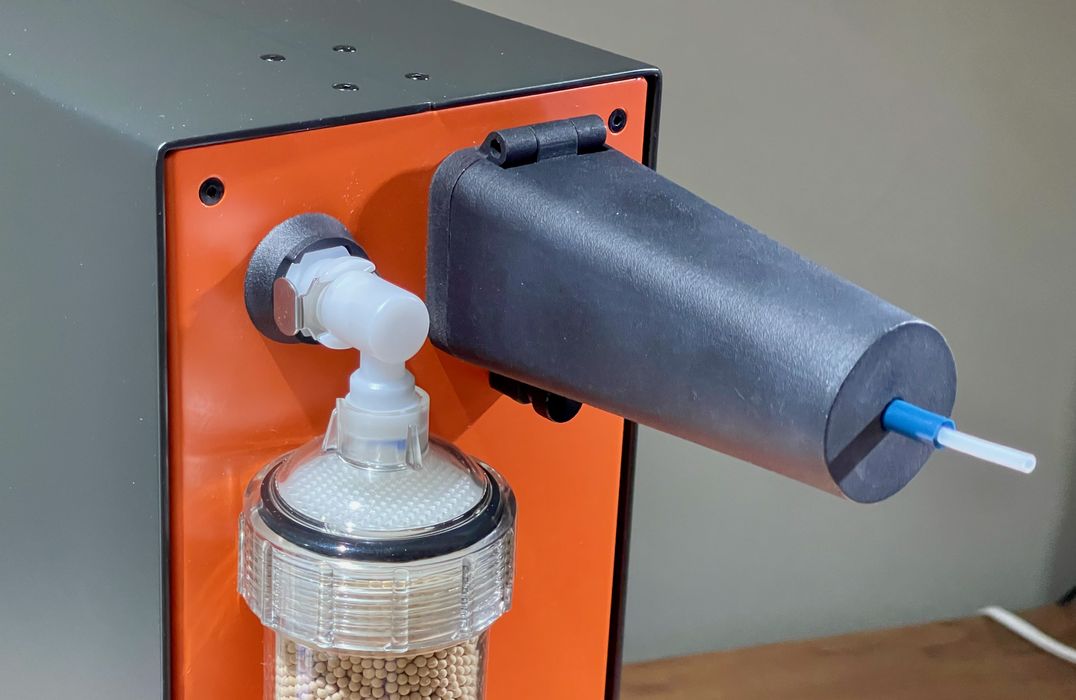
One of the two cartridges must be installed, and they plug into a top and bottom port as shown above. These have an interesting mechanism that no doubt completely seals the cartridge from the air.
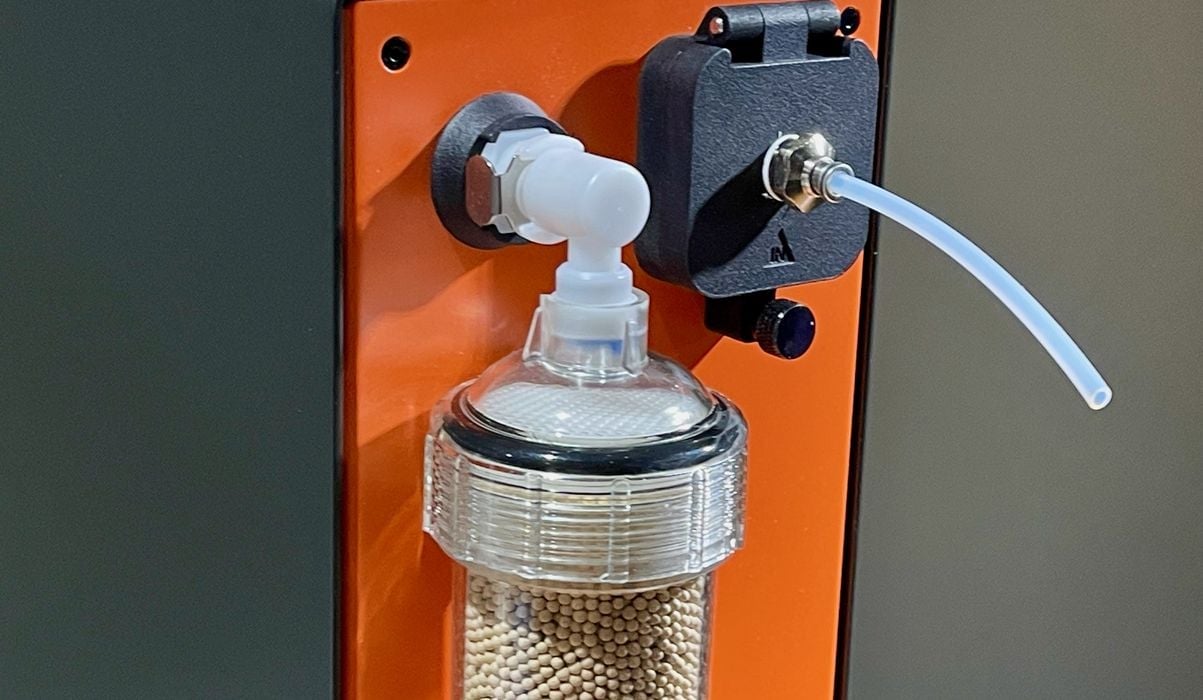
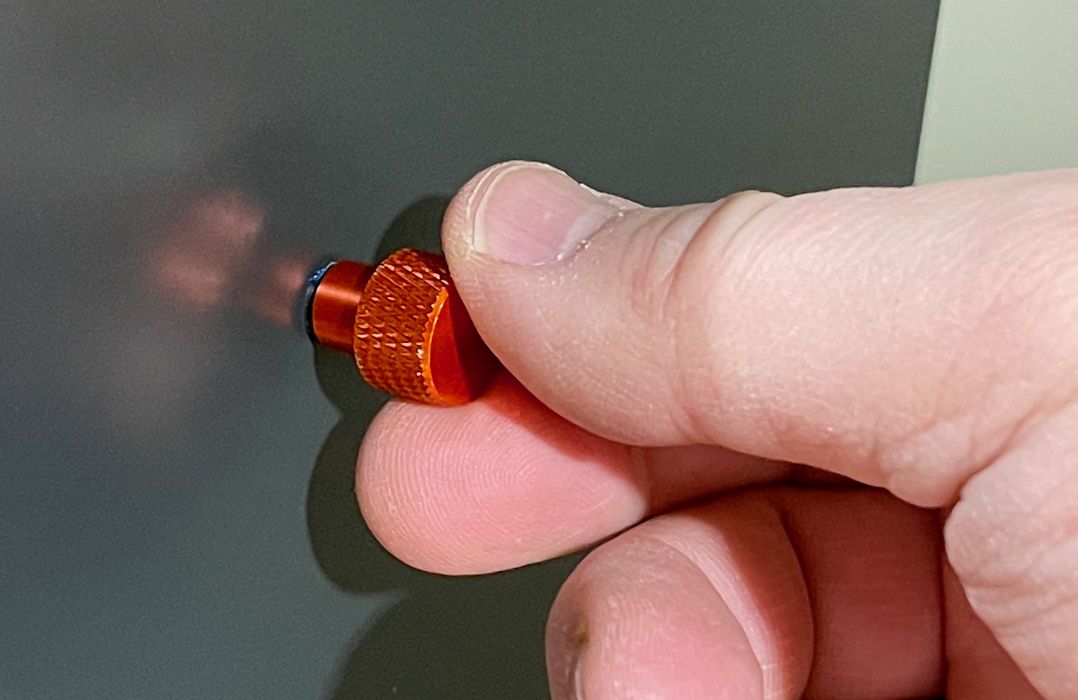
Once installed, it looks like this. Note the small PTFE tube that extends from the filament input port.
At this point I was ready to power up the Drywise.
This is part one of a three part series, please read parts two and three.
Via Drywise