
Our hands-on review of the Flashforge Adventurer 4 Pro continues with a look at operational procedures and capabilities.
This is part two of a three part series, please read parts one and three.
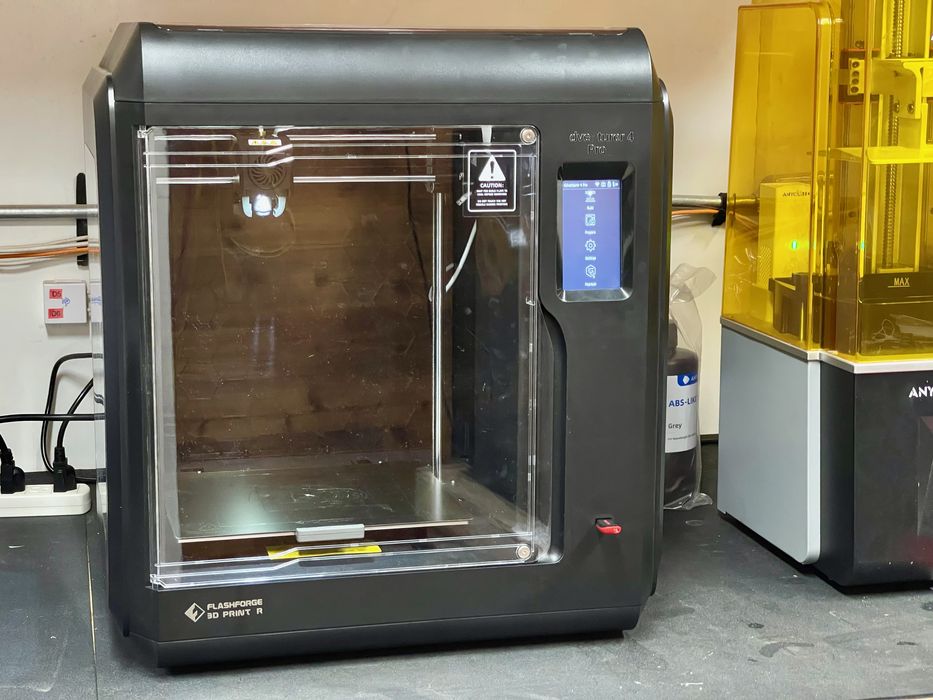
Flashforge Adventurer 4 Pro Operations
Before printing the Adventurer 4 Pro must be loaded with filament, and of course I used the supplied “Burnt Titanium” filament.
Loading filament is easy; the spool is mounted on a hub that’s actually inside the build chamber. This should keep it warm during printing and increase print quality. The tip of the filament is firmly inserted into a port, and then you select “LOAD” on the Adventurer 4 Pro’s touchscreen. The machine slurps up the filament automatically and we had no issues loading filament at any point.
I find most printers have a “PRINT” button to print the part. This Flashforge Adventurer 4 Pro was different: it has a “BUILD” button to start printing (or perhaps I should say, “building”) the part.
Heating up the nozzle and build plate were much quicker than what I am used to on other desktop 3D printers, which is one of the first — but not the last — interesting features of this machine.
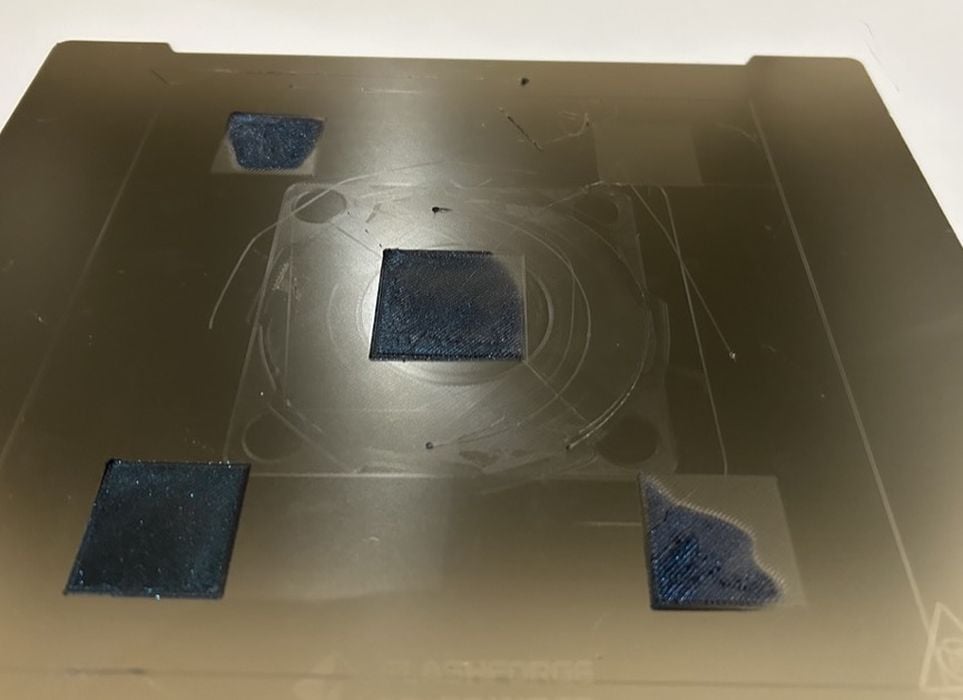
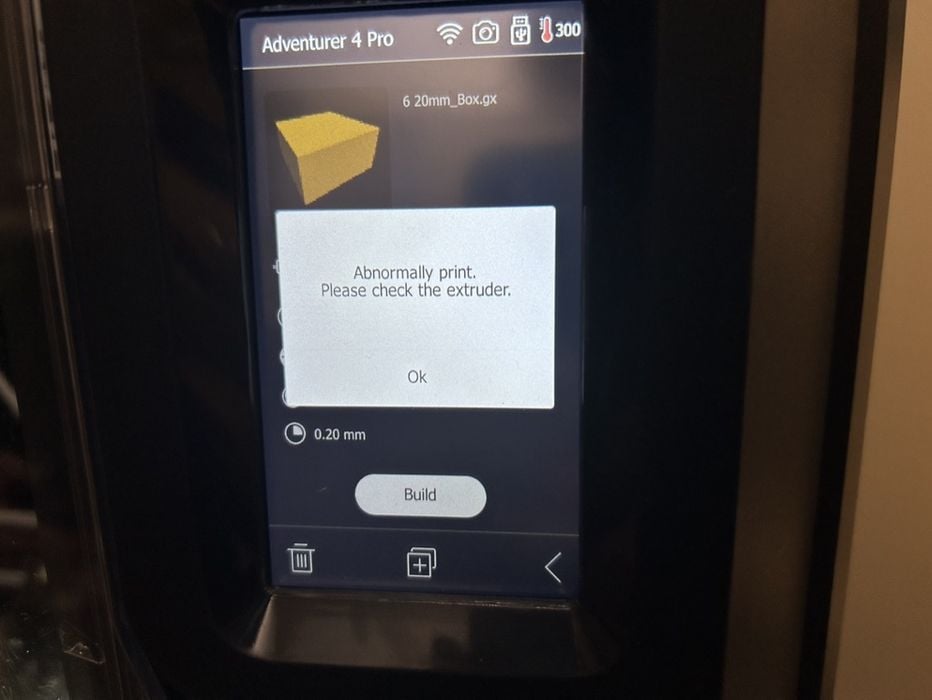
There was a noticeable noise when laying down the first layer of filament during initial print tests. I printed 3 test models before I realized that the z-gap was probably too close to the bed and causing the noise and it was not extruding the first two layers of filament. There was not enough space for the material to come out of the nozzle. This could have been because the missing calibration card might have been thicker than the plain paper I used for Z-gap calibration.
I recalibrated the Z-gap to increase the nozzle-plate distance, and executed the 30 point calibration once again.
The first and second calibration notably changed the calibration values. The second calibration solved both the noise issue and filament laid down properly afterwards.
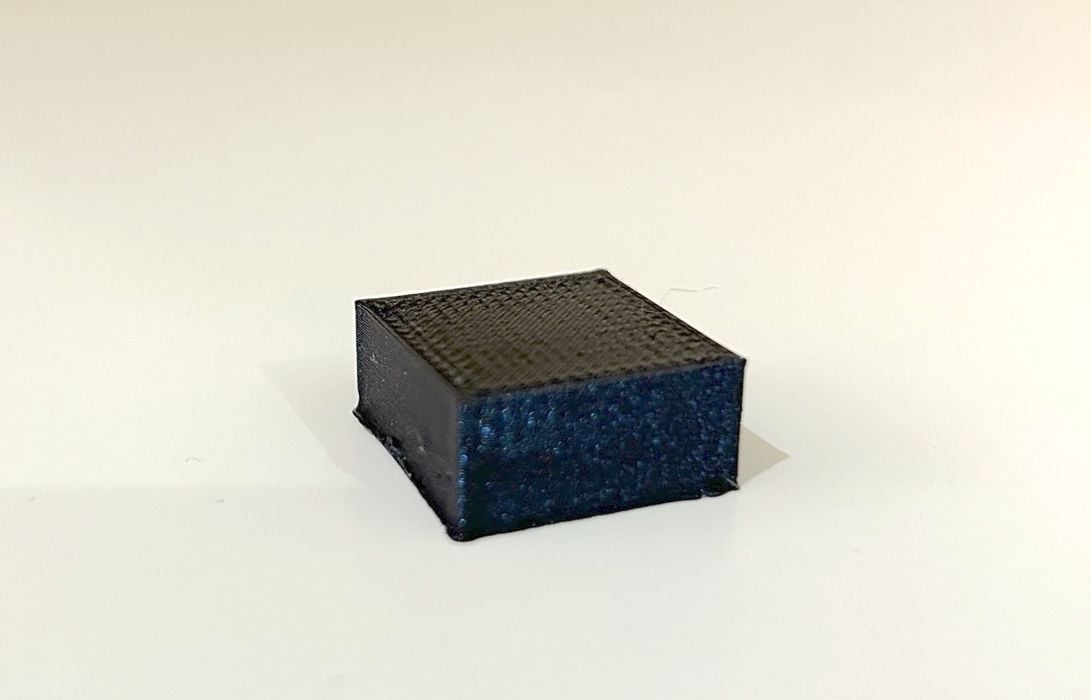
The 1kg filament spool that shipped with the Adventurer 4 Pro is called “Burnt Titanium”. It is a PLA material, and it’s “colour changing”. A printed model changes from gray blue to gray green or gray purple while looking at it from different angles. I have never used filament like this before. It is a premium priced material that is priced slightly higher than standard PLA filament.
After several test prints using PLA, I thought we should try something more challenging: ABS.
This material prints at higher temperatures, and in particular requires a much hotter print surface. I adjusted the parameters to ensure the bed heat was 95C and the nozzle was 225C.
Note that the Adventurer 4 Pro includes a built-in air filter that works well. There was no noticeable odor while printing ABS, which is always the case when using open-gantry desktop 3D printers.
The Adventurer 4 Pro includes a WiFi networking connection, and I set it up with no difficulty.
The Adventurer 4 Pro includes a rather bright light on the toolhead. This light shows the ongoing print clearly, and is very helpful. This light is much more bright than we’ve seen with other illuminated 3D printers, and it’s particularly noticeable on the Adventurer 4 Pro, which is a quite dark machine: dark panels, dark sides and only the front has a transparent opening.
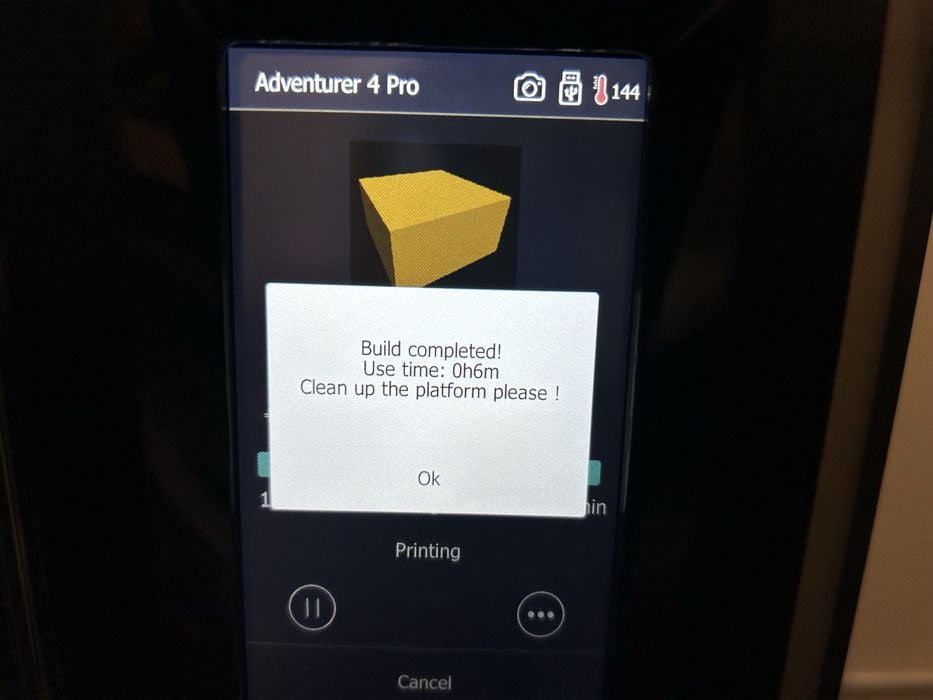
The touchscreen on the Adventurer 4 Pro is quite friendly, and always offers clear messages about the machine’s status. Here you can see what happens when a job completes.
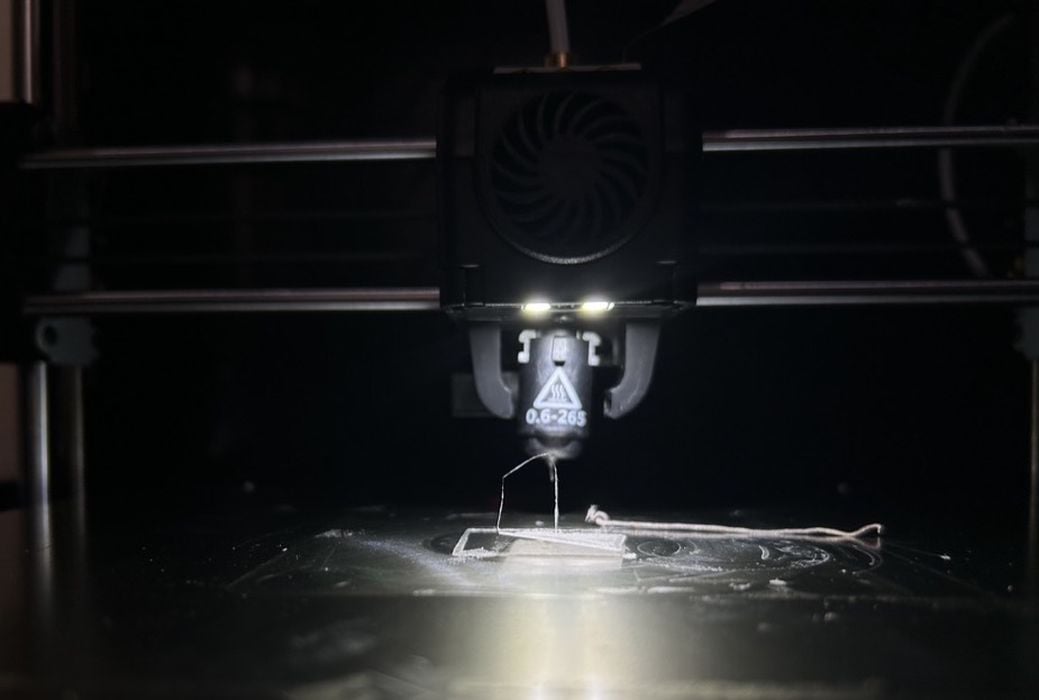
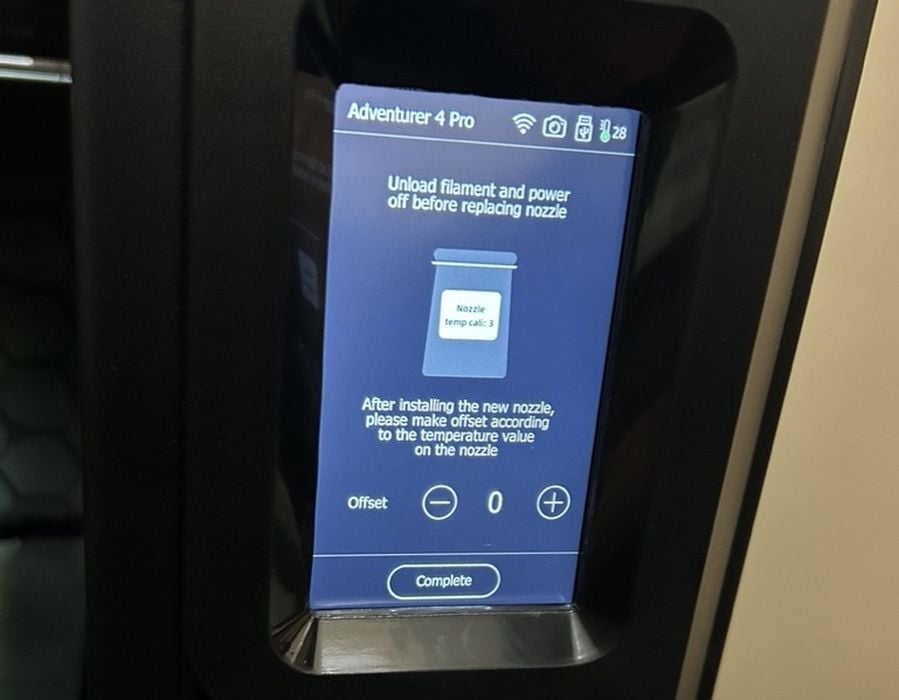
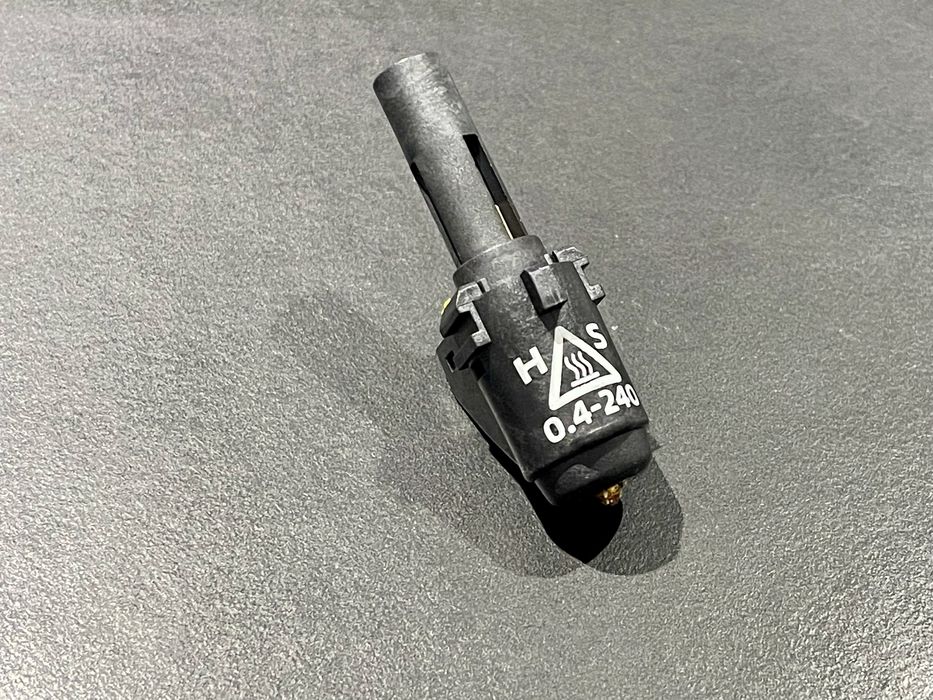
Our next step was to try the optional nozzle. From the stock brass 0.4mm nozzle, we installed the High-Strength 0.6mm, 265C hardened nozzle.
This nozzle is designed to be more durable and robust compared to standard nozzles, and is specifically designed to handle abrasive filaments, such as those reinforced with carbon or glass fibers.
I should explain that the Adventurer 4 Pro nozzle is not like swapping a nozzle on other typical desktop 3D printers. With those machines you basically have a brass nozzle that is screwed into (or out of) the hot end. Instead we have a more complex design that includes part of the hot end and a plug connector, presumably for the thermistor.
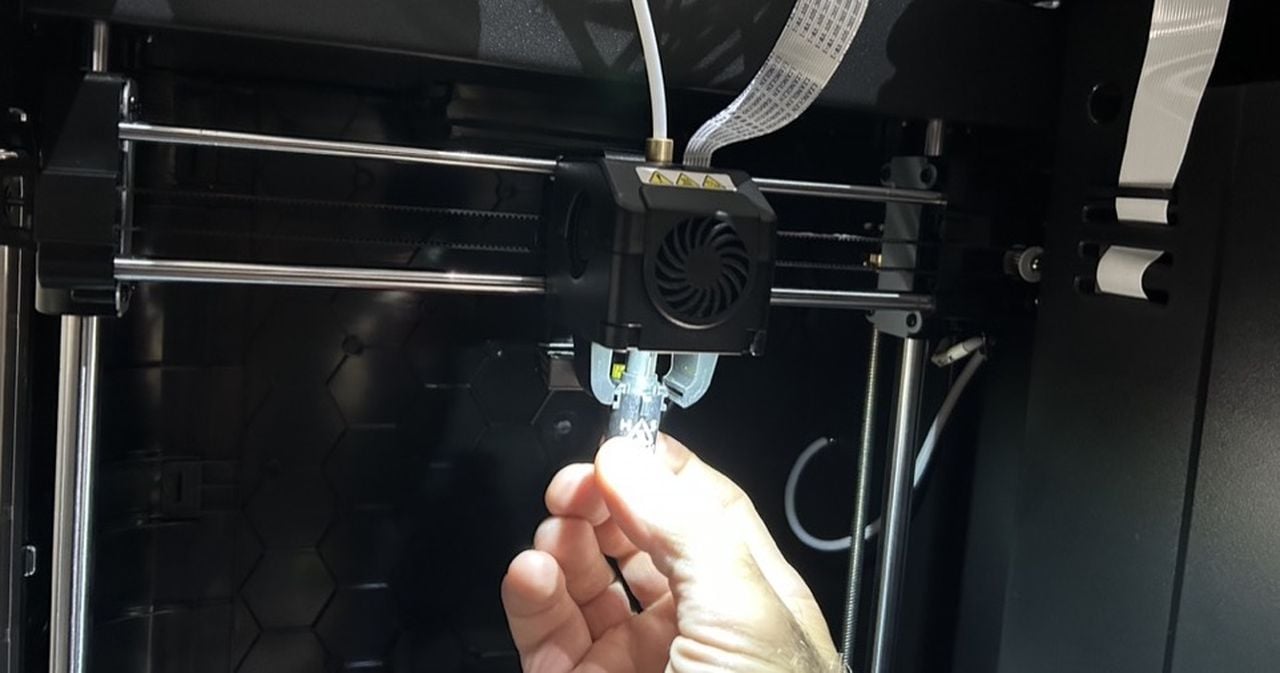
I had a little challenge when swapping nozzles. The first test print failed because the nozzle was not quite secured in place. I removed it and installed the nozzle again and this time it clicked into place securely. After reinstallation, the error message cleared and I was able to print again.
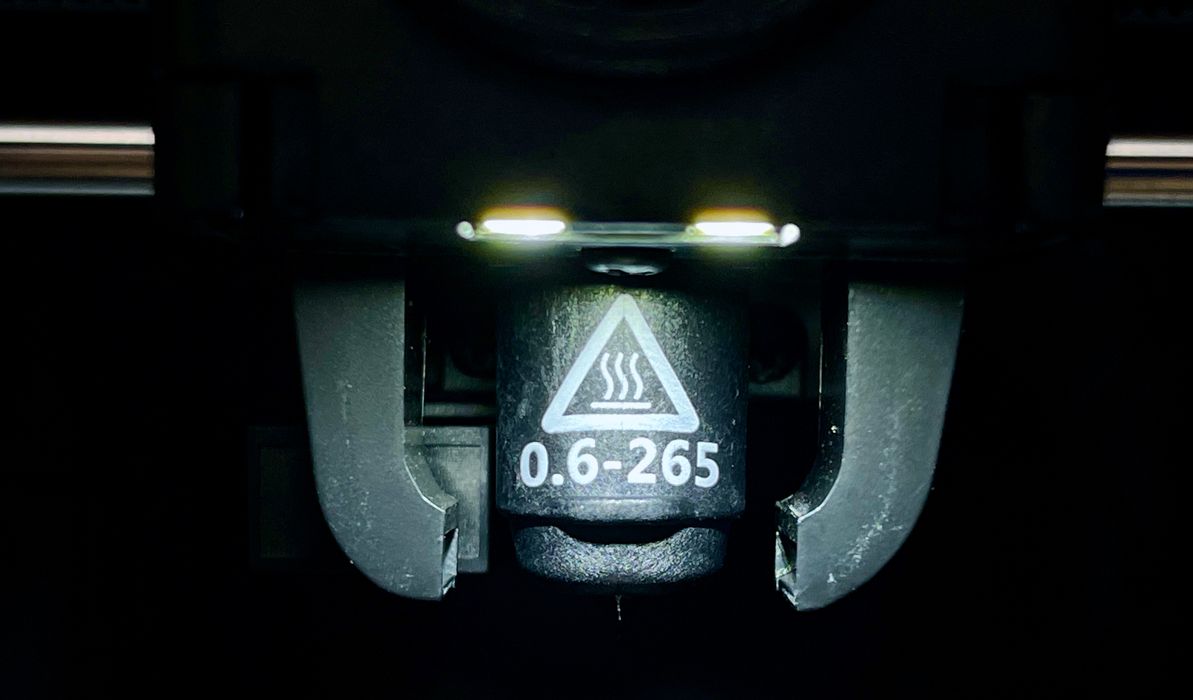
With the 0.6mm nozzle properly installed, I started testing prints with Fiberlogy PA12-GF (Glass filled) material. These filaments can cause faster wear on standard brass nozzles because the fibers are harder than the brass, whereas the high-strength nozzle is designed to withstand the abrasive nature of these materials for much more usage.
With the High-Strength Nozzle, operators have the flexibility to experiment with a far broader range of engineering materials. Its durability makes it suitable for various types of filaments, expanding the possibilities for different applications.
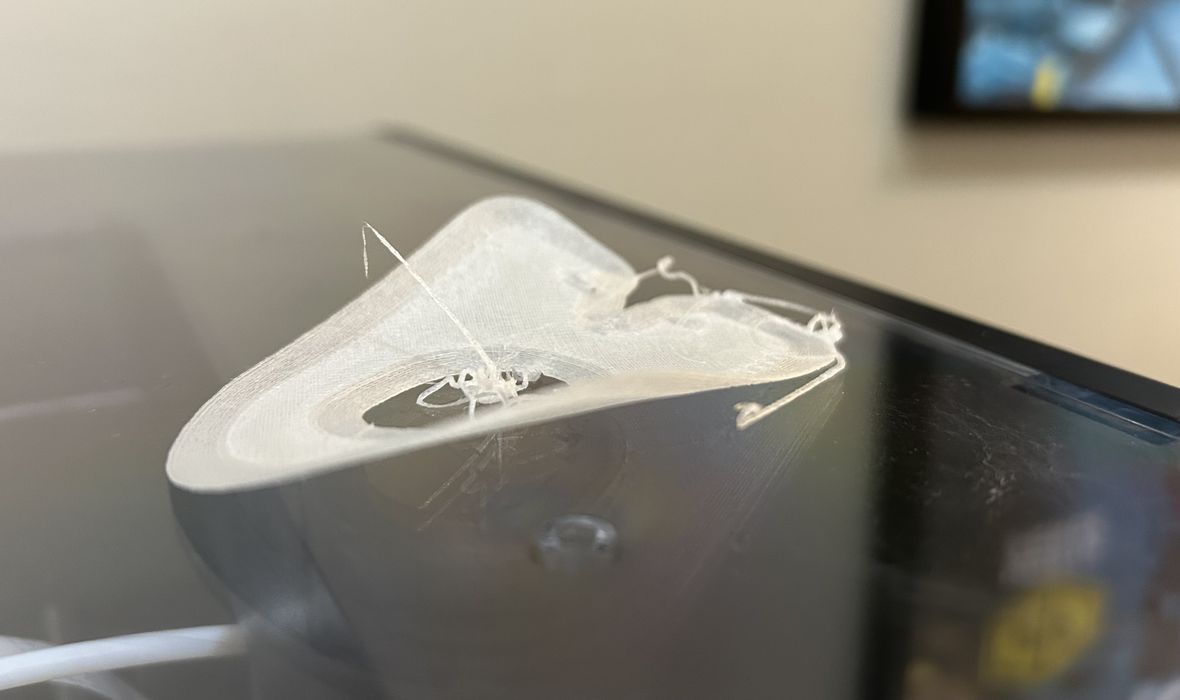
The extruder was set for 265C and the platform temperature was set for 100C for this material. I continually had difficulties getting the material to stick to the bed. I had to re-calibrate the printer a few times.
Printing the PA12-GF was more challenging than PLA or ABS due to adhesion issues. My initial attempts didn’t work because the filament “tail” dripping from the nozzle caused failures as the tail would drag over the poorly adhering initial extrusions and dislodge them. I then changed to use a fat brim and this resulted in getting rid of the filament tail issue. However, after repeated attempts this material just didn’t stick properly to the print surface and would dislodge in mid-print to cause a failure. I had fully dried the material before use, so it may be that an extra adhesion solution might be required, such as a glue stick or other liquid adhesion system designed for PA12.
I also tried Fiberlogy PA12-CF (carbon fiber) filament. Unfortunately, this material had the same adhesion issues, and lifted up after a few layers and was dragged around by the extruder. In retrospect this isn’t surprising because both of these engineering materials are PA12-based, so the same adhesion behavior should occur.
Perhaps there are better print settings that might make it possible to print PA12 on the Adventurer 4 Pro. Then I recalled that I never did receive the kit that apparently included a glue stick, so I wonder if that would have solved the adhesion problem.
This is part two of a three part series, please read parts one and three.
Via Flashforge