
We’ve been testing the new Flashforge Adventurer 4 Pro for the past few weeks, and here’s what we found.
This is part one of a three part series, please read parts two and three.
Flashforge Adventurer 4 Pro Background
Flashforge is one of the oldest companies producing desktop 3D printers. While MakerBot was busy in the West, Flashforge launched their own line of 3D printers near the same time. Since then they’ve produced quite a number of devices.
Their Creator 3D printer was their first product, and they still offer the device, currently version 4.
Their current product line ranges from consumer level devices all the way into professional equipment, with software and other solutions as well. With over twenty models in their catalog, they are certainly one of the busiest manufacturers of 3D printers.
Today we’re looking at the Adventurer 4 Pro, which falls into the company’s “consumer” line of 3D printers. However, as we tested the device it looked increasingly like a professional device in spite of its placement by Flashforge.
Flashforge Adventurer 4 Pro Specifications and Features
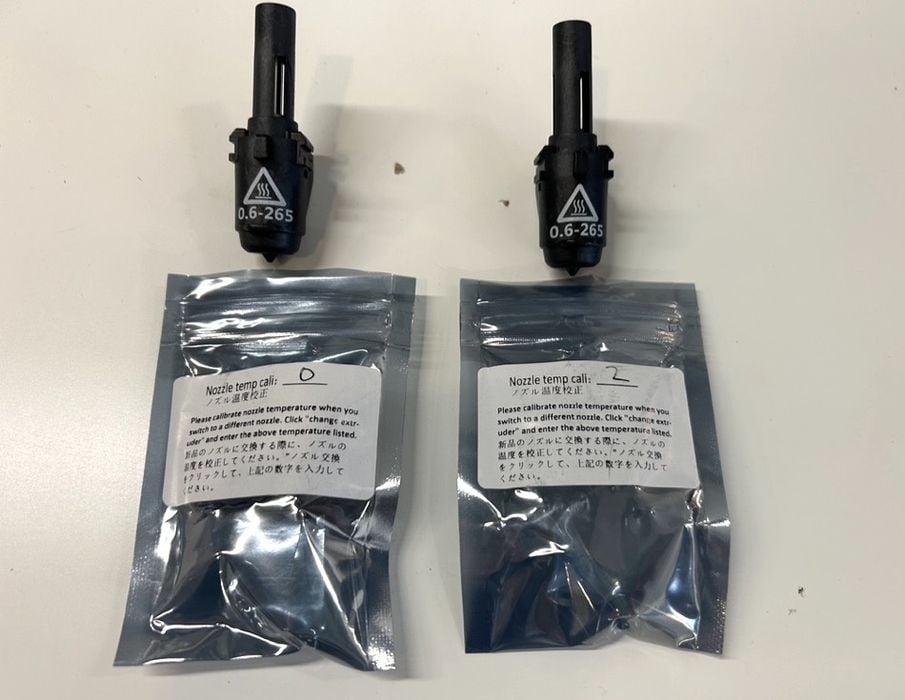
The model we tested was the standard Adventurer 4 Pro, but with the hardened nozzle kit. This allows the device to 3D print more abrasive materials, as you will see.
The Adventurer 4 Pro is a single extruder machine with a fully enclosed build chamber. It boasts an accuracy of plus or minus 0.1mm, and prints between 200-300mm/s. That’s quite fast, as typical 3D printers range from 40-80mm/s.
The hot end on the Adventurer 4 Pro includes a standard brass 0.4mm nozzle. However, our kit also included the optional 0.5mm hardened nozzle, which we installed and tested.
The hot end is able to reach 265C, which enables it to 3D print most of the common engineering materials, including ABS, ASA, PA12, etc. To assist with these materials, the Adventurer 4 Pro can heat the build surface to a scorching 110C, which should minimize warping.
Flashforge said the Adventurer 4 Pro supports quite a few materials, specifically naming ABS, PLA, PETG. SILK, PLA-CF, PETG-CF, High Speed PLA, and High Speed PETG. Our experience showed that it can handle most materials that require hot end temperatures lower than 265C.
The build volume of the 3D printer is quite adequate, although it’s not overly large. The official dimensions are 220 x 200 x 250 mm.
Flashforge Adventurer 4 Pro Unboxing and Assembly
We found the Adventurer 4 Pro to be well-packed and did not observe any shipping damage. This is to be expected, as companies like Flashforge have been shipping countless machines for many years, and they’ve had the time to figure out how to do it safely and efficiently.
Unboxing the Adventurer 4 Pro was quick and straightforward by following the instructions from the provided Quick Start Guide.
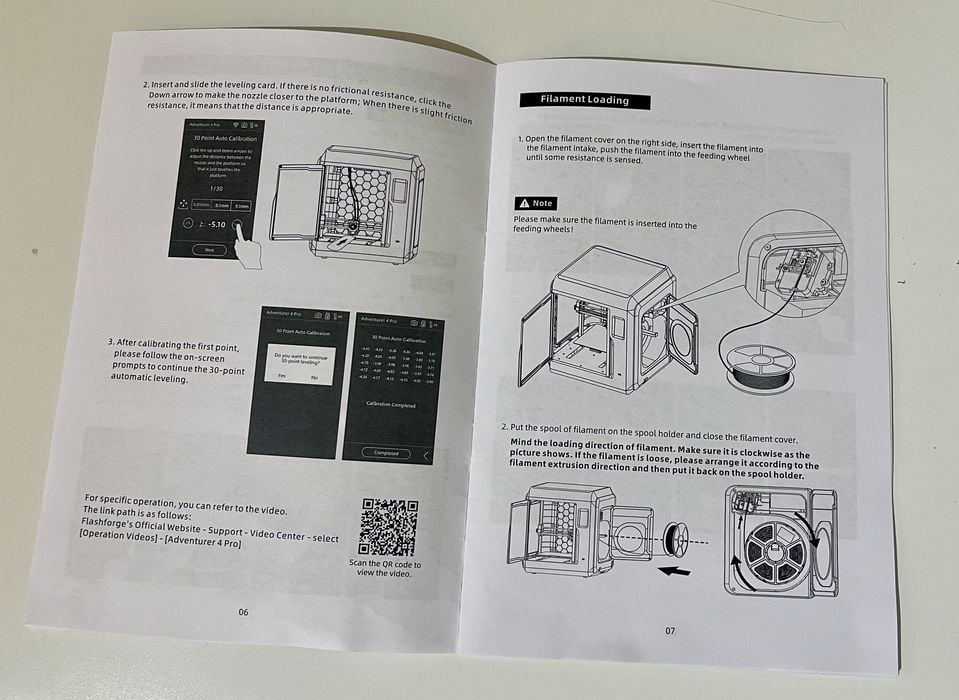
The guide was quite informative, and included decent images that were easy to follow. This is different from some other manufacturers that for some reason want to provide the smallest possible instructional guides with microscopic images.
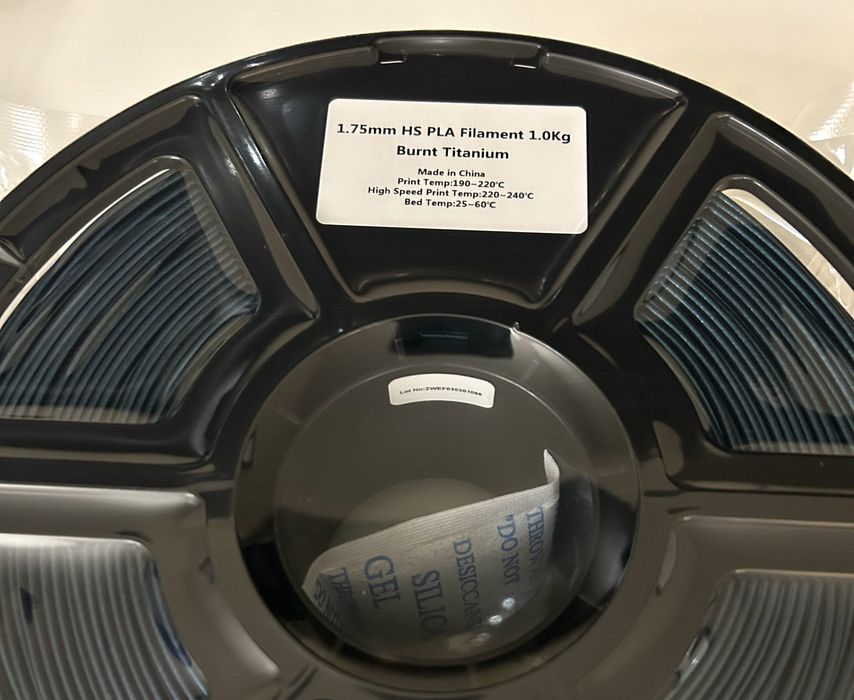
Our shipment seemed to include only the printer itself, the Quick Start Guide, the USB stick with software and models, a spool of “Burnt Titanium” filament and the Power Cable. Nothing else was included, even though several items, such as tools, were listed in the instructions. It seems there could have been a shipping error that omitted these items. However, we were easily able to proceed with the test regardless. I requested the remaining kit contents.
The image in the Quick Start Guide shows the kit contents inside of a plain cardboard box. I never did find the kit contents and I looked for it more than once. I now wonder if it was hidden inside the carton and it was thrown out with the rest of the packing? If that was the case, the outside of the carton could be more prominently labeled so operators do not accidentally throw it away during unboxing.
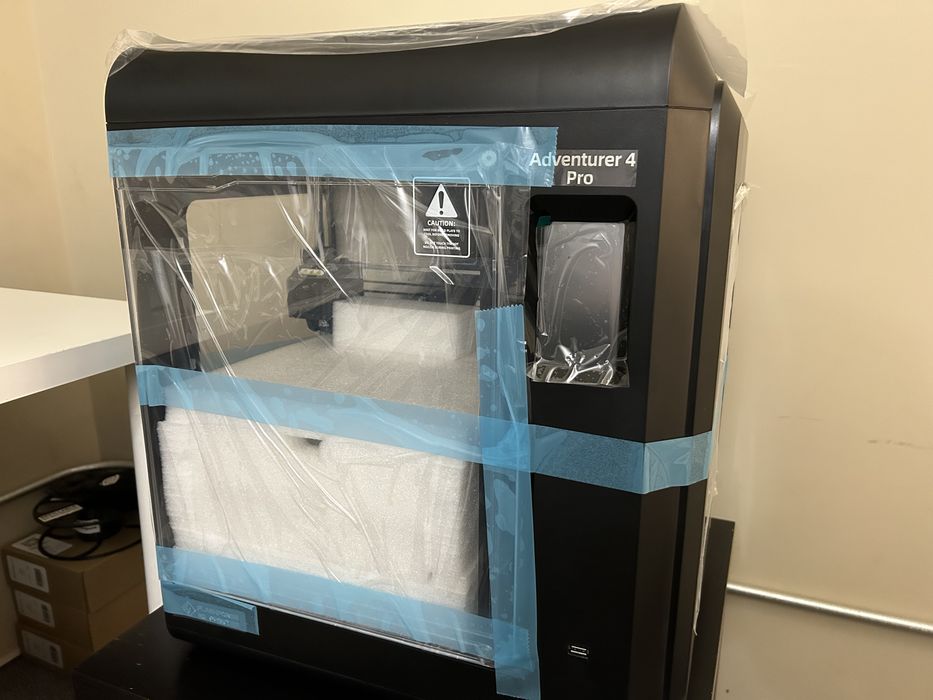
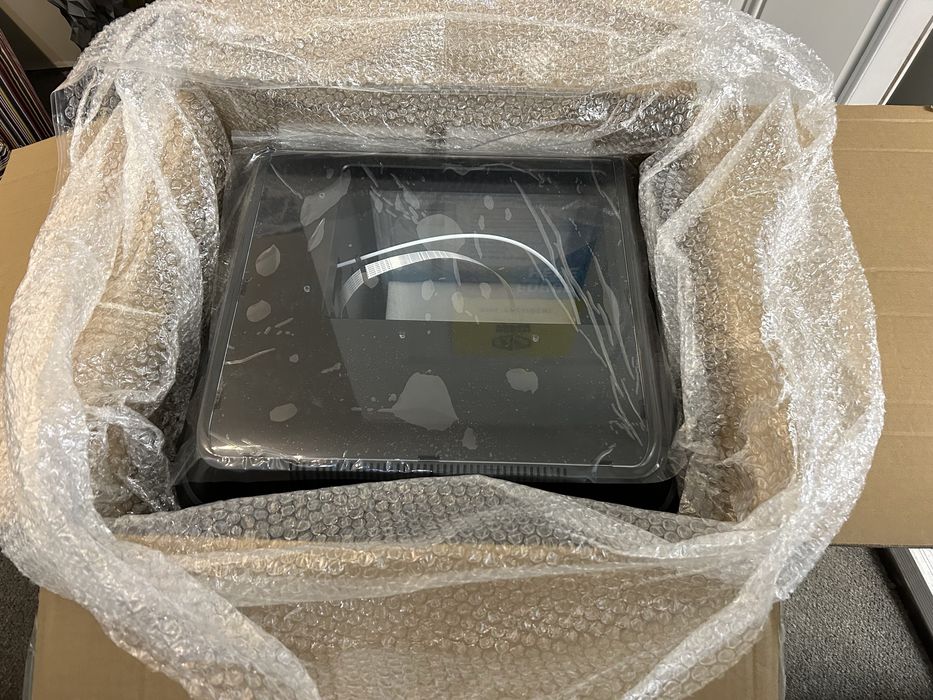
My next step was to unwrap the Adventurer 4 Pro, which was surrounded with bubble wrap and protective bags, which were easily removed. There was quite a bit of tape that held down moving parts during shipment to remove as well.
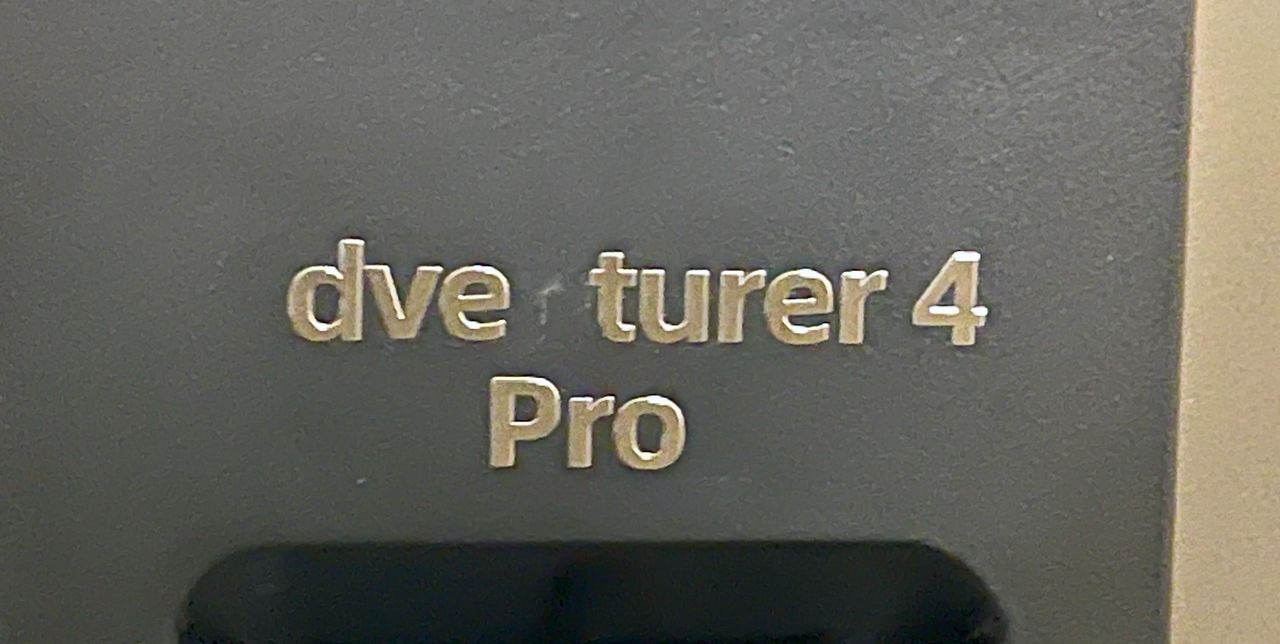
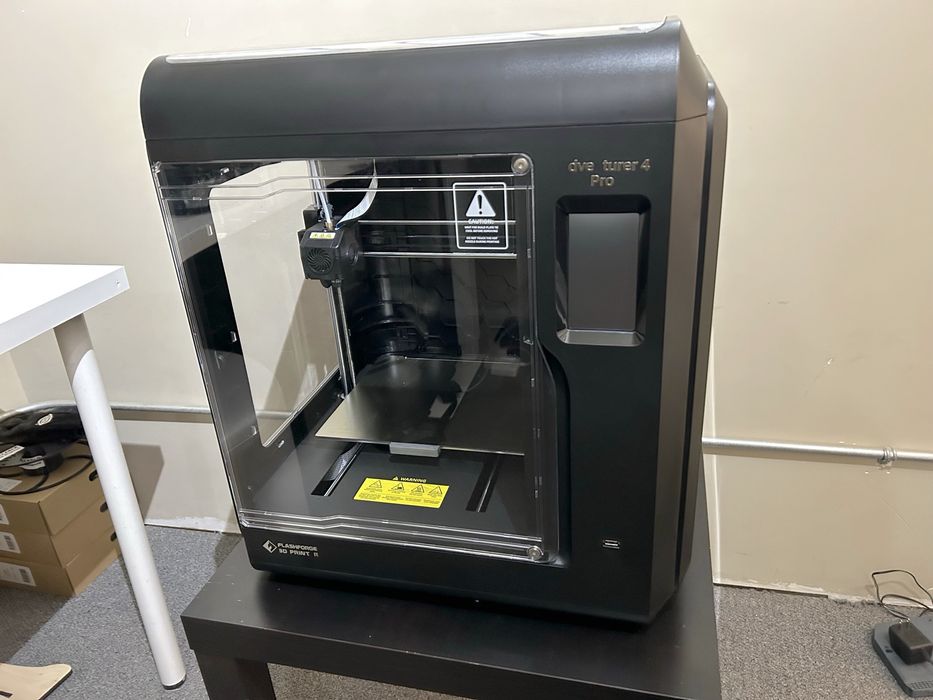
Unfortunately the nameplate of the Flashforge Adventurer 4 Pro somehow lost a couple of letters during shipping and my Flashforge Adventurer 4 Pro is called the “dve turer 4 Pro”.
This was also observed on the lower letter on the front of the machine. Could this be shipping damage? How could letters fall off while nothing else was amiss? It’s a mystery, but the machine works without issue.
Flashforge Adventurer 4 Pro Setup and Calibration
After unboxing, it was time to put the Adventurer 4 Pro together. Fortunately, this machine is assembled at the factory and there’s not that much do to, unlike some other machines that are shipped as kits.
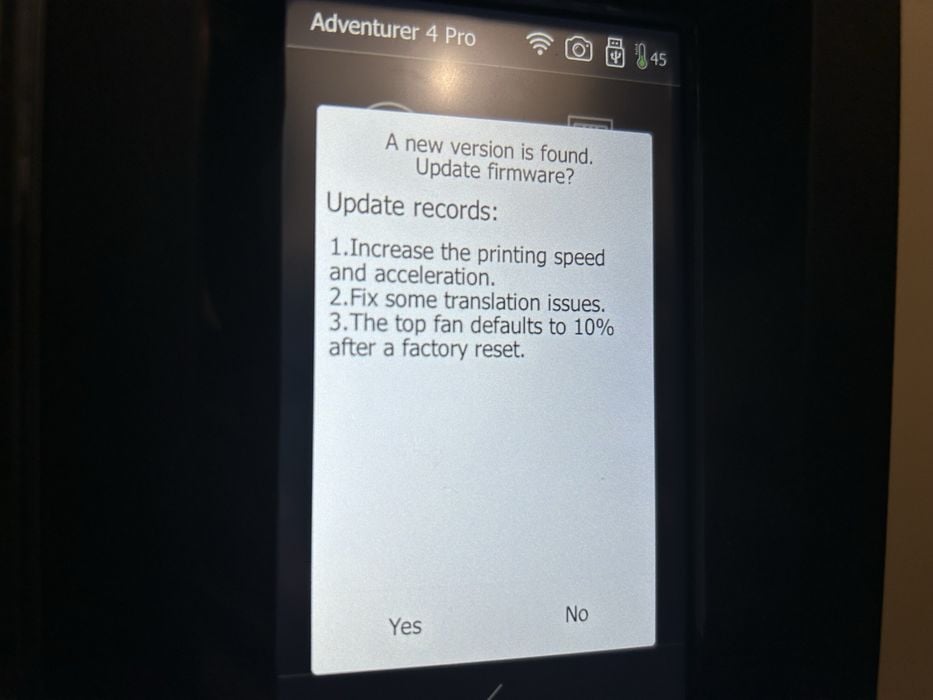
Because the device is connected to WiFi, it can do some interesting things. One is to automatically detect when the firmware is out of date, and here you can see that it offers to automatically download and install the latest version.
The Adventurer 4 Pro has already been leveled and calibrated at the factory. Nevertheless, calibration is still recommended due to possible shifting during delivery.
The calibration turned out to be very straightforward (or so I thought), with setting the appropriate Z-gap distance from the nozzle tip to a paper card.
The instructions require use of a supplied calibration card for setting the Z-gap. However, due to the missing items above, I did not have this card. That wasn’t a problem, as I simply used a handy piece of paper.

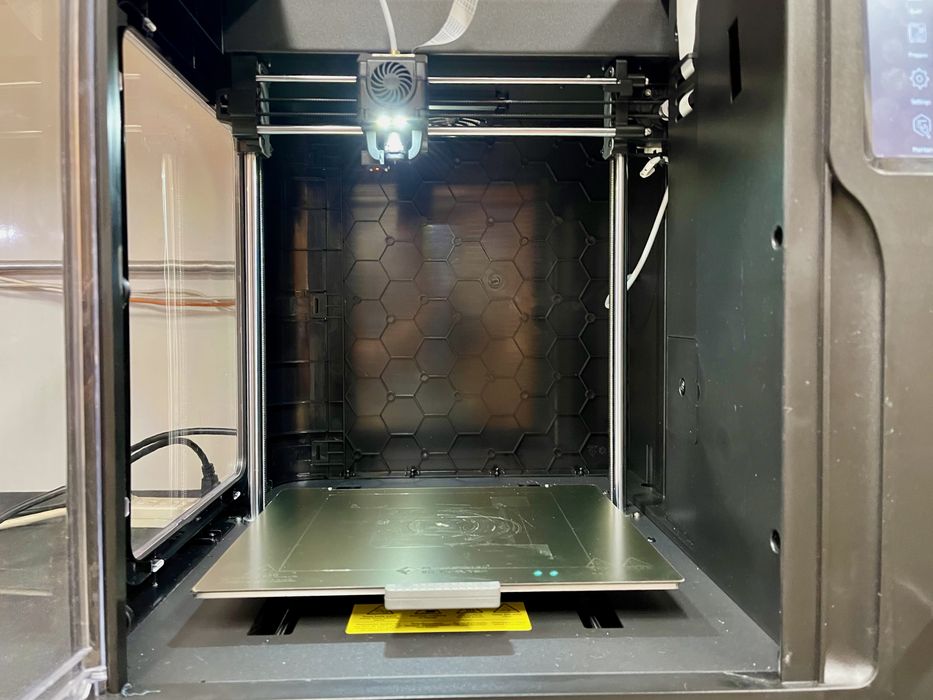
After that, an automatic 30-point calibration was completed. Interestingly, the numerical results of the leveling are displayed on the touchscreen, which is something you don’t often see with desktop 3D printers.
Fortunately, I did have the USB stick, which contained the necessary software for the Adventurer 4 Pro. I inserted the stick into the Adventurer 4 Pro, as explained in the section on Model Printing in the Quick Start Guide and was ready to go.
This is part one of a three part series, please read parts two and three.
Via Flashforge