
We’ve been testing a LulzBot Sidekick 747 3D printer for the last few months.
This is part one of a three part series, please read parts two and three.
LulzBot is one of the “original” brands in desktop 3D printing, having been launched many years ago during the heyday of 3DP startups. The company strongly focused on open source principles, and produced well-regarded desktop units that were quite amenable to upgrades and DIY operations.
But times changed and the company owning the brand, Aleph Objects, was about to shut down the company after years of operation. Fortunately, new owners appeared, bought the company and carted off the entire operation, from inventory, to office equipment, to a new factory in Fargo, ND. We visited the operation last summer.
The company provided us with a test unit, which we’re happy to tell you all about in this report.
LulzBot Sidekick 3D Printer Background
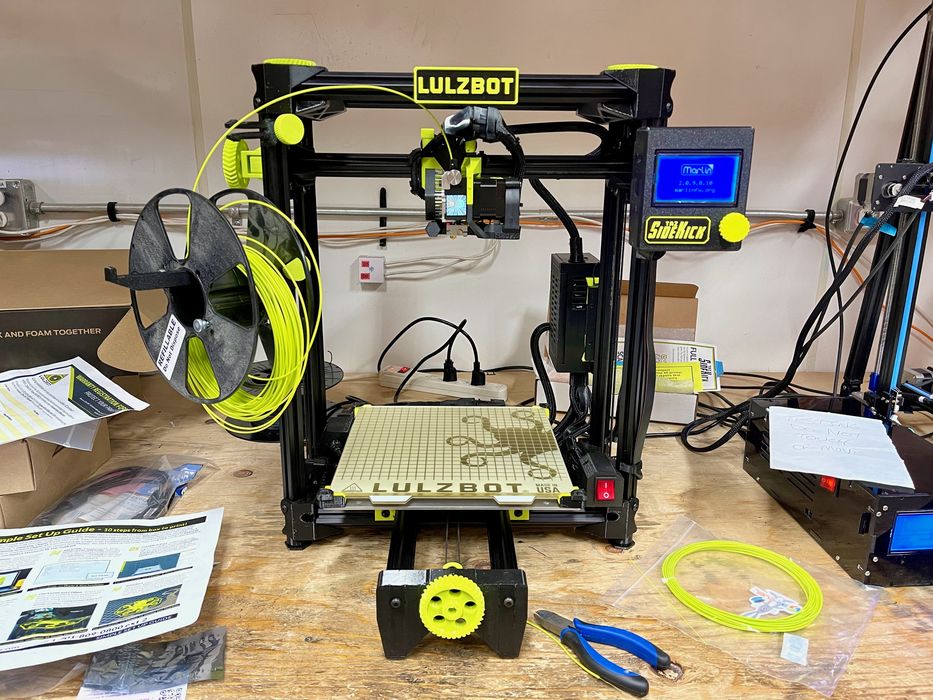
The Sidekick is a unique device for LulzBot in that it is one of the new devices entirely produced by the new team in Fargo. It’s also one of the smaller devices in their current product line, with the only smaller device being the LulzBot Mini 2.
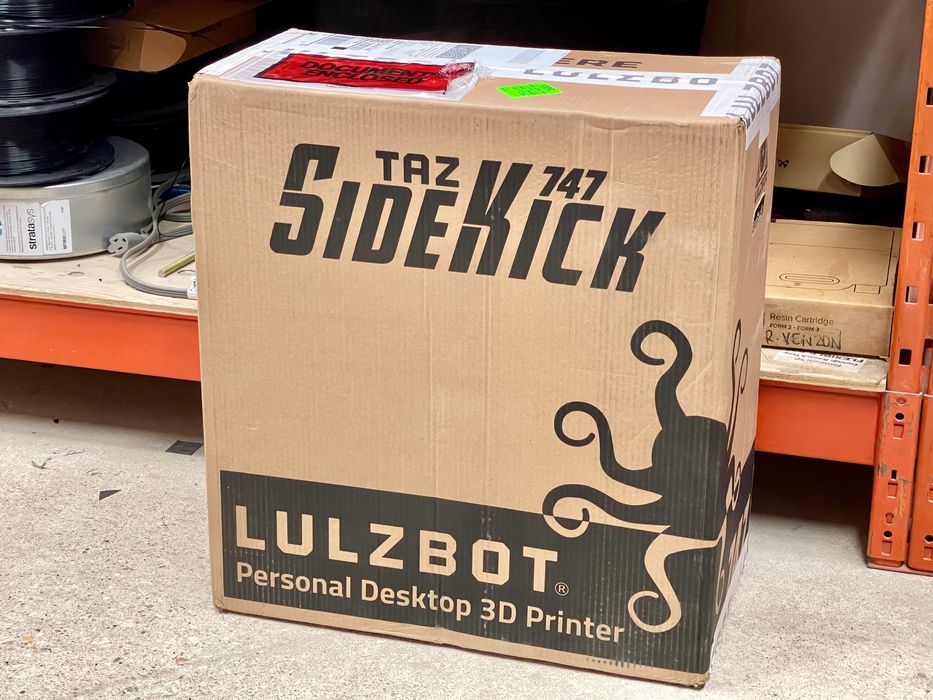
TAZ Sidekick 747 (Standard Edition) for us to test. The 747 is one of two models of TAZ Sidekick, the other being the 289. What do the numbers mean?
The Sidekick 289 has a build volume of 162 x 162 x 181 mm, while the Sidekick 747 has a build volume of 231 x 231 x 248 mm. If you compute the cubic volume you get 4.75L and 13.23L respectively. However, if you inches instead of mm (9 x 9 x 9.25” for the 747), you get 749 cubic inches. That, we were told, is pretty close to 747, so why not call it that?
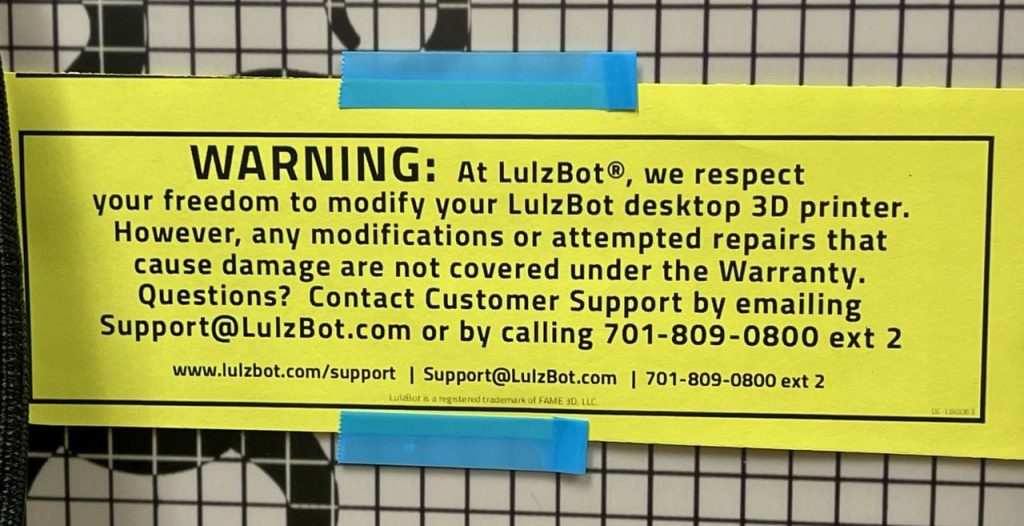
LulzBot equipment is well-known for their ability to modify the machine to suit your own needs, and this notice is included in each printer’s box.
LulzBot Sidekick 3D Printer Specifications and Features
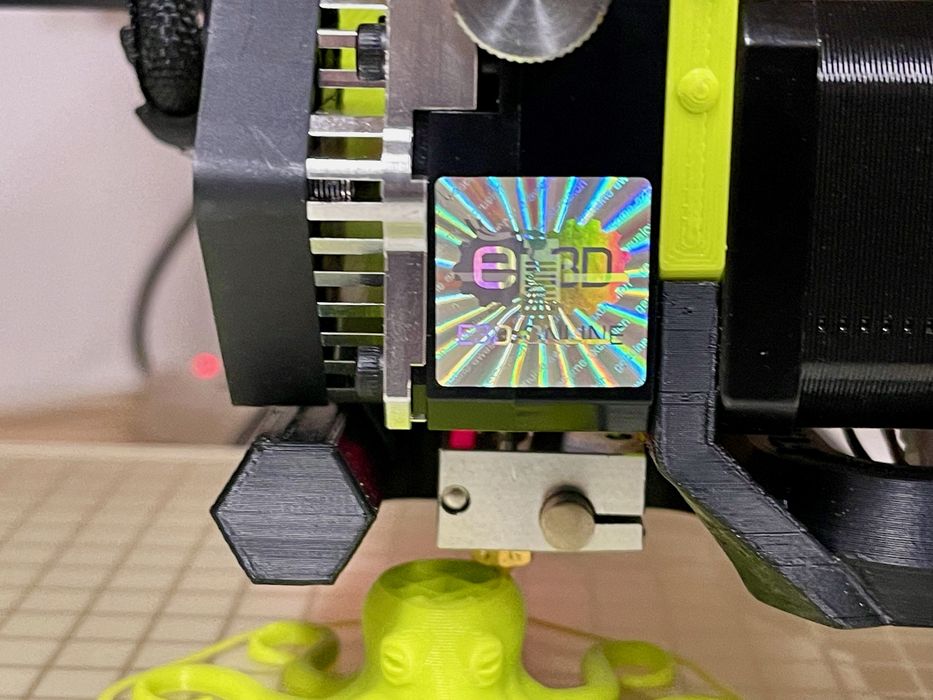
Aside from the build volume, the Sidekick 747 is a single extruder machine, although it is perhaps the most configurable you’ll see on the market. You can select from no less than nine different tool heads, or even “none” if you want to supply your own. Most of the tool heads available require 2.85mm filament, but three are suitable for 1.75mm filament. Our machine came with the basic SK175 tool head.
The print surface also has an option. The standard surface is a dual glass/PEI surface that you can flip over as required. There’s also an optional magnetic flex plate system called “OctoGrab”, which we eventually added to our system, as you’ll see.
There’s a standard style controller, but you also have the option of not ordering any controller, and run the Sidekick directly from an attached computer via USB cable.
There are a couple of accessories you might consider, including a toolkit, glue for the glass bed, a spool rack and a filament runout sensor.
LulzBot Sidekick 3D Printer Unboxing and Assembly
Like most shipped desktop 3D printers these days, the Sidekick requires assembly. It’s in a flat pack, similar to what you’d see from Asian 3D printer manufacturers — but only on the outside.
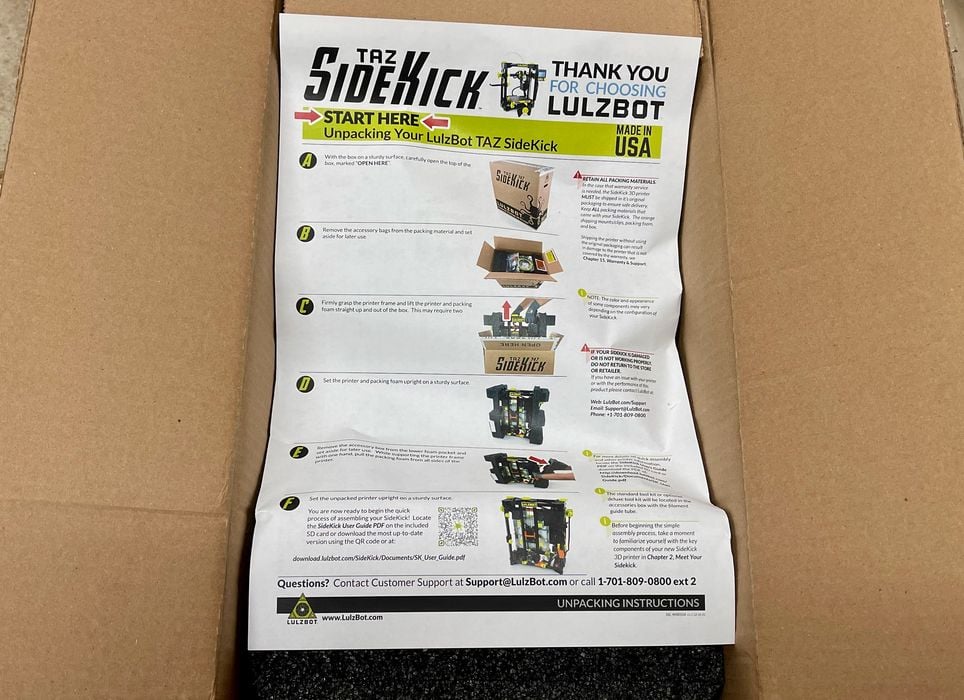
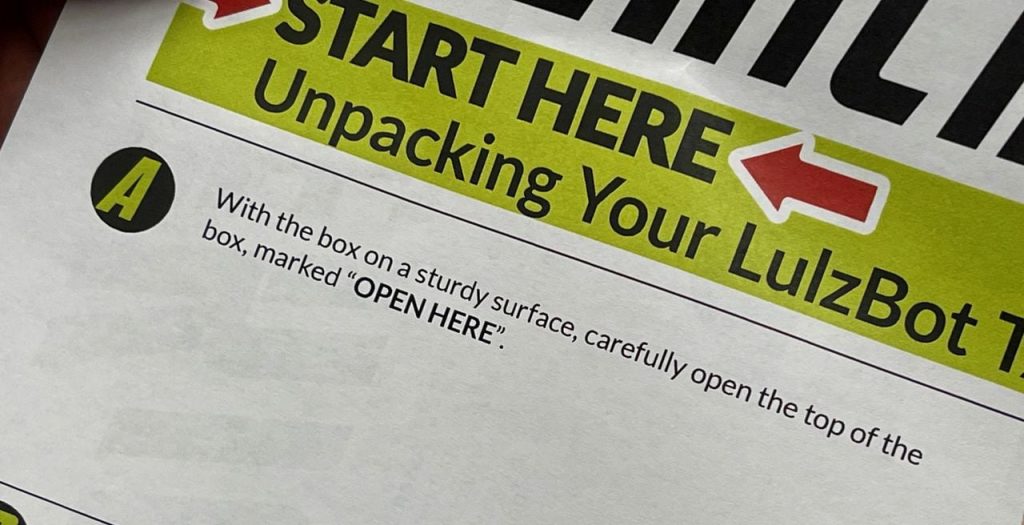
Upon opening the box we immediately found a set of very friendly instructions that were easy to follow.
The machine was packed extremely well, and would clearly survive quite a bit of shipping shenanigans.
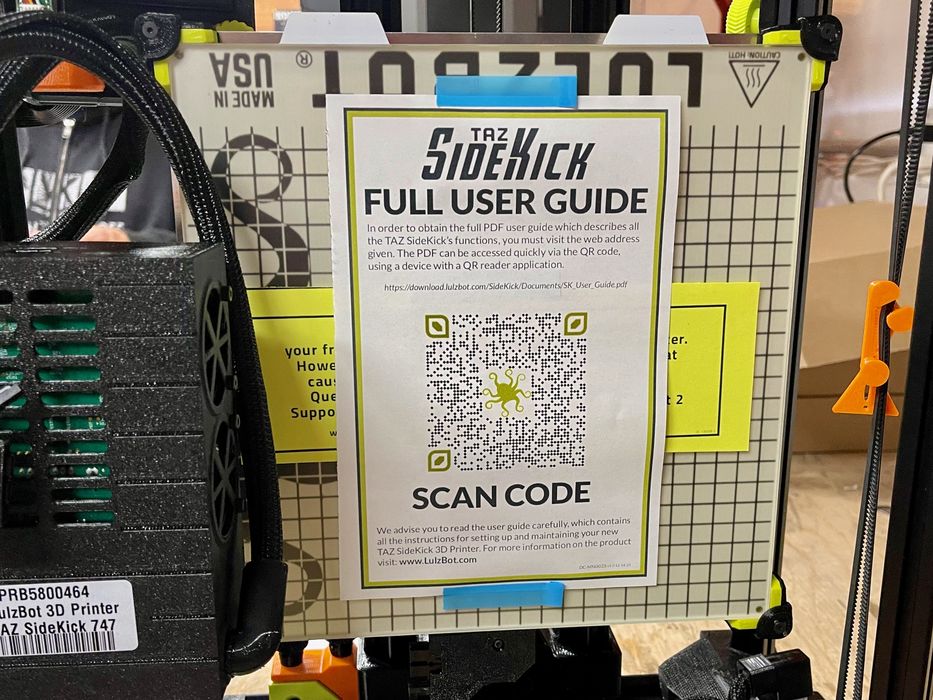
They really want to ensure you have all the information you require, and this QR code leads directly to the required user manual for the machine, which we found was very comprehensive and detailed.
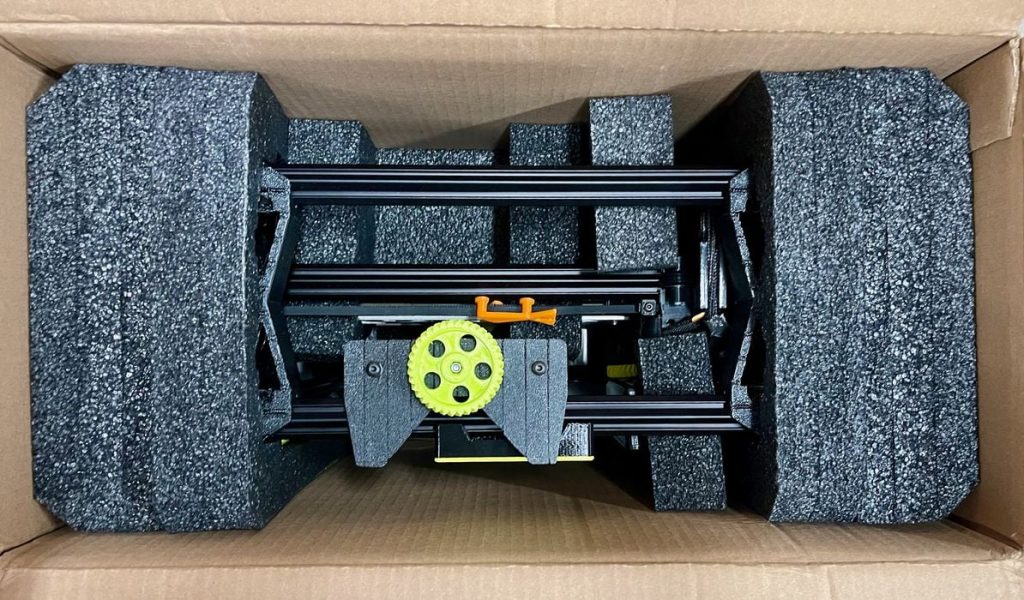
Typical Asian machines have you bolt the gantry onto the base and wire it up, but the Sidekick assembly is quite different. This was apparent when we unloaded the machine from the box, and saw this:

The LulzBot folks have an ingenious way of folding up the system for packing. You’re not “bolting on the gantry”, instead you’re more like attaching the Y-axis to the system, which is inserted inside somehow for shipping. The result is a far more rigid frame than you’d find on most other desktop units.
Then we encountered something incredibly interesting. We saw this notice:
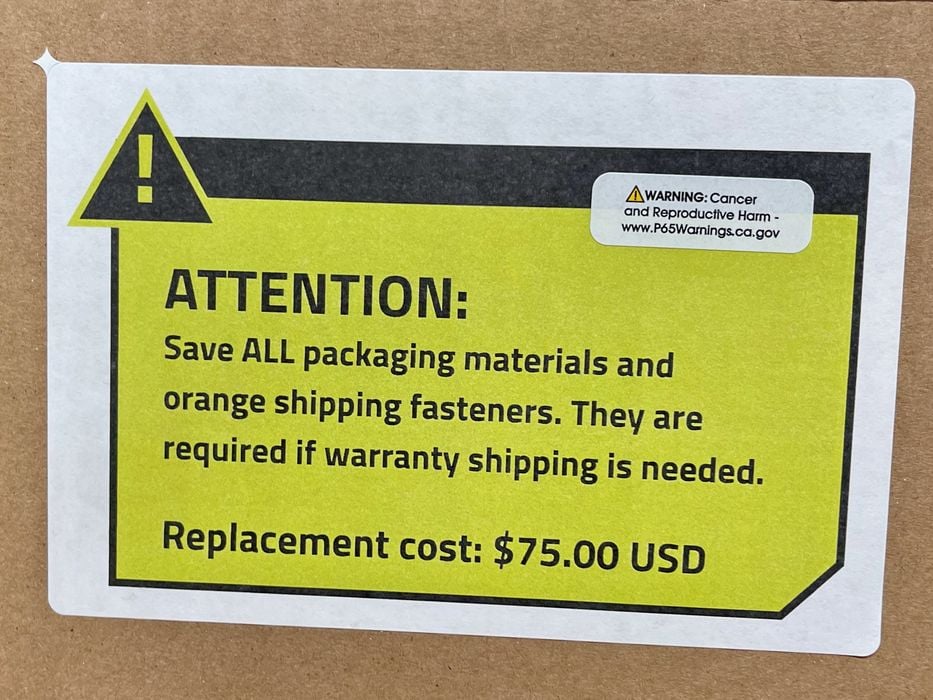
What was that all about? It turns out that the machine is shipped with a bunch of orange fasteners to keep things from bopping around during shipment. Most times you’ll see manufacturers use foam or tie wraps to achieve this. But not in the LulzBot.
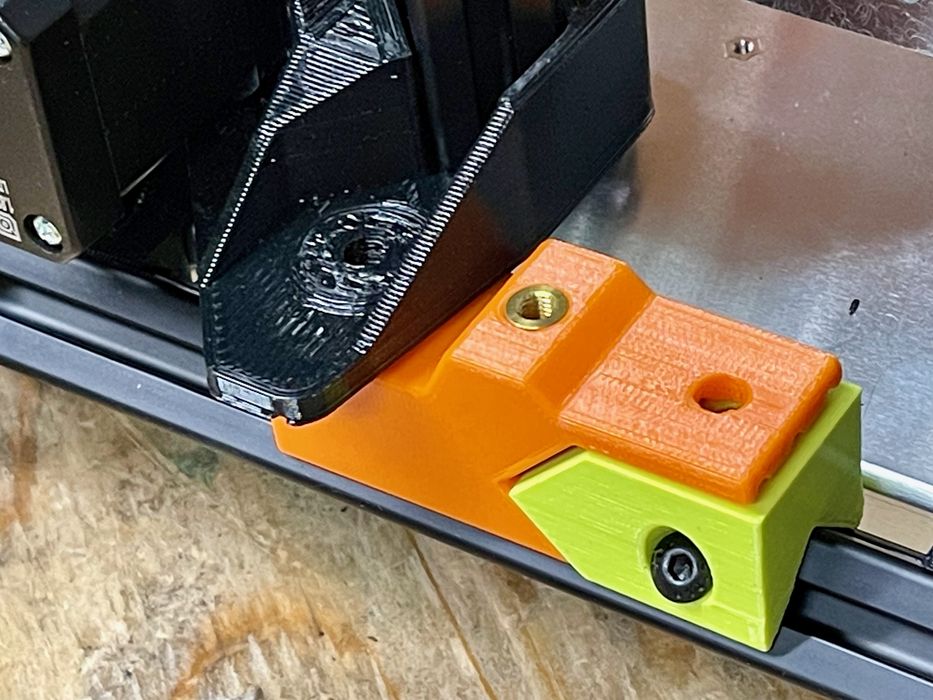
Nope, these orange parts have a dual use: they hold the machine together during shipping, and they ARE PART OF THE MACHINE!
That’s why they don’t want you to throw them out. Tip: DO NOT THROW OUT ANYTHING until you’ve completed the assembly. These parts are essential pieces of the Sidekick. You can see some installed here:

And here:
This is an amazingly unique design that I’ve never seen before in any desktop 3D printer, and a very efficient use of printing, shipping and during assembly. Well done!
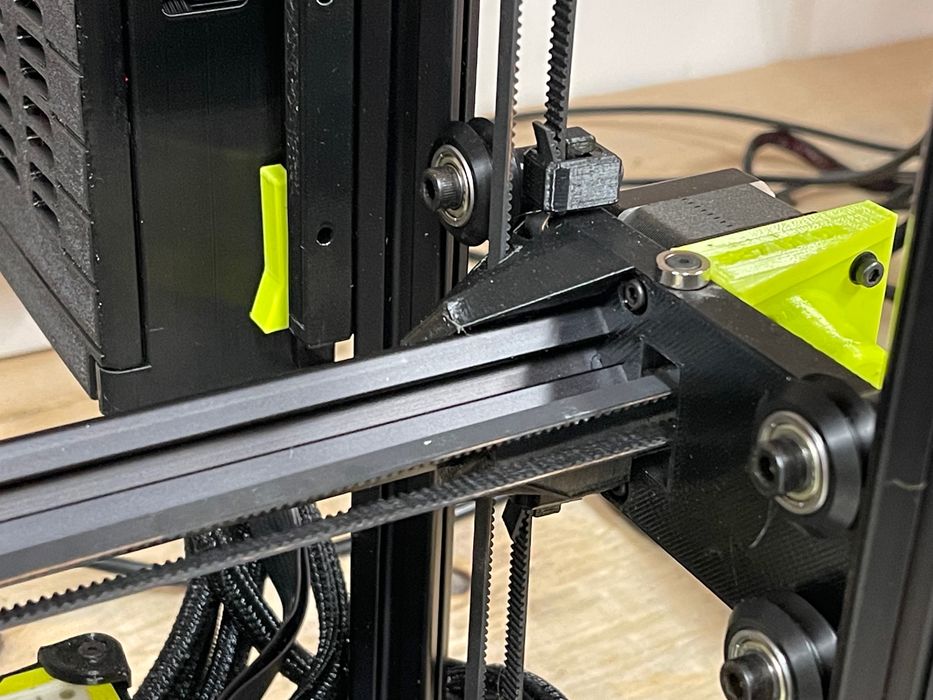
An unusual feature of the Sidekick is that it uses a belt system to raise or lower the toolhead, which is quite different from most desktop systems.
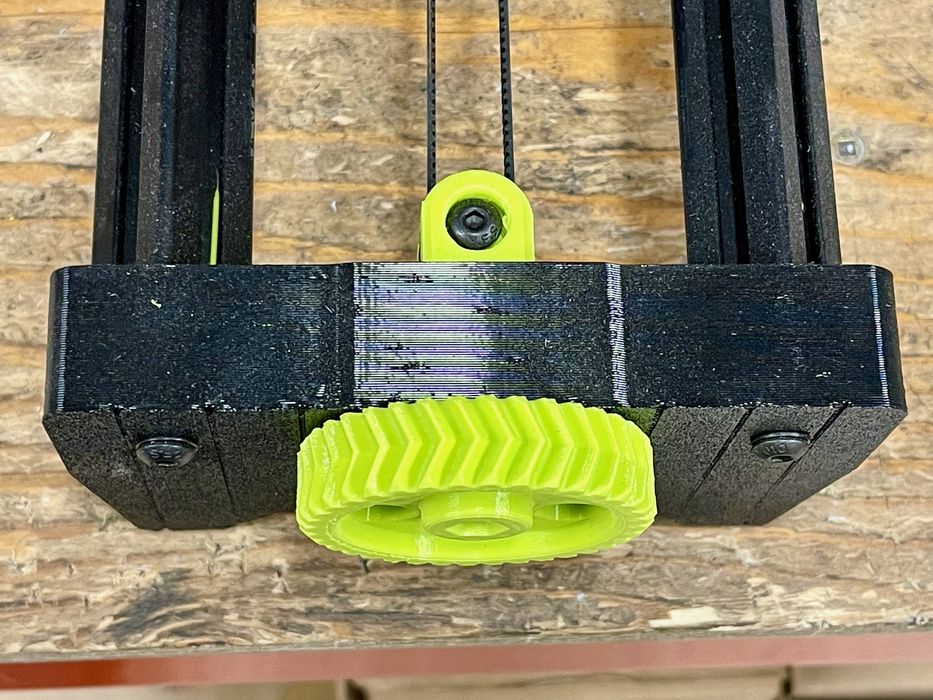
Another fascinating observation during assembly was the degree to which 3D printing has been used to create this device. Everywhere you look you’ll see 3D printed components.

We had no difficulties whatsoever in assembling the Sidekick 747, and it was actually quite a bit of fun due to the unique design of the machine.
What really helped was the very easy-to-use instruction manual, which you can find online yourself. It includes clear language, engaging images and directions. Just pay particular attention to the orange parts.
This is part one of a three part series, please read parts two and three.
Via LulzBot