
Our hands on review of the LulzBot Sidekick 747 3D printer continues with a look at setup, calibration and operations .
This is part two of a three part series, please read parts one and three.
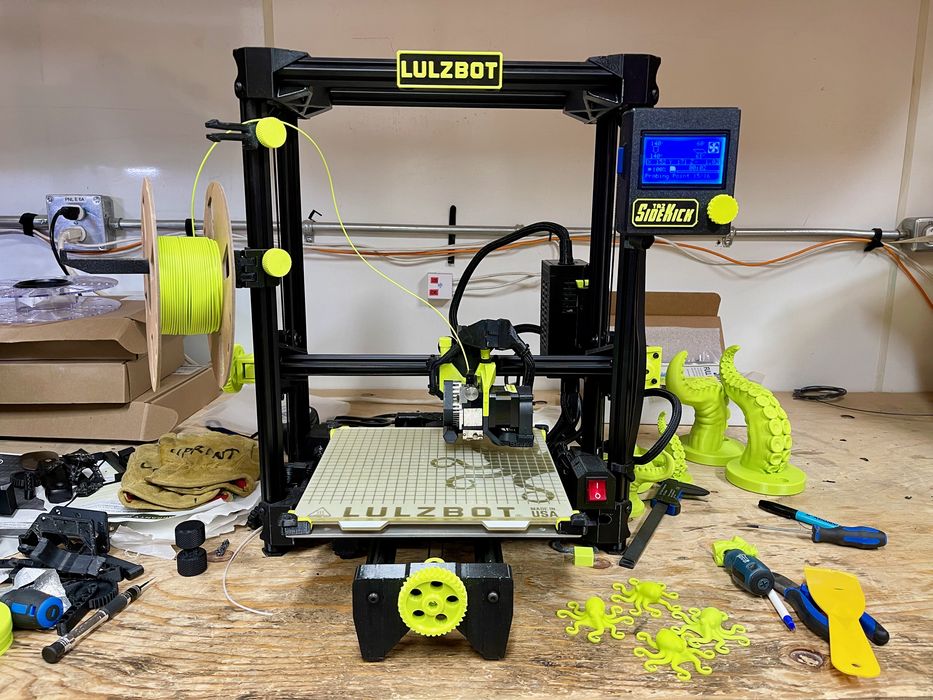
LulzBot Sidekick 3D Printer Setup and Calibration
Setting up the Sidekick was a snap. Basically all you do is plug it in, and turn it on.
We did this, and immediately saw the “Ready” message on the display.
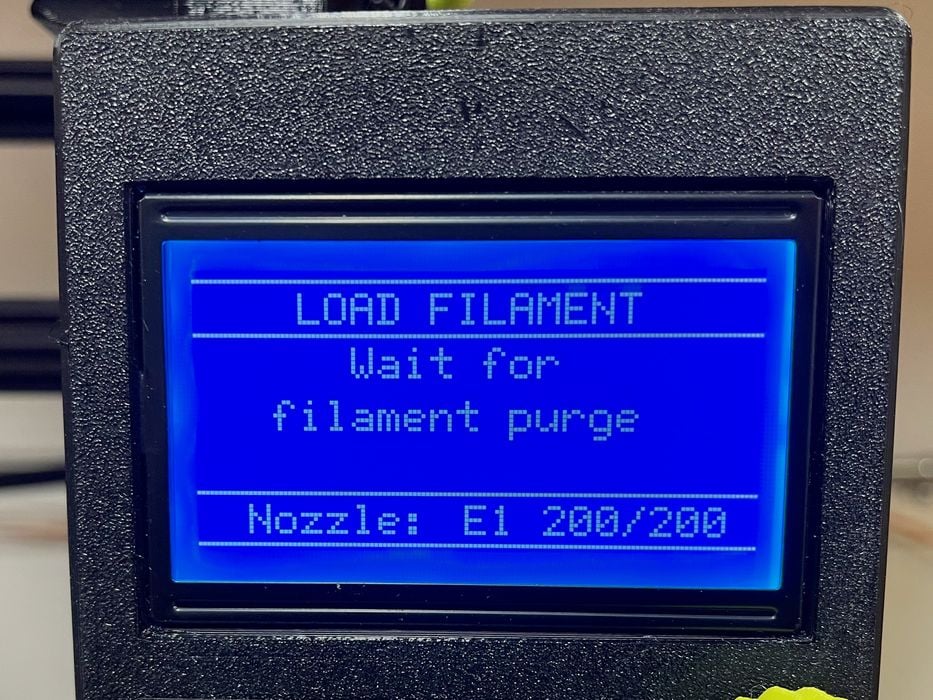
Loading filament is straightforward, and very similar to many other machines: insert the filament into the top of the toolhead, and use the control panel knob to request filament load. The machine will heat up the hot end, and when the required temperature is reached, the extruder engages and pulls the filament through.
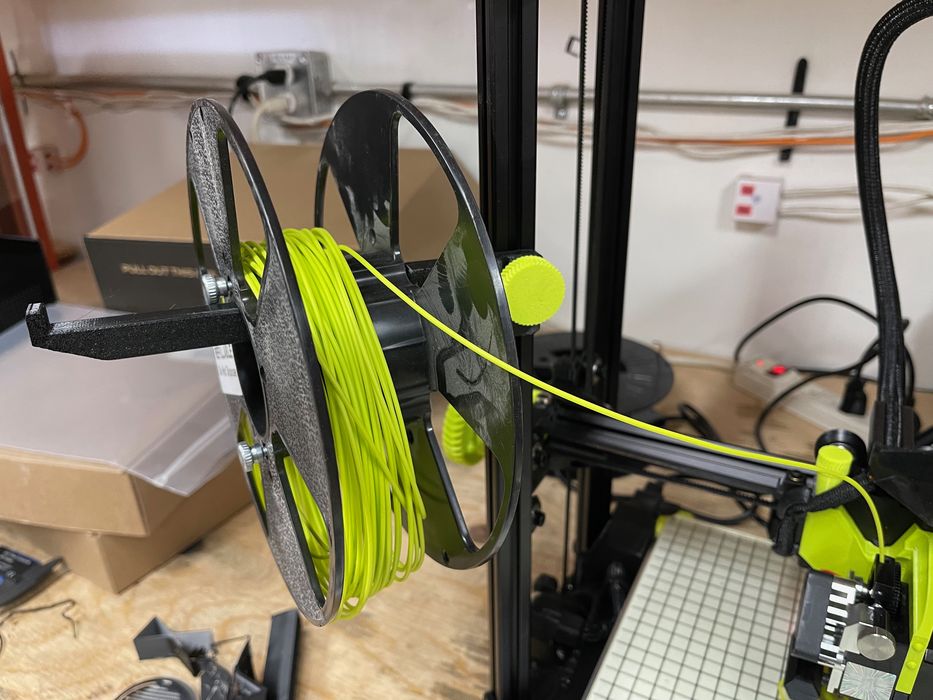
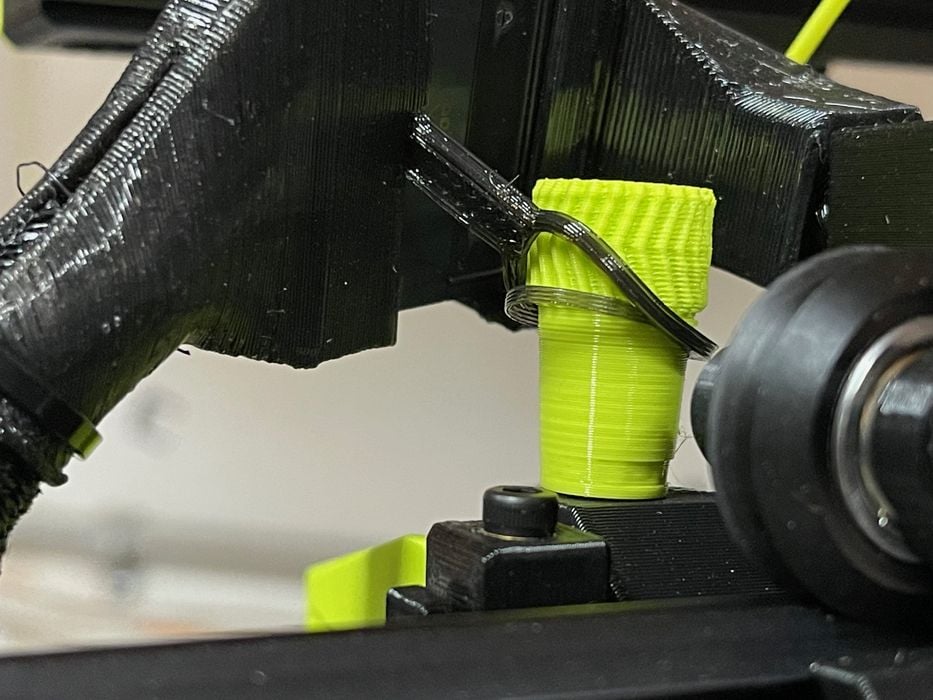
One problem we encountered was that it appeared we apparently did not receive the PTFE filament tube in the shipment, so our filament ran “free” into the toolhead. It didn’t really make any difference in machine performance, however.
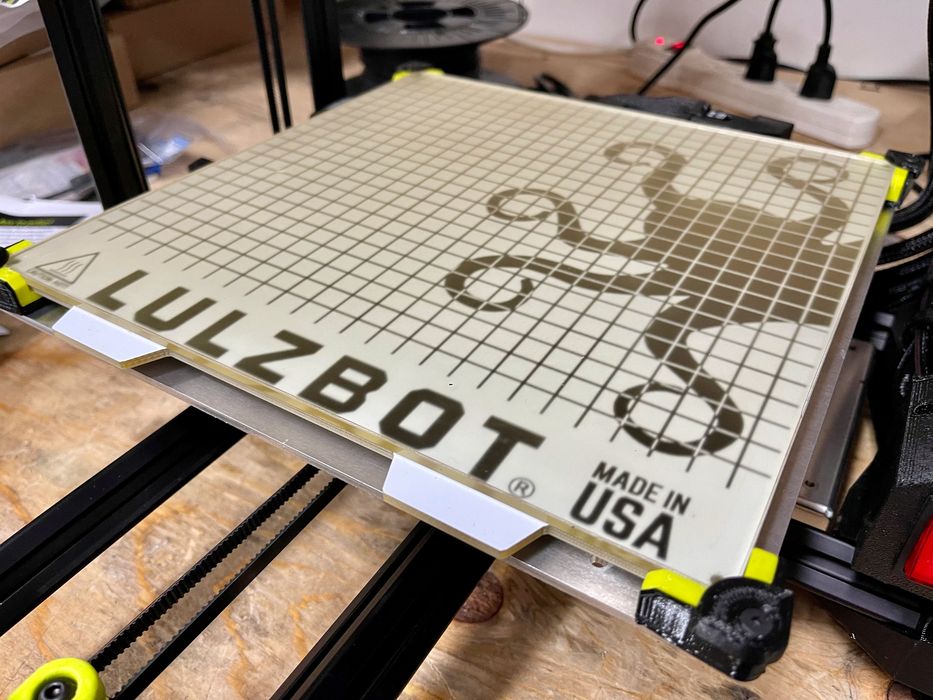
A quick clean of the PEI/Glass print bed was done and we were ready to print things.
LulzBot Sidekick 3D Printer Operations
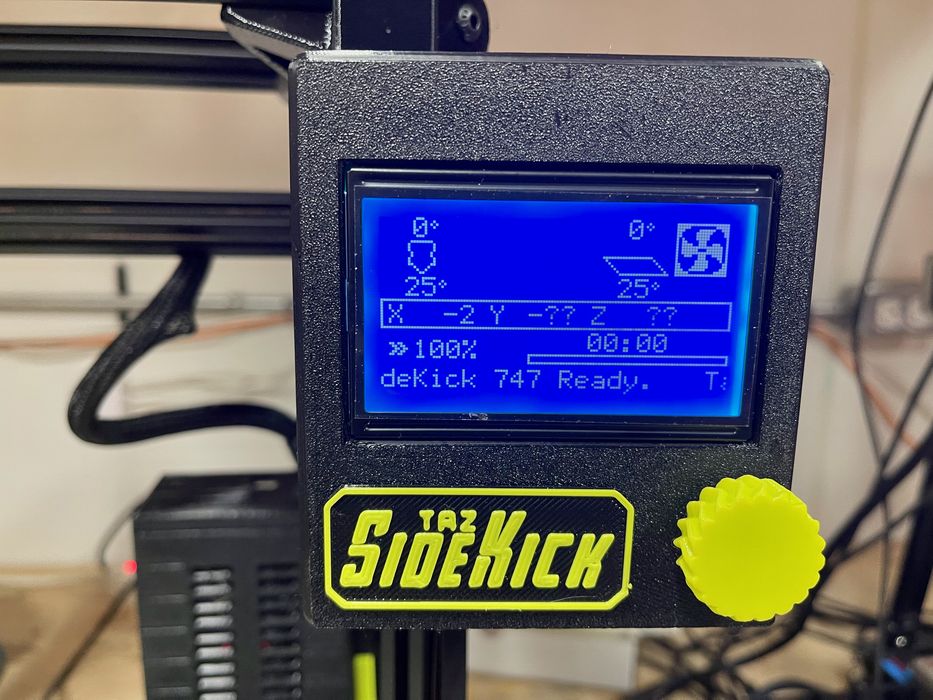
Operating the Sidekick is very straightforward, and is very similar to many other desktop 3D printers. A knob can rotate you through menu items on the control panel, and you push the knob in to make a selection.
Unlike some machines I’ve used, the knob was very responsive and you definitely now when you’ve pushed it in.
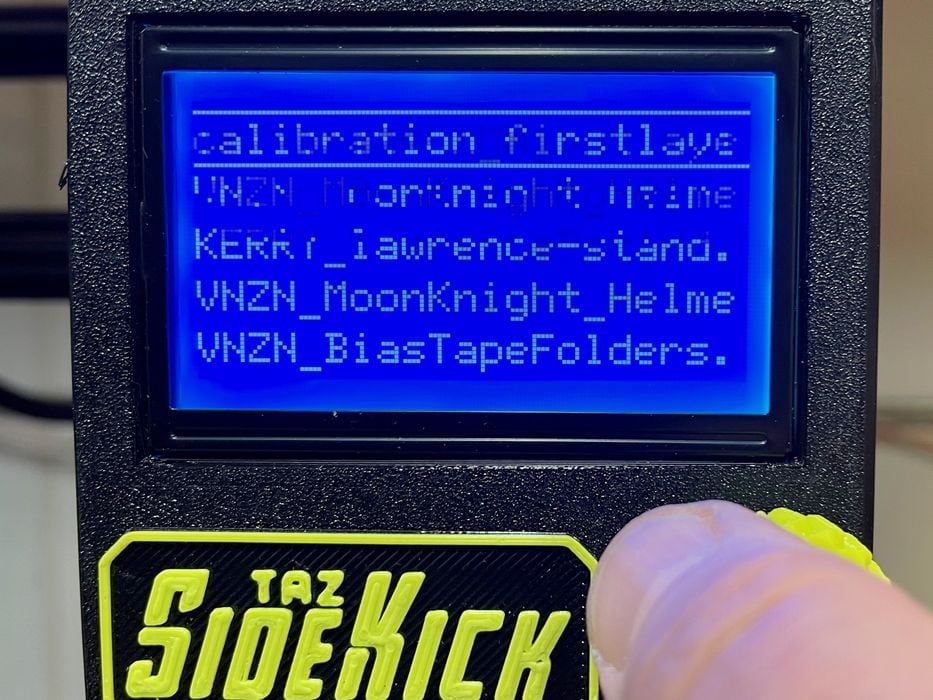
One issue we found was in the display itself. If the display is moving at all, say from you scrolling or a message rolling by, the visibility of the message is often really difficult to see. I suspect this is because the refresh rate of the display is slow. Above you can see an example of this effect. The solution is that you should always be purposeful when selecting items to make sure you are on the right filename. In any case, the Sidekick will ask you to confirm anyway.
Before the Sidekick prints, it must do two things: level the bed and heat up the plate and hot end.
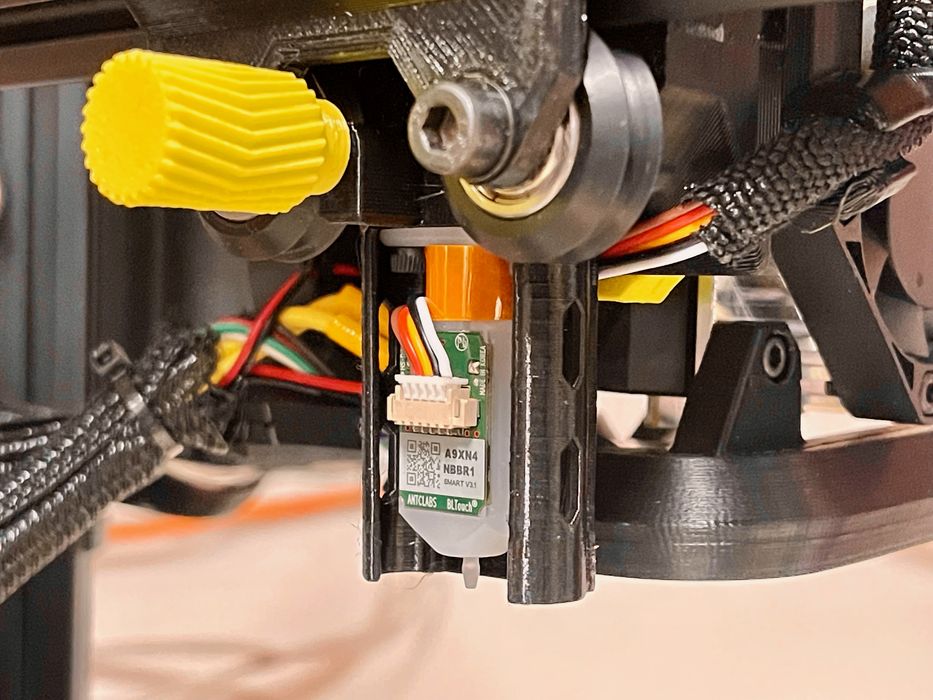
As you might expect, the Sidekick includes an automated leveling procedure. This is implemented with a BLTouch sensor on the toolhead, which precisely senses the surface when lowered.
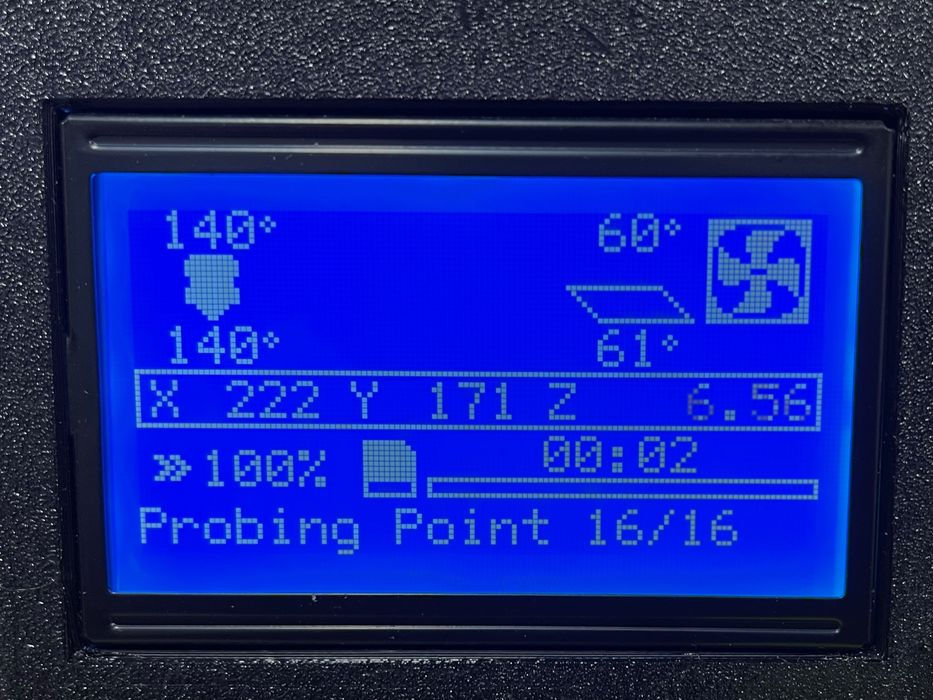
The leveling procedure is something to watch. The Sidekick hits each of the 25 leveling points with a “thunk”, so you definitely know it’s reached the measurement point. The leveling procedure does take some time, however, as it seems to take some time for each measurement point. The leveling process is noticeably longer than most other desktop machines I’ve used.
After leveling, the Sidekick finalizes the heating of the plate and hot end, and then commences printing.
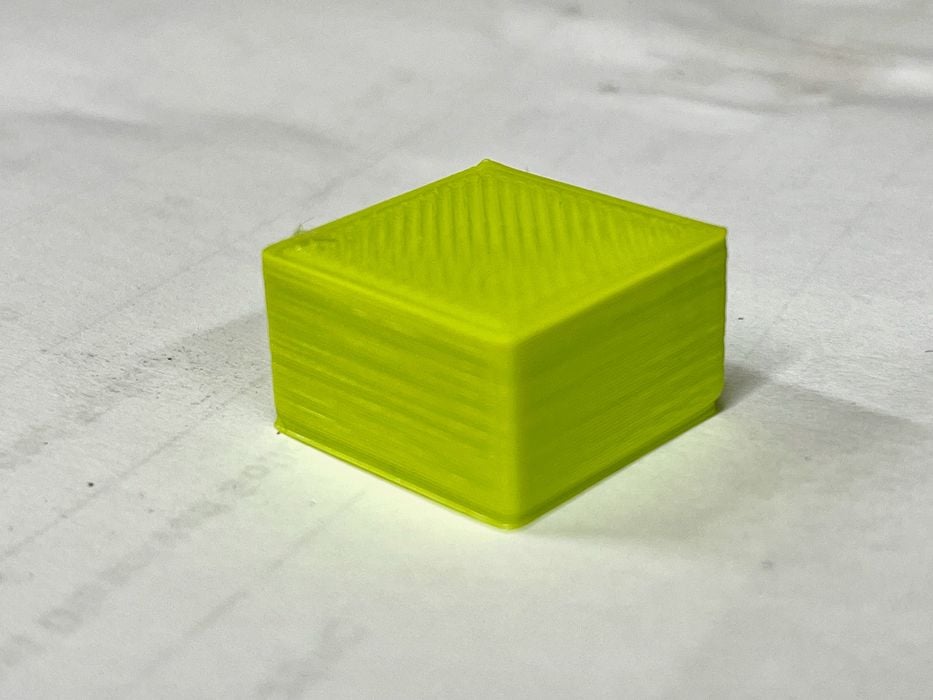
Our first print was this simple box, which I normally use to avoid any unknown complications. It came out quite well, so we proceeded to other 3D models.
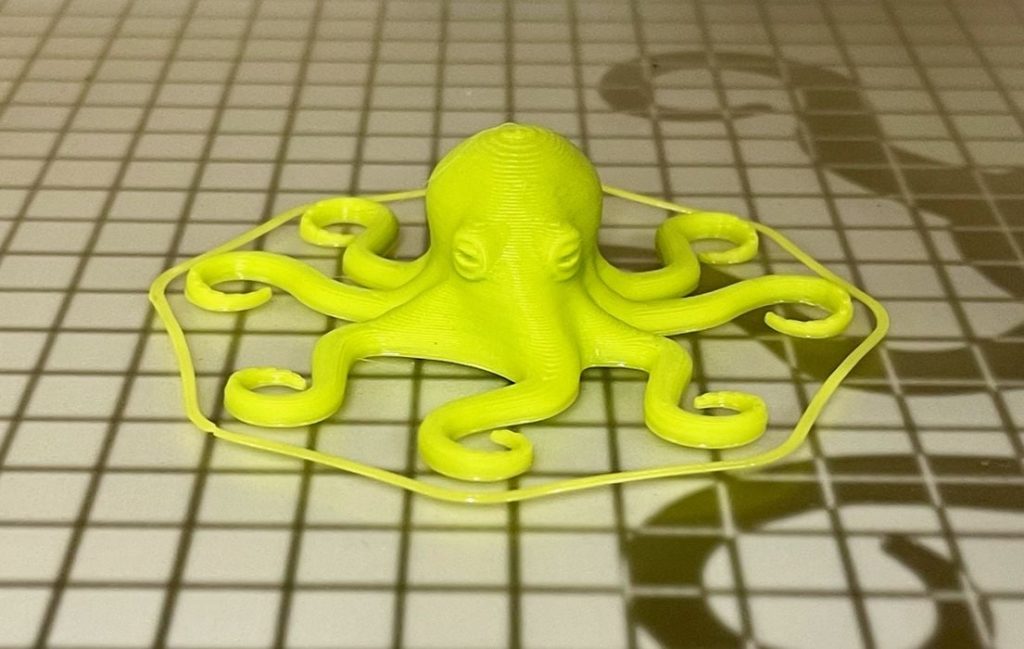
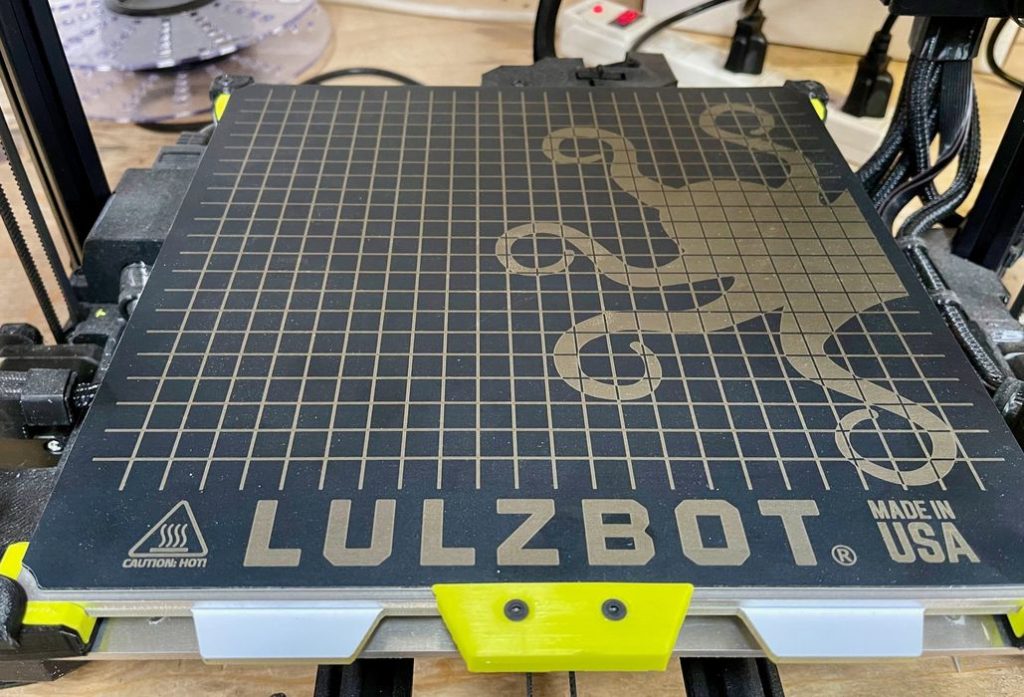
Of course, we had to print the LulzBot mascot, the octopus, which came out perfectly as you can see above.
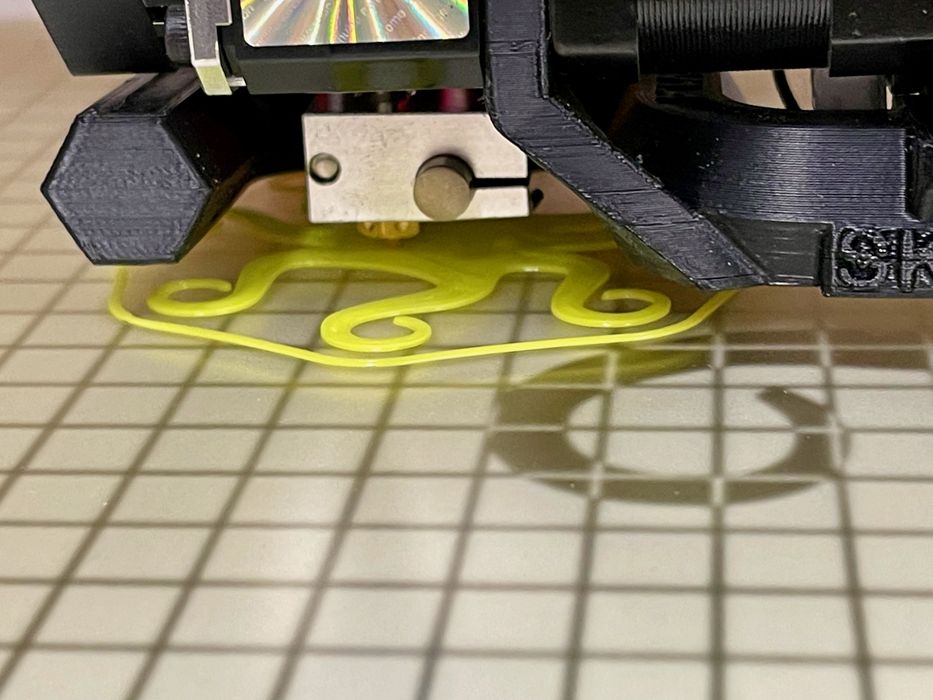
The PEI surface used provided outstanding adhesion. Here you can see a near-perfect first layer going down. We consistently had this result, suggesting that the Sidekick’s leveling system is pretty good, in spite of (or maybe because of?) its long duration.
Then we had a problem: we found the PLA prints on the PEI surface had good adhesion — maybe too good adhesion. It was actually quite difficult to remove them, and we had to resort to sharp tools to do so. This is not recommended, as sharp tools can damage the PEI surface, but we had little option once the prints were down. Sometimes we could knock the prints off with a strike from something heavy, but that’s really not how you should treat your prints.
I noticed that the print bed would stay at 40C after printing. An enquiry with the LulzBot folks revealed that 40C is apparently the optimum temperature for part removal. Evidently the prints would have stuck even more if we had cooled down the plate!
I attempted to reduce the adhesion by playing with the Z offset: farther away should cause less adhesion. However, I just couldn’t find the sweet spot between where prints would easily release or fall off the plate prematurely. Paradoxically, print plates should stick well, and also release.
In the end we decided to get the optional OctoGrab magnetically-attached print plate and replaced the original PEI/Glass plate.

This improved our print experience tremendously, as prints would both stick and release easily. It helps to have a plate that you can twist to pop off prints, which we do often. I recommend the optional OctoGrab plate if you’re purchasing a Sidekick 3D printer.
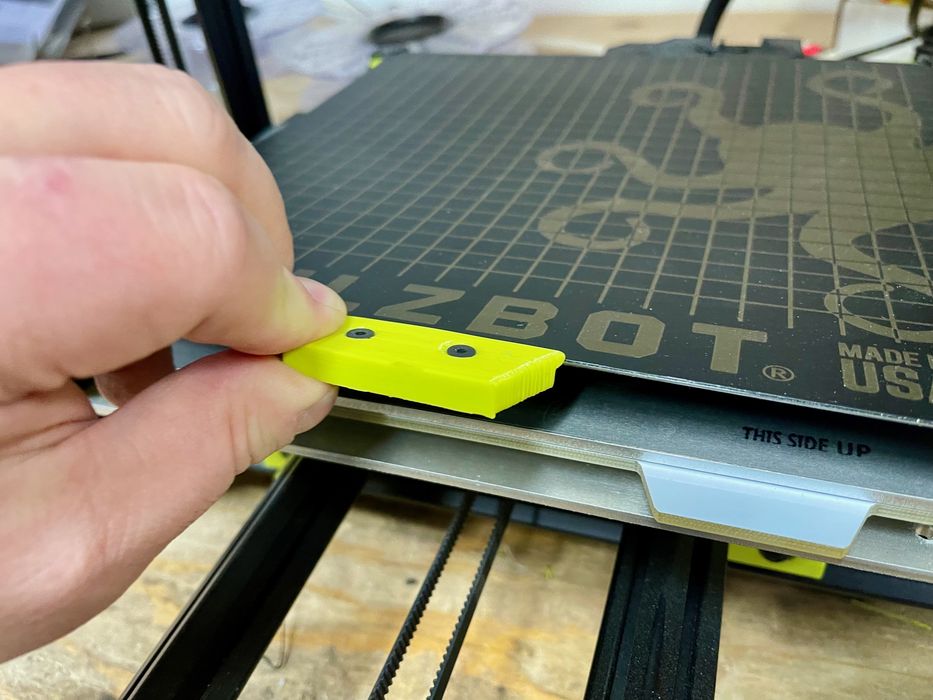
However, if you do so, I suggest you adjust your settings to cool down the plate to zero after completing the job instead of leaving it at the 40C default.
We were quite curious about the belt-driven Z-axis, which is quite rare in the industry. Normally the Z-axis is raised and lowered via threaded rods, which provide accurate, but slow up and down movement.
The Sidekick can move the Z-axis up and down startlingly fast. The machine can zoom up almost as fast as it can move the XY axes, if you can imagine that. It’s a bit shocking to see the first time, as we’re all accustomed to really slow Z-axis movement.
During our testing we found no difficulties from the belt-driven Z-axis. It seems to work really well, and I now wonder why more machines haven’t implemented this concept.
I suppose the use of the belt system is more aligned with the LulzBot style of 3D printing as many of the system components as possible, which are literally everywhere on this device.
I suspect they would have 3D printed the belt, too, if that was possible. Note: you can’t 3D print metal threaded rods.
In the end, the Sidekick 747 is really quite easy to operate. If you’ve run any desktop 3D printer in the last few years, you already know much of what’s required.
This is part two of a three part series, please read parts one and three.
Via LulzBot