
We’ve been testing a Method X 3D printer in our lab and it’s time to tell you what we found.
This is part one of a four part series, please read parts two, three and four.
Method X 3D Printer Background
The Method X is the flagship 3D printer in the MakerBot brand. I say brand because MakerBot, the company, was merged with Ultimaker to create the new UltiMaker. There, “MakerBot” is a brand for a line of professional 3D printers.
The Method X is a fully enclosed professional 3D printer that focuses on print quality. The machine includes a number of features that ensure prints are made very precisely.
Method X 3D Printer Specifications and Features
The Method X comes in several variations, including a large version, a carbon fiber capable version, and a base version. We tested the Method X, the non-CF version.
The Method X is a dual extruder machine, with a build volume of 152 x 190 x 196 mm, somewhat smaller than the average desktop 3D printer build volume. The build volume increases to 190 x 190 x 196 mm if using only a single material, but this is not something you’d find yourself doing often on the Method X.
There is a five inch color touchscreen display from which the machine is operated. However, much of the action takes place from the cloud service, as you will see.
The hot ends accept 1.75mm filament, and the nozzles are the standard 0.4mm diameter. This enables production of layers as small as 0.02mm.
The hot ends are integrated with the extruder, and are called “Smart Extruders”. These are considered a consumable, and come in multiple variations to cover a wide range of material types.
The Method X is a desktop design, but it is pretty heavy at almost 30kg in weight. It requires 800W power, which is a bit more than typical 3D printers. However, there is a reason for this: the build chamber is actively heated.
In normal operation the build chamber is heated up to 90C, which basically eliminates the thermal gradient when printing. That makes warping essentially impossible. When parts are removed from the build chamber, they cool down uniformly in all directions. This, according to the manufacturer, enables the production of dimensionally accurate parts.
Method X 3D Printer Unboxing and Assembly
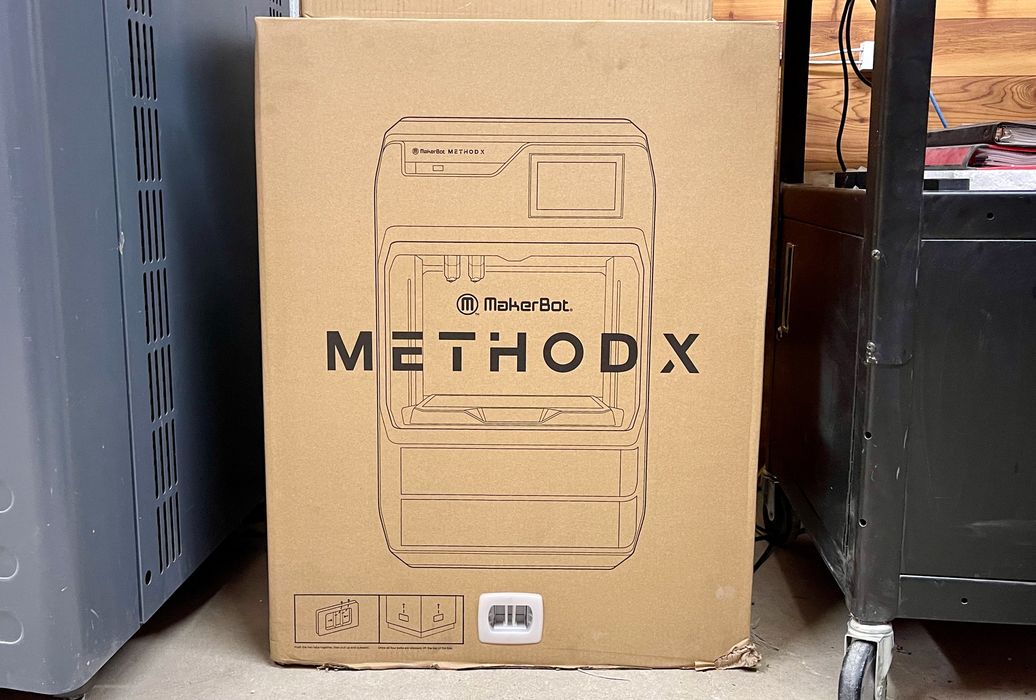
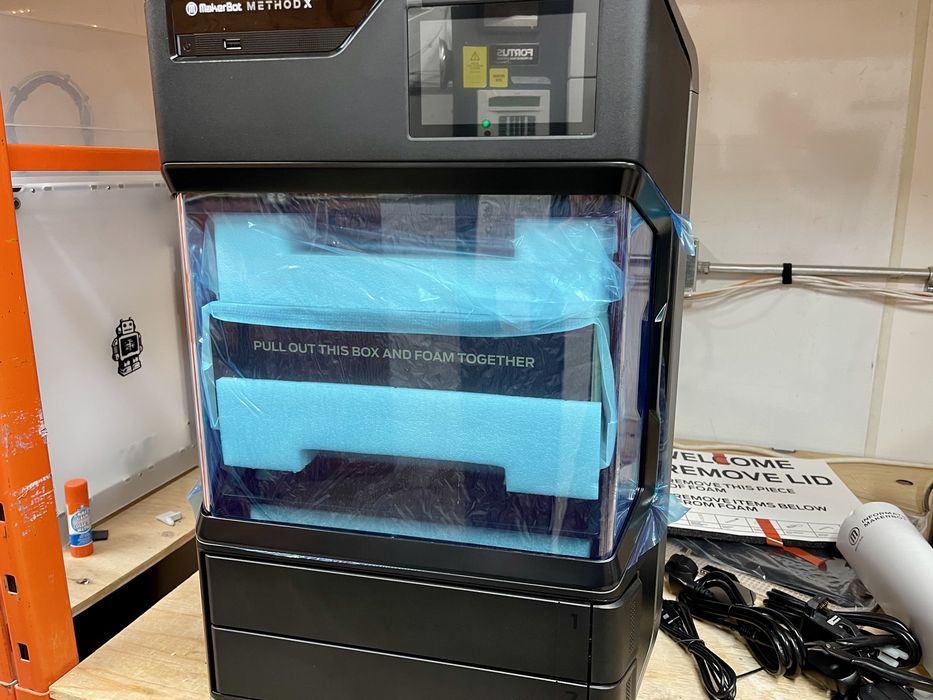
The Method X is packed very well. It seems that the days of questionable packaging by 3D printer manufacturers are long gone: it’s been many years since we have seen an issue, and here the Method X arrived in perfect condition.
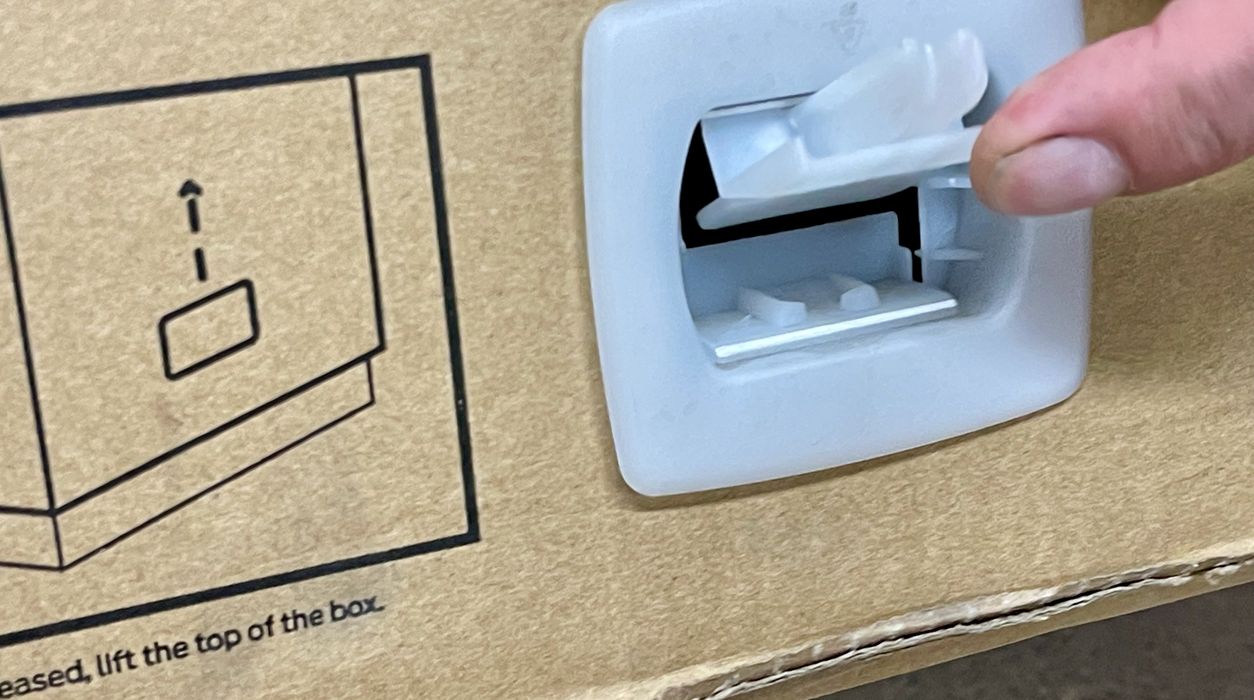
We really appreciated the boxing of the Method X. It is fairly heavy, so you really don’t want to lift it up and out of a low box. Instead they have these clips, which when activated, allow the whole top of the box to slide upwards.
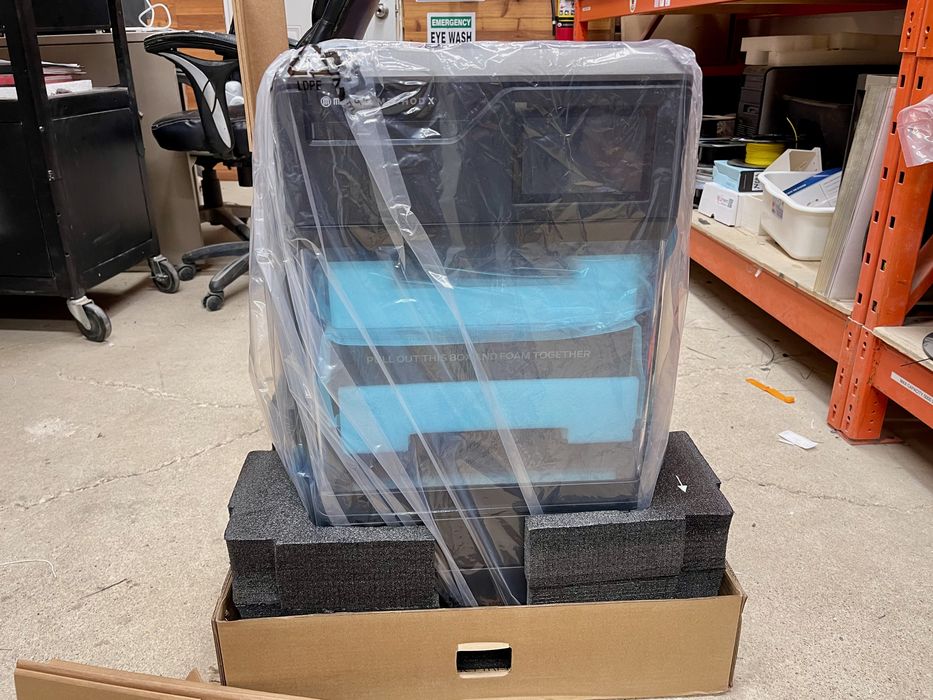
And this is what you see: a wrapped machine that’s very easy to lift out once exposed.
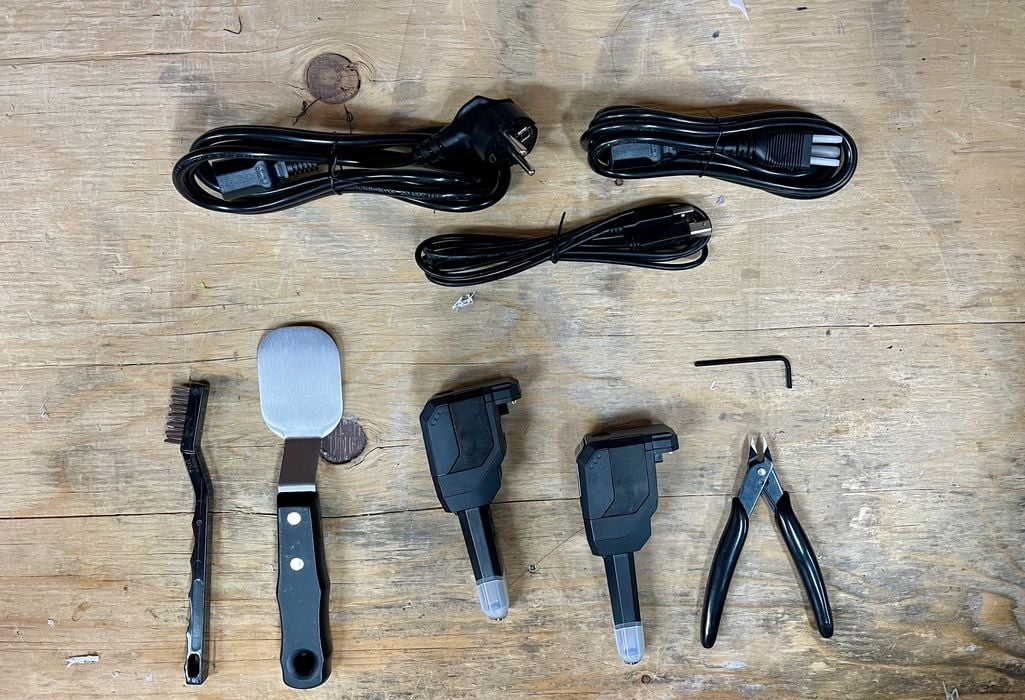
As the Method X is fully assembled, there really aren’t many separate parts aside from power cables, tools and those Smart Extruders.
This box was quite interesting. Normally 3D printers ship with a box full of bits and pieces, so I was curious to see what was in this box.
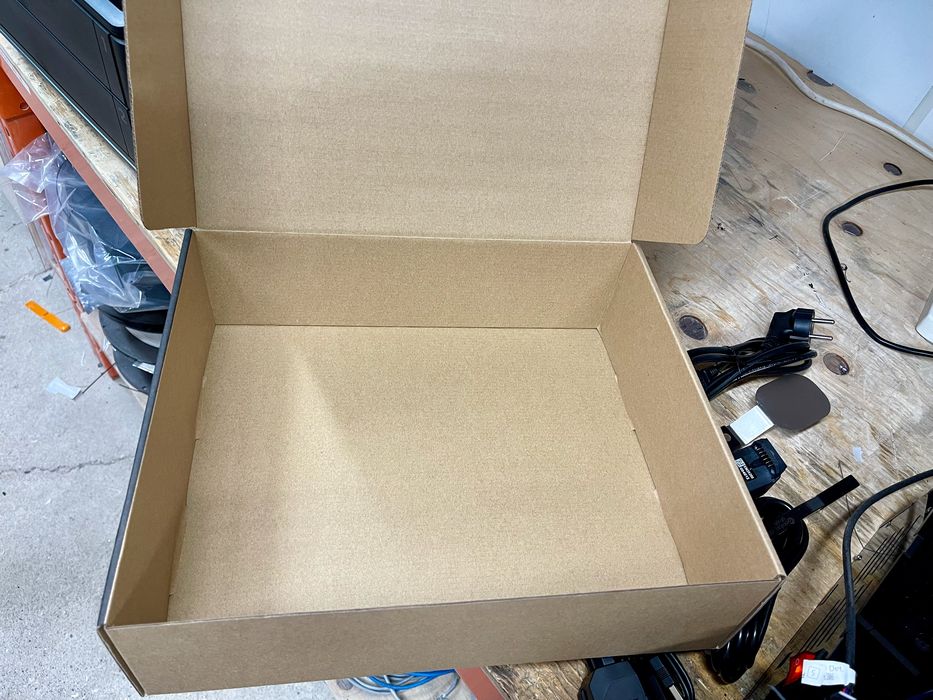
Nothing! The box was simply filler. Surprise!
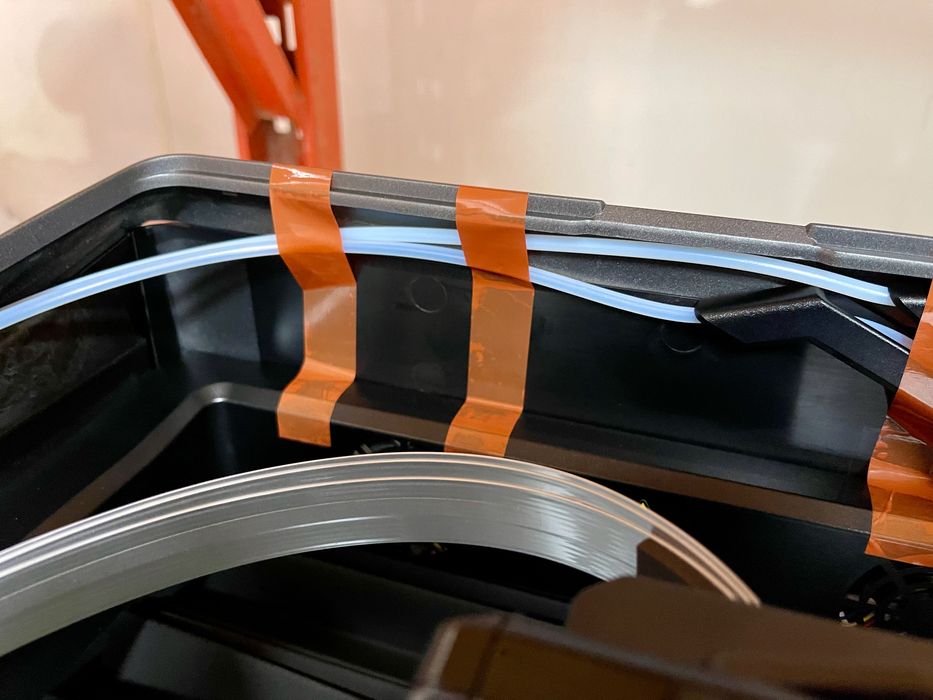
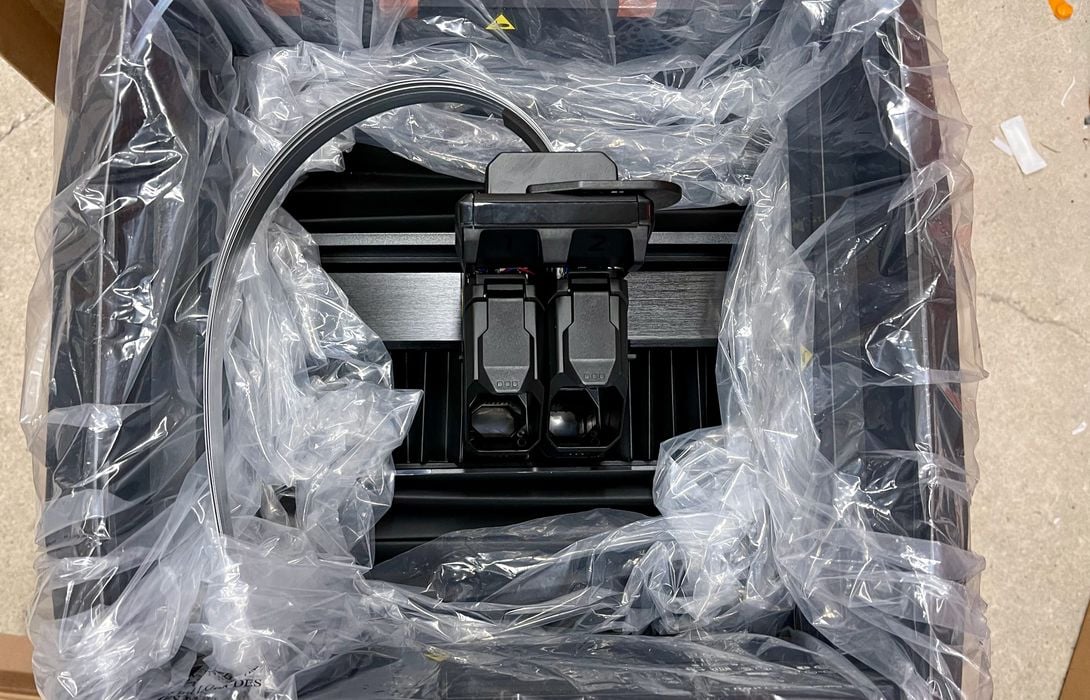
There were relatively few things to loosen or cut off, unlike some other 3D printers. Here we see the extruder tubes have been taped down for shipment.
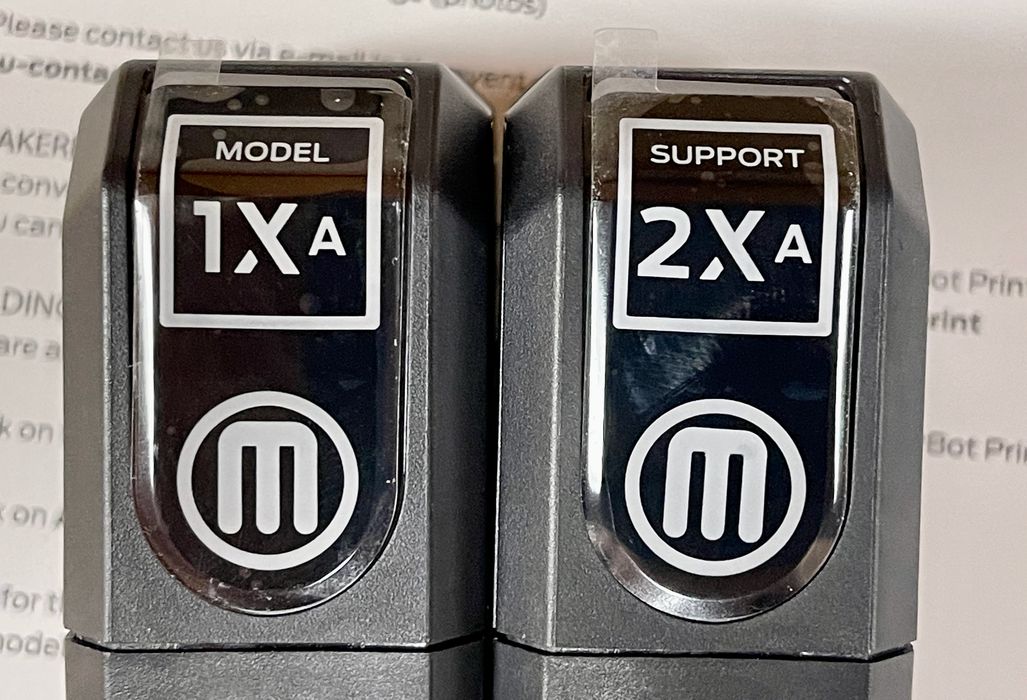
The Smart Extruders had to be installed, so we got to work on that right away.
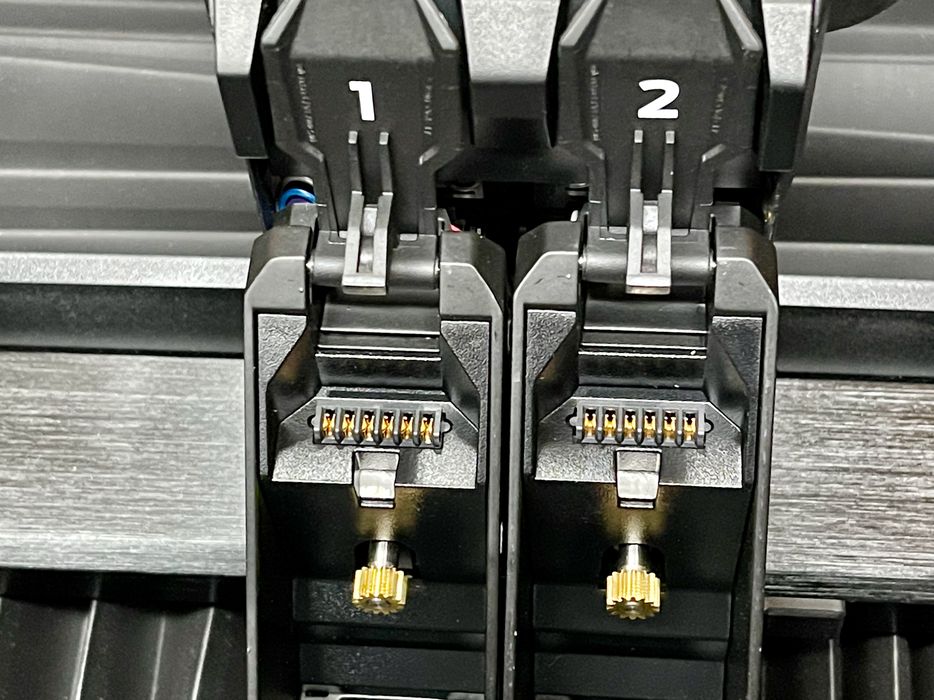
The are very easy to install; they just snap into these mounts. However, you have to be clear which one goes into which slot. Fortunately, everything is labeled extremely well.
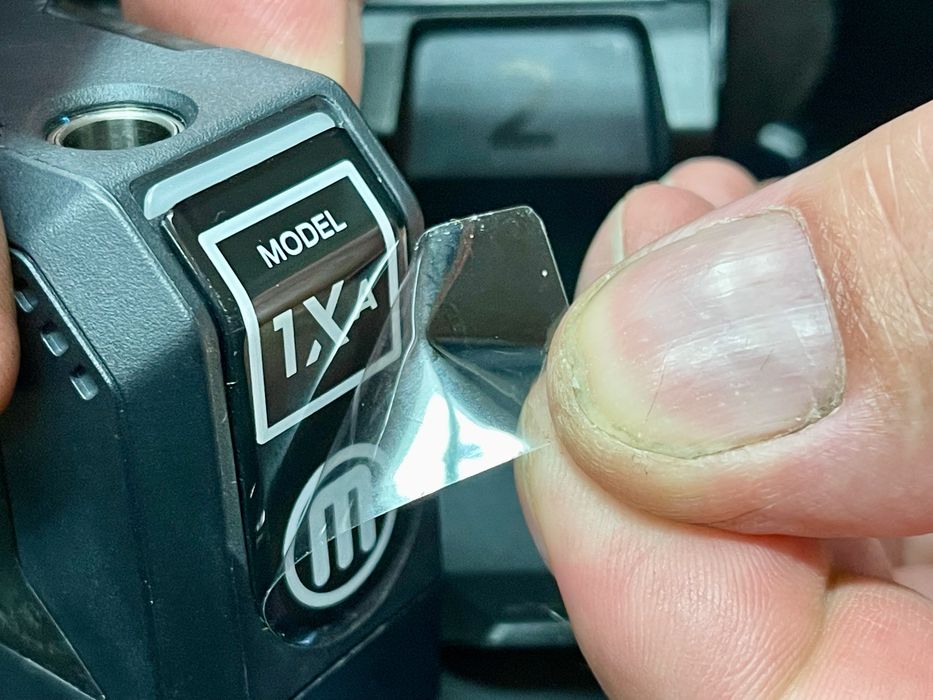
It’s hard to notice, but there is some protective film on the front of the Smart Extruders, and it should be removed before use.
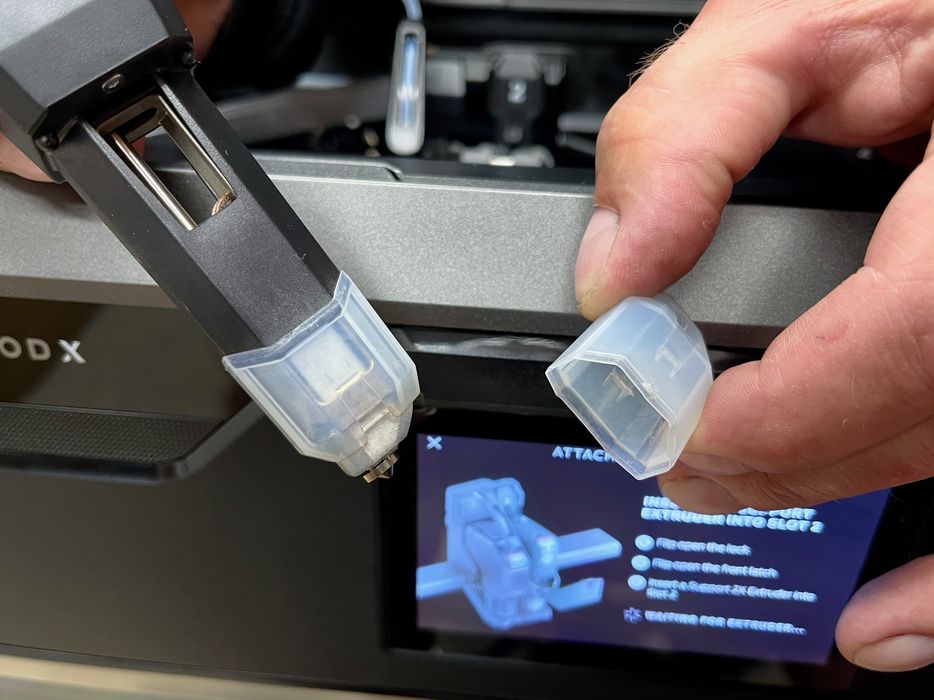
We also saw these plastic caps protecting the hot ends, and we removed them along with the rest of the packing material.
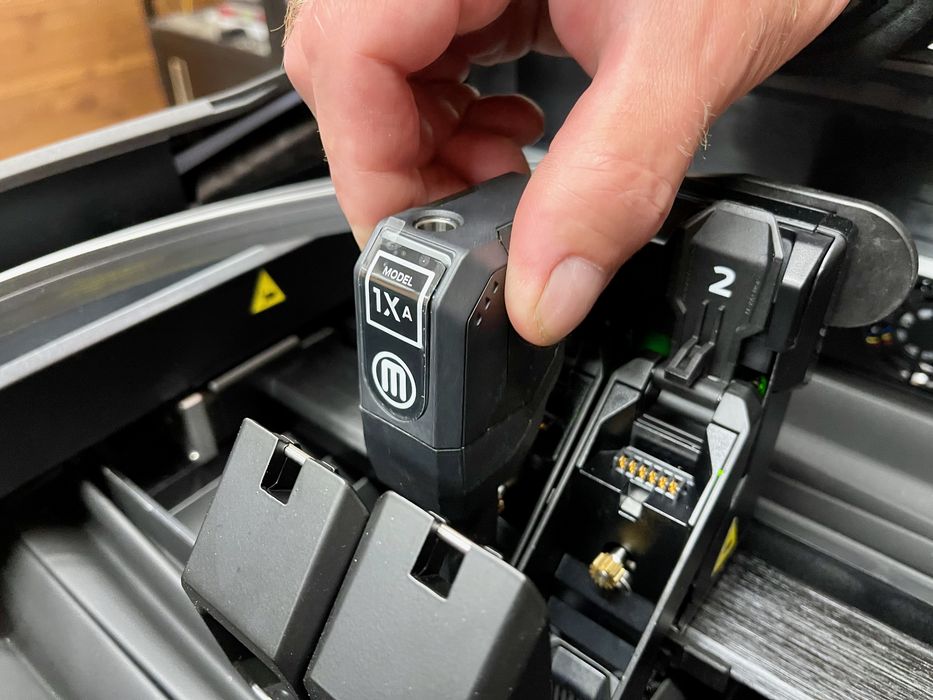
The Smart Extruders snap into place easily
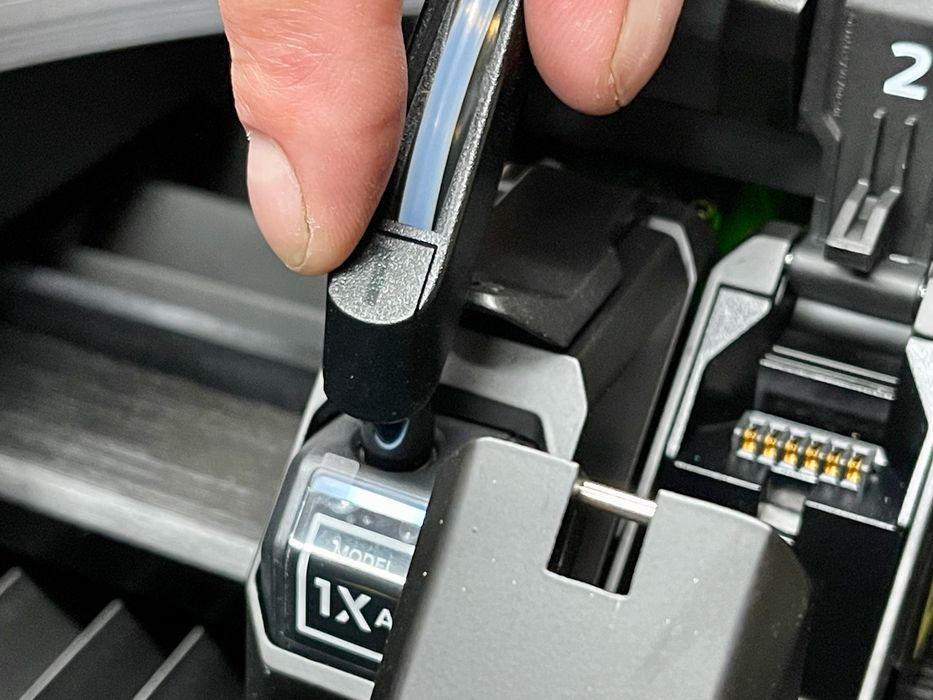
Once installed, a filament tube must be attached to the extruder. Be sure to use the correct tube, because they each lead to a numbered material bay at the bottom of the Method X.
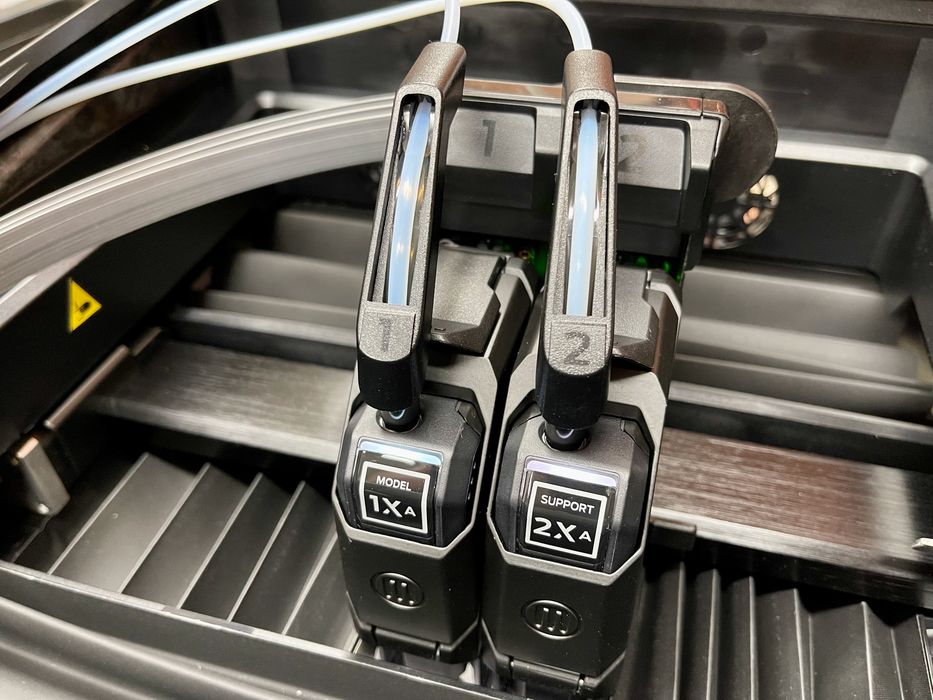
This is what it looked like when the Smart Extruders were installed, and we were ready to power up the Method X.

Assembling the Method X was very quick and easy to do.
This is part one of a four part series, please read parts two, three and four.
Via UltiMaker