
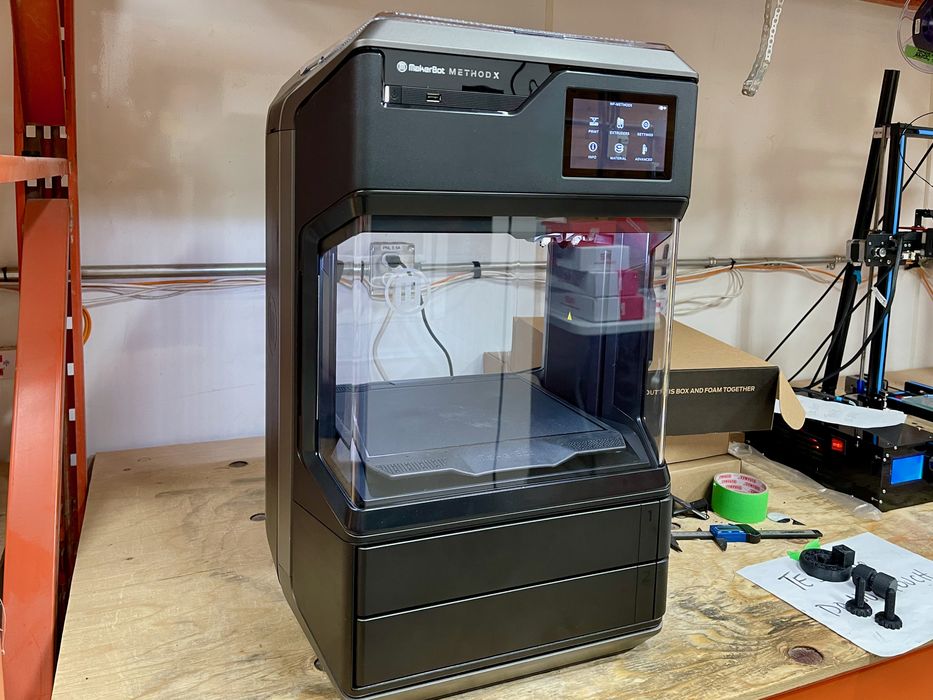
Our look at the Method X 3D printer continues with more on operations.
This is part three of a four part series, please read parts one, two and four.
Method X Operations
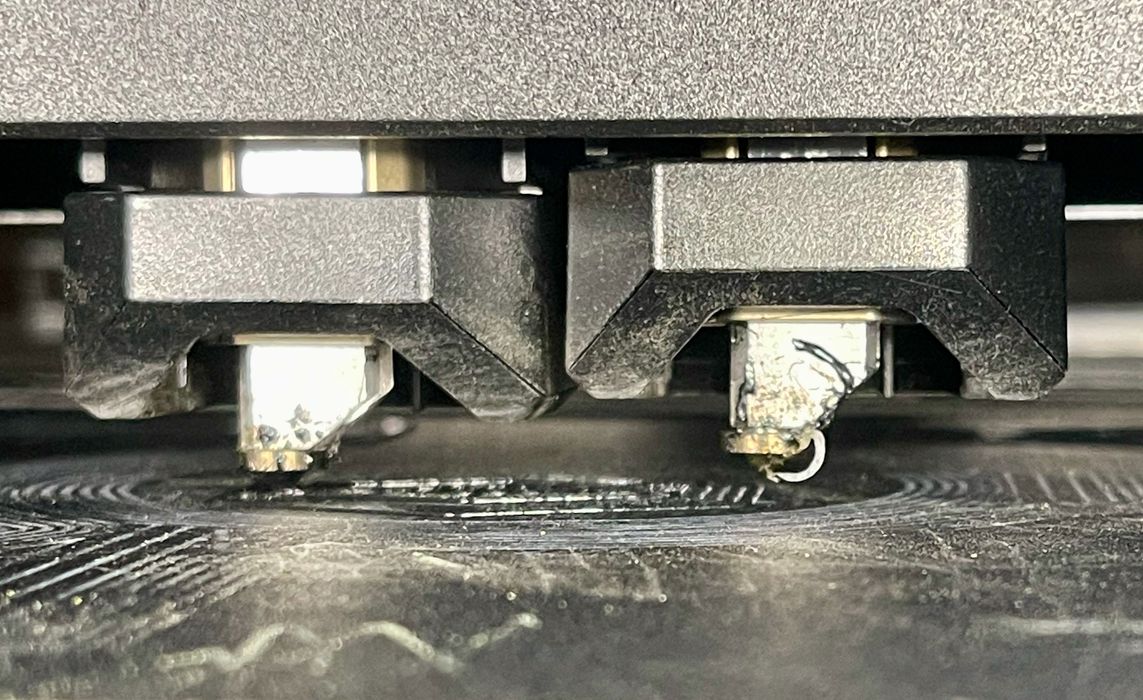
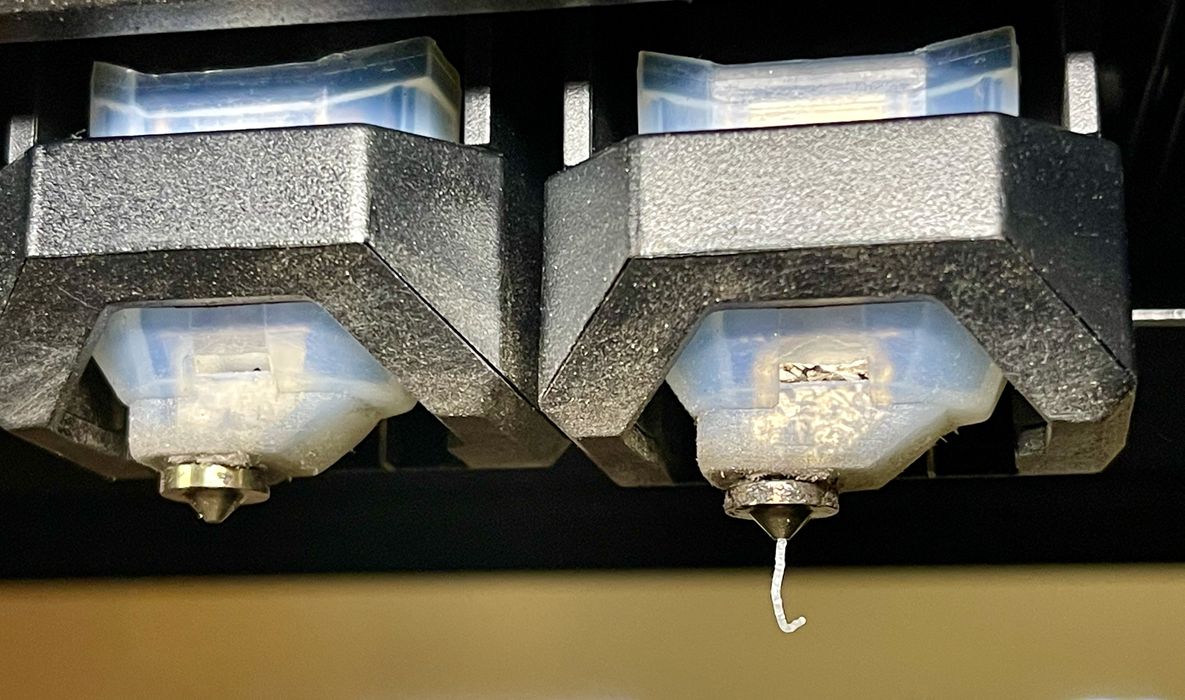
One thing we kept noticing is that the nozzles were constantly dirty and collecting plastic. This would come up later, as you will see.
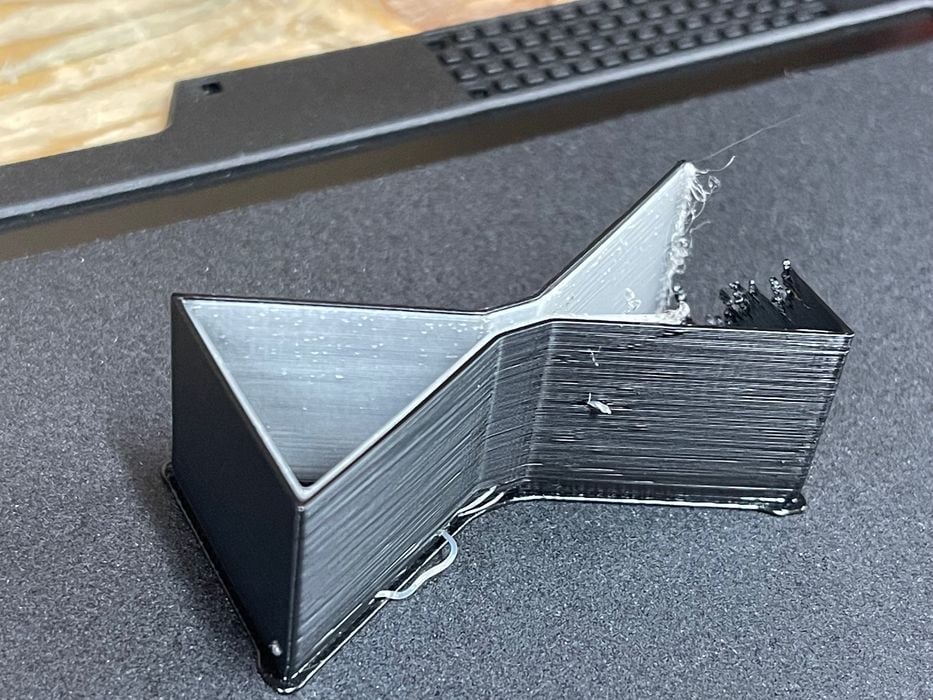
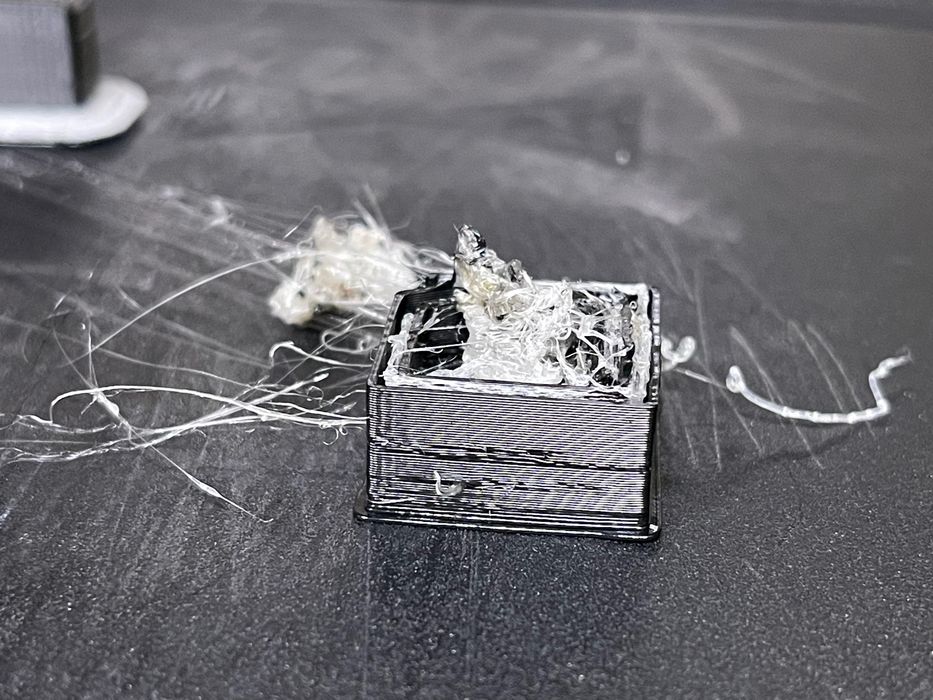
We noticed our prime towers were sometimes slightly wrecked.
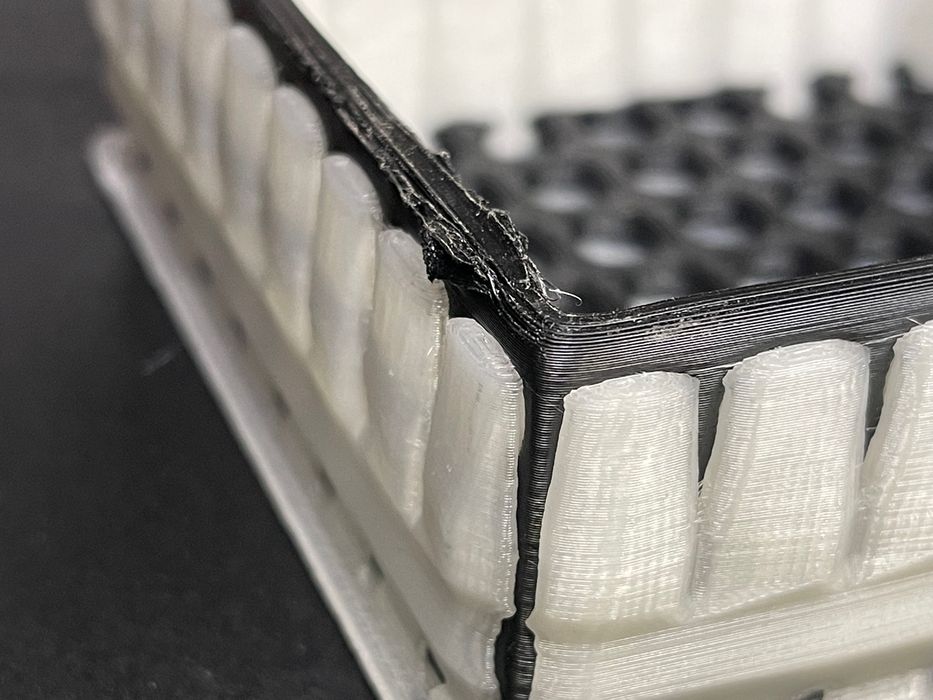
Here you can see the top edge of a 3D printed basket being slightly corrupted. We were repeatedly seeing this type of quality issue, and wondered what was going on.
Eventually we realized what had happened.
Remember those plastic protective caps we removed from the Smart Extruders during the installation? They are not packaging. They are a required part of the Smart Extruder, and they keep blobs from forming on the nozzles.
Without the caps, blobs would be dragged around the print chamber. Usually they’d end up on a prime tower, explaining that problem, and other times they’d get messed up with the model.
Fortunately, we had not tossed out the packaging and were able to retrieve the caps and install them as above. After installation, that problem went away completely.
Do not throw out those caps!
There’s that drip again from the soluble support. We constantly found drips from this nozzle, sometimes on the prints. Eventually we realized that the default retraction setting for the support material was only one millimeter, which is too low. It should be perhaps 5mm.
After a couple of week of operation we began to see issues like this above, where the support material did not seem to be placed correctly.
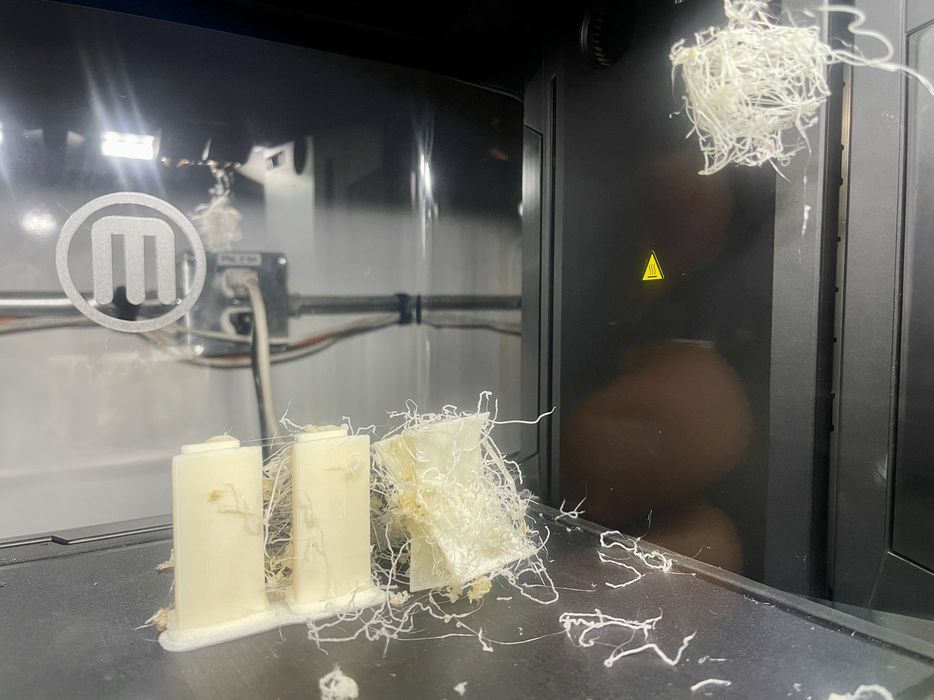
Sometimes print jobs would fail entirely, as shown here. The problem seemed to have something to do with the geometry of the print. Certain jobs would fail, others would not.
Eventually we realized what was happening. It turns out that the RapidRinse material must be absolutely dry before use. Even exposed for a few days causes it to lose some capabilities.
Our solution was to pop the RapidRinse spool into our nearby filament dryer for a day. After this was done, the prints came out perfectly.
The tip here is that unless you are printing continuously, store your RapidRinse in a dryer. If you are putting in a new spool every day or so, you probably don’t need to do this.
This also explains why there was so much desiccant packed with the spools.
I should mention that the Method X has a filament drying cycle of its own: you can place the spool into the build chamber — which is heated — and it can be baked to dryness. We didn’t use this procedure as it was simpler to use a standalone dryer and keep the printer busy doing other work.
I’m wondering why the Method X doesn’t simply redirect some hot air flow through the material bays, which would automatically dry the filament?
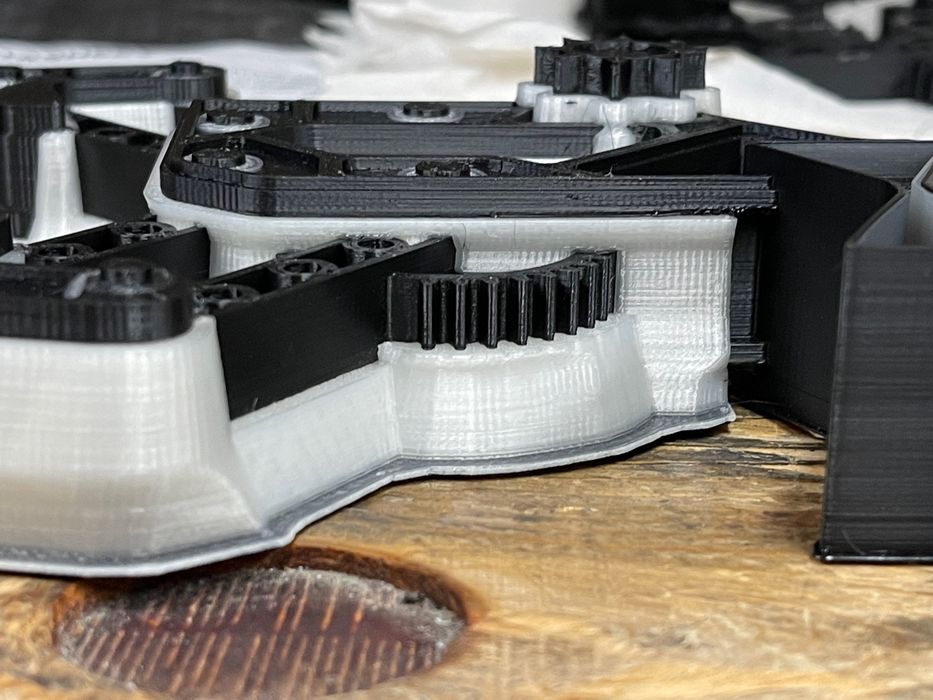
Let’s talk about the RapidRinse material. One thing we immediately noticed is that the slicing software tends to use quite a bit of it. As you can see in this image, parts are typically surrounded with support material. This certainly increases print quality, but it will also increase the cost of printing substantially.
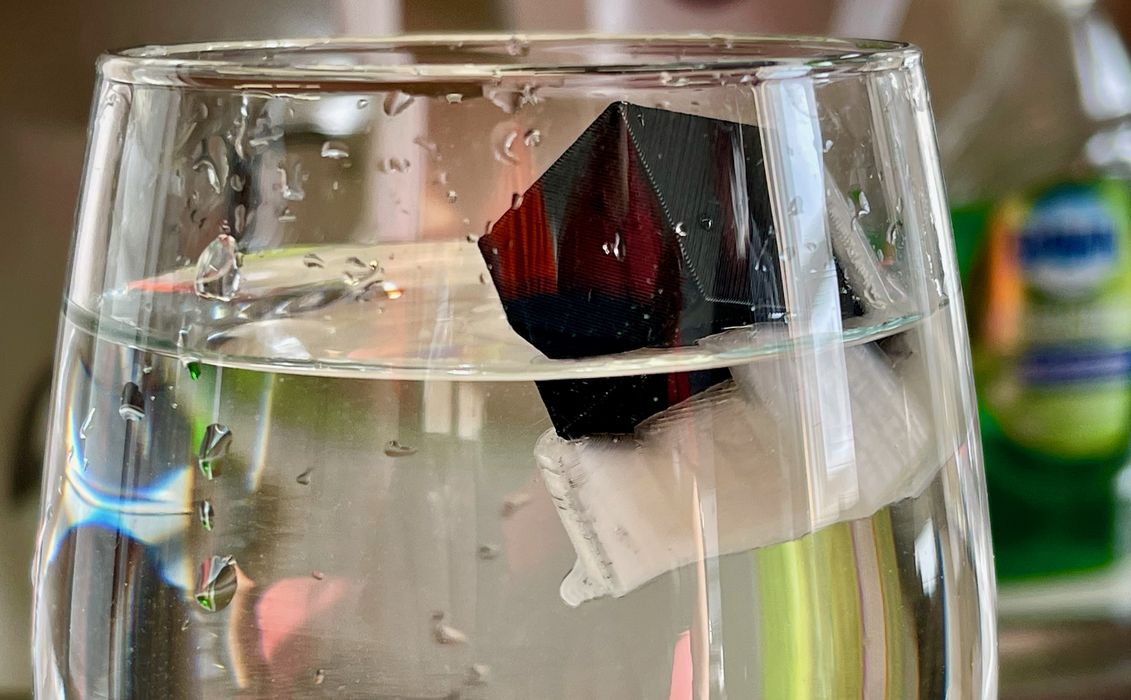
RapidRinse can dissolve in clean water, so that’s what we did. Here you can see the first problem we encountered: prints typically float! They are somewhat hollow, and the Method X is extremely good at sealing crevices, so air is always captured.
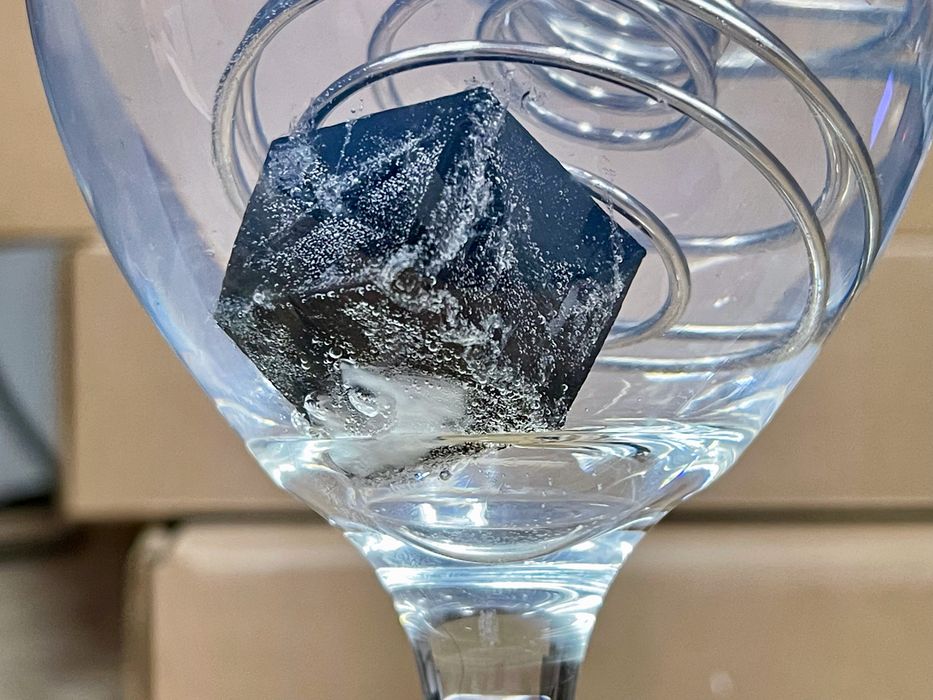
The solution is to weigh down the print so that it is completely submerged. This example in a glass is just for demonstration. In practice we had a large tub of water, and for a weight we used a metal matrix from a laser cutter to hold everything underwater.
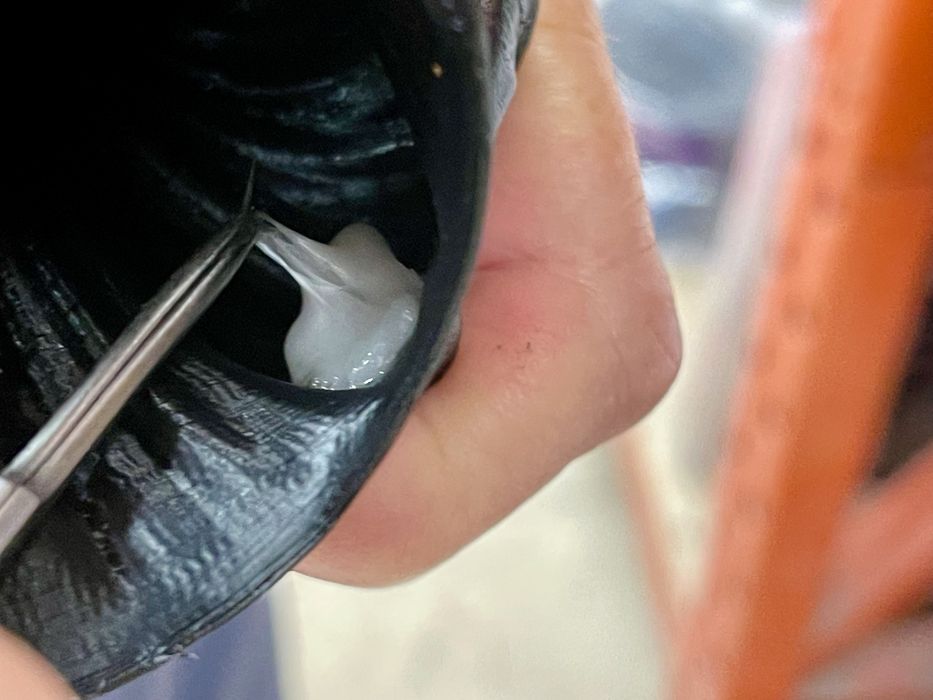
The RapidRinse material begins to decay immediately, and usually it takes about a day for it to entirely disappear. However, sometimes there is a niche where there is still some left. After water exposure, these blobs are pretty gooey, and you may have to pull them out as shown here.
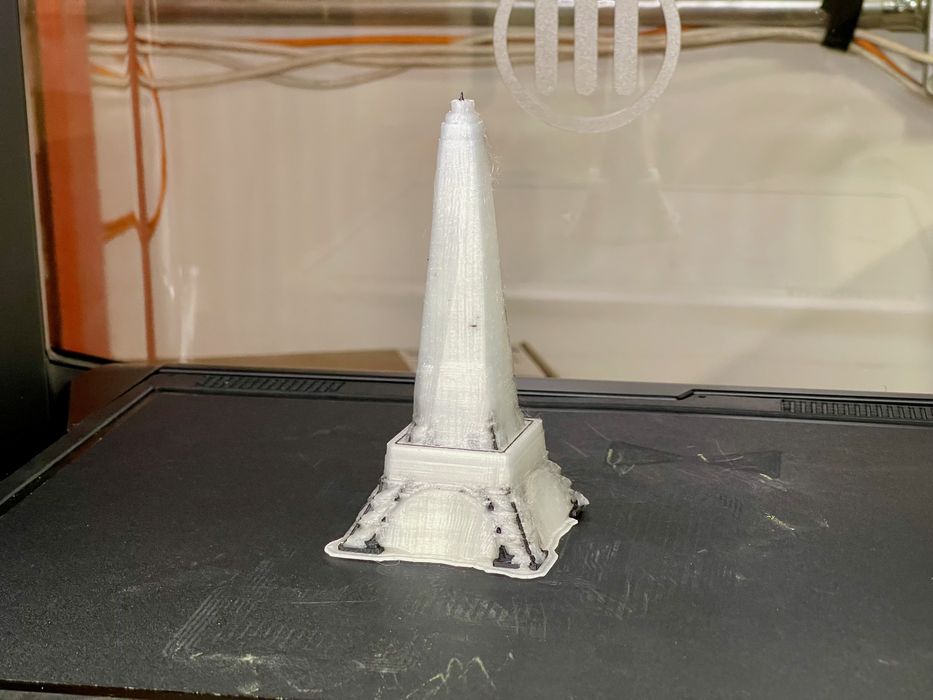
We wanted to see how much detail the Method X could achieve, so we scaled down the Eiffel Tower model and gave it a print. As you can see above, there was a huge amount of support material generated for the print.
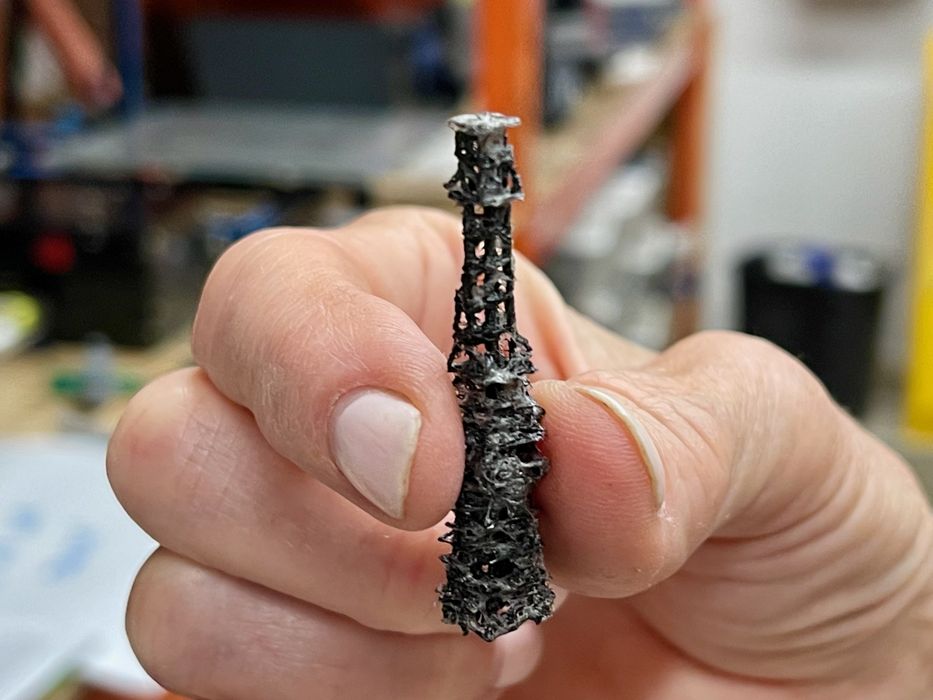
After rinsing off the support material, we were left with this, which isn’t particularly good. I’m not surprised, however: the Method X is not designed to be a high resolution machine like a resin device. Instead it’s really designed for production of mechanical parts.
While we were testing ABS-R and RapidRinse, it’s important to note that with other Smart Extruders there are quite a few certified engineering materials that can be used in the Method X. We found our print results to be outstanding, and there’s no doubt the same would be had on other materials.
One beef we have with the Method X is that it is a pretty slow device. Prints take considerably longer than on other machines, but that may be the price of dimensional accuracy and the time required to swap nozzles for soluble support.
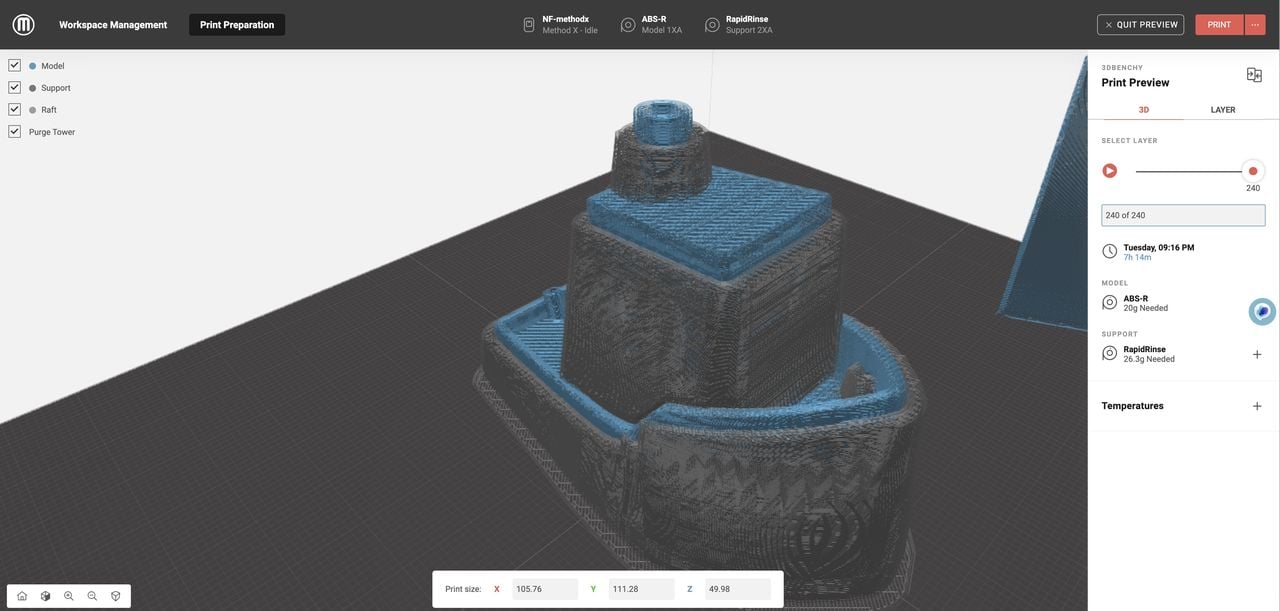
Here you can see an example. We attempted to slice a job to print a #3DBenchy with default settings for ABS-R. Note that the job execution time is estimated to be a whopping seven hours!
This is part three of a four part series, please read parts one, two and four.
Via UltiMaker