
Our lab has been busy exploring the MINGDA Magician X desktop 3D printer.
This is part one of a three part series, please read parts two and three.
MINGDA Magician X Background
You may not have heard of Shenzhen MINGDA Technology Co., Ltd., which we’ll refer to as “MINGDA” throughout this series. It’s a 3D printer manufacturing company founded in 2012, focusing initially on industrial and professional gear. These included enclosed machines designed for engineering materials and offering control interfaces suitable for the workplace.
But in 2020 the company added a line of consumer 3D printers by leveraging their expertise from developing the more expensive and complex devices in their history. Today the company produces ten different devices, including both FFF and MSLA equipment for consumers and professionals.
The MINGDA Magician X is one of three FFF models in the company’s portfolio. The others are the Magician Max, which has a larger build volume, and the Magician Pro, which has a much larger build volume of 400 x 400 x 400 mm.
The company provided Fabbaloo with a Magician X unit for our independent testing.
MINGDA Magician X Specifications and Features
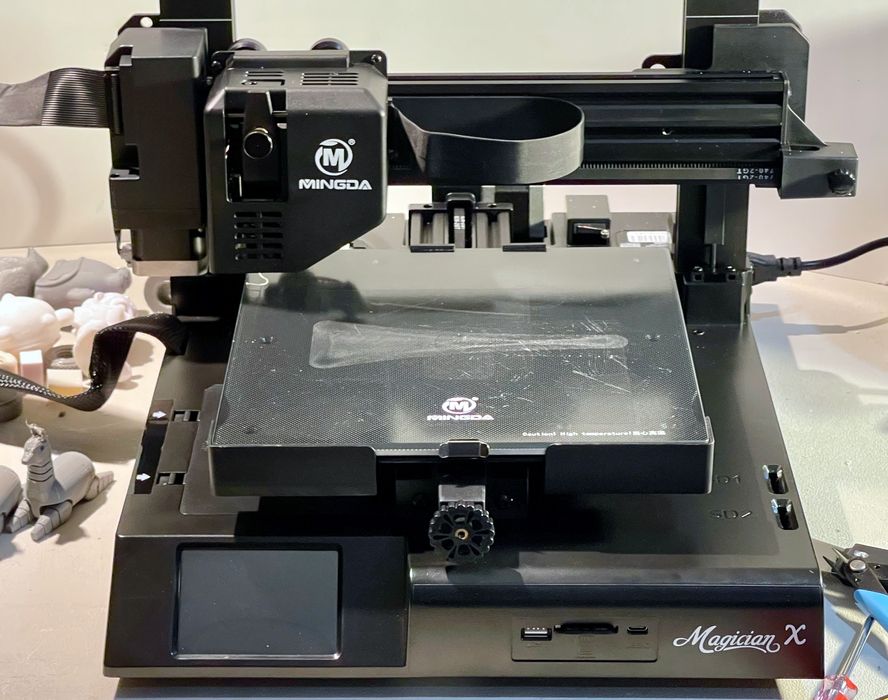
The Magician X is an i3-style open gantry device that is somewhat similar to many other devices on the market. However, there are some interesting differences, likely inherited from the company’s professional equipment.
The specifications:
- Generous build volume of 230 x 230 x 260 mm
- Single 1.75mm filament direct drive extruder (not Bowden)
- Dual toothed gears for added grip on the filament
- 0.4mm standard brass nozzle
- Maximum hot end temperature of 260C
- Ability to swap in other nozzle sizes
- Power off detection and handling
- Filament out detection and handling
- Heated / coated glass print plate, up to 110C
- 3.5” color touchscreen for control
- Accepts standard SD cards
- USB-A and USB-C network connections
- Automated leveling system
- Silent stepper motor drivers
- Integrated storage box for tools
- Carrying handle built into the top of the gantry
- Multiple mount points for the spool holder
MINGDA Magician X Unboxing and Assembly
The Magician X is packaged in the standard manner for this type of device: almost entirely assembled, but the gantry must be mounted and plugged in.
I found the Magician X to be well-packed and encountered no shipping damage. However, there was one packaging problem.
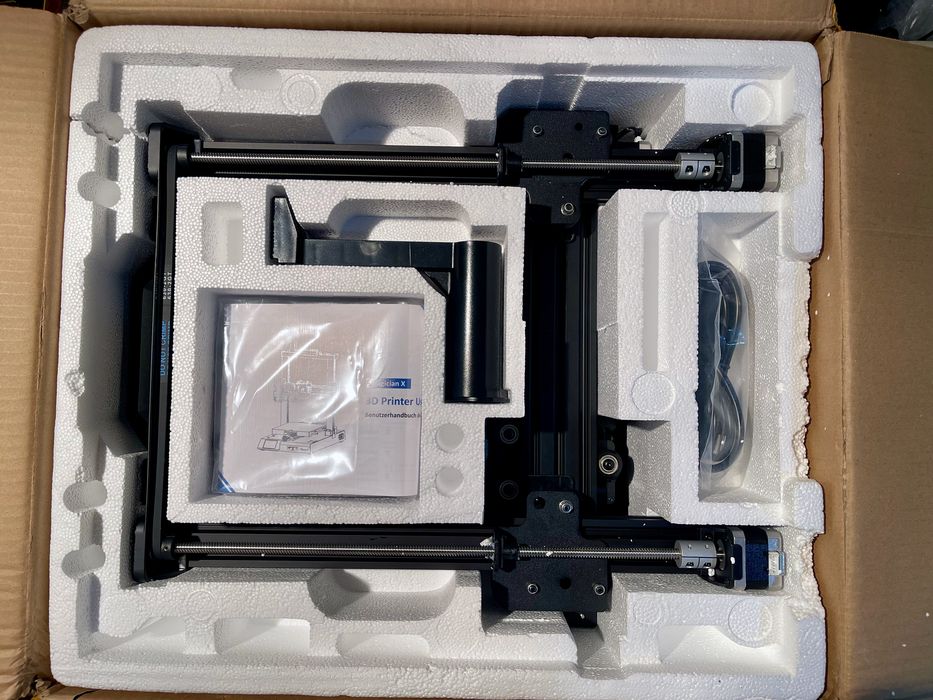
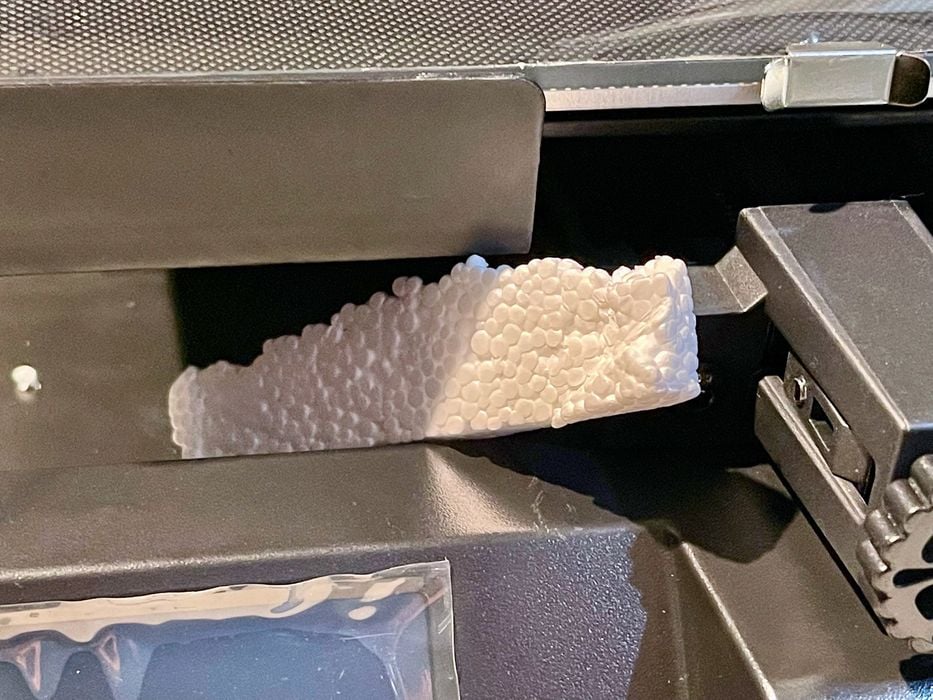
As you can see in this image, the unit was packed in standard white styrofoam. While this material definitely protected the parts during shipping, it caused plenty of issues during assembly.
The problem is that the styrofoam cracks and breaks down into thousands of tiny white pieces that static electricity causes to stick on the shiny black 3D printer parts. Here’s an image of what most of the surface looked like:
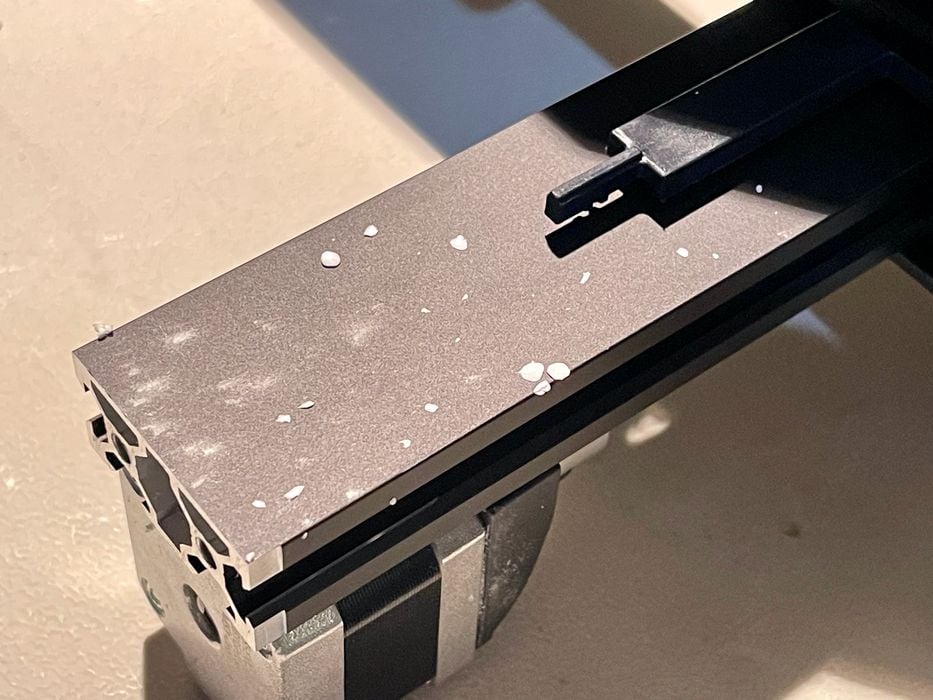
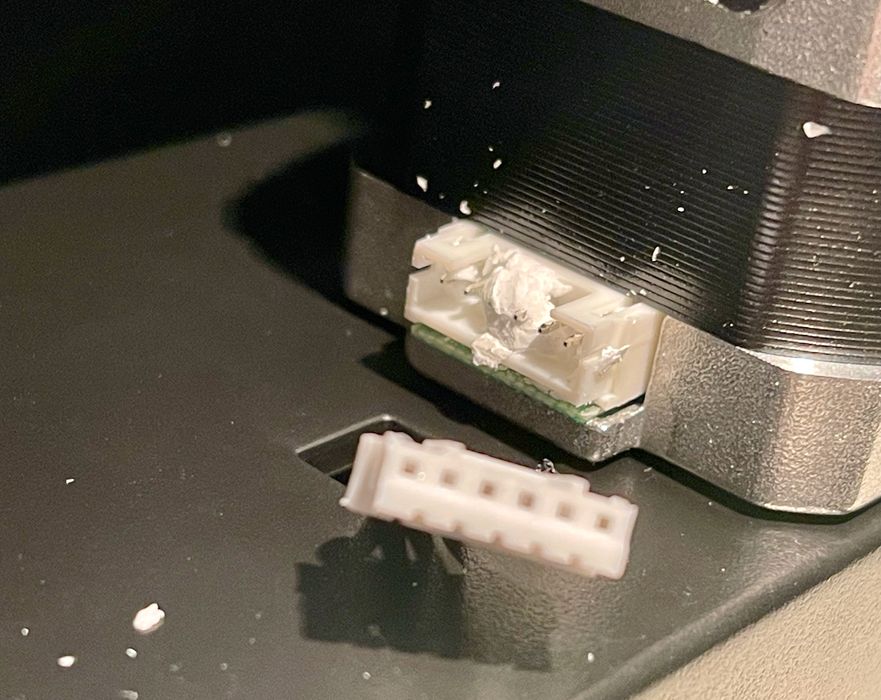
There were plenty of styrofoam chunks in the works, like this:
Worst of all, the styrofoam bits made their way into several connectors, like this:
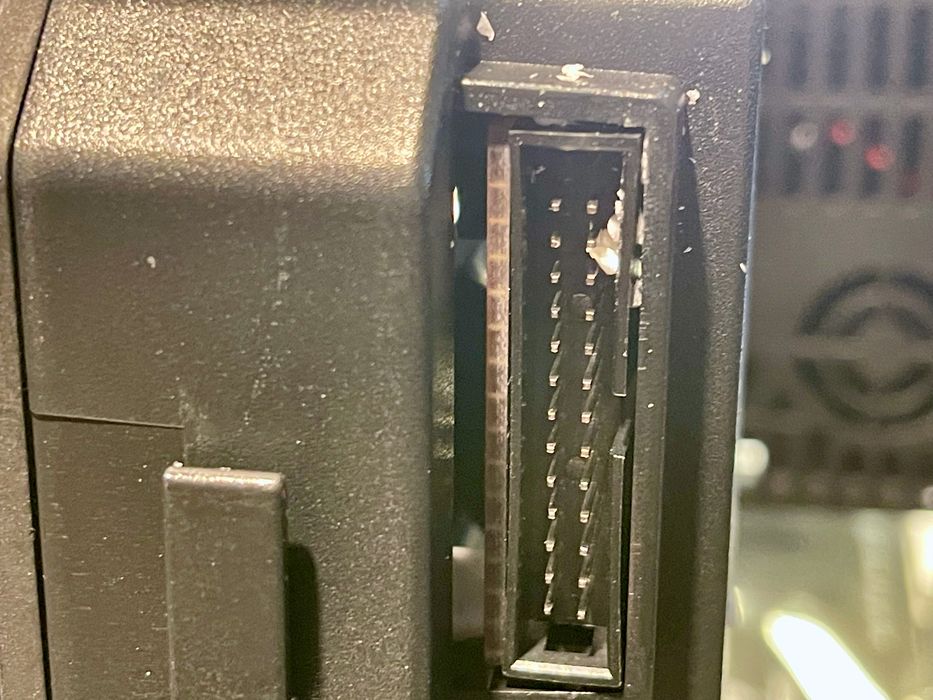
This is not a large connector, and I actually didn’t even see this chunk until I had trouble plugging it in. A zoomed-in image showed what the issue was, and I then had to clean all of the connectors, including this one:
That’s enough about styrofoam, but if there are any 3D printer manufacturers reading this piece, PLEASE DO NOT USE STYROFOAM TO PACK YOUR 3D PRINTER! Alternatively, wrap the printer to isolate it from the styrofoam bits. I strongly recommend using the black foam that doesn’t break up.
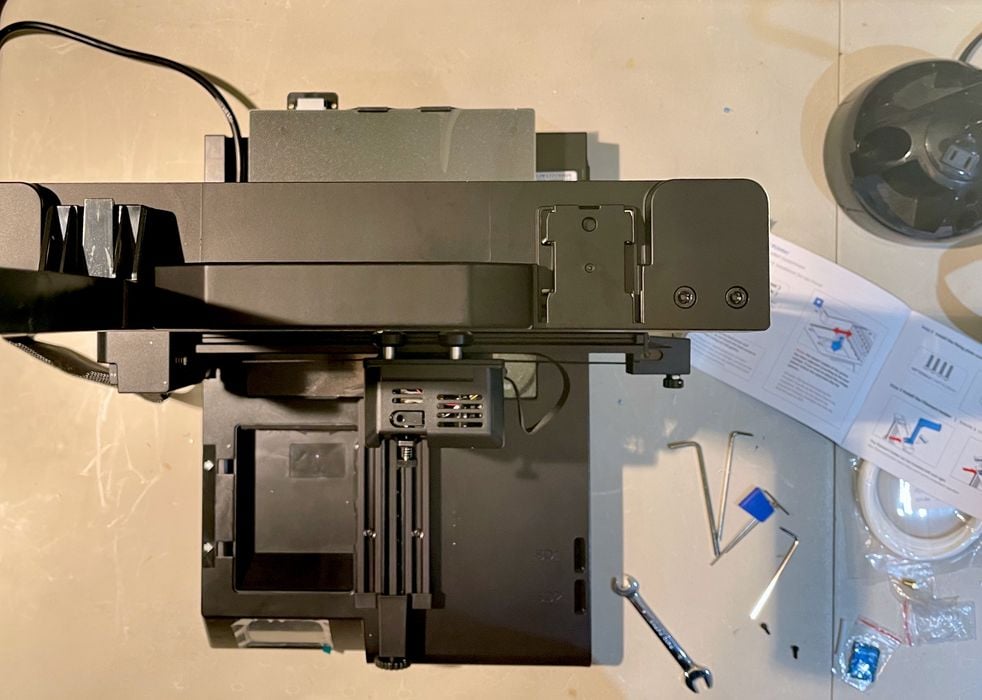
That said, I eventually got all the parts out of the packing and ended up with this:
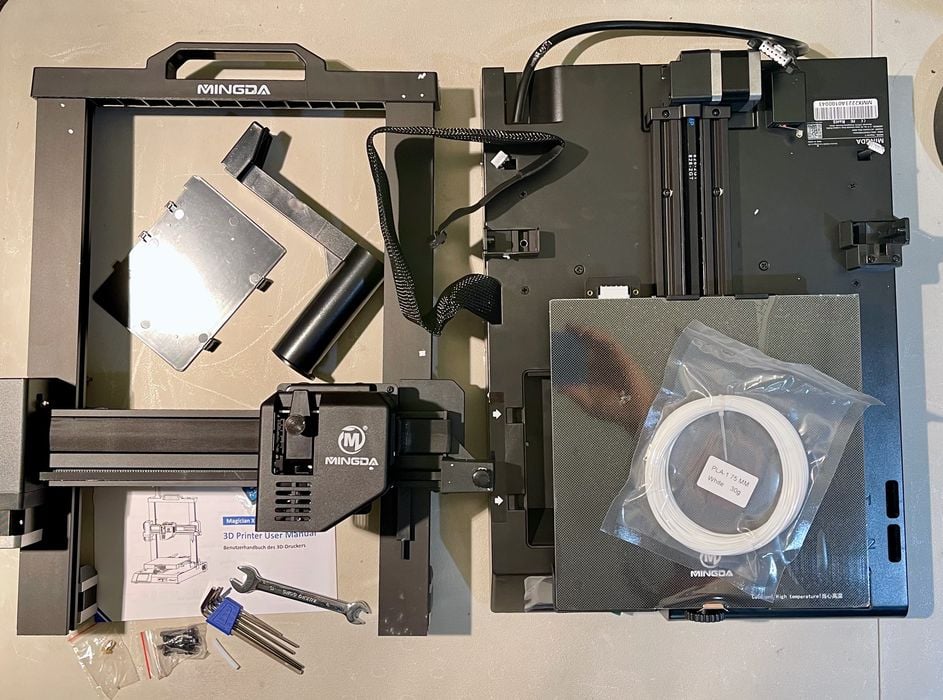
Then it was a pretty straightforward assembly process. The printed instructions provided by MINGDA were quite adequate to follow and build the machine in only a few minutes, aside from extracting foam bits from connectors and other places.
The gantry is easy to attach with a couple of bolts, but one issue I encountered was this bag of bolts:
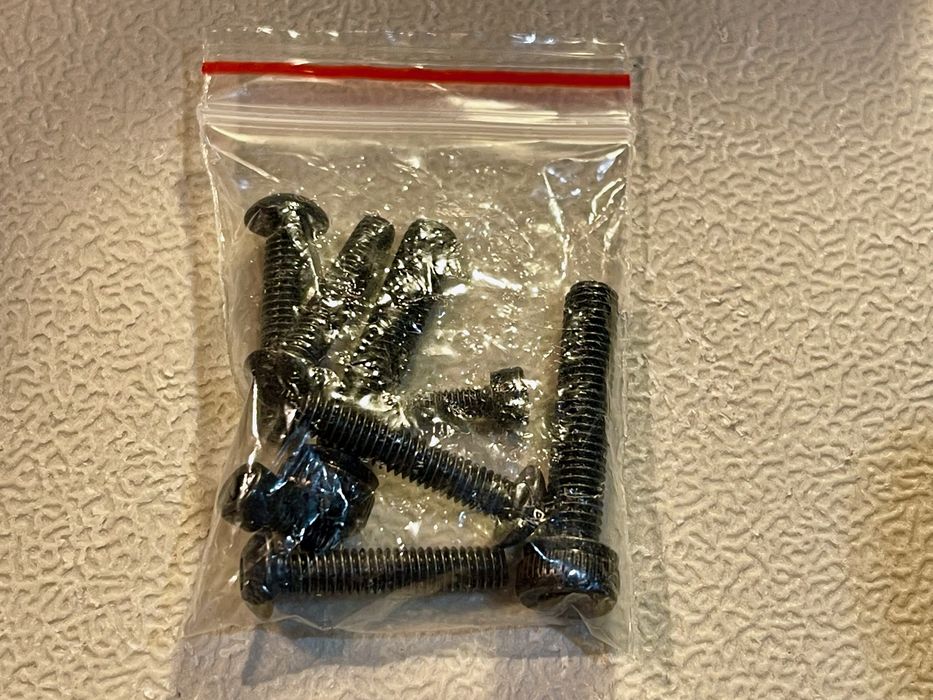
The bolts were not identified or separated into individual packets, so I had to figure out which bolt belonged to each hole. It wasn’t a big issue, but might be for first time assemblers.
After bolting together the main pieces, it’s just a matter of connecting the cabling, which is quite obvious and easy to do — once you remove the foam bits. One great feature was the lack of tie wraps — none are supplied nor required to build this machine.
In all, the short assembly to-do list is:
- Inserting four bolts for the gantry
- Snapping in the spool holder
- Attaching four cables
- Plugging in the power cord
That’s about as straightforward as possible for a 3D printer assembly.
This is part one of a three part series, please read parts two and three.
Via MINGDA