

Our look at the MINGDA Magician X desktop 3D printer continues with setup, calibration and operation.
This is part two of a three part series, please read parts one and three.
MINGDA Magician X Setup and Calibration
One very important thing to do before you power up the Magician X is to ensure the voltage switch is set correctly. The Magician X ships worldwide, and it must be able to handle both 120V and 220V. The trick here is to find the voltage switch.
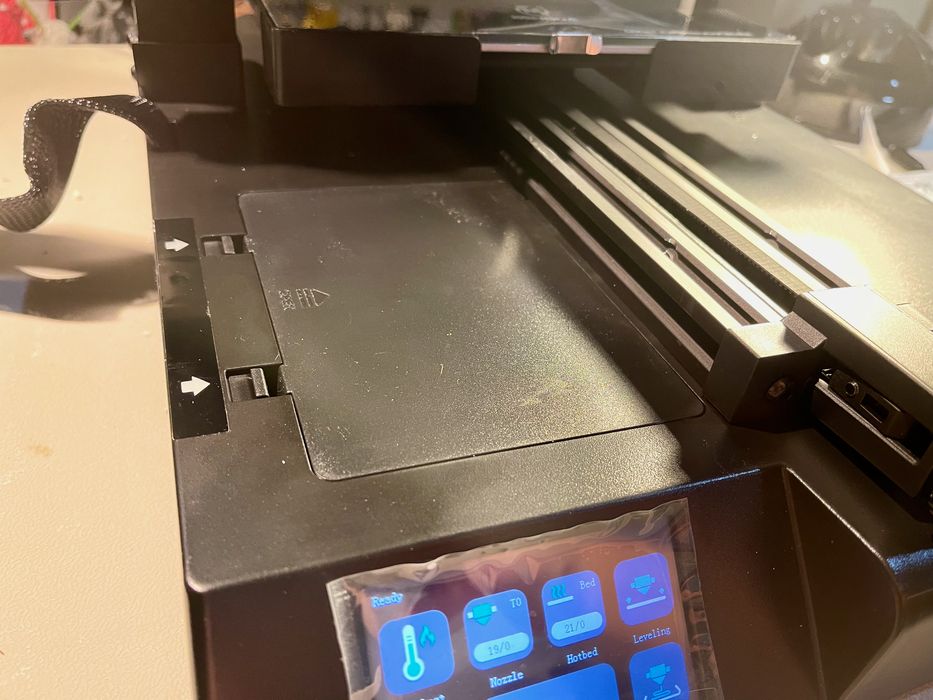
It’s actually hidden in the machine’s storage box, which is curiously located on top of the base, underneath the print plate.
To access it you must slide the plate to the rear, and then open up the door that snaps in.
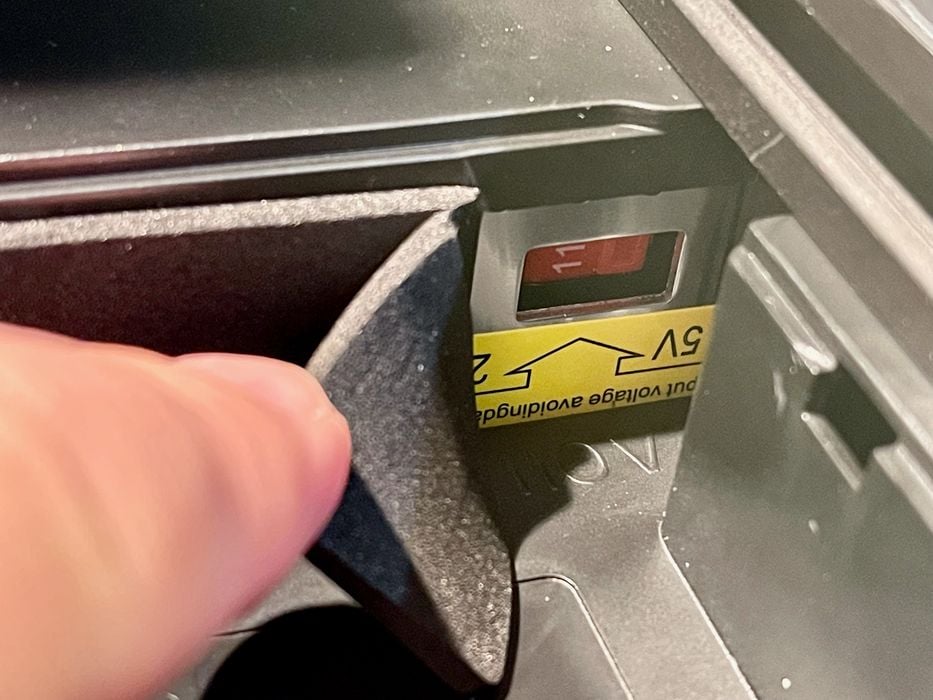
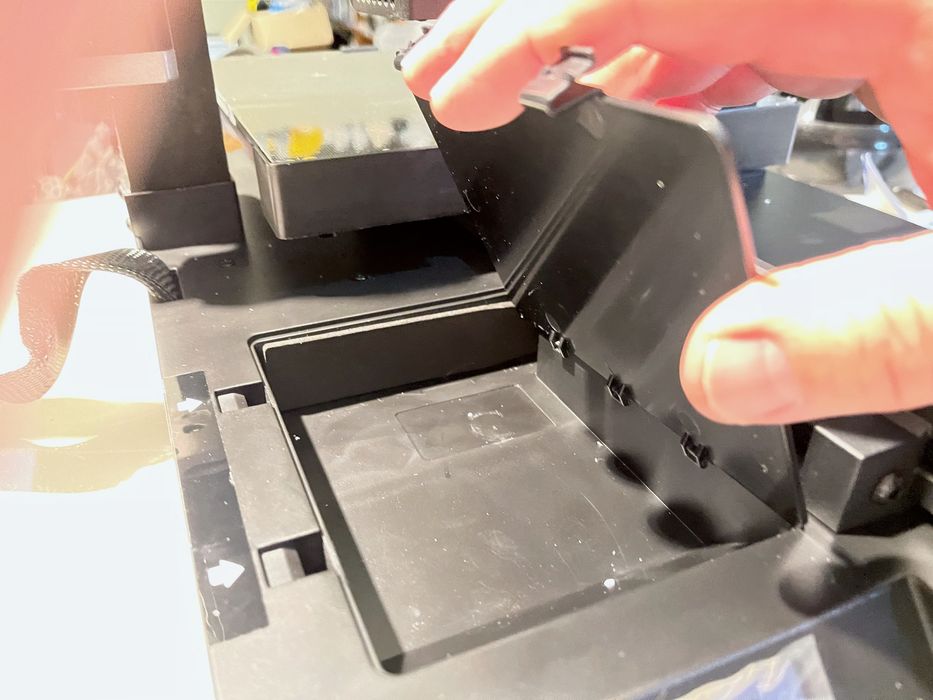
Inside the storage box at the back is a layer of foam material. If you very carefully peel this back from the right hand side, you will then see the incredibly-well-hidden voltage switch, which is deep inside a hole. Just set it to the correct voltage and continue.
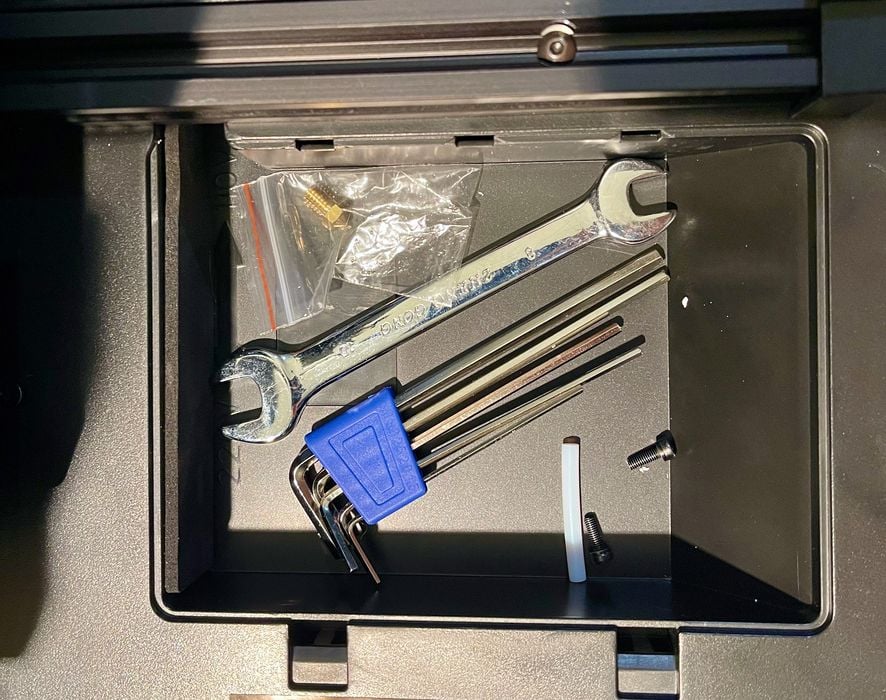
Note that the storage box, while very useful, cannot be accessed during printing because the build plate moves over top of it.
At this point I was able to safely power up the Magician X, which worked immediately. Unlike many Asian 3D printers, the machine doesn’t play an annoying song at power up; it just displays a logo splash screen briefly and then heads to the main menu on the touchscreen.
The only calibration required for the Magician X is to level the device, which is done with an automatic procedure. You literally just hit “Leveling”, and it does its thing for a few moments. The system uses an optical sensor, which operates quickly.
Upon closer inspection, I realized there are no manual leveling adjustments on the Magician X. Underneath the bed there are no knobs or bolts to adjust the level, so leveling is truly entirely automated.
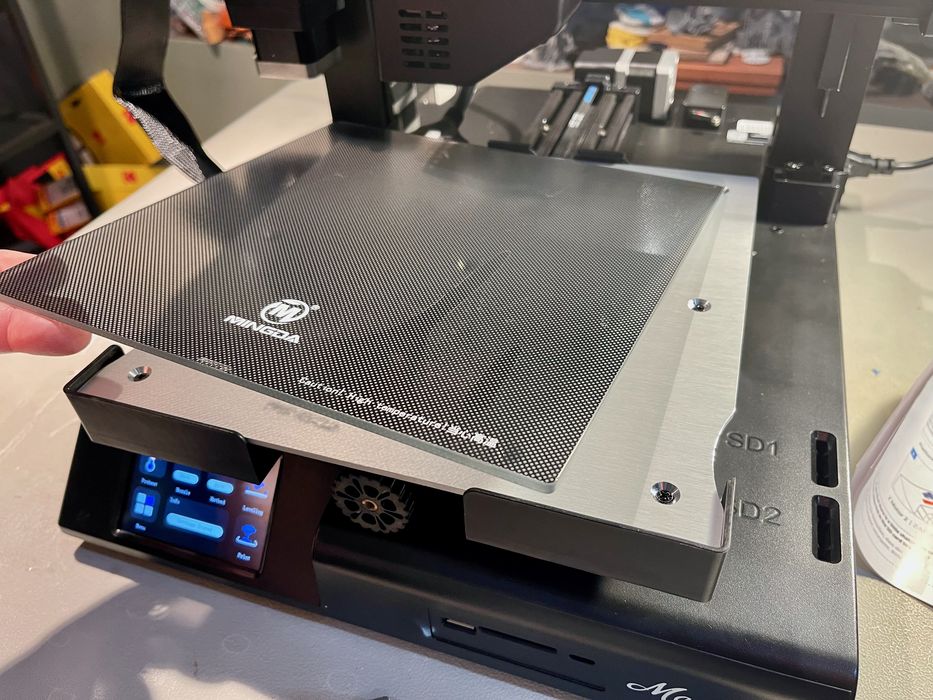
I do wonder how MINGDA manages this feat. I suspect it has to do with the glass plate, which is absolutely flat, and does not warp over time like metal or polymer plates. This is something that the leveling software process can safely assume, unlike other plates on other systems. In any case, leveling is very convenient and I later found no problems whatsoever with leveling.
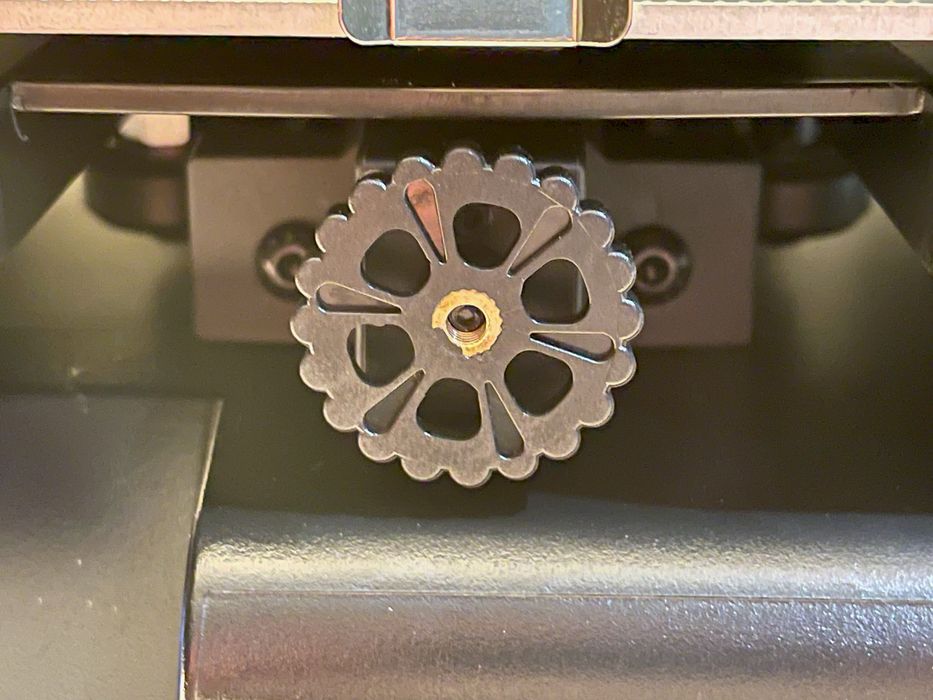
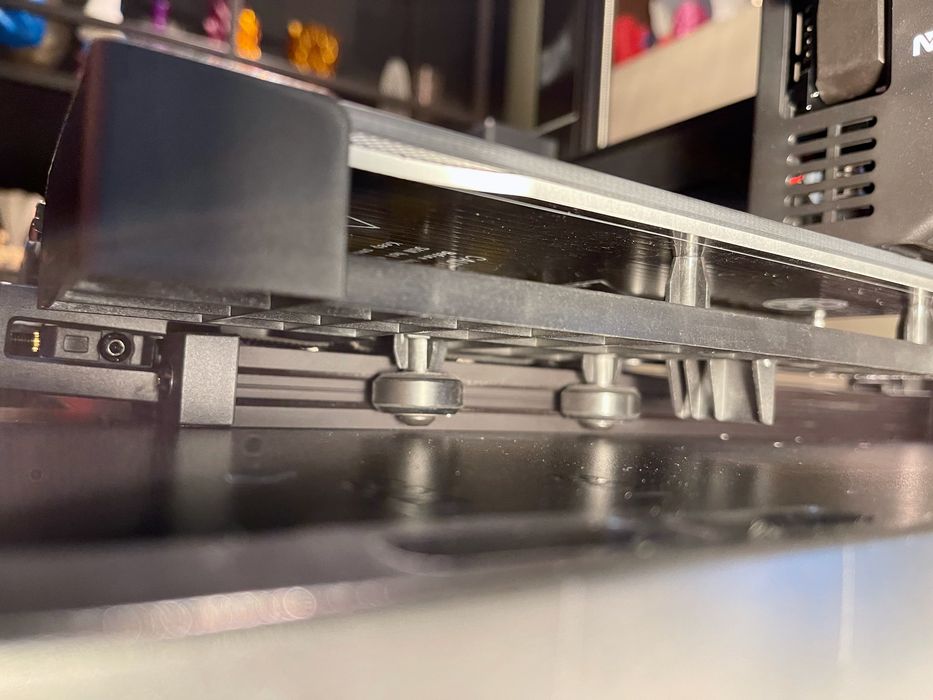
There is a possibility that you may need to tighten up the belts, although I did not. If you do need to, it’s very easy because MINGDA has included some easy knobs on both X and Y axes to make those adjustments. This is far easier than the usual unbolting procedure on other equipment.
The final setup task is to load some filament, and this also turned out to be quite straightforward.
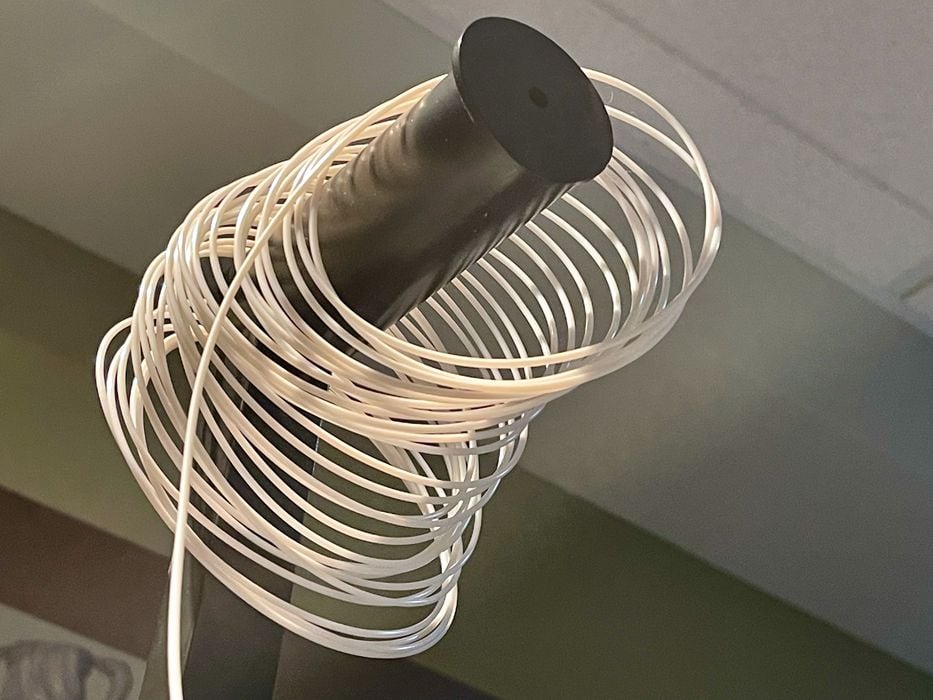
MINGDA provides a couple of tiny coils of PLA with the Magician X. Personally, I don’t like these because they seem to immediately tangle as soon as you open them. Nevertheless, I used this filament as my initial material.
The touchscreen has a convenient “Preheat” button, with presets for PLA, ABS and TPU materials. Just pick the one that matches your filament and wait for the machine to get to temperature.
At that point it’s a simple matter of feeding a sharpened end of the filament into the extruder when holding open the extruder idler arm. This mechanism presses against the filament, and by holding it, you create space for the filament to pass thru.
Once in place, you then move to the “Extrude” menu on the touchscreen, which is hidden under the “Menu” item. hit “Load” on the touchscreen and the extruder will grab the new filament and extrude it successfully.
I did find this menu arrangement a bit strange, as the typical operation of loading filament seems to require you to go to two different places to get it done. But as you’ll see, there are other mysterious interface phenomena to come.
At this point the machine is ready for use.
MINGDA Magician X Operations
Operating the Magician X is slightly different from other desktop 3D printers for two reasons. First, the touchscreen menu has unusual navigation choices that one must become accustomed to using. Secondly, the glass print plate is different than the typical coated spring steel plate frequently used on other equipment.

Printing operations begin by inserting an SD card containing the GCODE prepared for a job. You’ll easily find the SD card slot on the front panel of the printer’s base.
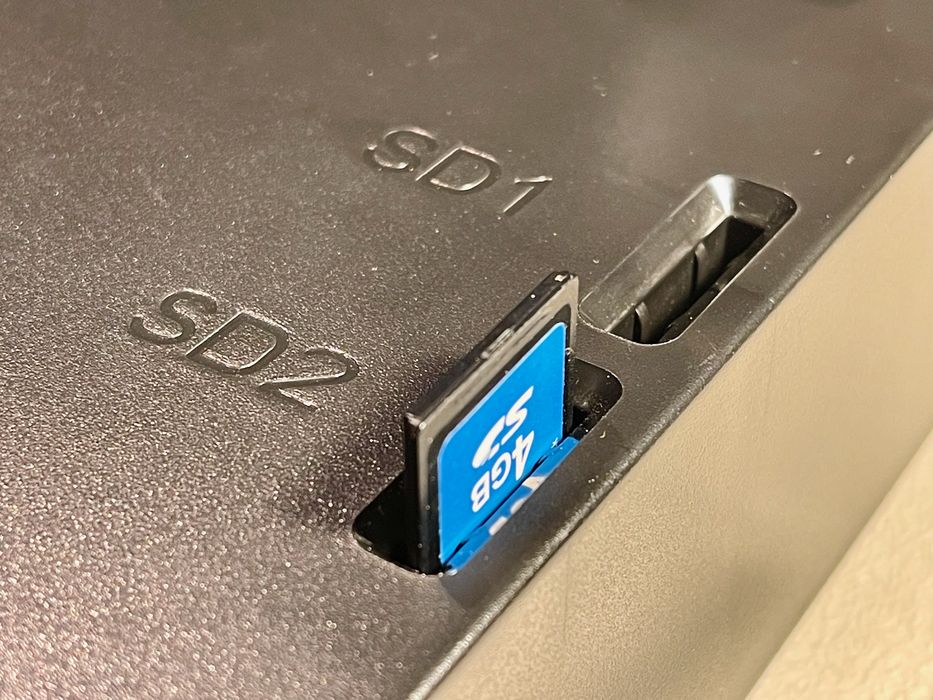
But hold, on, there are TWO other SD card slots located on the top of the base, as shown here. I’ve never seen a 3D printer with more than one SD card slot!
But alas, these are not active slots, they are only physical storage areas for two more SD cards. This is a unique feature, but I’m not sure it’s one very many people would use.
Most of the operational action takes place on the very responsive touch screen. At first I quite appreciated the bright display with its clear navigation icons, but then it became somewhat frustrating.
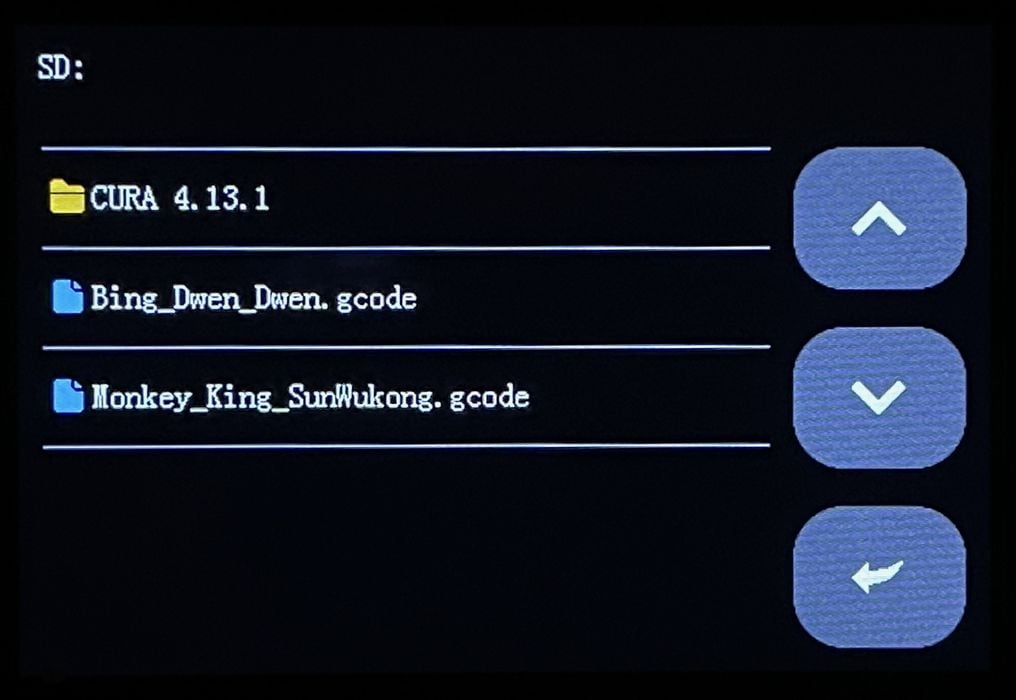
Let’s walk through an example workflow. Here we see the display of the contents of the SD card. This is in fact the SD card’s contents as received from MINGDA, which includes two pre-sliced test prints.
Printing these is as easy as touching the filename.
But wait — the print commences immediately upon touching the filename. There is no confirmation that this is truly the print you want.
I found this quite frustrating, as my thick fingers would constantly touch the wrong filename, causing me to hit “Stop” and cancel the job. Eventually I learned to very carefully touch the filename with my fingernail rather than my finger for improved accuracy. I wish MINGDA had included a confirmation before starting the print, and I imagine that could be done with a firmware upgrade.
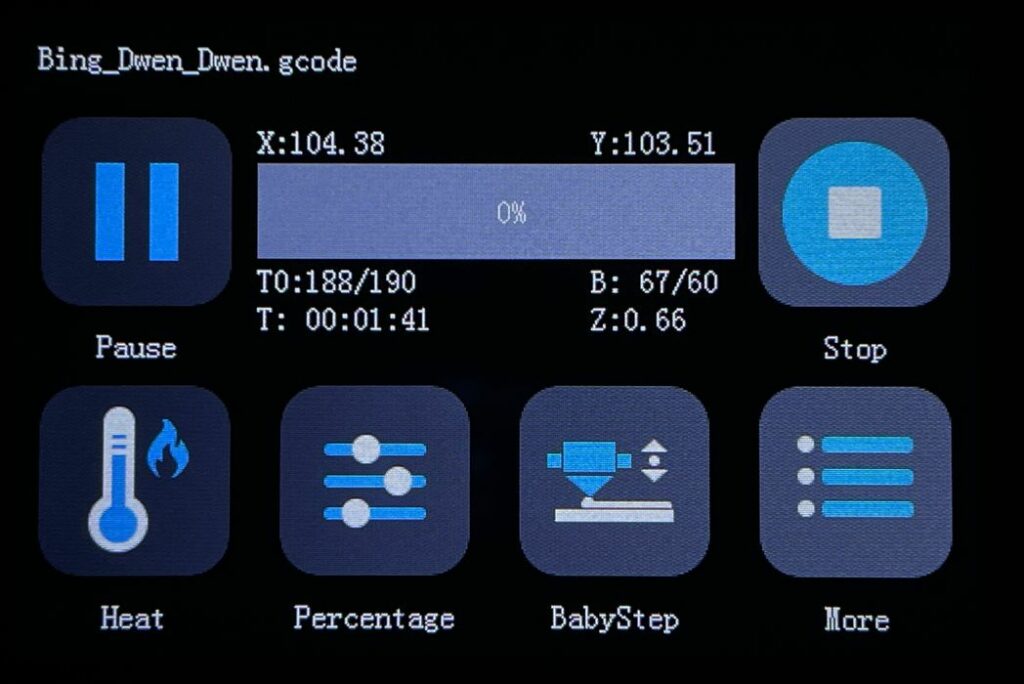
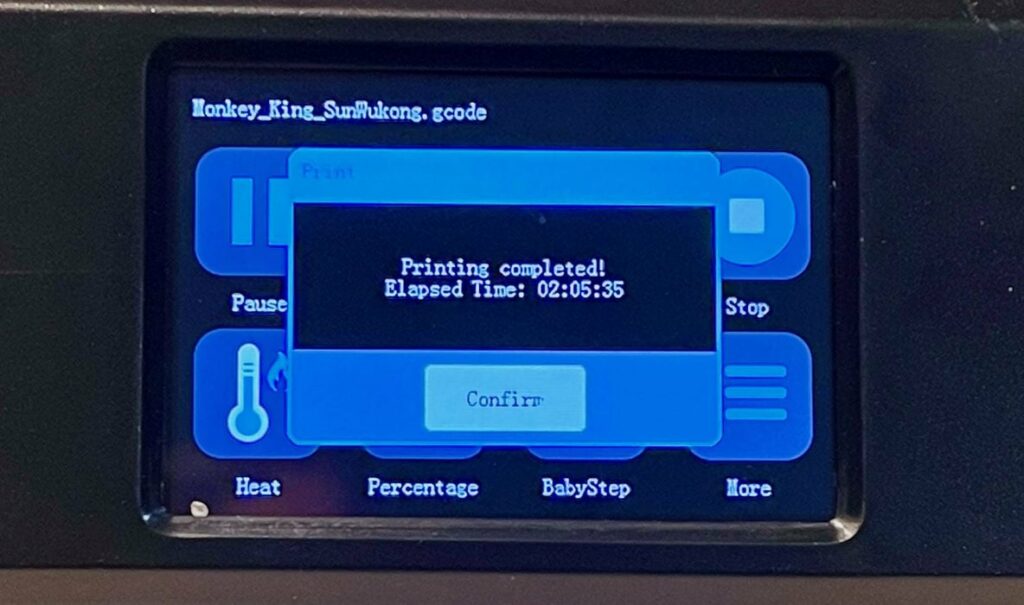
Once print jobs start, there is a detailed display of the job, with controls as seen here. You can see lots of information, including the layer height, temperatures, motion system location, and the elapsed time.
But there is no “time remaining” displayed.
This is a problem, as the only way to judge the remaining print time is to either somehow remember the slicer estimate, or do some arithmetic with the elapsed time and progress bar percentage. However, that was always inaccurate.
I would like MINGDA to include the estimated remaining time somehow on the main information panel, but this may be a limitation of the firmware. However, several other 3D printer manufacturers have found ways to display remaining print time. You do, however see the actual print duration on the print completed screen:
Some of the terminology used in the touchscreen was a bit different from what most of us are accustomed to using. For example, in the main screen above we see “Percentage”. This is actually what most would call “Tuning”, and it allows you to tweak the speeds and feeds.
The “BabyStep” menu is extremely useful, as it allows you to change the z-gap on the fly. This is hugely beneficial for prints that may have issues sticking to the print plate.
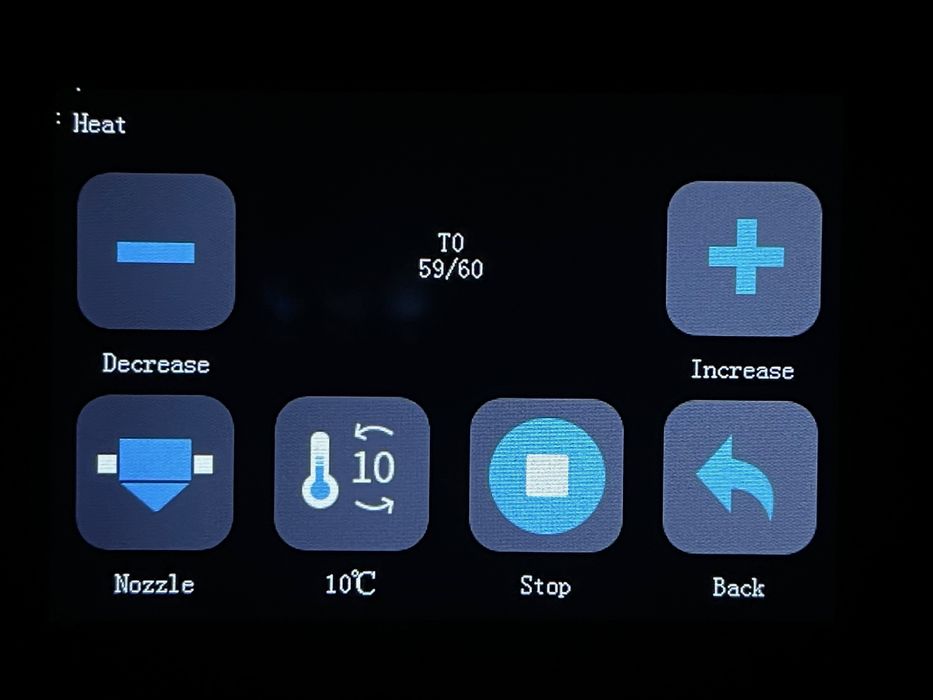
Here’s another example, the “Heat” menu. Plus and minus make sense to me, but what does the curious “10 rotation” mean? Is that different from the plus and minus?
There were several scenarios of this type as I worked my way through the menu items on the touchscreen. In the end I did learn what they meant, often by simply trying them to see what happened, but that’s not the way a user interface should work. It should be made more clear by MINGDA in future designs.
In spite of my problems with the user interface, I was able to successfully 3D print plenty of objects in several different materials. It just took a bit of exploration and experimentation to determine what all the touchscreens really meant.
There were some persistent issues, however.
Occasionally I would have a print that failed, sometimes due to adhesion issues. In those cases I would hit the “Stop” button and the Magician X would properly cease printing, and position the print plate at the rear of the unit.
When I attempted to clear the bed, I found the stepper motors still engaged and I could not pull the plate forward. I explored the touchscreen to find somewhere to turn off the stepper motors, but alas, there is actually no way to do this! I had to power off the machine to release the print bed. Basically, it meant you were powering off and on each time there was a print failure. This should not be the case.
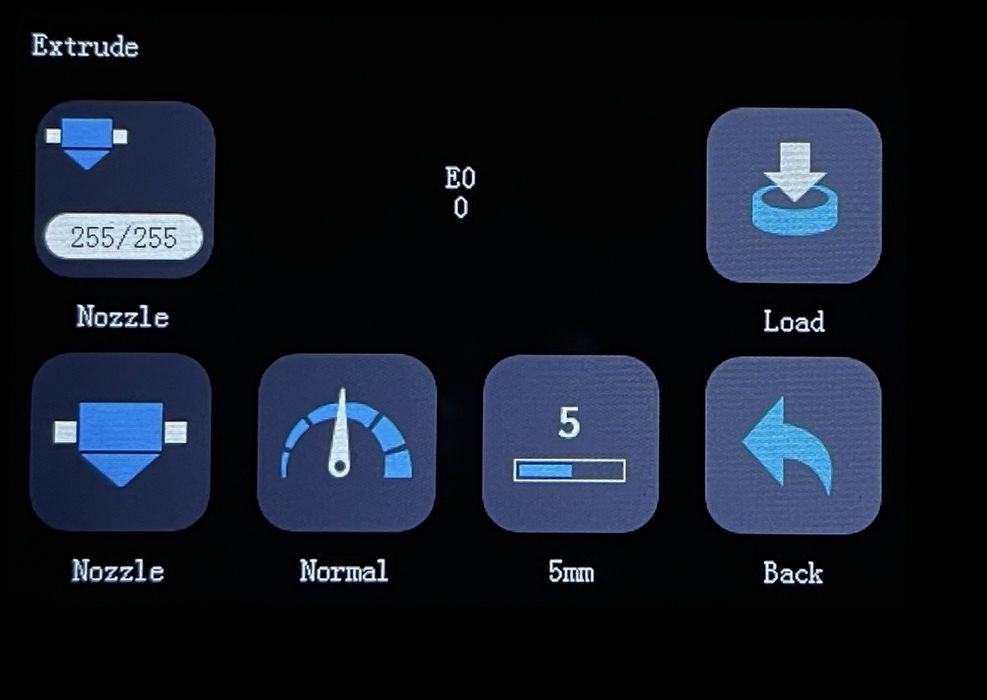
Another very curious process was unloading filament. While the touchscreen has an “Extrude” menu that allows you to easily heat up the hot end and “Load” filament, there is no corresponding “Unload” function.
But then how do you unload filament? It turns out that you simply heat up the hot end and then pull open the extruder idler arm. Then grab the filament and quickly pull it upwards. This is a manual process, but it seems to work every time.
In general, however, I found the interface usable, aside from these peculiarities, and was able to print quite a few items with the Magician X.
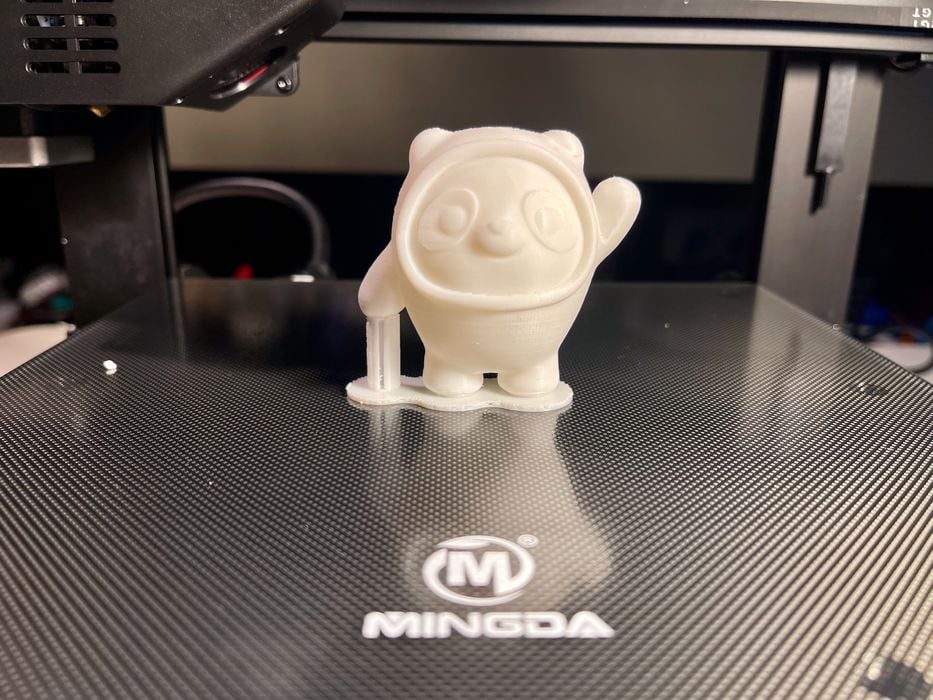
I tested the filament out detection process as my small PLA coil ran out during a print of the second test GCODE file provided by MINGDA, and it worked perfectly. Note that the coil provided is insufficient to print both.
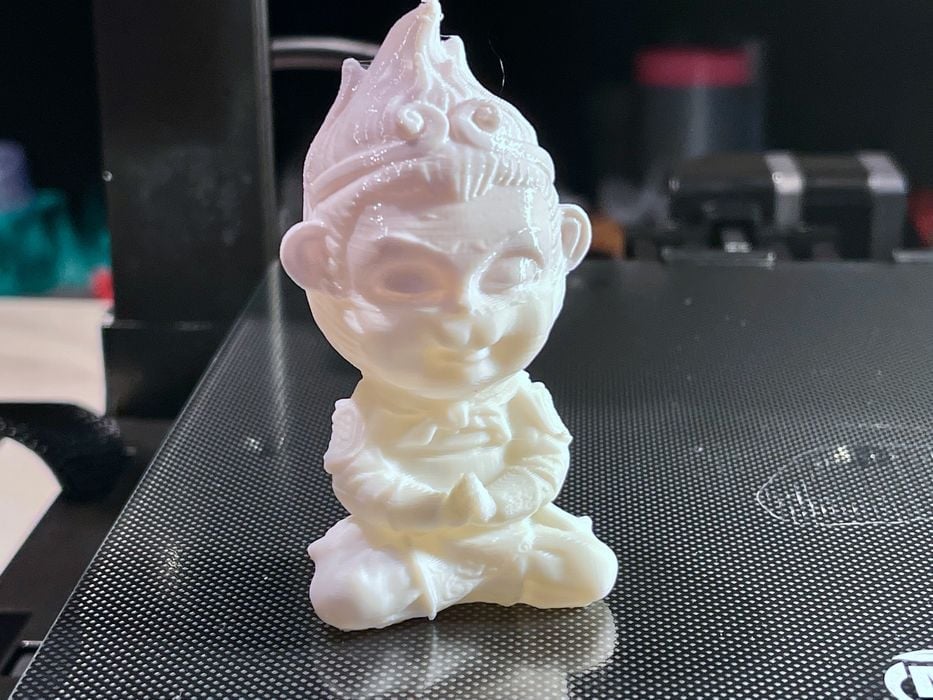
Here you see the print result after the machine paused and I swapped in a second coil of filament. If you look closely you can see the transition between the two slightly different PLA materials, just below the eyes.
This is part two of a three part series, please read parts one and three.
Via MINGDA