

We’ve been testing the new 3D Printer Filtration System V1 from Mintion.
Why Filtration?
There’s been much talk of safety in resin 3D printing, but there are also safety hazards when using desktop FFF systems. When the filament is heated, the material tends to create emissions.
There are two types of emissions: nanoparticles, which are tiny chunks of the material small enough to become airborne, and VOCs, which are volatile organic compounds. Basically, random chemicals that may — or may not — be toxic. The configuration of emissions differs between materials, but generally, the higher the temperature, the more emissions are generated.
To overcome these emissions, it is typically recommended to properly ventilate the working area. Unfortunately, sometimes that is not possible, so a filter is required to capture the emissions as they leave the 3D printer.
Up to now, standalone filters have been quite expensive, sometimes far exceeding the price of the 3D printer itself. However, here Mintion has developed a system that is able to do the job at far lower cost.
3D Printer Filtration System V1 Setup
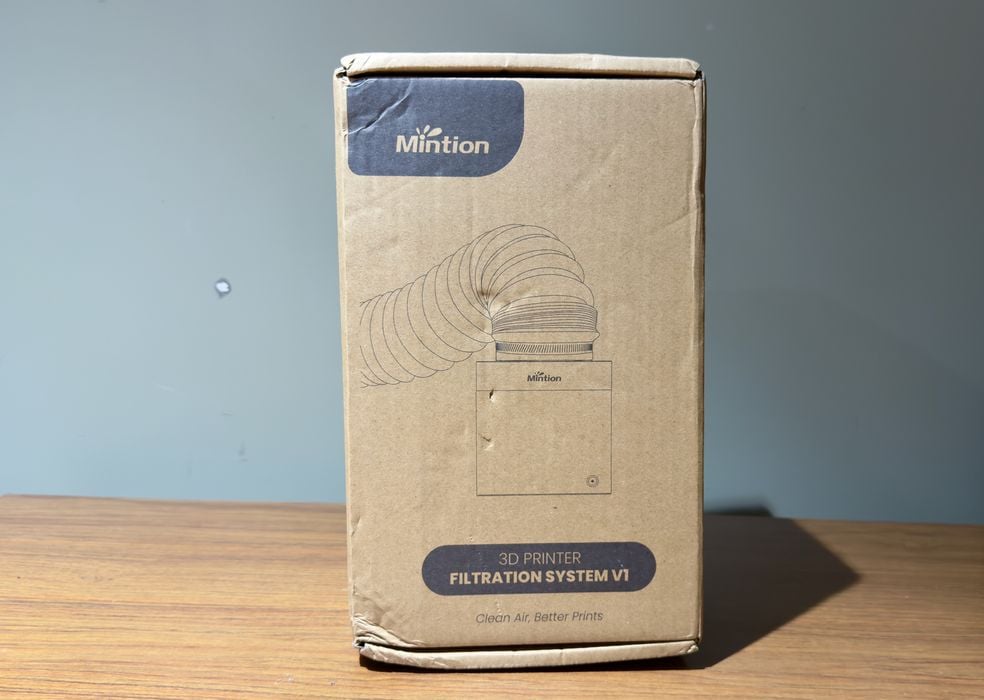
The Mintion Filtration System V1 ships in a simple box. It is actually not a very large unit at all, far smaller than the printer.

Mintion decided to send us an inexpensive air quality meter to see if we could measure the emissions. These devices are not particularly accurate, but can detect smoke particles, for example. I’m not sure it’s sufficiently sensitive for measuring this type of emissions, but we’ll give it a try anyway.
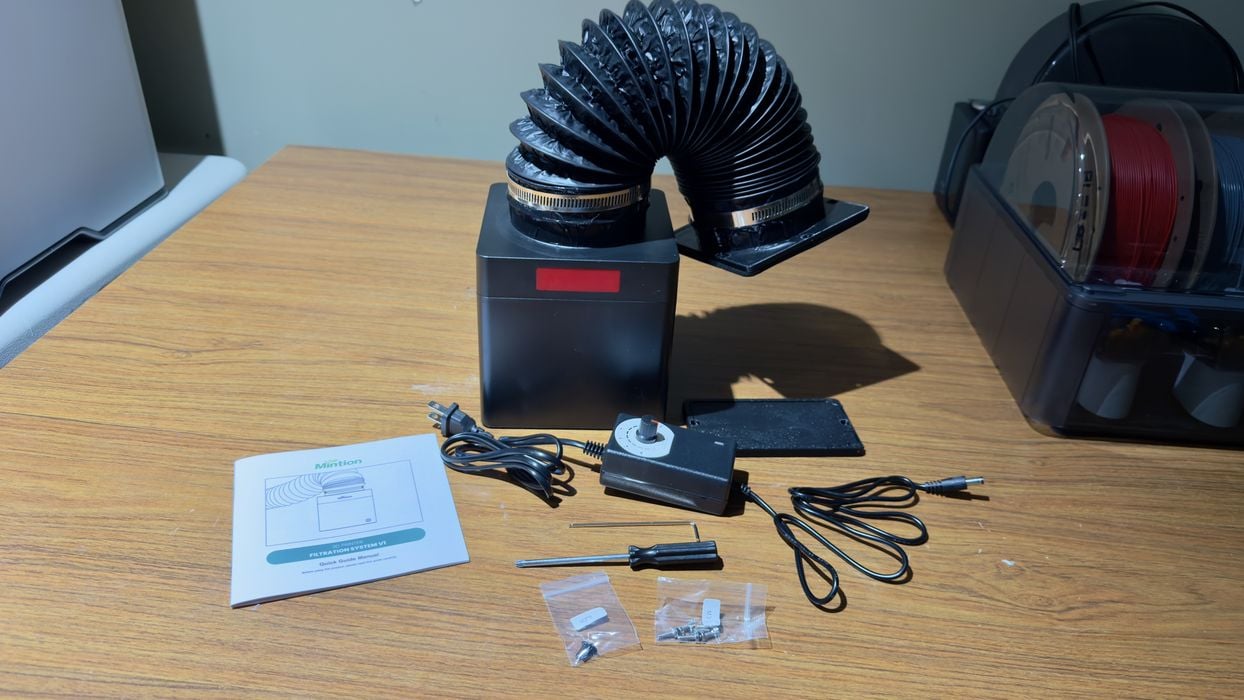
There are some parts that come with the filtration system, mainly the instructions and power system, as well as some bolts to attach it to your 3D printer.
I should explain that this system is intended for use with enclosed 3D printers only. Open-air gantry systems simply blast their emissions all over the place, making it impossible to properly capture them. For these systems, you really need to either add an enclosure or ventilate the entire room.
The concept is to attach the filtration system to an air port on the enclosed 3D printer, where it will suck out emissions from the build chamber before they go any farther.
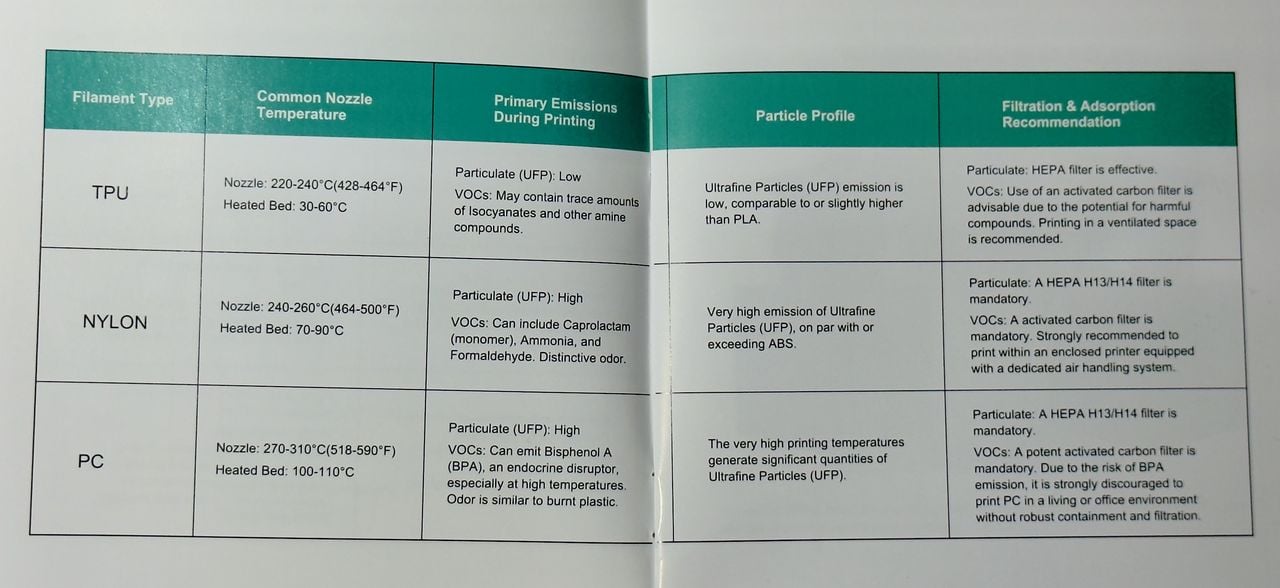
Mintion has included a terrific set of instructions that provides different steps to take for each type of material. This is smart because the materials do have different emission behaviours.
As shipped, this filtration system is designed to fit the Bambu Lab X1C 3D printer. It will readily bolt directly to the rear of the machine. Unfortunately, I don’t happen to have one in the lab, so I plan to attach it to a similar, but different Bambu Lab P2S system.
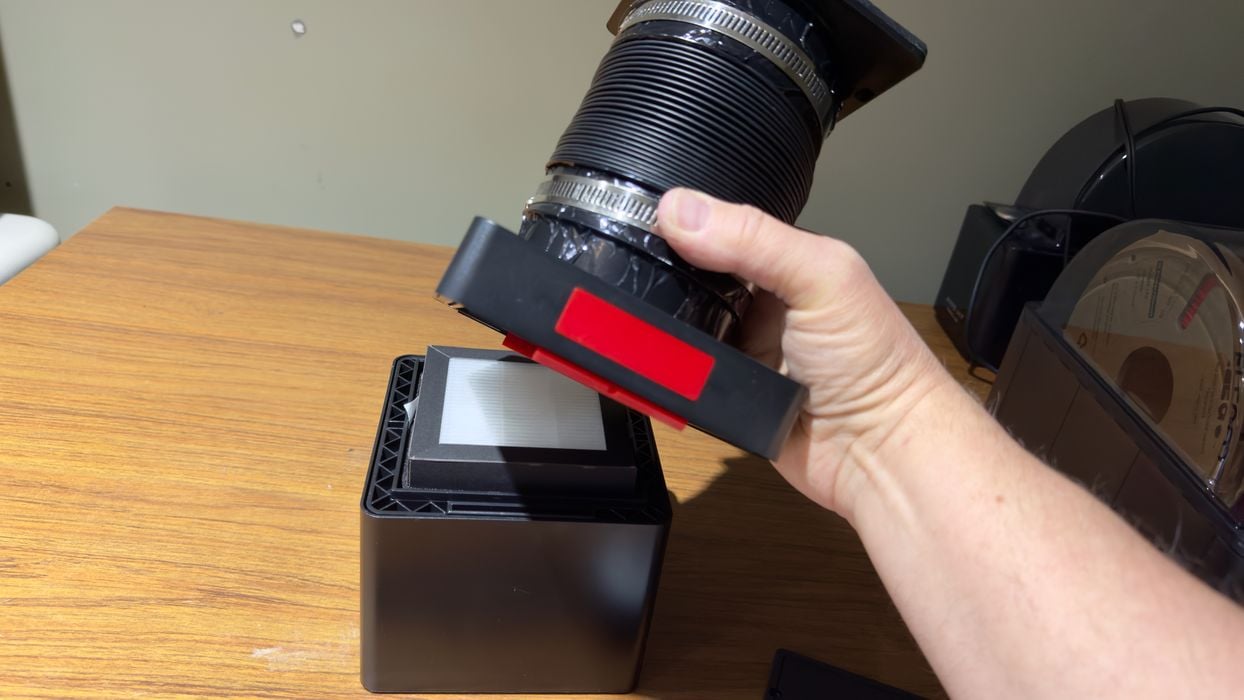
I noticed that you can open the filtration system up by pressing on the red release button. This provides access inside, where you can replace filters, for example.
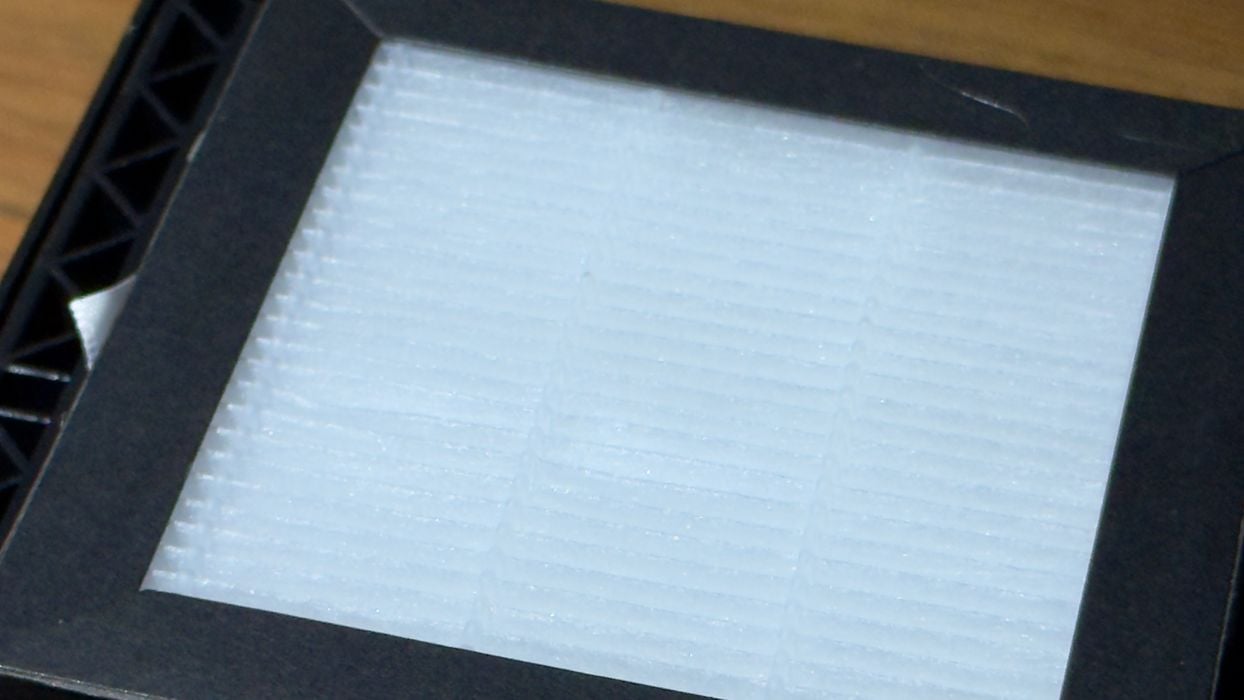
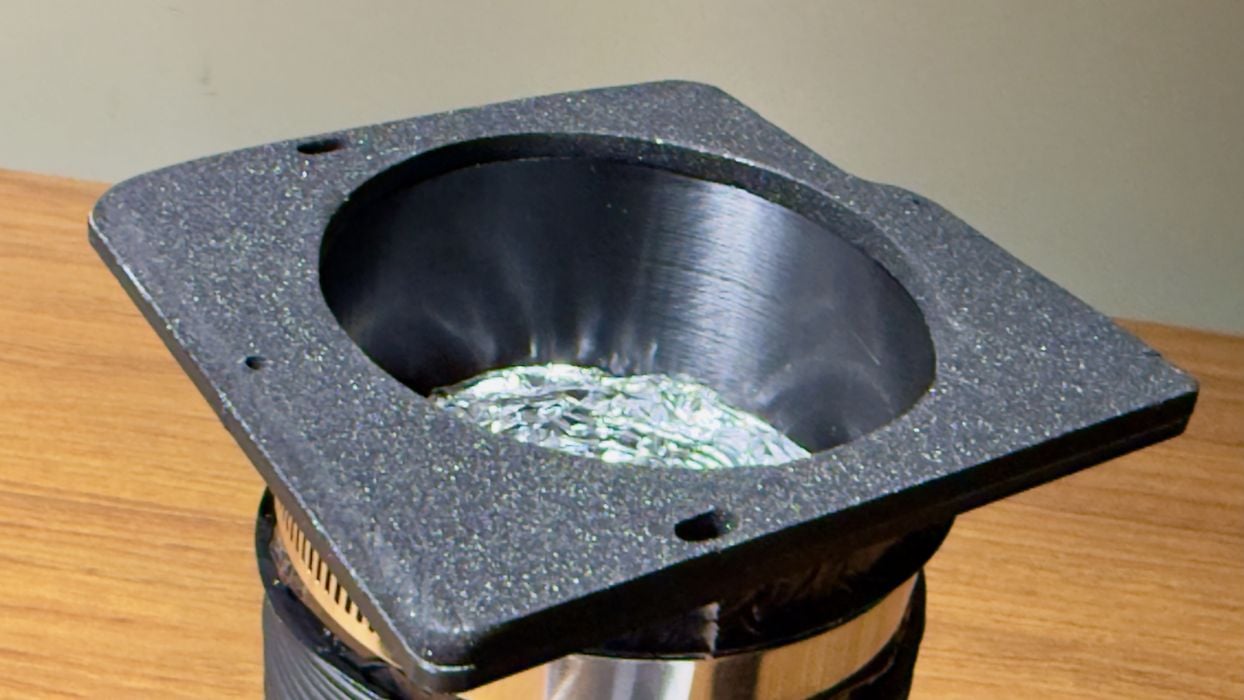
This is the main filter inside the unit. It is considered a consumable and should be periodically replaced. When? It all depends on what and how often you print. Mintion does provide advice on this with some tables in the instruction booklet.
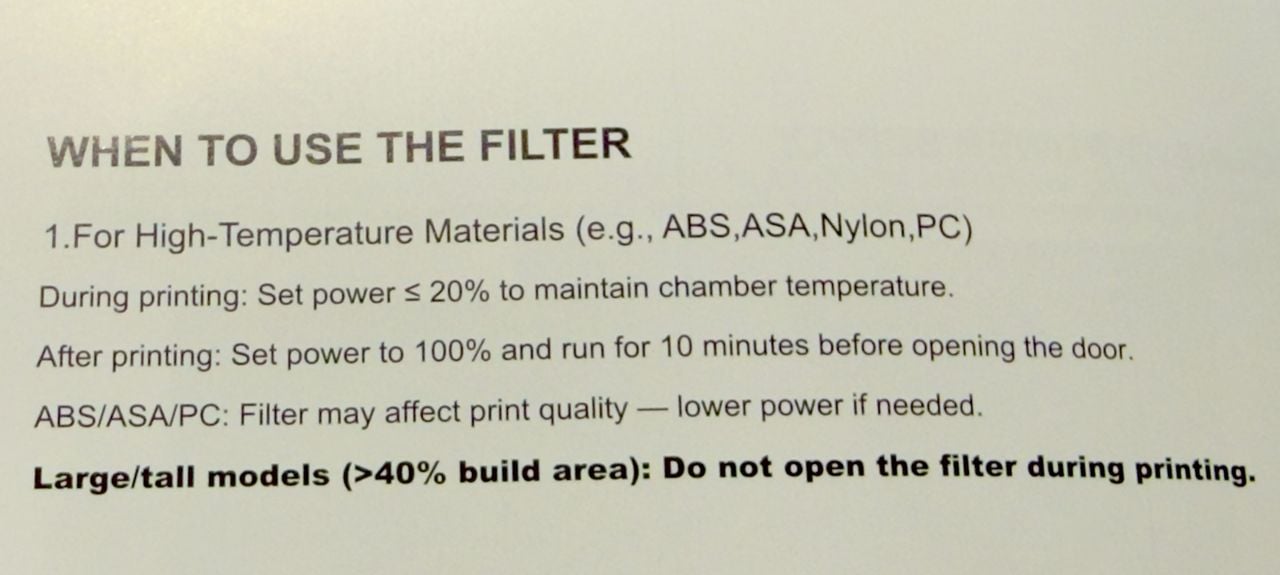
How do you use this thing, exactly? Do you just turn it on? Crank it up for the nastier materials? Nope, that is not it at all. Mintion provides some excellent and easy-to-follow instructions. What’s really interesting is that for the nasty materials, like ABS, you actually lower the filtration rate during printing and then crank it up AFTER the job finishes! This step removes residual nanoparticles and VOCs that are floating around the build chamber after printing.
Note that if you ran that same job on an open-air gantry system, those VOCs and nanoparticles would be floating around the room, and probably being breathed in by you, the operator.
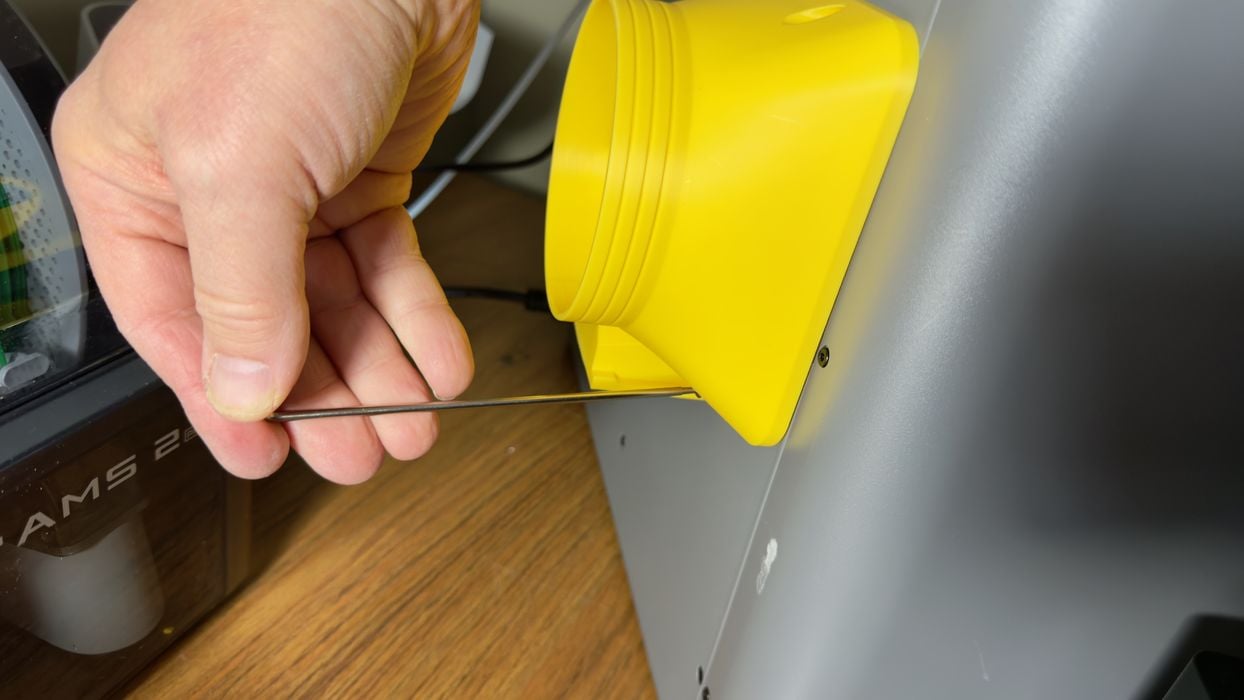
If the system is for an X1C and I have a P2S, how do I attach it? Mintion provides a link to a series of adapter models for different machines.
Interestingly, you have to make choices. Do you want the vent up? Back? Sideways? Each requires a different adapter design. You can find most of the possible options on the webpage. Download the one you want and print it out. PLA is fine for this use because the vented air is not that hot by the time it reaches the adapter.
If you have an enclosed 3D printer that does not have an adapter, it is straightforward to design your own. You simply create a plate that fits onto the back of the machine by whatever air port exists, and then create a cylinder to match the diameter of the Mintion air hose.
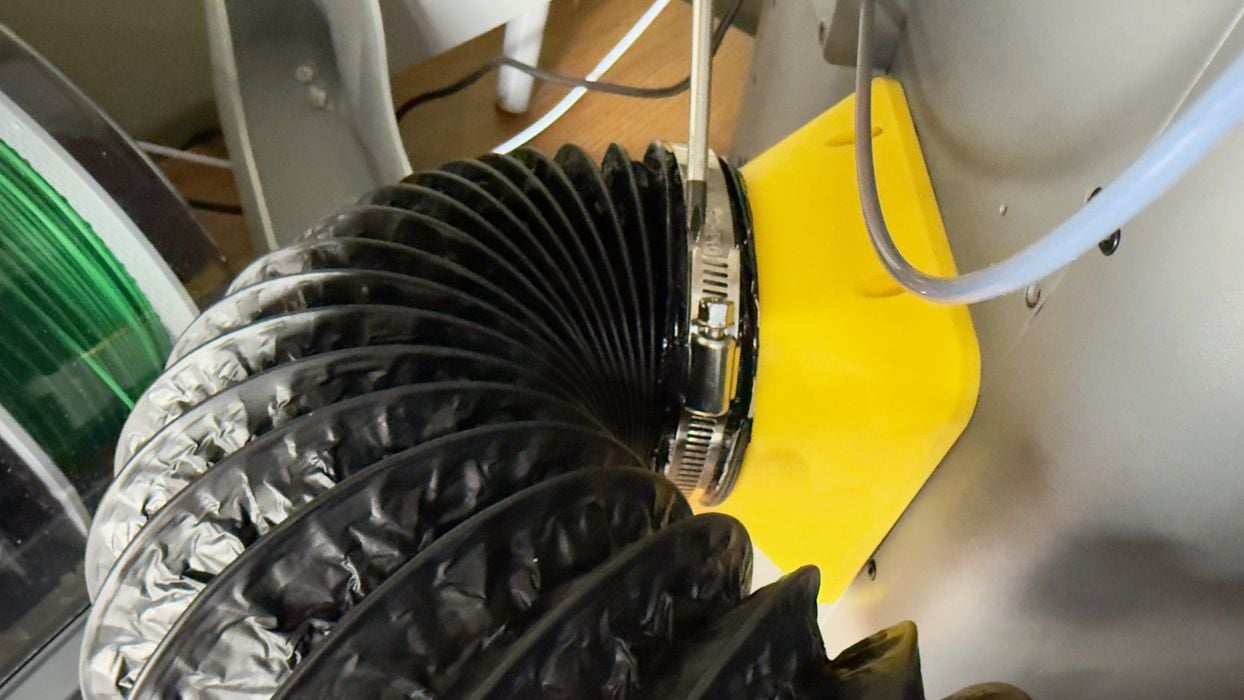
I was able to attach my adapter to the P2S easily. It turned out there were some ready-to-use bolt holes on the P2S enclosure.
The last step is to plug in the power adapter, and it’s ready to go.
3D Printer Filtration System V1 Operations
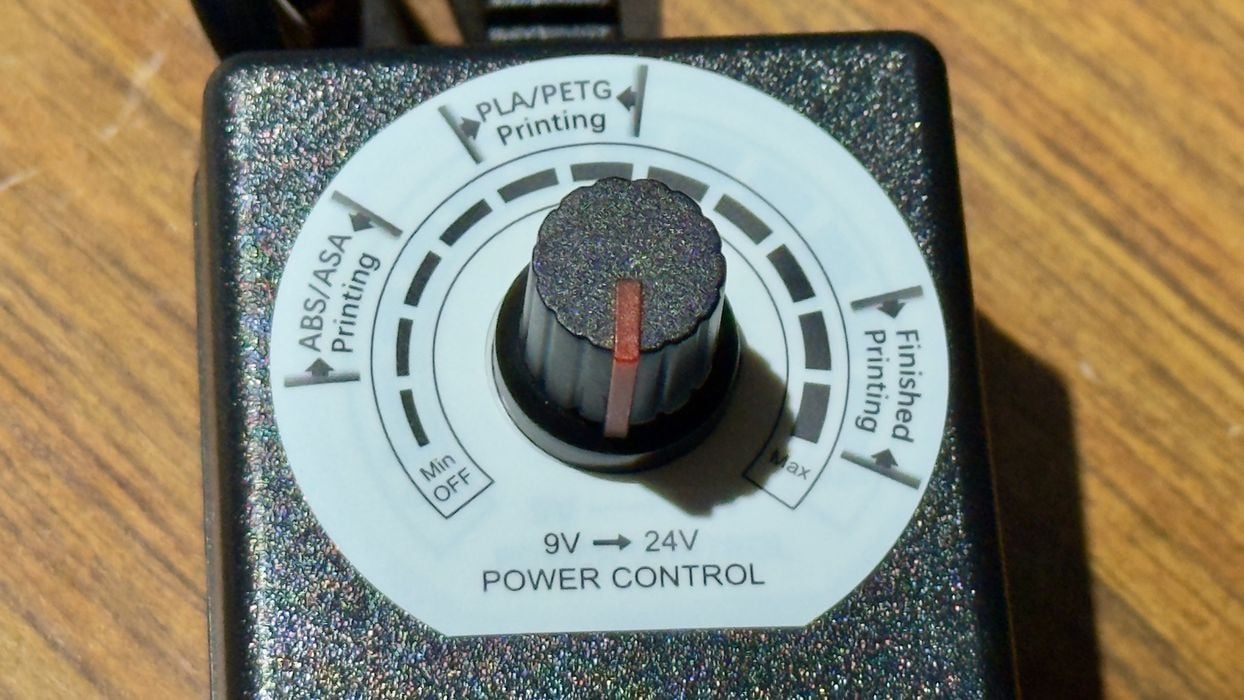
Using the filtration system is extremely easy. You can control the filtration rate (fan speed) of the system with this dial on the power adapter.
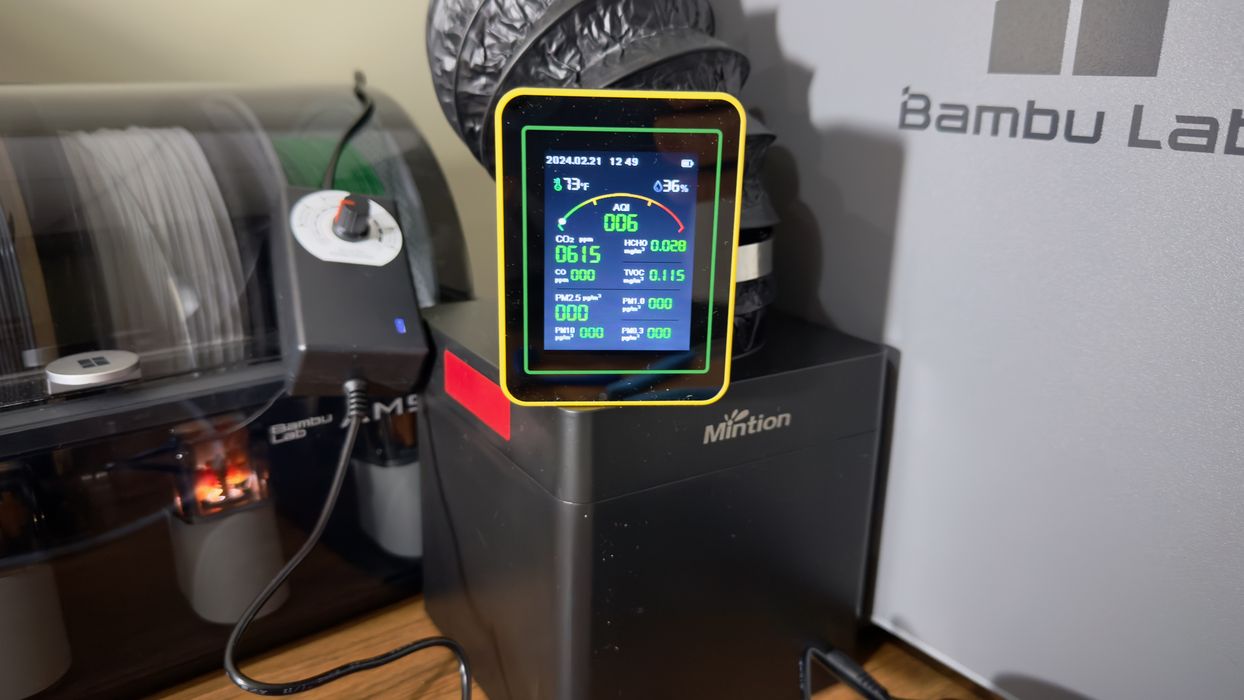
I did attempt to use the air quality meter, but as I suspected, it simply showed particles at 0 or 1 and didn’t seem to have any effect from use of the filter.
Instead, I used a more sophisticated device: my nose.
I performed two tests.
I first printed a large object in ASA material (which is very similar emission-wise to ABS). The P2S completed the job easily, but there was indeed a definite ASA odour present. It wasn’t anywhere near as bad as it would have been if the system was open air. That’s because the P2S does include a basic filtration system of its own.
The second test was the same object and material on the same P2S, but instead I used the recommended procedure for the Mintion Filtration System V1.
During this job (and afterwards) there was absolutely no trace of an ASA odour anywhere around the P2S. My conclusion: the filtration system does indeed work.
3D Printer Filtration System V1 Final Thoughts
This filtration system is pretty simple in design and setup, and in fact it works quite well. At least it does on enclosed machines with the correct adapter.
The most interesting point here is the price of the unit: US$75. This is far less than the price of the 3D printer, making it easily affordable for almost anyone with an enclosed 3D printer. It’s basically the price of a few spools of filament.
By using the filtration unit consistently you will no doubt drastically reduce the amount of emissions in your work area, and that is a good thing if you are concerned with 3D printing safety.
And you should be.
Via Mintion