
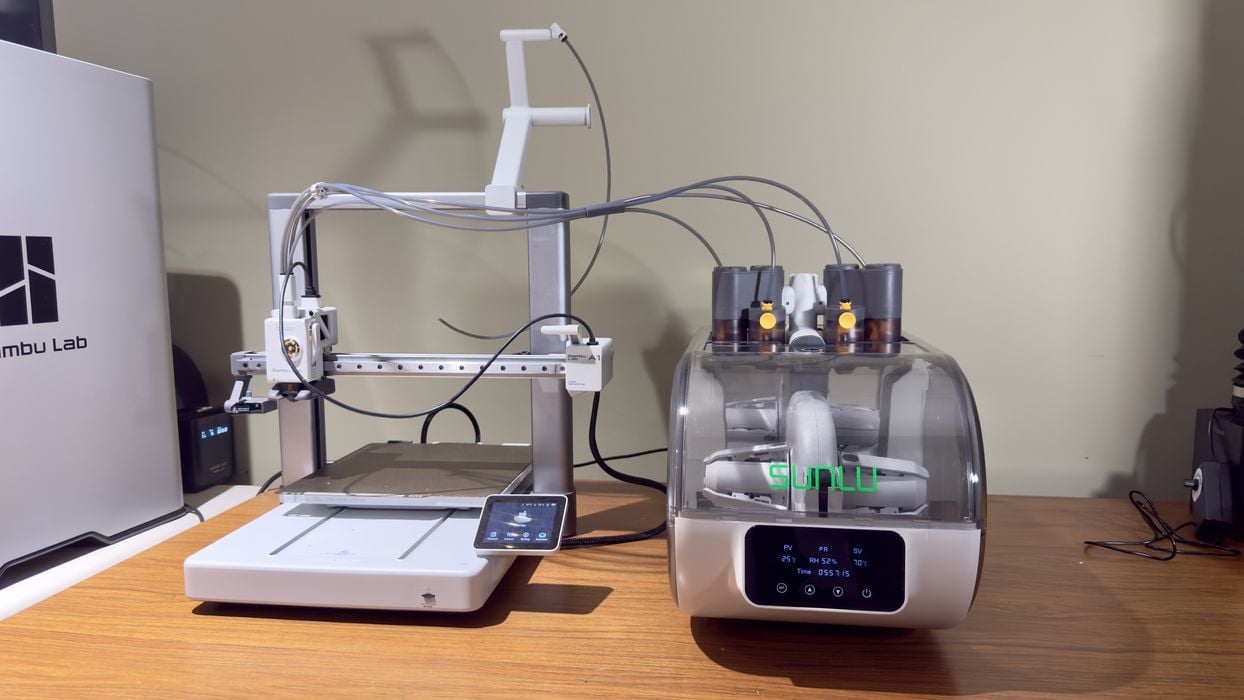
We were able to test SUNLU’s new Bambu Lab A1 accessory: the AMS Lite Heater.
AMS Lite Heater Background
The idea here is to dry filament before printing. This ensures the print proceeds with higher quality because you don’t have moisture boiling in the filament as it is extruded. Drying has become a standard feature on most new 3D printers and filament swappers.
However, Bambu Lab’s AMS Lite filament swapper has a problem: it’s entirely open to the air, and there’s no easy way to dry filament on it. Basically, you have to dry your spools elsewhere and then mount them on the AMS Lite later. This is inconvenient for many A1 (and A1 mini) operators.
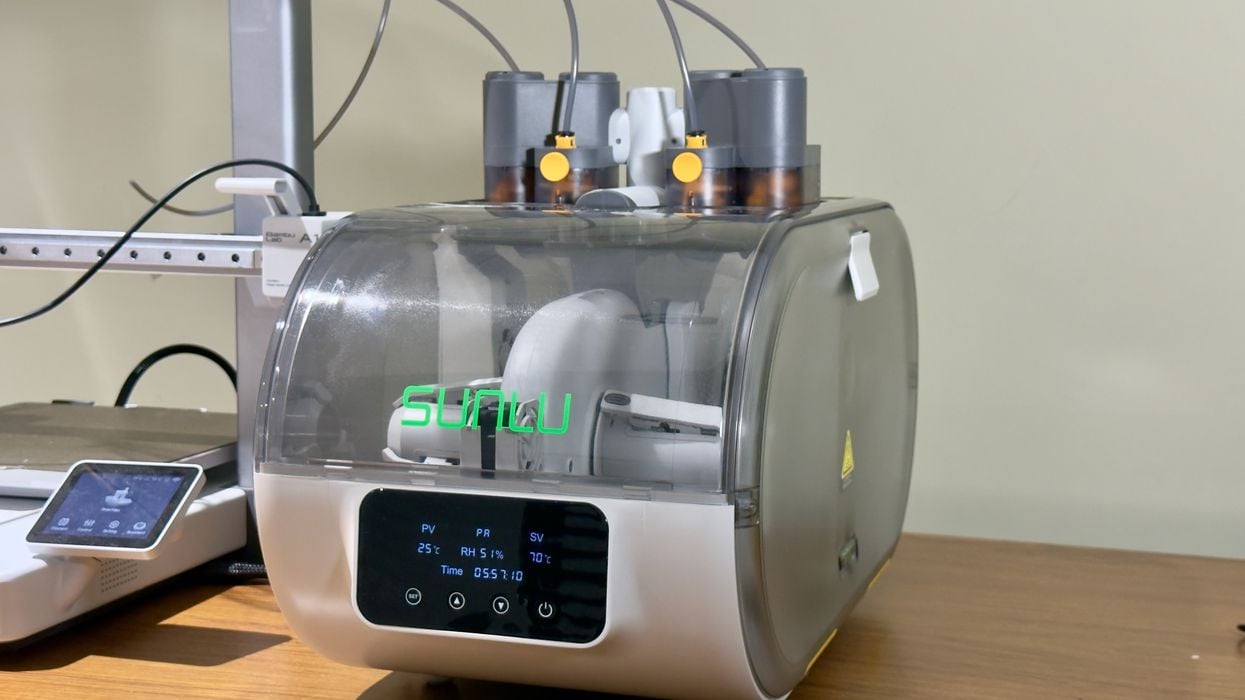
Enter SUNLU’s new AMS Lite heater. It’s an ingenious contraption that basically wraps around the AMS Lite and provides drying services. All four spools are dried on a timed cycle, and there is a control panel to set durations and temperatures. It also includes pre-made profiles for common materials.
AMS Lite Heater Unboxing, Assembly and Operations
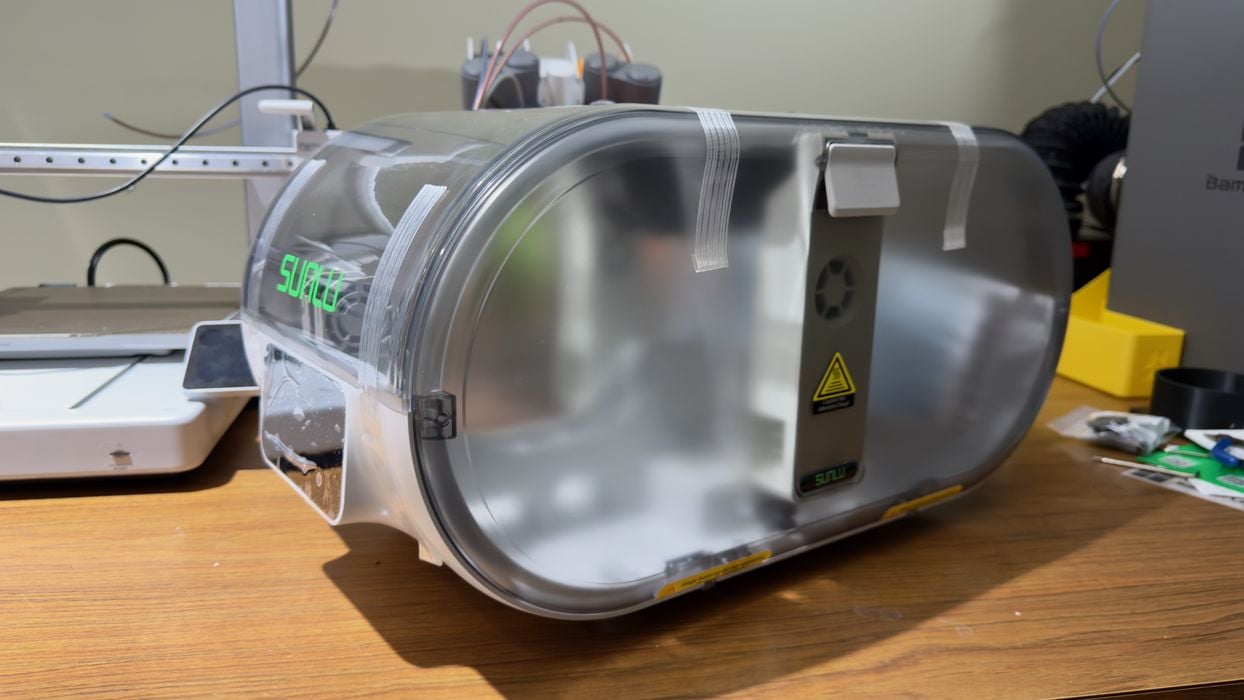
The AMS Lite Heater comes in a somewhat large box, and that’s because it’s mostly assembled. It is much larger than the AMS Lite, which is not surprising given that the AMS Lite must fit inside it.
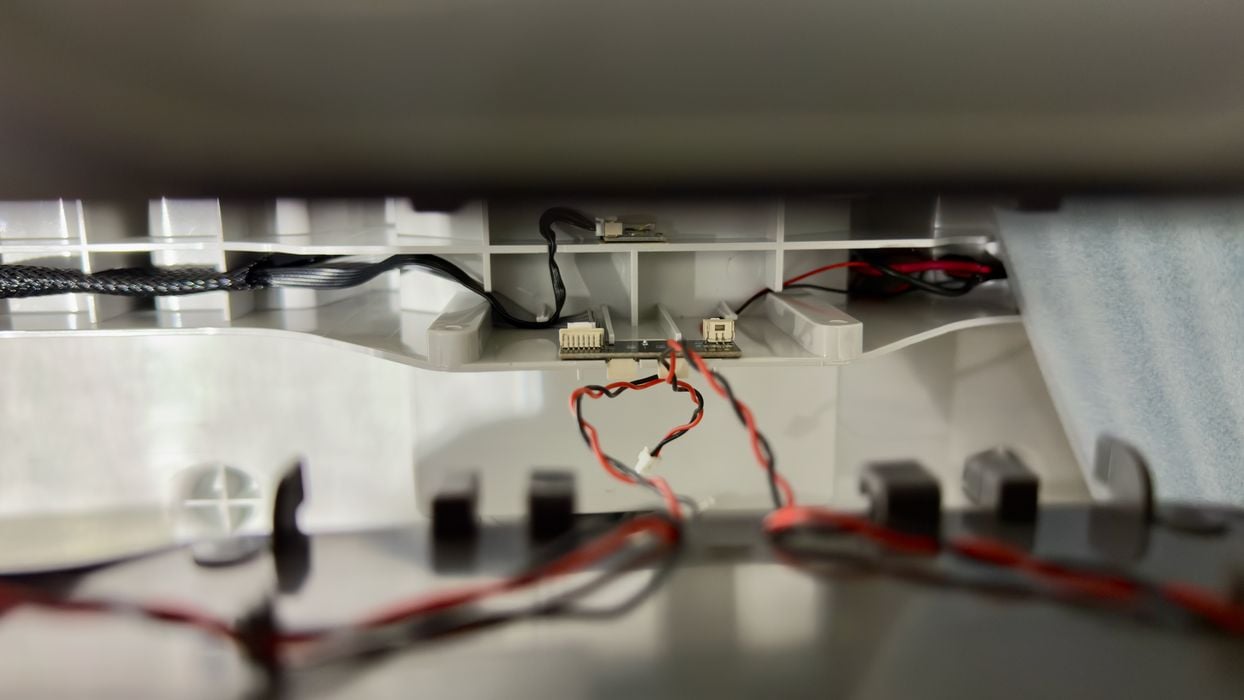
I like things that are assembled, because it’s less work for me and the factory has probably done a better job. However, in this case, although the heater looks assembled, there is actually quite a bit of work to do. I knew this immediately when I saw some dangly wires inside the heater.
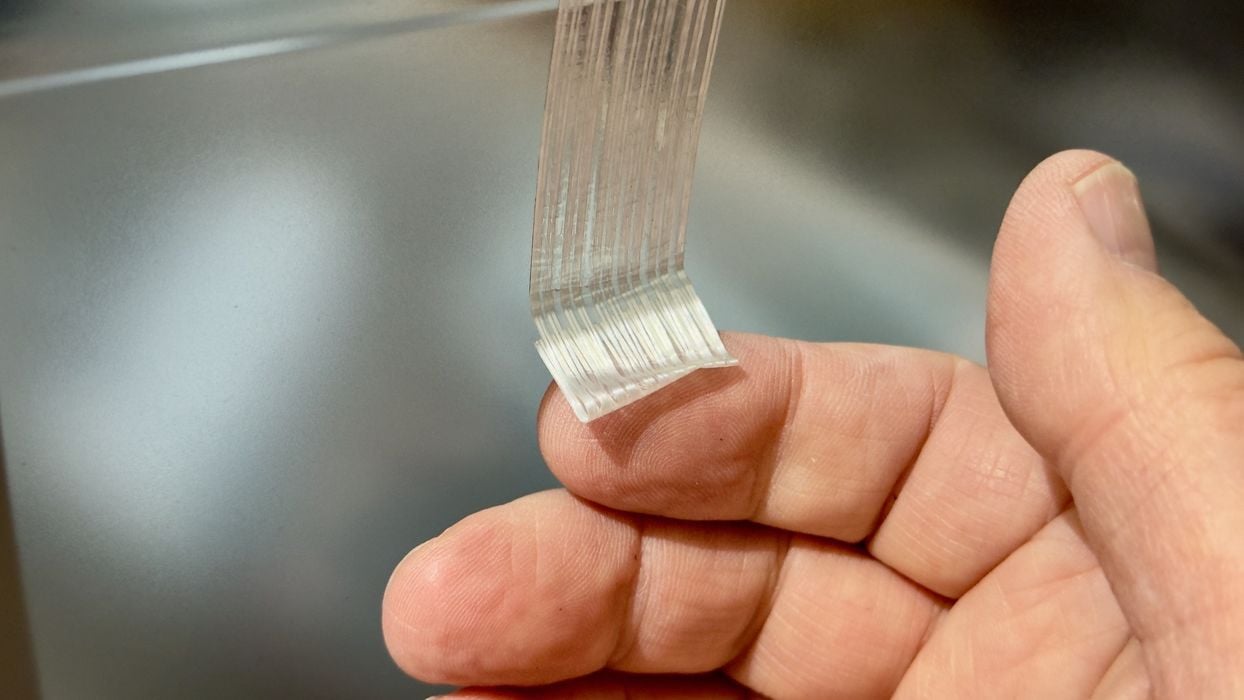
SUNLU has taped every possible moving component down, as they should. But I have to give them extra credit for putting proper tabs on the end of all the tape segments. I wish other 3D printer companies would do this, only a few do.
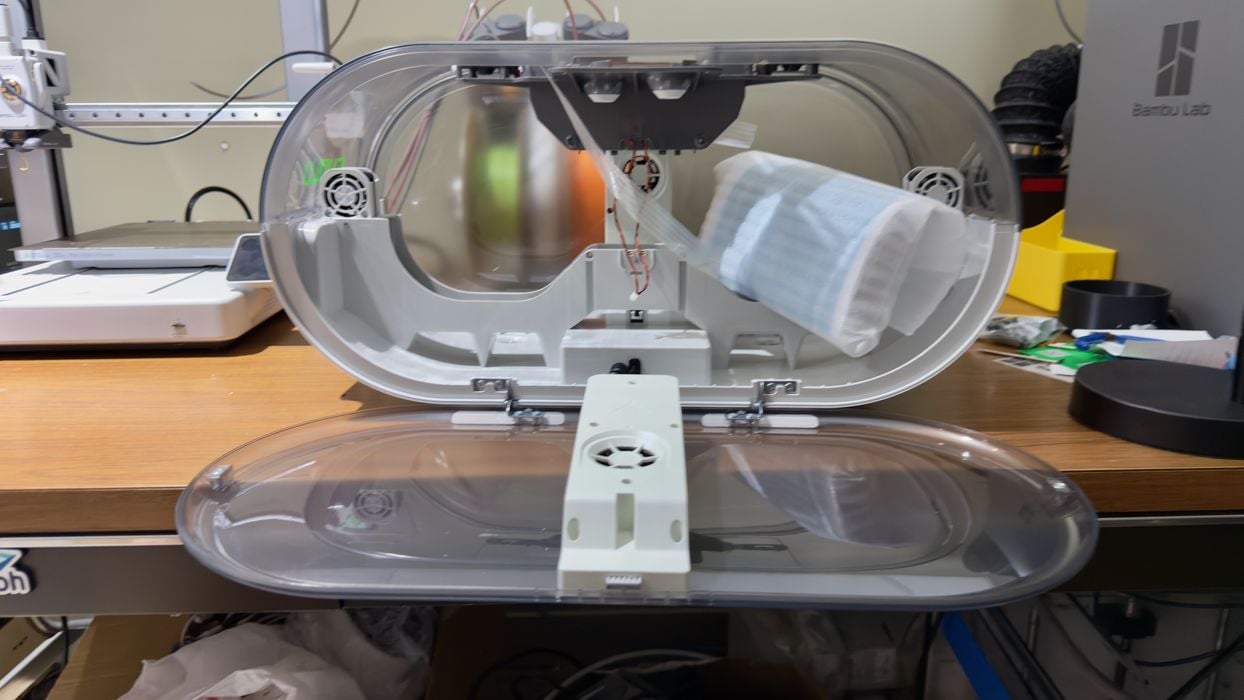
The heater opens up to the sides, where you can access two spool hubs on each side, just like the AMS Lite.
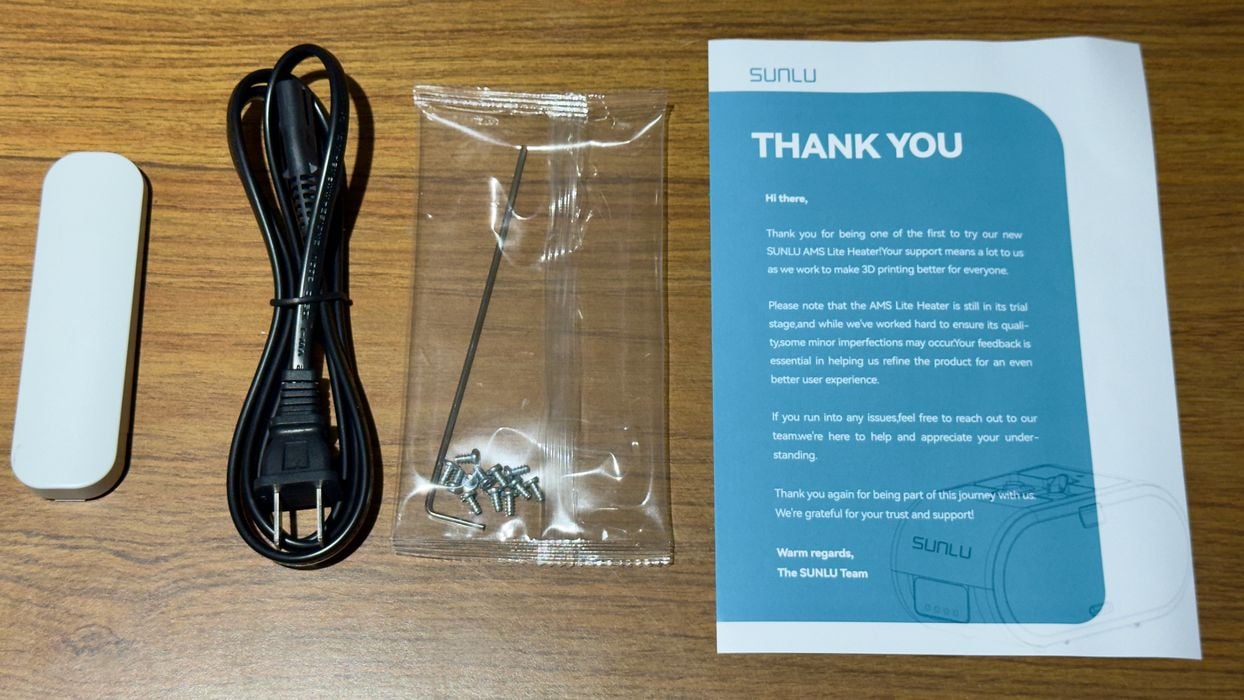
There were only a few parts shipped with the heater, so how hard could it be to build?
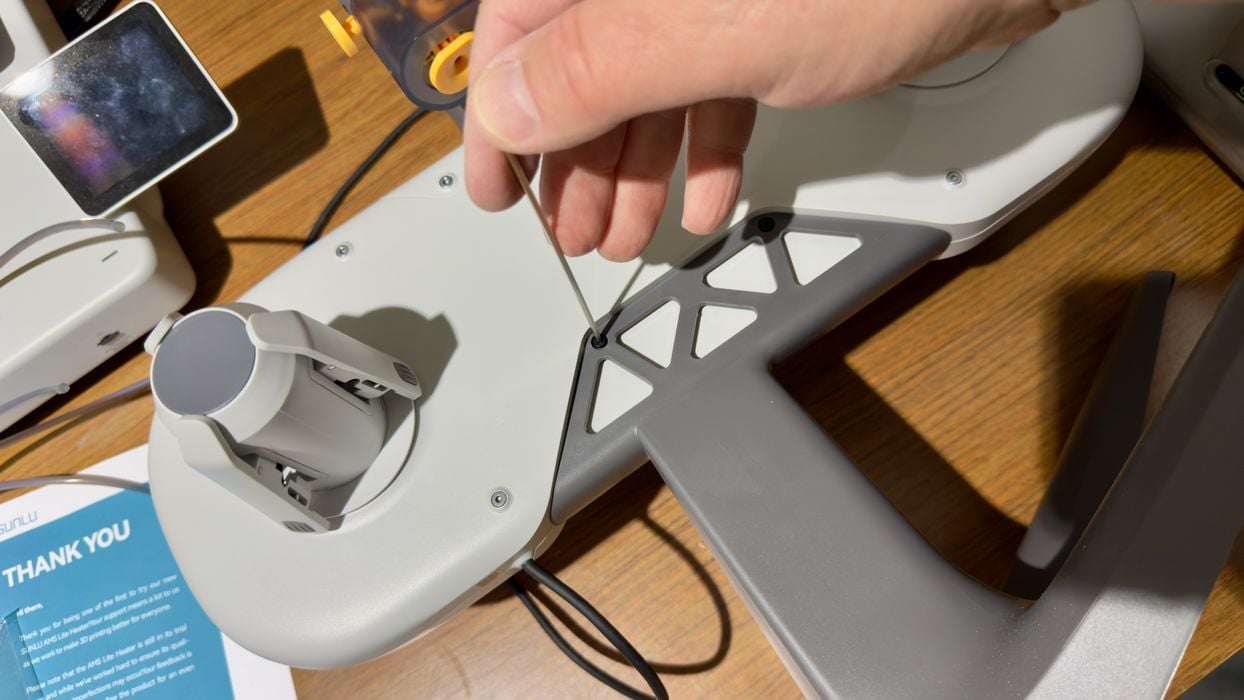
The first step was actually to disassemble your existing AMS Lite. It turns out that it does not just “snap in”. Instead, you’re actually taking it apart and sort of reassembling it inside the heater.
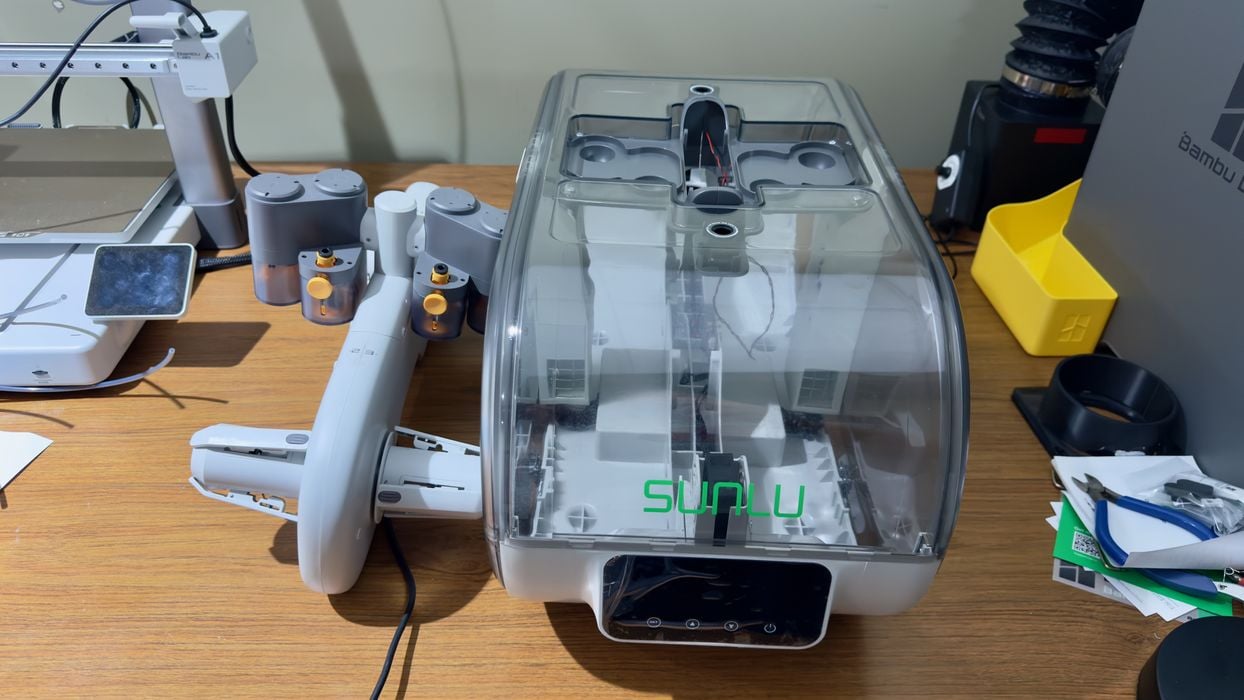
Here you can see the size difference, with the unmounted AMS Lite on the left and the SUNLU AMS Lite Heater on the right. It’s quite big.
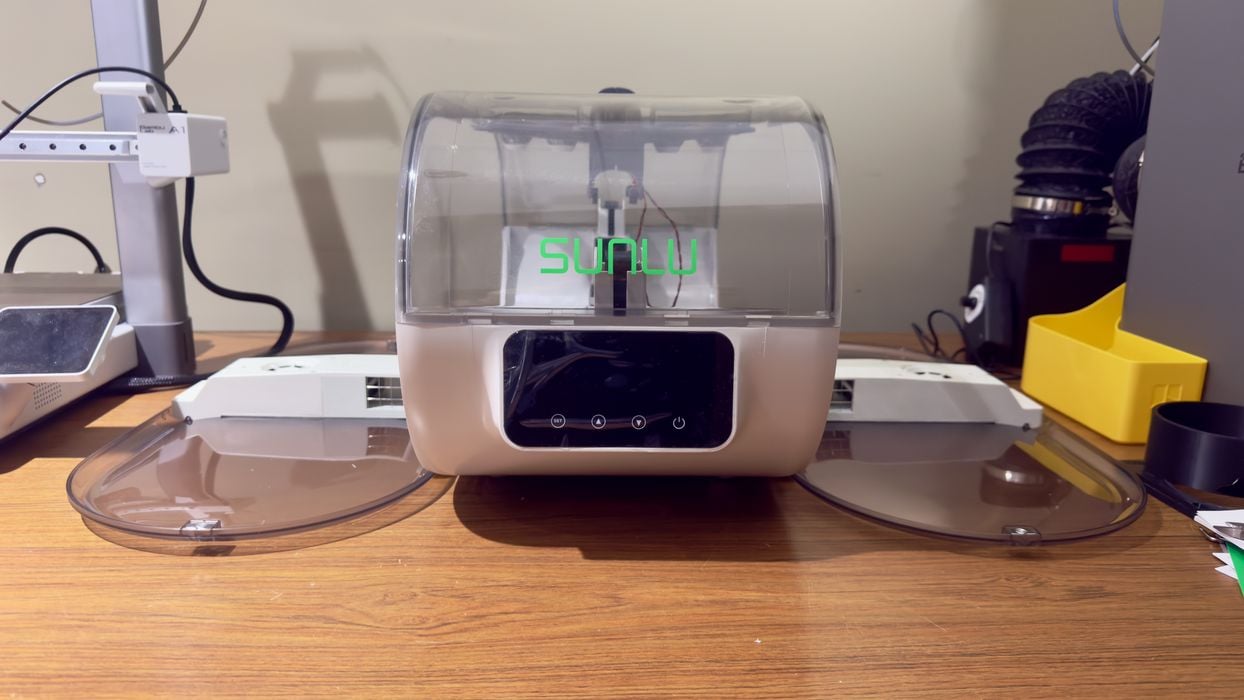
The heater’s enclosure has two doors, one on each side, and they open downwards so you have full access. On the other hand, when both doors are open, there is a huge amount of table space occupied.
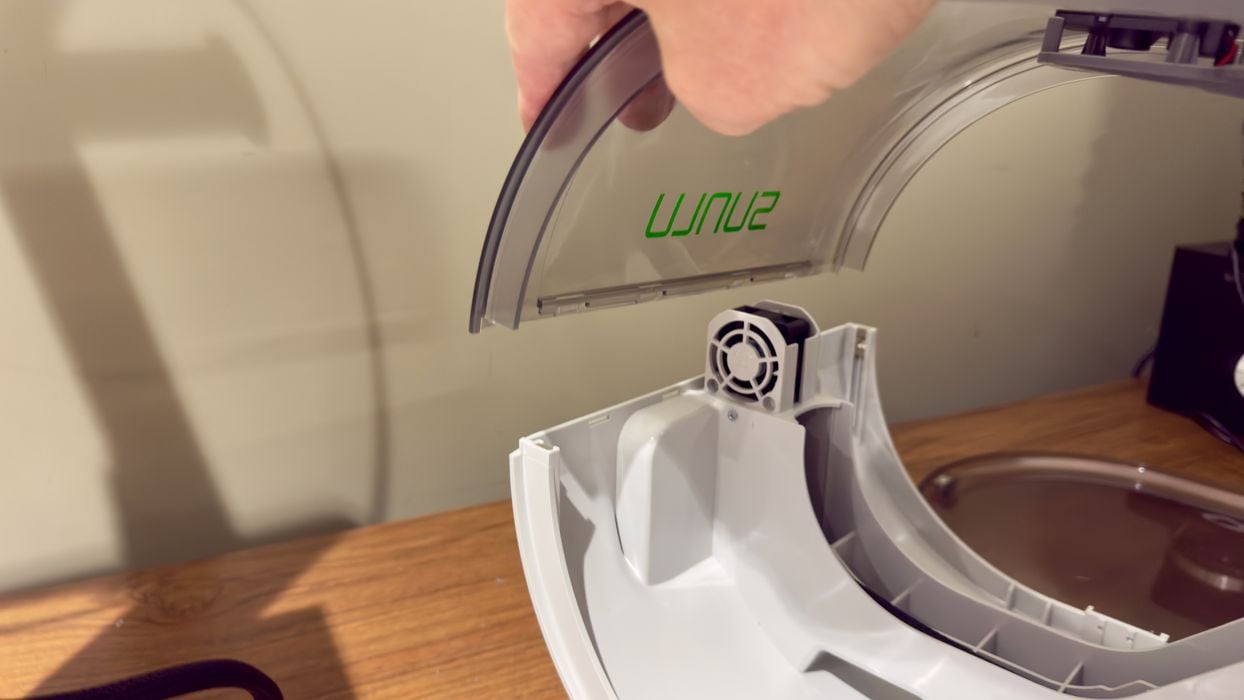
We will be working inside the heater, so the top has to come off. When I first saw the device, it looked like it was permanently attached. However, you must pry it off with some force. Eventually, it will (hopefully) snap out for you — and not break.
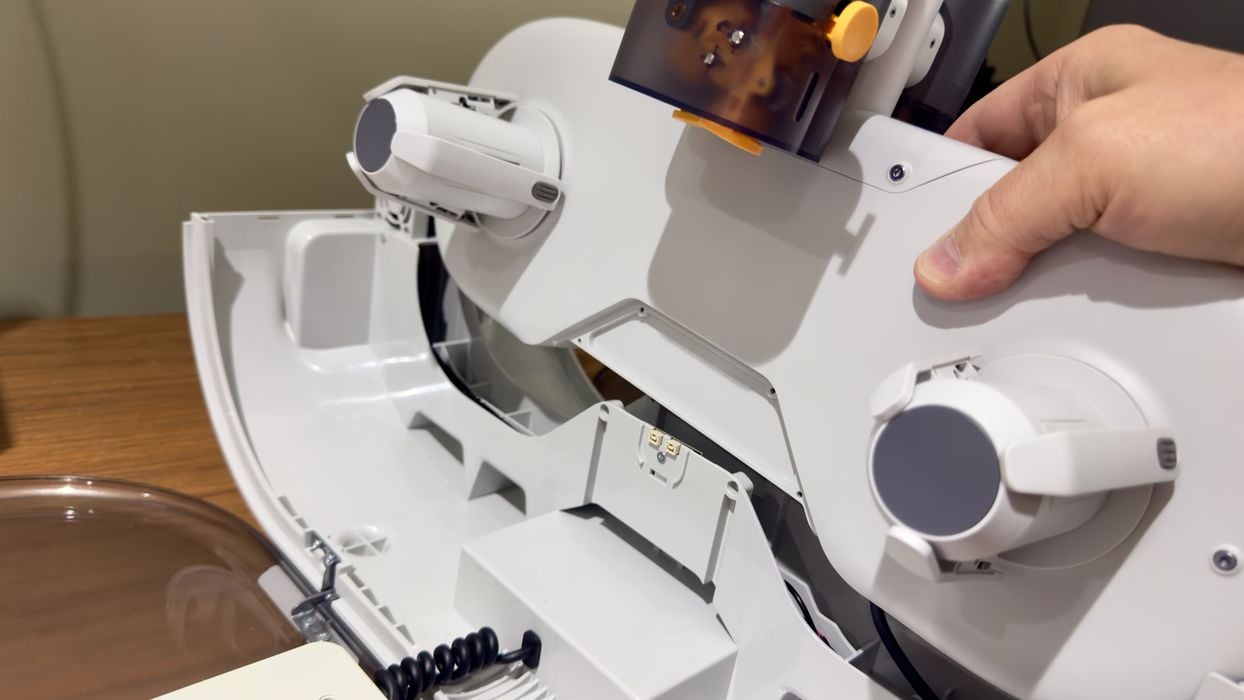
The next step is to insert the AMS Lite into the heater. You can see how it fits neatly into the notch.
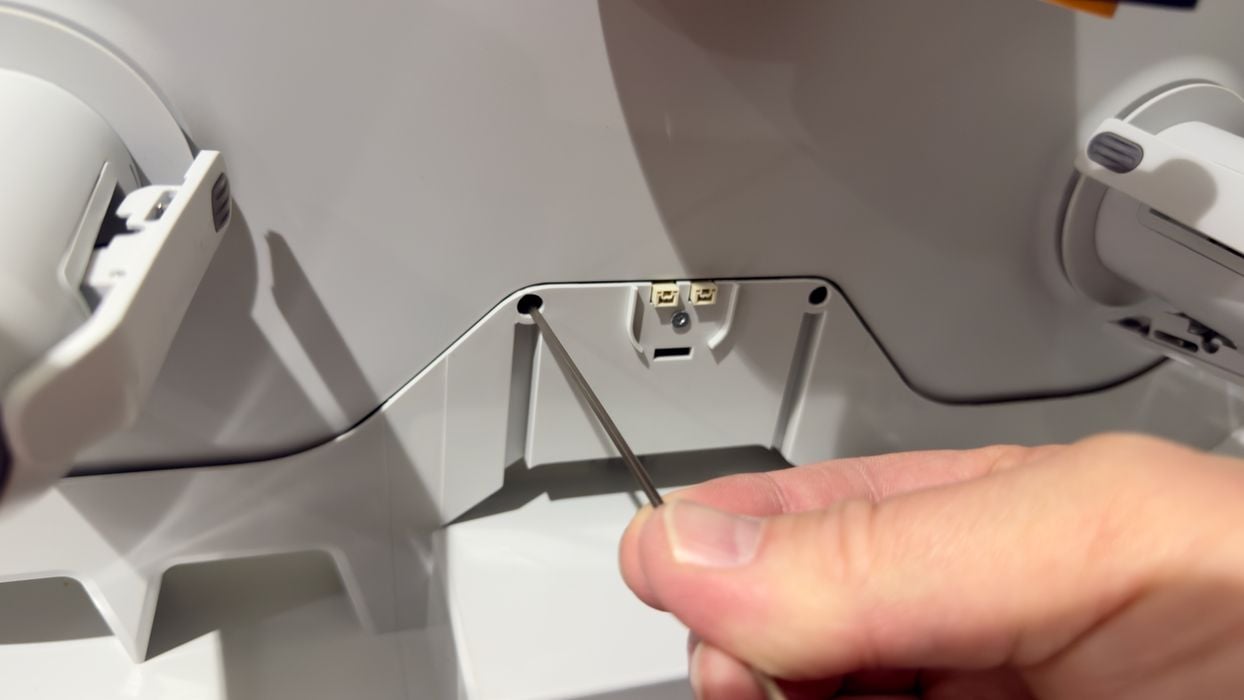
Then the scary part begins: you must disassemble part of the AMS Lite. There are some bolts to remove, and then the top comes off.
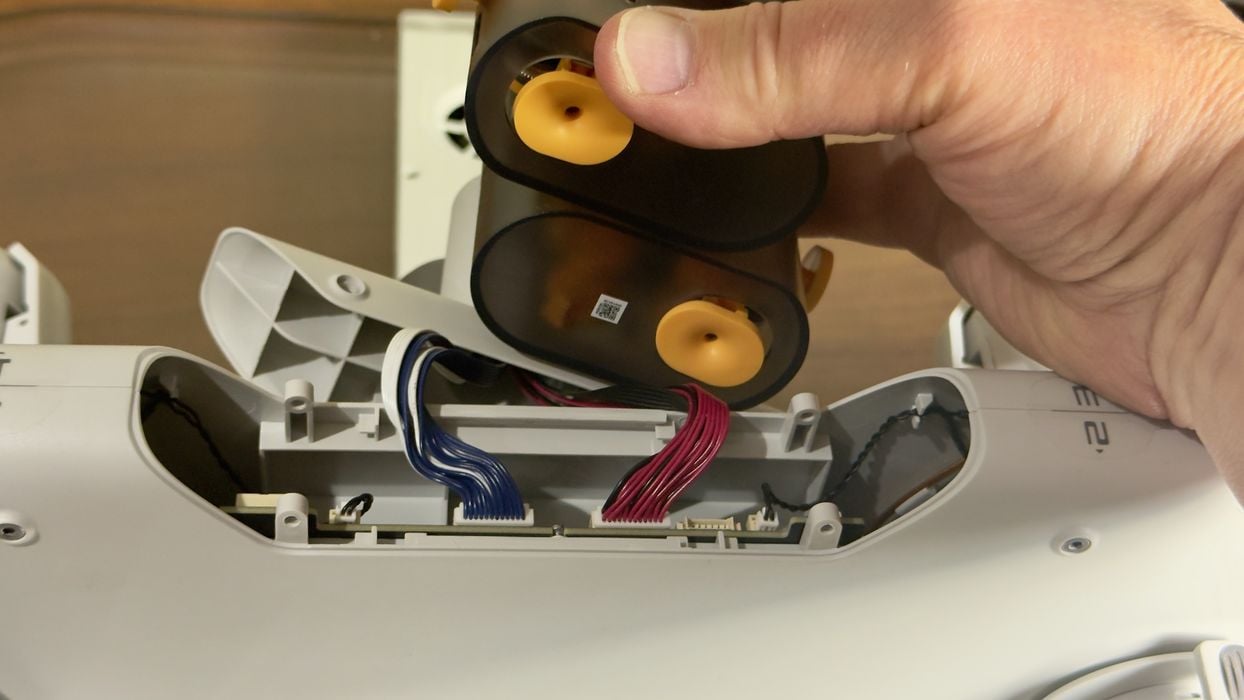
Once loose, this is what is inside. Be careful not to damage these ribbon cables!
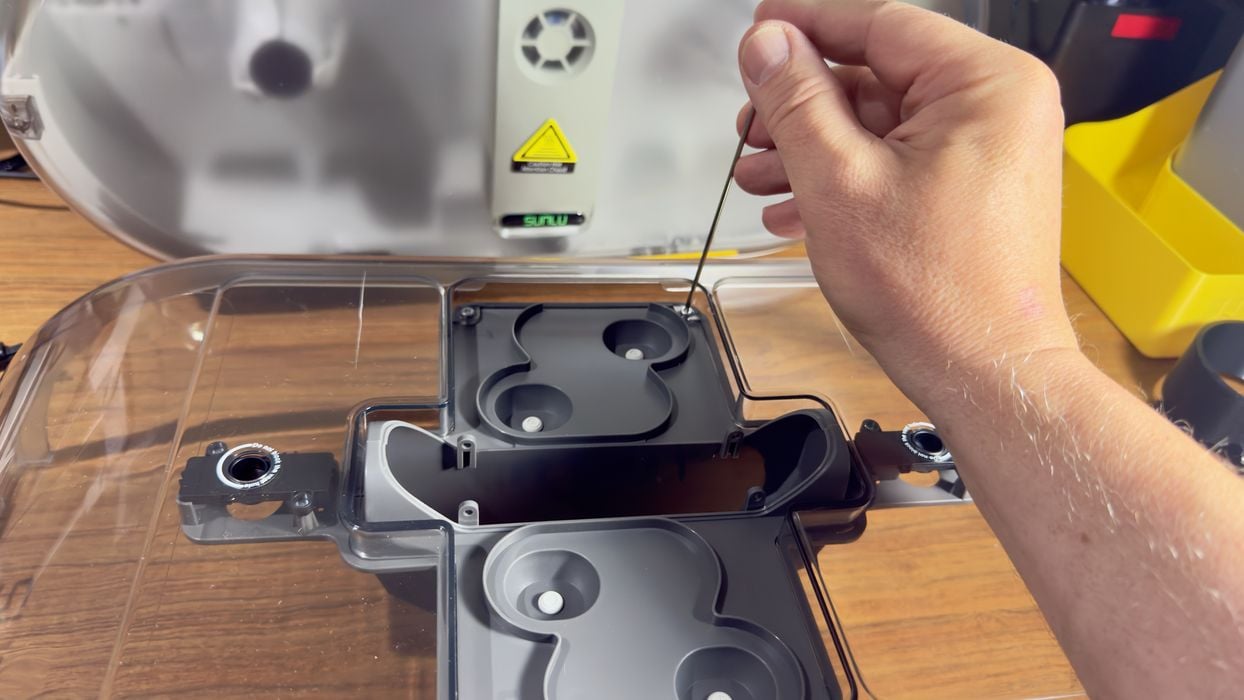
The top of the heater has these brackets that will hold the now-loose top of the AMS Lite. They must be bolted onto the top of the heater.
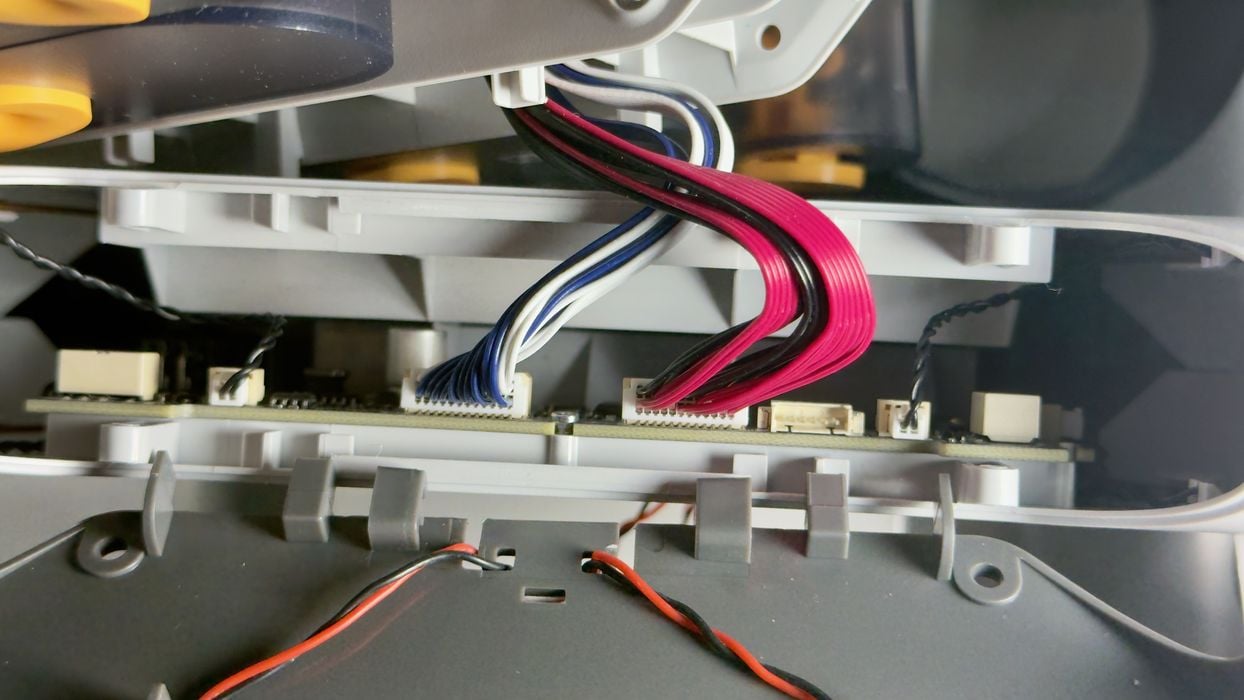
The brackets have to sit in the exposed top of the AMS Lite, and after some fussing around, I realized that they go only one way. If it doesn’t fit, you have to reverse the brackets to the other side.
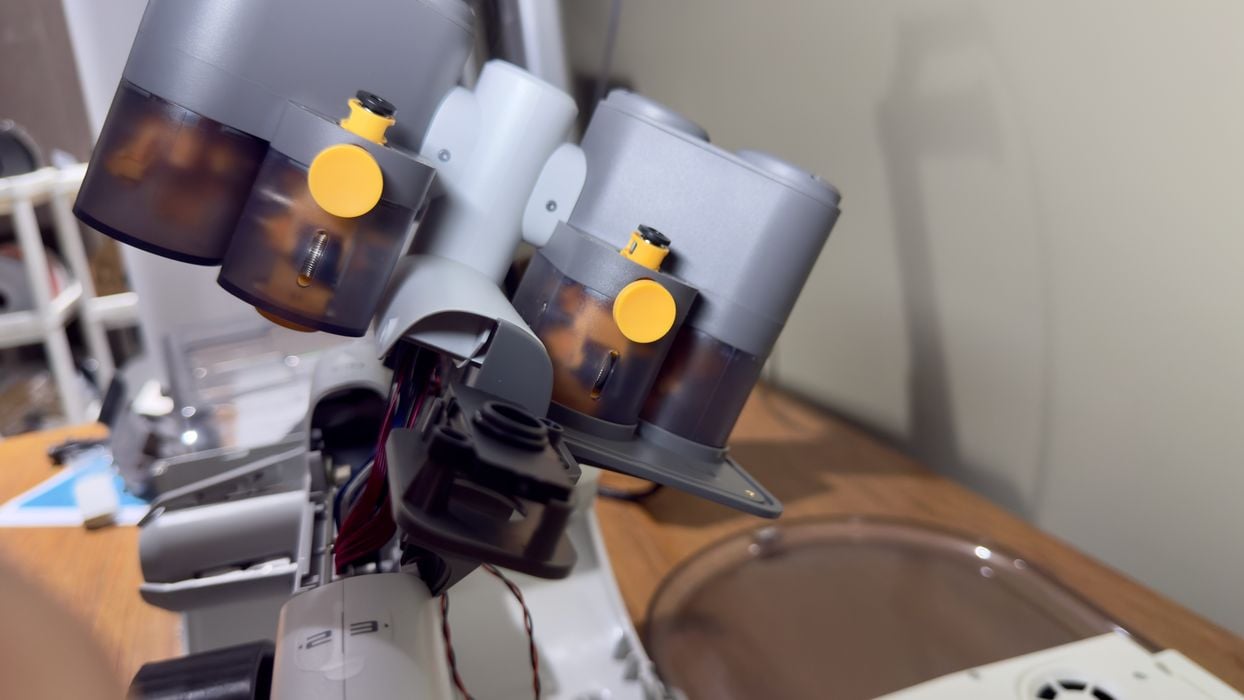
Once properly installed, you’ll have the AMS Lite sitting at an angle like this.
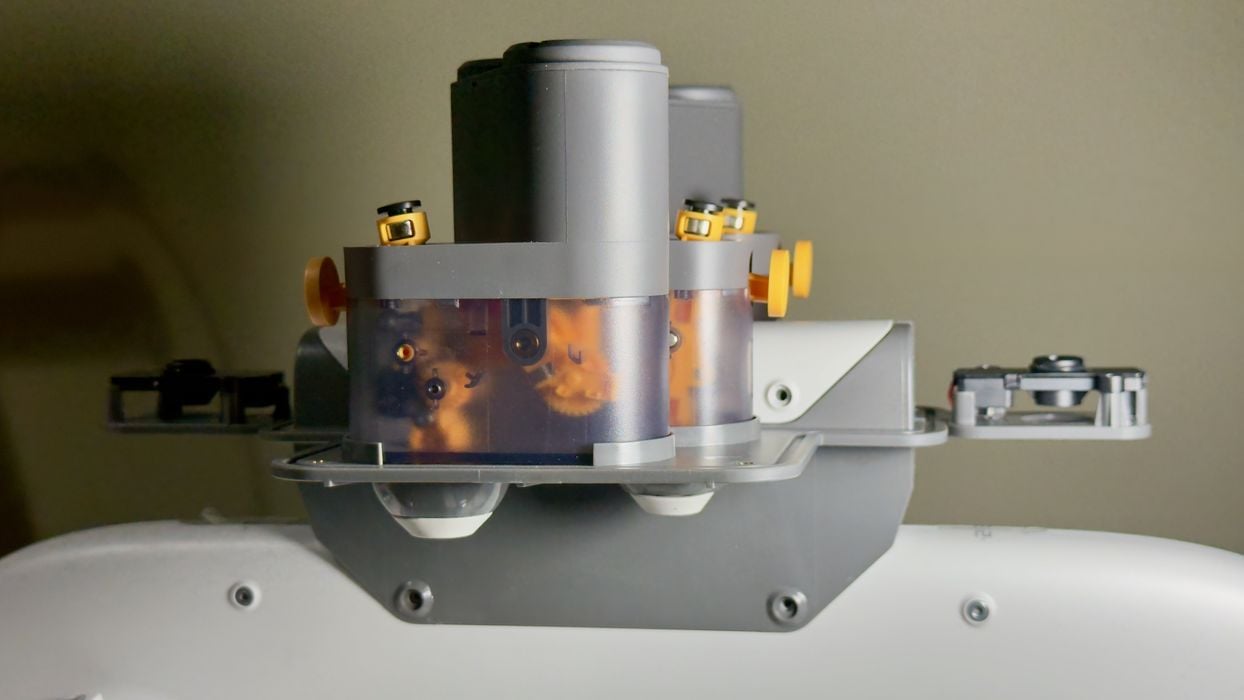
Tipping it over, the bolts and holes then line up, and you can secure it all together with the Allen key.
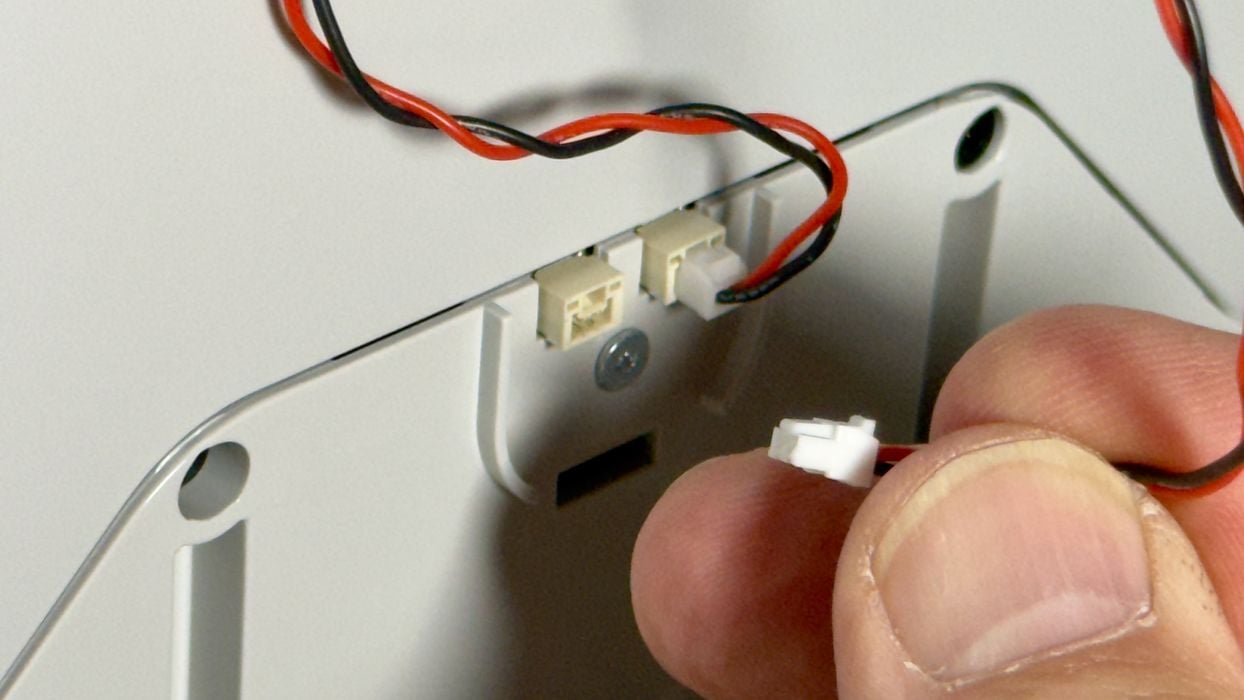
Oh yes, those dangly wires have to be attached at this point.
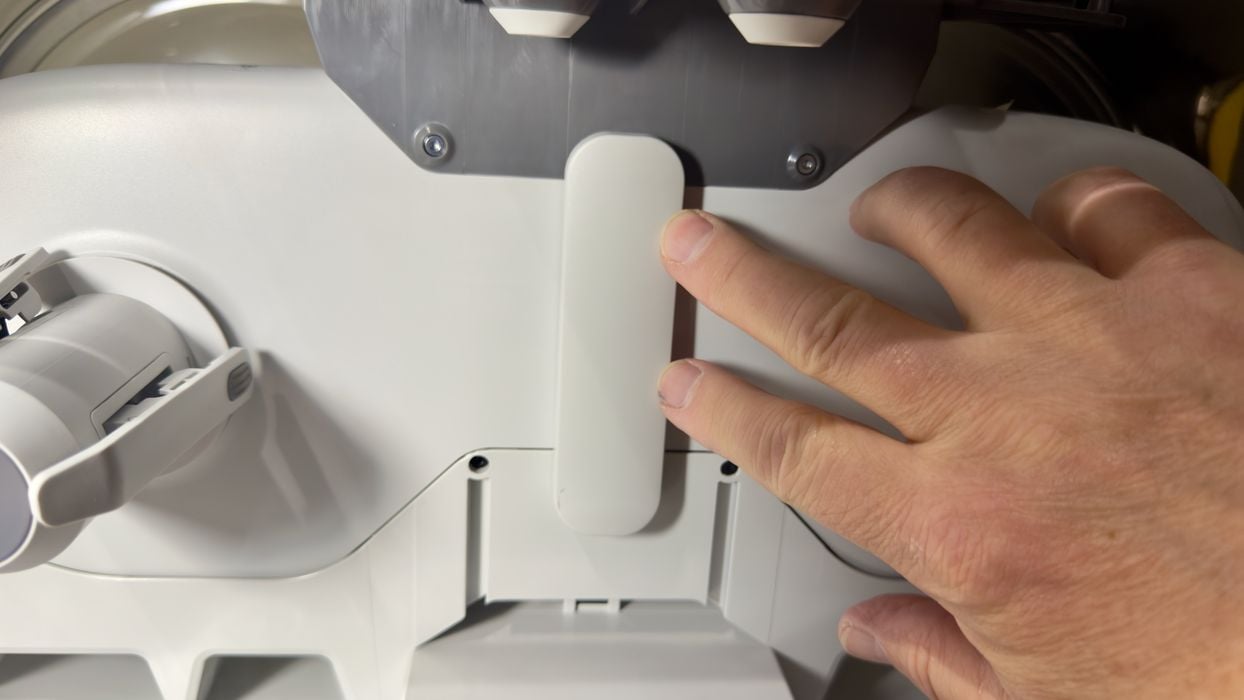
The final step is to cover up the dangly wires with a plastic cap, which easily snaps on. The AMS Lite Heater is now assembled!
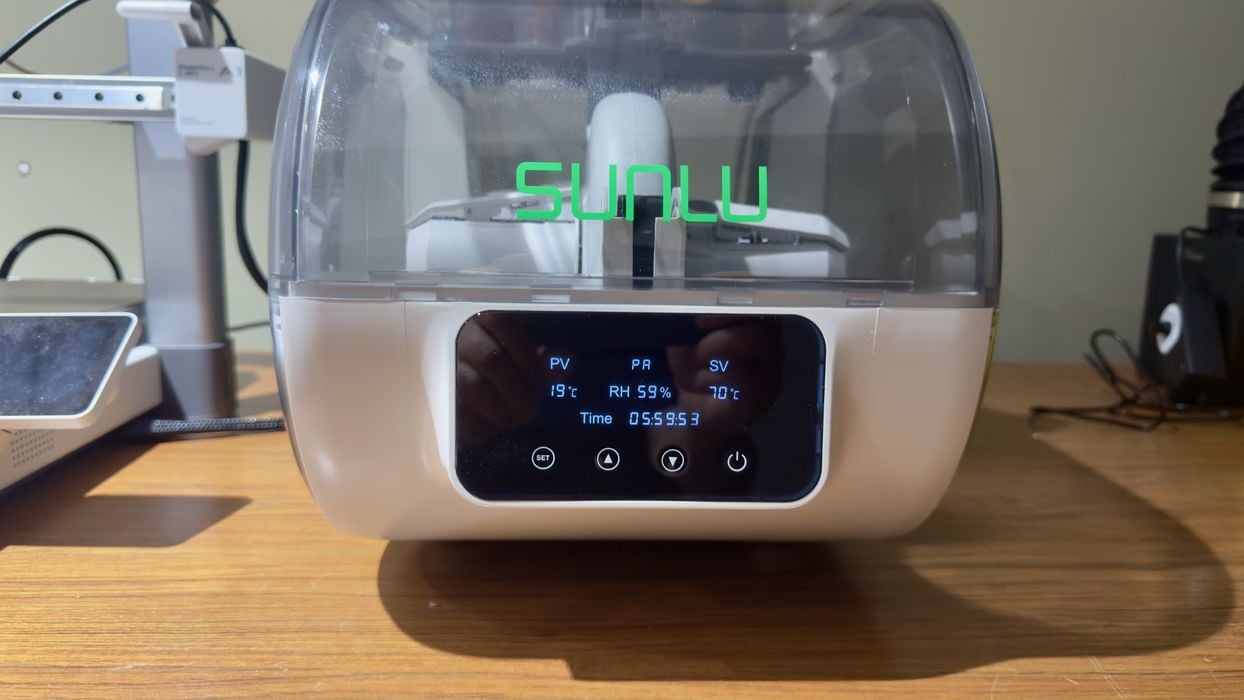
There’s a power switch at the back, and after plugging in and turning it on, it came to life.
One thing I immediately noticed after the control panel appeared was the noise. The unit is fairly loud: about 50+ dB from a meter away. This is far louder than the A1 3D printer itself.
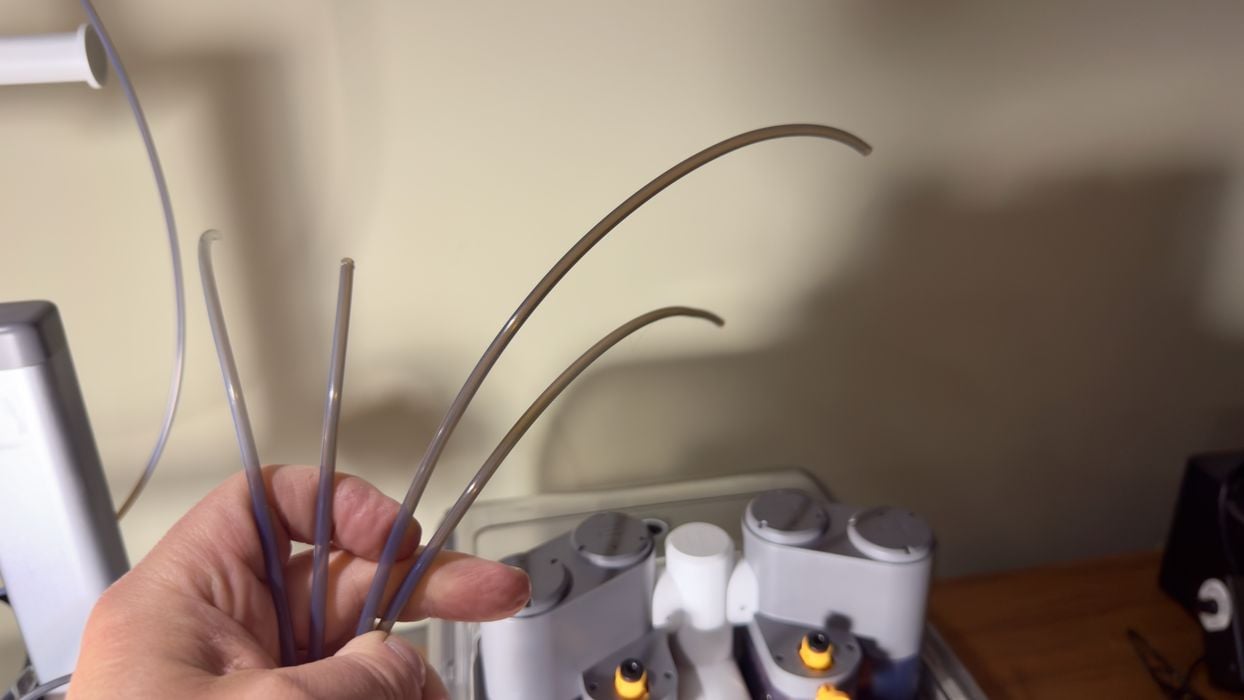
We have to attach the PTFE tubes back to the A1 3D printer. Remember that there are two short and two long tubes, so put them on the appropriate sides.
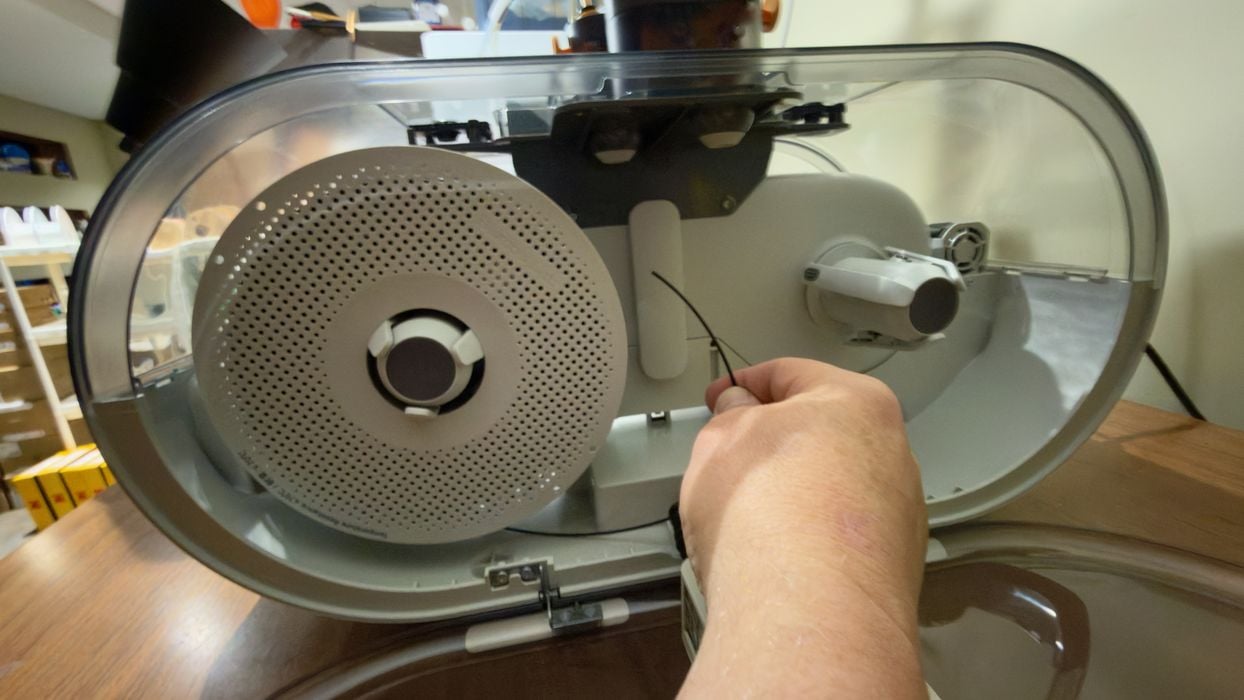
Now it was time to load some spools. Would it be any more difficult? The spools fit on the same hubs, so no change there. The only real difference is that you push the filament through a hole in the brackets, which is upside down. It’s not difficult, however.
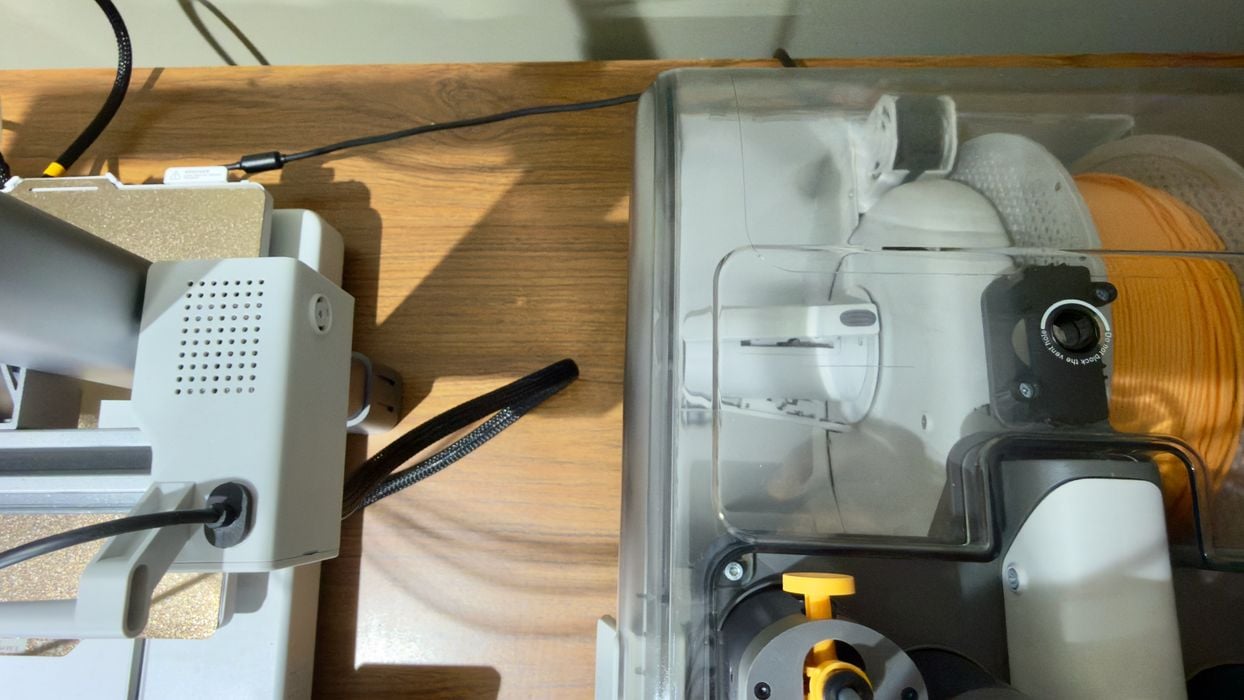
At this point, I noticed that there really isn’t enough room to open the left side. You have to have the heater at the farthest possible position that the PTFE tube allows to have enough space to open the door. Perhaps longer PTFE tubes should be supplied here?
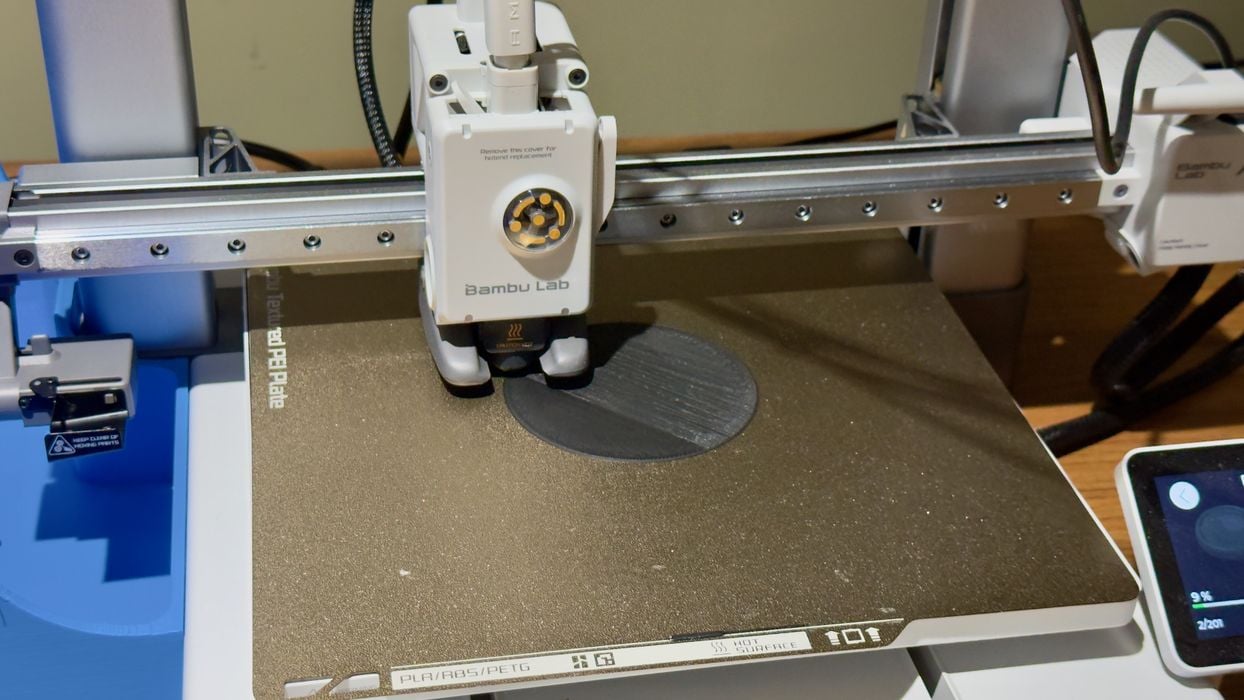
After all that, would the heater feed properly? I launched a simple print job, and voilà, everything worked perfectly. There is really no difference in print operation because of the heater.
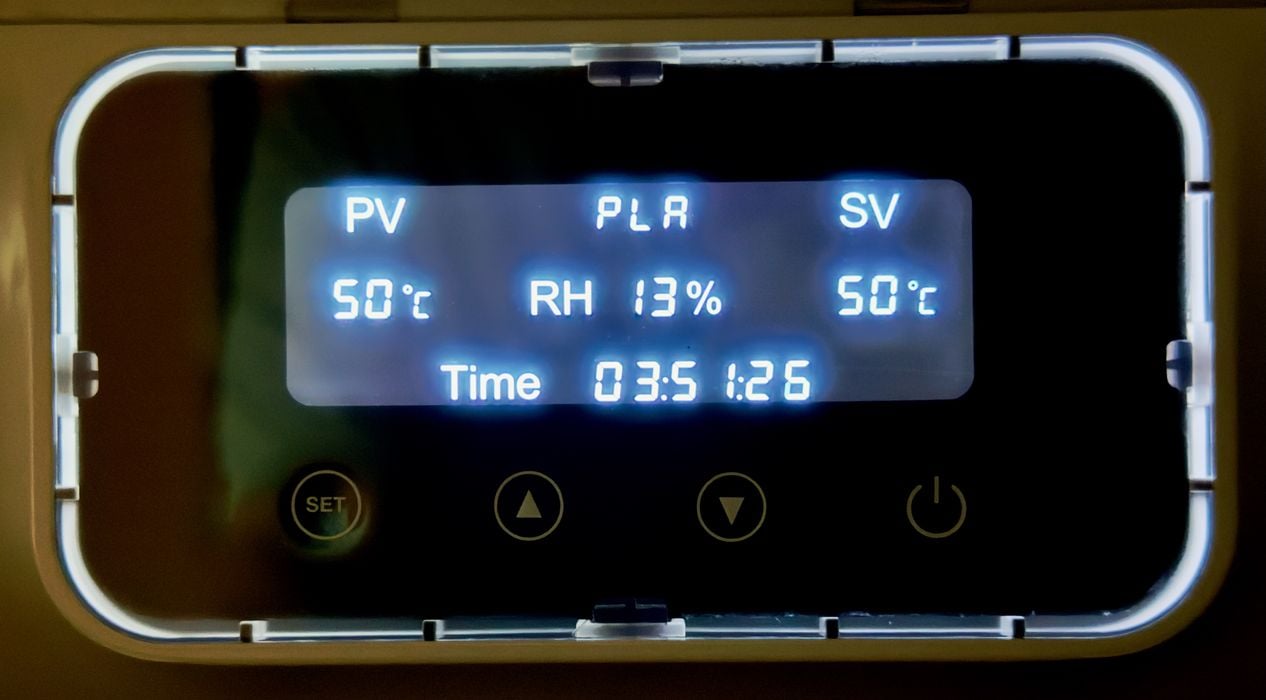
This is the control panel view, and it was initially a bit confusing, mostly because of the abbreviations used. The “PLA” is obviously the material profile type, but what do the other fields mean? Here’s the translation:
- PV = Present Value (of the temperature)
- SV = Set Value (of the temperature)
- RH = Relative Humidity
Operation was very straightforward: just push the “on” button on the right to get started. Flipping through the menus was easy, and you can set any duration for your drying cycle.
AMS Lite Heater Final Thoughts
The SUNLU AMS Lite Heater fills a functional gap in the A1 and A1 mini 3D printers: they have no way to dry filament. But with this device, you can do so easily.
I found the heater to be very easy to use and control, and it dries just about as well as any other dryer I’ve used.
There were three challenges I found with the unit.
First, it’s a lot of assembly to do, but I guess that is required to adapt the AMS Lite. It is not that difficult, but might be more than some novice operators could manage.
Second, the AMS Lite Heater takes up an enormous amount of table space, easily twice that of the printer when you have the doors open. But that may be the price you pay when drying filament.
Finally, it is a bit noisy.
Aside from those aspects, this heater is a pretty good accessory that should bring up the print quality on an A1 or A1 mini 3D printer. If you don’t want to buy an AMS 2 Pro, this is your option.
The SUNLU AMS Lite Heater is not quite yet available, but you can sign up for notification when it officially launches.
Via SUNLU