
Our look at the new Voxelab Aries desktop 3D printer continues with the setup and operation.
This is part two of a two-part series. Part one is here.
Aries 3D Printer Unboxing and Setup
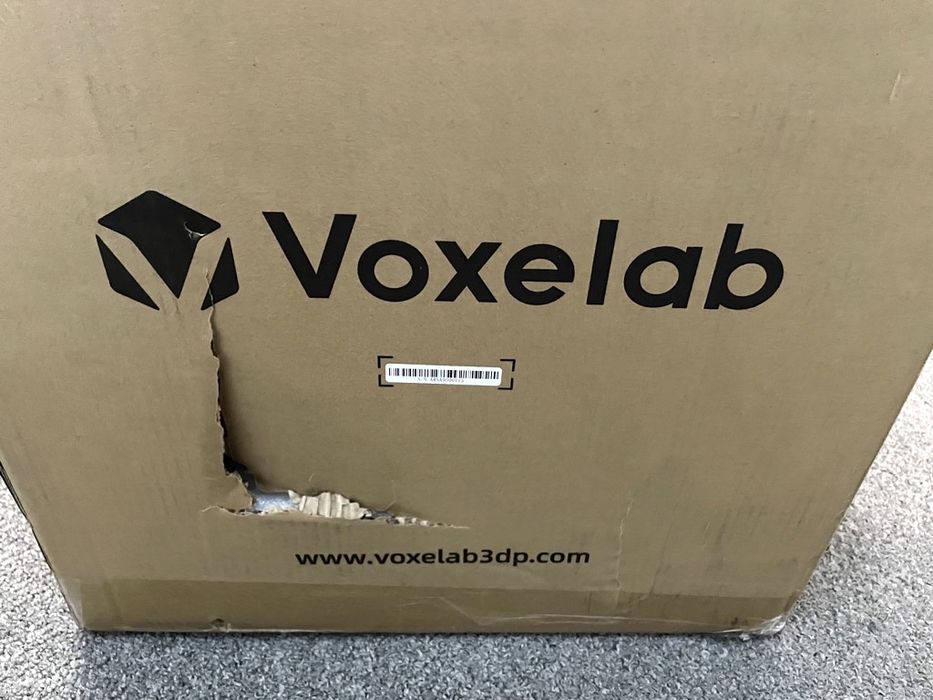
We were a bit nervous when the Aries arrived because it had a rather large dent in the side. Our previous experiences with damaged 3D printer shipments never went well.
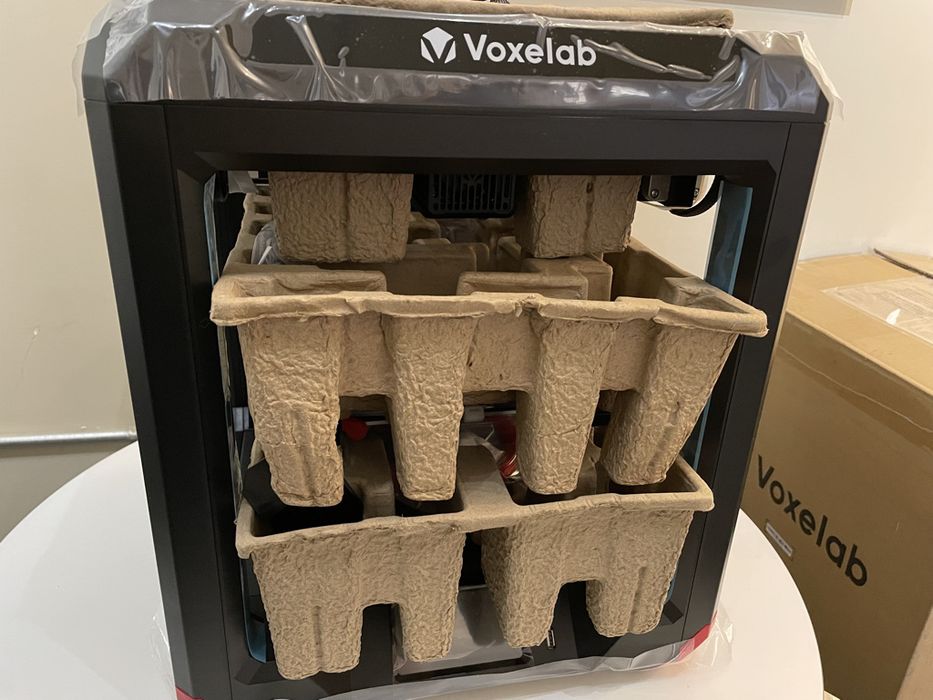
But on this occasion it wasn’t bad at all. The Aries was extremely well-packed as you can see in this image. The dent didn’t register whatsoever on the machine, and also did not affect its functioning in any way we could detect. I suppose Flashforge has long learned the best way to pack up a 3D printer, and that knowledge is present in the Voxelab brand, too.
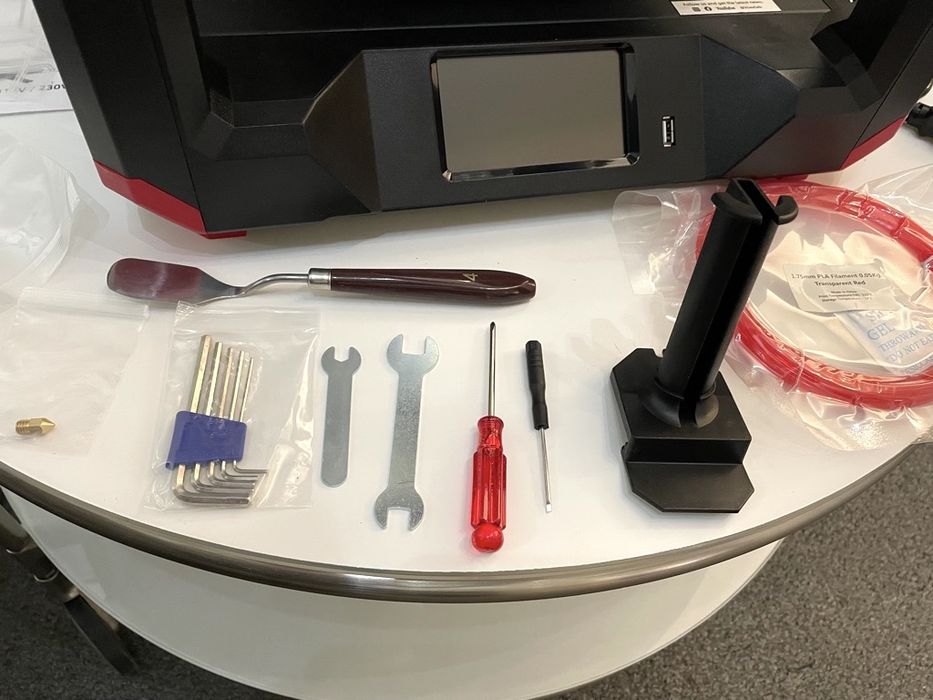
The Aries is equipped with a healthy set of tools that are all that is required for assembly and maintenance.
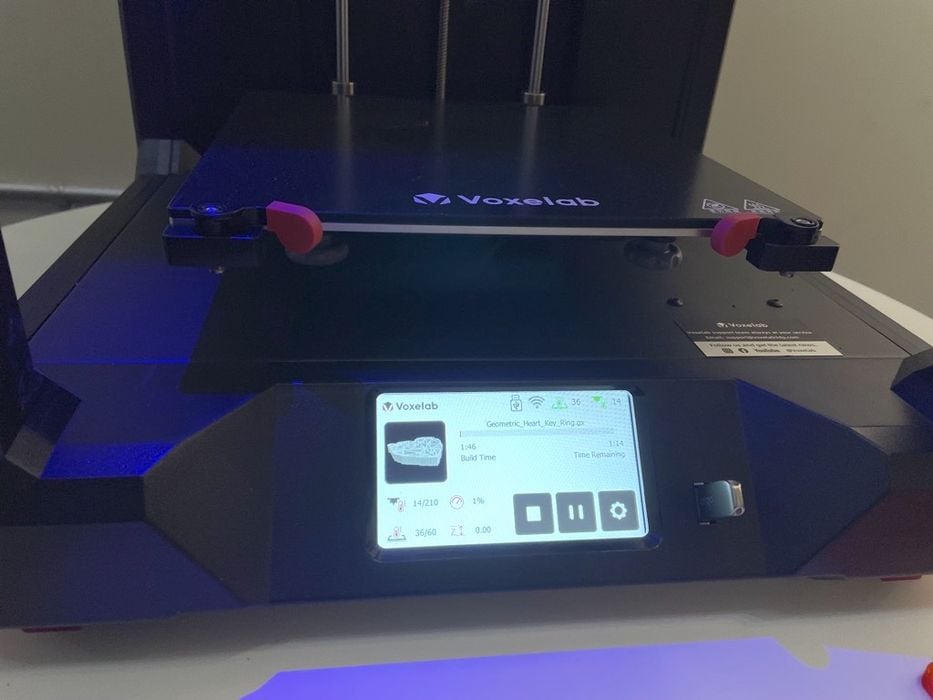
The Aries is not a kit; there is basically no assembly to do, other than remove the packaging material and plug in the cord. This should make it immediately accessible to STEM classrooms. In fact, you should be able to start printing literally minutes after opening the box.
However.
I did encounter a problem right after powering on the Aries: it immediately froze at the logo screen and would not do anything after.
I downloaded the latest firmware from the link provided by Voxelab After Sales Support, copied it to the USB stick, put the USB stick in the printer and turned it on and off again. When the printer powered up it just froze again and did not even appear to try to read the firmware on the USB stick.
I then received another firmware update link from After Sales Support and that worked and the 3D printer is working as it should.
There’s only one task required before you can start 3D printing: bed leveling.
In the user manual, the “Leveling Build Plate” steps were easy to follow and worked well with one exception. It’s a simple process involving a piece of paper to measure the gap between the nozzle and the glass print plate, and tapping the up or down arrow to increase or decrease the gap.
When lightly pulling the paper and feeling the friction between it and the hardware I had a bit of an issue. Sometimes the Z-axis offset jumped suddenly from 1.2 all the way up to 1.7, which was too much. It took a bit of time adjusting up and down in a way that the offset moved in increments of 0.1. Finally, I was able to declare the Aries “level”.
The next step is to load filament on the Aries, and I was especially interested to see how the automated load feature worked.
Voxelab Aries Operation
Loading filament turned out to be very easy, however I noticed there is no purge of filament before a print begins. Purging is a common procedure with other printers to confirm the filament is actually loaded, so I’m still not sure why this step does not take place on the Aries. It may be that the system is so smart it “knows” the filament is ready, even though you don’t see any visual evidence that it is ready. Nevertheless, every test print produced very nice results, so it must have worked.
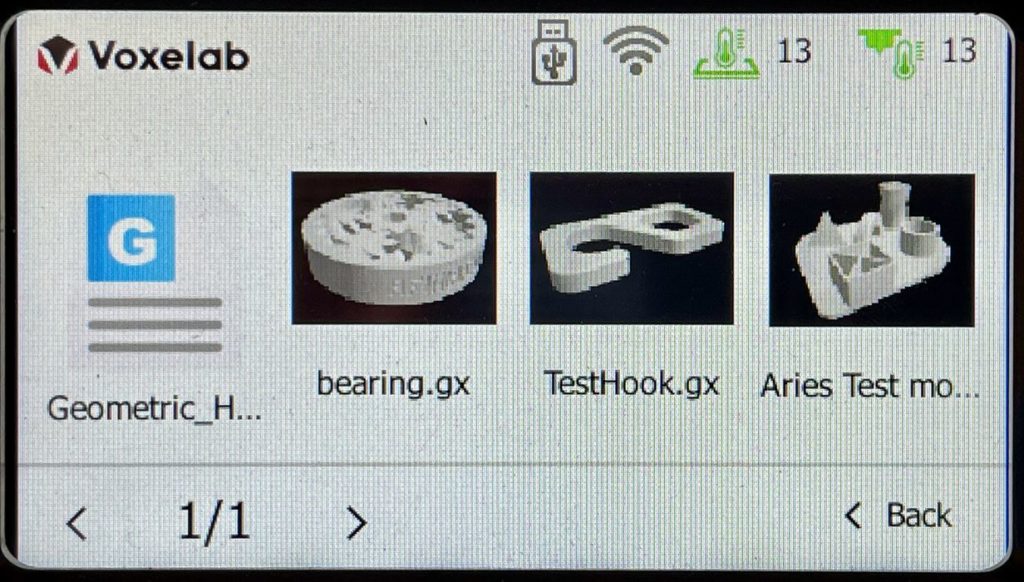
In addition to the USB stick to provide print content, the Aries also offers a WiFi connection, which I tested.
I downloaded the required VoxelMaker slicing software and I find it intuitive and easy to use. It’s not terribly different than using Ultimaker Cura or PrusaSlicer, so if you’re familiar with those, it’s easy. Actually, it’s easy even if you don’t know them.
Setting up the WiFi connection was simple to complete — when following the steps in the user manual! Once connected, the VoxelMaker to connect the Aries to the WIFI connection worked flawlessly and quickly. I found a 3D model on Thingiverse and sent it via WIFI connection from my laptop to the Aries and it printed successfully.
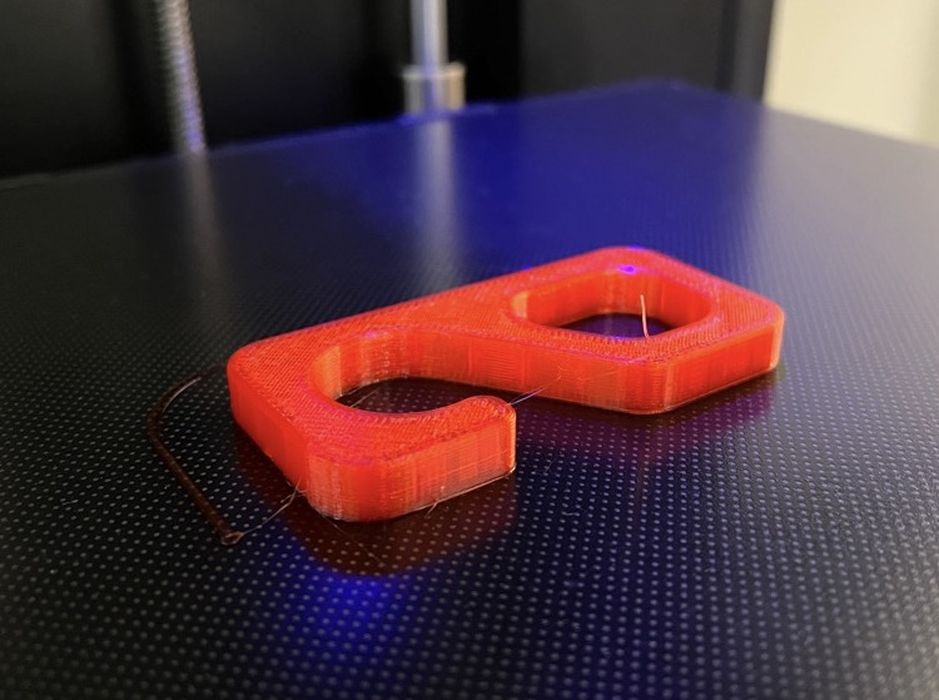
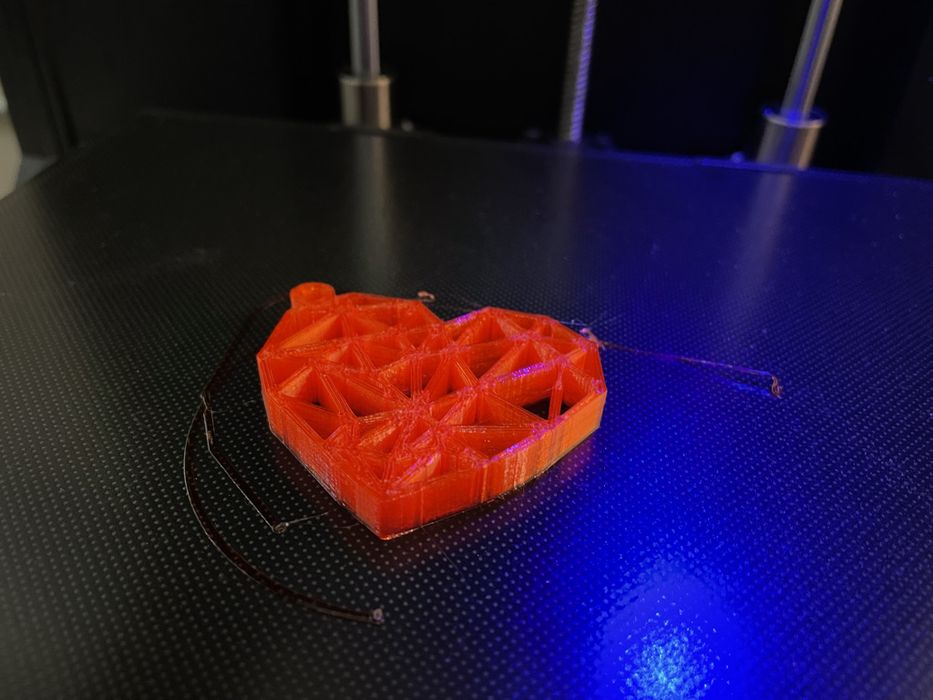
Print quality is very good from the Aries, as you can see in these test print images.
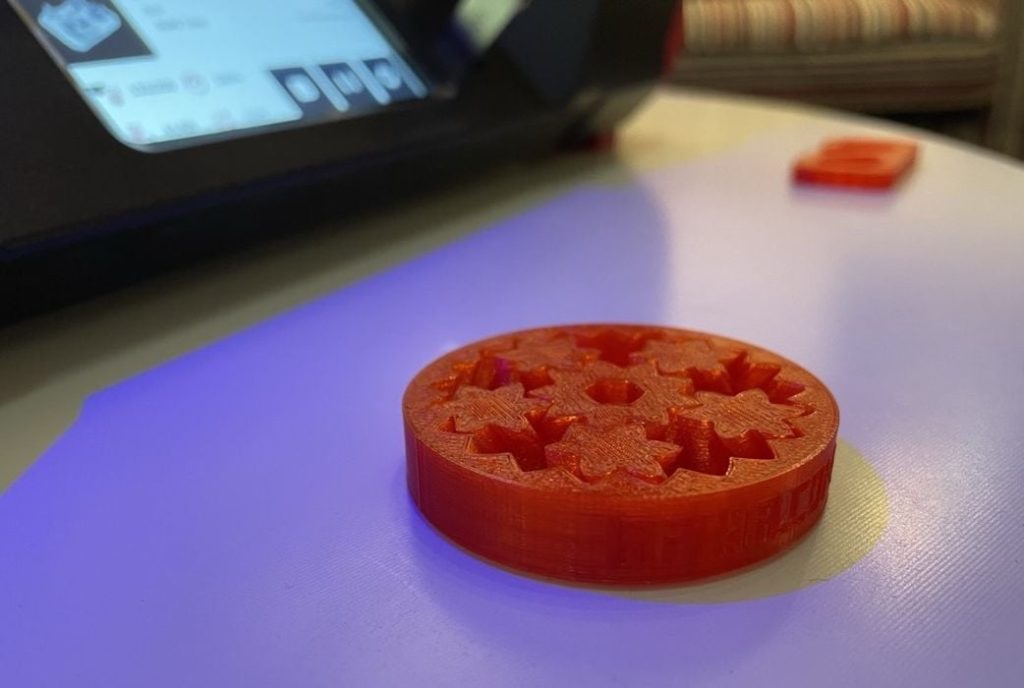
One very good test was this planetary gear, an item that’s often very challenging to 3D print on a FFF machine. The reason for the challenge is that the gears are all designed to rotate smoothly: there is a minuscule gap between each gear, and if your 3D printer is not tuned properly, these gaps will overlap and fuse together.
After the print plate cooled and I removed the gear, it immediately spun around without issue. That’s a great demonstration of how well the Aries can 3D print objects.
Aries 3D Printer Conclusion
This Voxelab 3D Printer is a an excellent choice, especially for its rather low price of only US$299. I recommend it for anyone looking for a 3D Printer for home or office, and especially for STEM classrooms. Anyone wanting a fully assembled 3D printer that is easy to use for producing parts with PLA, ABS or PETG.
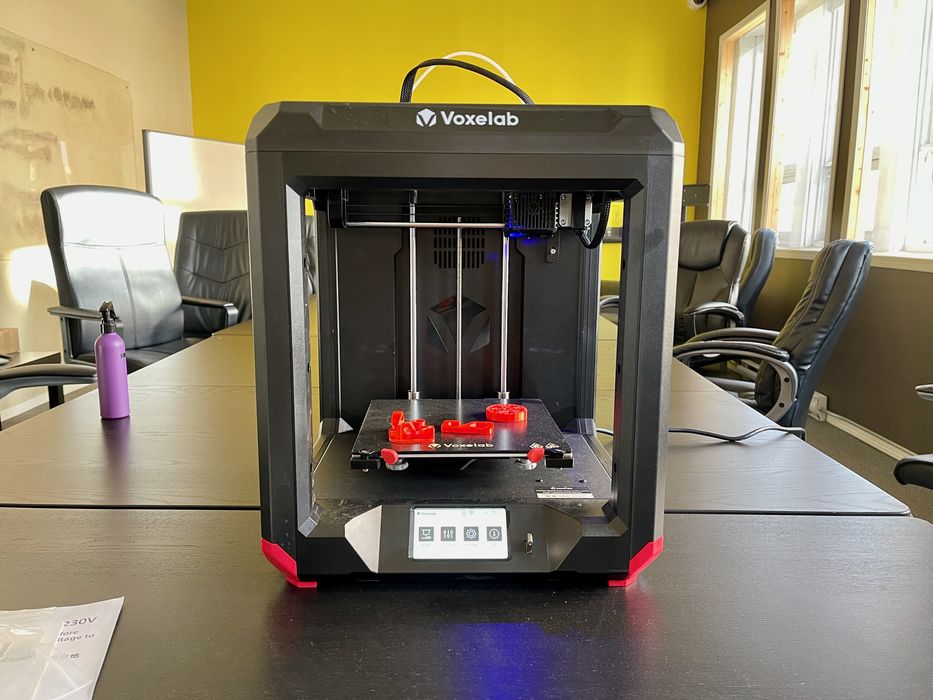
Final thought: several who dropped by the test lab and saw the Aries wanted one, just from how professional it looks.
This is part two of a two-part series. Part one is here.
Via Voxelab
I just got an Aries. I haven’t been able to get the WIFI feature to work. I also have other questions about using the Aries. I haven’t been able to get any help from Voxelab. Nobody from Voxelab has replied to my emails or to my comments on their official Facebook group. I am concerned about the 1 year warrantee since I can’t get any help from them now. Do you have any suggestions for me? Thank you.