
Do you know how to easily re-spool 3D printer filament?
I’ve been doing this from time to time for various reasons. Usually it’s because the spool itself has broken, and the filament must be placed on another spool to be used.
But recently another reason has emerged: dimensional compatibility. I’ve been using Bambu Lab equipment with their AMS filament swapping accessory. It works extremely well, except for one big issue: spools must fit into the AMS.
It turns out that a good portion of my filament inventory is on spools that don’t really fit in the AMS. If I want to use them in the AMS, I have to respool the filament on a spool that does fit.
It’s possible to do this entirely manually, usually with two people, with one holding each spool. However, this is tedious and requires another person. A better way is to use hand tools, and here’s what I do.
Equipment needed:
- Empty spool of appropriate dimensions
- Spool of inappropriate dimensions
- A variable-speed hand drill
- Heavy gloves
- An idle 3D printer
- Side cutters
- Spool mounting parts
Throughout this process, be constantly aware of the loose filament end. You do not want to let go of it, as that is asking for tangles. Always keep it in your hands or securely fastened to a spool hole.

The first step is to print spool mounting parts. There are countless spooling 3D models available on each 3D model repository, but some are extraordinarily complicated. I wouldn’t bother with any of those, and instead simply found something like this above.
You’re looking for something that will mount onto spools with varying inner diameters, and also fit into the hand drill. Try searching for “spool winder”, there are plenty of options. It’s also possible to design something similar to this yourself with any CAD package.
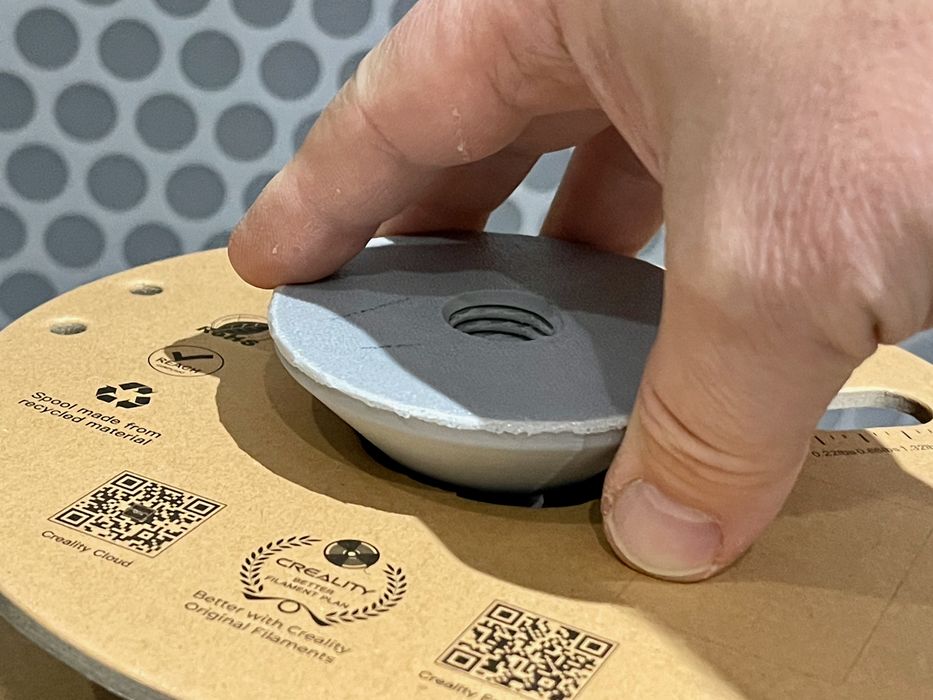
The angled design of the winder accommodates many diameters, so it’s easy to attach to almost any spool.
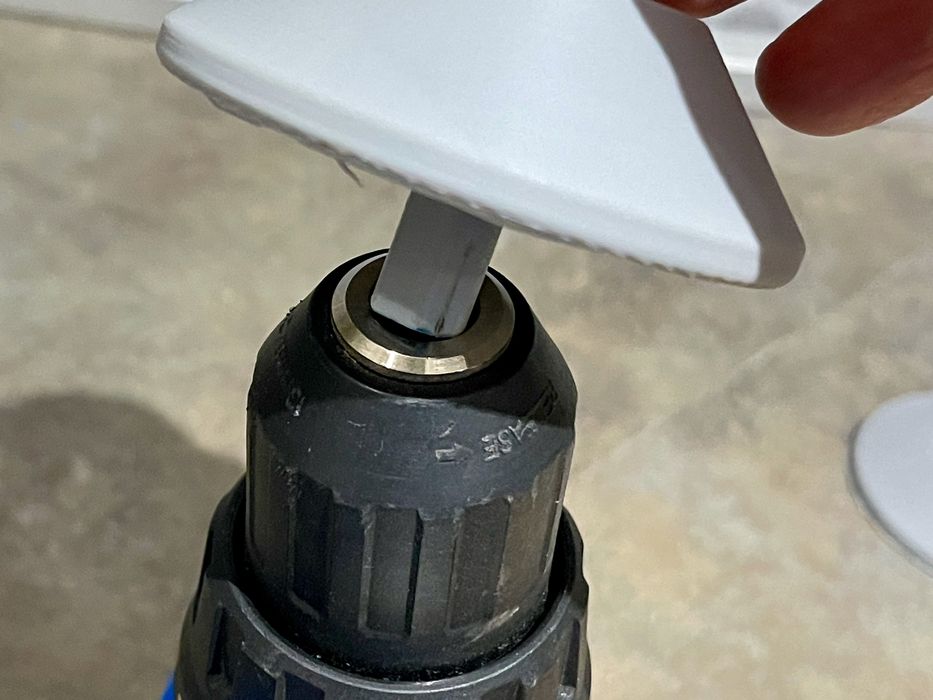
Hopefully your spool winder has a stub that can fit into the hand drill securely. It should be mounted at this point.

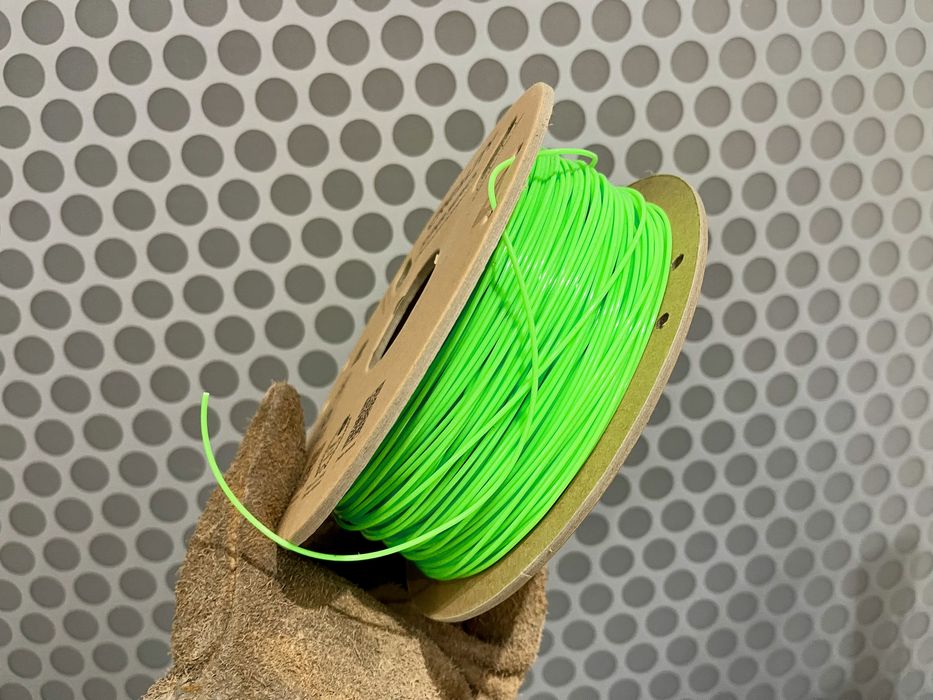
The next step is to place the source spool somewhere that it can spin freely, but not roll away. The ideal position is actually the spool mount on the top of an idle 3D printer. This hardware is literally designed for this purpose, and the weight of the 3D printer will hold it solid during filament transfer.
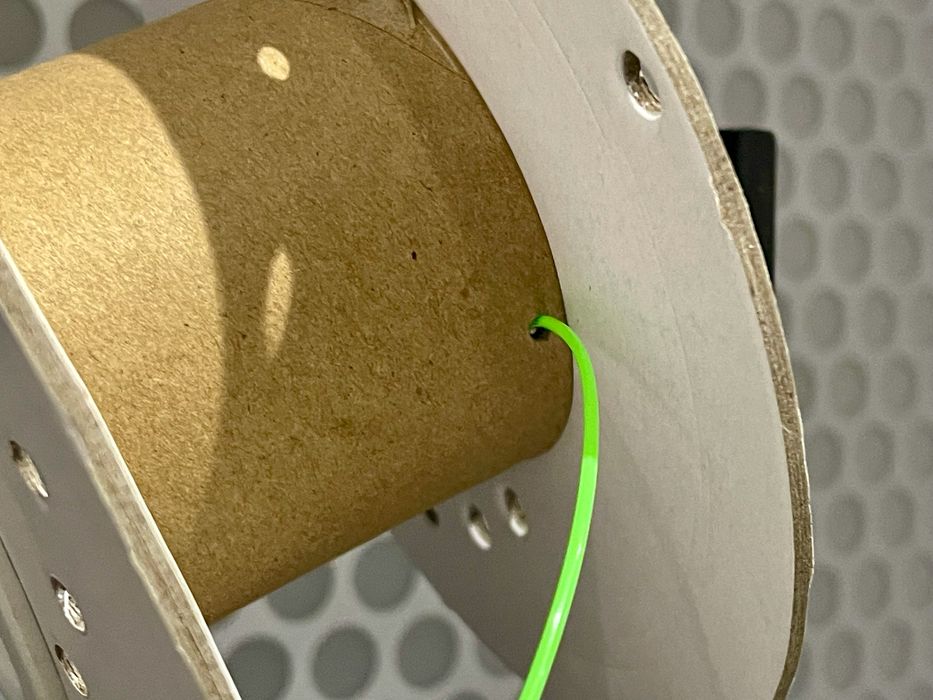
You then have to attach the beginning of the filament to the empty spool. Usually there’s a small hole for this purpose, requiring a bent filament to be inserted. Sometimes you may have to tape the filament down, and that works equally well.
At this point the two spools are connected and you’re almost ready to begin the transfer. However, you must first doublecheck the direction of the hand drill, which is usually controlled by a switch on the handle. Make sure it’s turning in the direction required to pull the filament.
You can’t just fire up the drill and watch the filament fly, as it won’t land properly on the empty spool. Instead the trick is to hold the filament with a bit of tension so that the filament landing on the new spool can be perfectly controlled.
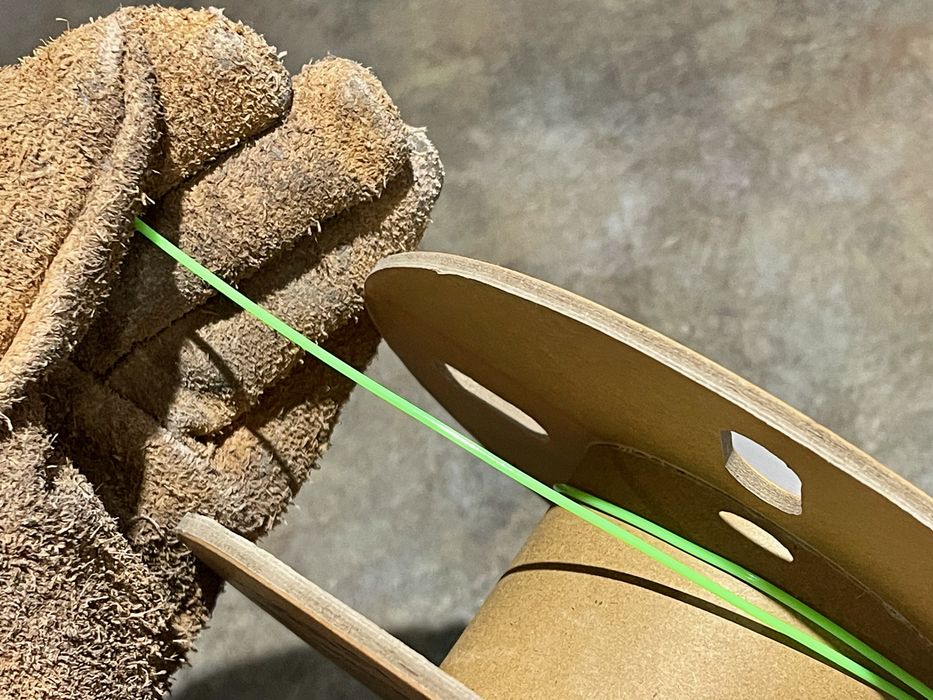
This may result in abrasion on your fingers, so I strongly advise using some thick gloves for this. This will also negate issues with fiber-reinforced filaments: you don’t want to end up with a lot of glass filament segments in your skin!
Now you’re ready to turn on the drill. I advise going very slowly at first, which is why you must use a variable-speed drill.
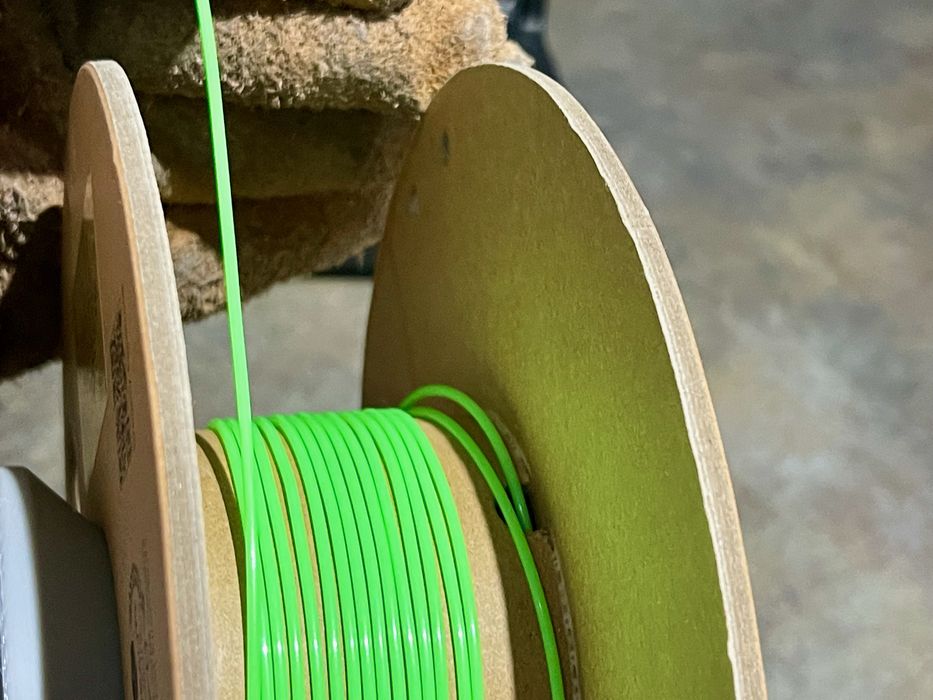
By moving your hand slowly from side to side, you can control where on the spool the filament lands. The idea is to sweep slowly back and forth to leave a more or less even layer of filament. Keep some tension on the filament and leave the slack between your hand and the source spool.
Once comfortable, crank up the speed a bit. Do not go full speed, as that is asking for trouble. You do not want an accident where the source spool is spinning so fast that it will spray filament all over if you have to unexpectedly stop.
Sooner or later you will get close to the end of the filament. Do not run it right to the end!
This is because the source filament will be secured somehow on the spool. It might be taped down, or inserted in a hole, or knotted up somehow. In all cases this will abruptly stop the transfer. It’s best to slow down and just sacrifice the last bit of the filament to the side cutters.
Insert the loose end of the filament in a hole on the new spool and you’re all done.
If you become good at this, you can transfer an entire 1kg spool in less than five minutes.