3D printing calibration is mentioned all the time, but what does it really mean?
One might think a desktop 3D printing simply makes stuff, but the truth is that it can only do so when properly calibrated.
Wikipedia defines “calibration” as follows:
“Calibration is the comparison of measurement values delivered by a device under test with those of a calibration standard of known accuracy.”
Ok, but what does this mean in terms of a 3D printer?
It’s all about ensuring the correct operation of the device. Basically, all motions and actions of the device should be within very specific limits, otherwise printing can fail. Also, better calibration also can produce higher quality prints.
What needs to be calibrated on a 3D printer?
Some may believe “calibration” means “leveling”, but there are many other things to calibrate. Let’s take a look at some of the main aspects:
Leveling
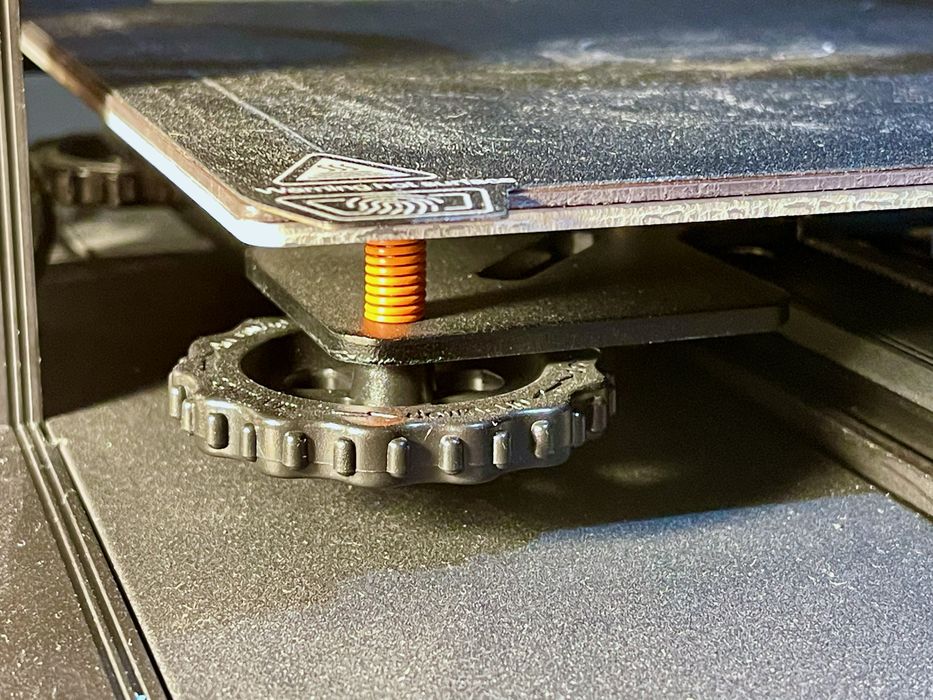
As mentioned, “leveling” is the process of ensuring the toolhead is moving in parallel to the build plate. Since the two are separate mechanical parts, they could be misaligned. The idea here is to move the toolhead around without moving it up or down, and ensuring that it is the same distance from the build plate.
Most often this is done through adjusting some screws to tilt the built plate, since you can’t easily change the angle of the toolhead movement. Modern machines have easily accessed fat wheels for each adjustment.
Mesh Bed Leveling
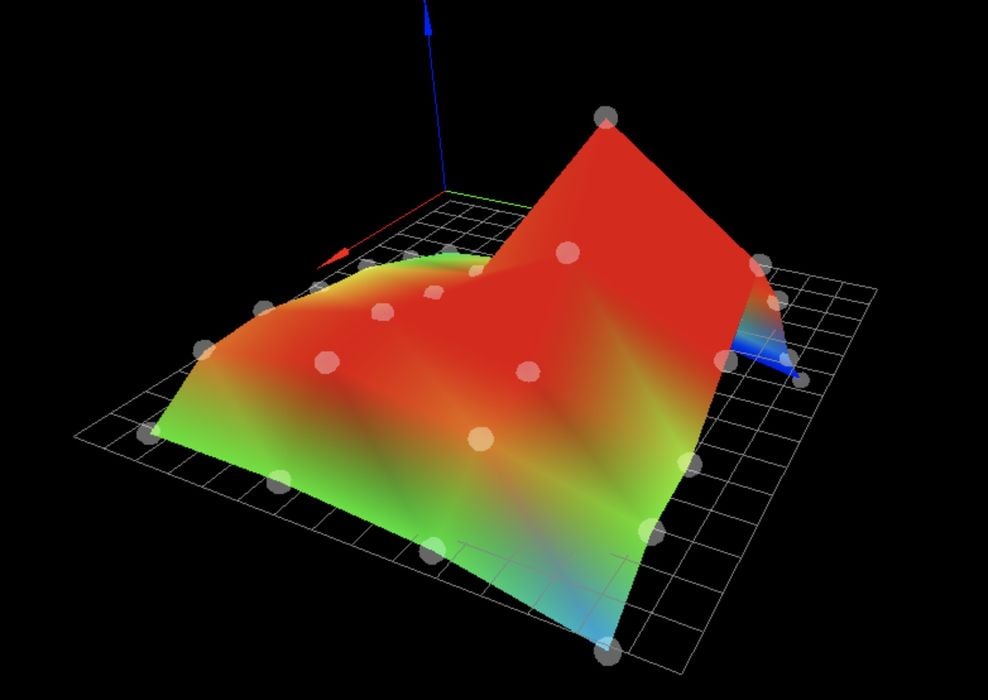
Mesh bed leveling is a bit different. It assumes your print surface is already mostly level with the toolhead. But often the print surfaces are not entirely flat. While glass or solid metal print surfaces do maintain flatness, thin sheets, particularly removable ones, do tend to warp slightly over time.
The mesh bed leveling process simply probes the print surface’s height at various points, typically in a 4×4, 5×5 or even 6×6 configuration. By measuring the height at each point, the system is able to generate a kind of 3D model for the surface, showing hills and valleys. Then when printing the first layer, the printer can slightly adjust for those deviances and ensure a consistent distance from the print surface regardless of the inconsistent flatness.
Z-Gap
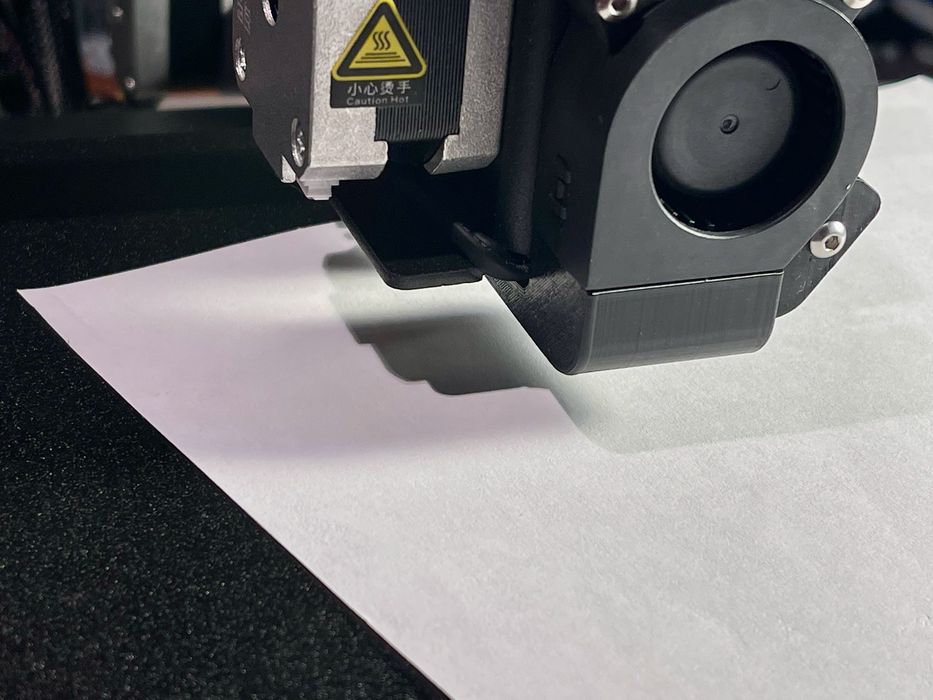
The Z-gap is often a required setting. It’s simply establishing the standard distance between the nozzle tip and the print surface — which remains consistent due to the leveling above.
If the Z-gap is too tight, the extrusion is smeared out too thin and will overflow into neighboring extrusions, making a bit of a mess. If the Z-gap is too loose (big), then poor adhesion will result.
E-Steps
E-step calibration is sometimes required, and it’s basically matching up the extrusion motor system with reality. It has to be done only once. The stepper motors turn a known amount per each step, but how does this translate into an amount of filament? There is a setting in the firmware to indicate how many motor steps correspond to a given length of input filament.
In other words, when the printer asks the extruder to push through 180mm of filament, it had better push through 180mm of filament — not 175 or 192mm. This is done by precisely measuring 100mm of filament and then requesting the printer to extrude 100mm. A measurement of what happened allows the operator to tweak the E-steps setting to a more accurate amount. If not done, then the operator risks having too much or too little material extrude.
Temperature
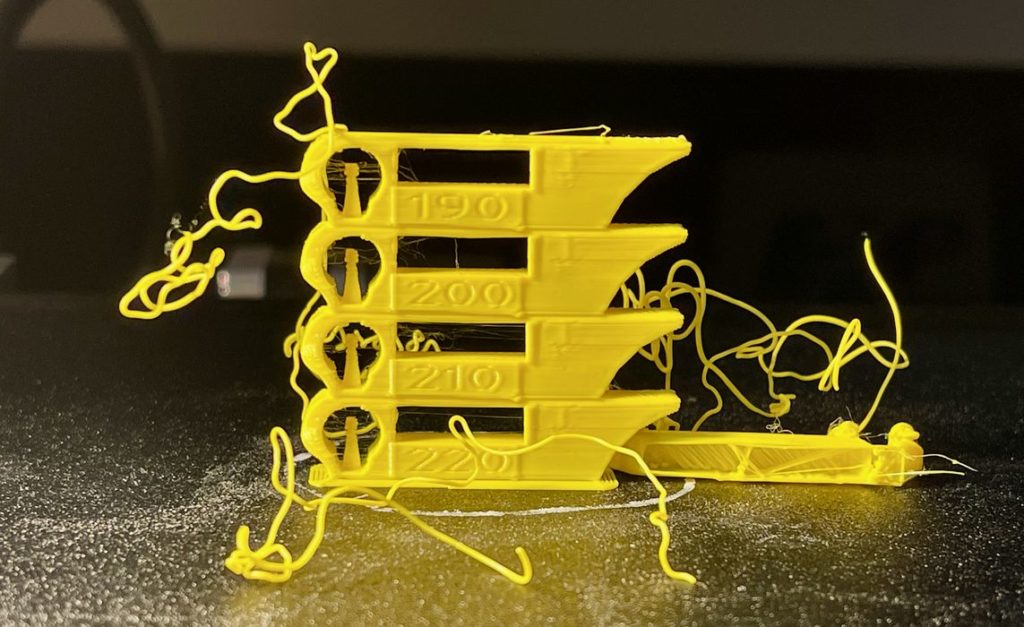
Temperature must be calibrated, not just once, but for every different type of filament introduced to the machine. Different filaments will have slightly different chemistry, and thus slightly different thermal characteristics. Some may soften at higher or lower temperatures. This is why you’ll see a sticker on your filament spool saying “PRINT TEMPERATURE: 180-220C”. Well, what is it, 180 or 220? Or is it 205? They say this because every 3D printer model has different thermal power.
The calibration process usually involves printing a “temperature tower”. This is a print in which the extrusion temperature is slightly different at each of several levels. By inspecting the print it’s easily seen where the optimum temperature lies.
Retraction
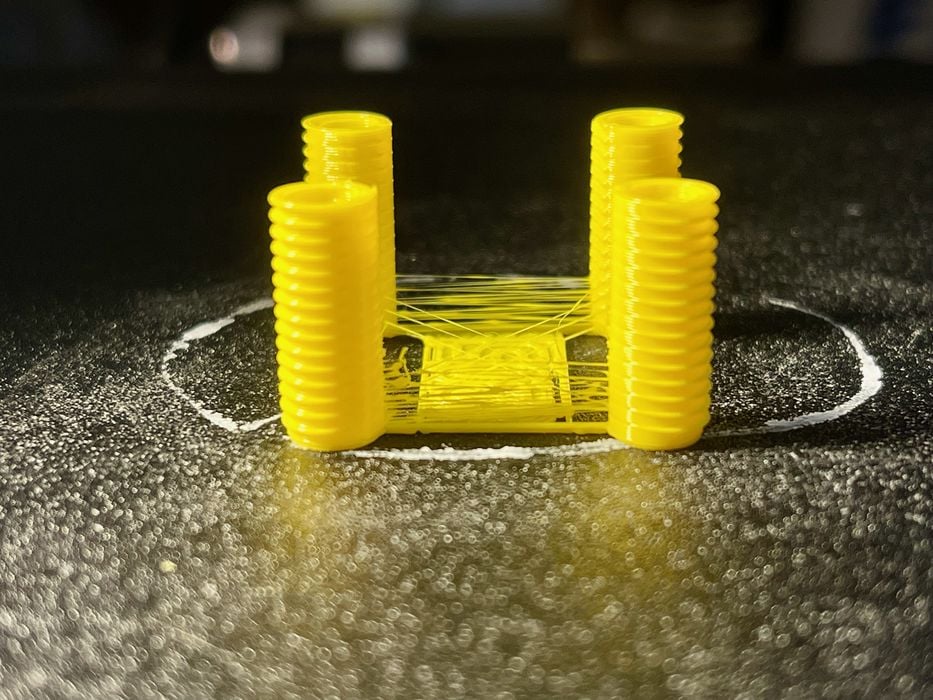
Some materials are more gooey than others. In other words, if pulled they string out, and this is what causes “stringies” on prints. As the extruder pulls back the filament slightly when moving around and not printing, it can emit a “stringie” if there is material left in the nozzle. To counteract this effect, the filament retracts slightly when not printing. However, the amount of retraction can be different depending on the material, and thus you need to perform an experiment to determine the correct value for that type of material.
Frame Alignment
This isn’t a big one anymore, but it used to be that some inexpensive desktop 3D printers were sold in a form where the frame literally wasn’t quite square. This obviously caused geometric issues in the resulting prints, and it was sometimes required to do calibration for this. Nowadays the machines are mostly solid and this isn’t much of a concern.
Flow rate
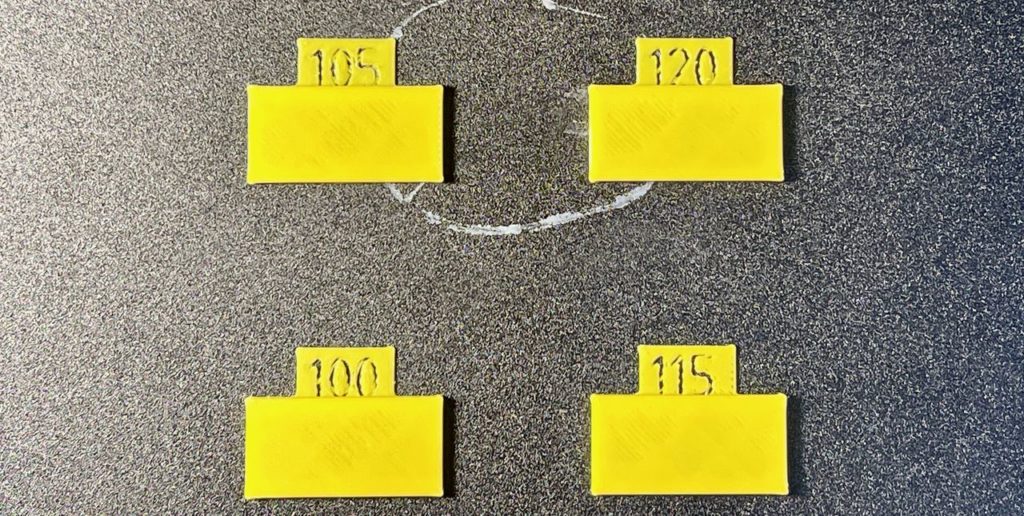
The flow rate is the amount of material coming out of the nozzle per time unit. While setting the E-steps mostly covers this, it doesn’t cover the possibility of the filament being slight smaller (or larger) than it should be. A given spool might require more (or less) flow rate to compensate. This is again determined by doing some print tests with different flow rates and picking the best result.
Exposure time
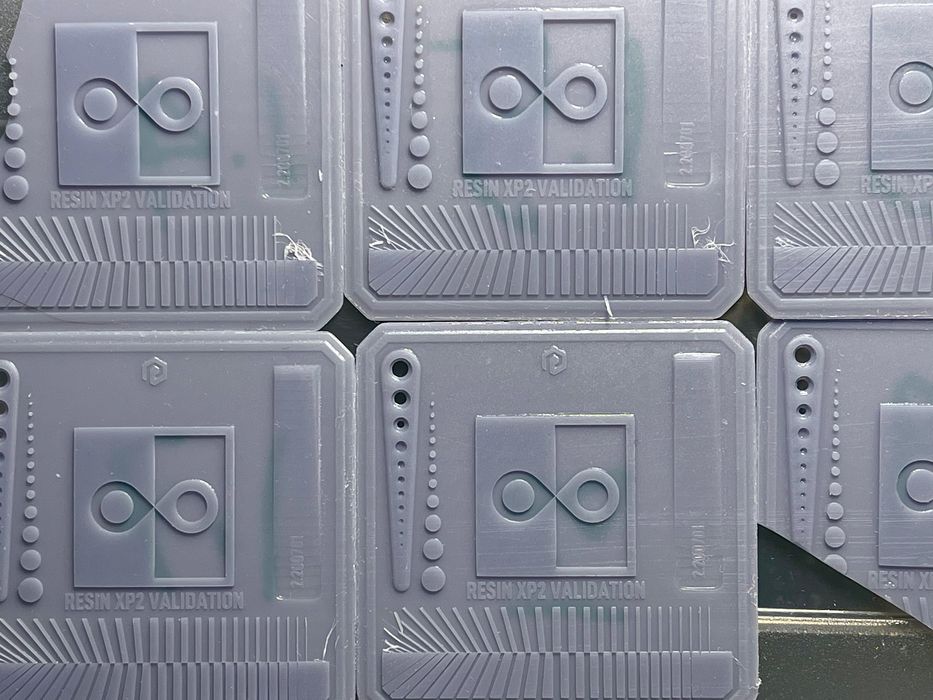
For resin 3D printers, the prime calibration is simpler, but critical: determining the optimum amount of time a machine should expose light to resin on each layer for curing. If too much, then you get overexposure and structures bloat and even merge into each other. If too low, then there will be gaps and structural weaknesses. The calibration is performed by repeatedly printing a test chip with differing exposure times until you determine which one best reproduces some fine details.
Achieving 3D Printer Calibration
Do you really need to do all of this stuff?
Yes and no. Some more expensive devices do most of this on their own through the use of calibration automation and advanced sensors. My suspicion is that this will increase and at some point most machines won’t require much calibration.
However, for now most 3D printers require at least some of the above calibrations to be done.
While there are manual procedures, tests and even benchmark objects for much of the above, one simple way to get through all of them quickly is to use SuperSlicer. It’s a PrusaSlicer variant that includes a guided step by step process through several key calibrations that will no doubt increase your print quality.

