
We had a chance to evaluate the new Prusa MINI 3D printer, and, wow, what a device!
This is part two of a three-part series on the Prusa MINI 3D printer. Please read parts one and three.
Testing The Prusa MINI 3D Printer
After the hopefully quick assembly, it’s time to turn on the Prusa MINI 3D printer, and it boots up quickly.
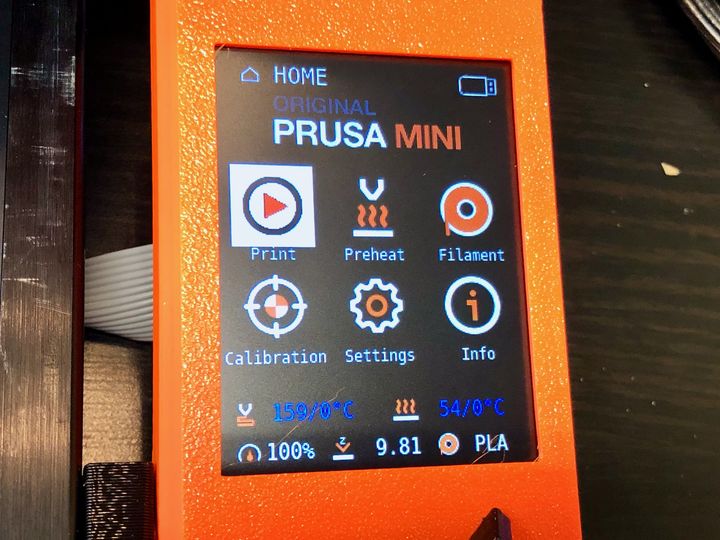
The first thing you’ll notice is the grand color screen that acts as the control panel for the MINI. This is quite unlike any other Prusa Research device I’ve used, as they have traditionally used box-like LCD mono-color LCD panels. The new screen is full color and expansive, allowing the company to provide a much richer interface, well beyond anything seen on the MK3S.
One unusual aspect of the new panel is that it is NOT a touchscreen, unlike almost every other desktop 3D printer we’ve seen recently. Instead there is a single knob that can be rotated to scroll through options presented on screen. The knob is a kind of “captain’s wheel”, making it very easy to use. It provides tactile feedback as you turn it that match the cursor changes on screen, so you feel very connected to the device.
Loading filament is a straightforward affair, unlike some other 3D printers I’ve recently used. Most devices provide an ability to “get into the gears” to make sure things work, but the Prusa MINI seems to hide things from the operator: you just push the filament into the PTFE tube and it will be grabbed by the extruder automatically.
I found the filament loading (and unloading) sequences to be extremely simple. I had a couple of novices try this procedure with very limited instructions and no one had a problem. This is a surprising thing, as many inexpensive desktop 3D printers have challenging load sequences. Not so on the Prusa MINI.
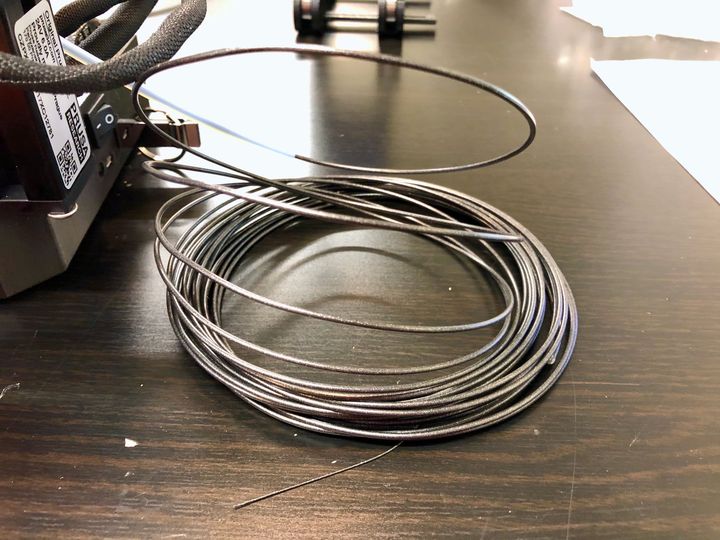
Oh, I should mention that unlike most desktop 3D printers, the Prusa MINI does not come with a spool of filament. That’s obviously a tactic to reduce the price, but you’ll be buying filament sooner or later anyway. What is included is two small coils of Prusament filament that you can use to get started. I’m not quite sure of the weight provided but it’s around 100g each, and that’s not enough to print anything other than a few small objects. In my package the two samples were their excellent Galaxy Black and Mystic Brown.
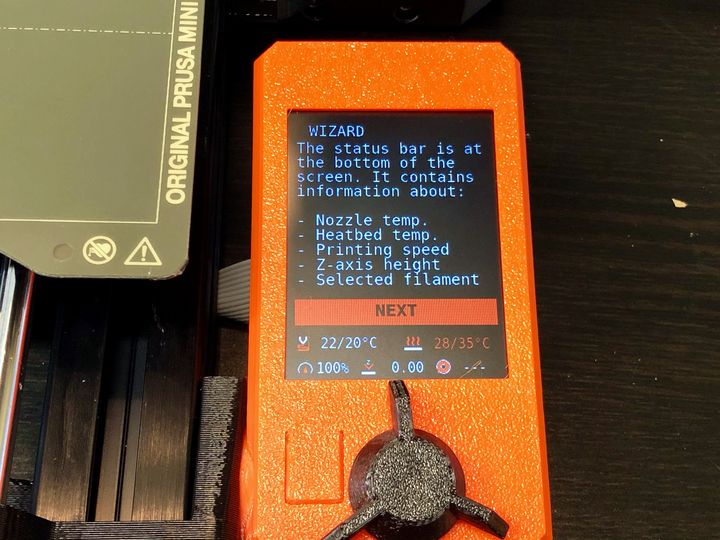
Setup of the machine is similarly straightforward. There is a “wizard” that automatically launches that walks you through all the necessary procedures. It performs the leveling calibration, tests all fans and axes. Yes, this is also seen on the MK3S, and even the MK2, but with the informative color panel it seems a lot more “automatic”.
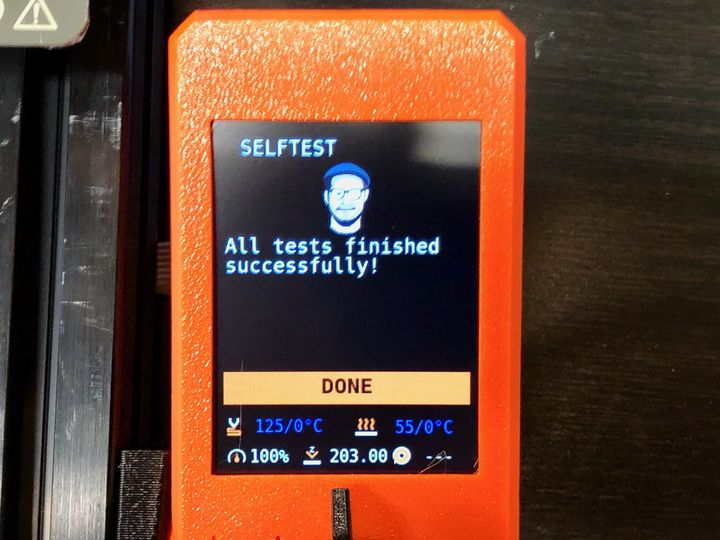
Within a couple of minutes, the Prusa Mini declares itself ready for action. I like Josef’s appearance here, as it provides another comforting element of the user experience.
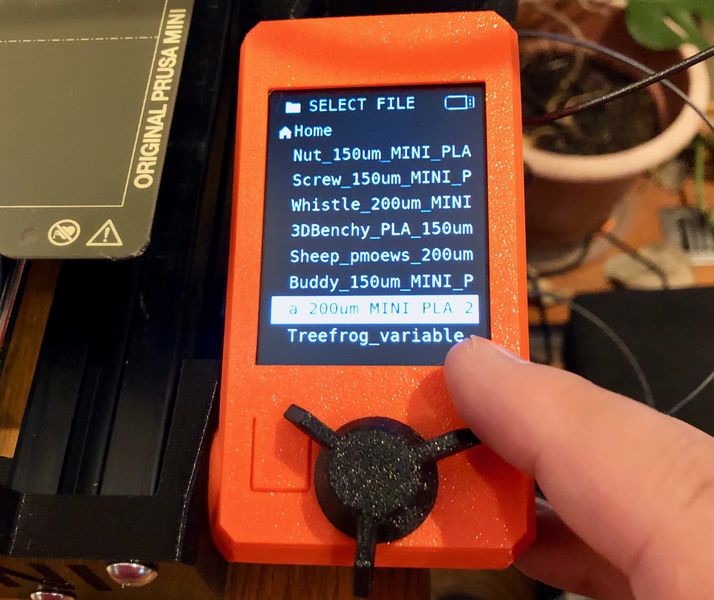
Prusa Research includes a USB stick that holds several pre-sliced 3D models for you to immediately print. This must be inserted into the USB port on the right hand side.
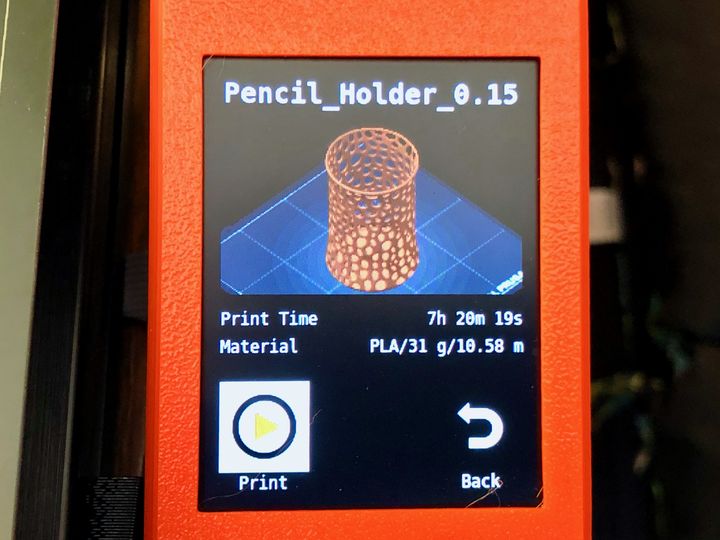
Here’s something that’s really interesting: when you insert the USB stick, the machine recognizes its presence and immediately finds the most recently saved GCODE file on the stick. This is then presented to you on screen, with a 3D preview of the part. The cursor is then positioned on top of the “Print” button.
I found this to be a minor, but incredibly useful feature: it saved so many menu commands, as you could simply save the GCODE to the stick, plug in the stick, press the control wheel and it’s printing. It seems that Prusa Research did some work to figure out likely workflows and tried to simplify them.
Once I saw this on printing, I noticed they did something similar in many other menu situations. Often you’ll find the cursor placed “where it should be”. For example, when printing a part the cursor automatically sits on the “Pause” button. Not the “Stop” button, which, if struck accidentally, would be catastrophic. Good work, Prusa Research!
Operating The Prusa MINI 3D Printer
3D printing on the MINI is very straightforward and there’s almost nothing to do aside from starting the job and letting it complete. The control panel provides a lot more information about the print job. Here you can see what it looks like during a print:
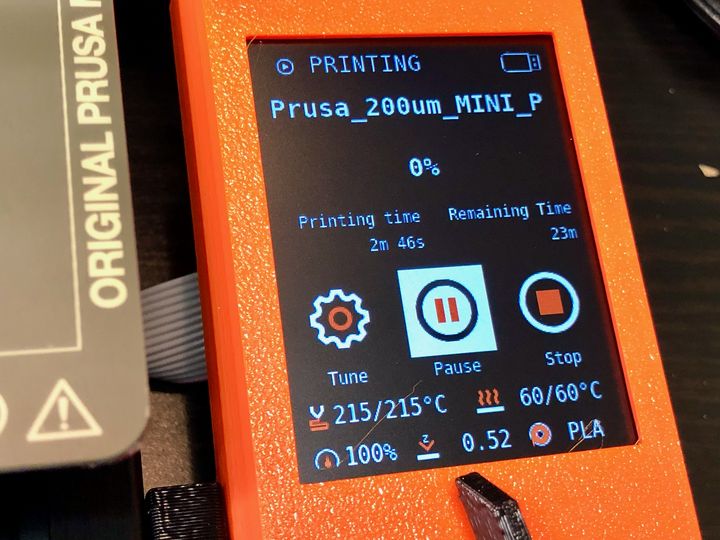
Well, perhaps there isn’t “additional” information, but it is certainly a lot more visible.
Operation of the Prusa MINI is almost entirely silent due to the use of advanced stepper drivers. For anyone who’s become used to the buzzy sounds older 3D printers make, the Prusa MINI will be a revelation. You can, however, hear the cooling fan, and a slight noise when the printer is performing long spans across the bed.
Nevertheless, it is quiet enough to be placed in an office where it really won’t disturb any but the most picky listeners. In fact, the MINI I reviewed here was installed right beside a person’s desk in a typical office.
I should mention another capability of the Prusa MINI: Portability. Yes, you can move any 3D printer around, and call that being “portable”. However, the Prusa MINI is small enough that it is actually relatively easy to move around due to its light weight.
I do have a suggestion for Prusa Research, however: to make it easier to move the MINI, it might be useful to have a handle on the vertical axis somewhere. Or alternatively, perhaps there could be a printable handle that would clip onto the MINI somehow?
This is part two of a three-part series on the Prusa MINI 3D printer. Please read parts one and three.
Via Prusa Research