
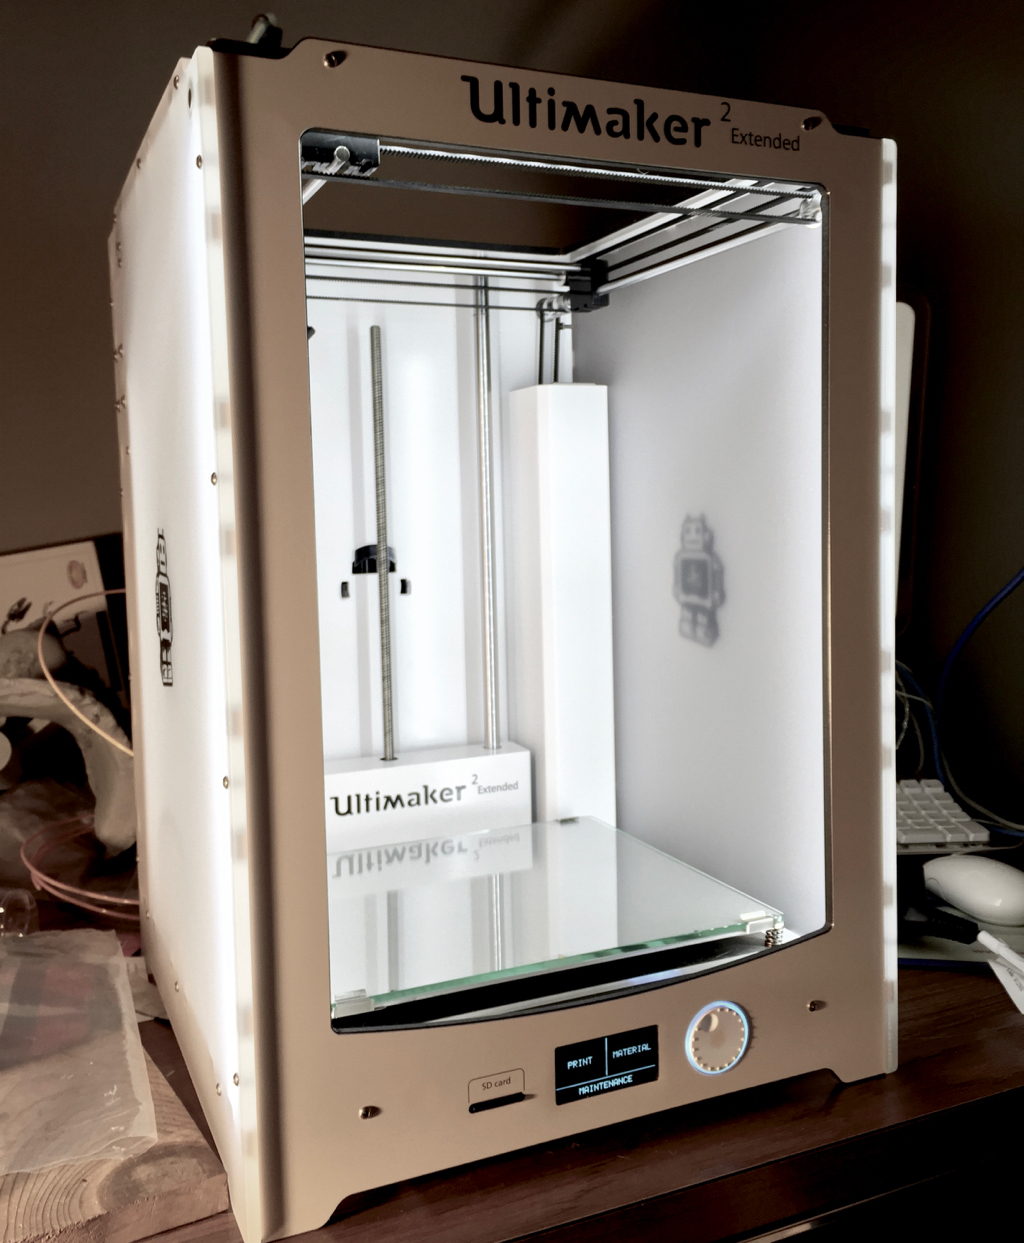

This is part 4 of our short series on the Ultimaker 2 Extended. Today we’re talking about the materials used by this oversize 3D printer.
Since the precision glass print surface is heated, it’s also possible to print materials with higher temperature requirements than PLA, like ABS. We found ABS to be trickier to print and successful printing required a fair bit of experimentation to discover the optimum combination of parameters. ABS also smells terrible, so we don’t like using it on aromatic principles in any case.
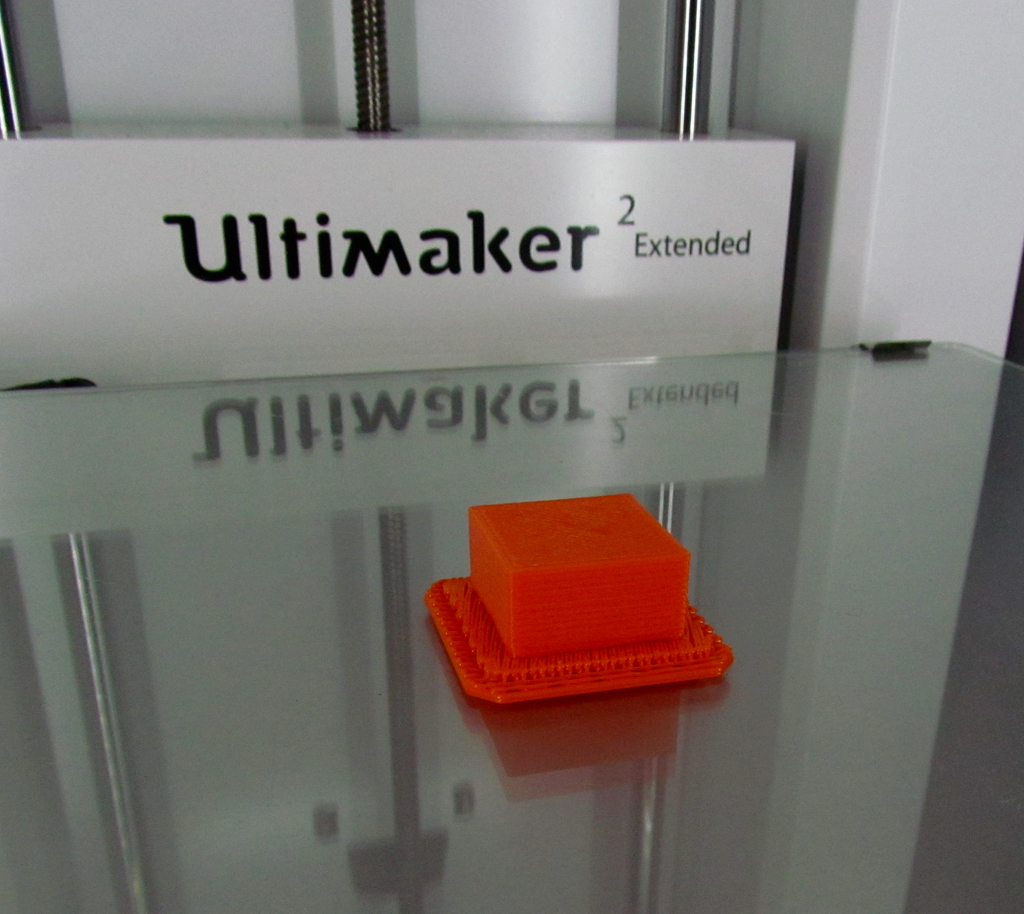
Our success formula for printing ABS on the Ultimaker 2 Extended was the following:
- Ensure the print surface is perfectly level with an appropriate Z-gap
- Heat the print surface to 110C
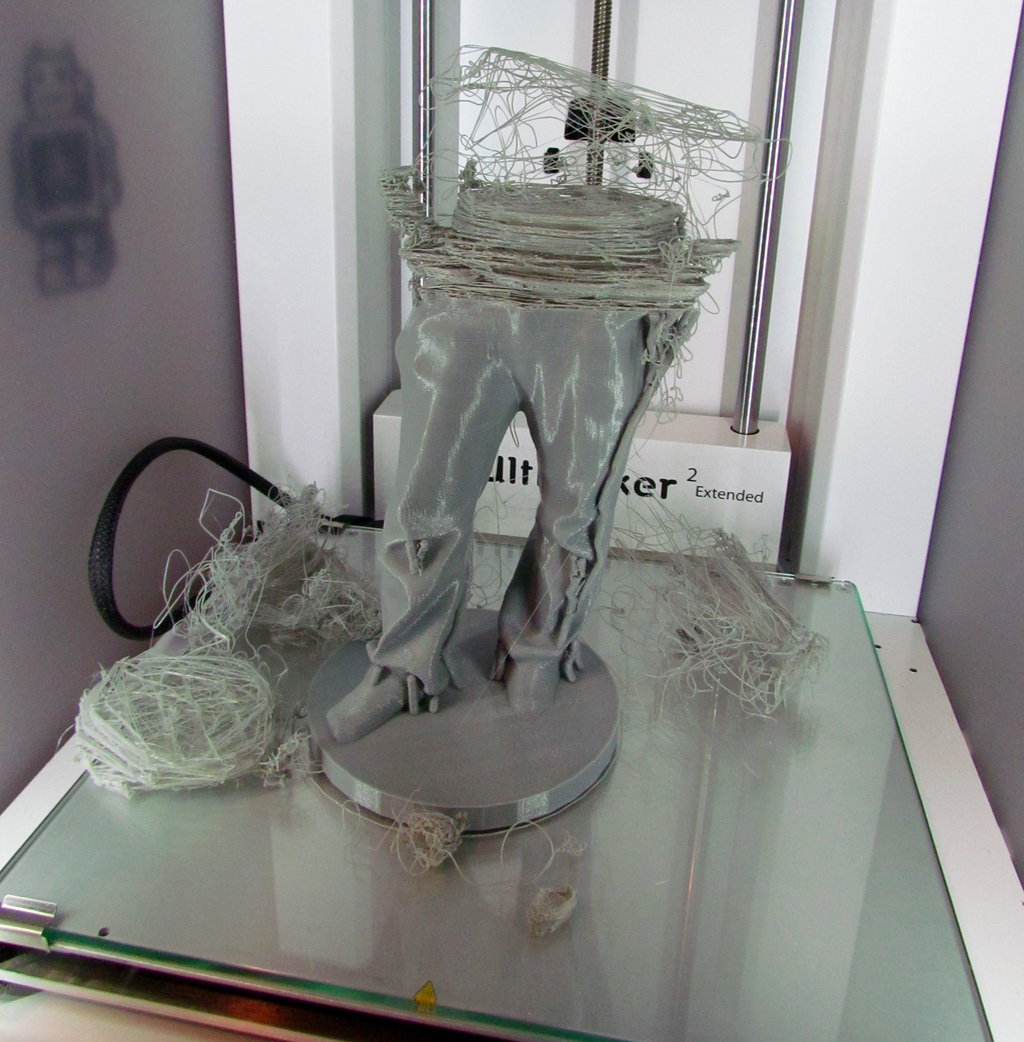
- Use a raft – perhaps the most important factor (see image above)
- Set the default print speed to half of the normal 60mm/second: 30mm/second
This, we found had almost a 100% success rate when printing ABS, although the prints were a bit slower than PLA due to the speed difference. It may be possible to print faster by slowing down the first layer speed to, say, 15mm/second and running the remainder of the print at normal speeds. We found Simplify3D’s raft worked very well with ABS on the Ultimaker 2 Extended.
This desktop 3D printer has a few peculiarities regarding filament. We found four things to be aware of.
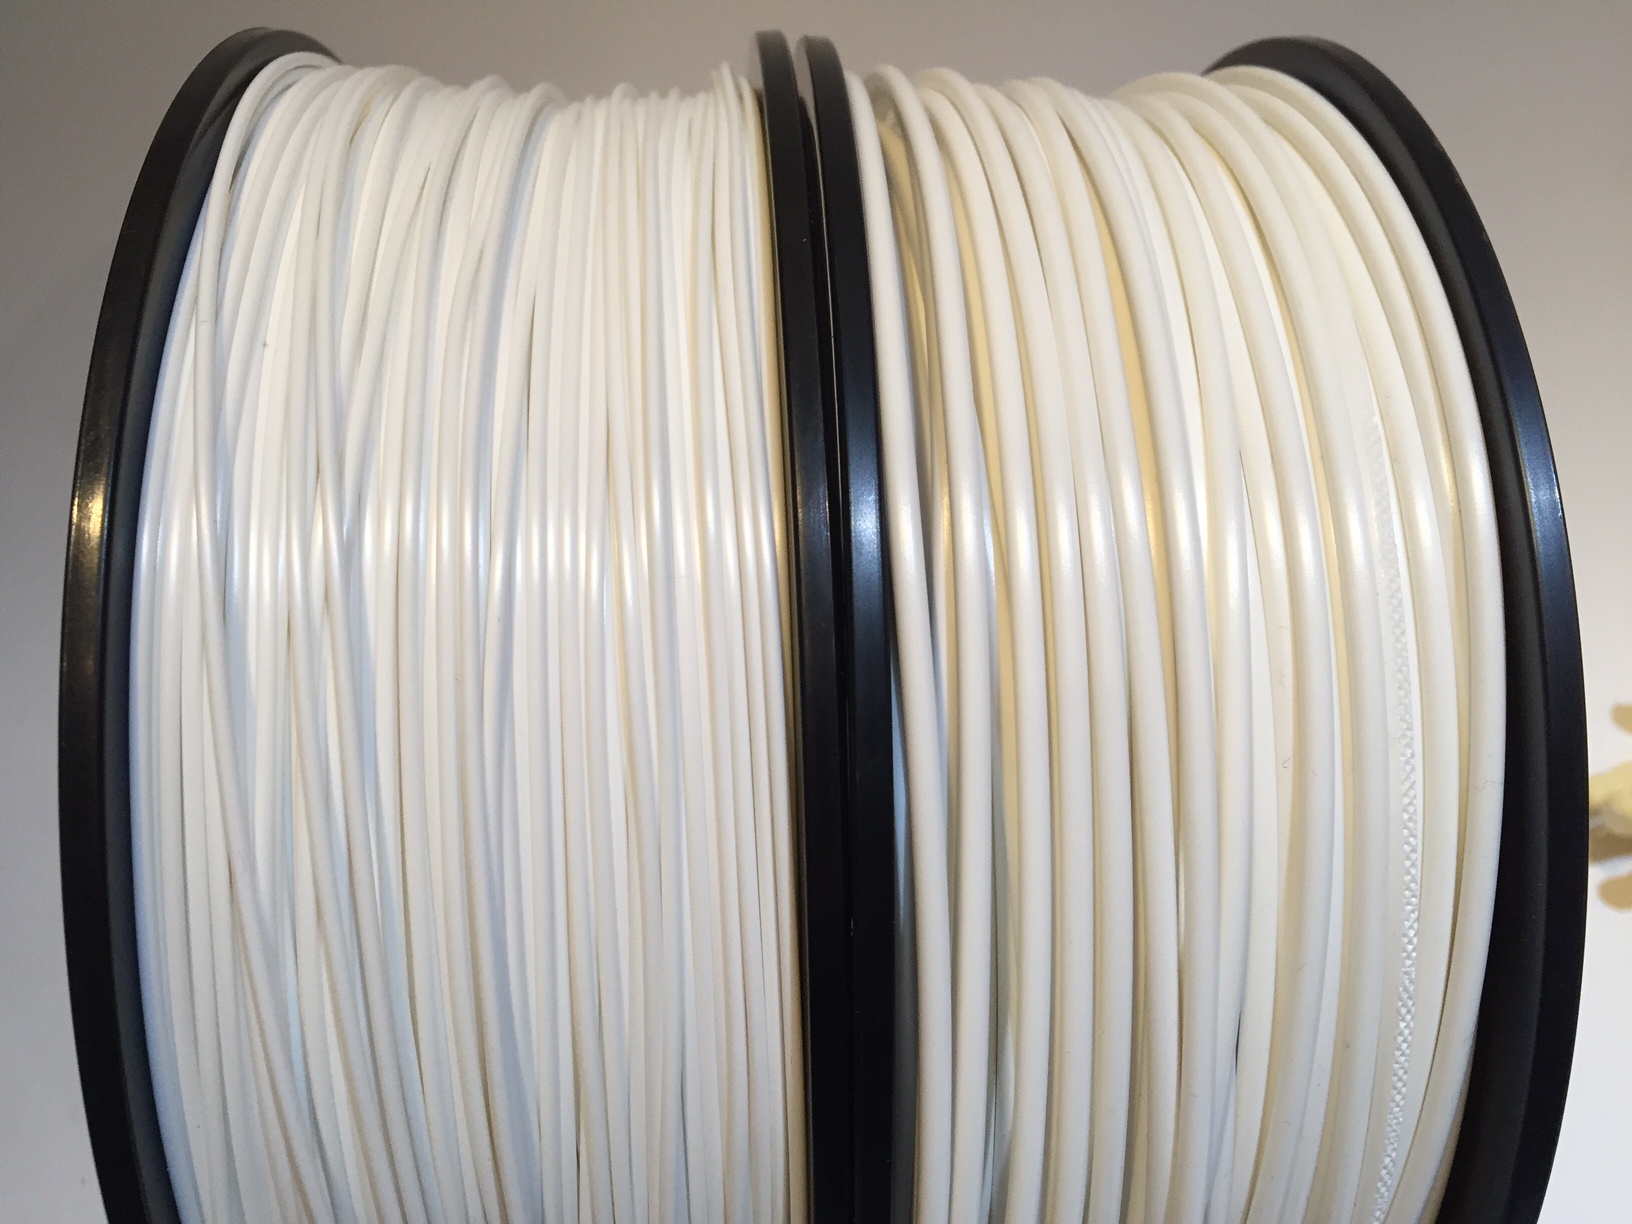
First, the 2.85mm filament is quite thick compared to the thin 1.75mm filaments used by most desktop 3D printers. This size of filament is quite stiff due to the filament diameter. You can run into problems when you leave the machine idle for a few days if you’re nearing the end of a spool of PLA. The thick filament is curled tightly around the spool hub and this natural curve has to straighten out in the path to the hot end. PLA, if left unattended in this state can crack, sometimes inside the tube itself. Rule of thumb: if you’re not intending on printing for a while, unload your PLA and leave it all on the spool.
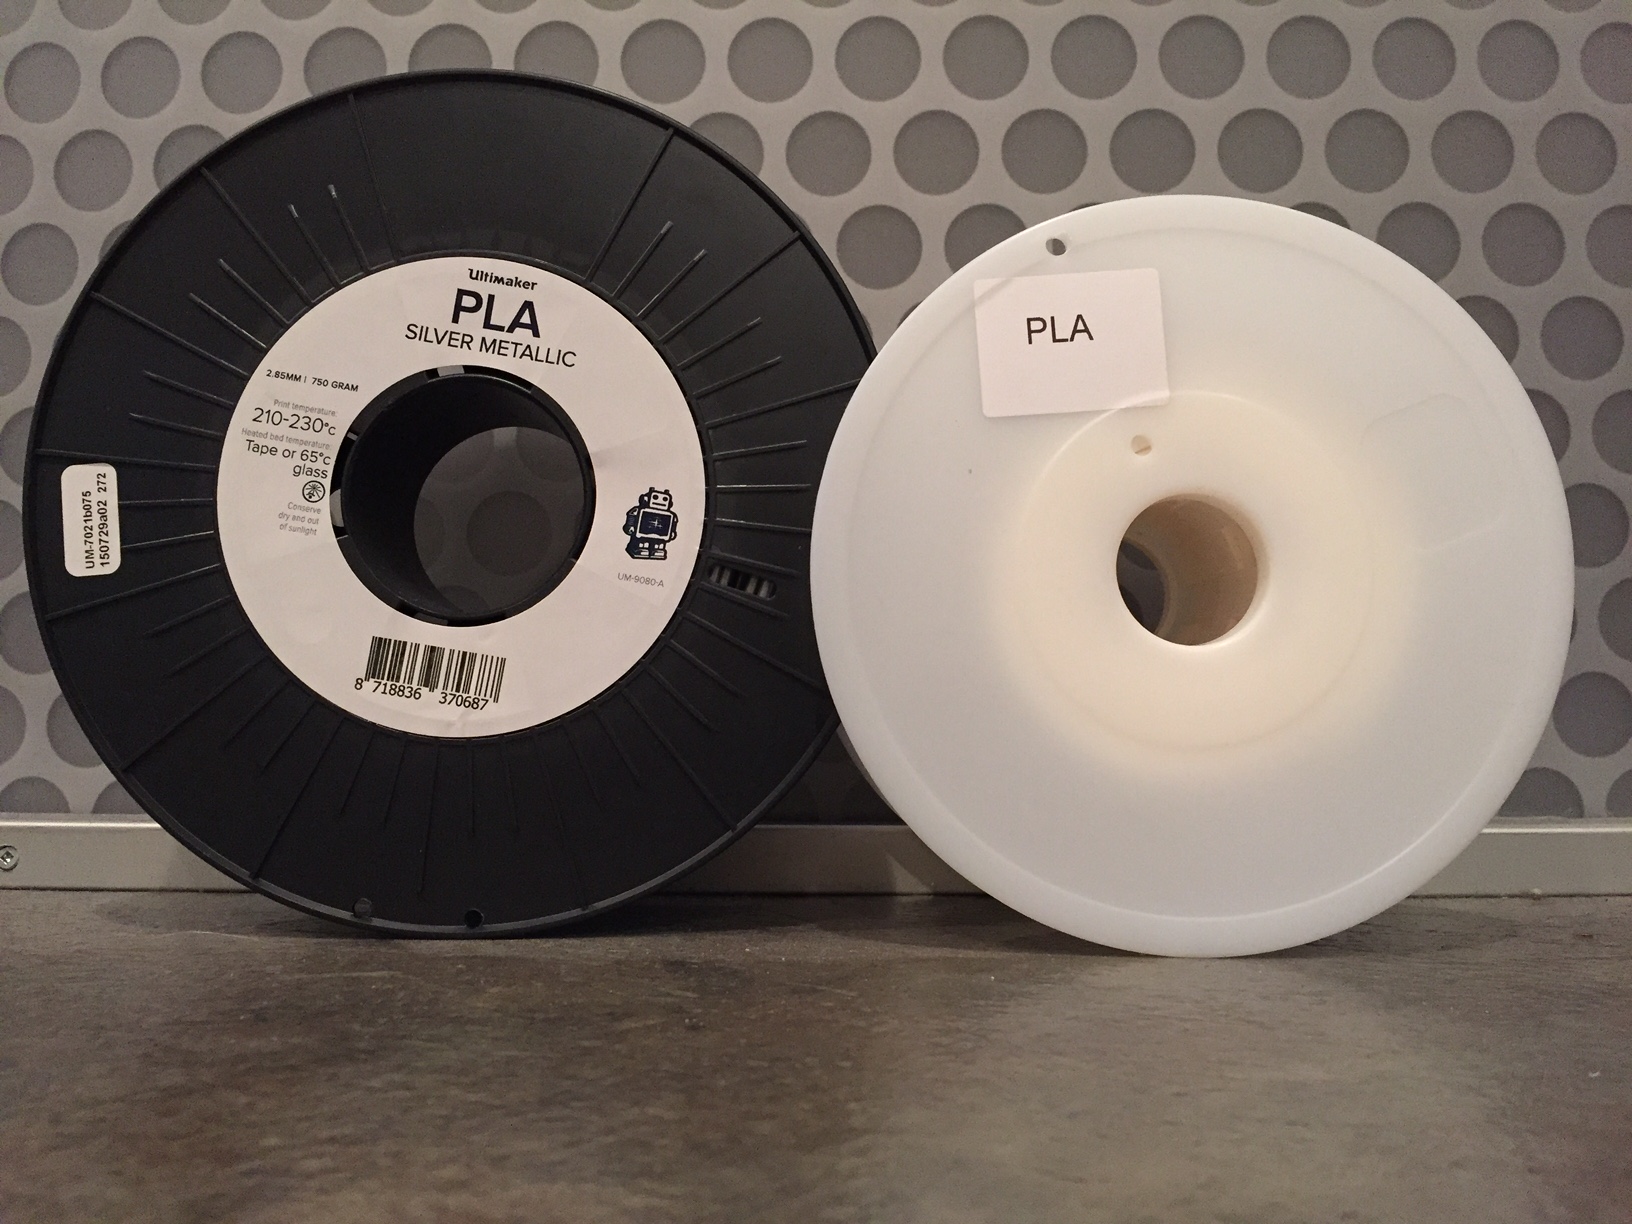
Second, the filament mount located on the rear of the machine is expecting a spool with a diameter of at least 50mm. If you happen to purchase generic filament with a different diameter, you’ll have to rig up a way to hold the spool outside of the standard mount. This isn’t a big deal, as you have to do this only once.
Third, the bowden setup seems quite sensitive to filament quality. We found few issues if you used known-good filament from reputable vendors, such as colorFabb, Faberdashery or Feelcolor. But when using no-name filament, problems, such as jams, strips or inconsistent flow were much more frequent. Bottom line on materials: use quality filament only with the Ultimaker 2 Extended.
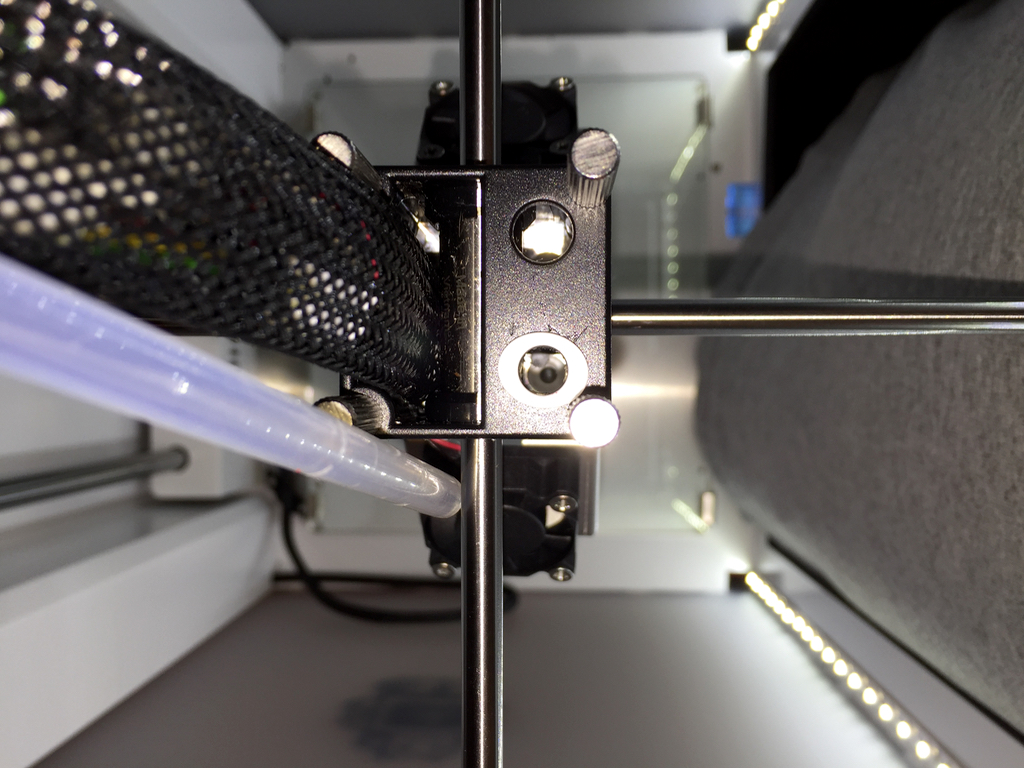
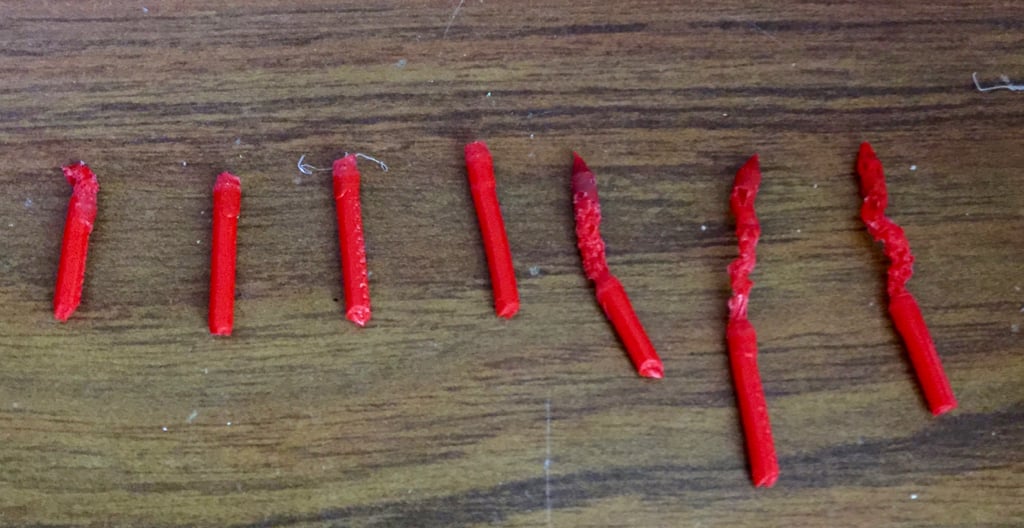
Cleaning out jams from the hot end is actually very simple to do. The bowden tube has a quick release feature and is easily detached from the top of the hot end. From there you can heat up the hot end and pull or push filament manually until your jam is resolved. The so-called “Atomic Method” involves letting filament cool just enough to slightly solidify, whereupon you dramatically pull it out manually, thus dragging out any contaminations with it. A few iterations like this and you’ve completely cleaned the hot end. Above you can see the bowden tube freed for cleaning action. Below you can see a sequence of pulls that progressively get cleaner as repeated extractions removed offending material from the hot end.
Third, the very long Bowden tube introduces a risk. Should you strip the filament, the filament is damaged at the extruder, where you must snip off the bad section. But the lost filament is actually 700mm of 2.85mm filament, all the way to the hot end! In practice, this is a significant loss of filament, perhaps 4-5 grams, particularly if you have a few consecutive stripping events. However, if you’re careful and use quality filament, this effect should be minimized.
The bowden tube arrangement in fact guarantees that you cannot use the last 700mm of filament, since it can’t push the filament after it leaves the extruder. However, we found a way to overcome this problem.

We simply spliced filaments together! The easiest way to do this is to cut both ends flat. Then, place them together tightly, perhaps held with clamps. Finally, VERY CAREFULLY AND QUICKLY apply some heat. We used a small hand torch and it worked perfectly, as you can see in this image. Of course, you’ll get a slight bump in plastic flow as the bulgy splice enters the hot end, but you don’t lose any filament this way.
We ran the Ultimaker 2 Extended through a lot of printing and eventually discovered its peculiarities and tricks. Overall, it’s a fine machine that is reliable – so long as you ensure it’s loaded with quality filament.
And it’s huge.
Available now from Ultimaker at a cost of USD$3,999.
Via Ultimaker
Posts in this series: