

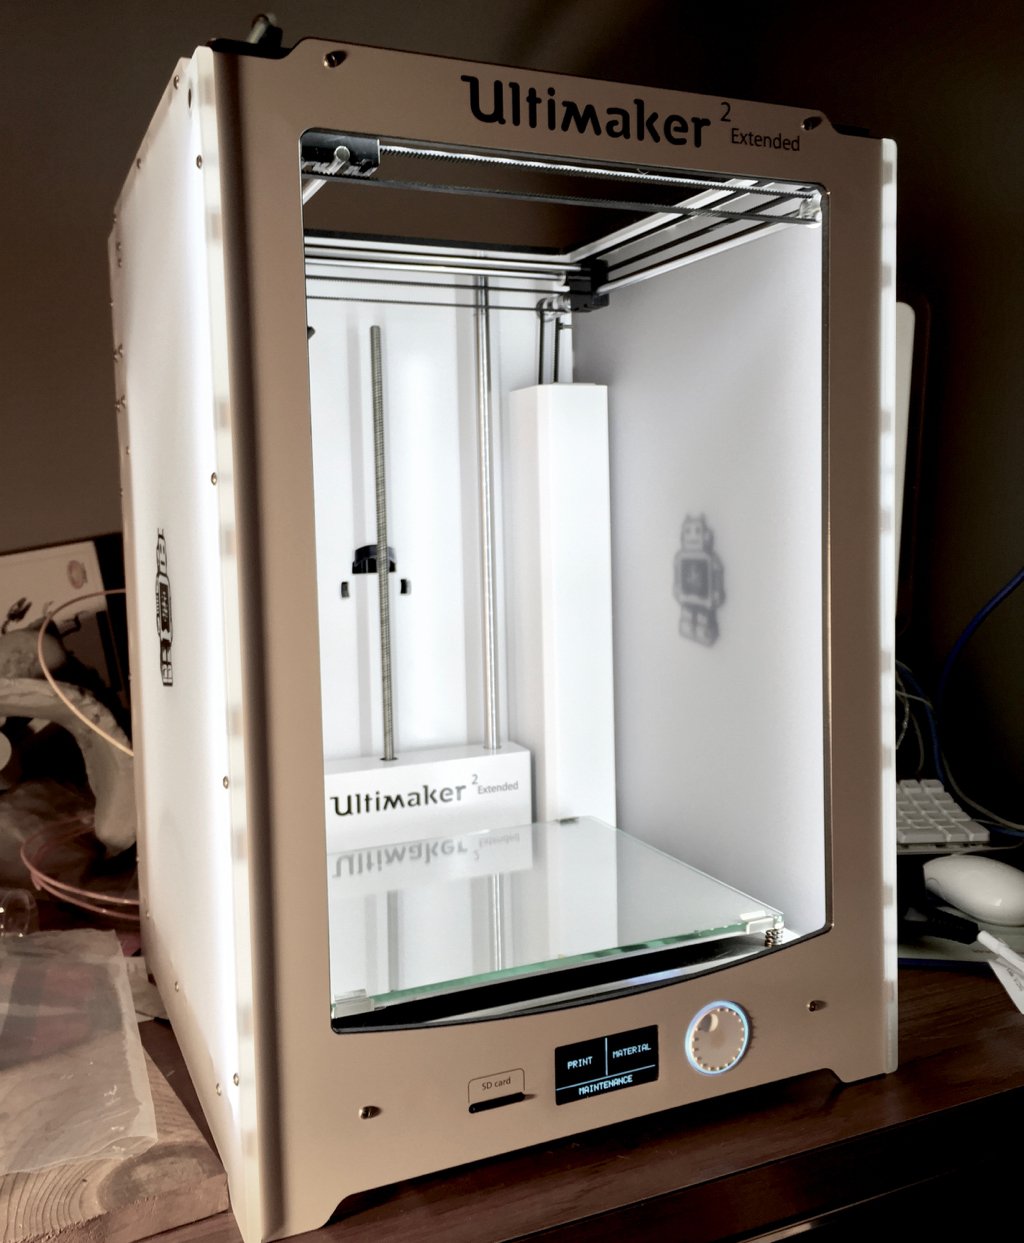
We’ve got our hands on a real-life Ultimaker 2 Extended and will take you through the experience of using one. In this multiple-part series, we will first investigate the machine setup.
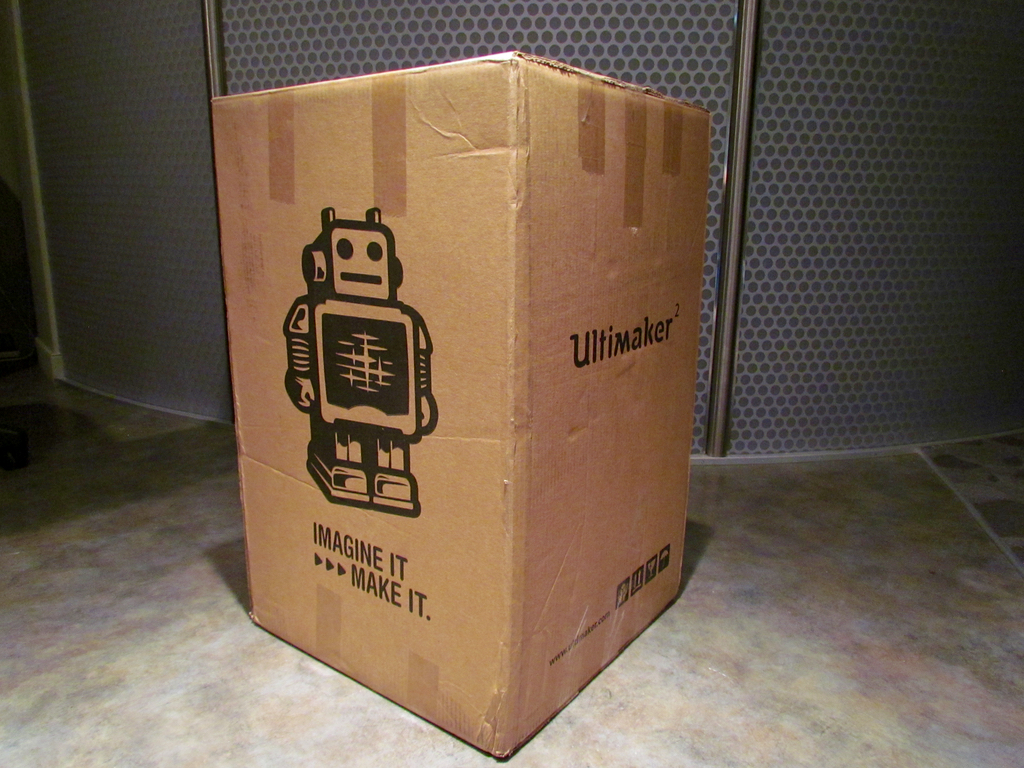
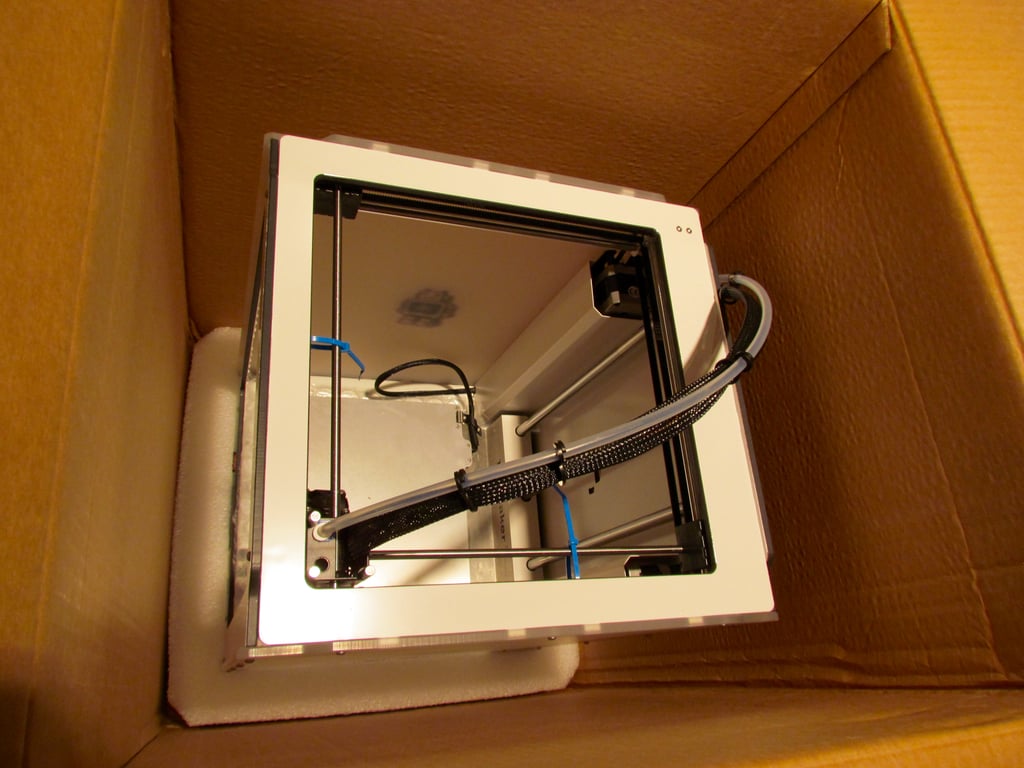
The first thing you need to know about the Ultimaker 2 Extended is that it’s big, and that means you’ll see a rather large box containing the 3D printer.
One thing we’re always concerned about is the packaging of a delicately calibrated device like a 3D printer. In the past we’ve had multiple instances of machines being returned due to shipping damage, so it is critically important for the vendor to design appropriate packaging for the machine.
In the case of the large Ultimaker 2 Extended, we found the packaging to be quite suitable. The journey from Ultimaker’s factory to our lab was uneventful, damage-wise. Here you can see the style of shock-absorbing packing they employ.
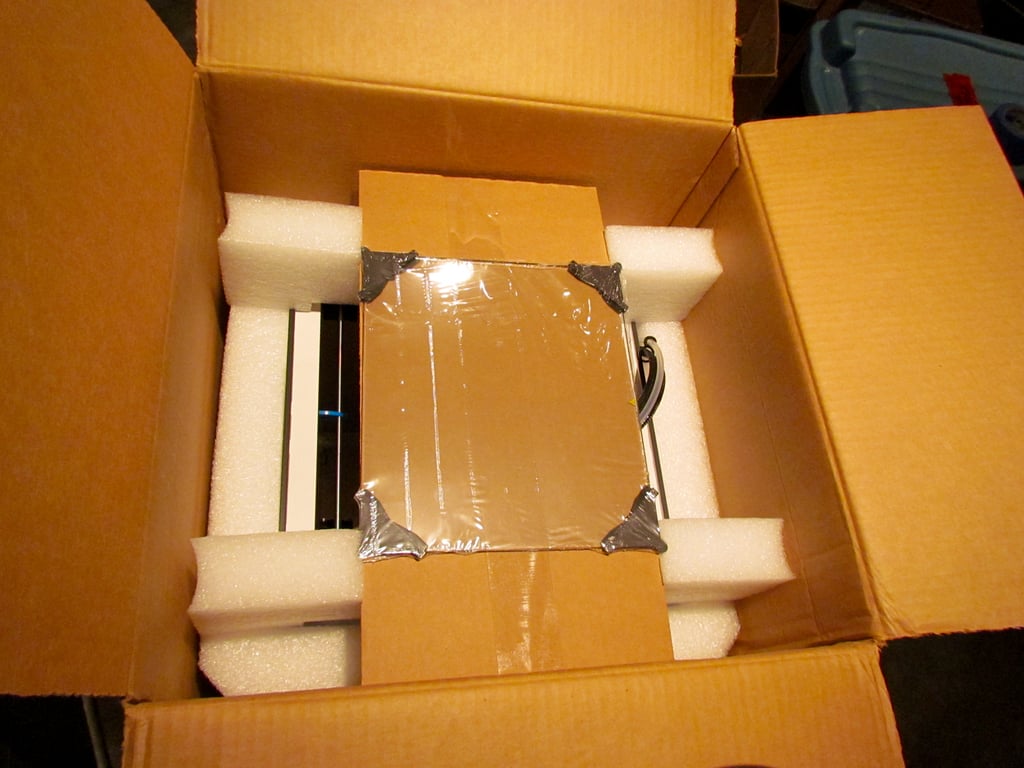
There’s more than just a 3D printer in the box. Here you can see some of the items packed inside the box, including a very easy-to-use setup guide. One spool of “house brand” PLA is included with the printer, but our understanding is that this plastic filament is likely manufactured by colorFabb – in other words, it’s really good stuff!
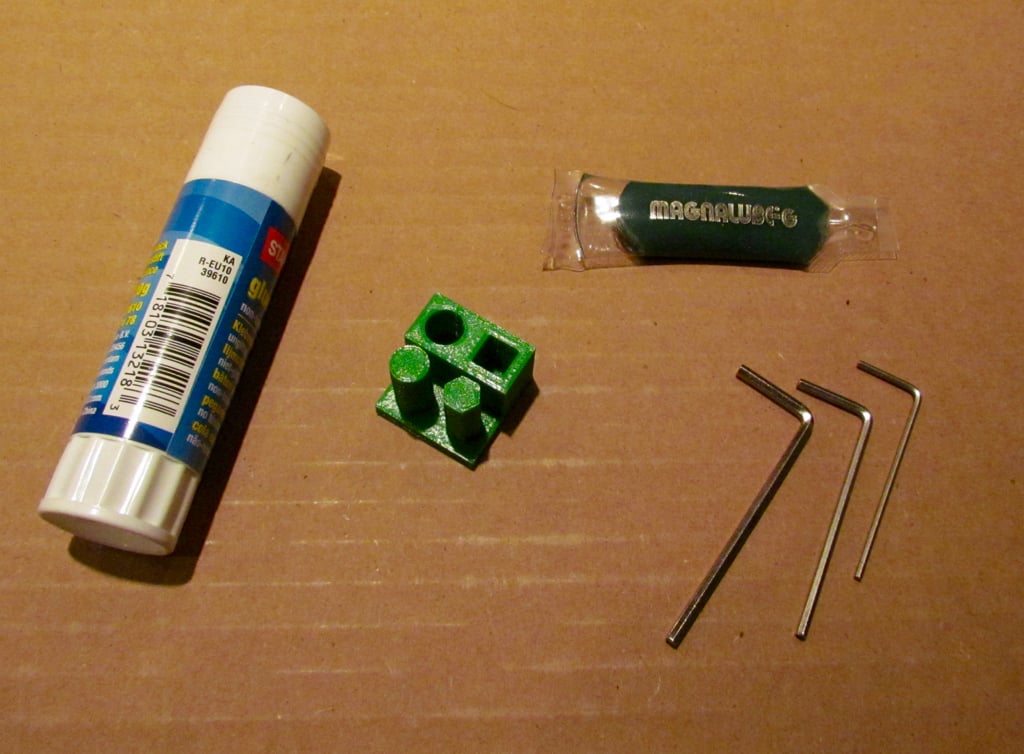
There’s not a lot of tools included as you might find with other 3D printer options, but we suspect this is because you simply won’t need them with the Ultimaker 2 Extended. There’s no scraper,for example, because prints just lift off the heated bed when it cools down. As a result, the only tools found are some allen keys, lube for future maintenance, a sample print and a glue stick (which we have yet to need to use.)
You’ll need to carefully lift the printer out of the packaging material – be certain not to grasp it by any delicate parts!
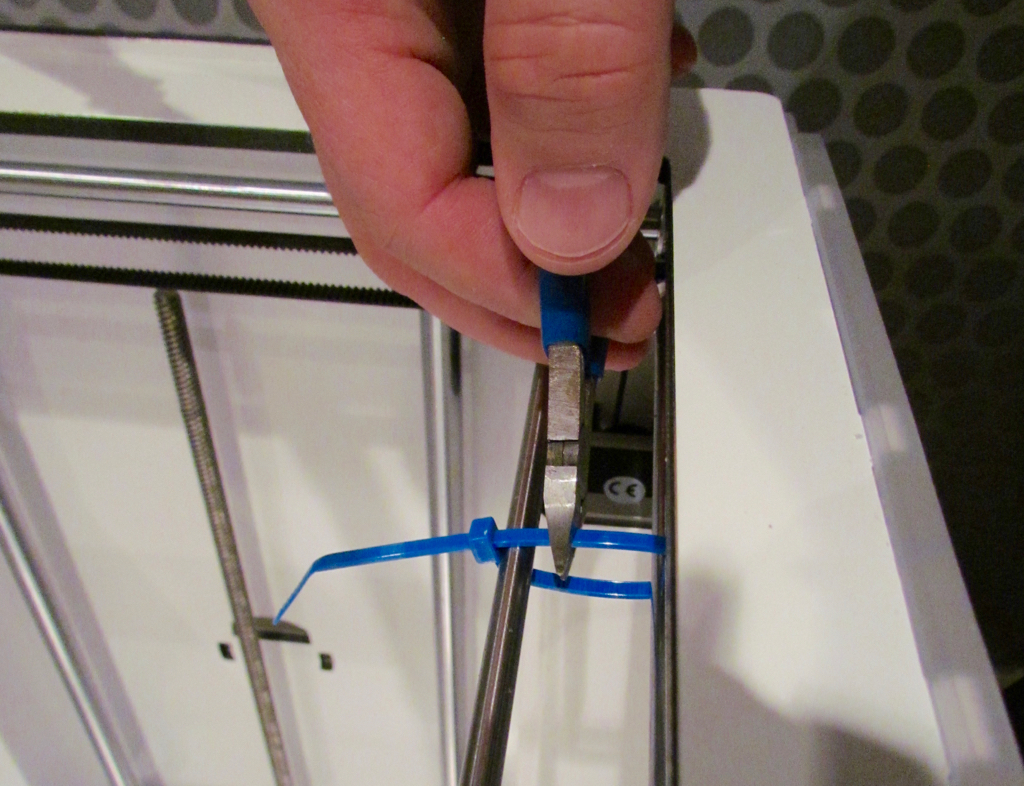
Once free, you will need to loosen the axes by chopping off a couple of tie wraps. Unlike some other machines, there are only a few of these, while other machines we found riddled with ties all over. The Ultimaker’s design is simple, and so they don’t need many hold-downs during shipping.
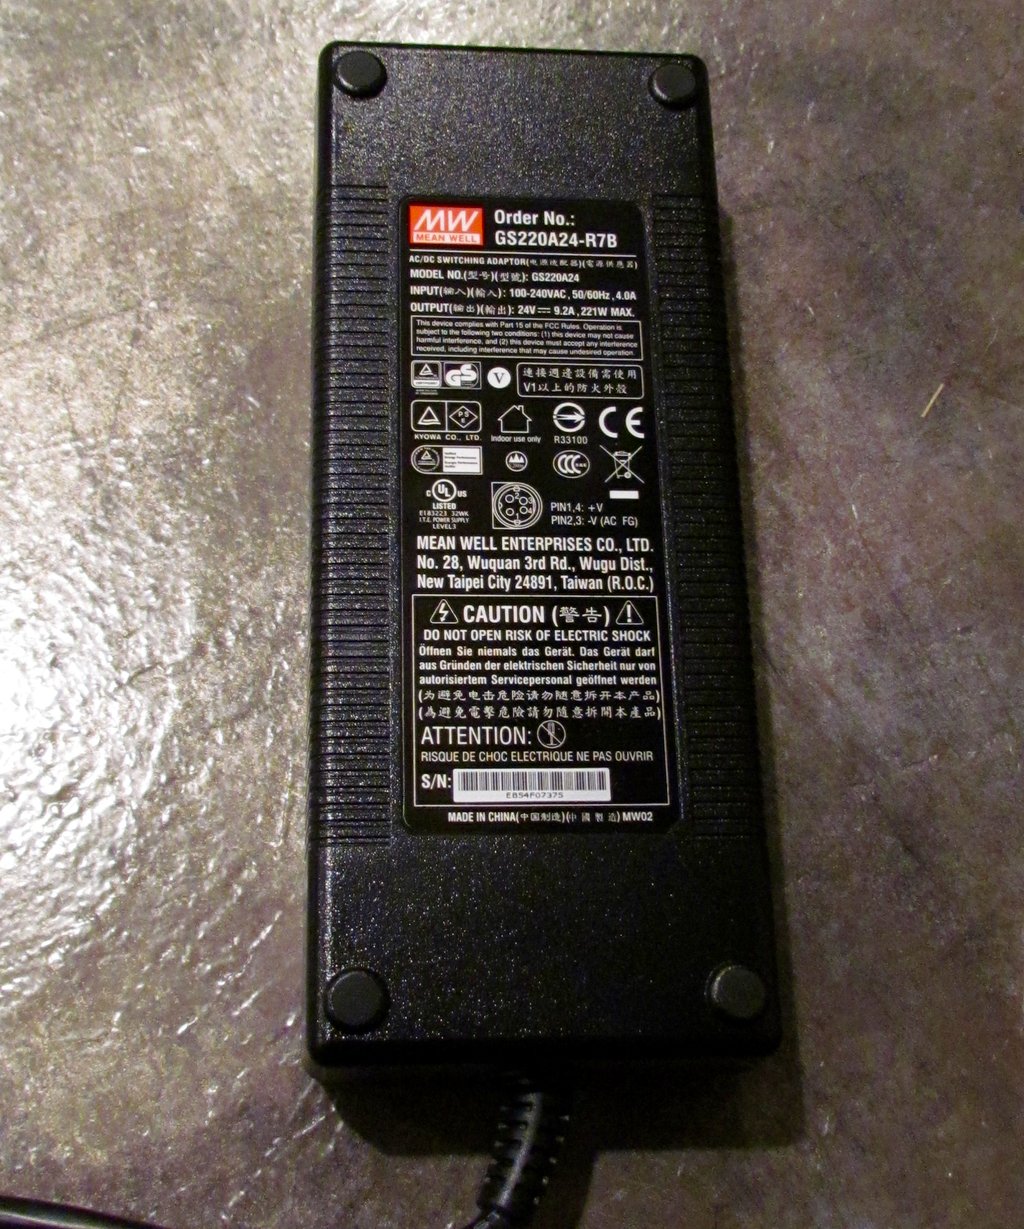
The power supply for the Ultimaker 2 Extended is pretty massive. This is a 4 Amp brick that powers not only the electronics, but also supplies energy to the power-absorbing hot end and heated plate.
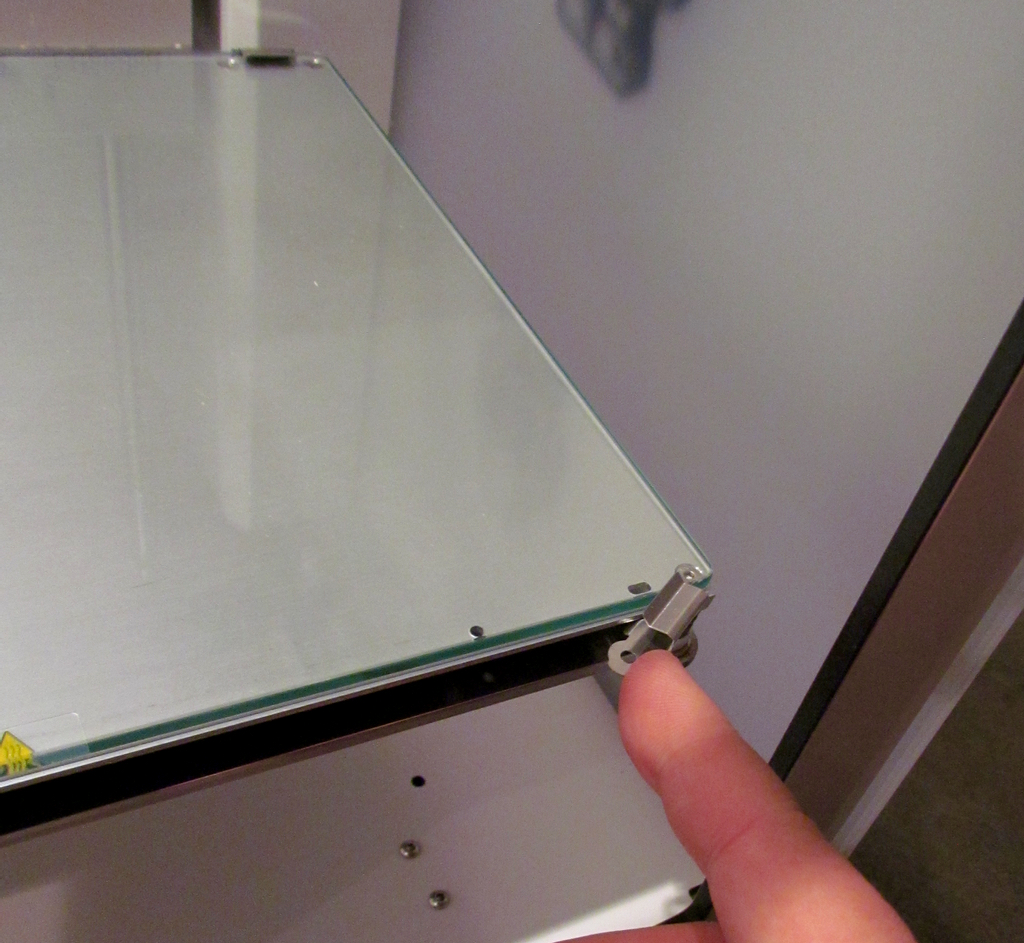
One bit of “real” installation you’ll need to do is the placement of the glass print plate. It’s quite straightforward, as you need only snap it into position with these small clips. Note, however, that these clips actually take up a bit of room in the print area, so you need to ensure you don’t print on them. (We did, oops!)
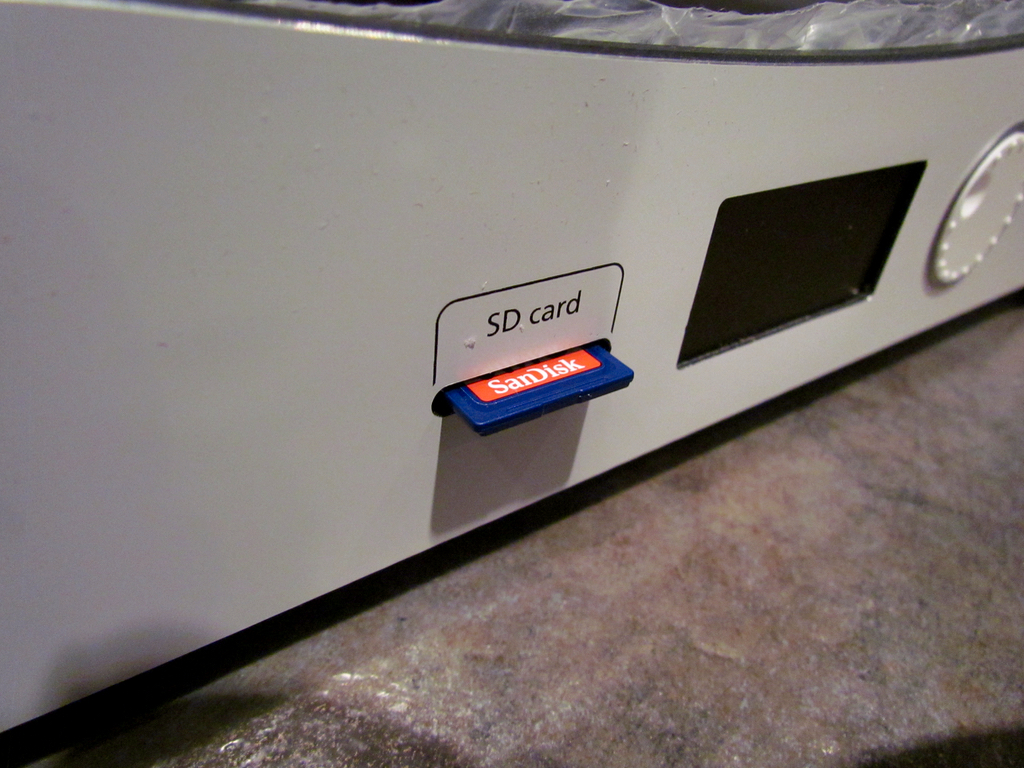
There’s also a 4GB SD card supplied, which you will need to perform offline printing. This card contains a number of pre-compiled 3D models, each ready to print.

A few parts are included, beyond the basic USB cable for direct operations. Here we can see a spare hot end and temperature sensor, to be used in case of disaster. Fortunately, we have not had to make use of these items, as the printer has worked quite well.
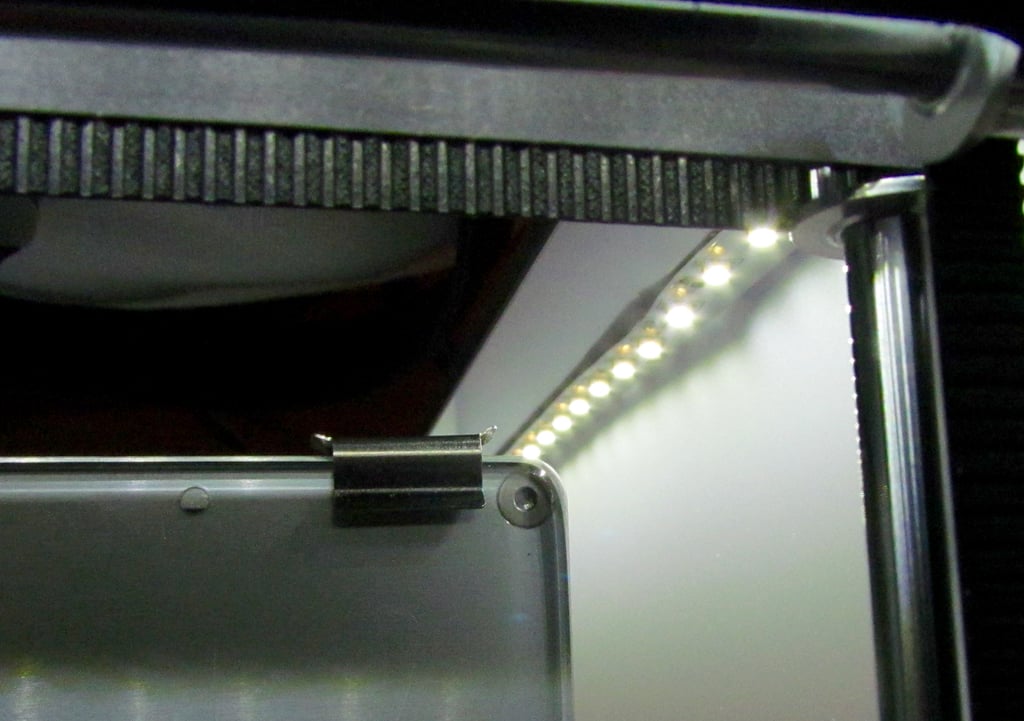
Powering on the unit reveals the well thought out lighting design. There’s two strips of bright LEDs at the top of each side wall, which is normally insufficient to properly light other 3D printers. But here’s the difference: the Ultimaker 2 Extended is made from very light-colored materials, so the LEDs seem far brighter and the result is truly excellent illumination of print operations, regardless of the color or height of the object.
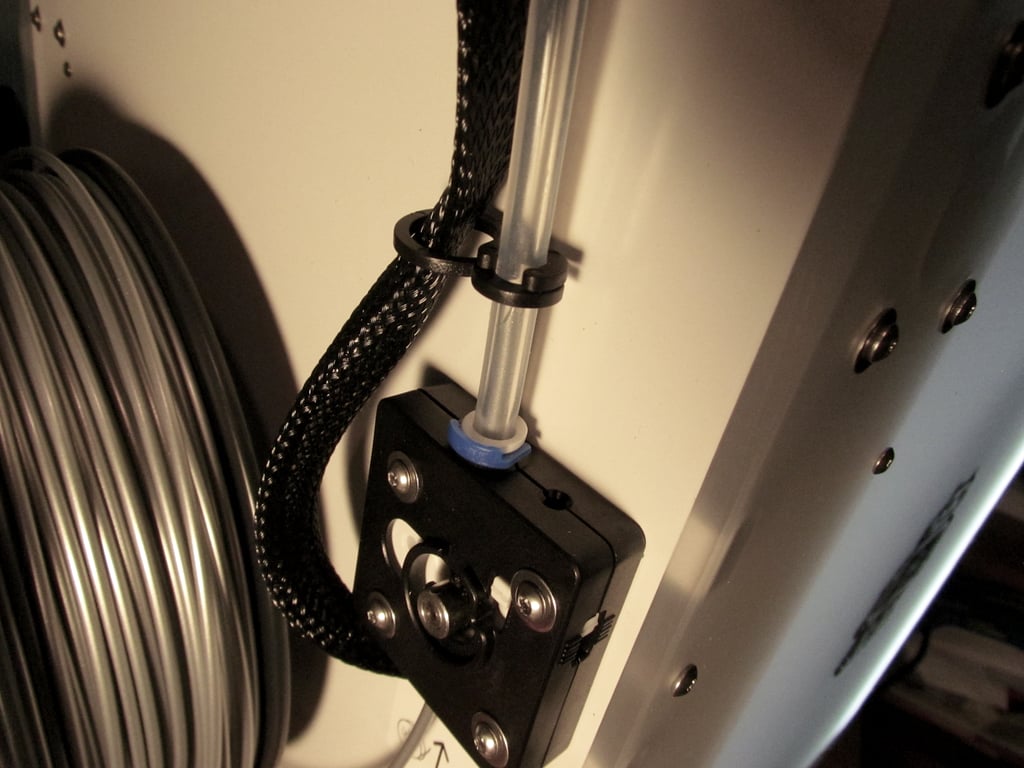
The Ultimaker 2 Extended uses a “Bowden Extruder”. This is simply locating the mechanism that pushes the filament far away from the moving hot end within the print volume. In the Ultimaker 2 Extended, the extruder is located on the rear of the unit, next to the filament spool mount. There’s a rather long tube leading from the rear extruder to the hot end – it’s nearly a whopping 700mm long! Why so long? It’s because the Ultimaker 2 Extended is a BIG machine. It’s a long way from the back of the machine to the hot end.
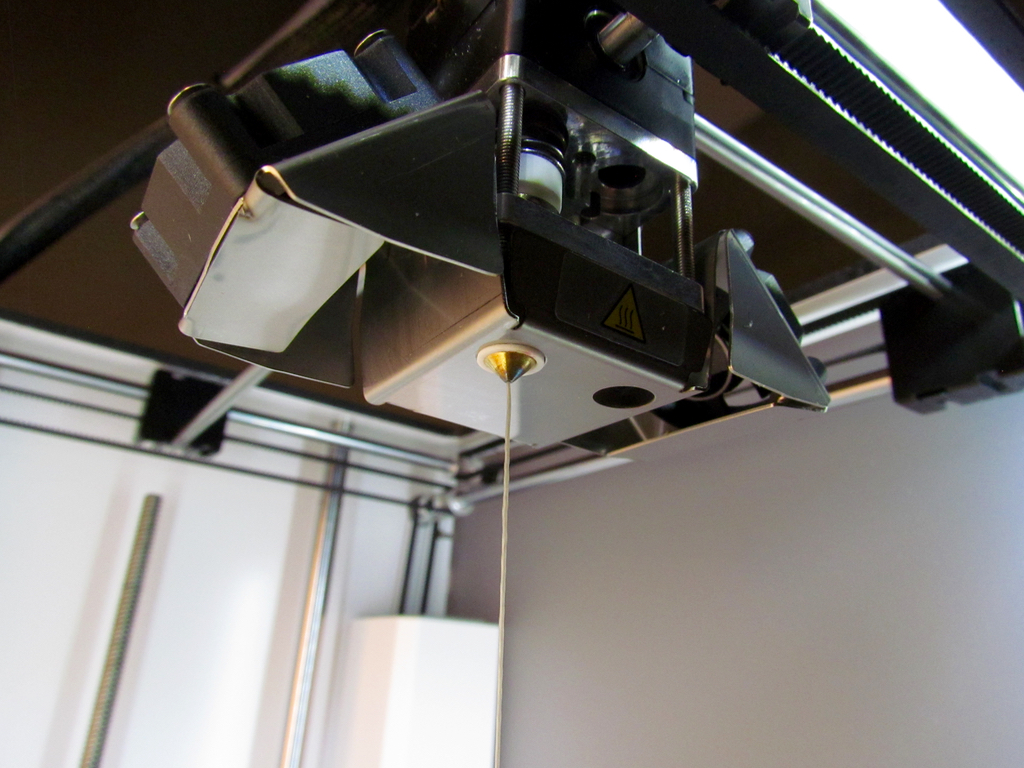
The moment of truth comes when loading the filament, as this action tests a lot of the printer’s components. Loading filament is a little different on a bowden setup, if you’re used to a “direct” extruder mounted on top of the hot end. The procedure for the Ultimaker 2 Extended is to slowly feed (by hand) the 2.85mm filament into the base of the extruder until it “catches”. Then wait for it to slowly emerge from the top of the extruder into the long tube. The machine is set to feed very slowly to ensure proper grip is obtained.
Once you see the filament emerge from the extruder and thus verify that the filament is successfully captured, punch the control panel button (there’s only one) and the extruder moves into high speed mode to quickly shuttle the filament all the way down the tube into the hot end. As it approaches the hot end, the extruder speed again slows down to a crawl as it slowly enters and begins to melt. If all this works, you’ll see a stream of filament emerge from the nozzle.

If you’ve gotten this far, the next step is to print something. We chose to print the most obvious item: the Ultimaker robot logo, which just happens to be one of the test files on the SD card.
As you can see, the little guy came out just right – on the very first attempt at printing.
Posts in this series: