

This is part four of a series describing practical methods of capturing 3D scans of museum sculptures.
I’ve had great success 3D scanning and subsequently 3D printing sculptures from museums around the world, so I thought I’d tell you how it can be done.
There’s much to tell, so this story will be split into several parts:
Part 1: Getting Organized
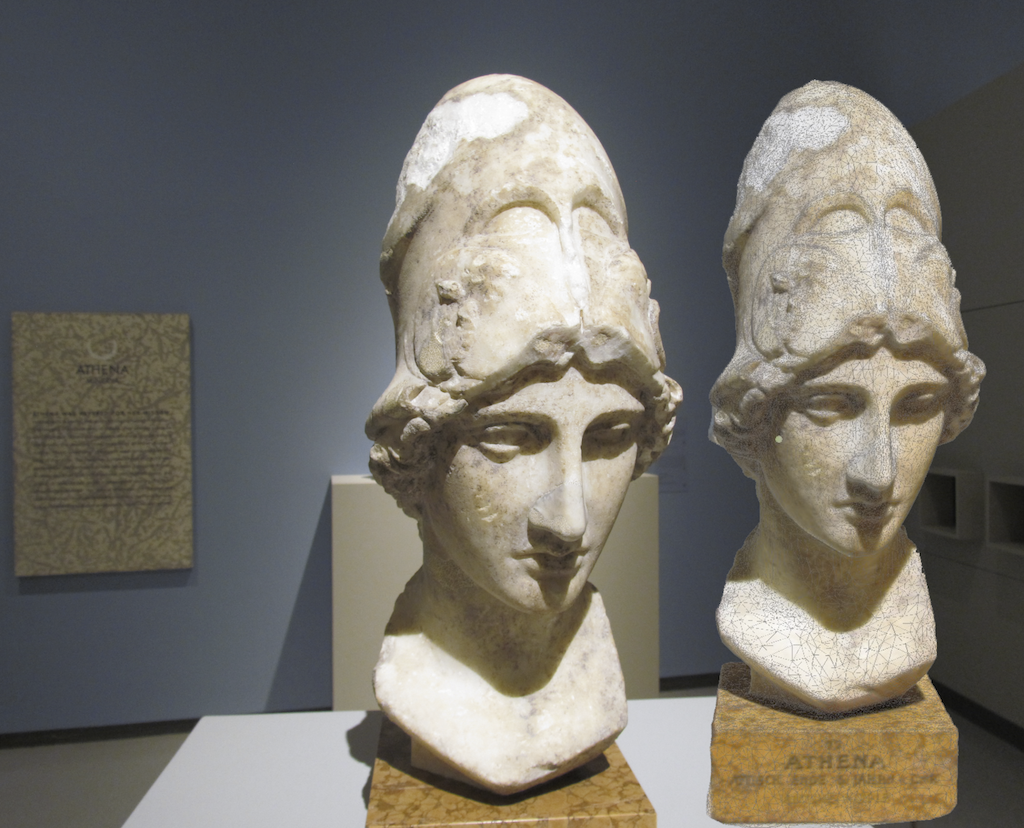
Part 2: Selecting Subjects
Part 3: Performing The Scans
Part 4: Processing Your Scans
Part 5: Fixing The Models
Part 6: Printing The Scans and Beyond
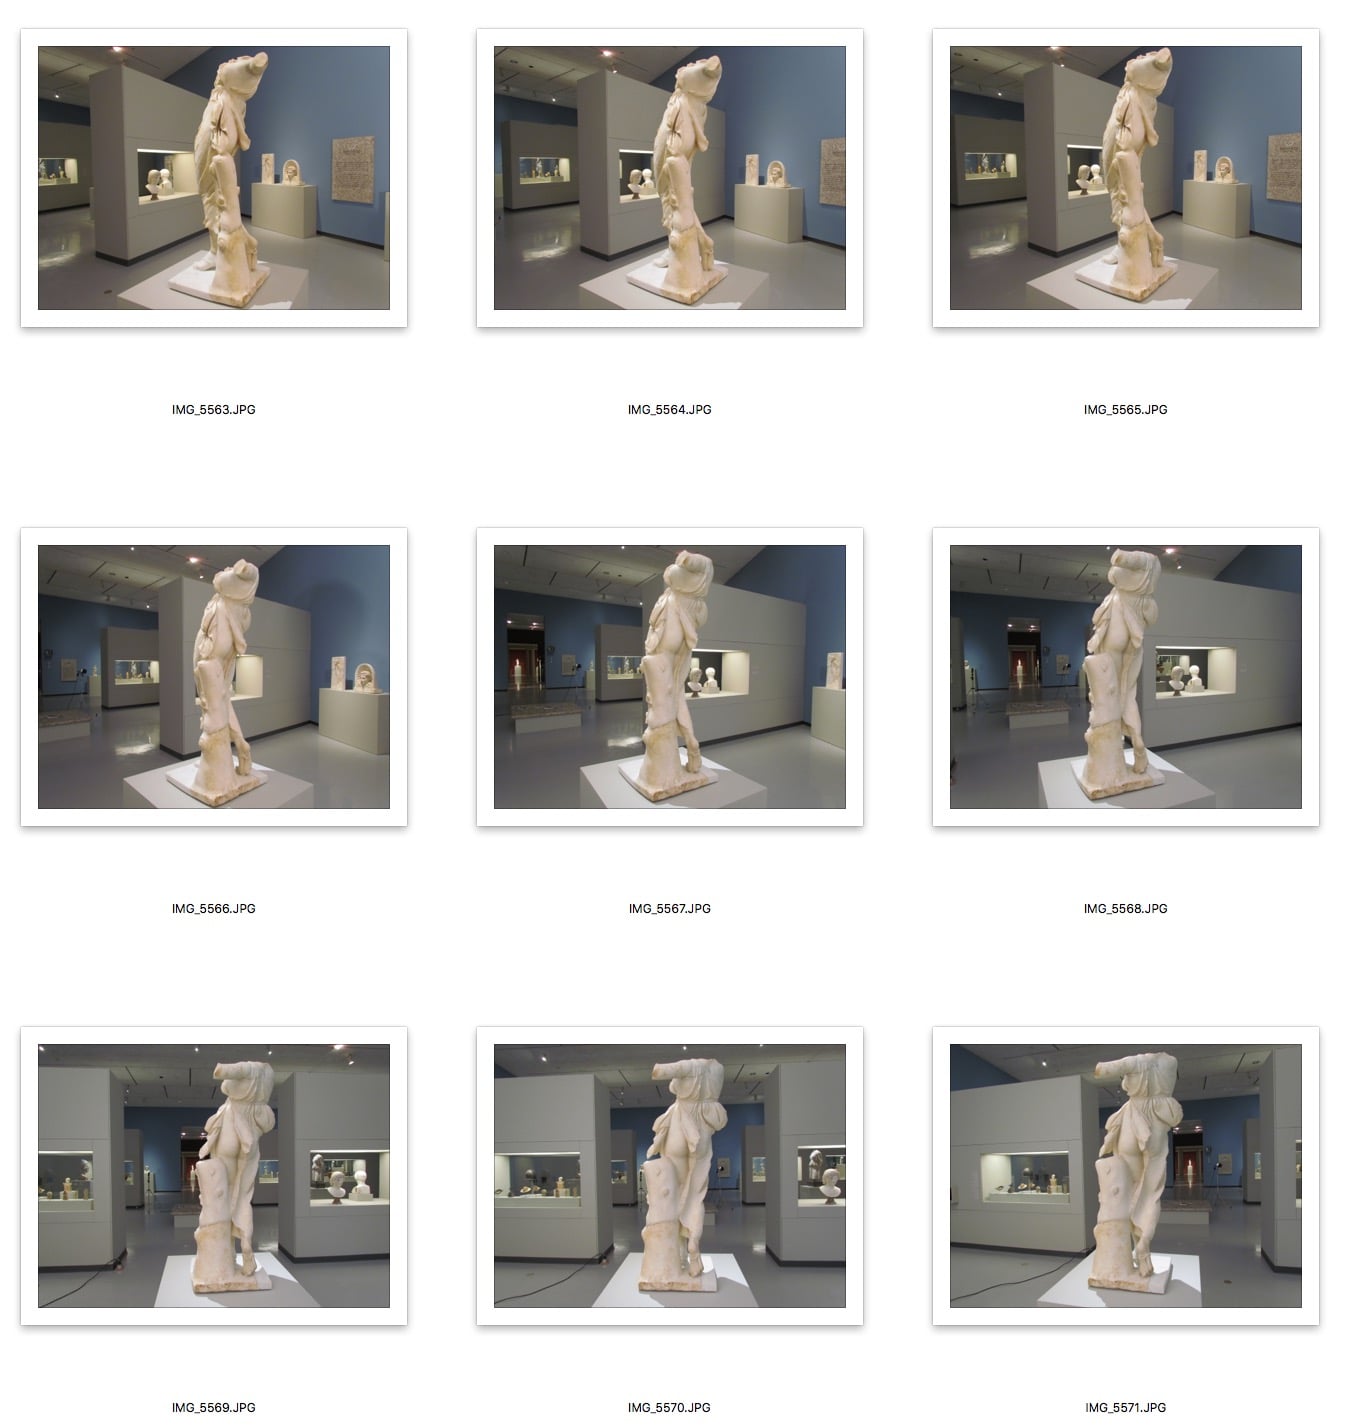
You’ve taken dozens, perhaps hundreds of still images of your scanning subjects and now it is time to process them.
There are a couple of options available to you. The most well known is Autodesk’s free 123D Catch service, although my preference lately is Autodesk’s less well known ReCap 360 service, which is normally used for processing airborne laser scans. It turns out it also does a very good job on photogrammetry. Finally, there are standalone software solutions for photogrammetry you might consider if you feel you’re up for a software installation and/or software purchase.
I do not recommend using the 123D Catch smartphone app. While it may appear to be convenient, it often is not because the uploading can take up network bandwidth and often in strange museums you have poor connectivity. Even worse, if there is any problem in the 123D workflow, your images are held inside the app and you may have no way to access them. For me, it’s best to simply take conventional images that you know are of good quality and process them later when you have a desktop computer to work with. You can also submit them to multiple services and compare results.
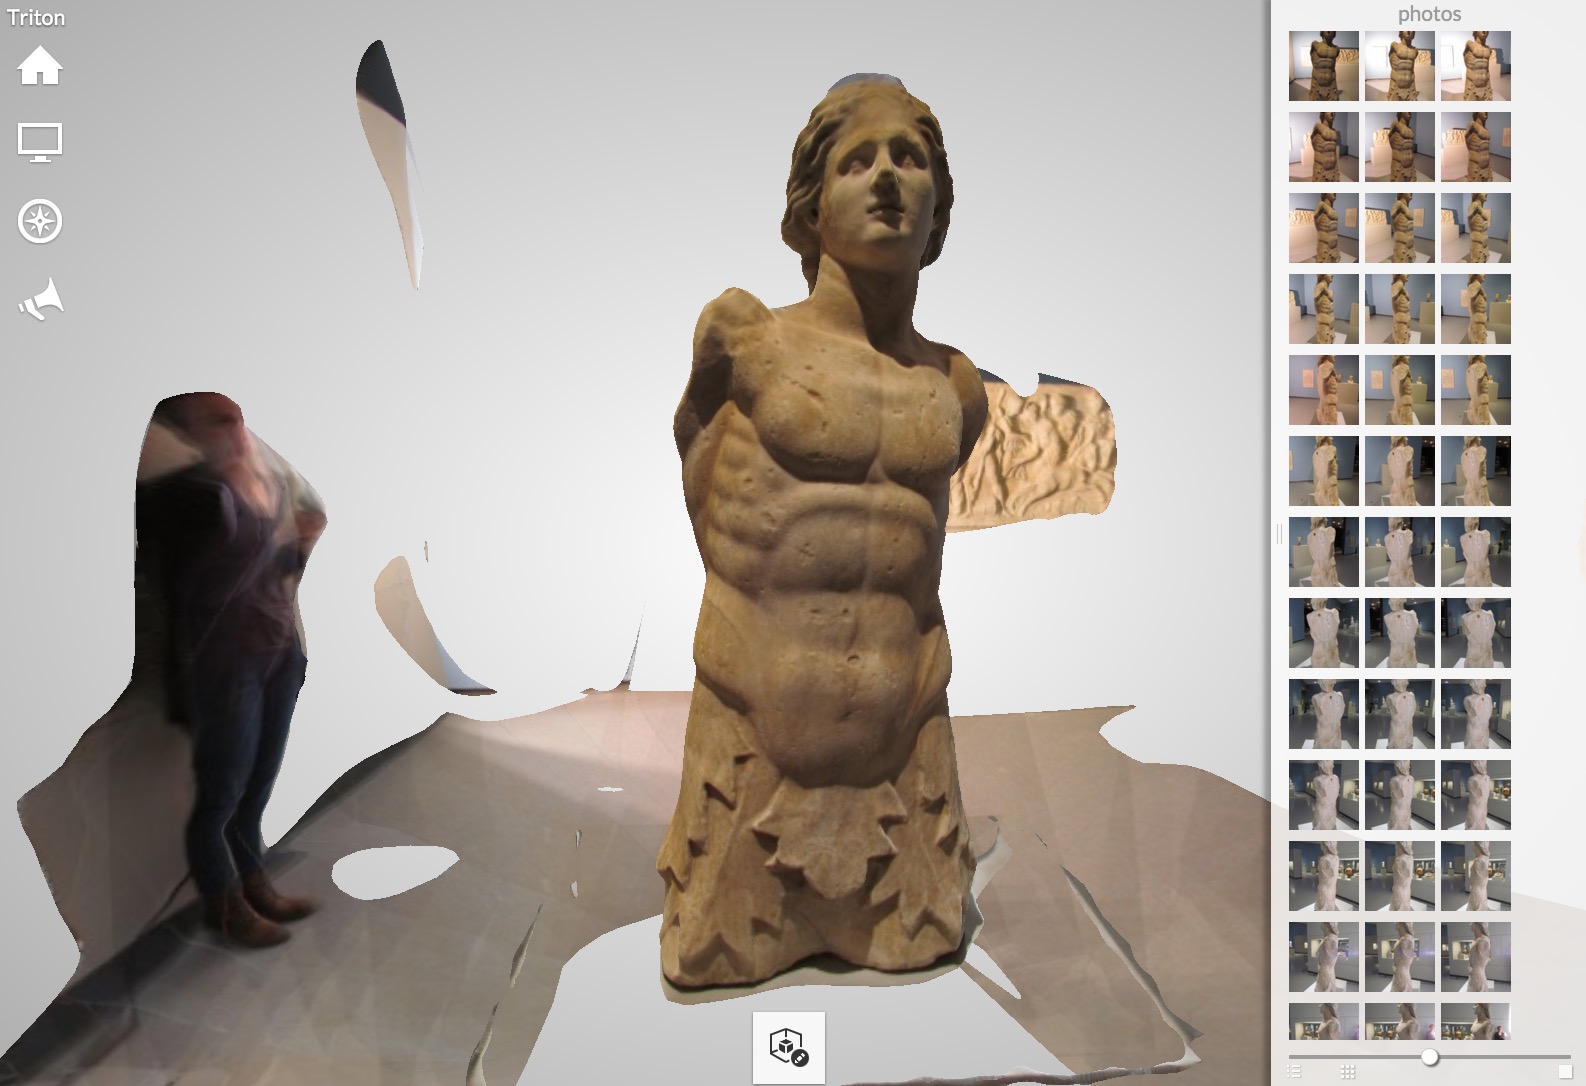
Each photogrammetry service operates in a similar manner: once your account is set up, you simply upload the images as a new photogrammetry job. The services will let you review the images so you can toss out lousy or duplicated images. Once the images are organized, you submit the job for offline processing.
You’ll wait a time for this processing to occur. The length of time depends on the number of images submitted, as well as the current load on the service’s equipment. It may take hours in some cases, but the results are often well worth it.
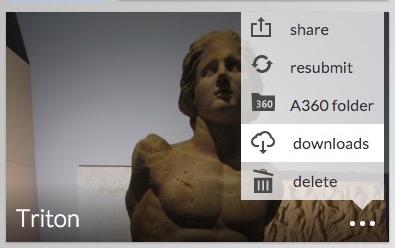
When done you’ll receive a notification. From there you can login to your account and attempt a download of the 3D model. Typically you will download a .OBJ file, representing the 3D mesh, as well as a .MTL file and some images representing the scan’s color texture.

Typically results from photogrammetry services, if supplied with a good quality image set, can be far better than you could hope to obtain with simple hardware 3D scanners, such as the Microsoft Kinect. Of course, it is possible to obtain extremely high resolution 3D scans if you use very expensive professional equipment, which you may not have access to, nor be able to saunter into the museum gallery with in any case.
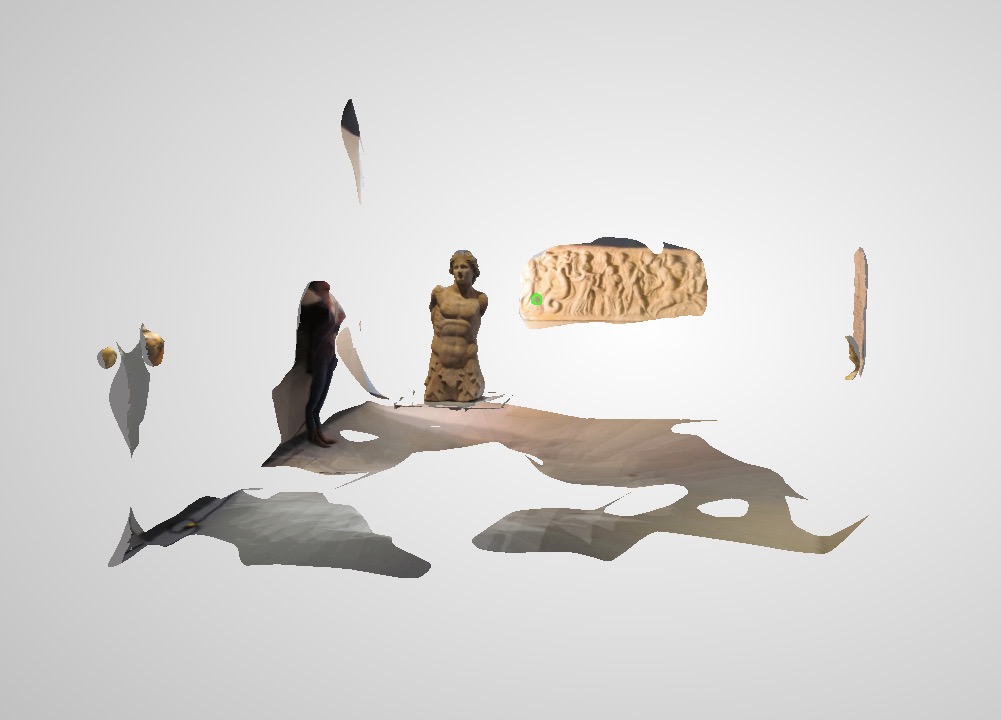
If you’ve done everything correctly and the service is able to interpret your multiple images, you might be astonished at the quality of the result. But you will immediately notice a few things wrong.
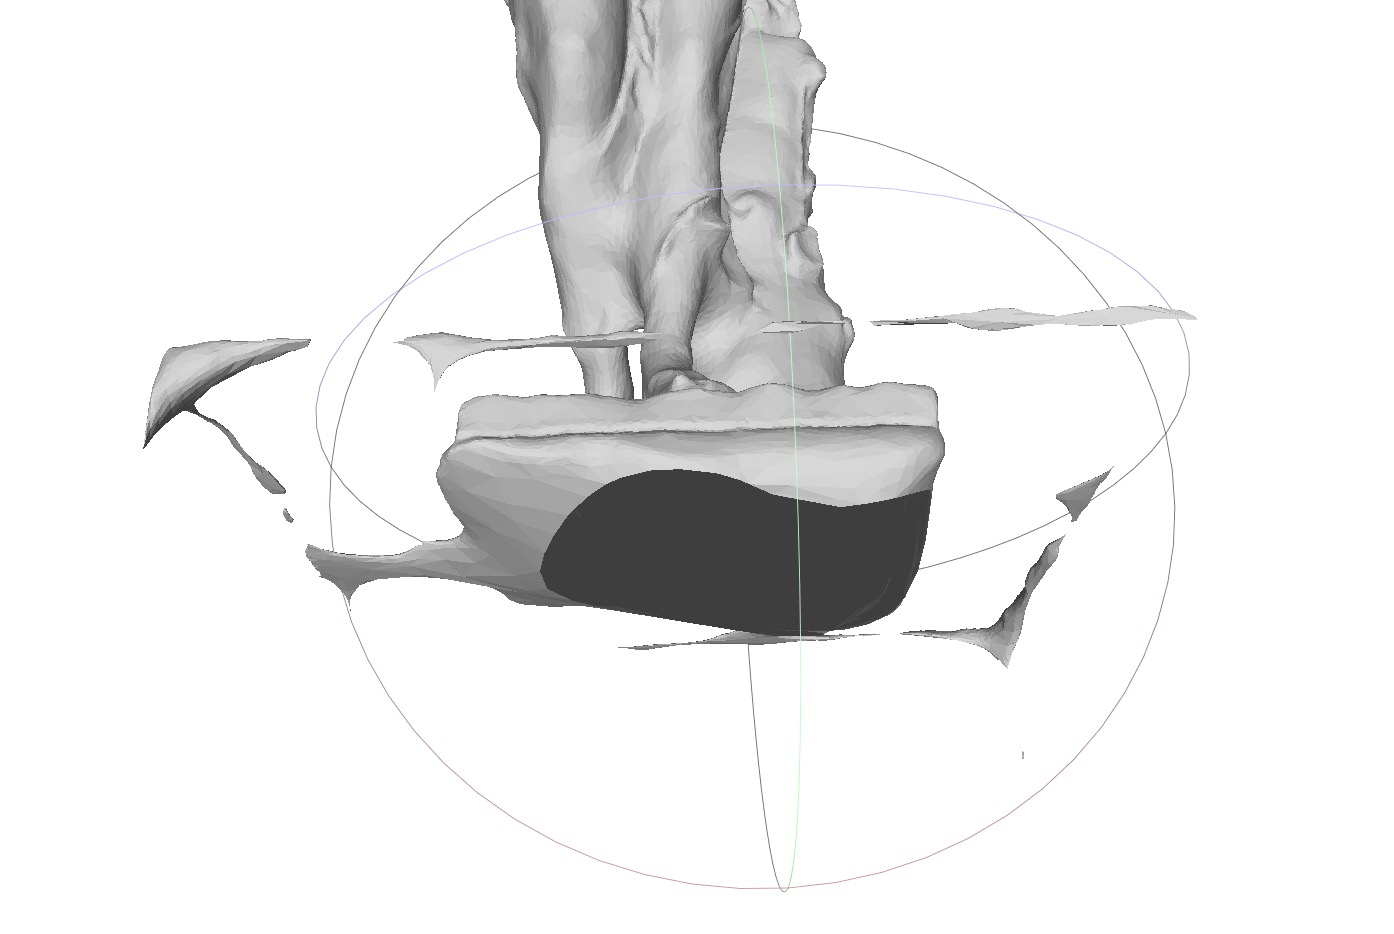
The scan will not be solid; a hole at the bottom, at the least, will show you the inside of the 3D structure. Often there will be stray nearby objects captured by accident, too. All scans require some fixing to ensure they are indeed printable.
That’s the topic of our next part.