

There’s a rather simple method for 3D printing any country’s flag that can be done in mere minutes.
I saw a 3D model of a country’s flag and wondered how difficult it would be to recreate it, and to my surprise, it turns out there is a ridiculously simple method for doing so. And it can be done with free 3D tools, too!
There’s no need to spend hours painstakingly drawing all the components of your flag, as this method skips all that and still produces a perfect printable 3D model.
Let’s first discuss the technique, and then consider the limitations.
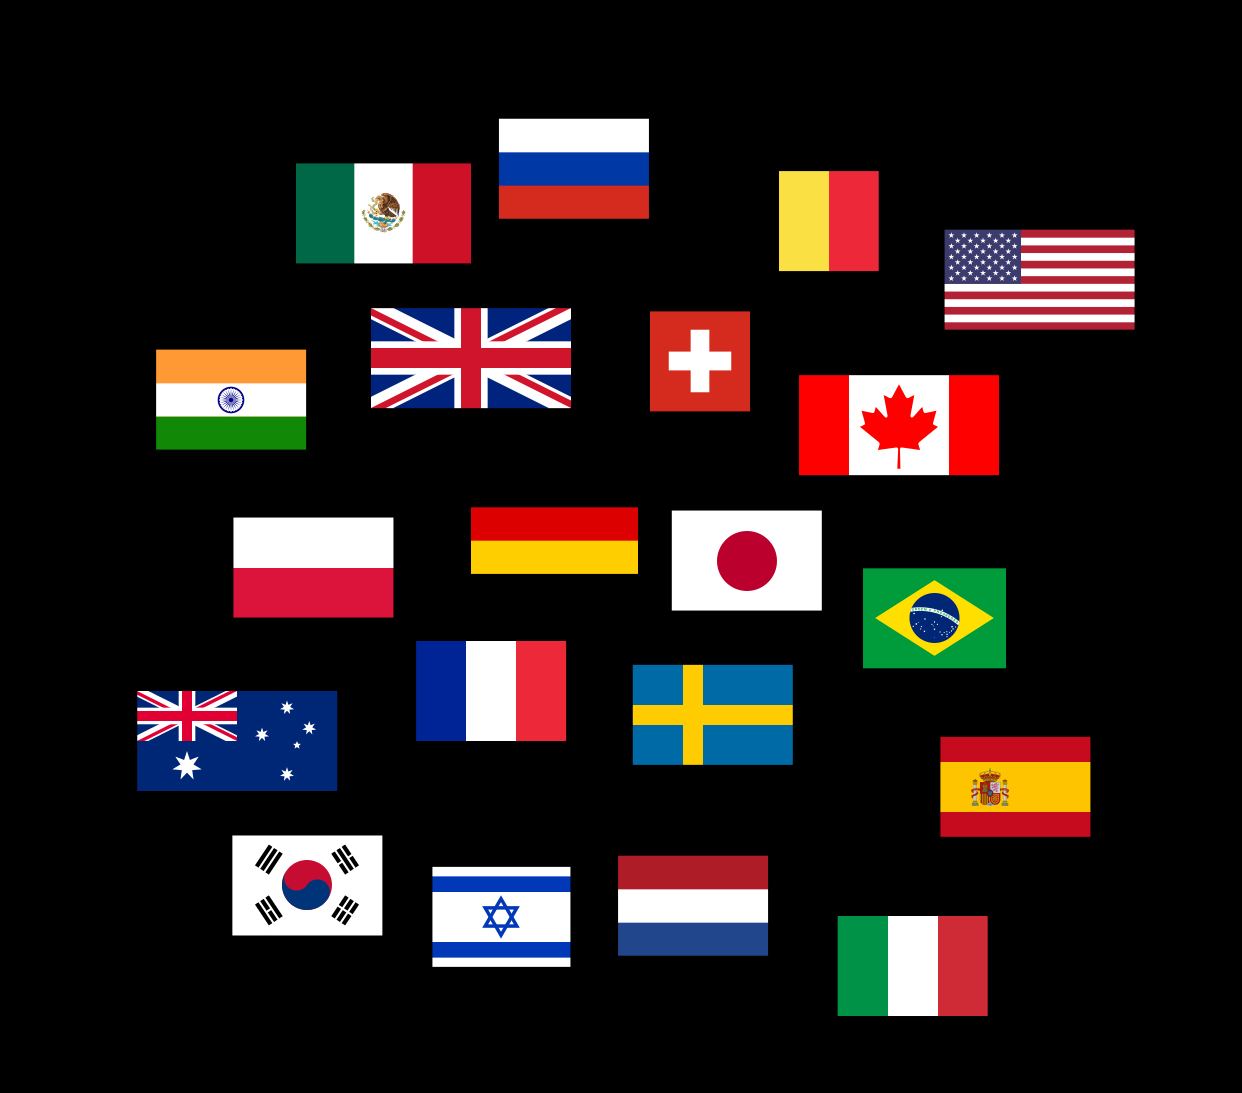
First, you’ll need a 2D digital representation of the flag. By far, the best place to find such a file is, of course, Wikipedia. Wikipedia stores near-official digital representations of all country’s flags – and many others, too. Here is a link to a “Gallery of sovereign state flags”.
But here’s the most important reason for obtaining the 2D file from Wikipedia: they’re stored in SVG format, a standard interchangeable vector drawing format. When you find the correct flag, click all the way through the images to arrive at the SVG version, as the initial views are of PNGs, not SVGs.
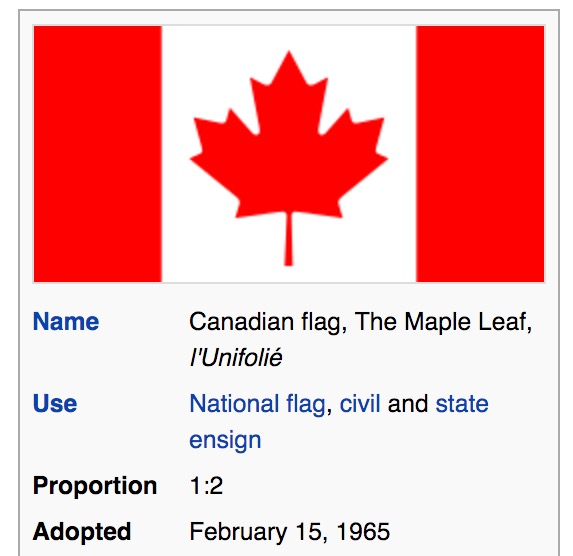
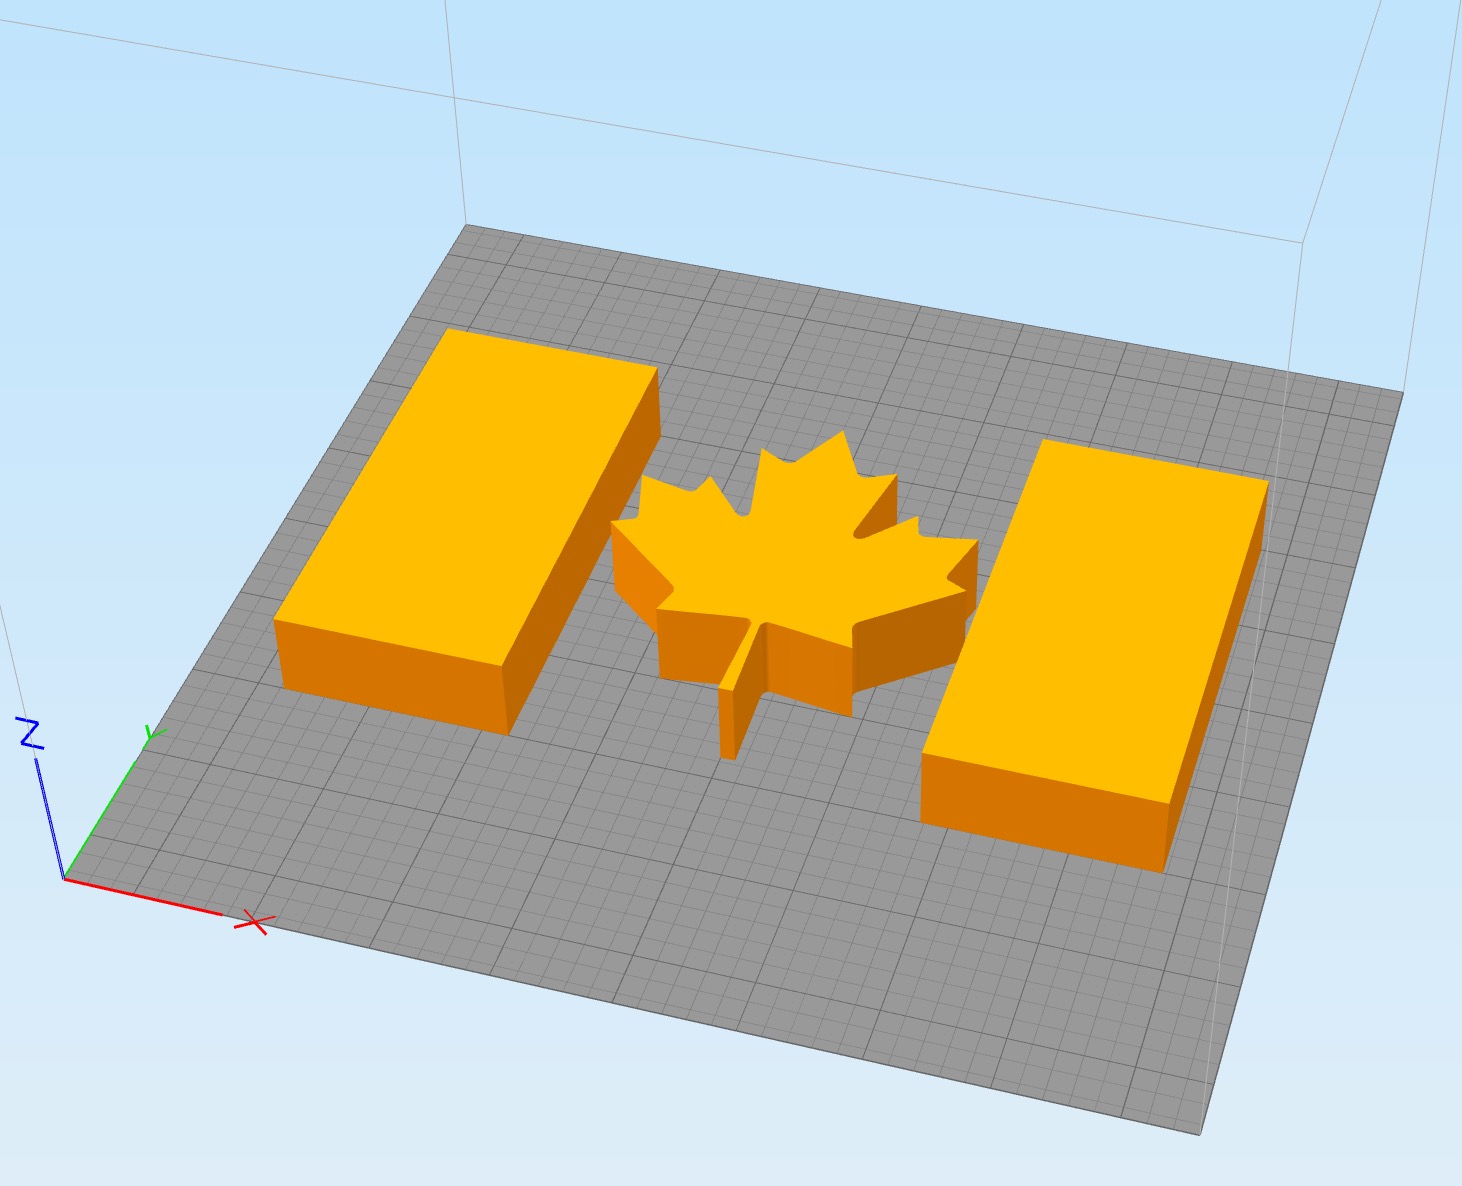
Here, I selected the Flag of Canada for two reasons: one, it has a relatively simple shape and limited set of colors that should be easy to print, and two, it’s my flag!
Now for some magic. Launch your free copy of Autodesk 123D Design – and if you don’t have it, you might want to get it right here.
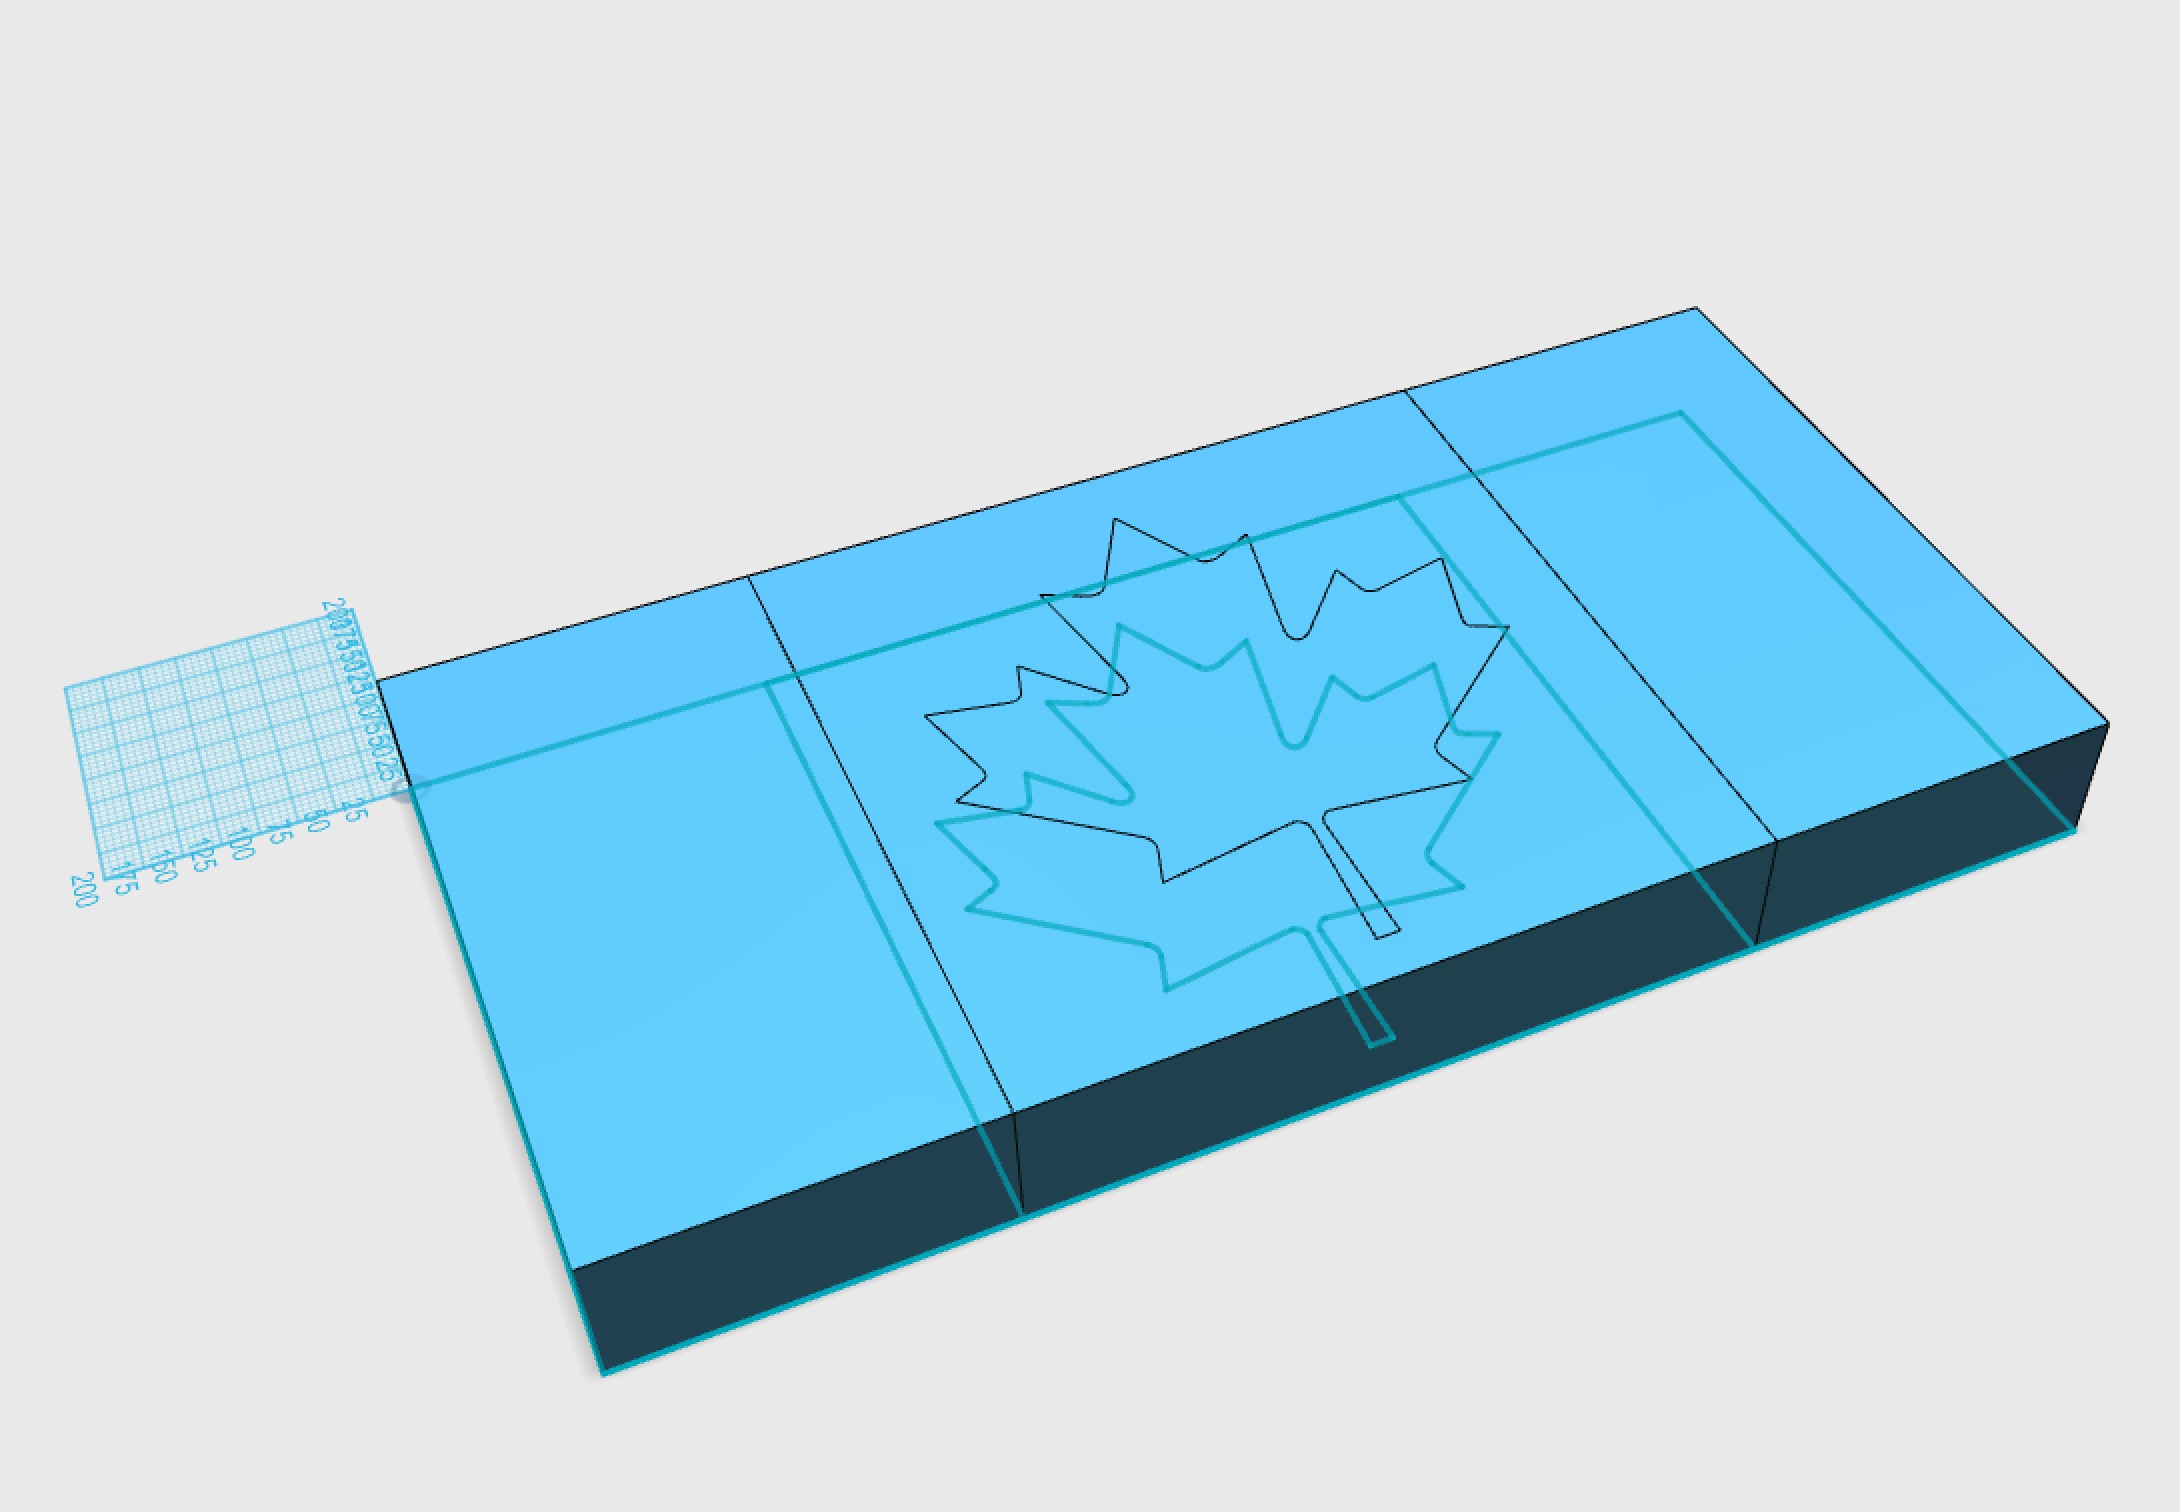
Once launched, under the menu look for “Import” and select “SVG as Solid”. Yes, this does exactly what you think it does.
If the SVG includes fully enclosed portions, these will be automatically transformed into solid elements. You might want to tweak the thickness, as the default might be too large for your purposes.
Now the trick is to create a set of 3D models separated by color. For this flag, we’ll need to make a set of red elements and another set of whites.
Make N copies of the file, one for each of the colors. I had to make two copies.
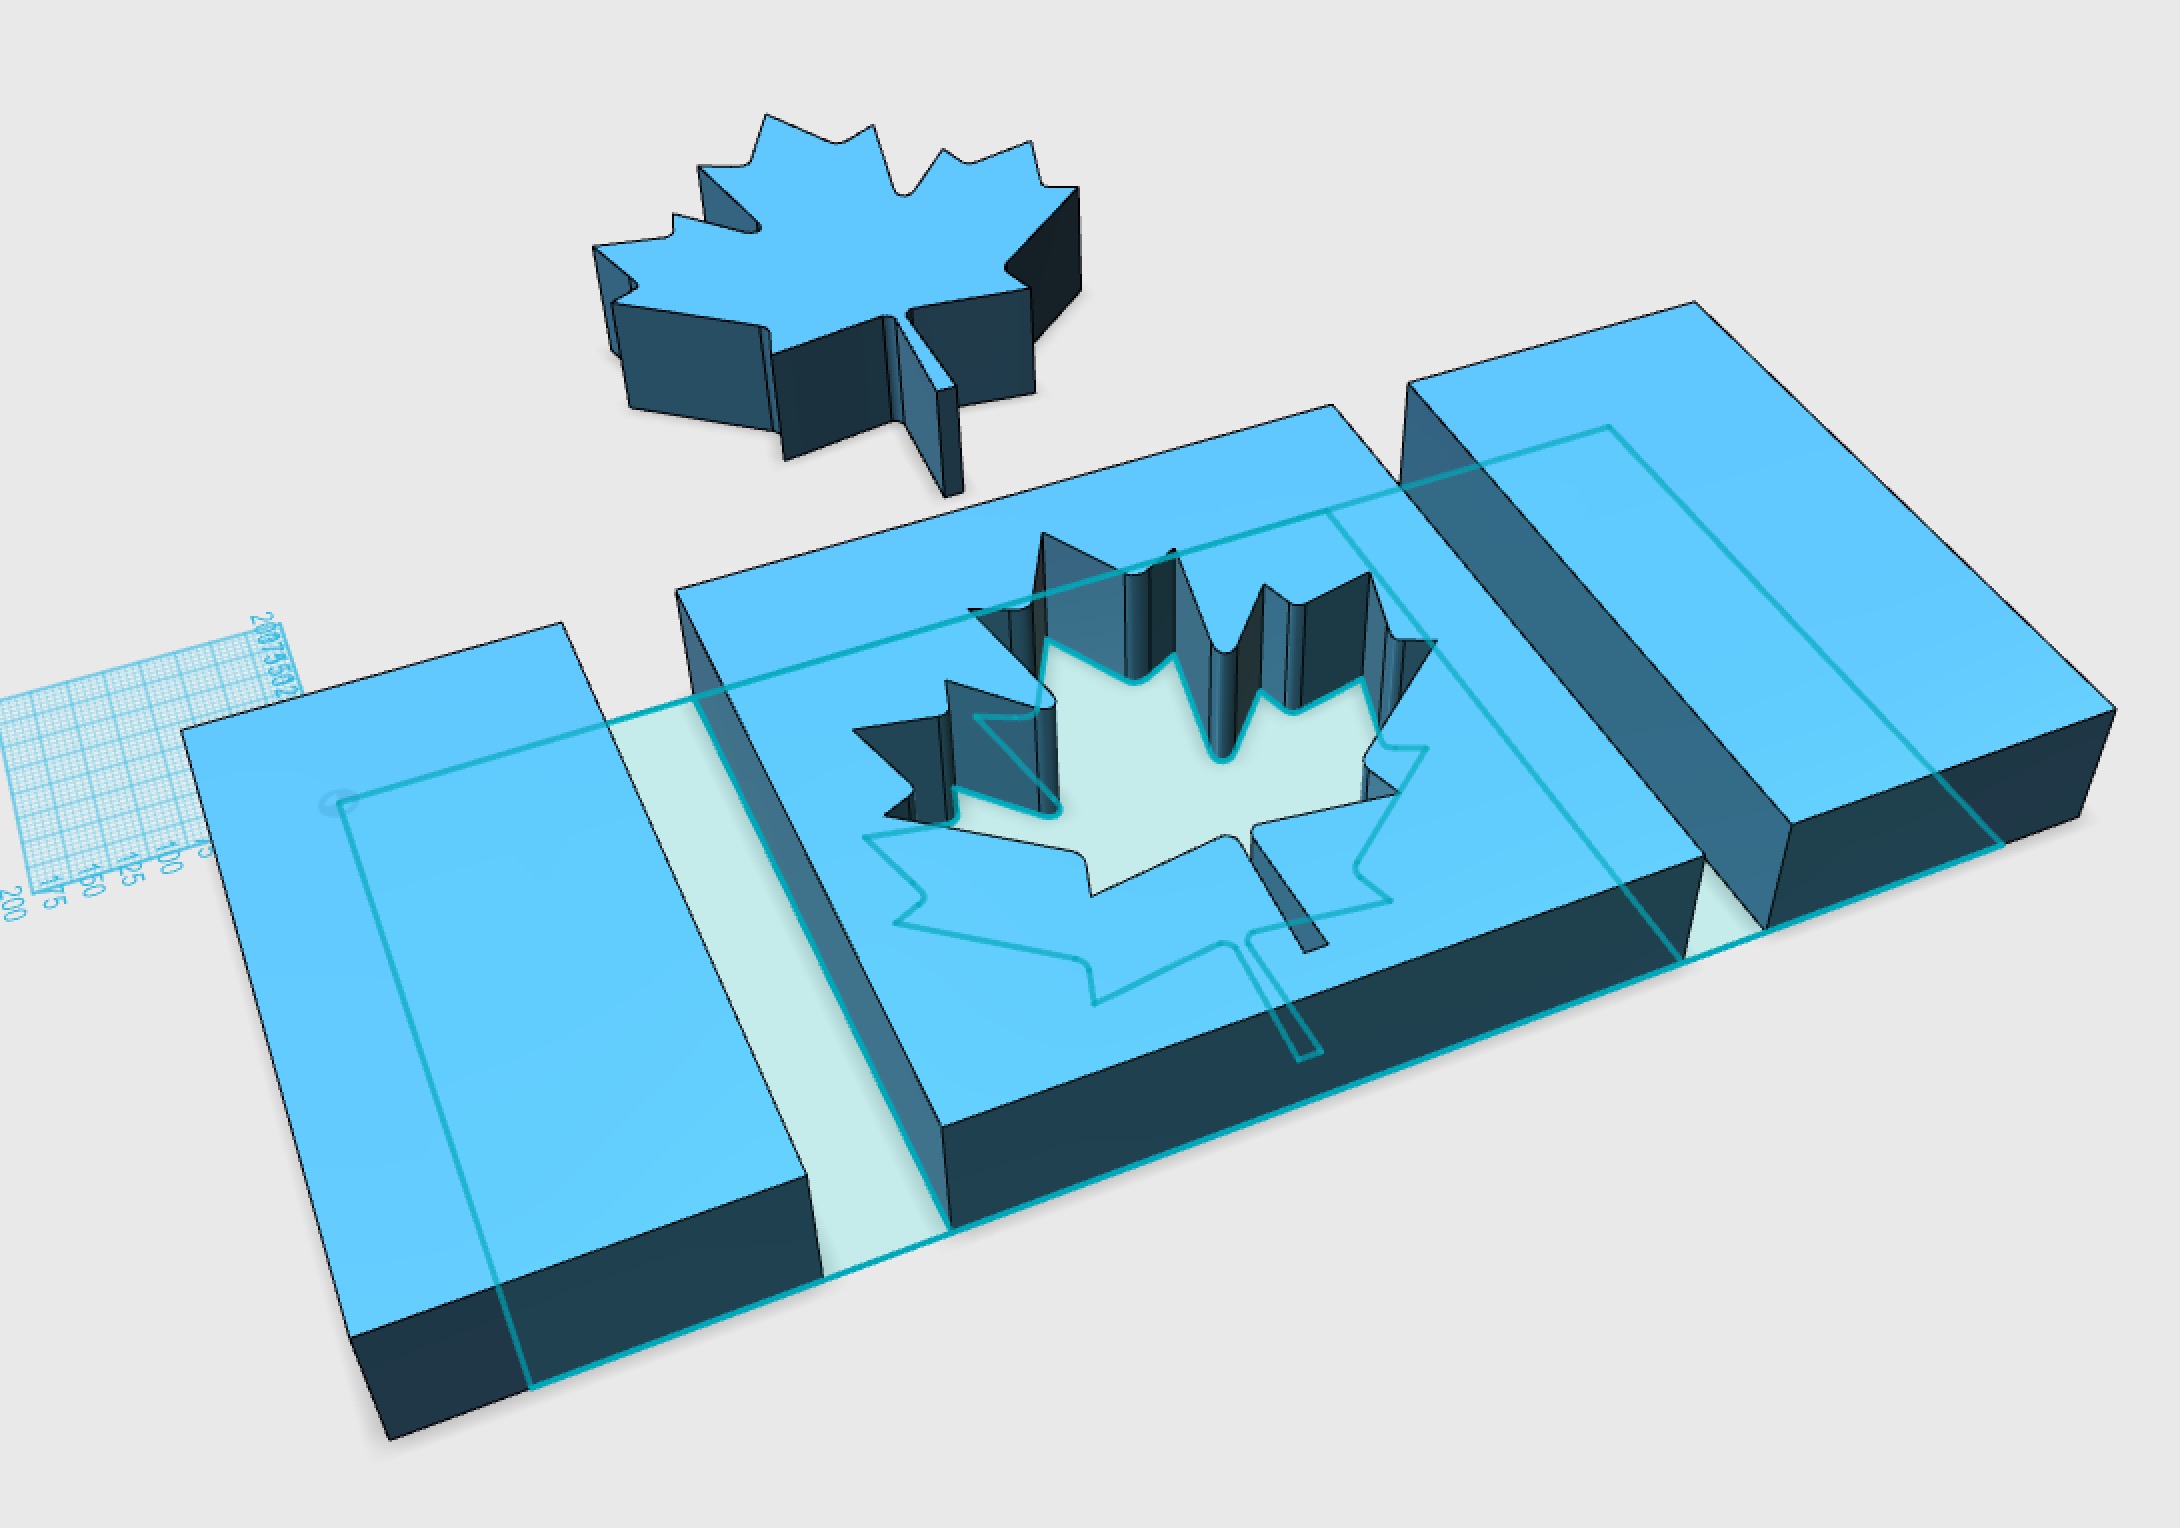
In each copy, move the “other” color elements away, as shown here. In fact, you will actually delete them, leaving only parts to be printed in a specific color. (Yes, I am mistakenly moving a red piece shown here; I should be moving the white center portion out and leaving all the reds.)
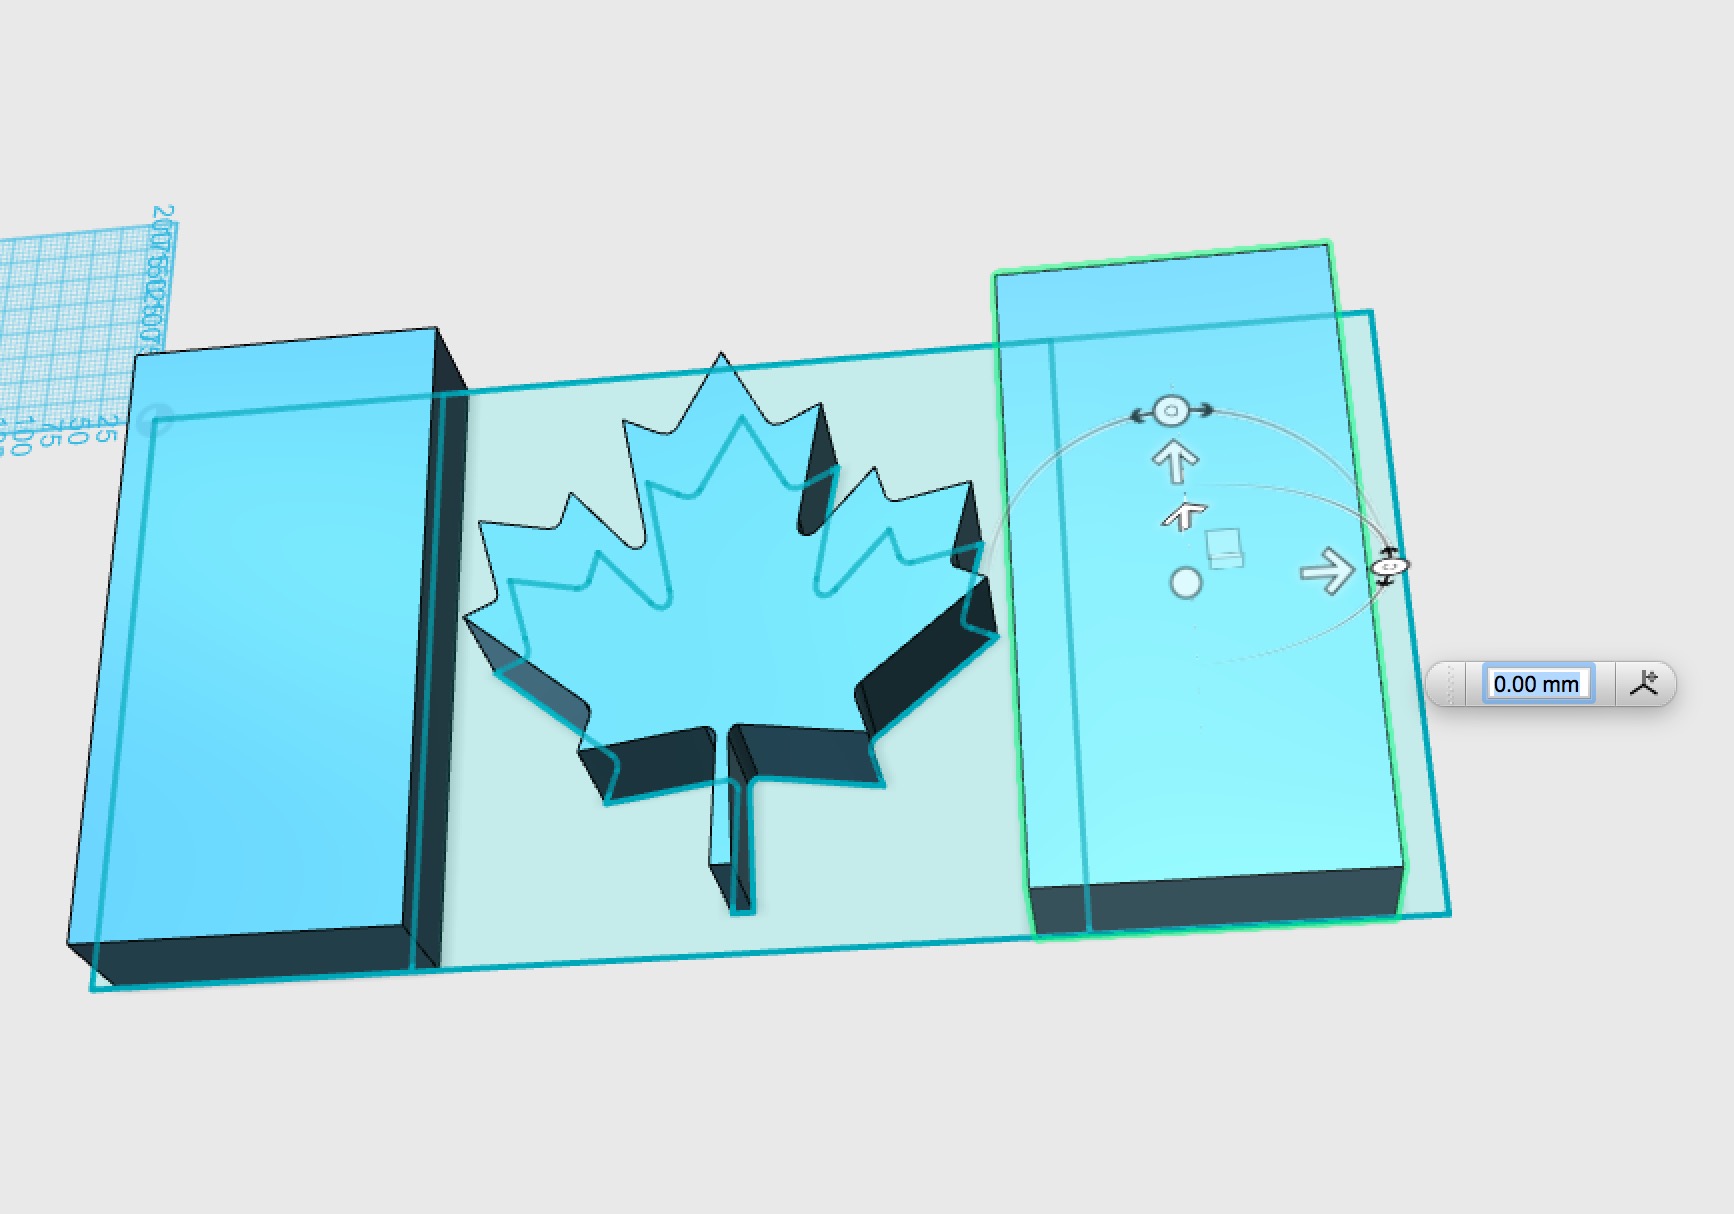
But wait, there’s one more thing you should do at this stage. If there are multiple pieces in a single color, as we have with the red pieces here, you should move them close together to optimize the print operations later. Here I’ve slide the two red side pieces towards the maple leaf. This also permits printing larger flag components if your print surface area is limited.
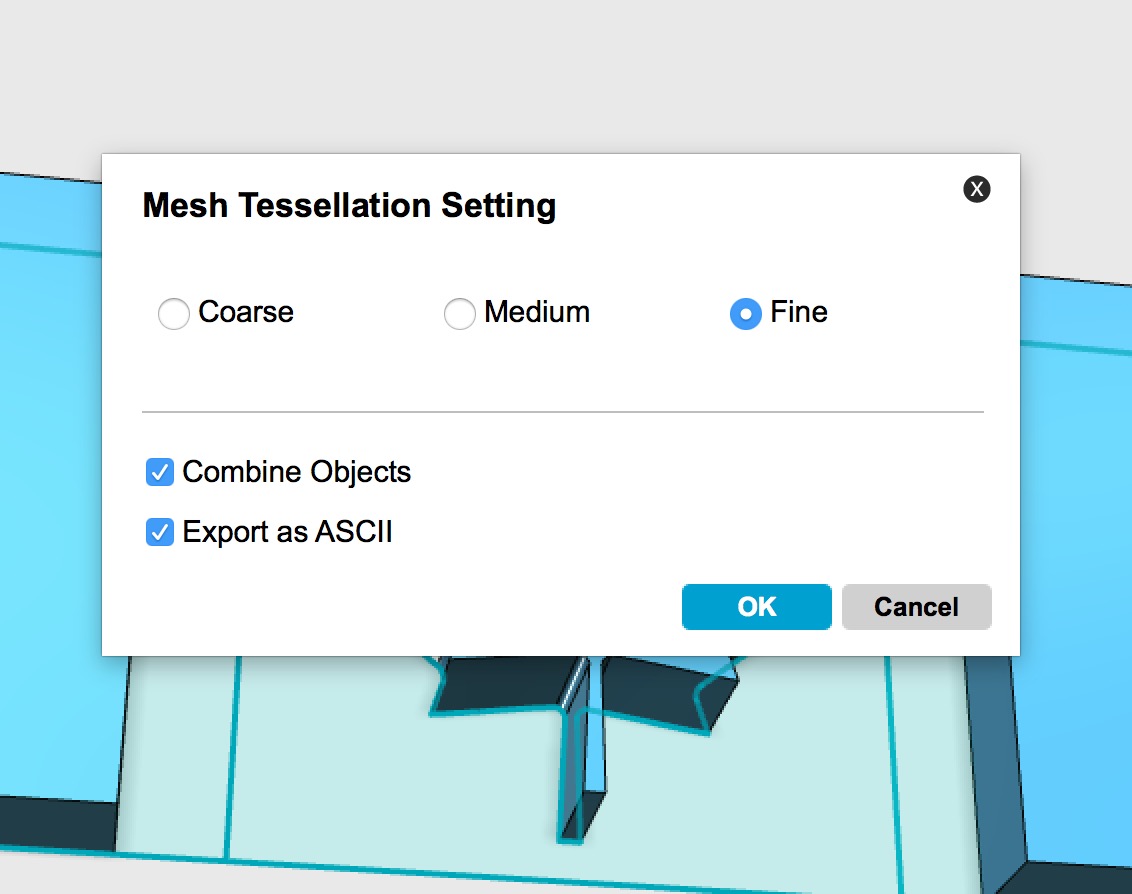
Now export each set of matching color components. In 123D Design, make certain you select “Combine Objects” when performing the “Export as 3D”, otherwise you won’t get all the pieces!
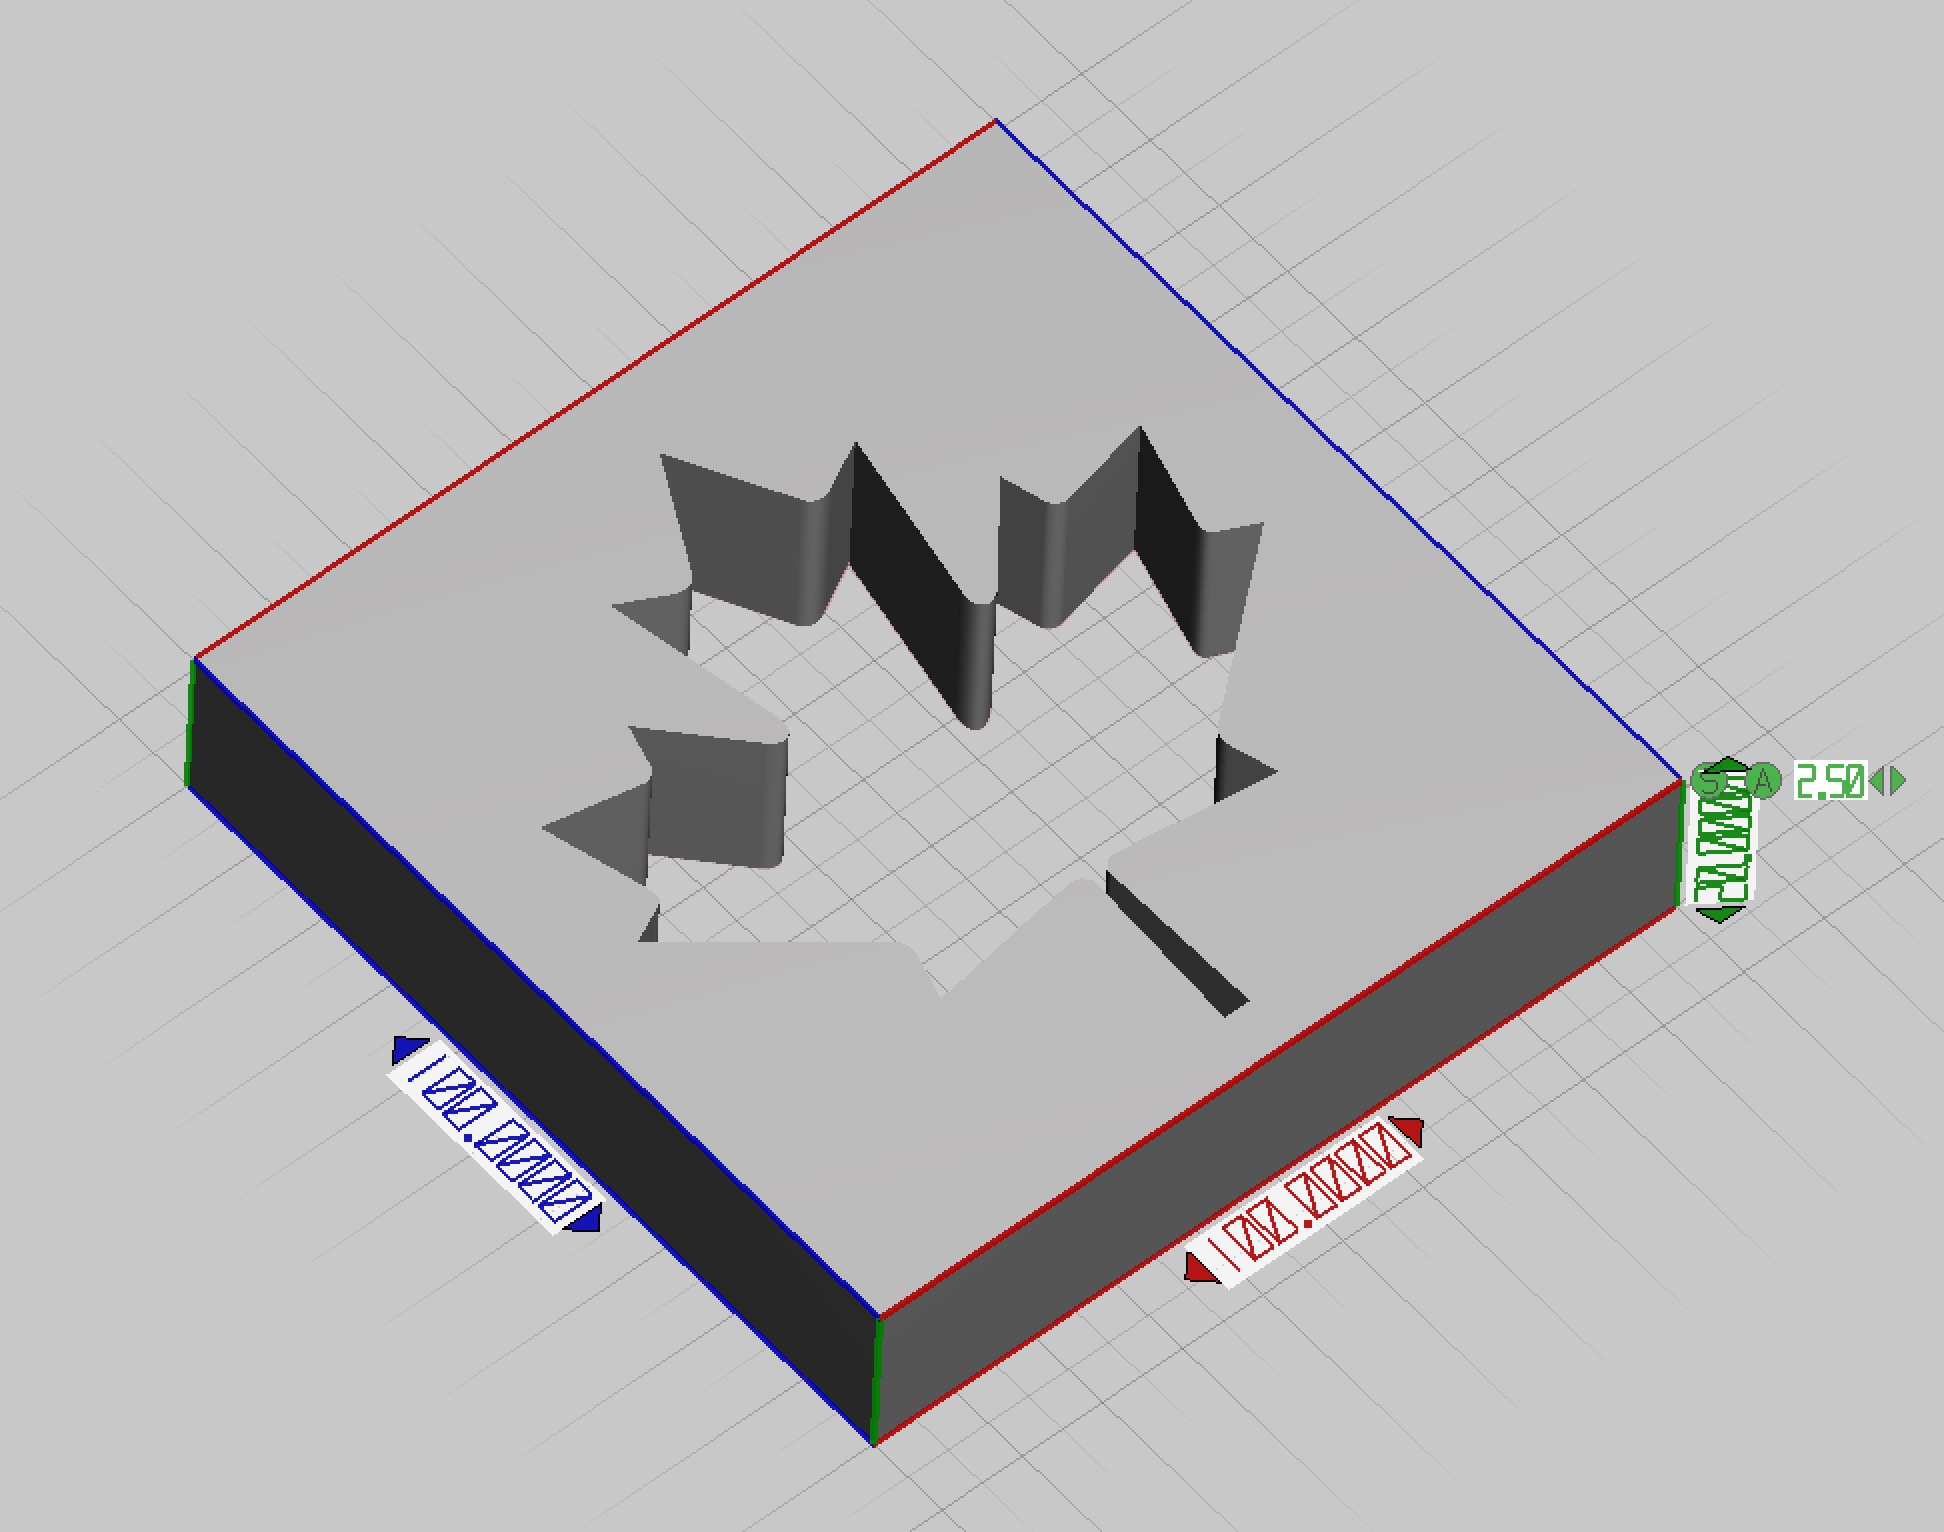
After exporting the parts into several color files, you probably have to resize them. The default dimensions will be taken from the original Wikipedia SVG file, which is no doubt horrendously gigantic.
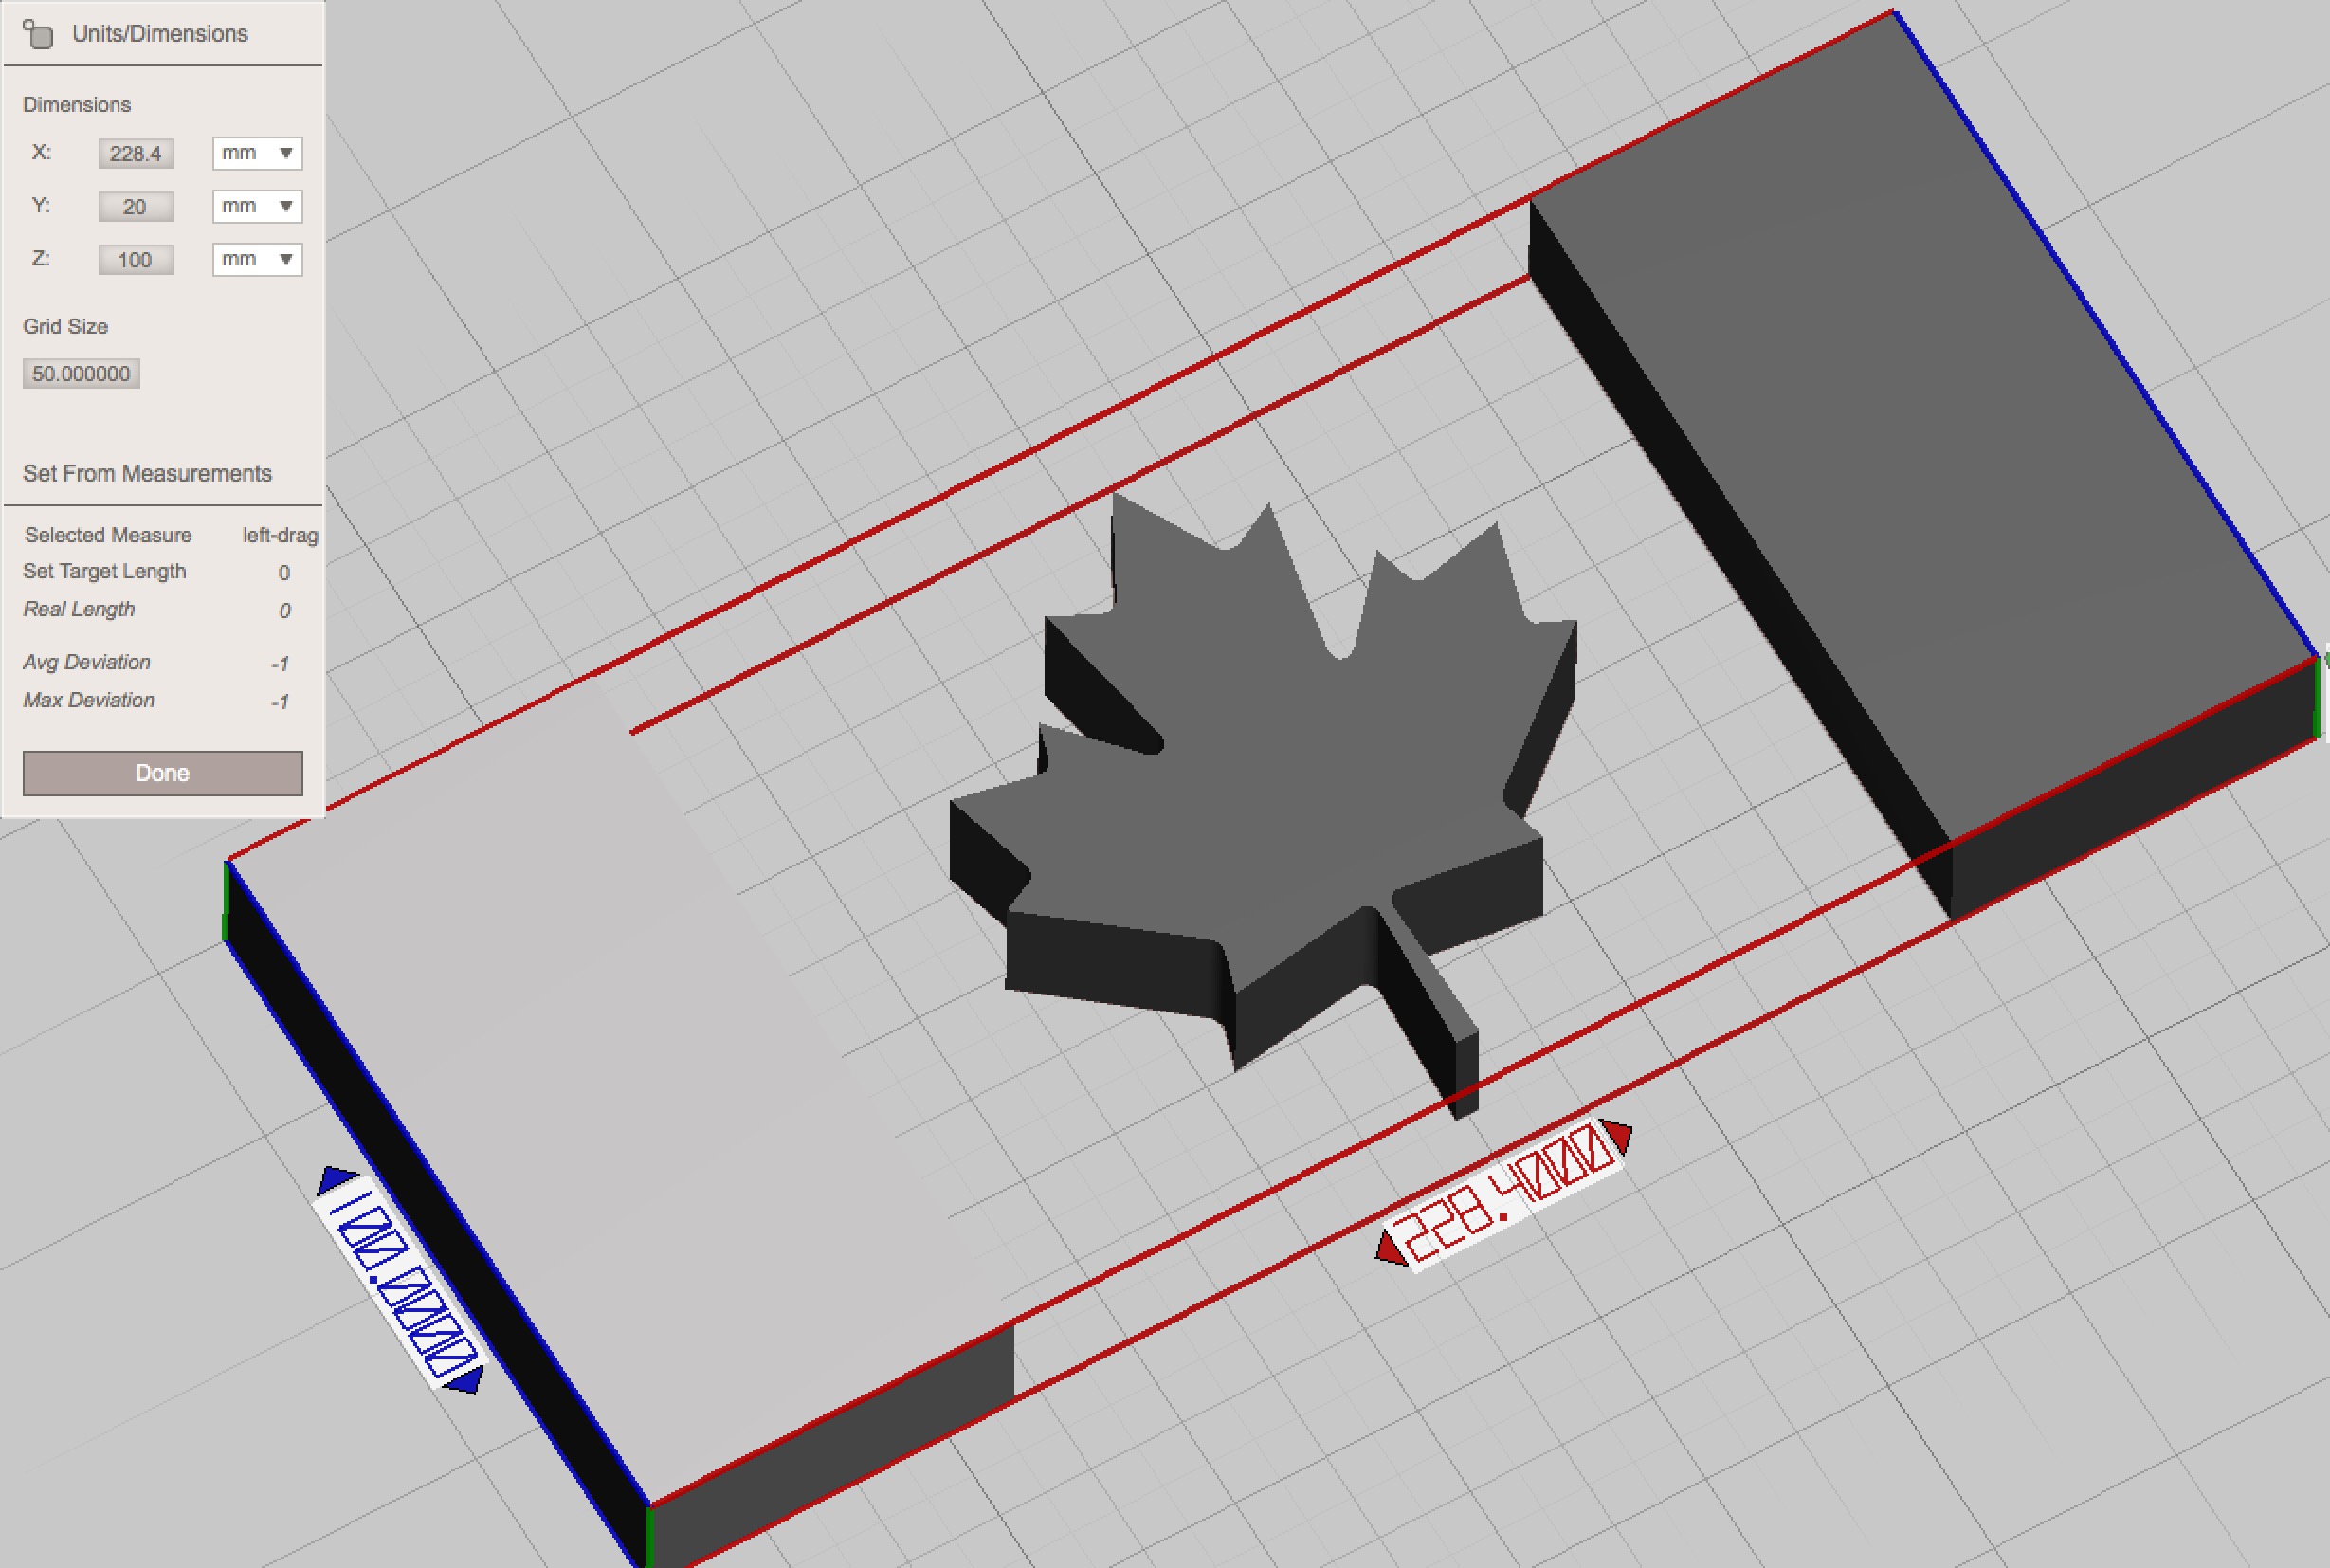
But here’s the important thing: You MUST ensure you reduce the size of each file in identical proportions. For my example, I simply resized each of the two files using the one dimension that was common, the left edge. By setting them to the same value, I am guaranteed to get parts with matching sizes.
However, other flag designs might not be so convenient, and resizing may require some calculations. Identify the reduction factor and apply the same division to each file.

Once resized, export as STL and you’re ready to print.
Here we see one of my two files placed in the slicer window. Note that I do not put all of them on the print bed – I have to maintain color separation. For this flag, I need one print job with red filament, and another with white filament.
When all the parts are printed, they should fit together – after some minor cleanup. It may be possible to slightly downsize some components so that they easily fit into the holes. However, I prefer to have the parts “too big” so that they can be manually filed down to fit with precision. Yes, it’s a bit more work, but the result should be better.
Fitted parts can then be glued together to create the complete flag. Be sure to avoid slopping glue on the top surface. You may also consider printing a base upon which to mount the parts, but depending on the thickness they could also just fit together.
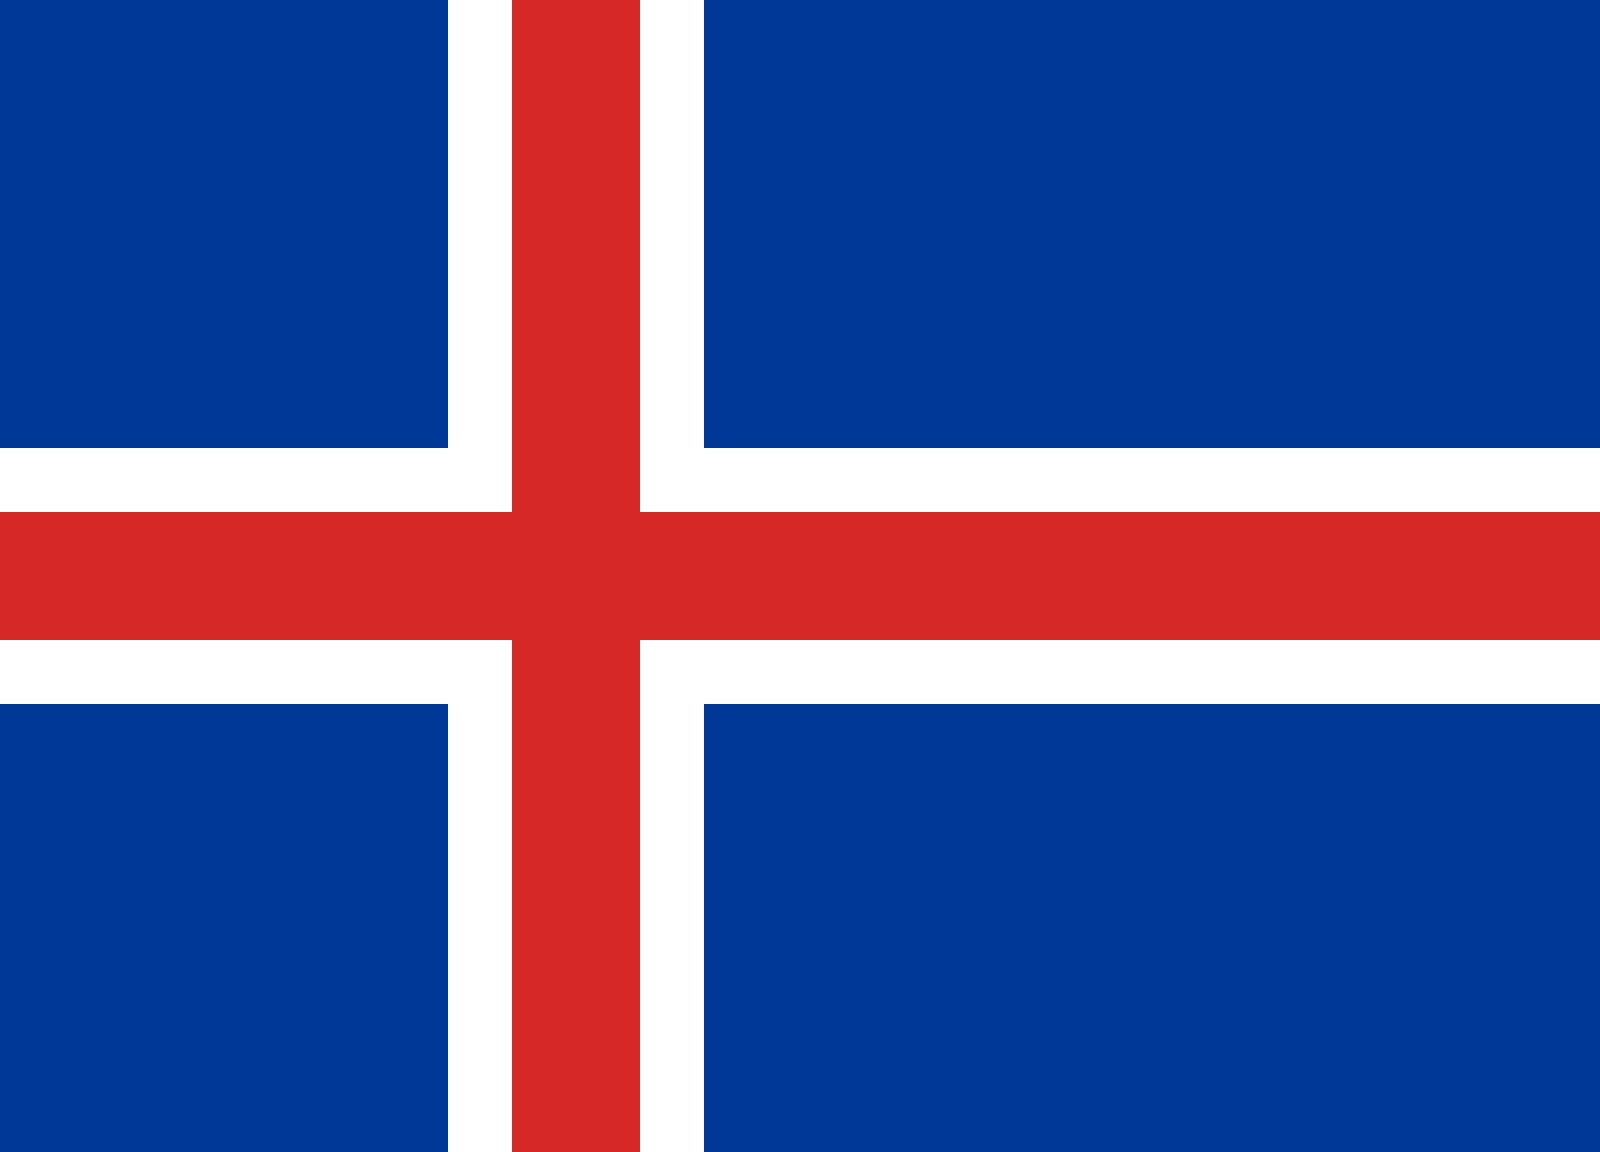
For many flags, this technique should work very easily, particularly for simple designs such as this:
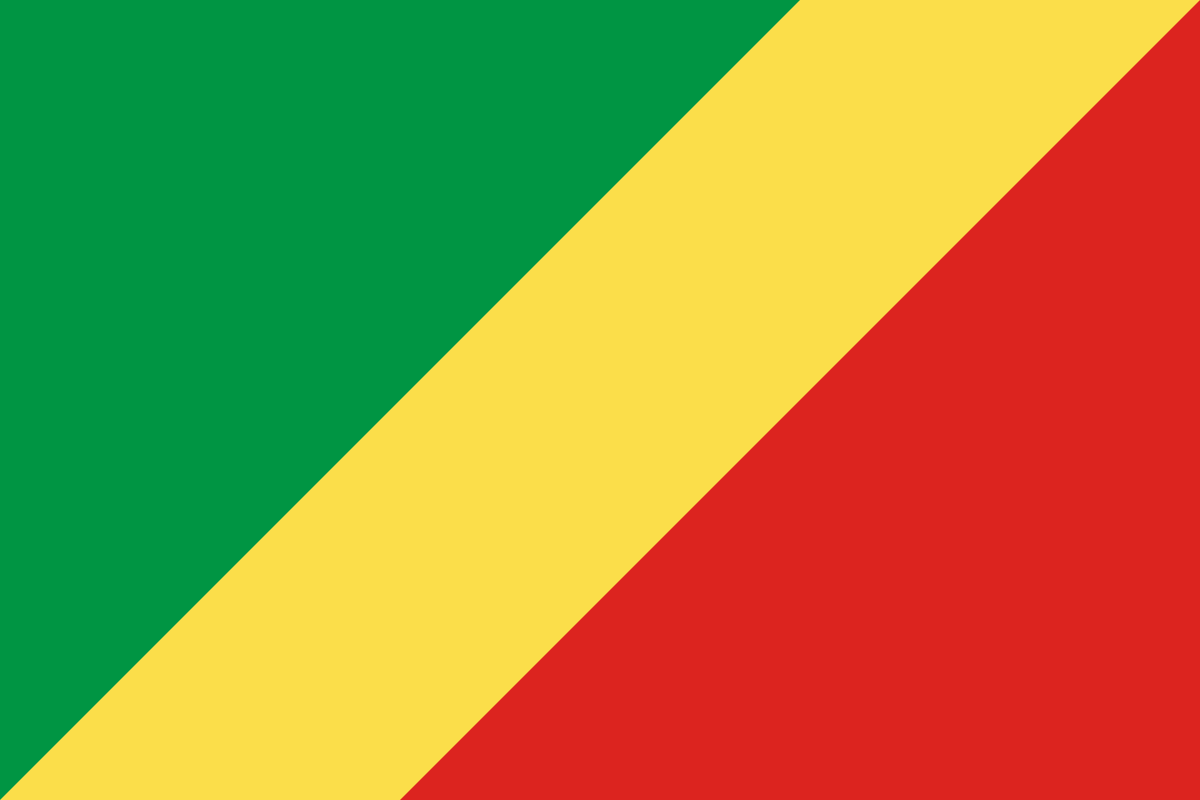
Or this:
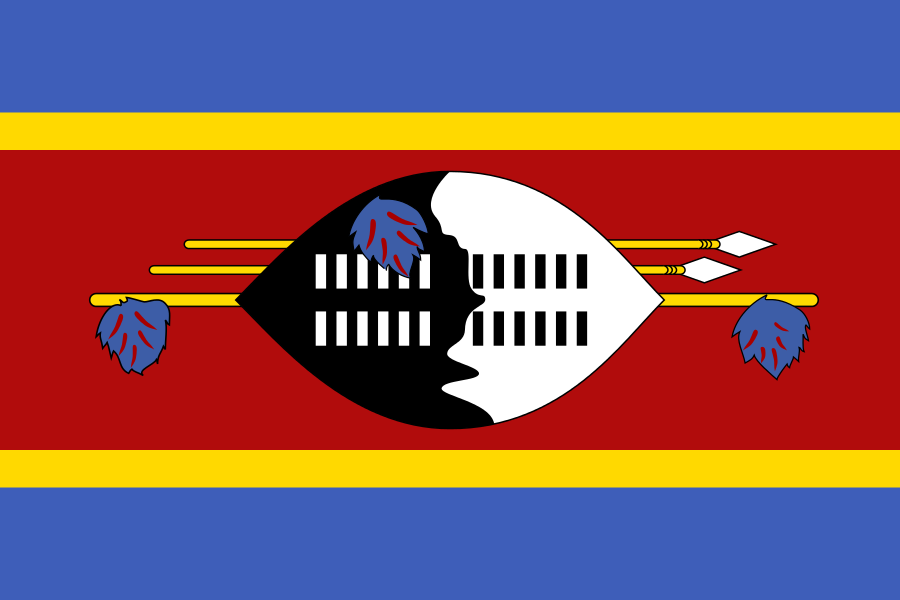
But some flags are ridiculously complex, and it may be problematic to attempt printing flags such as this:
Or this:

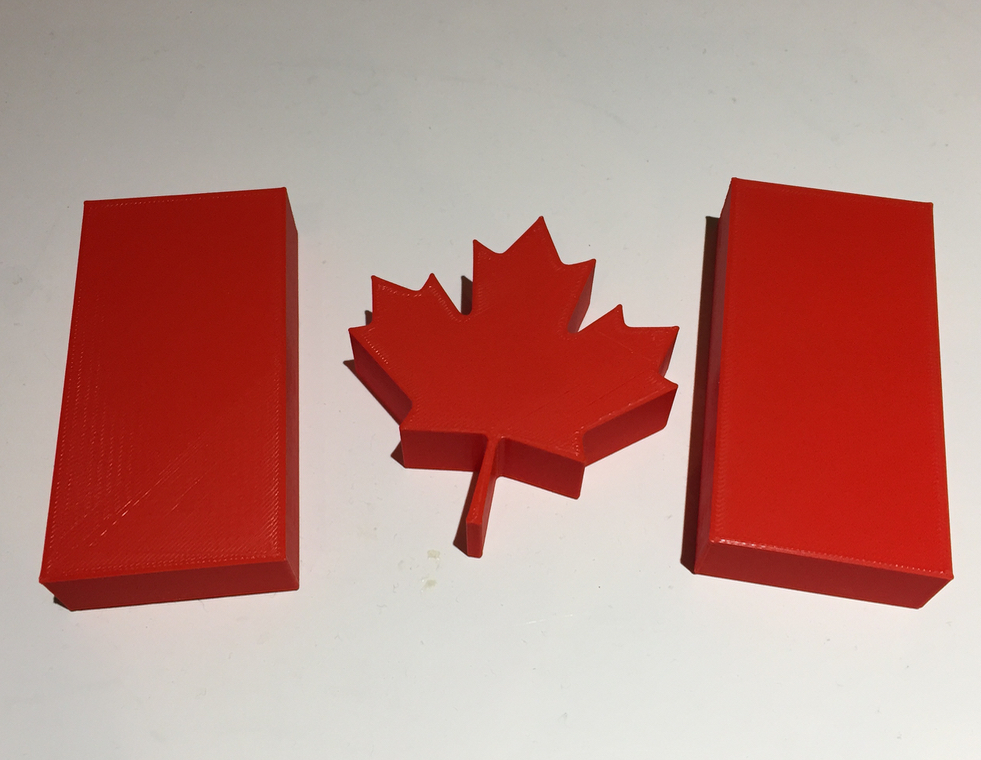
Here you can see the results of my red print: two sidebars and a maple leaf. Now I need only print the white portion to complete the printing.
And this leads us to another critical tip for this technique: Make absolutely certain you actually have ALL the colors required for the print in sufficient quantities.
Alas, I have no white.
Sigh.