![A smoothed 3D print - achieved without sanding [Source: Fabbaloo]](https://fabbaloo.com/wp-content/uploads/2020/05/nosand-ov-1_result_img_5eb0a7f03dc3c.jpg)
Sanding 3D prints can be very tedious – but it turns out you may not need to in some cases.
One of the side effects of 3D printing in layers is that these layers are often visible, and certainly touchable, in completed prints. While their presence may not be at all bothersome for some 3D prints, say, for a mechanical part whose surface quality is far less important than its structural integrity, it can be important for other types of 3D prints.
Like most 3D print operators, I endeavored to sand these layers away. Usually this is done manually, and it can be extremely tedious, depending on the geometry of the 3D model in question. If there are many large flat or gently curved surfaces, then count yourself fortunate. If there are many tiny details, you are not so lucky. If there are hidden surfaces that are challenging to access with sanding instruments, then you are in for a fun afternoon.
Another technique I used was XTC-3D, an epoxy mix that is painted on the print and actually works very well if you get the ratio of the two liquids perfectly matched. (If not the print remains drippy.) While this worked reasonably well, it did add a significant thickness to the print. But you won’t find XTC-3D at your nearby hardware store; most often it has to be ordered in from distant places.
The tedium rapidly became undesirable, so I sought alternatives.
One that immediately came to mind was using a vibratory solution, in which the print is put in a small vat of a ceramic medium and shaken for a time. The media gently impact the surfaces of the print and wear them down to smoothness.
However, there are a number of issues with this approach, not the least of which is that it actually erodes your part and can even destroy finer details and structures. It’s also quite noisy, and you need to obtain the vibratory device and an appropriate medium. There are many commonly available media that really don’t work very well.
Another approach commonly used is the acetone-vapor technique. In this approach you somehow produce a vapor of flammable acetone and expose your print to it. The vapor causes the surface layer of the print to dissolve and it becomes smooth. But don’t leave the print there too long or it will mushify.
Again, this technique has some serious problems aside from the obvious fire hazard. It requires a device to contain the vapor and significant ventilation. There are a few devices on the market that will perform this function, but you’d have to get one. Oh, and this approach works ONLY on ABS and ASA thermoplastics. There is a vapor that works for PLA, but it is so toxic you should not even consider using it.
While browsing through a hardware store, I realized there could be another approach to simplify smoothing a print: painting.
In this particular store I found this stuff:
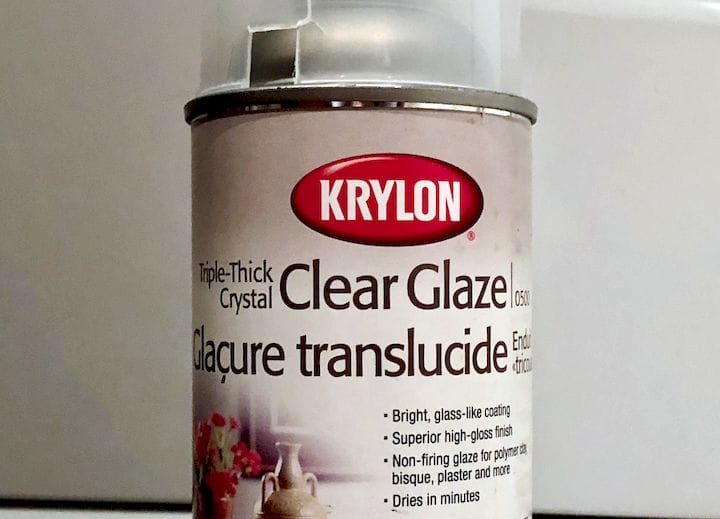
It’s a glaze layer that provides some thickness. My idea was to plant a couple of coats of glaze on a print, and then paint it. Why paint? Because this glaze is clear, and even though the smoothing could be successful, the layers might still be visible through the transparent glaze.
I gave it a try on a test object, a 3D scanned version of the famous ancient Greek Triton sculpture, one that I captured using this technique.
![Layers clearly visible in this 0.200 layer 3D print [Source: Fabbaloo]](https://fabbaloo.com/wp-content/uploads/2020/05/nosand-noglaze-1_result_img_5eb0a7f0edaed.jpg)
First, let’s look at the original print. The layer lines are clearly visible. This print, by the way, was printed with 0.200mm sized layers in an orangey PLA.
![After glazing, the layers seem to be still visible, unless you look at the shiny edge [Source: Fabbaloo]](https://fabbaloo.com/wp-content/uploads/2020/05/nosand-glazed-1_result_img_5eb0a7f15f9ca.jpg)
I applied two layers of the Krylon glaze to see how it smoothed the surface. Here you can see a close up of Triton’s torso, showing some amount of smoothing, but it’s hard to tell due to the transparency of the glaze.
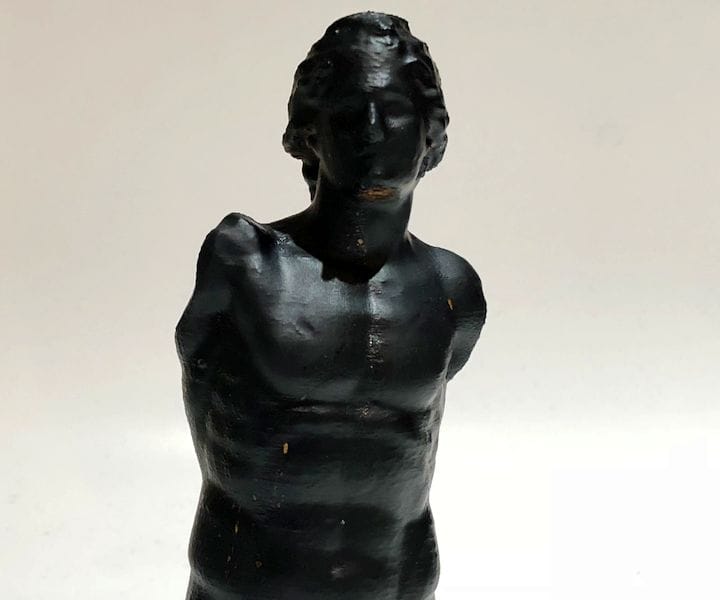
After drying I then applied a coat of plain, black paint, also from a spray can. Here is the result:
![Painting the glazed 3D print showed that the layer lines are mostly gone [Source: Fabbaloo]](https://fabbaloo.com/wp-content/uploads/2020/05/nosand-painted-1_result_img_5eb0a7f1a7a5e.jpg)
If you ignore my lousy spray painting quality and focus on the surface smoothness, you will see that indeed the layer lines are mostly gone! I think another coat of paint and it might be near perfect.
![The 3D print glazing process from left: original; with two coats of spray glazing; with one coat of black spray paint [Source: Fabbaloo]](https://fabbaloo.com/wp-content/uploads/2020/05/nosand-compare_result_img_5eb0a7f201b5d.jpg)
Now I have a low-labor approach to 3D print surface smoothing that is easily accessible by anyone who has a hardware store nearby with a decent selection of spray paints.
This technique is inexpensive and quick (as far as labor hours go; you’ll still have to wait for layers to dry). It won’t destroy your print in any way, although it might be microscopically larger. It doesn’t require any specialized equipment or introduce any health risks.
Perfect for the efficient 3D printer operator!