
Anycubic’s Kobra line has a new member, the Kobra Plus.
We had the opportunity to perform a detailed hands-on test of the new 3D printer to find out how well it works.
This is part one of a three part series, please read parts two and three.
Anycubic Kobra Plus Background
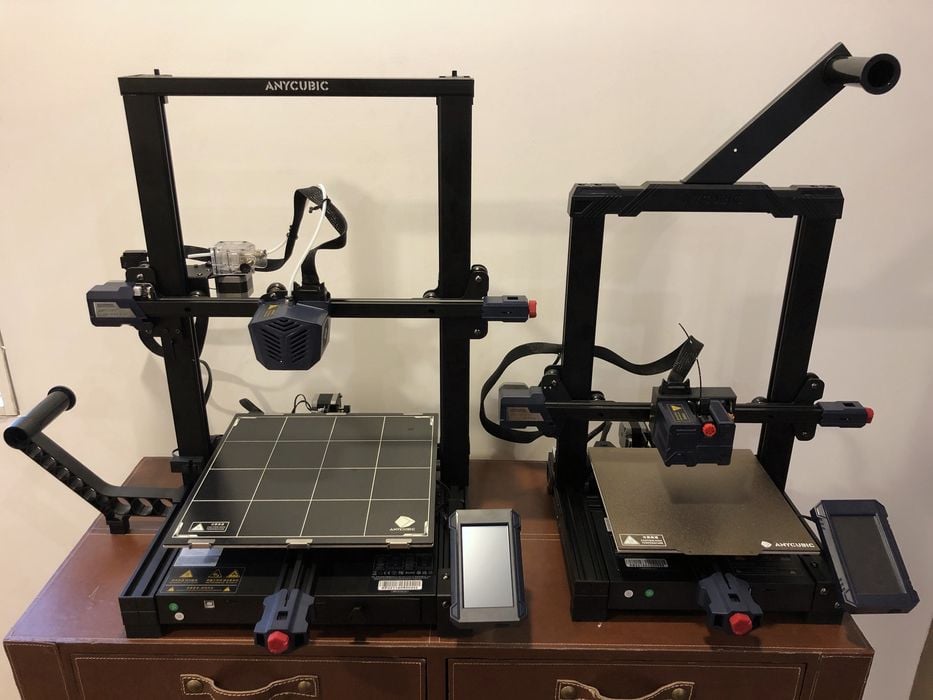
Anycubic has been making excellent desktop 3D printer equipment for several years. We’ve been fortunate to test some of their previous equipment, including the Vyper, Photon M3, Photon M3 Plus and the original Kobra. Now the company has released an enhanced version of the Kobra, the Kobra Plus.
The Kobra Plus is a desktop unit that is priced attractively, yet offers quite a number of convenience and quality features.
Anycubic Kobra Plus Specifications and Features
The Kobra Plus has a rather large build volume for an inexpensive 3D printer, at 300 x 300 x 350 mm. This is certainly large enough to handle almost any reasonable job undertaken by those purchasing this device. Printing a large object 350mm tall might take a couple of days to complete, so that build volume is probably sufficient for almost anyone.
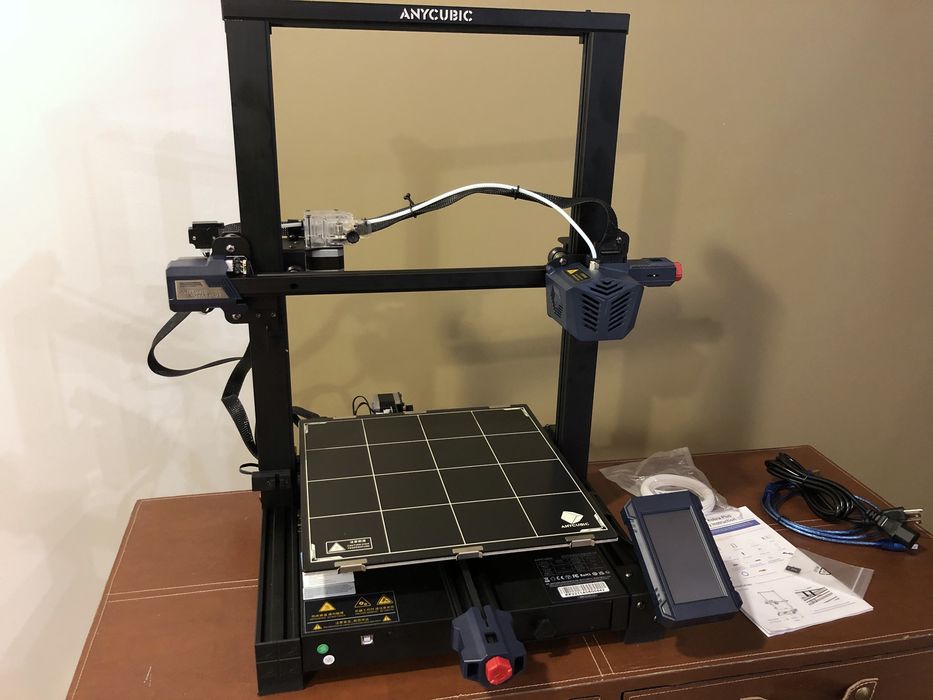
The Kobra Plus includes Anycubic’s new LeviQ automated 25-point leveling system. This ensures that the first layer properly sticks to the print plate, which, by the way is actually made of coated carborundum glass. This plate ensures the surface is flat, but also introduces some challenges to remove prints, as you will see later in this review.
The Kobra Plus’ frame is sturdy and constructed with aluminum alloy extrusions, and this is quite a rigid framework on which to base the Kobra Plus’ motion system. We did not observe wobbles caused by the Kobra Plus’ frame.
The extrusion system for the Kobra Plus is a Bowden setup to a single 0.4mm extruder, using 1.75mm filament. There are also several convenience features, such as a filament-out sensor and power failure handling.
Anycubic Kobra Plus Unboxing and Assembly
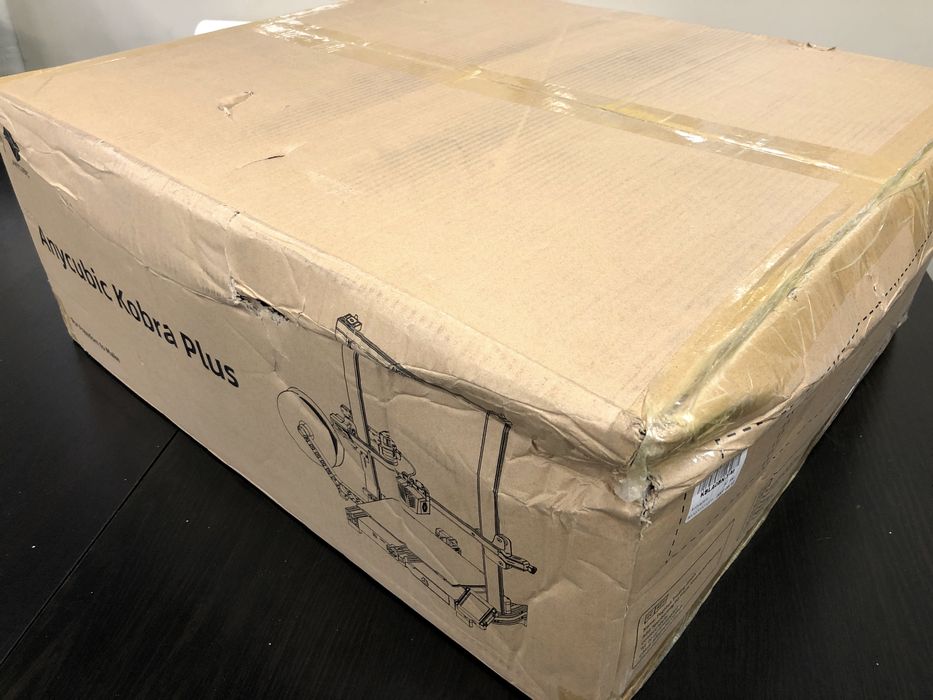
Like most flat-packed 3D printer kits these days, the Kobra Plus is extraordinarily secure in its many foam cut-outs.
Every part is protected quite well. Even though our shipping box seemed to be a bit roughed up, we found no problems with all the parts within.
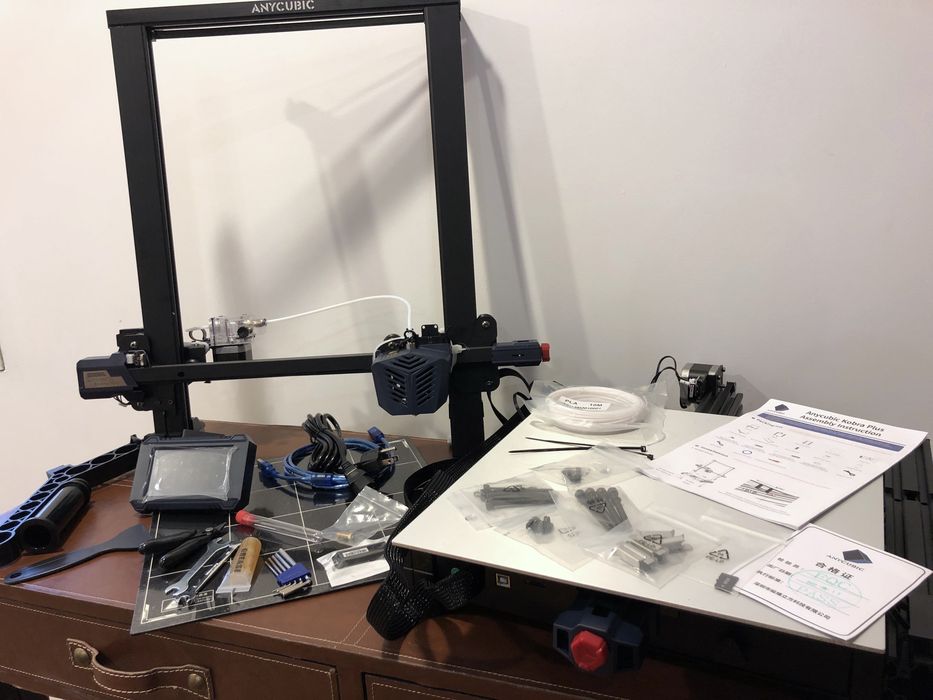
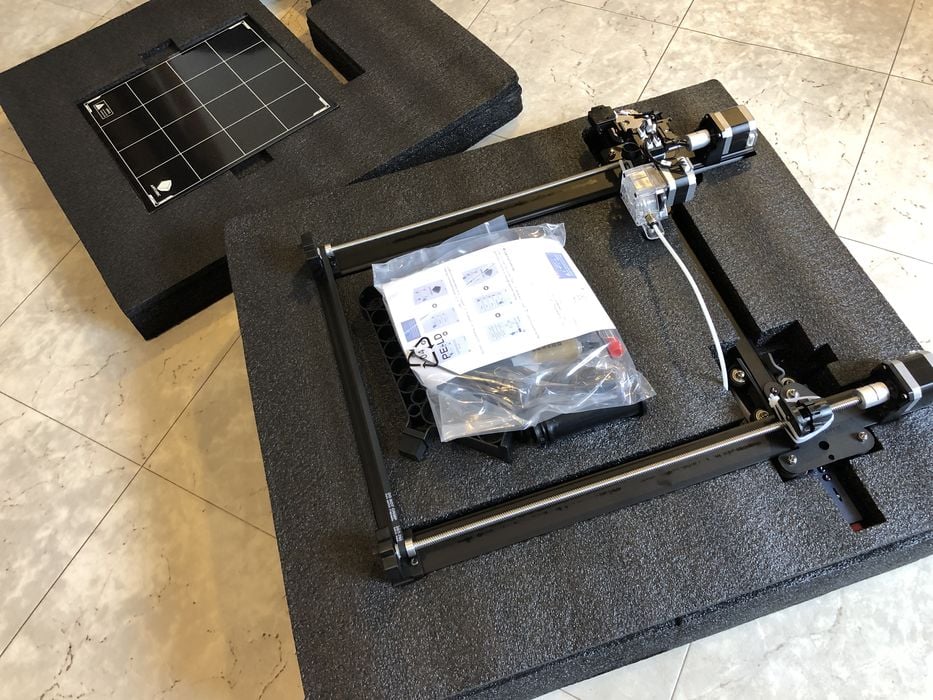
Flat-packed 3D printers today are essentially pre-assembled, but broken into two main parts, the base and gantry, that must be bolted together, along with cable connections. The process is straightforward, and Anycubic provides a number of tools to assist in the assembly.

One thing we noticed was a significant amount of tie wraps scattered throughout the main components. These are present to prevent the motion system from crashing around during shipment, and they did their job well.
However, the sheer number of tie wraps was notable, with some being hidden underneath and not so easy to spot.
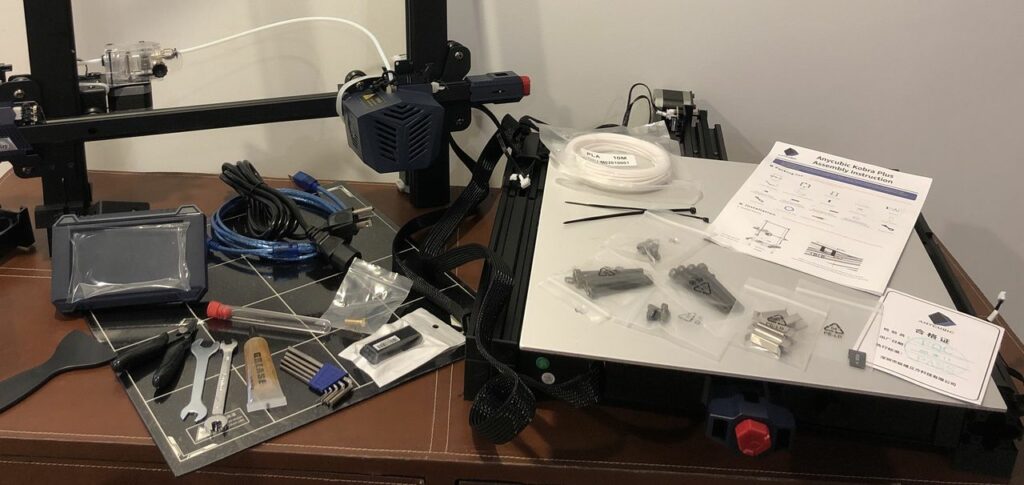
The tools actually include a pair of snips for filament, but this proved useful to remove the tie wraps. There is also a package of extra bolts should they be necessary. In our case, they were not required.
Another interesting packing feature was this foam bed for the motion system. We have not seen this on other equipment we’ve reviewed, and it’s a very good idea: it protects the track from being dented by the wheels should the package be dropped.
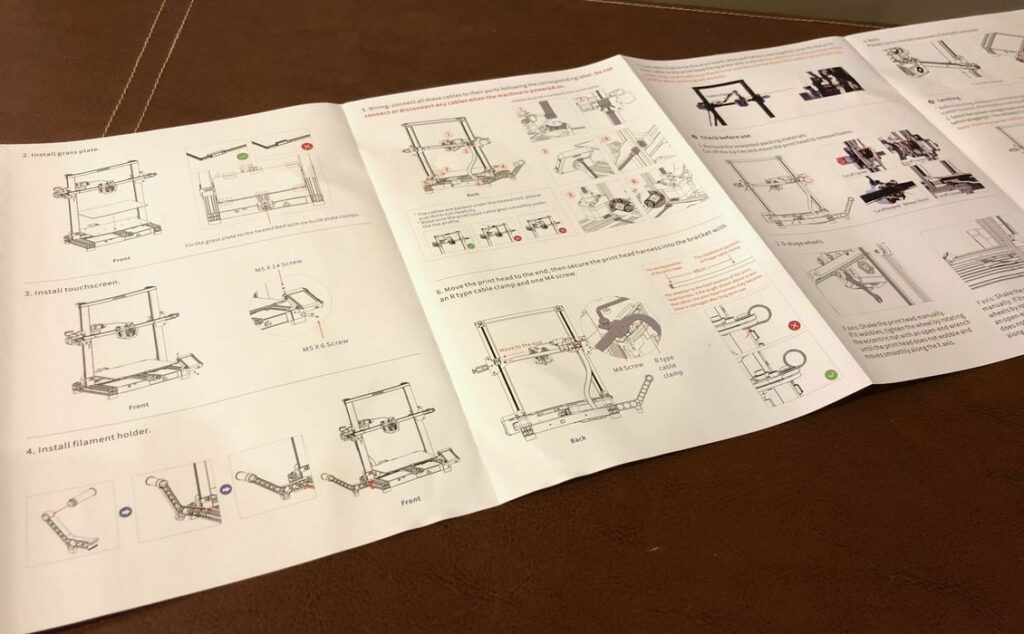
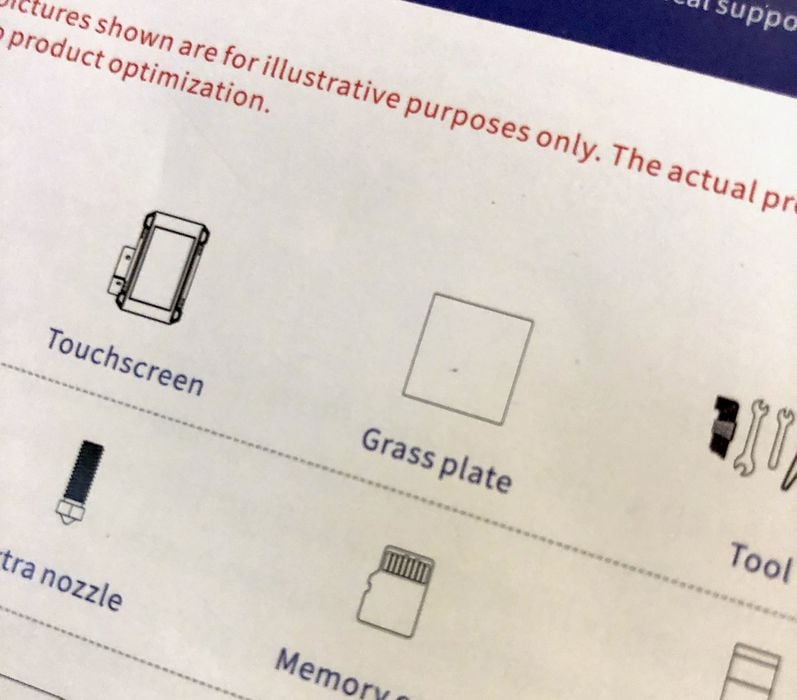
Anycubic provides a set of printed instructions that are easy to follow, although we had problems locating the “Grass Plate”.
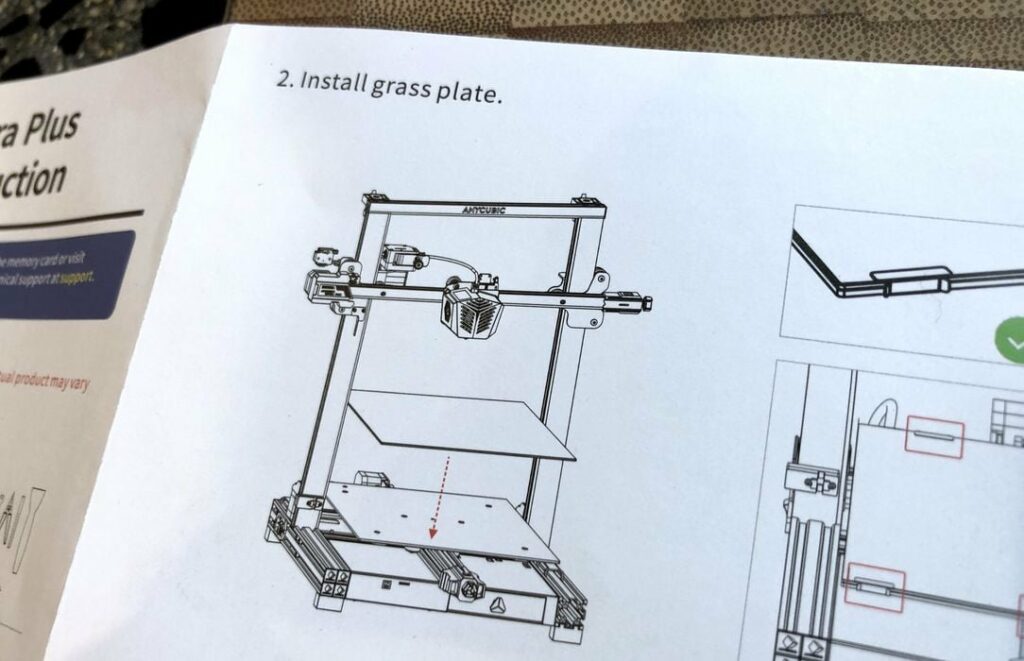
Of course, this is a typo and they meant “glass plate”. Oh wait, there it is again!
The few typos we found in the instructions did not detract from the meaning and we were able to follow along easily, and they also made the build a bit more fun.
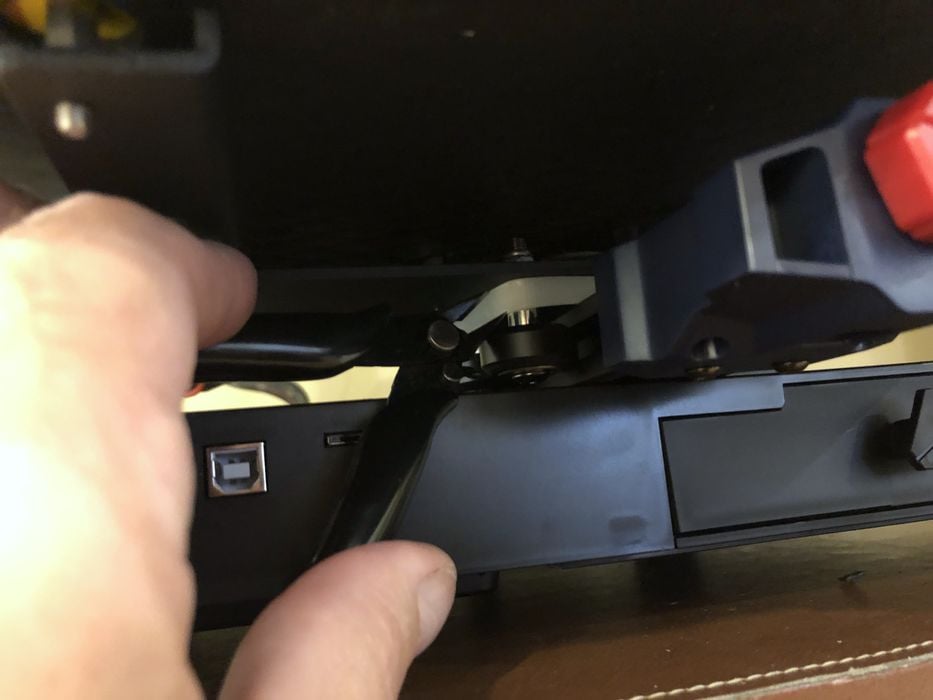
The assembly of the machine was pretty straight forward, and went together just like the smaller Kobra model that we had previously tested. We fit the pre-assembled top frame assembly into the grooves of the pre-assembled horizontal base assembly and bolted it together. We found these main parts were properly designed to provide a very accurate alignment between them.
After that, we installed the “grass plate” as per instructions (our plate must have been freshly mowed, as there was no grass observed at the time of installation).
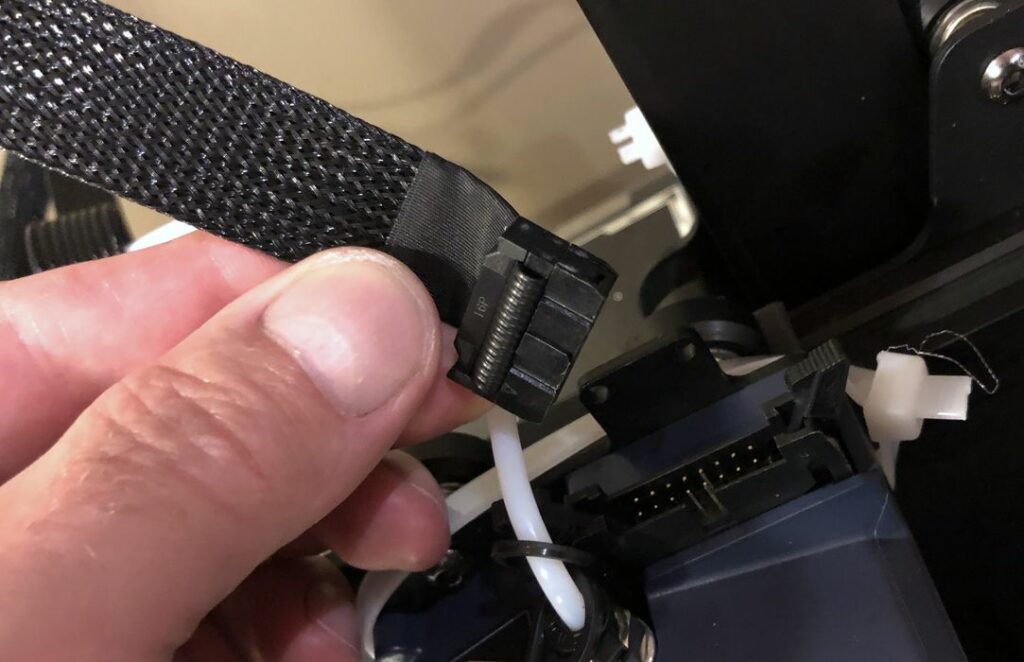
We then attached the touchscreen and side-mounted the filament holder, each with a few screws, followed by plugging in all the well labeled cables into their connectors.
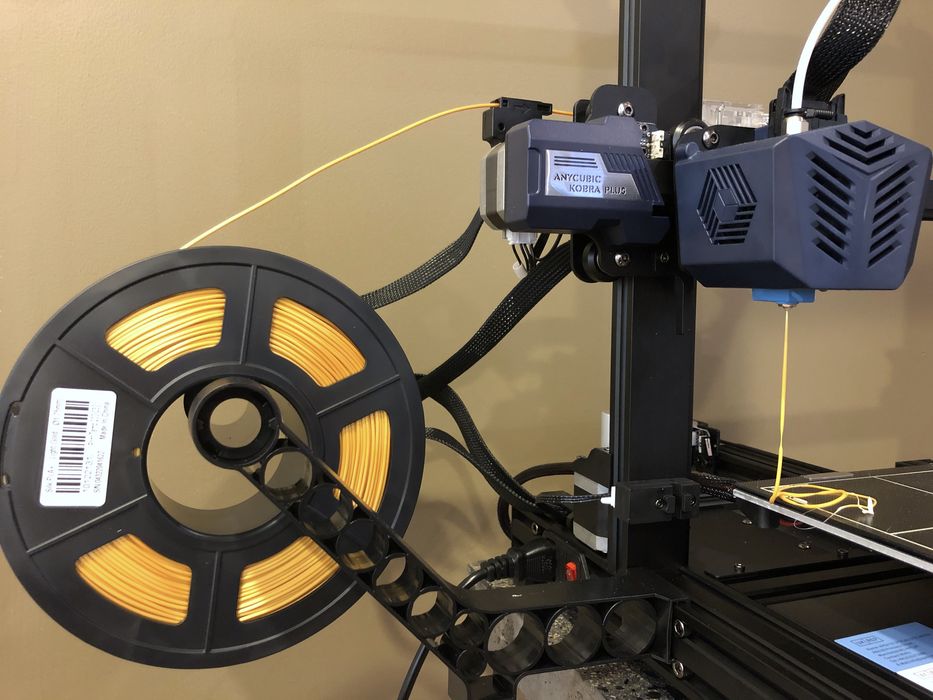
The filament holder’s location is a bit unusual. Most desktop 3D printers arrange the spool holder to be at the top, where filament leads downward. Here, the Kobra Plus has the spool on the side and the filament leads horizontally.

We did a bit of tidying up with a cable clamp to secure the extruder cable assembly cable to the x-axis, added a few clips to lash the cable to the Bowden tube, and finally a tie wrap to clamp the print head cable to the print head fixing plate.
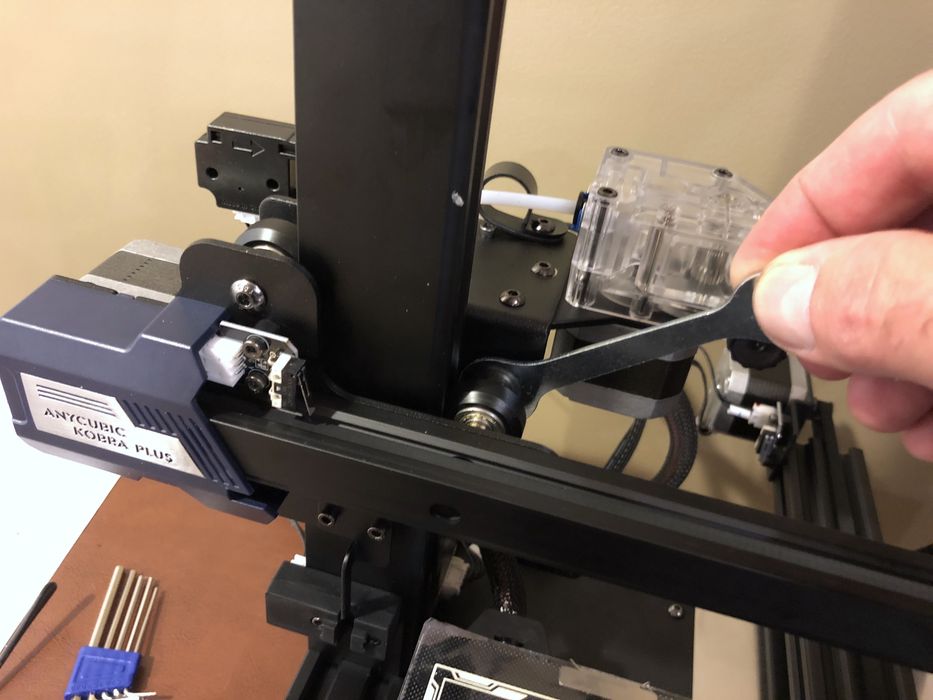
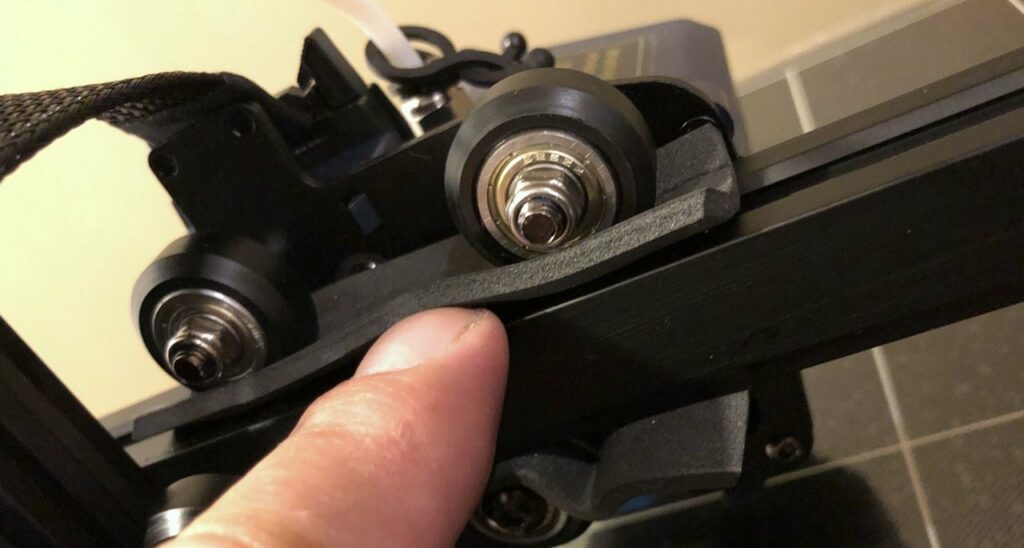
We did a quick check of all wheels and drive belts to see if anything was loose. Some minor play was found in the Z & Y axis, so they were both tightened by rotating the eccentric nuts until things firmed up.
Belt tensioning was snugged up with the easily accessible tensioners on both the X & Y axis. Honestly, these easy-access belt tighteners should be required on all FFF 3D printers.
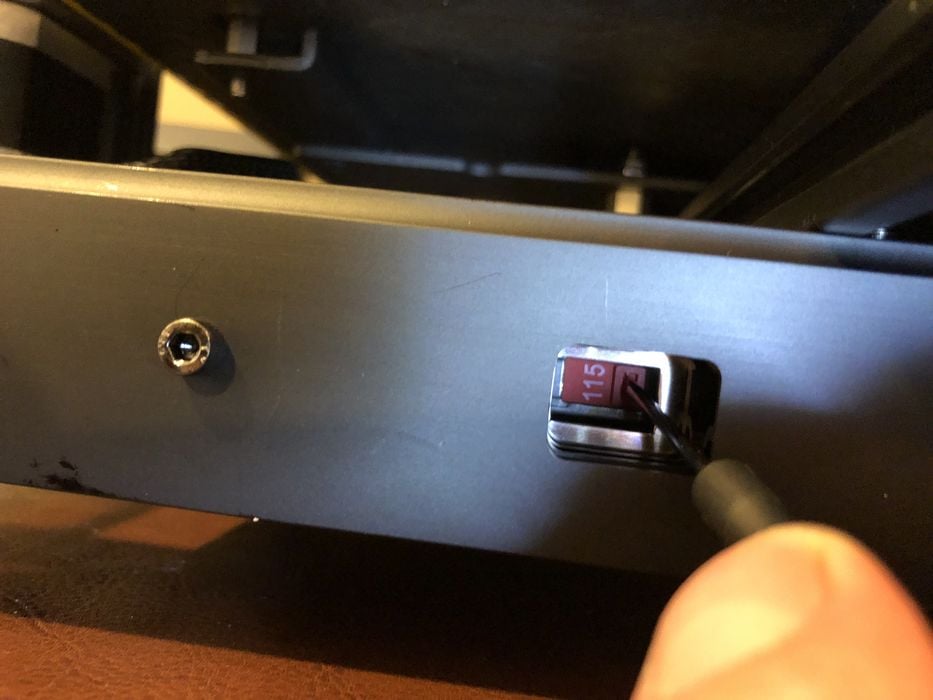
Prior to turning the machine on we made sure to slide the input voltage switch to our North American standard of 120V. This is a small, but very important step that must be done by anyone assembling the Kobra Plus 3D printer.
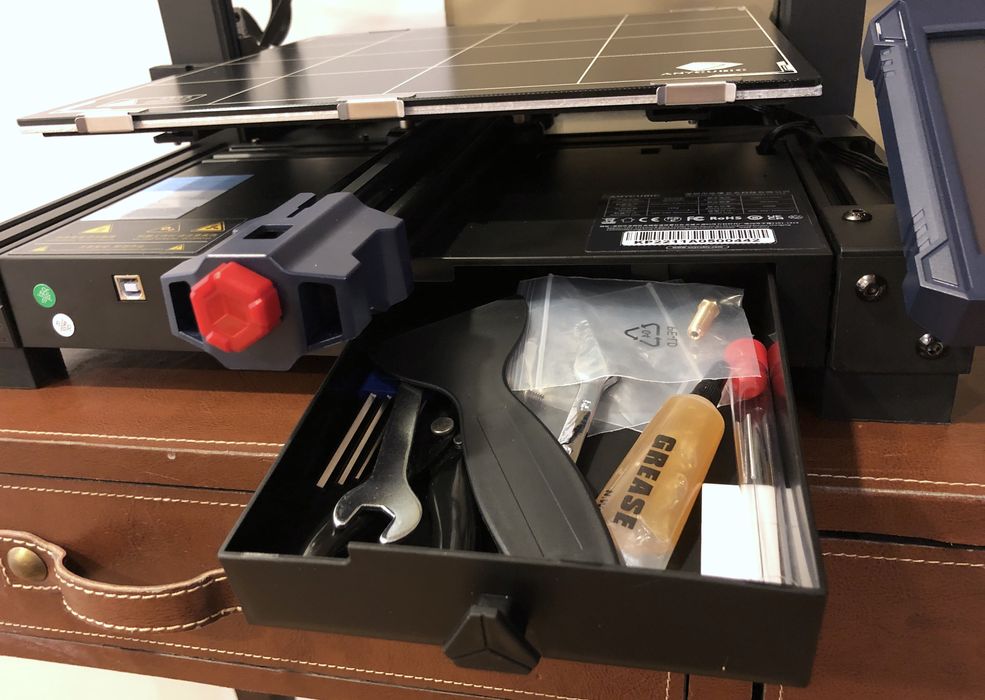
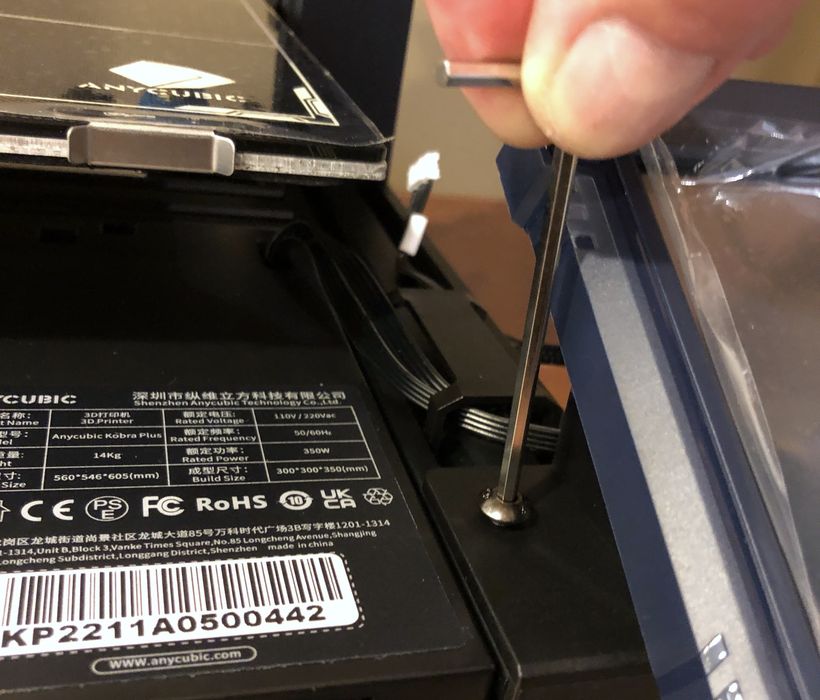
Much to our surprise, when we spun the printer around to ready it for the next steps, we noticed there was a convenient storage drawer built right under the build plate to hold all our tools and goodies!
The final footprint of the machine was measured to be an impressive 800 x 700 mm, mostly due to the side mount filament holder.
This is part one of a three part series, please read parts two and three.
Via Anycubic