

Not long after testing the Anycubic Photon M3, we got our hands on the very different Anycubic Photon M3 Plus 3D printer.
This is part one of a three part series, please read parts two and three.
Anycubic Photon M3 Plus Specifications and Features
Anycubic has been producing resin 3D printers for many years, beginning with their innovative Photon device. Today their technology has advanced significantly and the Photon M3 Plus could be their best machine yet.
There is a bit of a clarification I should mention. You may recall we previously reviewed Anycubic’s Photon M3 3D printer, which we found to be a very decent machine for its price. This story is about the Photon M3 Plus, which you might assume to be a “super” version of the original M3.
That’s not the case at all. The Photon M3 Plus is in fact a completely different machine. I’m not sure why Anycubic named it the way they did.
The Photon M3 Plus is actually much more similar to their Photon Mono X 6K. It has a very similar base unit, and the build plate is actually interchangeable between these two machines. In my mind, the Photon M3 Plus is more like a “Photon Mono X 6K Plus”, if there were such a machine.
Here are the basic specifications:
- Build volume of 197 x 122 x 245 mm
- Monochrome LCD array has 6K pixels, 5760 x 3600
- 0.034mm pixel accuracy
- Print speed up to 100mm per hour
- Large 5” color touchscreen
- WiFi connection
- Cloud-based monitoring and control available
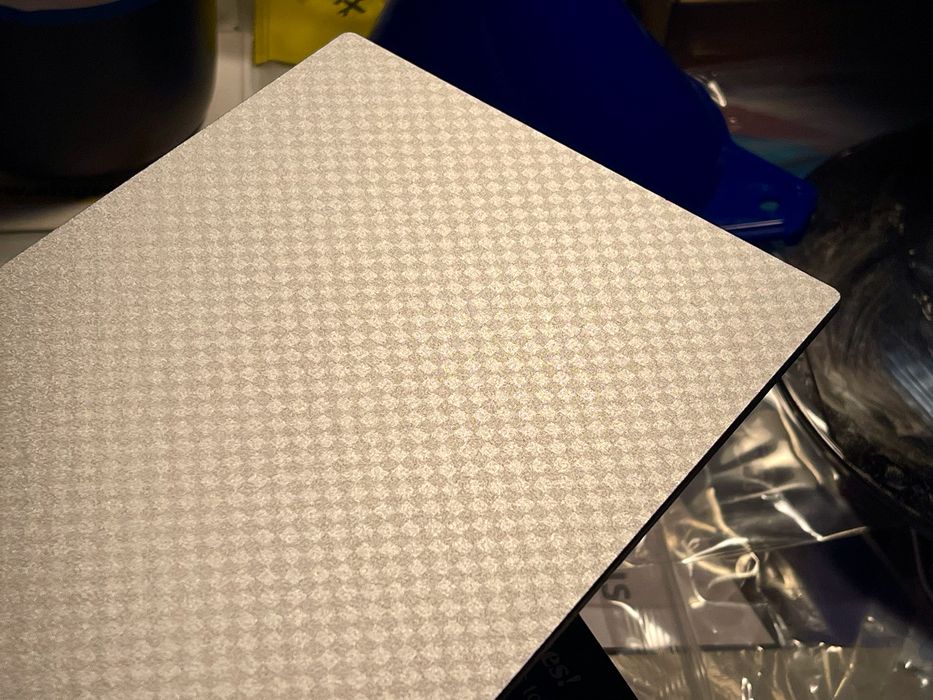
- Laser engraved build plate for added adhesion
- Cooling fans to allow lengthy prints without overheating the light engine
- Automated resin refill system
- Protective anti-scratch film for the light engine
- Very rigid cast metal frame to reduce vibrations

I noted that the FEP was different on the Photon M3 Plus. Instead of a perfectly clear panel as is usually the case with resin 3D printers, this machine uses a blurry panel. I believe this is an attempt to reduce adhesion to the panel.
One thing I was really curious about was whether the UV cover would be too close to the build plate. This was an issue on the original Photon M3, and occasionally resulted in resin dripping down the cover.
I’m happy to say this is definitely not the case on the Photon M3 Plus, as the cover is far away from the build plate, so this issue should not occur.
Anycubic Photon M3 Plus Unboxing and Assembly
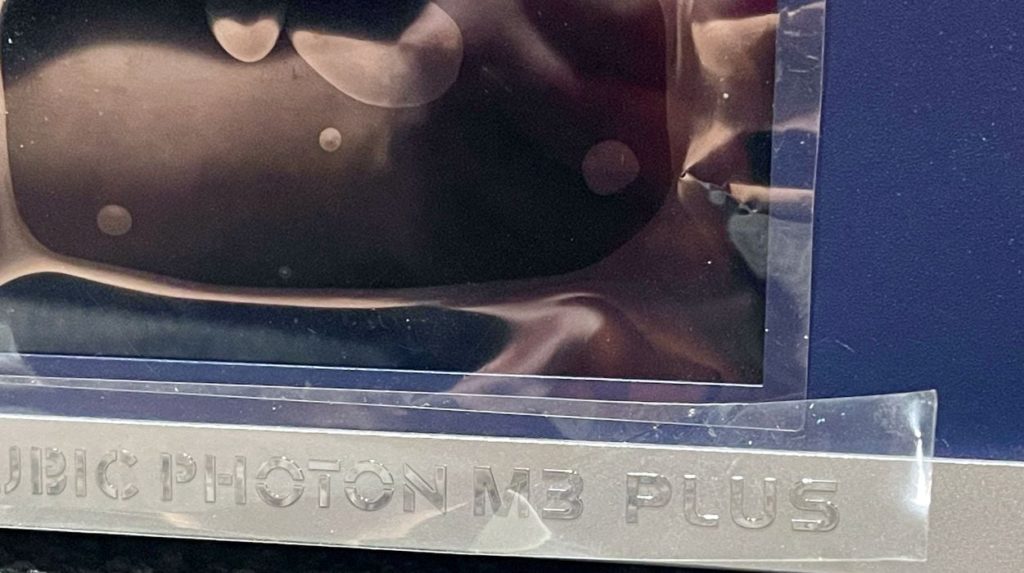
Like all Anycubic 3D printers, the Photon M3 Plus was packed in an outstanding manner. It seems that over the years 3D printer manufacturers have figured out the shipping puzzle and equipment inevitably arrives without damage, and that was the situation in my shipment.
The Photon M3 Plus is basically fully assembled, and there are relatively few things to do, unlike typical flat-packed FFF machines that require considerably more work to set up. However, the pump system does add some work, as you will see.
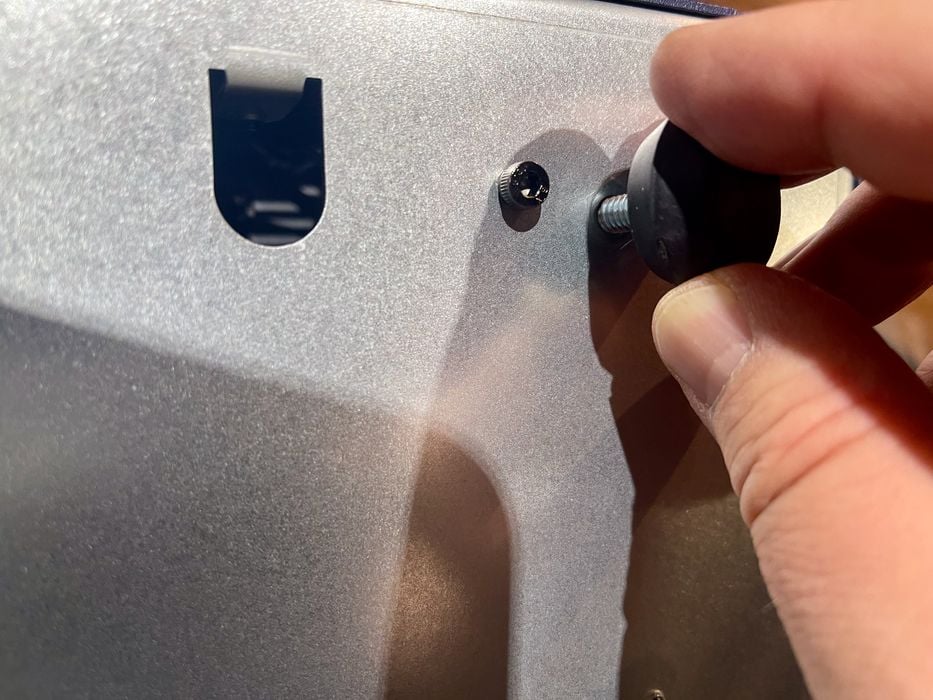
One of the first things to do is install the system’s adjustable feet. This is easily done by screwing them into the bottom of the base unit.
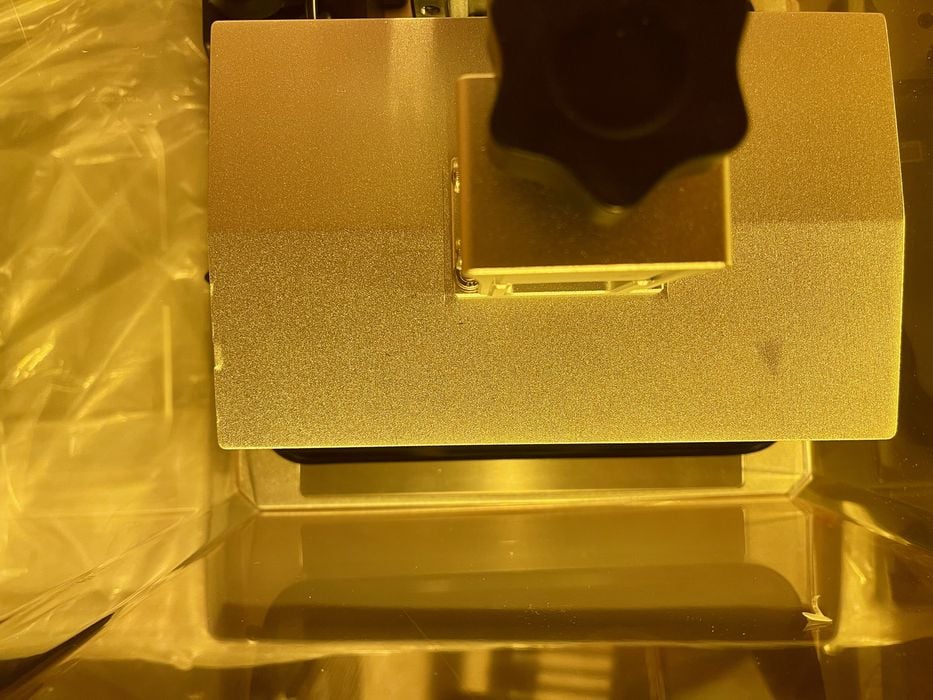
Here it’s a mostly a matter of peeling off protective films. You’ll have to mount the build plate, which is not mounted during shipment because its weight might damage the motion system if the box was dropped.
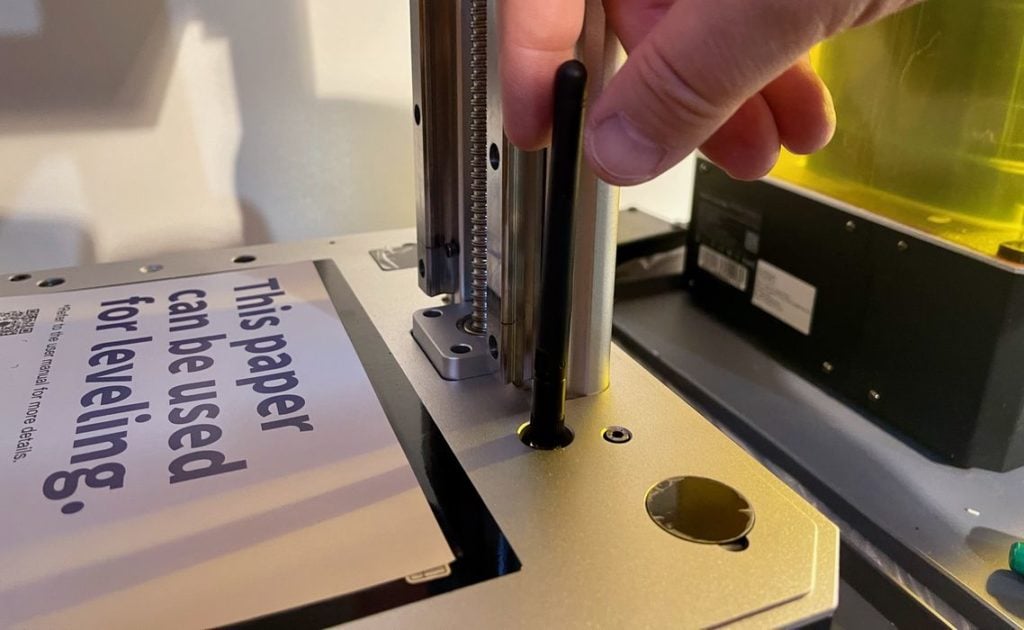
You’ll also have to install the WiFi antenna, which is strangely mounted inside the build chamber.
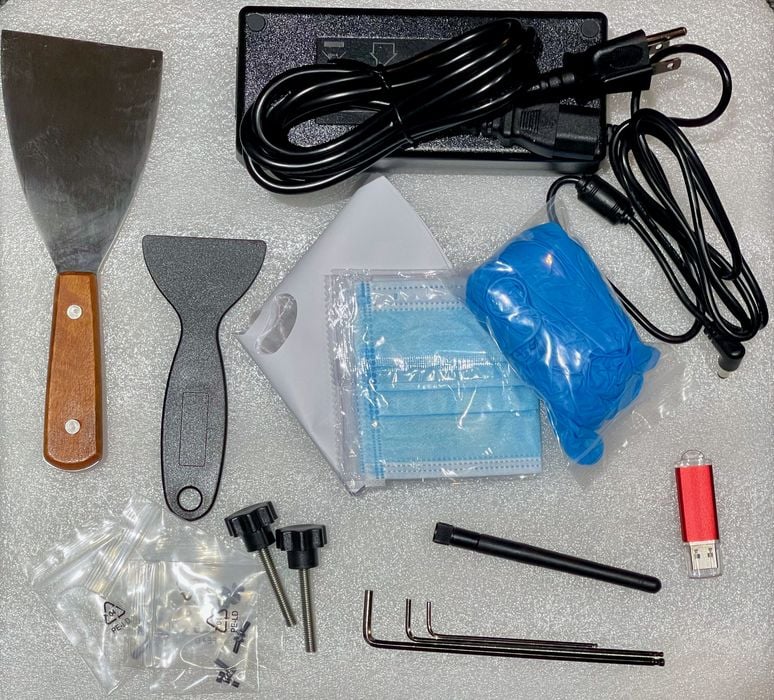
The Photon M3 Plus includes the usual set of useful tools for operating and maintaining the 3D printer.
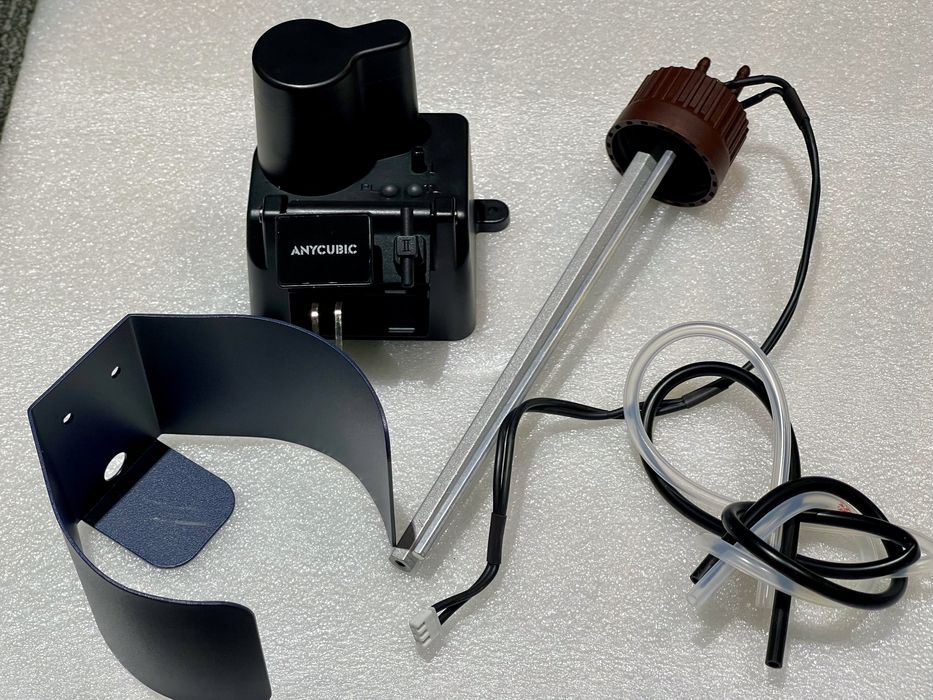
Unlike most resin 3D printers, there are a few extra parts in the Photon M3 Plus. These are for the automated resin filling system, which Anycubic calls “Smart Resin Filling”.
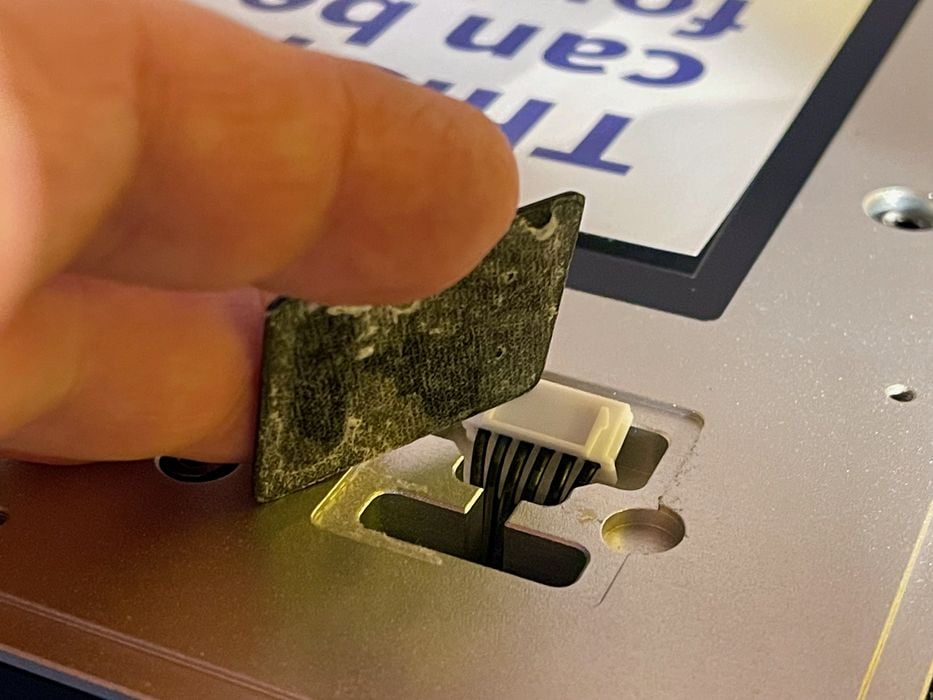
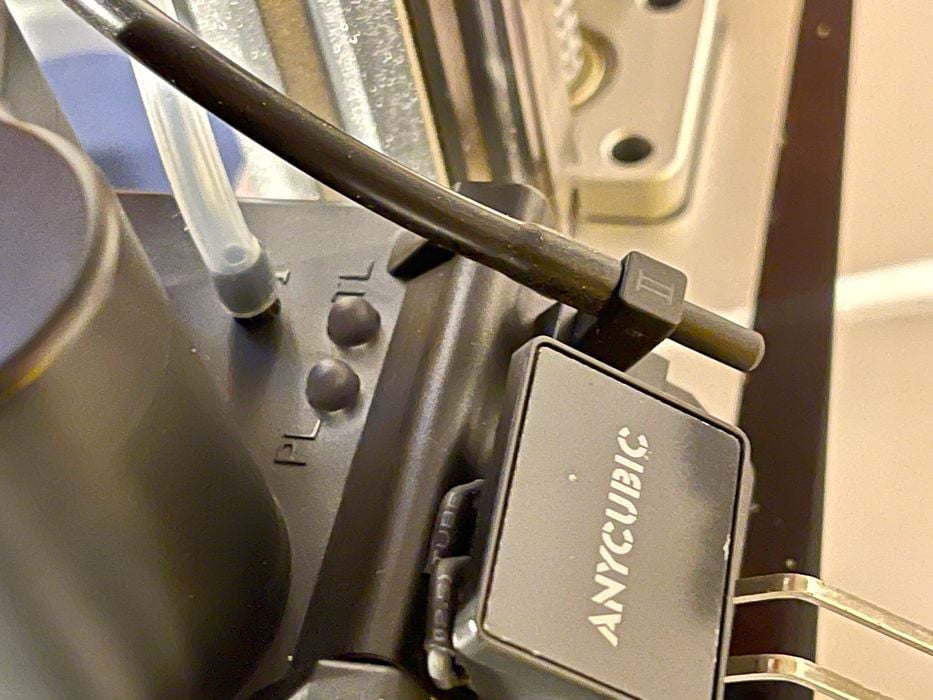
You’ll have to remove a sticky cap and plug in the pump system that is mounted at the rear, but inside the build chamber.
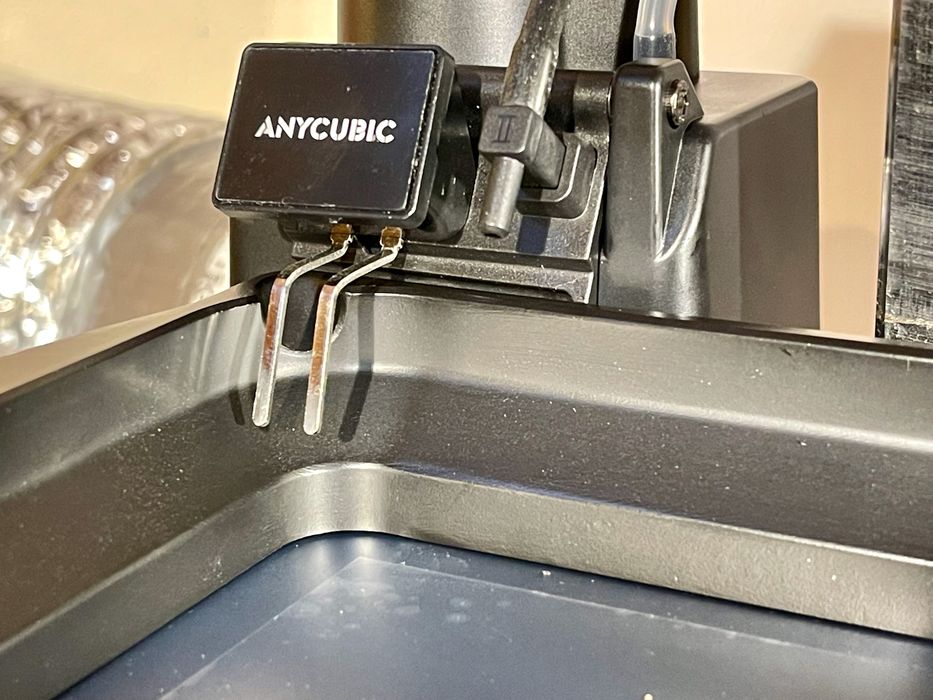
You’ll see two interesting metal probes that protrude into the resin vat. To mount the resin vat you’ll have to tip it a bit to get it under these probes.
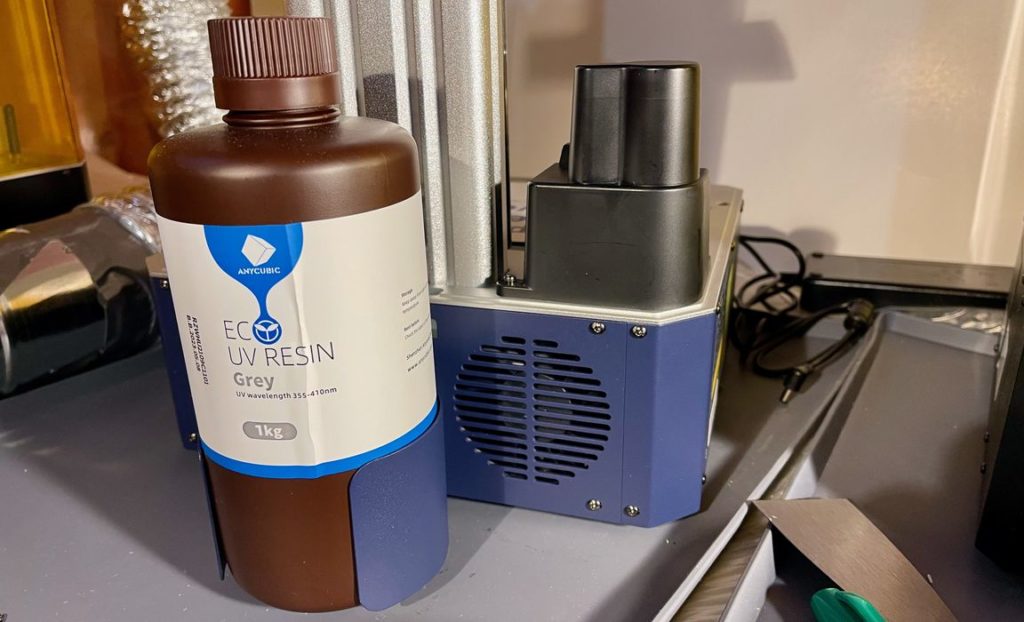
There is a mount at the rear of the machine that just happens to be perfectly sized for Anycubic 1l resin bottles. The cap of this bottle is replaced with a special version that includes two ports and two rather long metal structures.
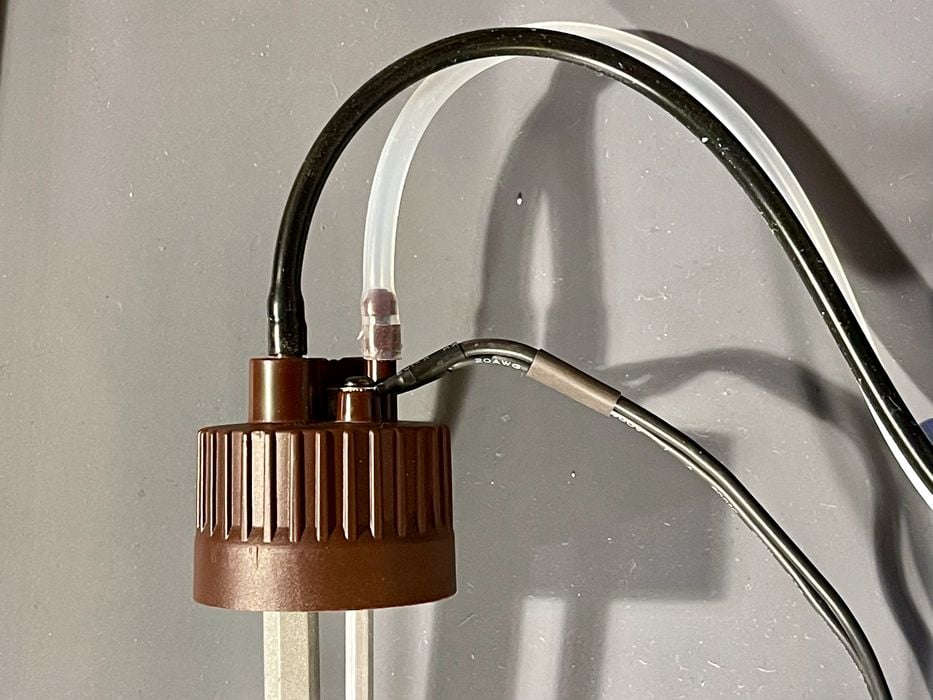
One of the metal probes is used to pull resin from the bottom of the bottle. The other one is used as an electrical conductor: when the circuit is broken as the resin level in the bottle lowers, the machine knows it is empty.
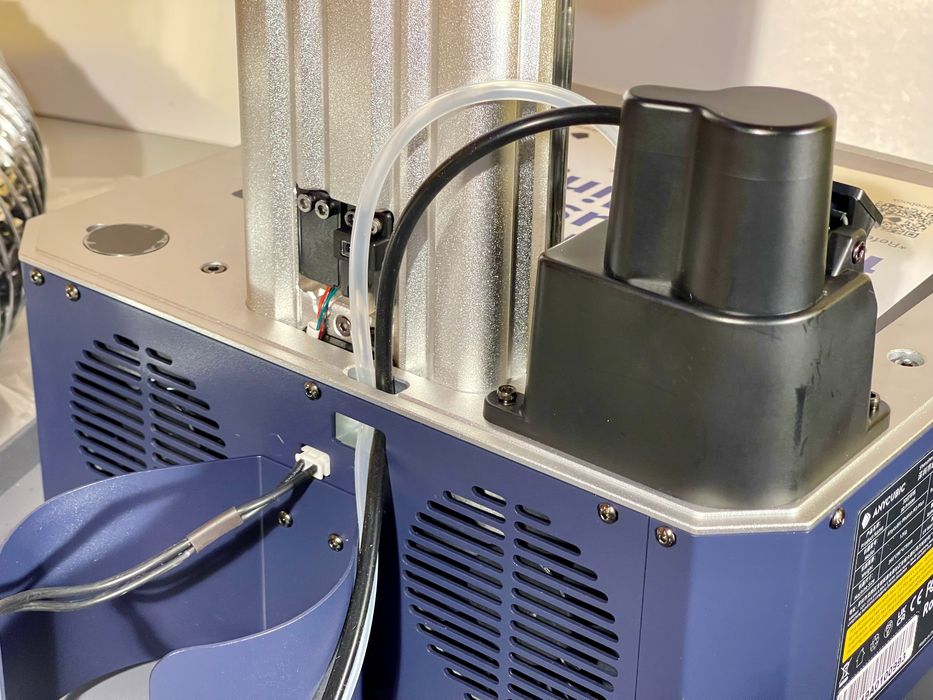
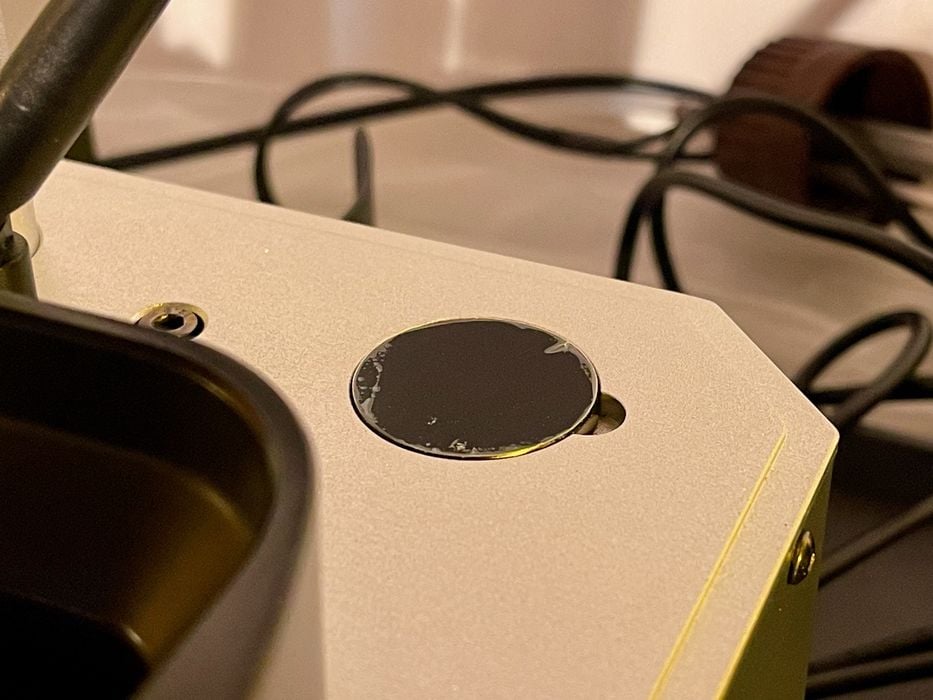
The tubes must be routed from the replacement cap to the pump, and this is done through a small port at the base of the unit.
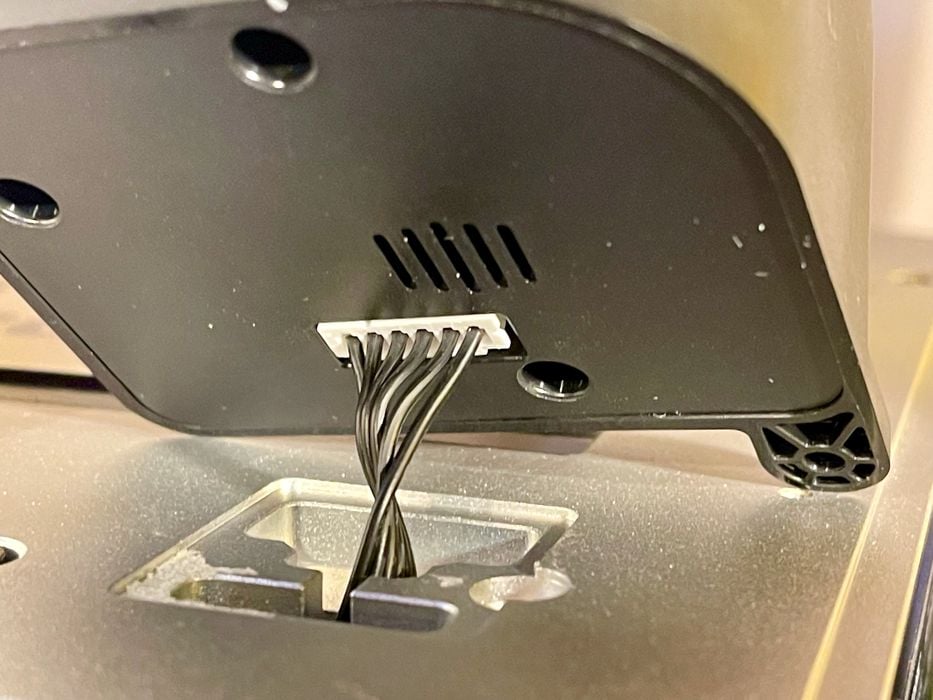
The Photon M3 Plus can handle an optional camera, which I received from Anycubic. This is also an easy install involving removal a sticky pad, much like the pump’s.
Then it’s a simple matter of plugging in the camera and aiming it at the build plate.
Somehow I ended up with an extra set of bolts in a bag included in the box, and I have no idea what they are for. However, the machine was fully assembled and working fine, so perhaps they are spares.
At that point the Photon M3 Plus is essentially assembled and you must proceed on to setup and calibration.
This is part one of a three part series, please read parts two and three.
Via Anycubic