
Our test of the Anycubic Photon P1 resin 3D printer continues with a look at operations and software.
This is part two of a three part series, please read parts one and three.
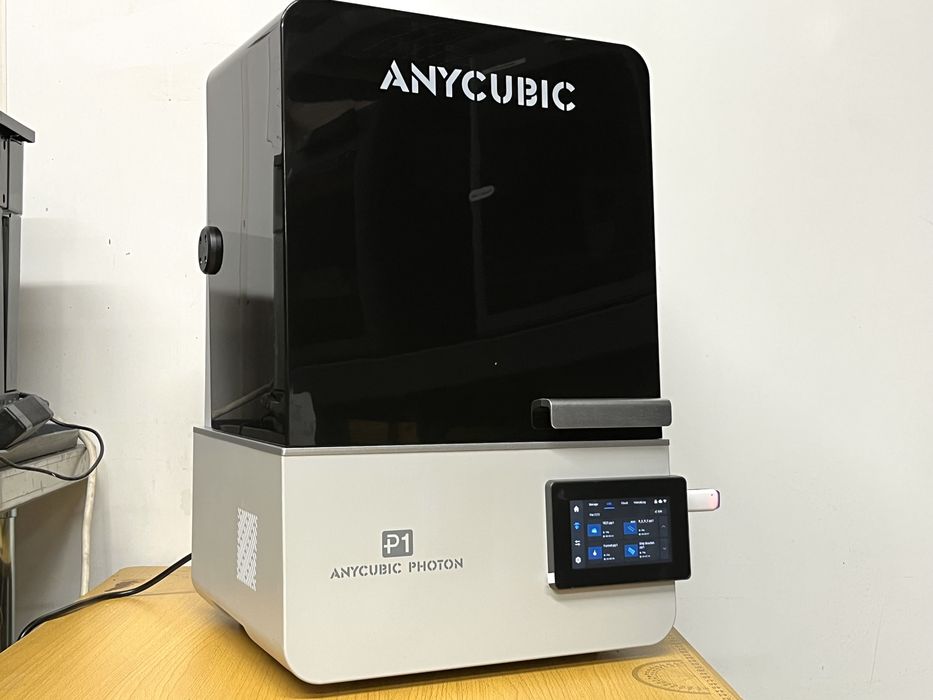
Anycubic P1 3D Printer Operations
We took the time now to get ourselves acquainted with the various menus on the P1’s LCD. The home screen included current status information for the printer, advising whether it was in single or dual mode for the platform, what type vat was installed, etc. It wasn’t until much later in the review that we noticed the home screen also displays your username, found in the app, a nice personal touch.
The second menu screen offered information on what was currently stored internal file storage on the Anycubic P1 3D Printer, as well as what was stored on USB, or the Cloud. There was also a video & log section for completed prints.
The third LCD screen showed various printer controls such as Z-axis movement, exposure settings, vat cleaning, and other various items like temperature control, self check, assisted levelling, etc..
The fourth and final screen gave us information on the app, network settings, versions, and system settings, where you could find the ability to turn off sound, format, on screen guide, etc.
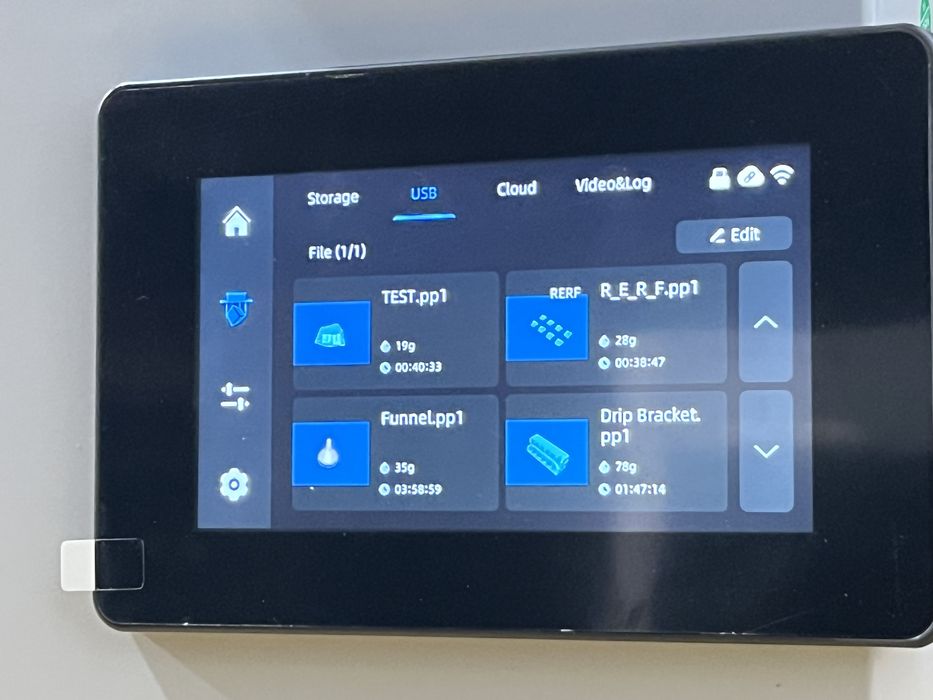
We were now ready to run the first of our tests. Manufacturers typically supply pre-sliced files on the Anycubic P1 3D Printer or USB thumb drive, so we went to the USB storage and chose a file aptly named “test“. Since we had no idea what resin the print was sliced for, we decided to just give it a whirl and launch the print to see what would happen.
Note that the P1 also includes the famous RERF print job, which is used to repeated print a model with different exposure settings. This is done to calibrate unknown resins.
When the print job began, the P1 began a variety of calibration tasks – platform detection, residue detection, resin detection, and the leveling test.
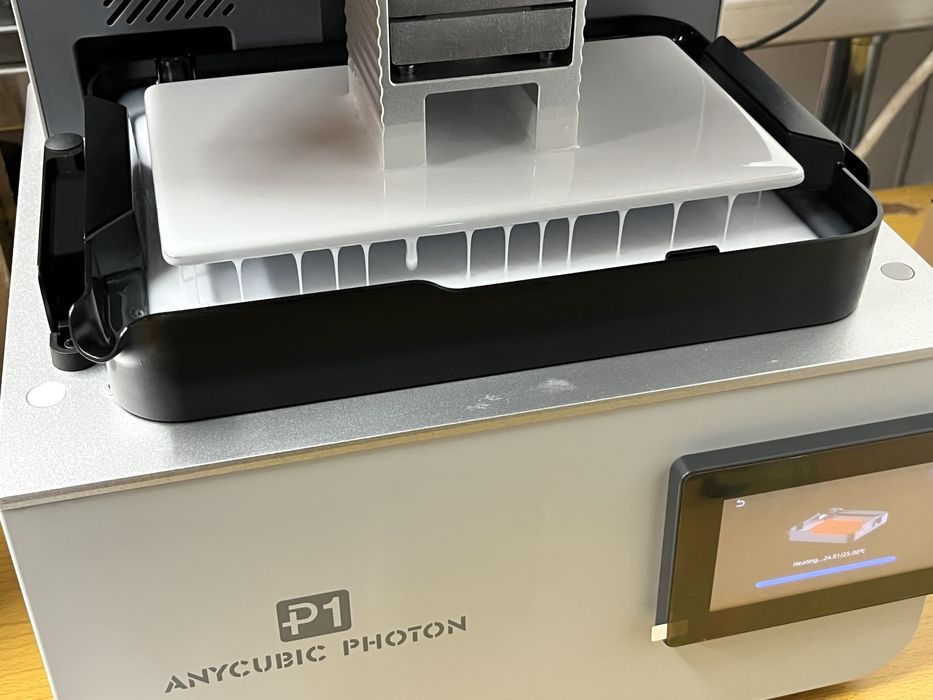
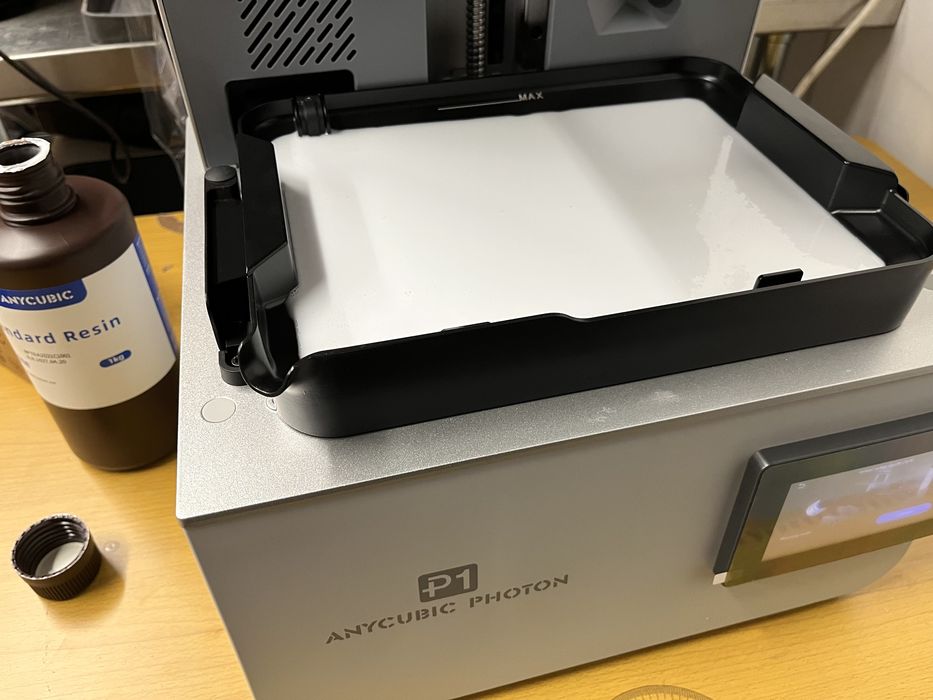
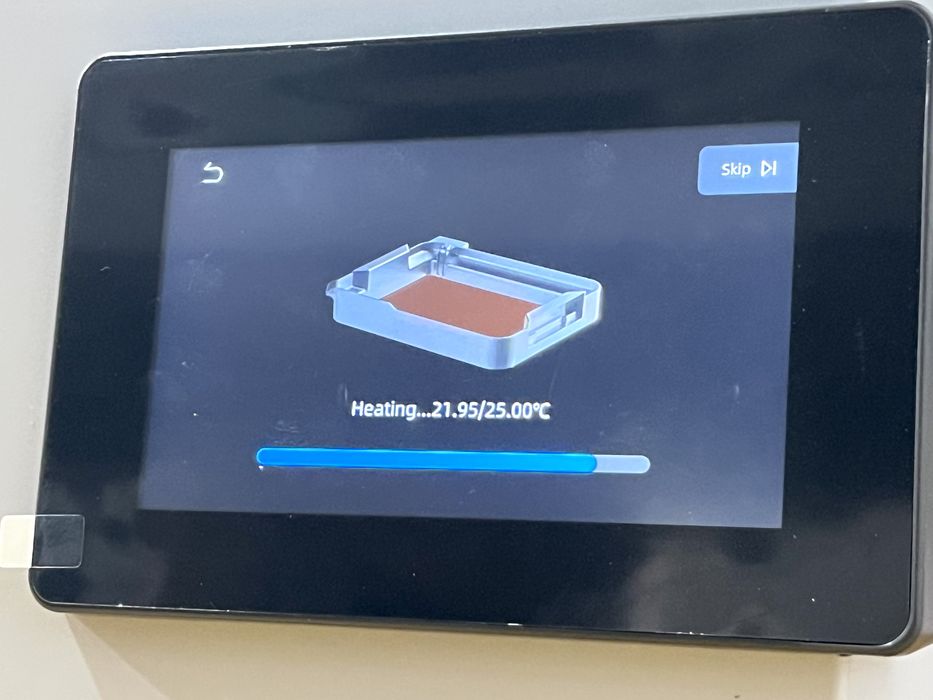
When all that was complete, it began heating the VAT to a temperature of 25C, with the build platform raising and lowering in and out of the vat to stir the resin.
Our gaze shifted from the build platform to a little black cap covering an internal camera that wasn’t mentioned in the instructions. We made sure to remove the cap now in the event we wanted to check the progress of the print.
We noted in the user manual that by default, intelligent release, intelligent light off, failure detection, and print heating are all enabled. Anycubic recommends keeping them on for a better printing experience, so we left everything as is and let the print continue. Once the resin reached the desired temperature, the printer began imaging.
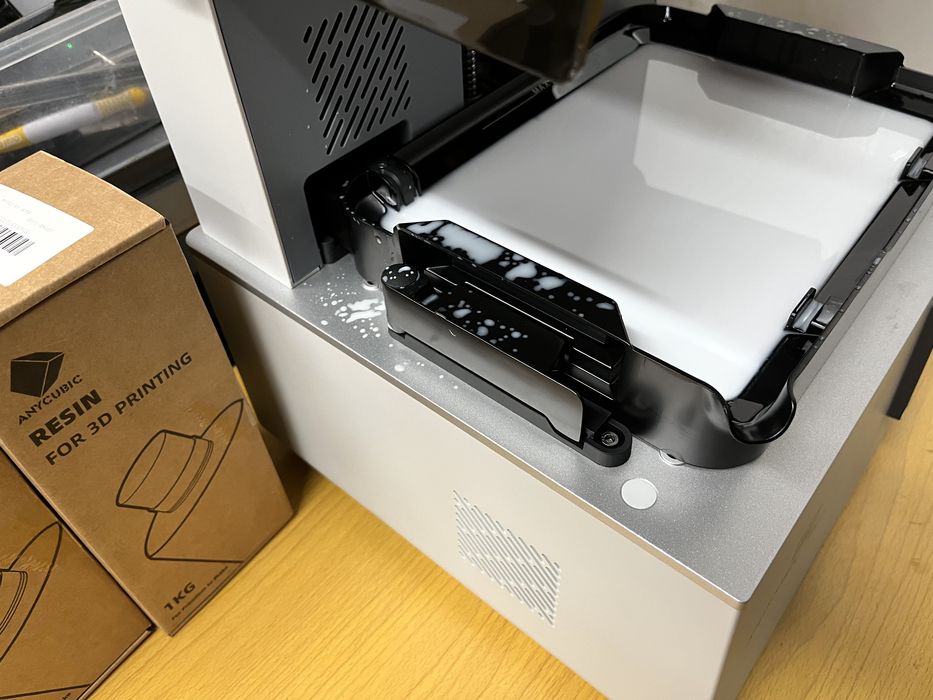
When we returned to check on the print, we found it complete. We were perplexed when we lifted the lid and noticed some splashed resin around the tank and on the inside of the printer’s lid. However, we only had one instance of that occurring for the entire review, so we assumed someone at the lab inadvertently bumped into the printer while our job was in progress and caused a splash. But don’t worry, we had that spare lid if we couldn’t clean it off!
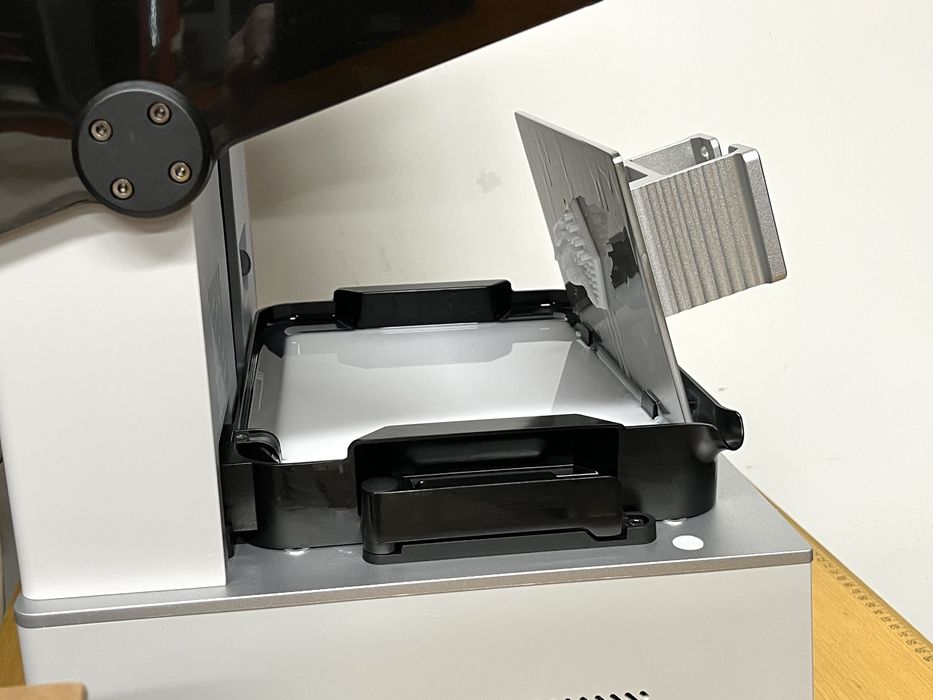
We removed the build platform from the P1 and gently placed it into the slot in the wall of the stock vat and let it drip dry. The process worked quite well, but we noted that it would only work for small prints and that we were unable to fully close the printer’s lid during this process, unless we rotated the platform 180°, but then it ran the risk of getting resin on the “handle” of the platform.
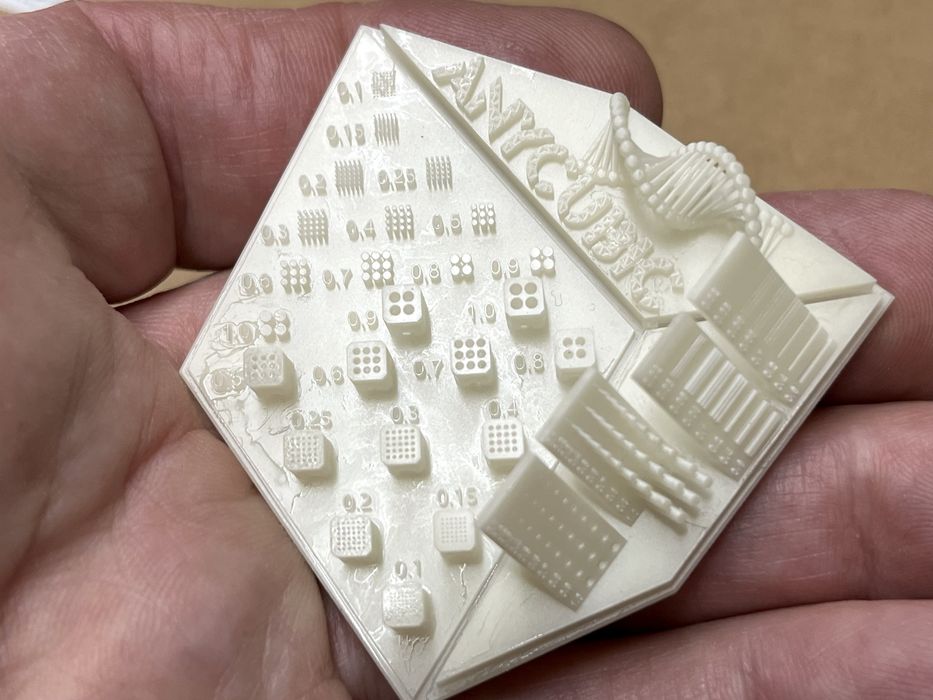
Once the drips stopped, we popped off the finished print, washing and curing it before putting it on our work surface to examine. Close inspection of the print showed a great range of detail, however we ended up over-curing it in the cure chamber by accident. We decided to reprint the model and this time make sure not to over cure it. Again, we got very good detail in the finished print.
Anycubic P1 3D Printer Software
Now we were ready to slice some of our own prints. The supplied USB thumbdrive contained slicing software, but it was an older version. We went online and searched for and downloaded the latest version of Anycubic Photon Workshop 4.1.4 for our Mac, something you should always do.
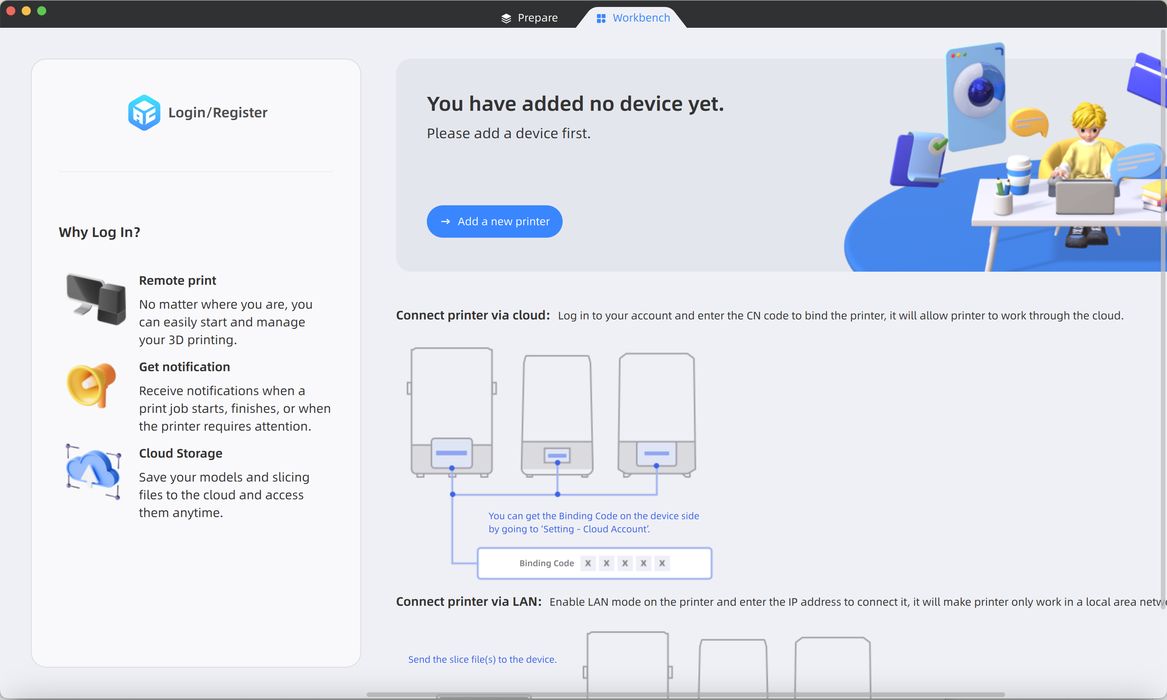
Once installed, configuration only required adding the P1 printer from the Cloud Printers dialog box and then selecting a corresponding resin profile for the Anycubic P1 3D Printer.
The Prepare tab of Photon Workshop has all of the typical functions. Starting on the top left of the screen there was a handy “Repair” tool to correct any models with bad mesh. A “Placing” function allowed for rotation, movement, scaling and layout. “Edit” contained the options to clone, mirror, free cut and add text. “Hollow/Punch” had the ability to hollow a model and create drain holes. And last but not least “Support” contained all of the important bits and pieces for generating model supports, including an automatic function.
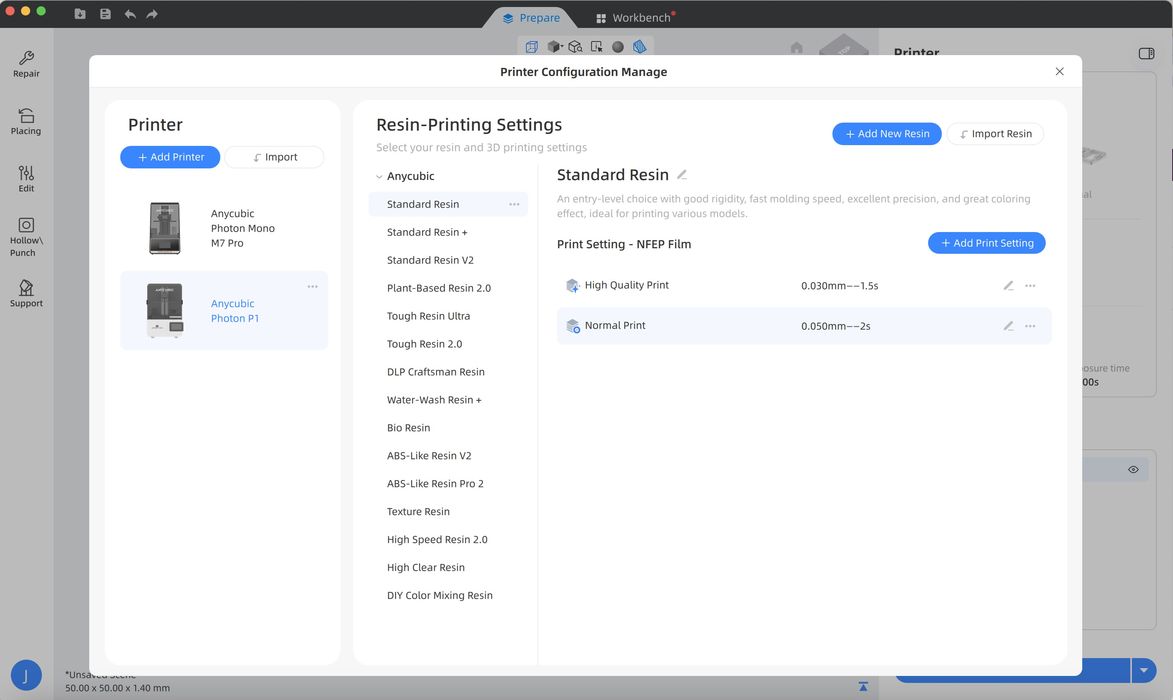
On the right side of the Prepare screen we saw the option to choose between a single or dual resin vat and the ability to choose a resin type and edit the various settings.
We loaded up a Validation Matrix and sliced it with default settings for Standard Resin, with a layer thickness of 0.050mm and an exposure time of 2.000s. The print had an estimated time of 6M19S using 2.254ml of resin. We clicked on Remote Print, chose the P1, and went with the default selected options of “Off Compensation” and “Intelligent Release”. We noted that “AI Detection” was off by default.
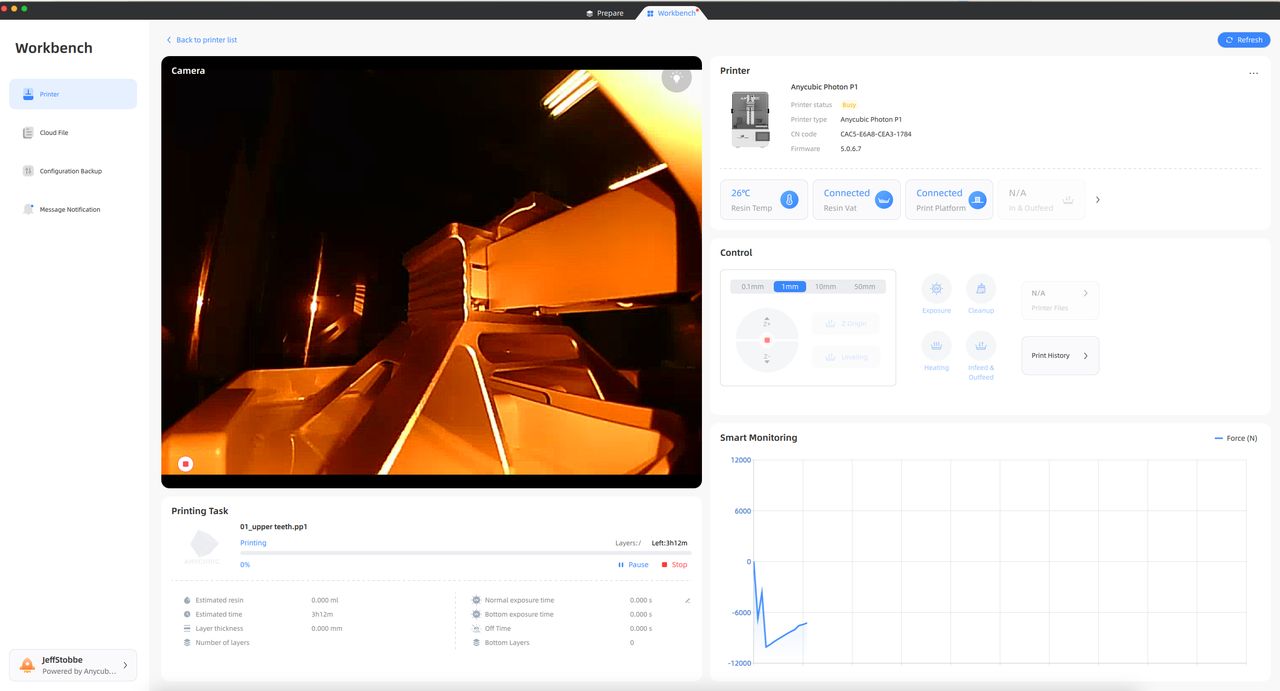
When we clicked Start Print we were transferred to the Workbench portion of Photon Workshop, where we were able to control and monitor the print in progress.
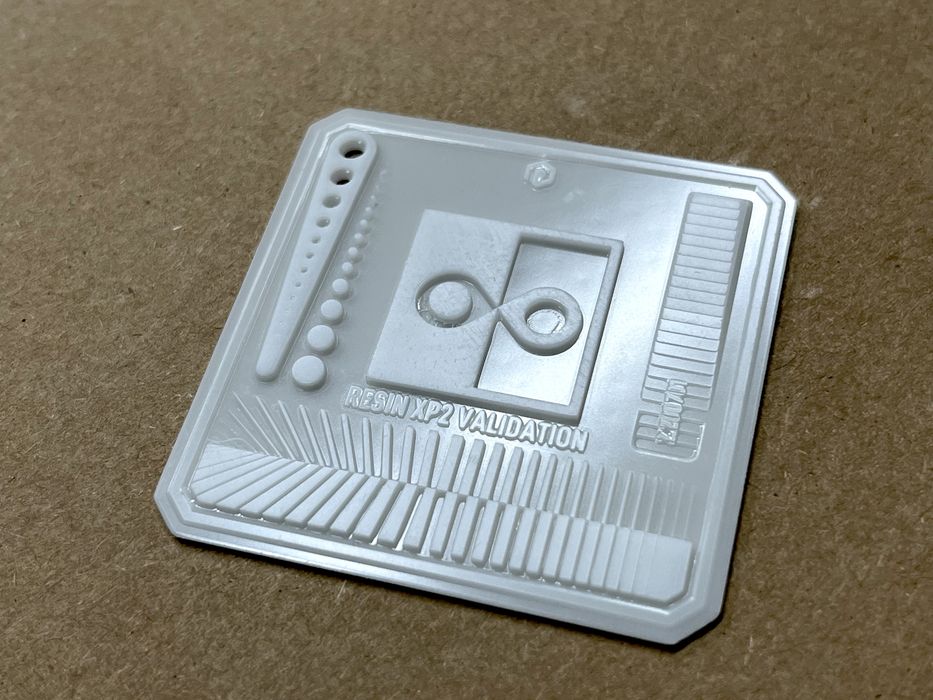
The job completed in 34m using only 3ml of resin. Print quality was outstanding with a high-level of detail. We assume the large difference in time could have been the resin heating up, as this extra duration would not be something the slicer could calculate.
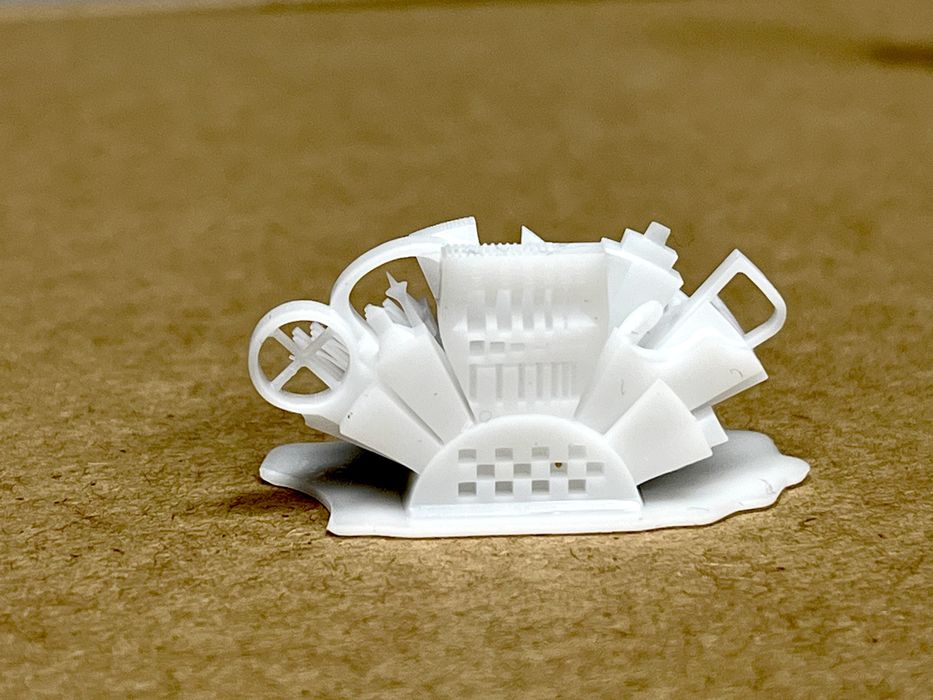
We decided to do an additional print to confirm resin was calibrated and chose Ameralabs Town, slicing the file and getting an estimated print time of 43m using 2ml of resin.
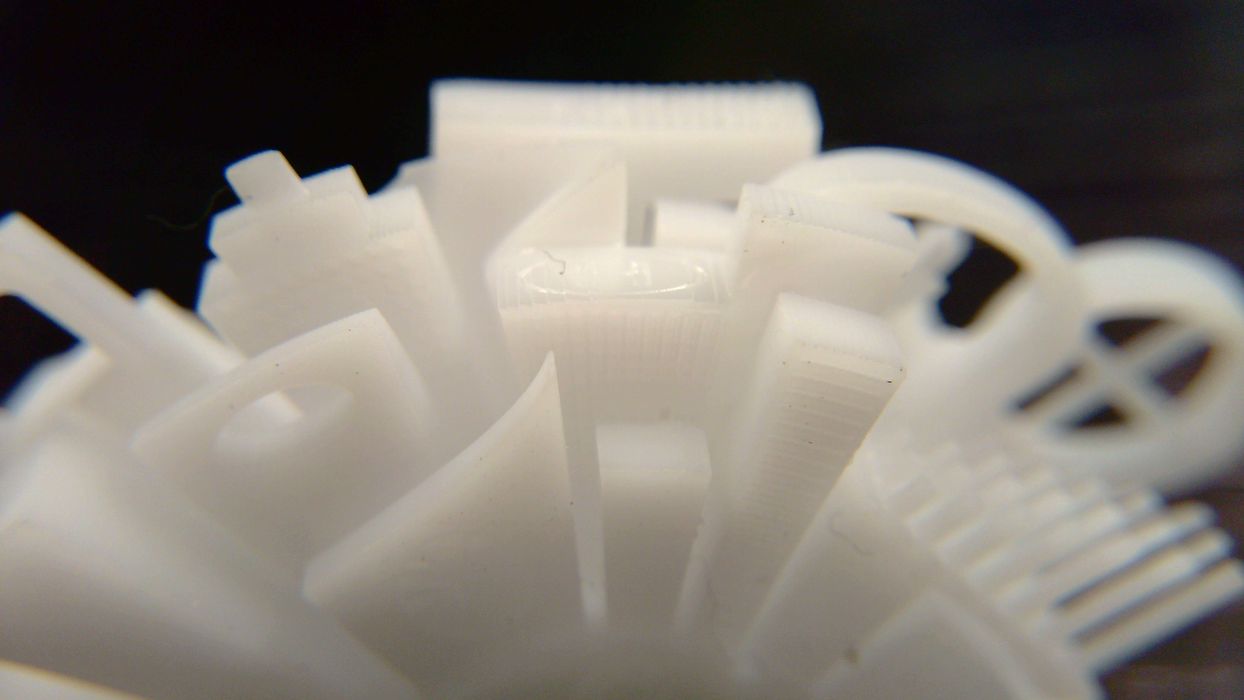
The print completed in 1h05m using 1.8ml of resin and turned out excellent with very high detail.
We were very pleased with our initial test results and decided the resin was calibrated enough to move forward with more complicated prints.
This is part two of a three part series, please read parts one and three.
Via Anycubic