
We’re testing the highly unusual Anycubic Photon P1 resin 3D printer.
This is part one of a three part series, please read parts two and three.
Anycubic P1 3D Printer Background
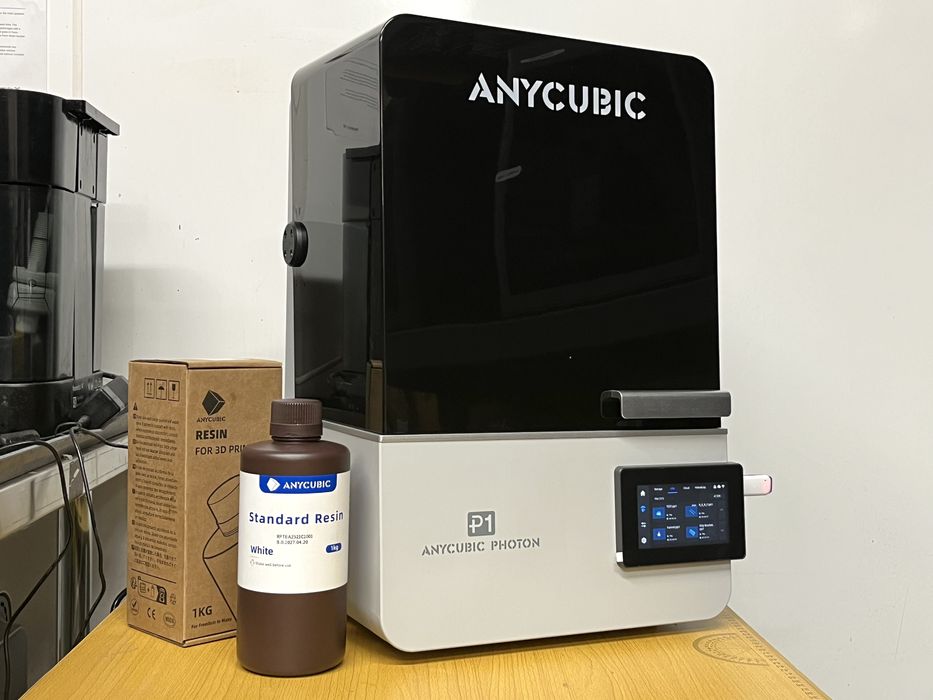
Founded in 2015, Anycubic has been busy developing and manufacturing various models of filament and resin based 3D printers. We have had the pleasure of testing out many of these models over the last few years. This time we are looking at the latest in their line of resin printers — the Photon Mono P1, a 14K 3D Printer being pitched as an Industrial Grade Prosumer Resin 3D Printer. Anycubic recently sent us one to test and we were quite excited to try it out.
Anycubic P1 3D Printer Specifications and Features
A quick check on Anycubic’s website shows the many features and various specifications for a stock Photon P1. The Anycubic P1 3D Printer weighs in at a hefty 13.6kg (30lbs).
A permanently attached tilting stepless rotating hinged lid gives access to the 223 x 126 x 230 mm (6.5L) build chamber of the Anycubic P1 3D Printer. Inside the chamber is a thermally–controlled resin vat capable of maintaining temperatures up to 40°C, thereby optimizing resin flow and viscosity.
The vat is equipped with a NFEP release film, paired with a Wave Release Film, with the combo reducing release force by a massive 60% compared to traditional smooth-surface films.
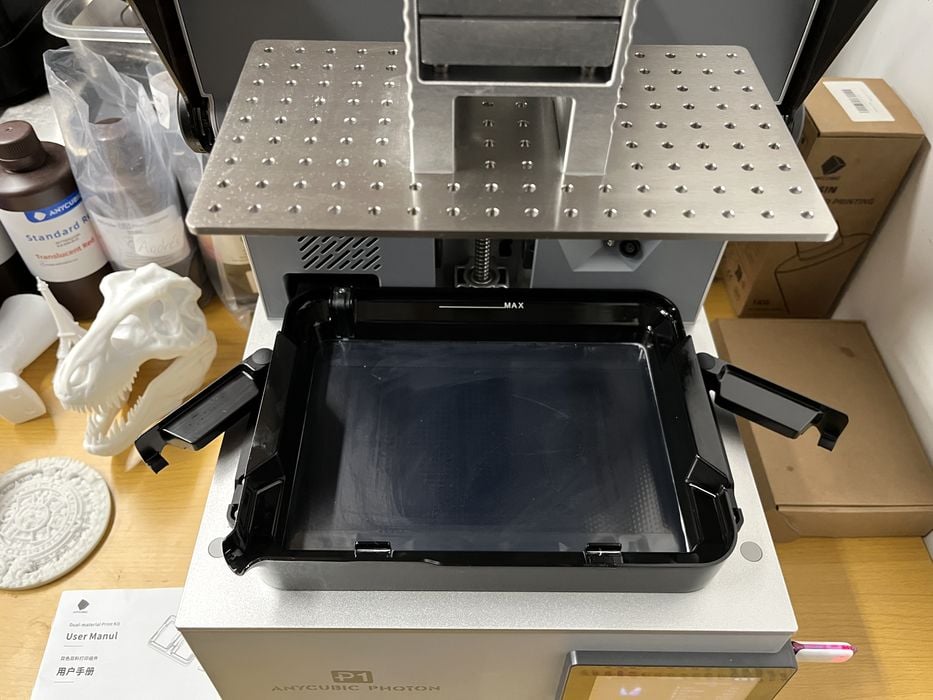
To make things even better, the vat attaches to the printer via two quick-release levers. The stock build platform is precision-ground steel for high accuracy. Imaging is done via a 14K 10.1-inch Mono LCD that boasts a X/Y axis resolution of 16.8 x 24.8 μm and is paired with the new LighTurbo 4.0 engine that can deliver 5000μW/cm² with ≥2° collimation accuracy, >92% light uniformity, with minimal light decay for extended service life. In other words, the light system is quite powerful.
Print speed is advertised as 25-35 mm/h when printing 0.05mm layers using Anycubic’s Standard Resin, with a full layer height range of 0.012-0.15 mm.

There is no automated resin filling on the P1, but an operator can take advantage of the 1000ml vat capacity, with the vat itself having an improved pouring spout when it is time to empty it.

Anycubic have opted out of using the typical small air purifier modules that we have seen on other printer models and have instead added a port in the rear of the Anycubic P1 3D Printer to be used with their optional AirPure 2.0.
The Photon P1 utilizes industrial-grade ball screws and linear guide rails that give it an accuracy of +/-0.01mm for movements. There’s a camera for remotely monitoring jobs in progress and even a handy resin drip hanger to reduce resin waste. The printer is controlled by a 4.5″ resistive touchscreen, with additional connectivity via WiFi or USB thumbdrive.
Notable firmware features on the P1 include:
- Power Loss Resumption
- Build Plate Installation Detection
- Bottom Layer Separation Detection
- Resin Level Inspection
- Residue Inspection
The printer has been calibrated at the factory to print right out of the box, but there is an Auto-Leveling Self-Check that is performed at the beginning of each print job, just to double-check that things are ok.
That said, in the event that an operator changes the build platform, Auto-Leveling 3.0 with Feedback is available that displays real-time force values for fine-tuning while adjusting any of the four build platform screws. A handy feature indeed, since the Photon P1 is designed to use more than one specific print platform, as we will see later on.
Let’s talk about those platforms. Up until now we had been listing the features and specifications of a stock Anycubic P1 3D Printer, but the P1 has an option to perform simultaneous dual-color/dual-paterial printing by purchasing a kit containing a unique dual-material vat and dual-material platform.
Using this feature requires swapping out the standard build platform & vat with the dual-material print kit components and then making a change in the firmware to allow the Anycubic P1 3D Printer to recognize the new accessory. A similar change in the slicer is required to use the dual printing kit. However, unlike the stock vat, the dual-material vat does not contain a heater. So there may be some material limitations to consider when using it.
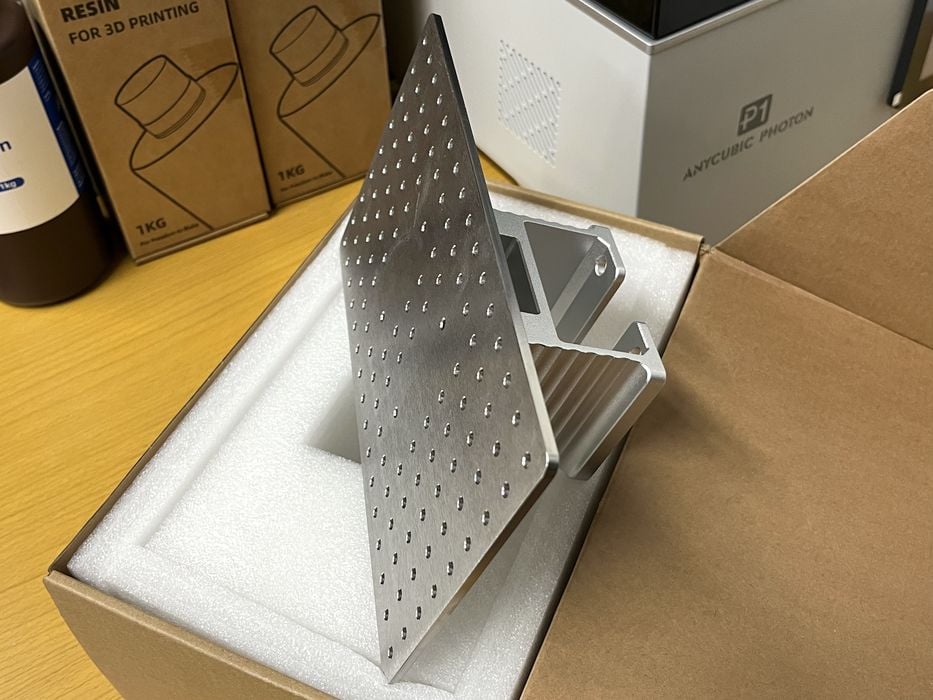
Anycubic included the dual-material print kit accessory, as well as a perforated version of their standard size build plate as part of the review.
Anycubic P1 3D Printer Unboxing and Assembly
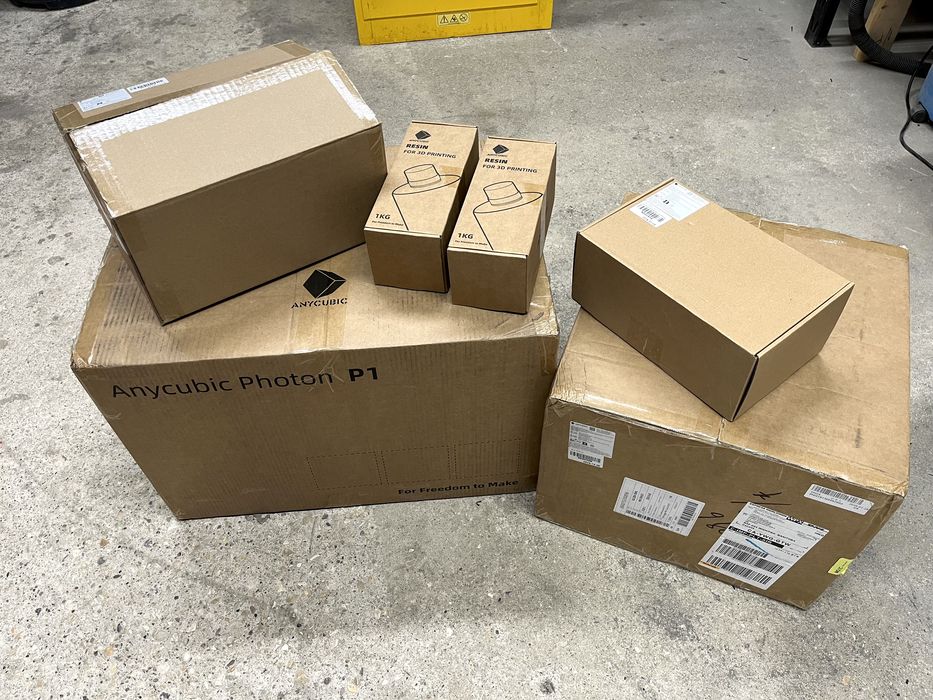
The review shipment from Anycubic was spread over several boxes. One box contained two 1kg jugs of Anycubic branded standard white resin. Another box had a perforated steel build plate. An additional box was the dual-material print kit. A separate box contained a replacement printer lid?? Finally there was the boxed stock Anycubic Photon P1. But what was the extra lid for?
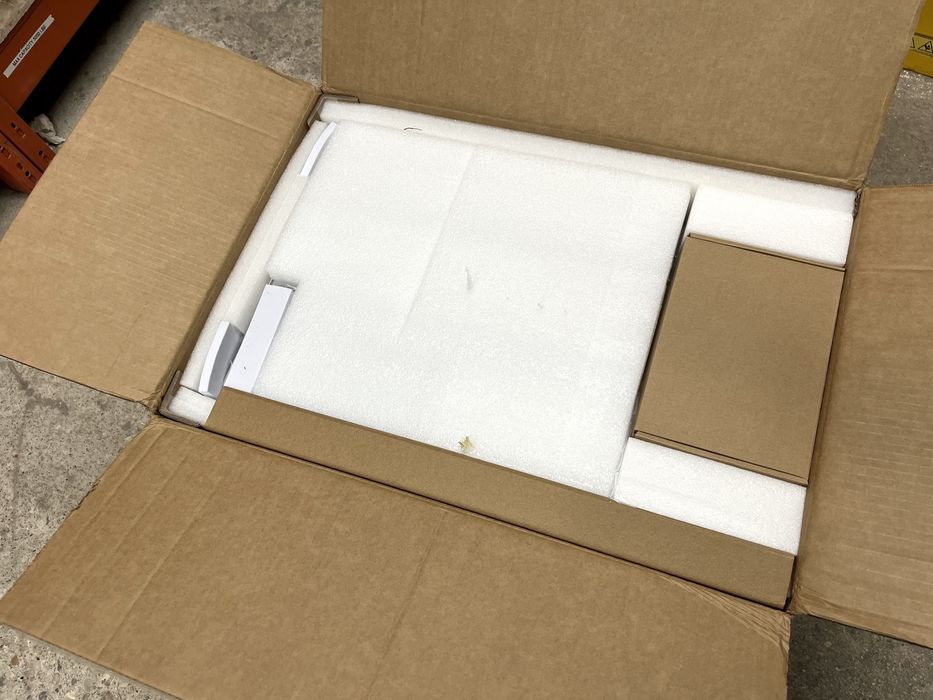
The Anycubic Photon P1 ships on its side in one of the sturdy double walled cardboard boxes that we’ve come to expect, with plenty of cushy foam padding on the inside.
Opening the shipping box we found a small goodies box on top and a bagged printer beneath the first layer of foam. The printed label on the bag suggested that we “remove printer by lifting bag”, a very convenient unboxing process which we appreciated! To make things even easier, we tipped the box on its edge and pulled the bagged printer sideways and out of the box in one go.
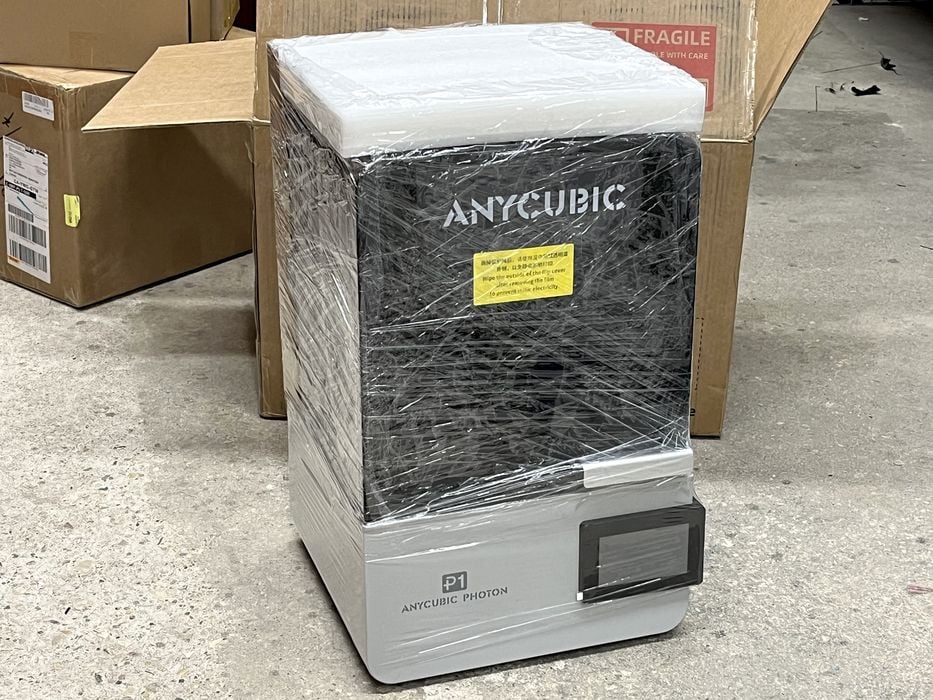
Removing the bag, we found the printer had been shrink wrapped for added protection.
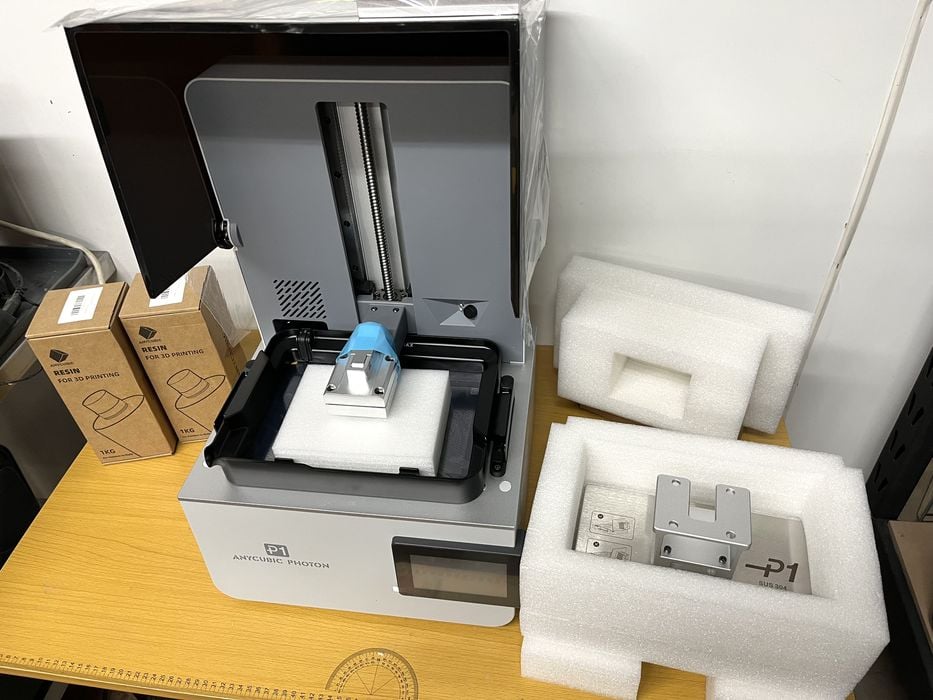
Opening the lid of the printer revealed yet more foam packing. Nested inside that packing was the steel build platform. Some additional packing was trapped between the Z-axis and the vat to hold the z-axis firmly in place for shipping.
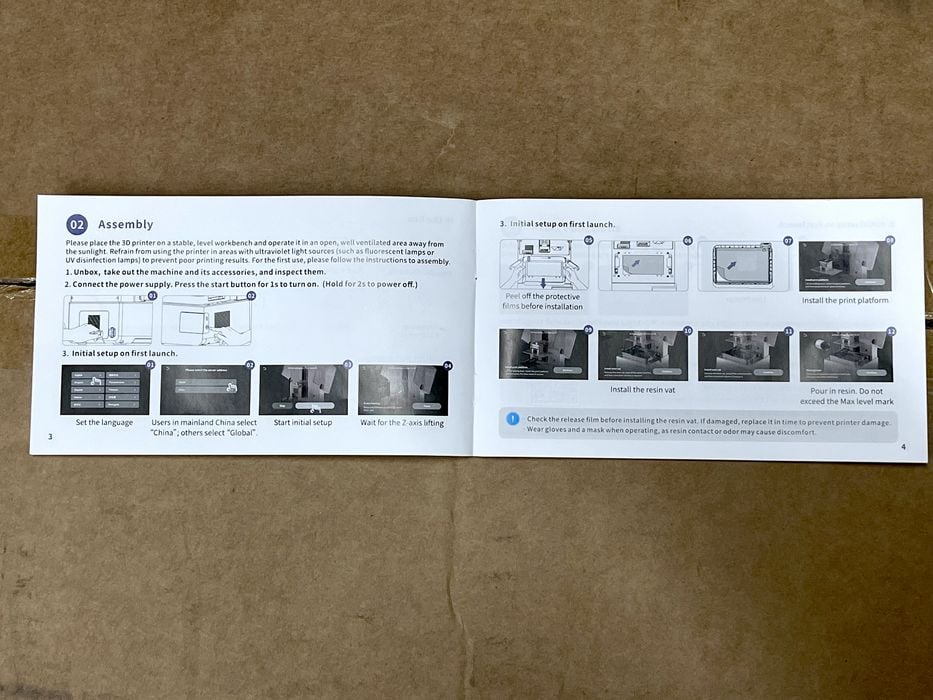
With no idea of how to remove that piece of foam, or how to proceed, we opened the small goodie box and happily found a printed user manual inside with instructions.
Generally speaking, resin printers are much less work to unbox and assemble than filament based printers. The gist of the printed instructions were simple, first connect the power cord power on the Anycubic P1 3D Printer and go through initial set up, which raises the Z-axis to allow the removal of the shipping foam. Then we’d prep the tank and platform, peeling off any protective plastic before reinstalling each.
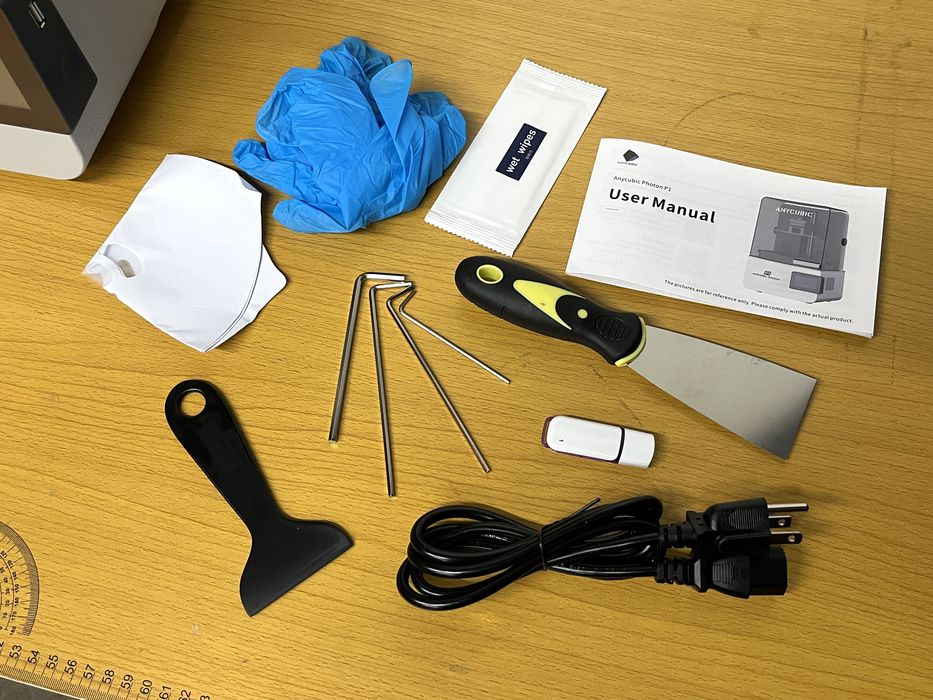
Before we did anything, we emptied the contents of the goodie box and spread everything out on the table to look over. We saw a User manual, package of wet wipes, metal spatula to aid with removing prints from the build platform, paint filters, plastic spatula and gloves for resin management, several hex wrenches, a USB thumb drive, and a power cord.
Anycubic P1 3D Printer Setup and Calibration
We took the time to copy the contents of the USB thumbdrive to our Mac and take a quick peek. Included was a digital version of the user manual, an older version of Photon Workshop, and several presliced test files.
For convenience, we decided to make use of the handy printed user manual and followed the instructions to plug in the power cord and turn on the printer. While doing so we noticed the fume extraction port with a removable stopper in the rear of the Anycubic P1 3D Printer.
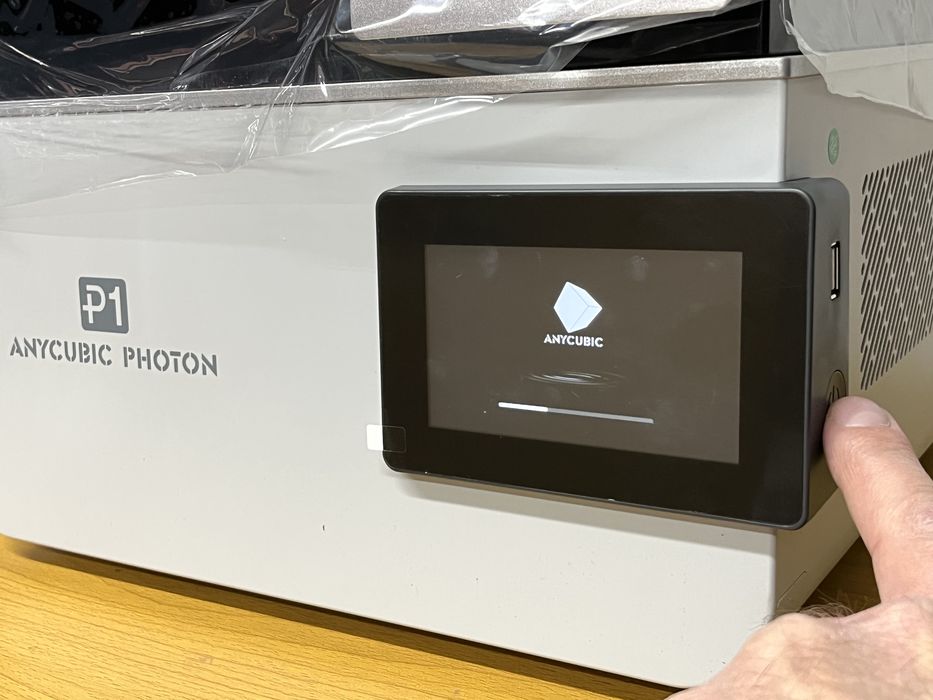
When the P1 powered on we were greeted by the Anycubic logo, followed by a series of prompts on the LCD screen. We chose our language, selected the appropriate server, and then started “initial set up on first launch”.
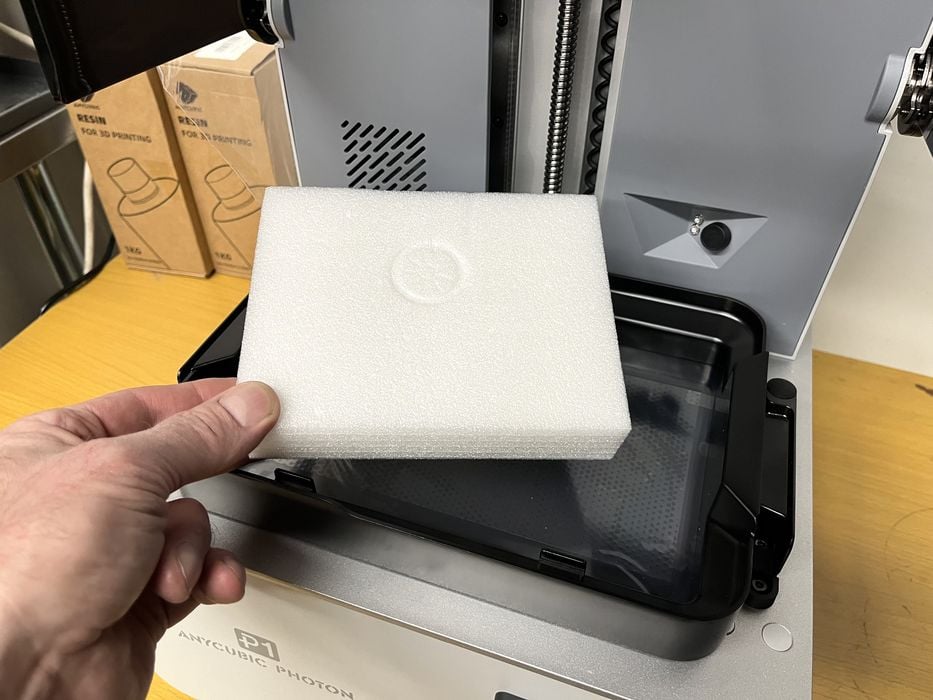
The Z-axis raised to its zero position and we removed the piece of foam previously trapped between the z-axis and the vat. We then removed the vat and peeled off several protective films and then reinstalled the vat and placed the build platform onto the P1’s Z-axis, clamping each part in place as we went.
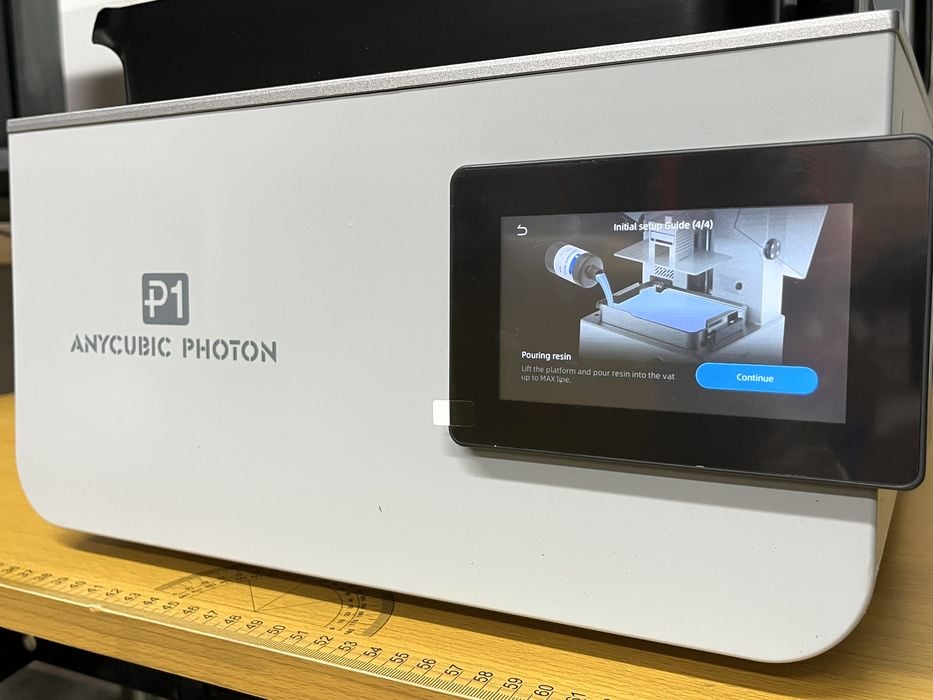
Next, the manual advised to pour resin into the VAT. Anycubic had supplied us with two kg‘s of their standard white resin, so we opened a jug and proceeded to fill the tank to the max line on the vat. Incidentally one jug of resin will not fill the P1’s vat to max, but it was full enough for now.
The final setup prompts on the LCD had us choose our WiFi network, download the Anycubic App and then pair the P1 to the App to make it available on the Cloud. We find the Apps to be quite handy for monitoring prints in progress, but we typically perform the bulk of the reviews using the desktop slicer programs, as they offer more detail and give us better screen snapshots.
This is part one of a three part series, please read parts two and three.
Via Anycubic