
Somehow we’ve also managed to test yet another device this week, the Anycubic Photon M3 desktop resin 3D printer.
This is part one of a two-part series. Part two is here.
Anycubic Photon M3 Specifications
The M3 is a basic desktop resin 3D printer capable of producing high resolution parts in very rapid time.
The MSLA device uses standard 405nm photopolymer resin as the build material, and has a standard build volume of 163 x 102 x 180 mm. This is somewhat smaller than typically found on desktop FFF devices, but is more than suitable for resin printing.
The M3’s MSLA light engine is a monochrome 4K+ LCD panel powered with LED lights, having a resolution of 4096 x 2560 pixels. This implies a pixel size of about 0.04mm on a side, which is extremely fine. In all, the build volume is about 3L, which you’ll never actually reach.
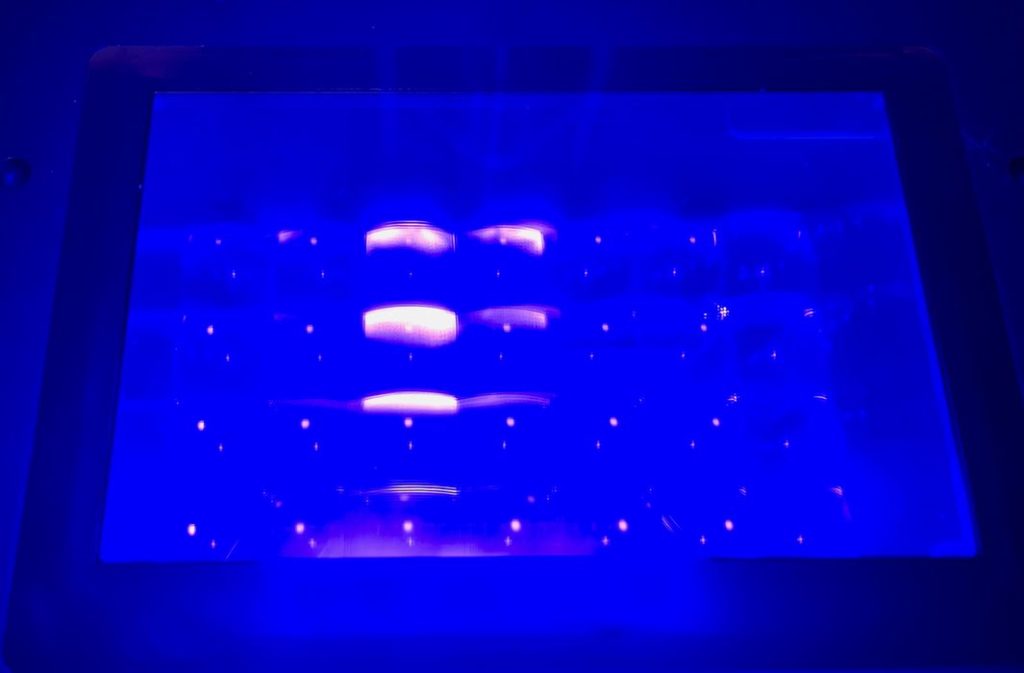
The light engine is designed to provide light at optimal angles using the Anycubic LighTurbo light source. This should ensure all pixels receive the same amount of energy when illuminated.
The monochrome LCD panel is an important feature because, unlike standard color LCD panels that have filters, the monochrome panel allows more energy to pass through. This means that the exposure to cure the resin layer can be faster, and thus overall print speed is notably faster. Anycubic states the print speed to be about 50mm per hour, which is quite fast.
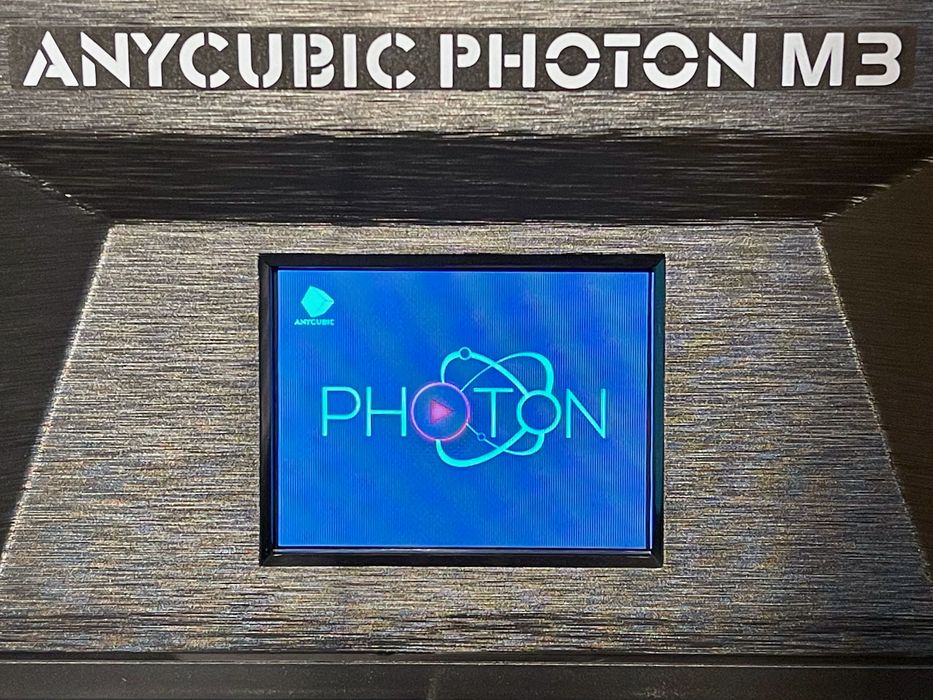
A 7.6” color touchscreen is used to control the M3, and there are easy to follow menus.
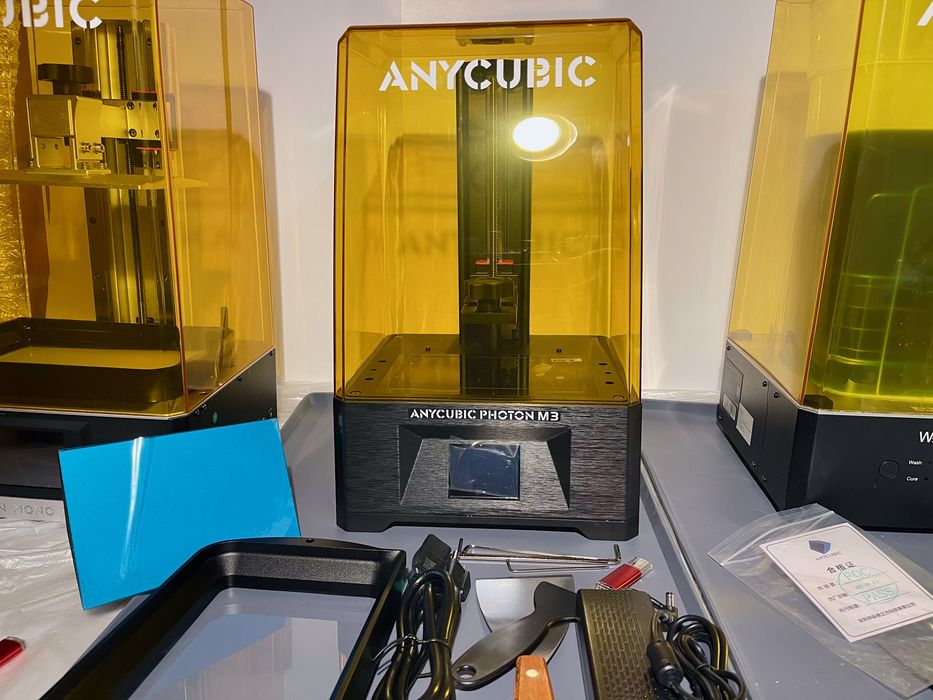
The M3’s frame is made from very solid anodized aluminum, and seems very rigid in our inspection.
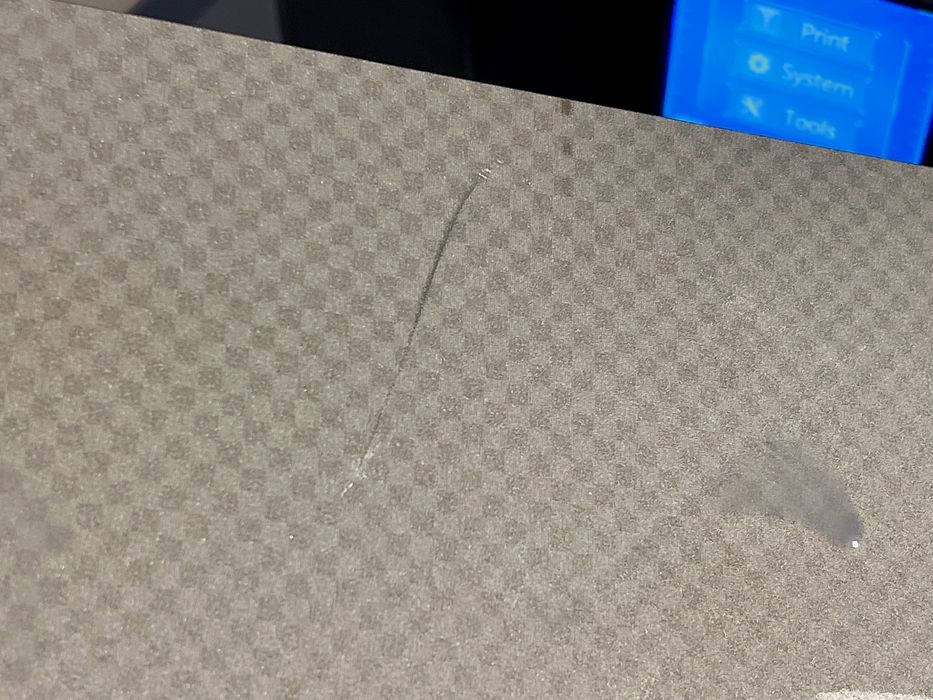
The print plate on the M3 is a critical element. Anycubic has laser engraved the surface with a checkerboard pattern that should assist print stickiness.
The M3 is not a large machine, as it occupies only a 27 x 26 cm footprint on a desk, and weighs only 7kg. It’s easily moved around if required, but if doing so, please ensure you are not spilling any resin in the tank.
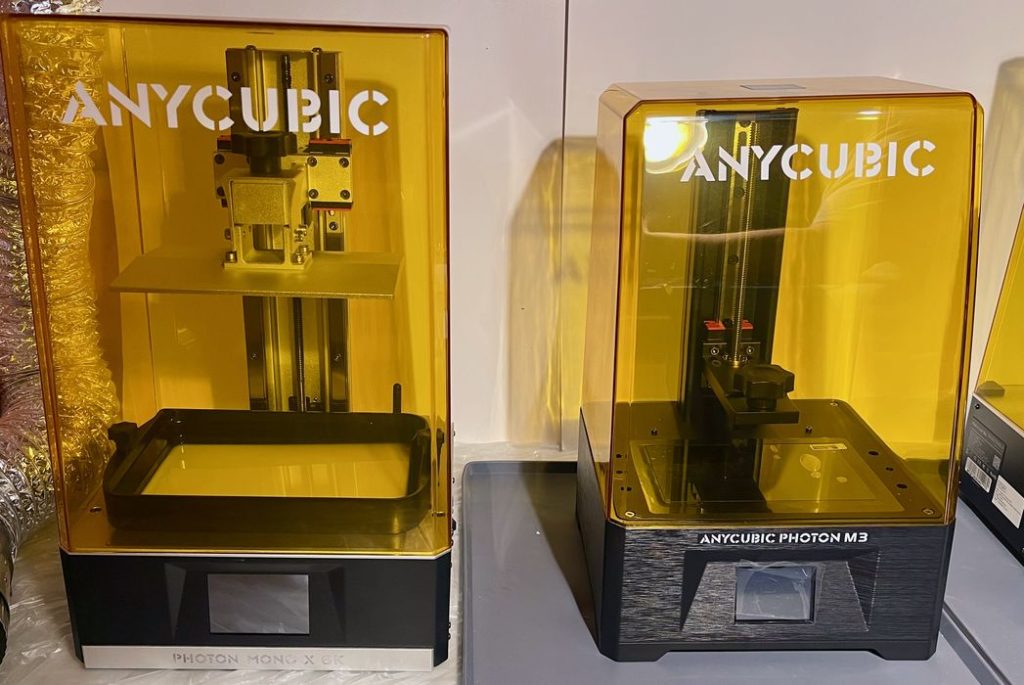
One thing you’ll notice right away about the M3 is that it looks quite a bit different from typical desktop resin 3D printers.
For starters, it has a UV cover that has a stylish slope towards the rear, whereas most inexpensive desktop resin 3D printers have a standard vertical cover. While attractive, this did cause us an issue later.
The base unit of the M3 has a textured surface, as you can see in this image. Again, very different from the typical flat metal panel designs of other manufacturers. However, these grooves can catch stray resin and it can be more difficult to clean. Just be tidy when using the M3.
Anycubic Photon M3 Assembly and Setup
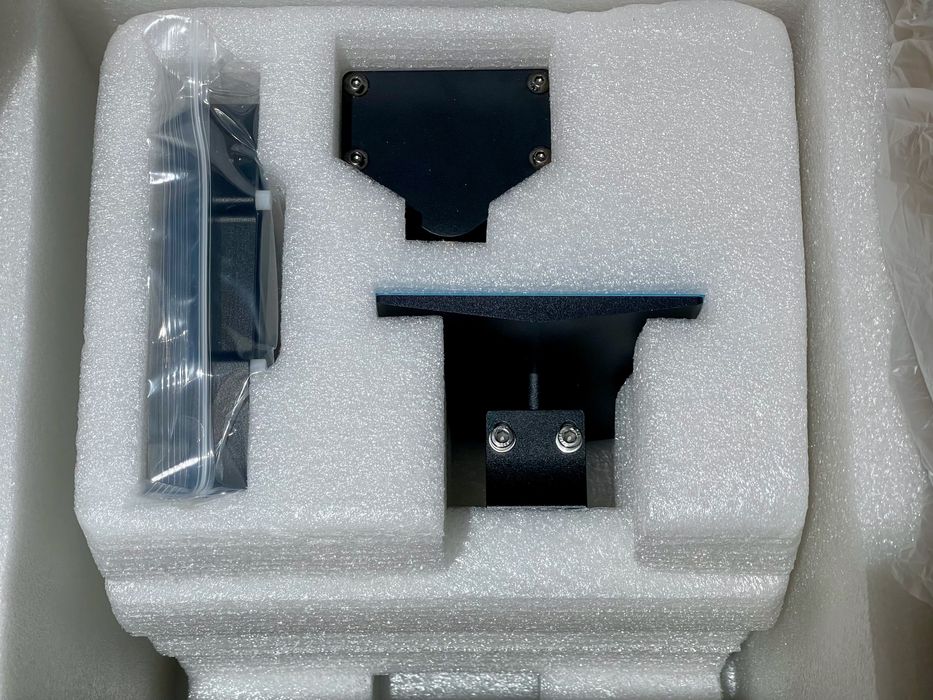
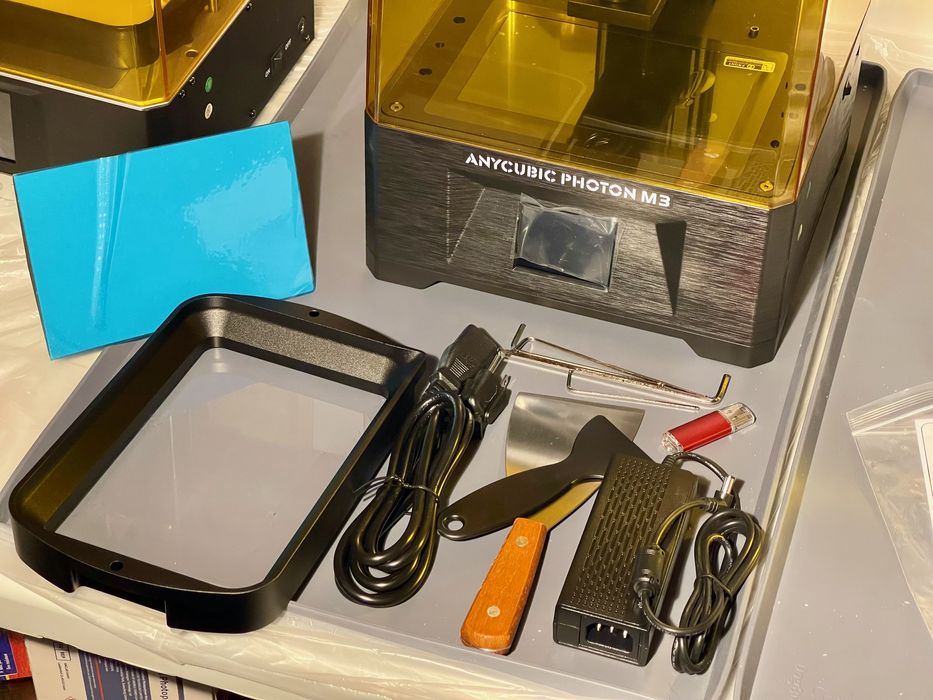
The Anycubic Photon M3 is shipping in a single box with outstanding packing. Companies like Anycubic have delivered thousands of machines, and they’ve learned how to pack equipment so that it almost always arrives safely, and that was our experience.
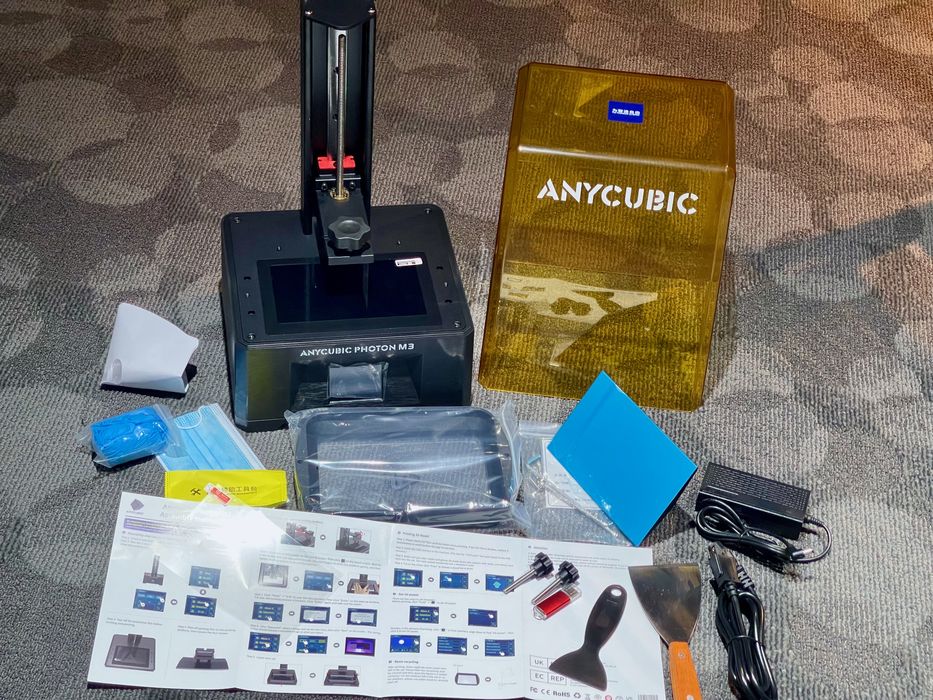
Assembly of the M3 is extremely easy because the machine is completely built at the factory.
There are some things to do, however. You must pull all the parts out of their safe styrofoam homes, remove protective films and plug in the device. At that point you’re ready to consider operations.
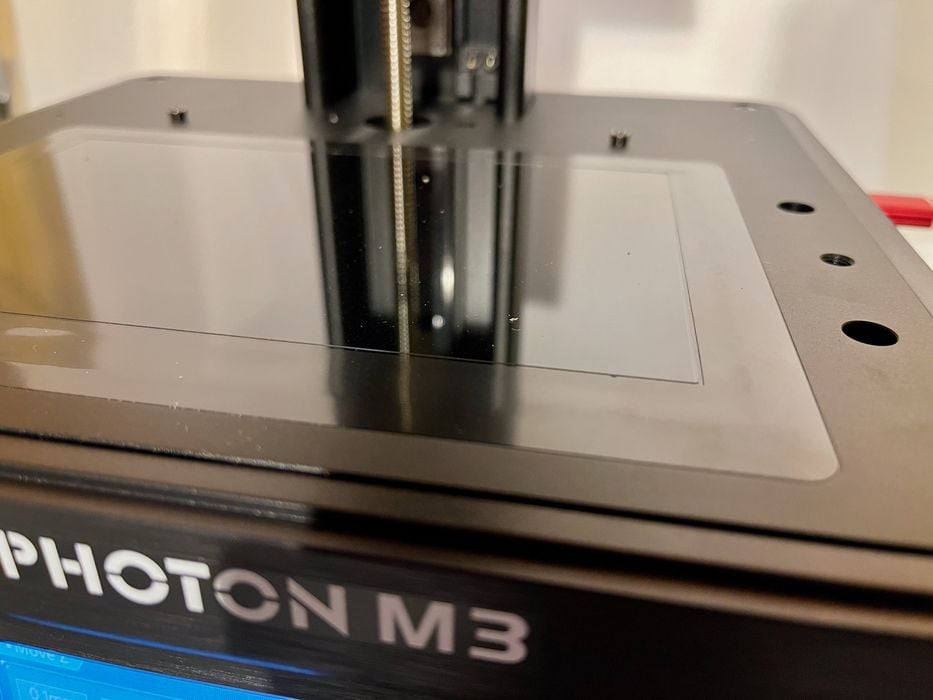
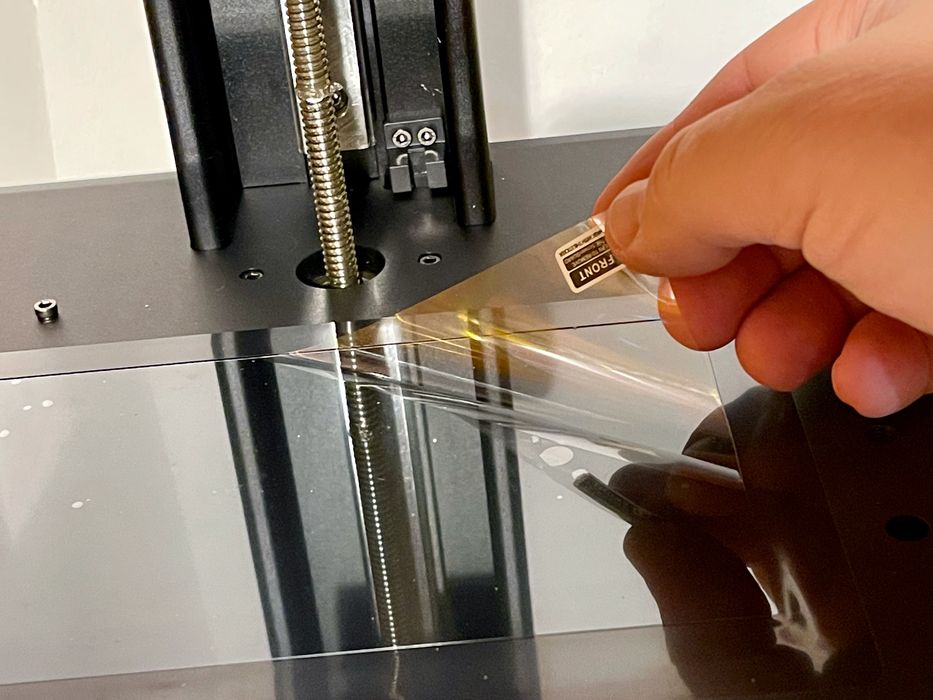
One nice touch is a replaceable protective film that sits on top of the light engine. It’s hard to see, but could save you a bundle if you happened to drop the heavy metal print plate on the critical LCD display.
We found no difficulties in setting up the M3, and in fact it could likely be done in less than five minutes after the box arrives.
But the machine is only part of the equipment you require, and this must be emphasized because you cannot print on the M3 without a couple of other key items.
The first is safety. Most photopolymer resins are quite toxic and produce airborne fumes when in liquid state. (Note: Anycubic does offer an optional air filtration accessory, the AirPure, which can capture fumes). After polymerization, the solid parts are quite safe, but when liquid you must take precautions to prevent exposure to the toxic resin molecules. These include wearing eyewear to avoid splashes, nitrile gloves to protect your skin, and a means to actively ventilate the area around the M3 to remove resin fumes. The best approach is to use a powered fan to push air outdoors from your print location. An open window is NOT sufficient.
The second is a means to post process your fresh resin prints. The first stage is to clean off stray liquid resin, which is normally done in a tub of IPA (91% is apparently best for this). If you are using water soluble resin, which Anycubic does (Anycubic Water Wash Resin), you can use plain water instead of IPA. The second stage is to fully cure the somewhat soft prints by exposing them to UV light. This can be done as easily as sitting the dry print in the sun for a short while. However, there are automated solutions for this, including Anycubic’s own Wash & Cure station, which we used for our test.
This is part one of a two-part series. Part two is here.