
This is part 2 of a 3-part series. Please read parts 1 and 3.
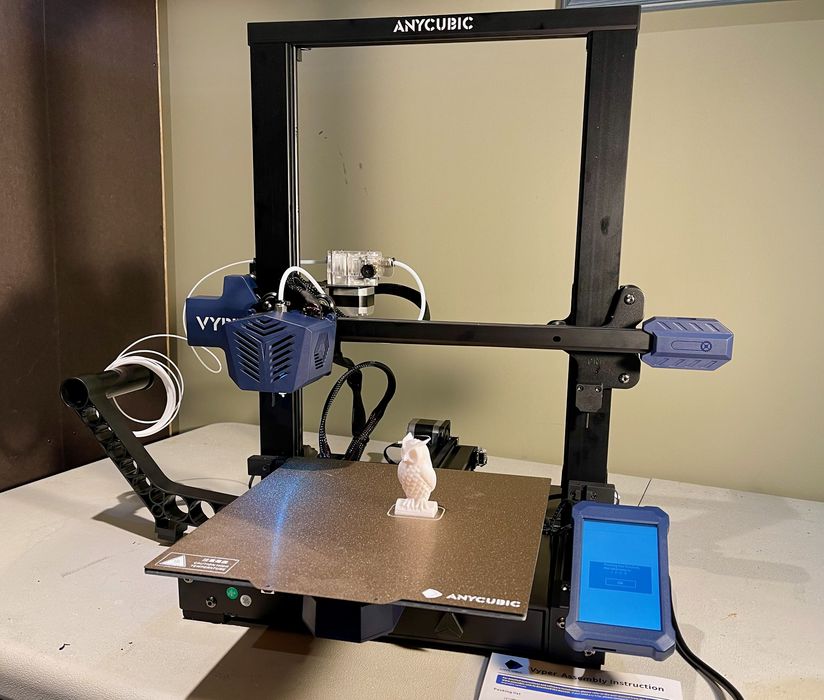
I had the opportunity to test out the new Vyper 3D printer from Anycubic in our lab.
Setting Up The Vyper
Before proceeding with power on, I looked all over the Vyper to ensure I had removed all of the shipping tie-downs. These keep moving parts from sliding during shipment and thus prevent, or at least minimize, damage.
At that point the machine powered on successfully and the penultimate setup task was to level the machine.
This is a completely automated process that probes a 4 x 4 array of points on the print surface. It takes several minutes to complete, but once done you don’t have to do it again unless you are changing nozzles or applying something extra to the print surface.
Finally then there’s one more step: loading the filament.
Having loaded filament on many other machines, I can say that is more often than not a difficult process that sometimes involves use of tools. This is not the case on the Vyper, as it has dual gears to very easily grab the filament.
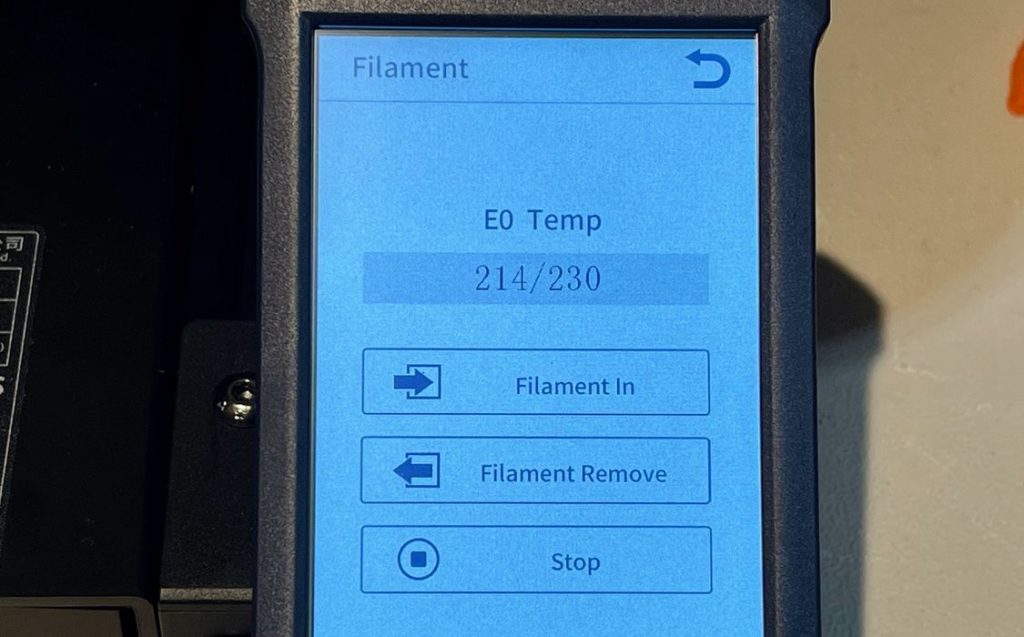
The loading process involves hitting the “Filament In” button, which heats up the machine. When it’s at temperature, hit the button again and the extruder grabs the filament easily and loads it to the nozzle. Unlike some other filament loading systems, you don’t have to keep hitting “continue” until the material is clean; here you just let it run until ready, and then hit “Stop”.
This process is extremely reliable and I had no issues loading or unloading filament. Anycubic has done a great job of extruder design here.
Even better, the extruder’s outer case is made from completely transparent plastic so you can actually see inside the extruder as it works. This will be incredibly valuable should there ever be a jam: you can literally see the jam!
I had one challenge during assembly that I didn’t realize until after I attempted to startup the machine. It turns out I missed one of the shipping tie downs.
As the Y-axis moved, I heard a loud squeak. After some further investigation, I noticed this:
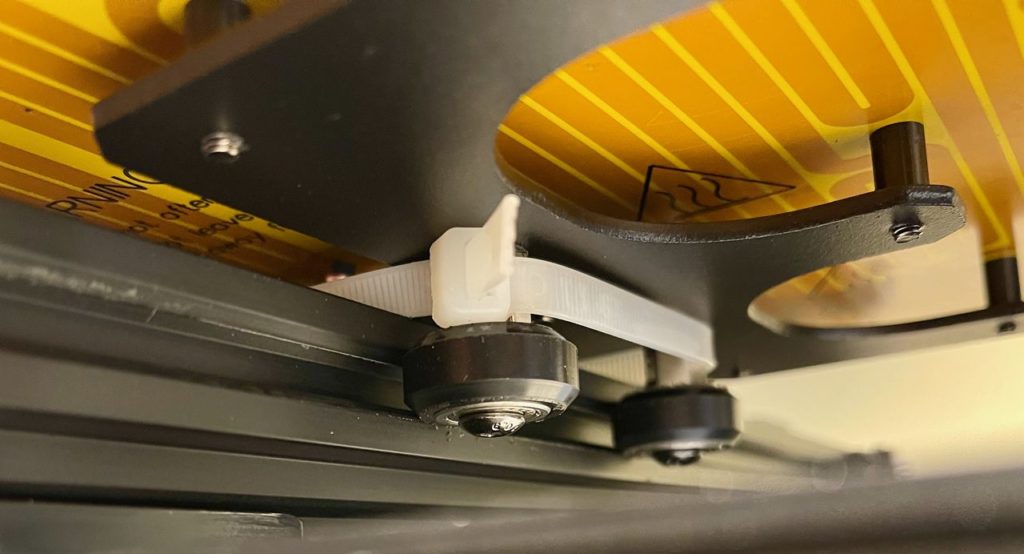
Yes, I missed one of the tie downs. This one keeps the Y-axis from shifting during shipment, and is very well-hidden under the print bed. It’s actually a bit hard to notice unless you turn the machine upside down.
Be sure to remove this tie wrap before you 3D print.
Also, it may help if Anycubic provided a graphic in the instructions showing the location of all the tie downs that require removal. While the printed instructions were otherwise good, this is something that could be added.
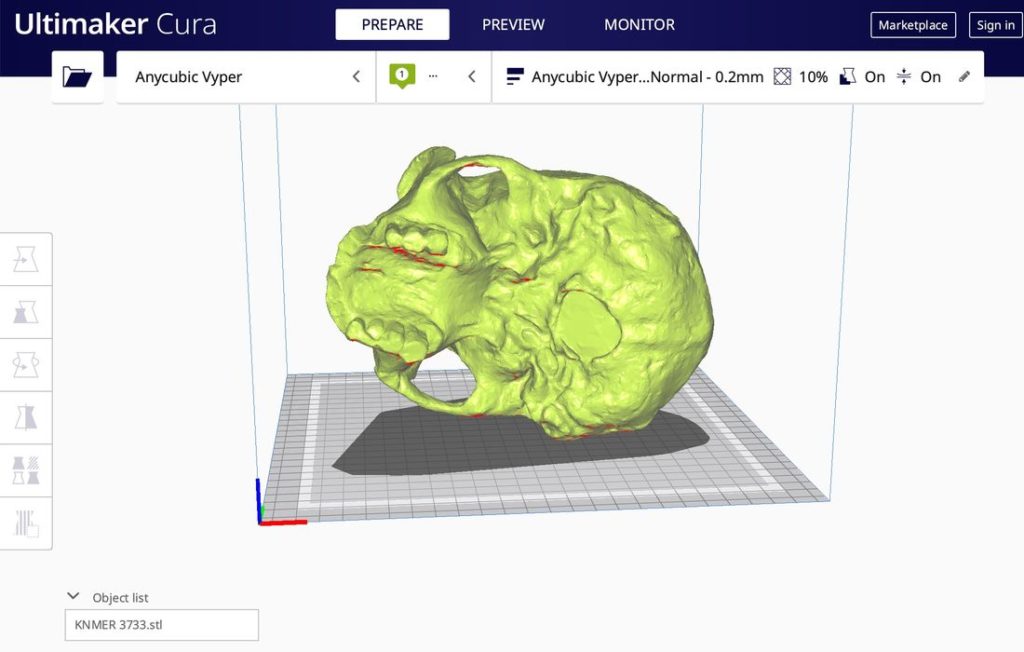
Anycubic Vyper Software
Like all 3D printers, the Vyper requires a slicing system. Anycubic don’t make their own, so they recommend using Ultimaker Cura, which is used by many other manufacturers and is quite easy to use.
Anycubic bundles in a version of Ultimaker Cura with the machine, but I found it was out of date compared to the currently released version. That’s quite understandable because Ultimaker seems to update the software frequently.
One software issue encountered was that the version of Ultimaker Cura shipped is not compatible with the latest version of Mac OS, which is the platform I tried to run the software. Instead you’ll have to download the latest Ultimaker Cura release (which you will be doing sooner or later anyway) and install the required profiles for the Vyper. It’s an easy process and you’ll end up with the latest Ultimaker Cura software ready to go.
Anycubic Vyper Interface
The Vyper includes a touchscreen, which is notable for such an inexpensive machine. The menus are easy to follow, although I might suggest they do a bit of redesign. It seems to be a grey-scale screen, rather than a color touchscreen, but color doesn’t really matter much for this type of display.
The touch interface is quite responsive as opposed to some other touchscreens I’ve used recently. When you strike a button, you know you’ve got it.
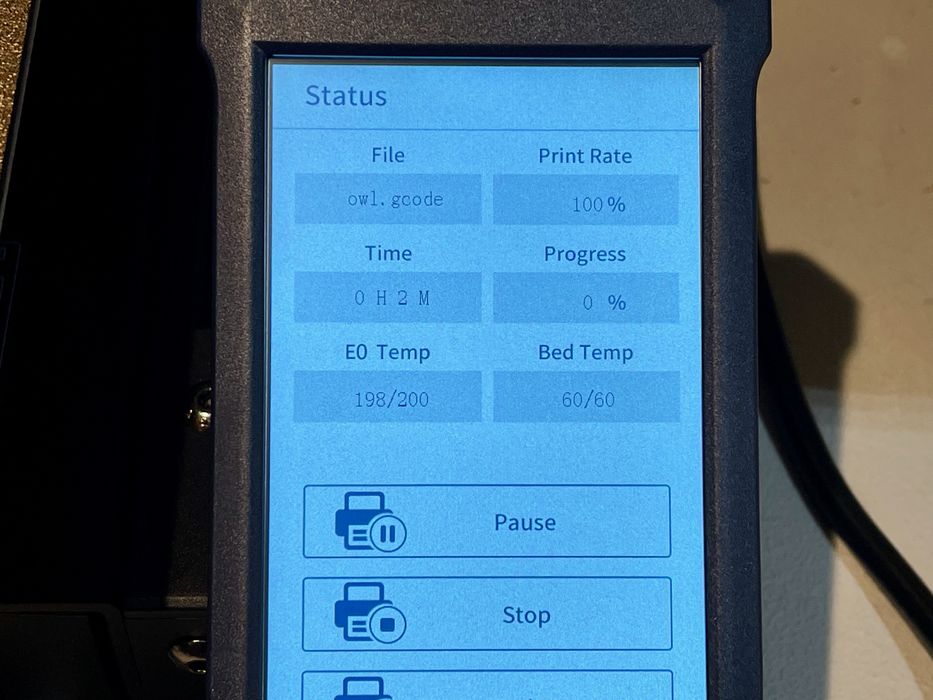
The screen is quite large, yet the area does not seem to be well used. As you can see in this image, the key values are displayed in very small text, which makes it hard for my old eyes to read. Even worse, they’ve decreased the contrast by strangely placing the black text on grey backgrounds, making it even harder to read than it should be.
Here you can see a typical Vyper display during printing:
If I were able to redesign the top of this display, I’d do something like this instead:
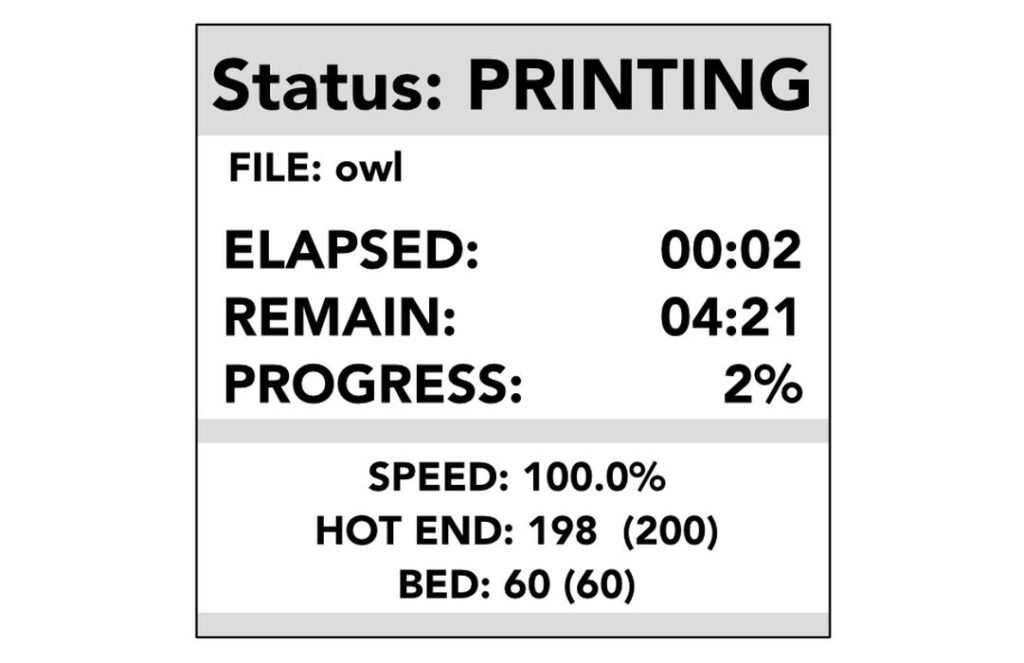
Same information, same screen size, just a lot easier to read. I’m hoping Anycubic could make a change like this with a future firmware update.
Vyper 3D Printing
After all the previous setup it’s easy to 3D print on the Vyper, but I did encounter one minor issue.
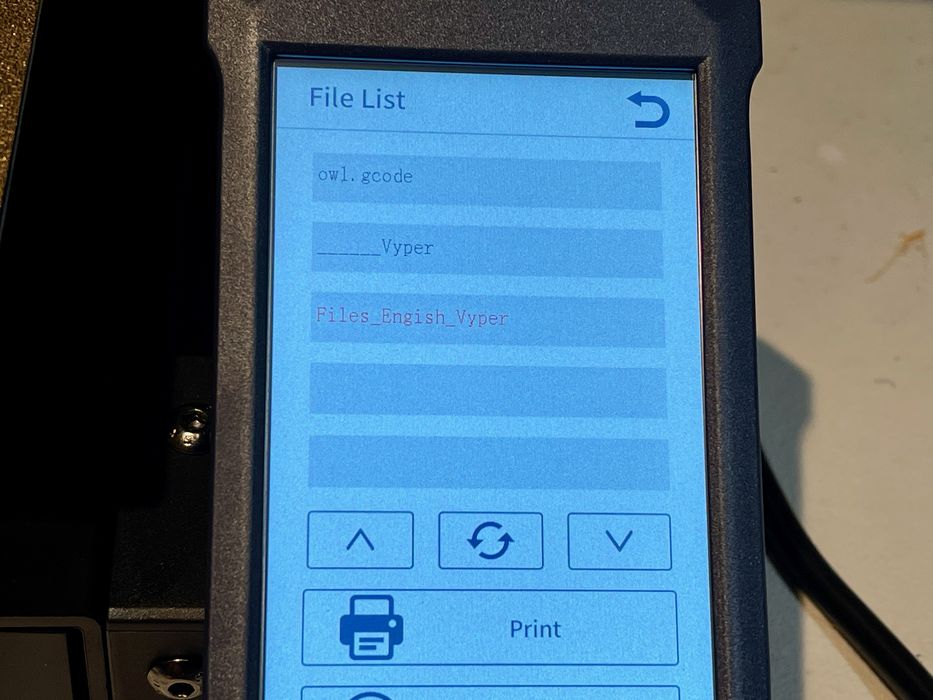
The supplied SD card includes a test print (the Owl file), and it appears in a folder on the SD card. However, I could not access the folder from the Vyper interface. It turns out that the machine at this time cannot go into folders, so any files to print must be stored at the root level.
This is a very minor problem, but I thought I would mention it in case you see it before Anycubic upgrades the firmware to fix the issue. Normally I store GCODE files at the root level on SD cards anyway, so it really makes no difference.
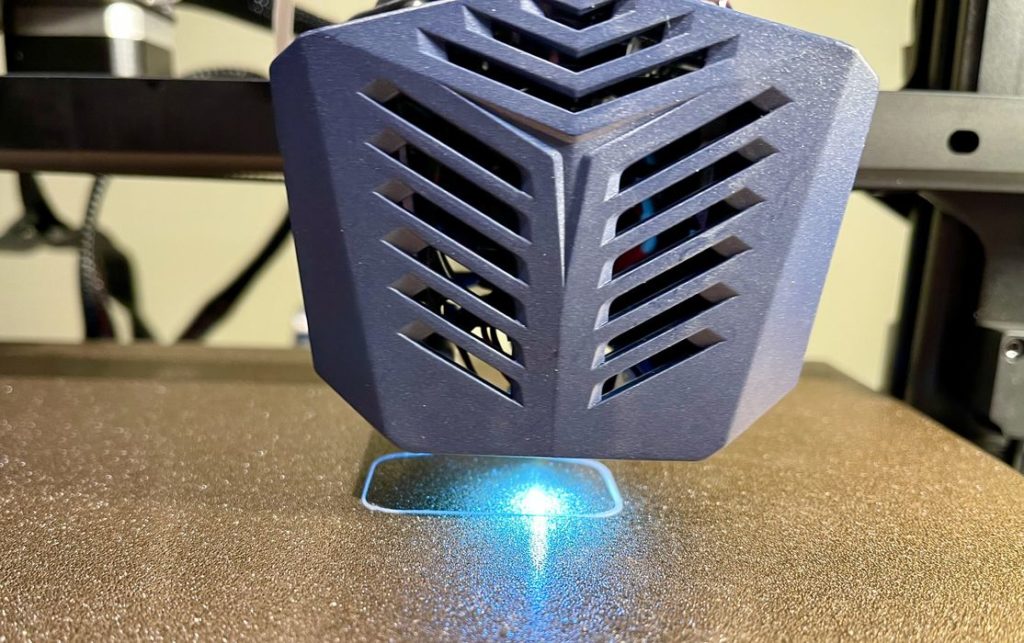
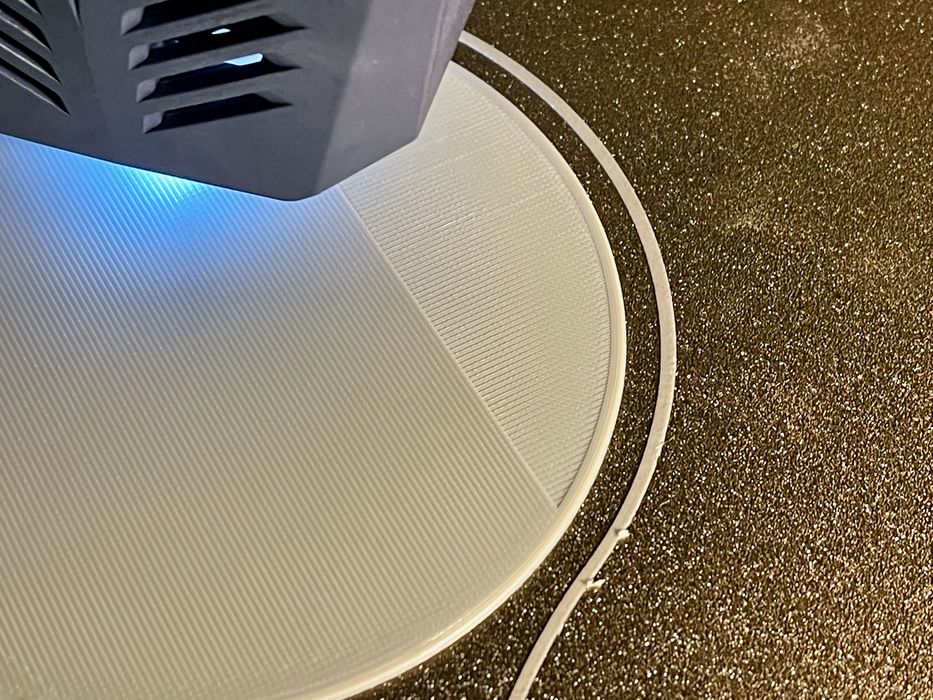
There’s one feature on the Vyper you might not notice until you begin 3D printing: the toolhead has a built-in LED light! This light shines directly on the printing zone and can greatly help to see those critical first few layers. It’s not really big enough to see a large print in the dark, but it’s a very welcome feature I wish every machine included.
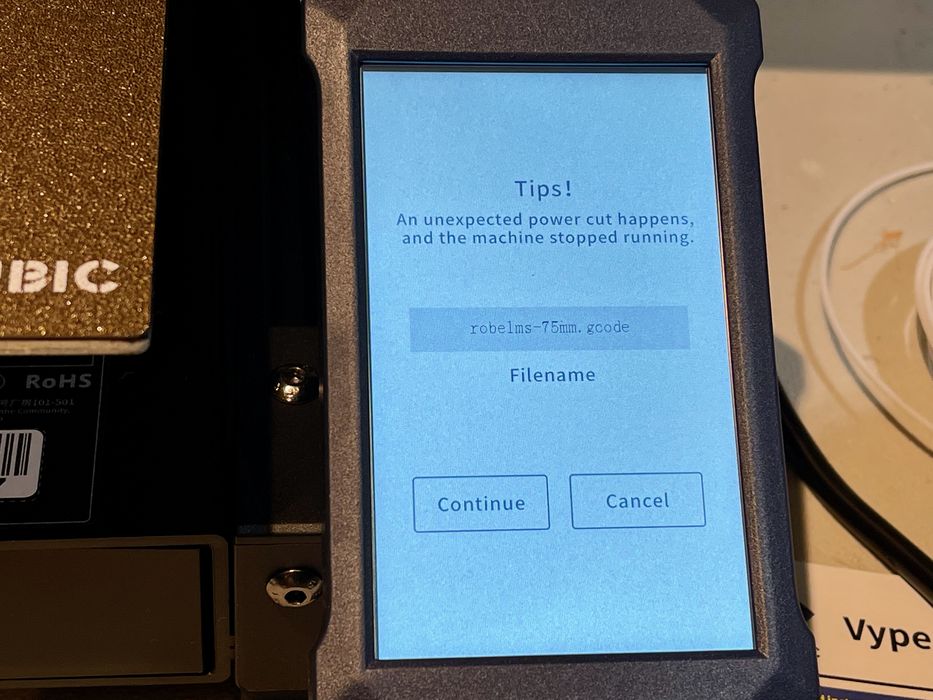
Another advanced feature found on the Vyper is power off handling. This feature detects a loss of power and immediately saves the machine state for later when power is restored. At that time you have the option to continue the print.
As it happened during my test, I had a real power failure and had to try this feature. It worked flawlessly! There was only a very slight line on the print where the power failure occurred, otherwise you’d never know the trouble that print went through.
This is part 2 of a 3-part series. Please read parts 1 and 3.
Via Anycubic