This is part 3 of a 3-part series. Please read parts 1 and 2.
I had the opportunity to test out the new Vyper 3D printer from Anycubic in our lab.
Vyper PLA
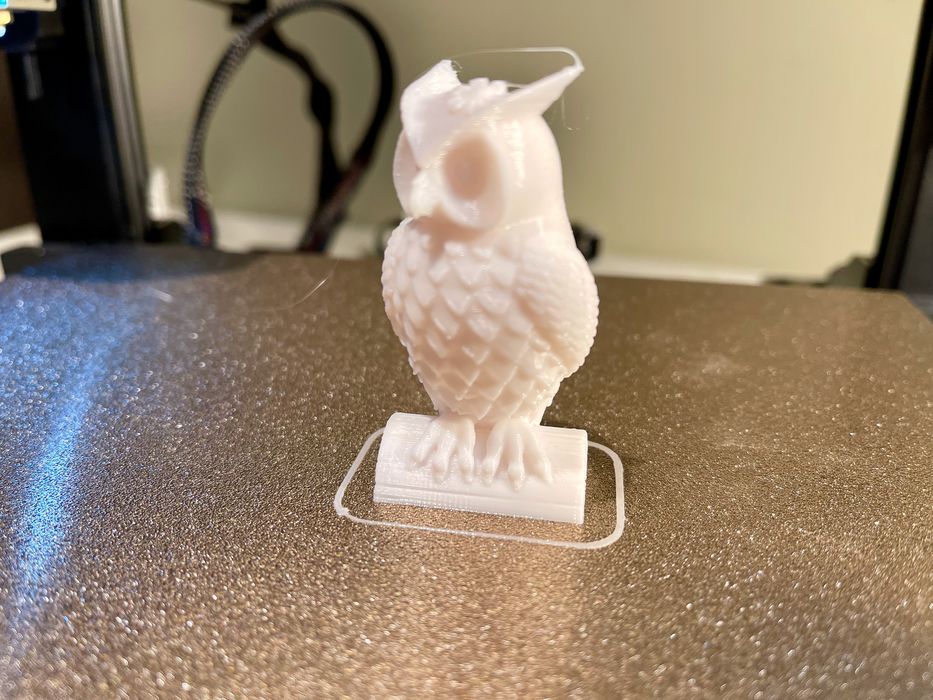
The Vyper ships with a small loop of PLA for testing. It’s not enough to print anything serious, but it can get you started.
My first print on the Vyper was the sample Owl file that, presumably, was sliced with optimal print parameters for the Vyper.
It turned out extremely well, as you can see above.
My next step was to 3D print some of my own files prepared using Ultimaker Cura. Slicing proceeded as normal with the software, and I found no particular issues. I used the print profiles provided by Anycubic, which include one for PLA, another for ABS and one for TPU.
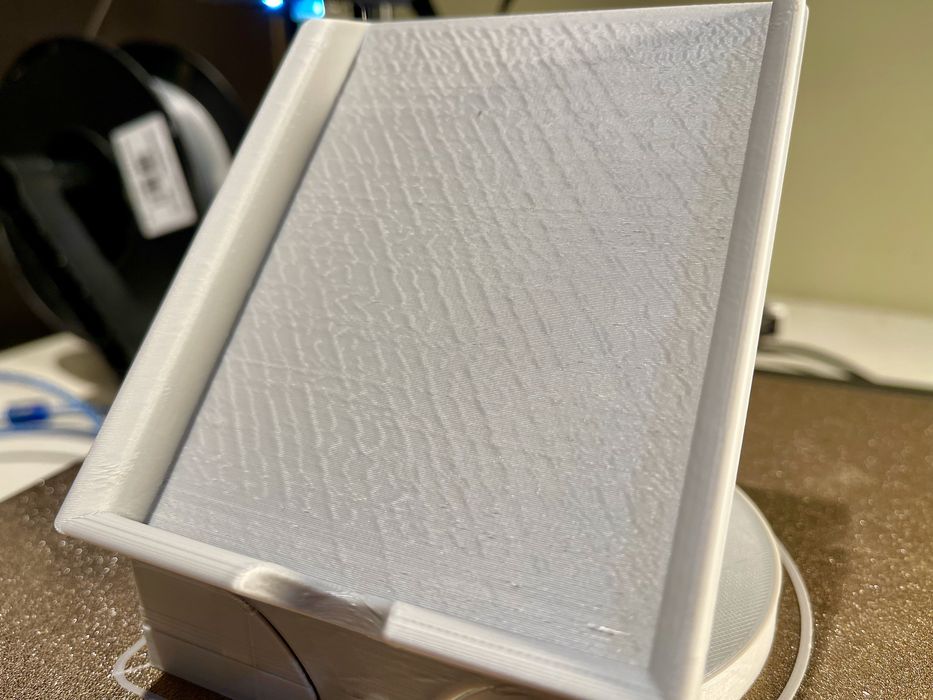
These work reasonably well, although I suspect they could be tweaked somewhat to achieve better quality. It may be these profiles were intended to provide speedy prints, but I’m thinking if the print speed were slowed down the print quality could be even better.
I found that PLA would adhere quite well to the spring steel plate, and prints would pop off easily enough by bending the plate when cooled. Sometimes the parts were actually loose after cooling and could be lifted off the plate.
Vyper ABS
ABS is a notoriously challenging material to 3D print, particularly on desktop equipment that does not have a heated chamber or even an enclosure, like the Vyper. I was quite curious to see how well this difficult material would turn out.
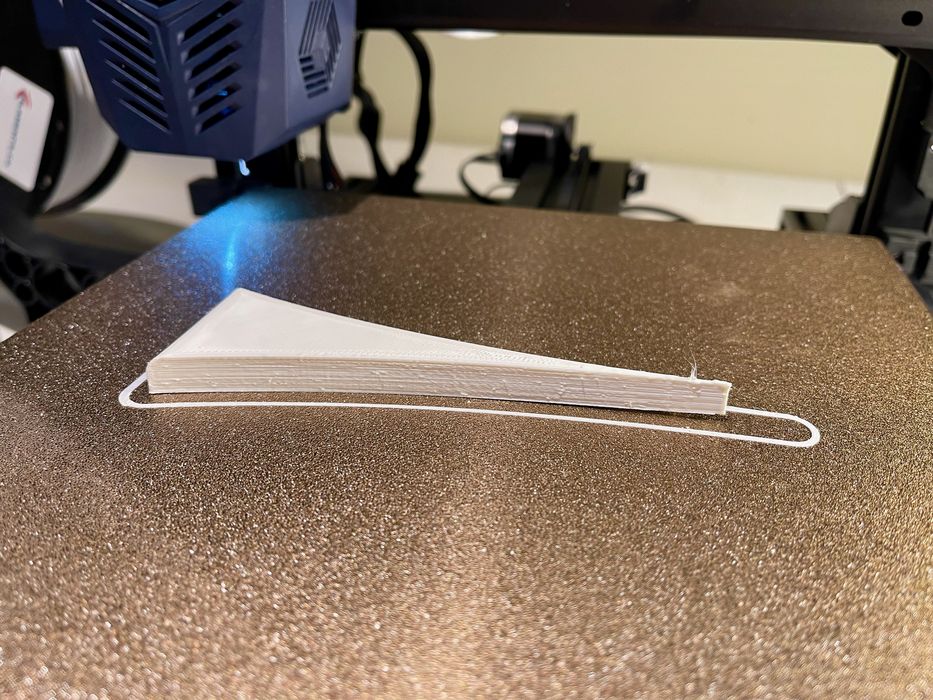
After successfully 3D printing a few small test blocks in ABS, I attempted my warp test. This is a pathologically shaped object that is quite long, and very thin at one end.
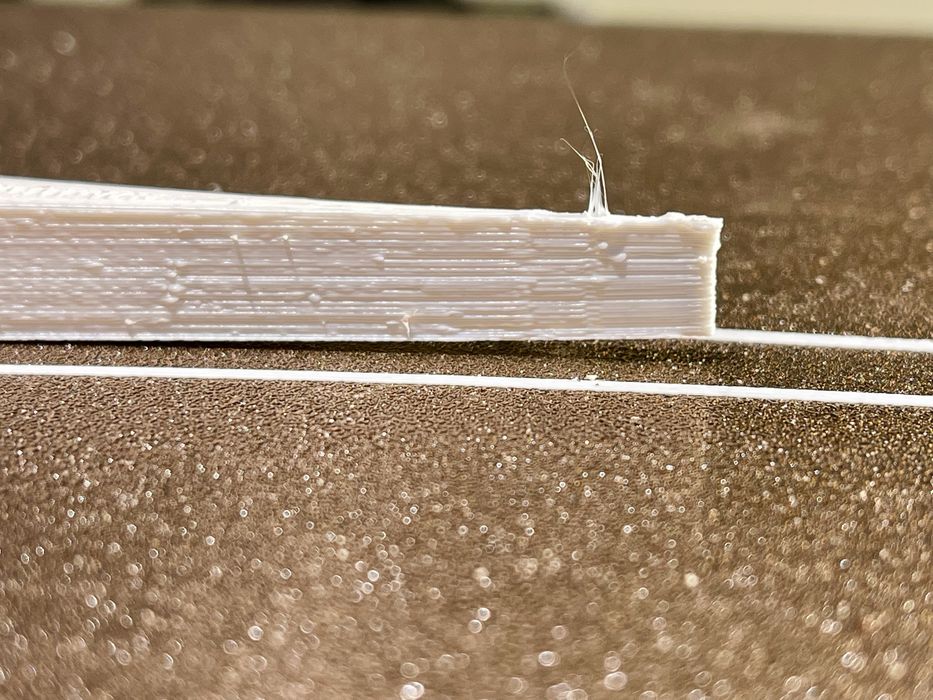
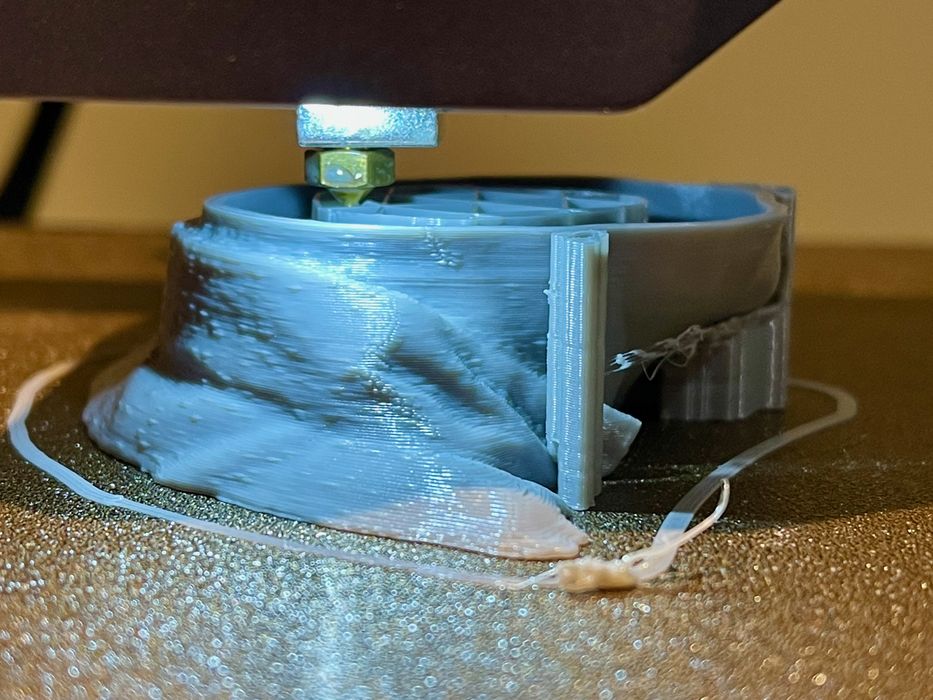
My first attempt showed warping occurring at the tip of the 3D model. Above you can see a close-up image of the warp, where it slightly lifts off the print bed. A larger print with similar geometry might fail at higher Z levels.
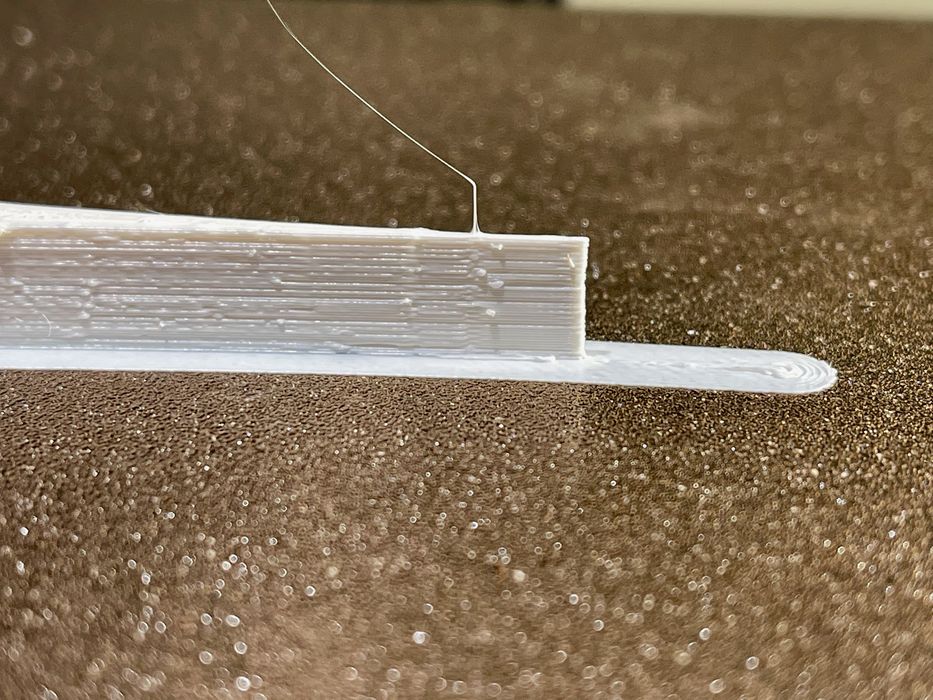
I re-ran the warp test, this time using a brim, which usually solves ABS warping issues. This time, no warping occurred. If you’re 3D printing ABS on the Vyper, strongly consider using a brim.
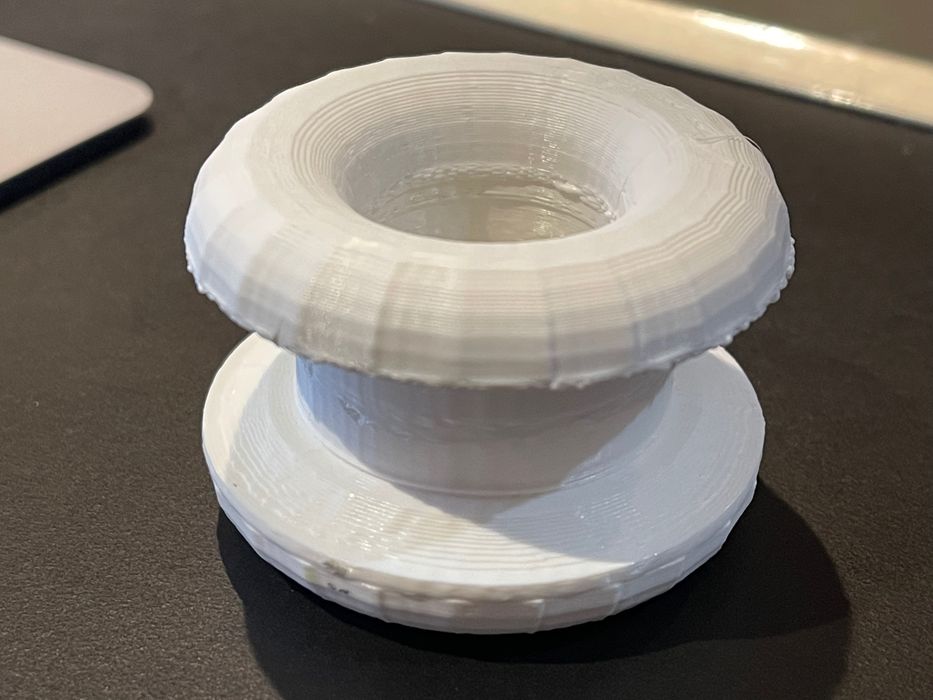
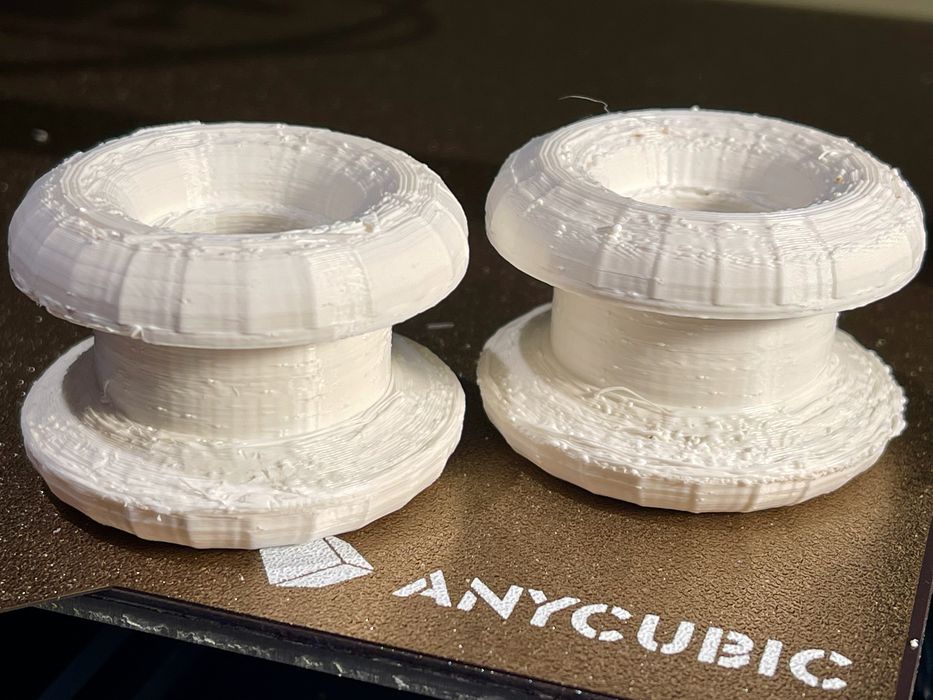
I attempted to 3D print a more advanced item, a pulley that required a great deal of support structures. This object printed out quite well, although the surface quality was slightly compromised. However, that’s almost normal with ABS prints on most equipment. The important thing is that the part was successfully used in a bicycle application. In other words, the Vyper can be used to 3D print real, functional parts.
Vyper PETG
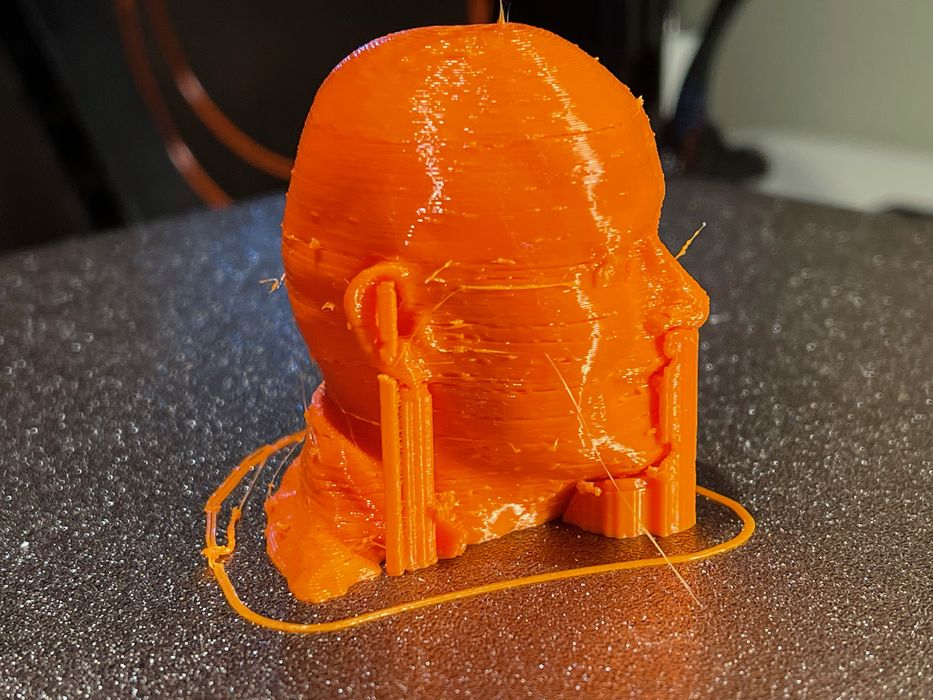
PETG has become a very popular 3D print material, so I had to try it on the Vyper. However, Anycubic did not provide a PETG print profile for the Ultimaker Cura slicer.
I made a profile myself by copying an existing PETG print profile and tweaking it. The results were, well, not great, but that’s likely due to my poor tuning. It’s likely that PETG can 3D print much better on the Vyper with more time to tweak the print parameters, or using a well-tested profile from elsewhere. The important thing to note is that PETG sticks very well to the Vyper’s print plate, and prints are removed easily.
Vyper Flexible
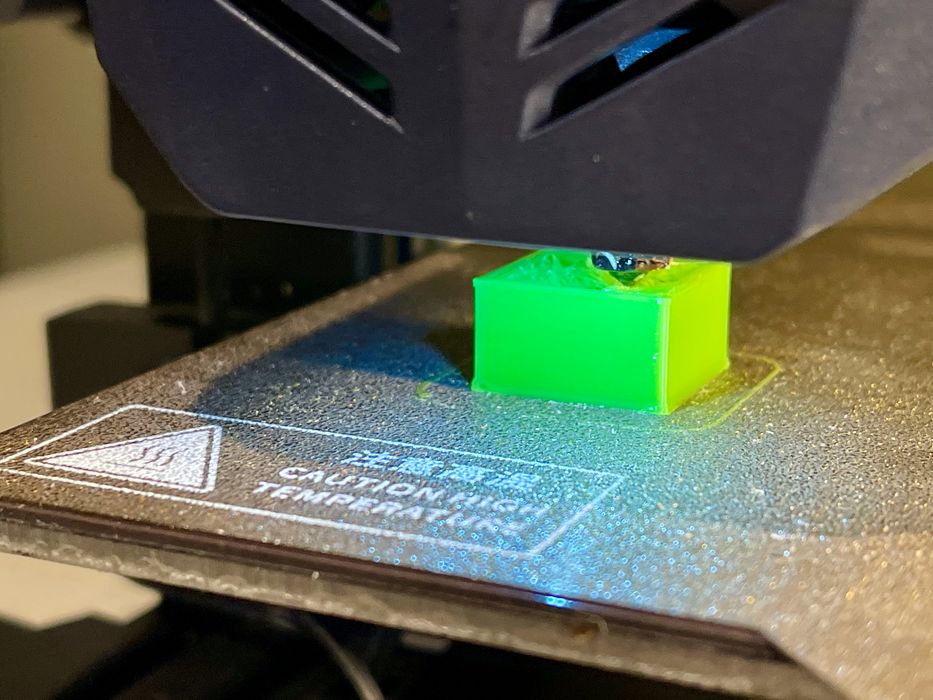
The Vyper came with a pre-made print profile for flexible materials, so I had to try that, too. I was a bit suspicious at first because the Vyper is a Bowden-style machine that usually has issues with flexible materials: it’s hard to push a piece of wet spaghetti down a long tube.
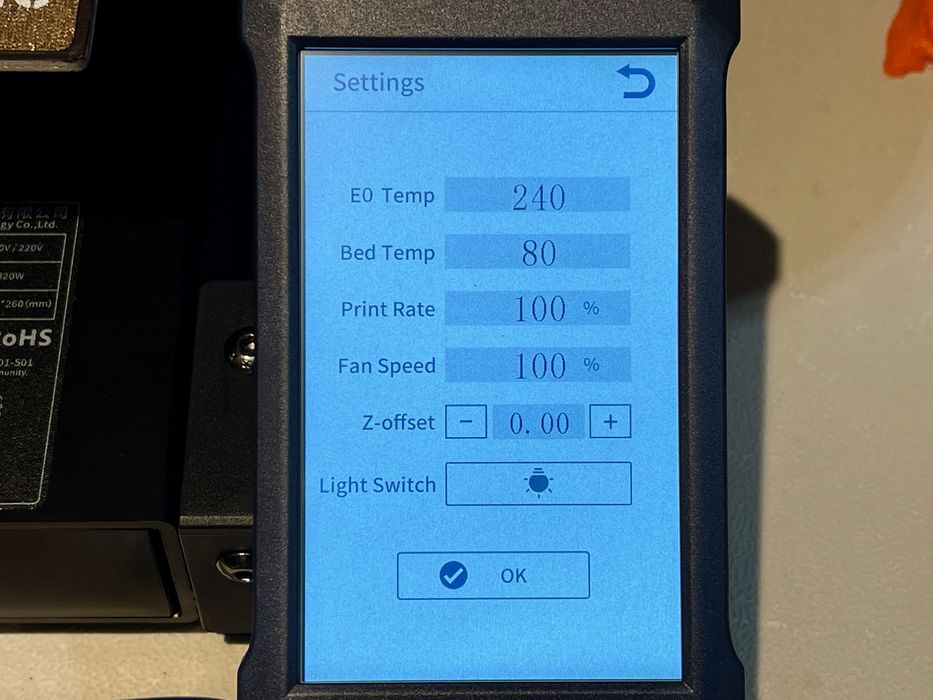
My fears melted away after I was easily able to load a flexible sample material for the test. I found the Anycubic pre-made profile to have too low a hot end temperature for my flexible material, but it was easily tweaked while watching the print proceed.
This is easily accomplished through Anycubic’s very useful “Settings” panel that can be selected during any print job. It allows you to change all these settings digitally, including the Z-gap:
Another question for me was the performance of the print bed during flexible printing. Having had previous experience with flexible, I know the worst that can happen: the print will not come off the bed.
To my great surprise, the flexible print came off very easily after cooling down. There was a tiny bit of residue present, but not very much and you should be able to print flexible materials with ease on the Vyper.
As for the print itself, it came out wonderfully, almost as good as PLA. The most surprising thing was that the TPU profile has the Vyper running at nearly full speed, something you cannot easily do with flexible filament, particularly with a Bowden extruder. I was quite impressed at the result.
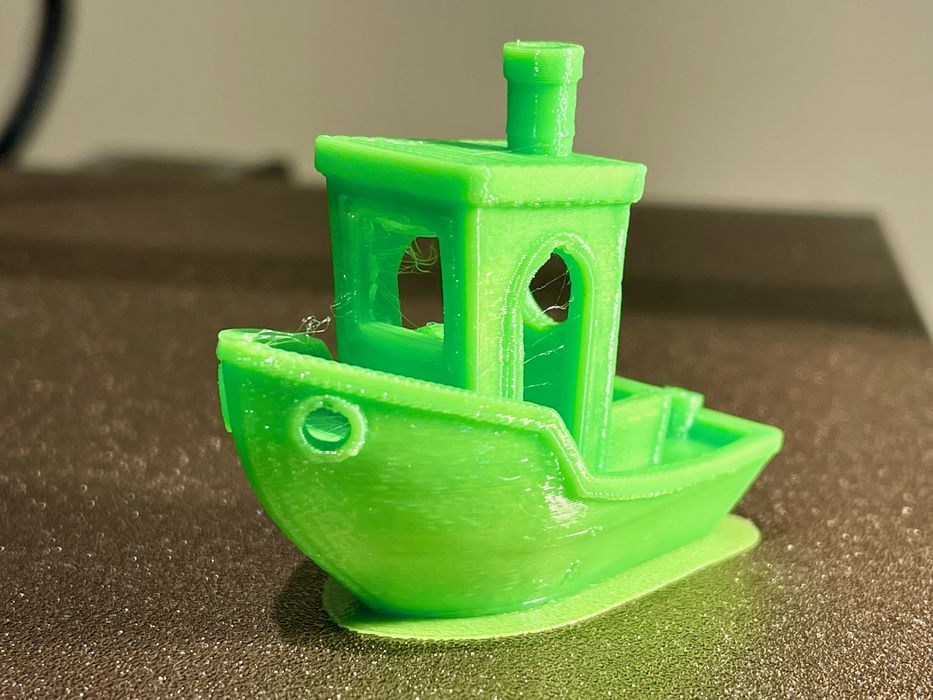
Here you can see a #3DBenchy printed in flexible material, and it came out extraordinarily well. This is a very good #3DBenchy, and I think I’ll be 3D printing more flexible items on the Vyper.
Conclusion
The Vyper is quite a good desktop 3D printer. It includes most of the most useful convenience features and is able to successfully 3D print a good variety of common printable materials.
It also has an attractive design that makes it appear visually different from most gantry-style 3D printers. The machine is built quite solidly; it seems heavy as compared to other similar devices. Its magnetically attached spring steel, powder-coated print plate works well with all materials I tested.
One knock on the Vyper is that I was not able to produce quite as high-quality prints as I have done with other devices. Don’t get me wrong, the prints are good enough; you just need to tune it precisely for the material you’re using.
The price of the Vyper is what really sets it apart. As of this writing, the machine can be pre-ordered for only US$359, and that’s almost half the price of some competing machines with similar features and capabilities.
In the end, I like the Vyper very much, and I think you will, too.
This is part 3 of a 3-part series. Please read parts 1 and 2.
Via Anycubic

