
We’re testing the Bambu Lab A2L large 3D printer today, here doing at unboxing, assembly, calibration and software.
This is part two of a three part series, please read parts one and three.
Bambu Lab A2L Unboxing and Assembly
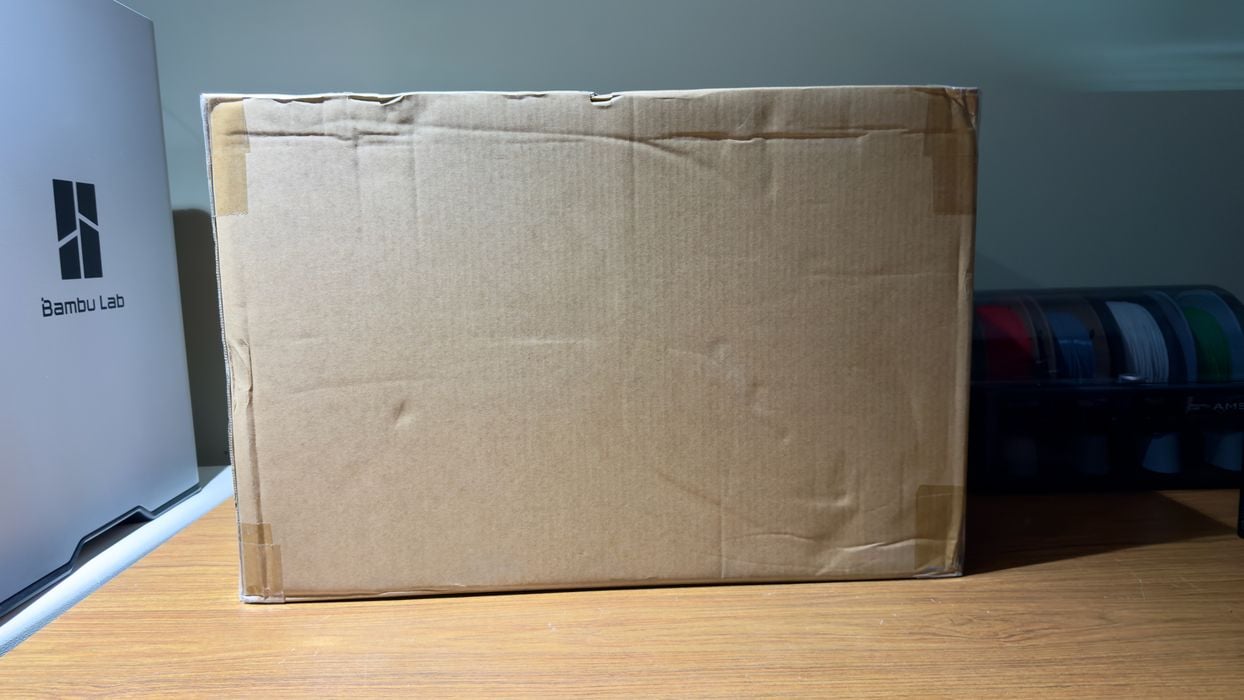
Did I say that the A2L is a large machine? You will truly realize this when you get the box, which is notably larger than your typical 3D printer box. Bambu Lab tends to ship machines mostly assembled, taken apart just enough to squeeze the machine into a smaller shipping box. That is the case here, too.
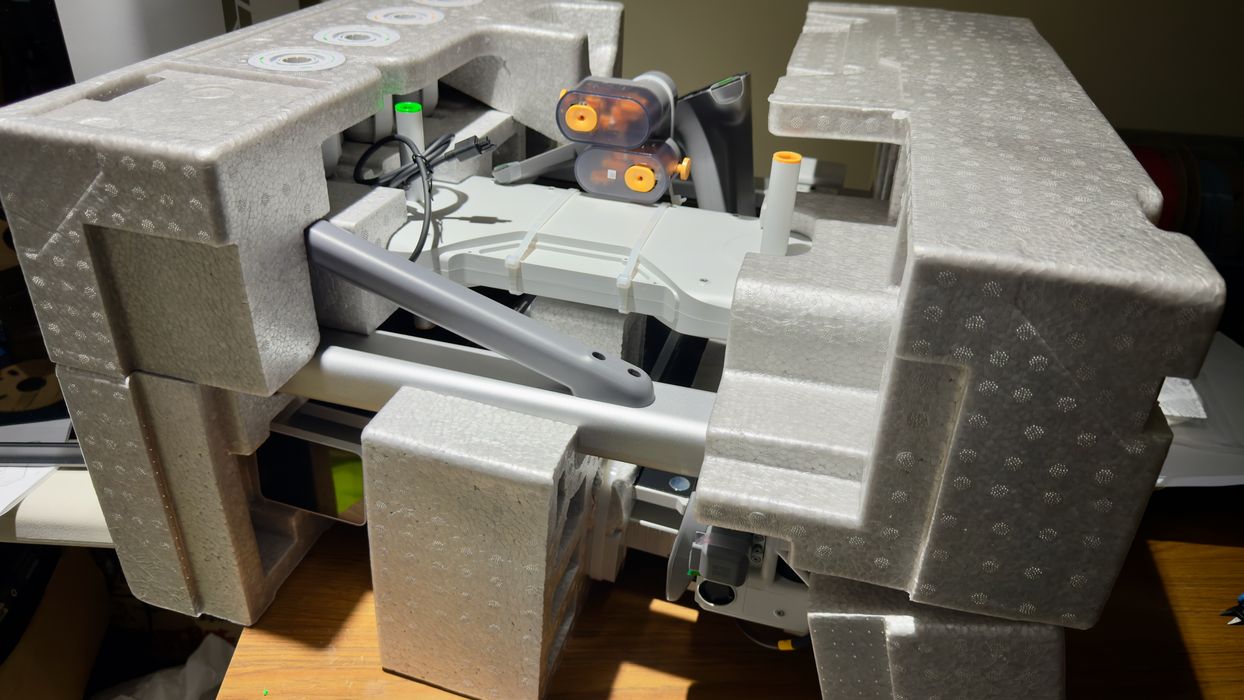
After removing the cardboard you will see a cube-shaped pile of parts that make up the A2L. It’s fascinating to see how the Bambu Lab engineers Tetris all this stuff together in a way that not only fits, but also survives shipping.
Tearing down the pile further, it starts to resemble a 3D printer. But there are quite a few parts to put together.
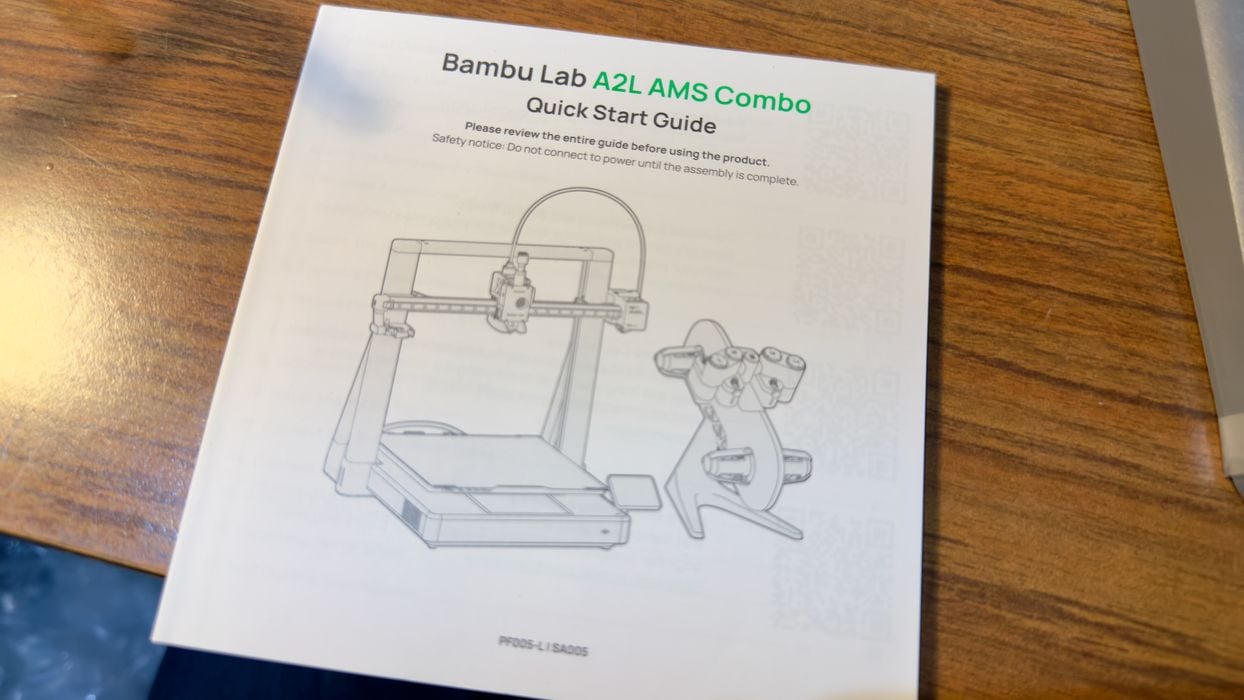
Fortunately, Bambu Lab provides not only a very good printed guide that takes you step by step through the process, but they also have a series of videos of almost everything you need to know. It’s pretty clear that they have a very mature process for providing advice to operators at this point, after years of tuning their A1 and A1 mini processes.

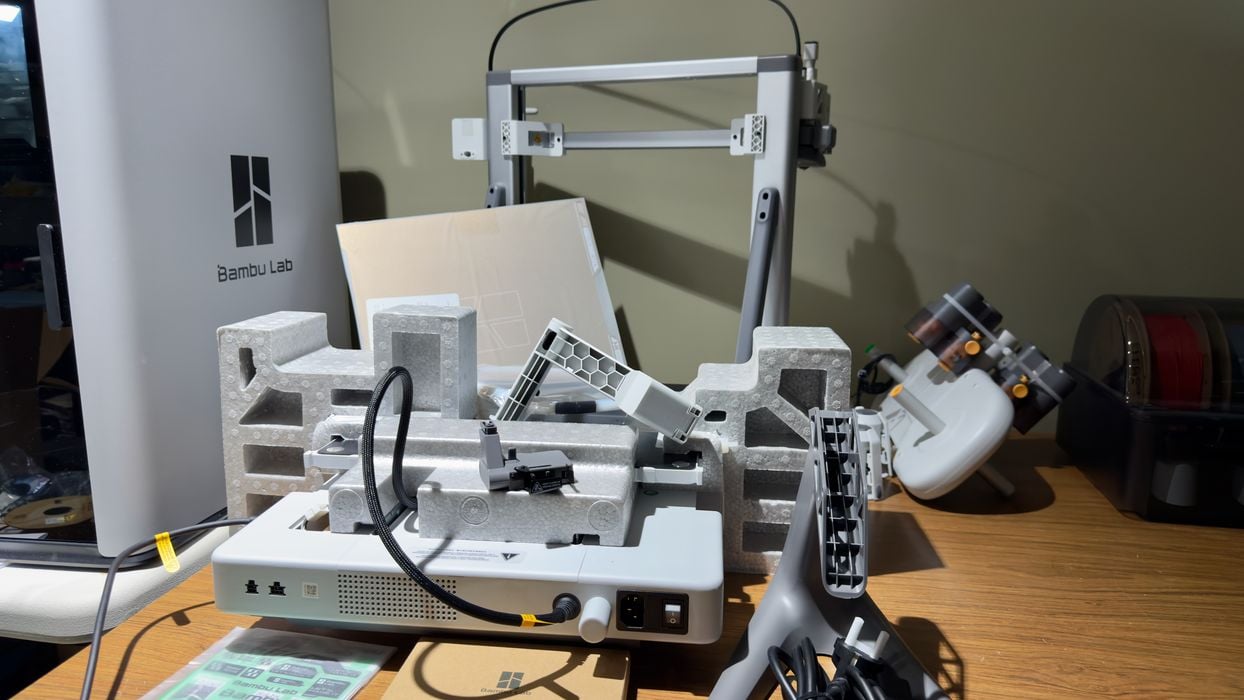
There are a fair number of parts required for this assembly, as you can see here. Fortunately, Bambu Lab has very clearly marked each bag. The marks, interestingly, are “function”, rather than “type of part”. This makes it even easier to keep track of what your’e doing.
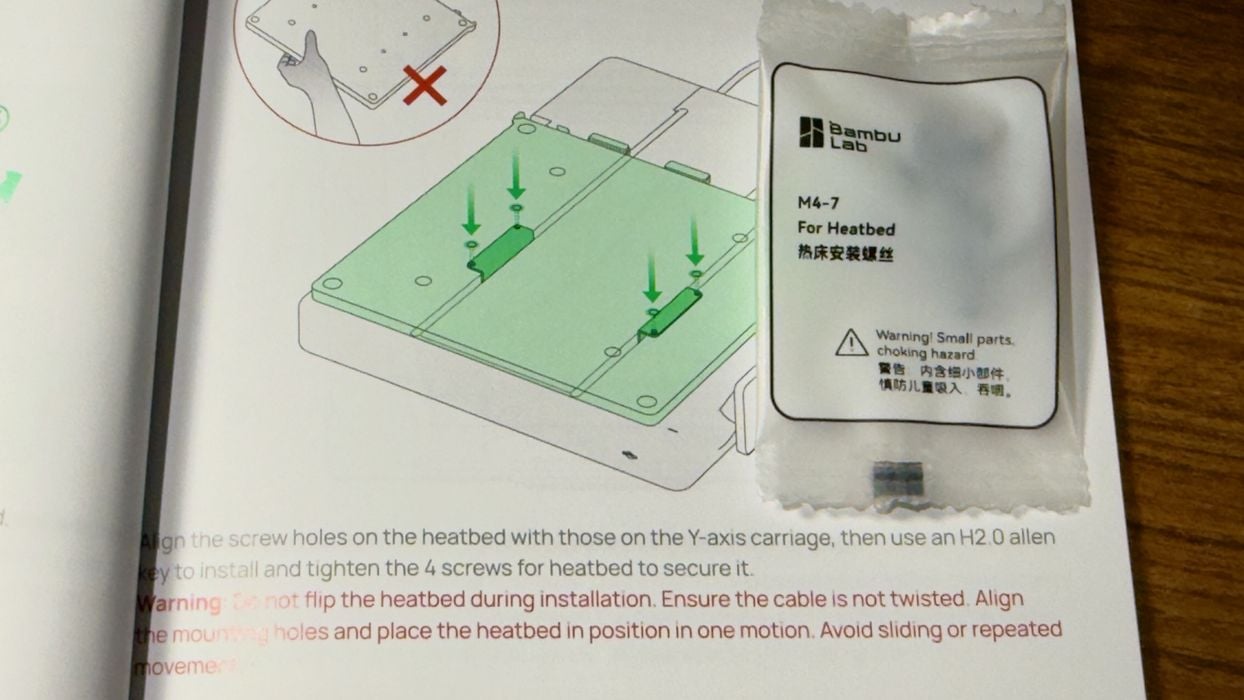
This philosophy follows through to the guide, which clearly indicates which parts to use for each step.

If that wasn’t enough, the parts themselves sometimes have instructions pasted directly on the machine. Here we can see more instructions on how to put together the print bed.
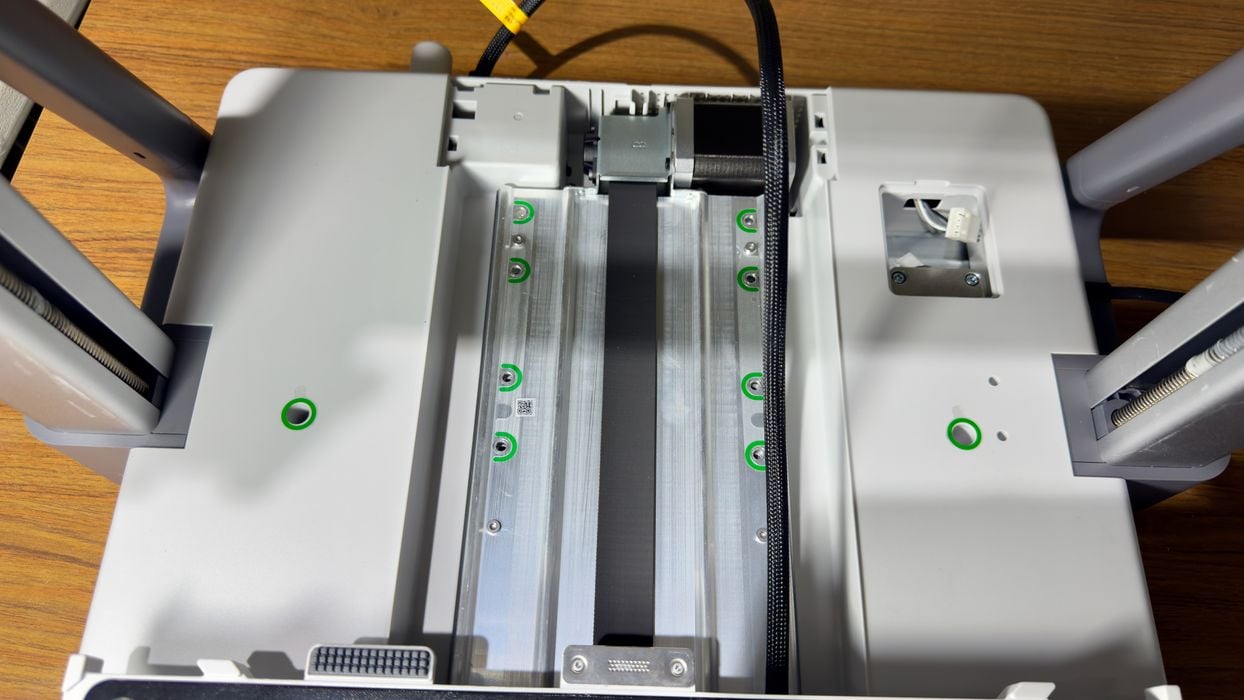
In this image you can see green circles around holes where bolts are supposed to go. This isn’t something that many other 3D printer manufacturers do, and it really does make things easier — and more friendly for those less familiar with machine assembly.
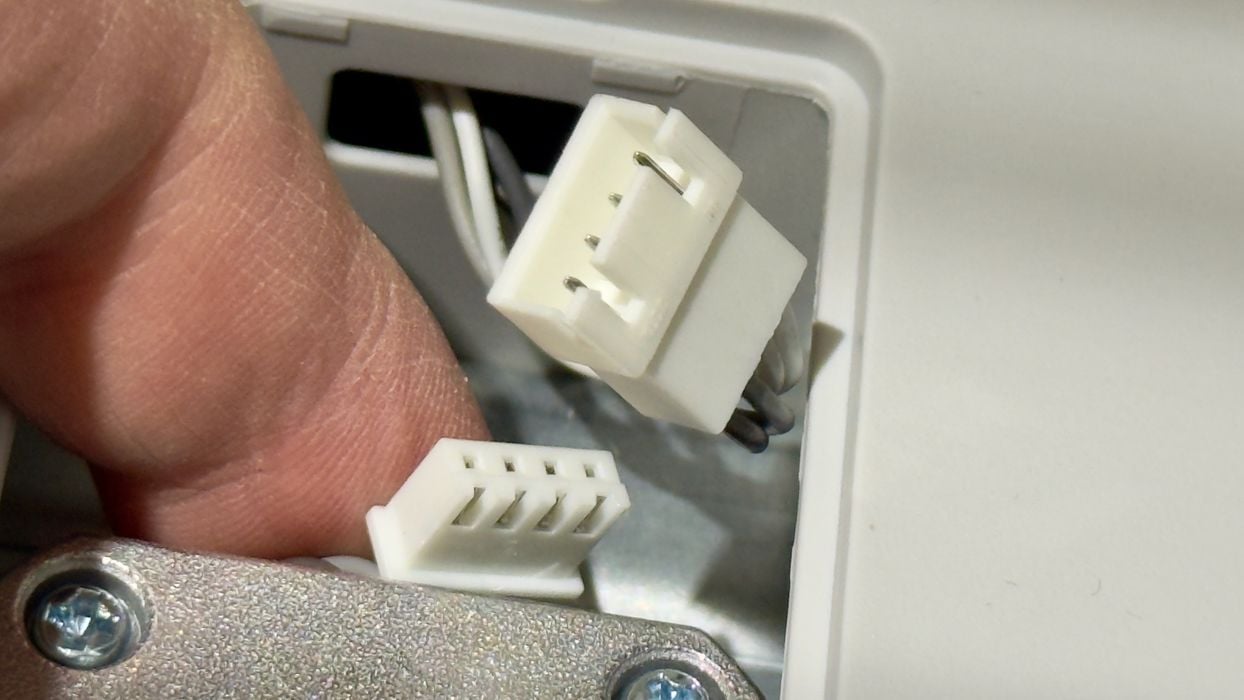
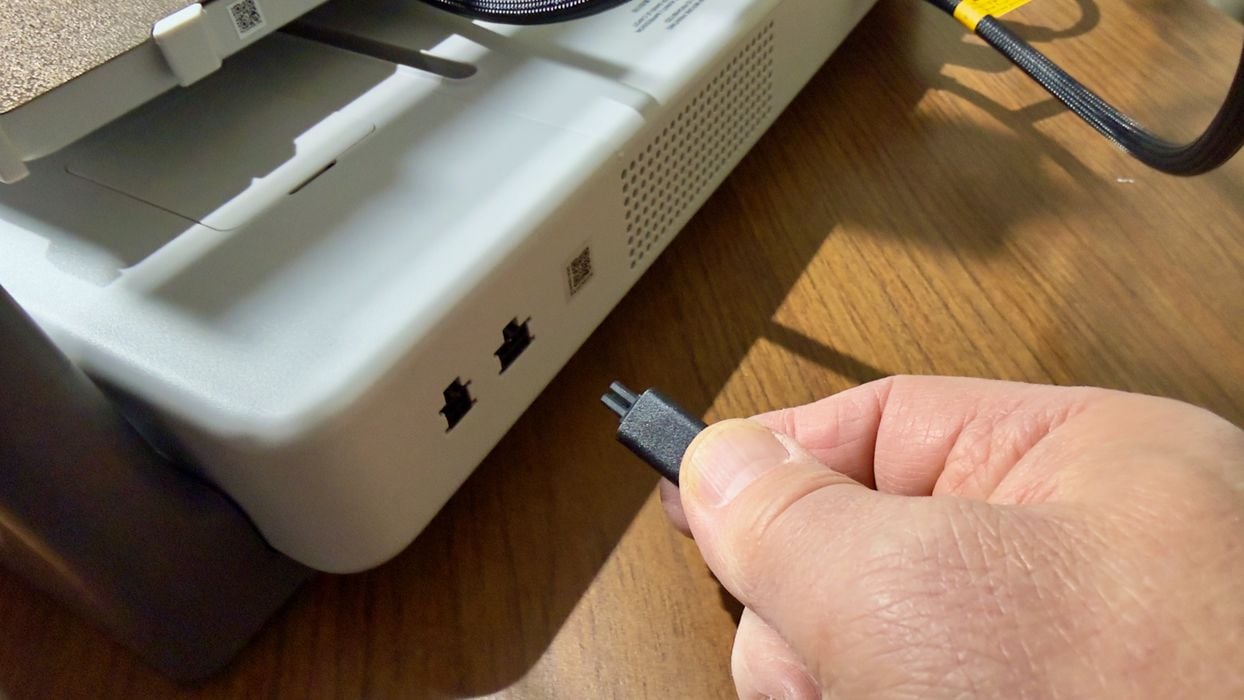
One challenge I had was connecting these cables. They’re hidden under a small door, and if you have hotdog fingers like me, you will have some fun getting these together.
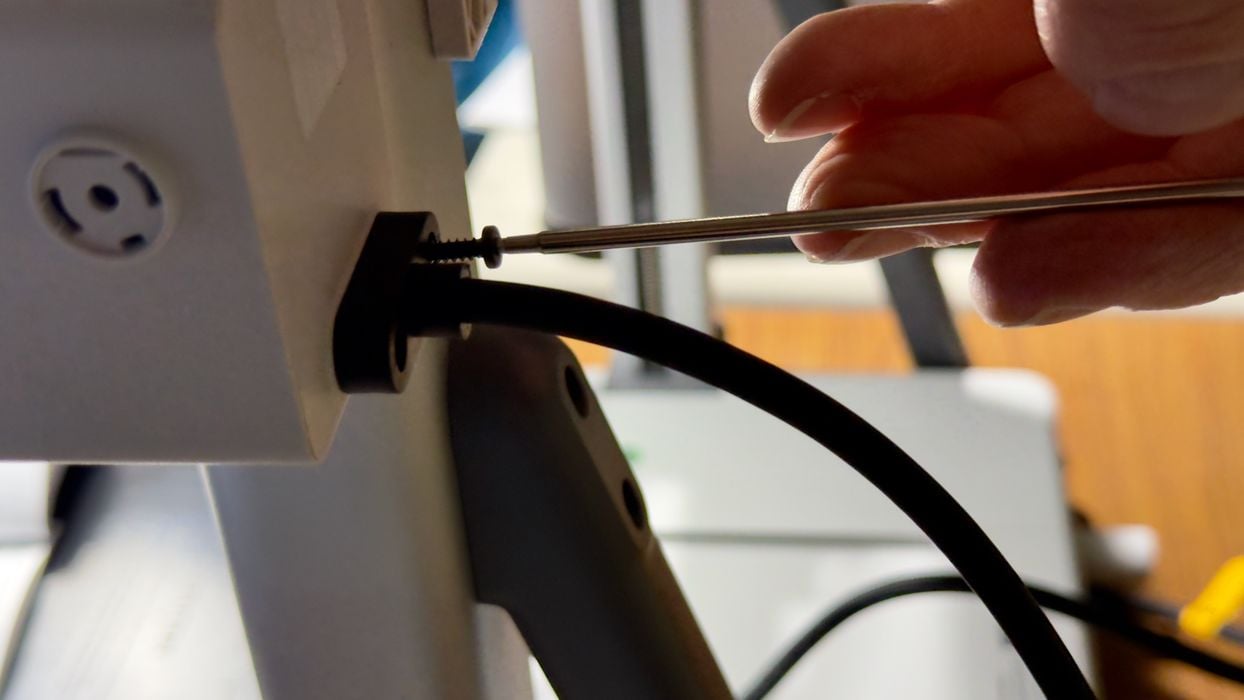
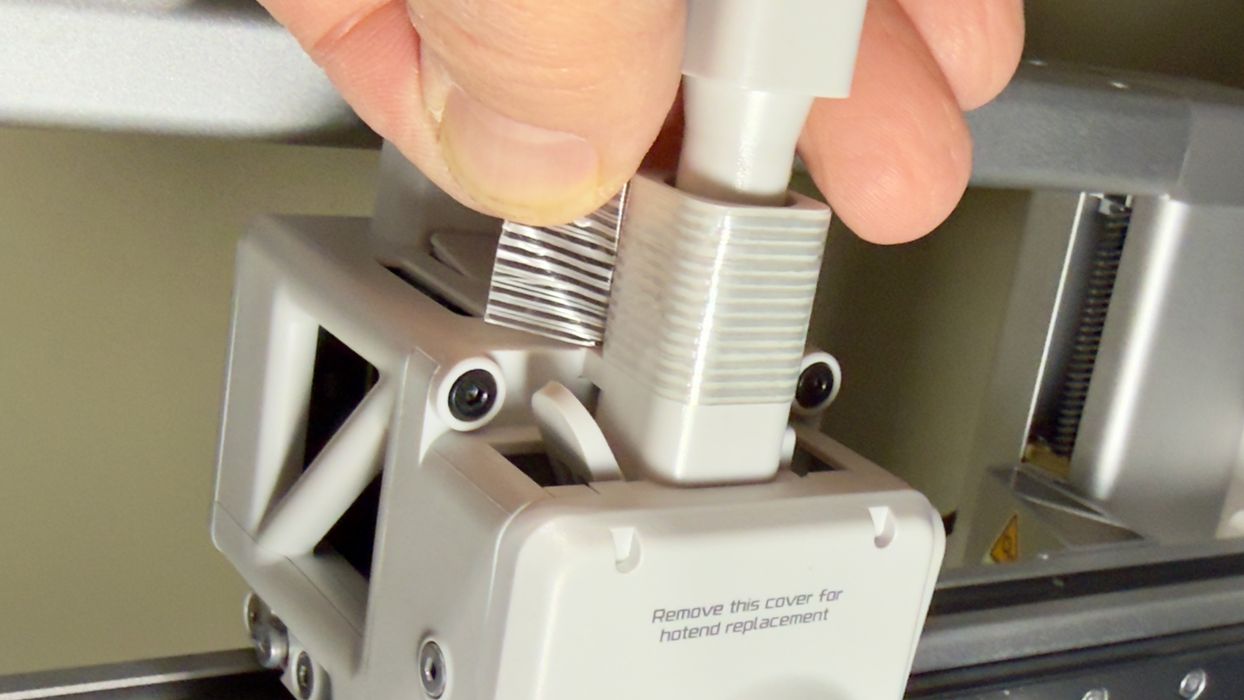
There is a lot of bolts to install in this assembly. Here we’re attaching the main cable to the printhead. It’s all pretty easy to do, however.
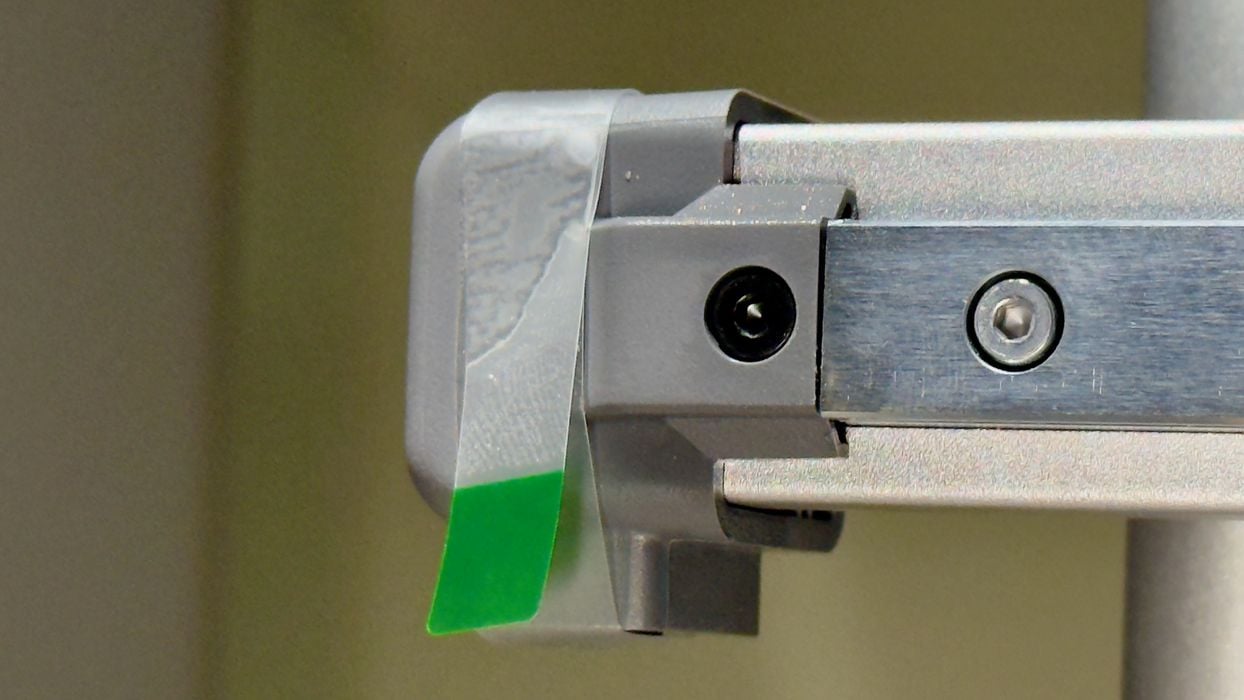
There is a lot of tape around the machine that must be removed. Fortunately much of it is clearly marked with colors, like this bit of tape.
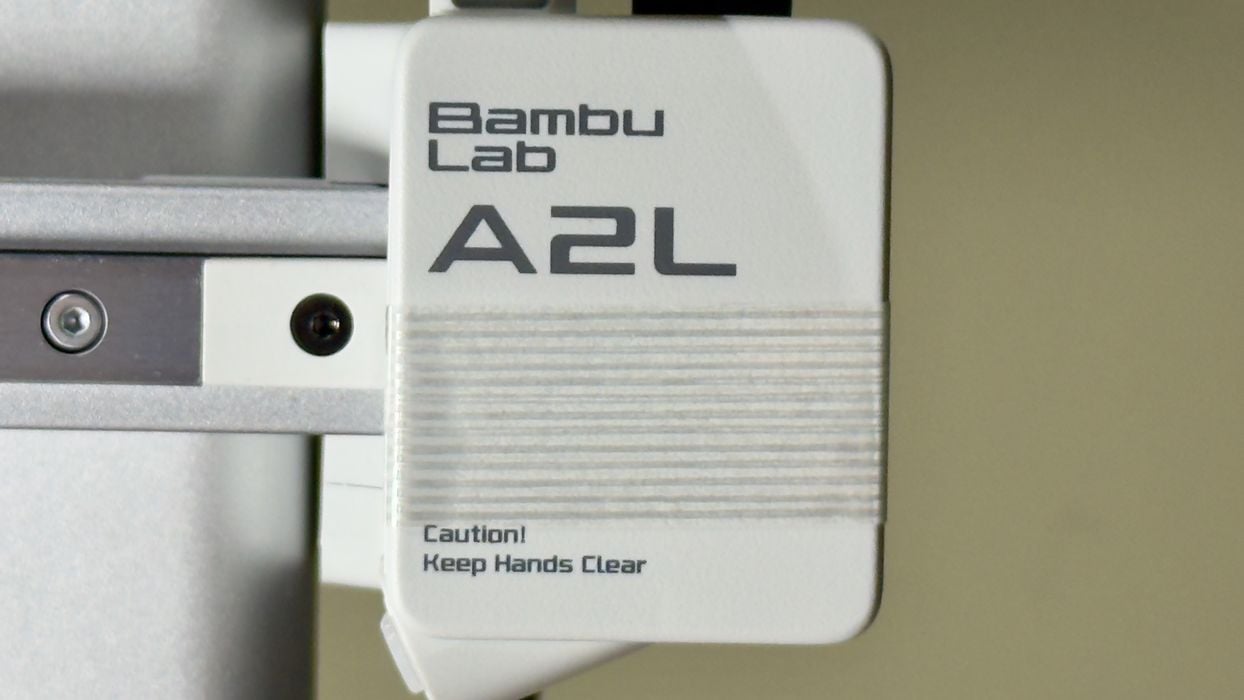
An interesting design feature? Nope, it’s protective tape on the machine that must be removed. While some tape is clearly identified, some is not. Even after the install I was still finding stray pieces of tape on the A2L in odd places. For example, the feet of the AMS Lite are taped on, who knew?
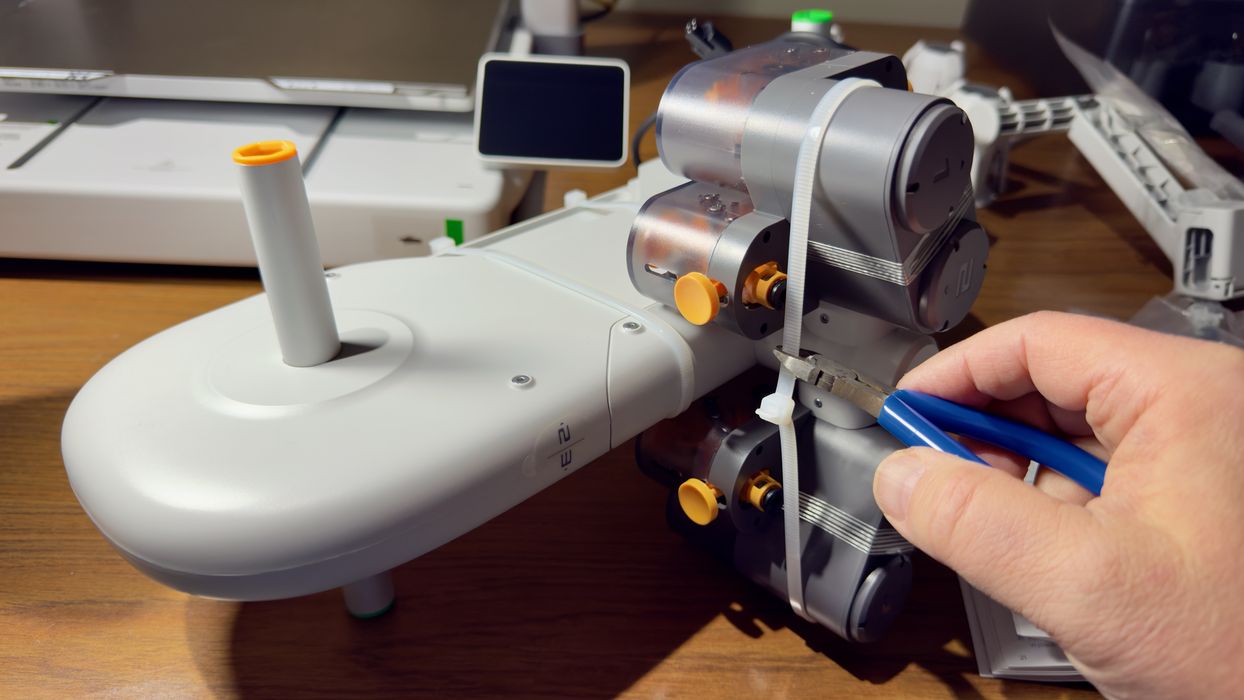
After completing the many bolts and connections on the A2L, it was then time to get the AMS Lite set up. As far as I can tell, this is pretty much the same AMS Lite design that I put together with the A1 mini several years ago. Note that the A2L is also compatible with the enclosed AMS 2 Pro unit, if you have one.
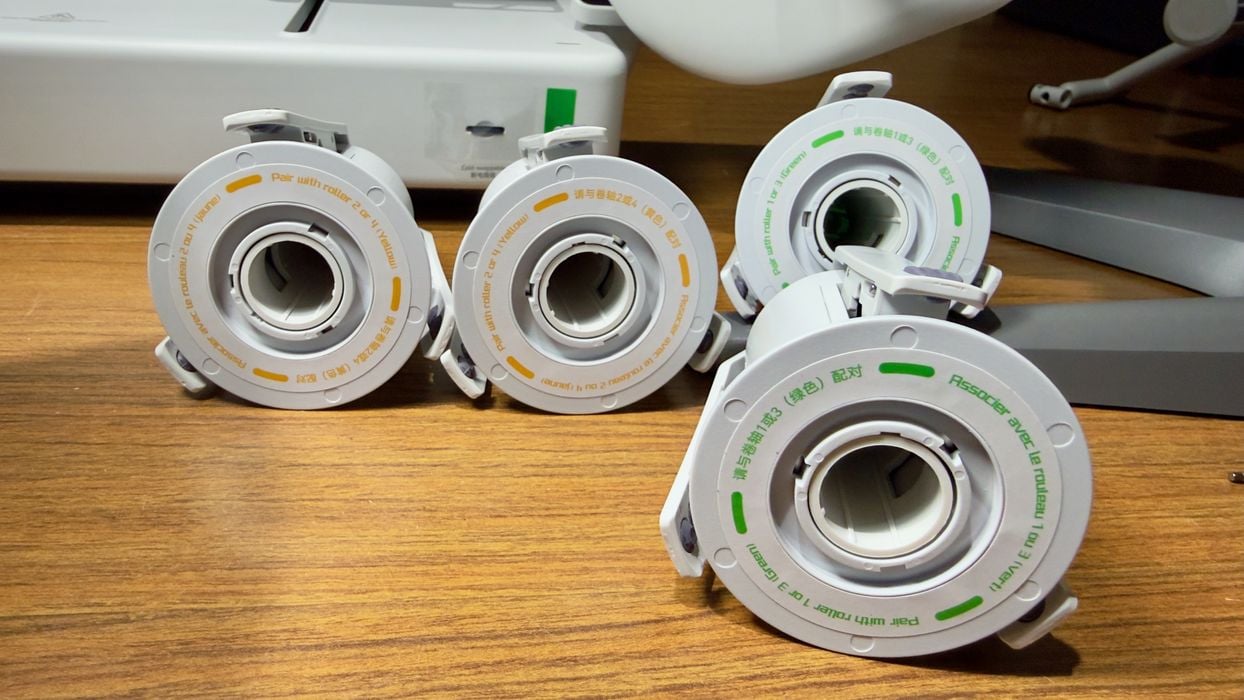
When assembling the AMS Lite you will find that there are two kinds of spool hubs, which must be placed correctly. That’s because they are designed to rotate in different directions. It’s going to be hard to mess this up because of Bambu Lab’s excellent labeling.

After the quick assembly, the AMS Lite indeed looks the same as the others in the lab.
When installing the buffer on top of the printhead — I found yet more tape. Someone at Bambu Lab makes decisions about tape, and I think they may need an intervention. On the other hand, an idea that Bambu Lab should consider is simply making ALL tape a bright color so it is easy to find.
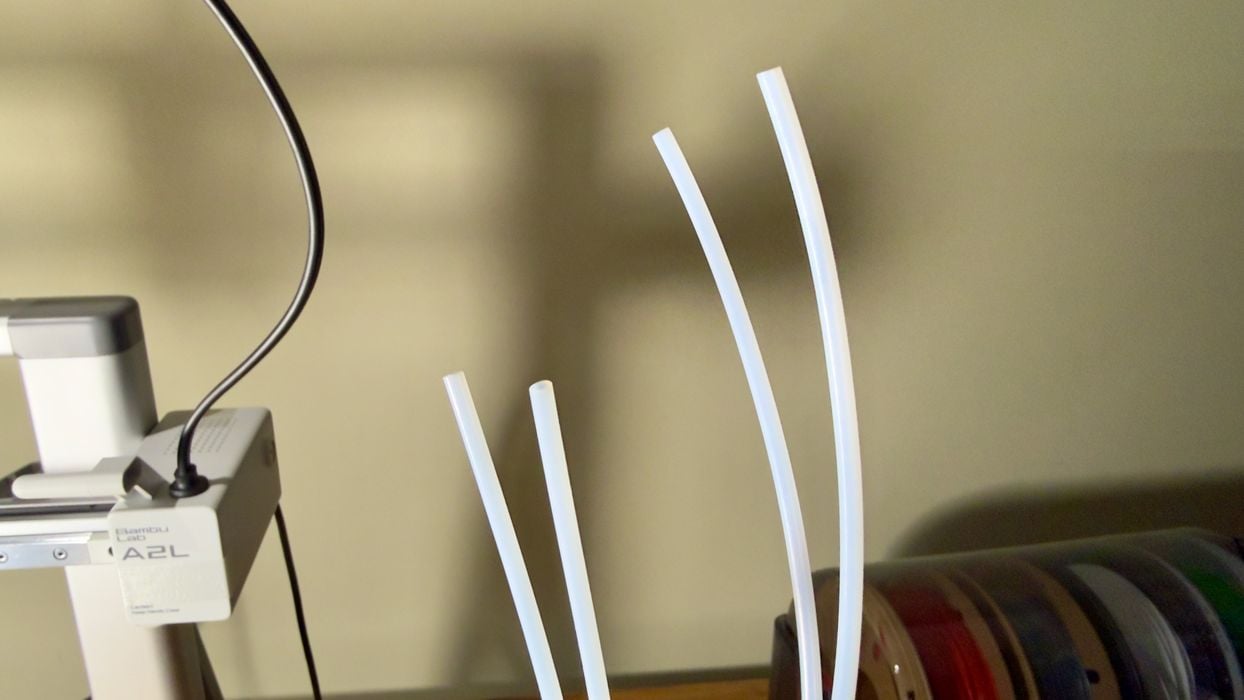
The filament travels from the AMS Lite to the A2L through some PTFE tubes, but be careful here: there are two different lengths and they must be installed in the correct spots.

For TPU and other weird filaments, you can use the external spool mount. Here we attach it, and it’s very easy to do with a hinged mechanism.
The final assembly step was to cable up the AMS Lite to the A2L, again easily done.
Ok, that wasn’t the final step. The last thing was to power up the machine, which fortunately came up properly.
Bambu Lab A2L Setup and Calibration
Sigh. This happens all the time: a firmware update is required when new machines are set up. During the shipping period inevitably new firmware versions are released and you really should use them, especially on new machines. Unfortunately, you often have to go through a lengthy calibration process twice because of this.
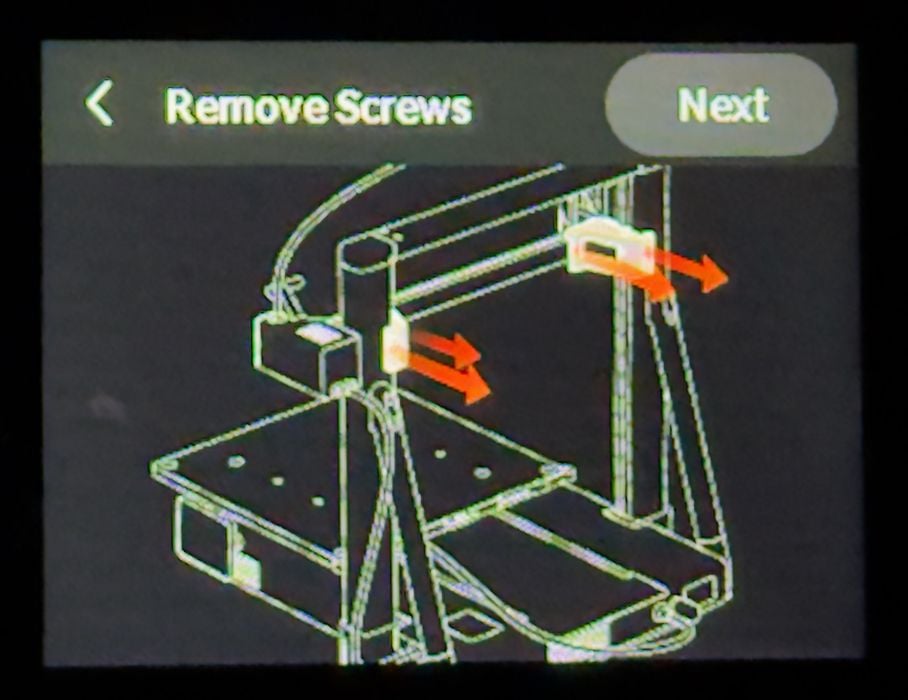
After update, the A2L wanted to ensure the shipping bolts had been properly removed. I had done this earlier, as per the instructions in the guide, but here the firmware wants to ensure that it was really done.
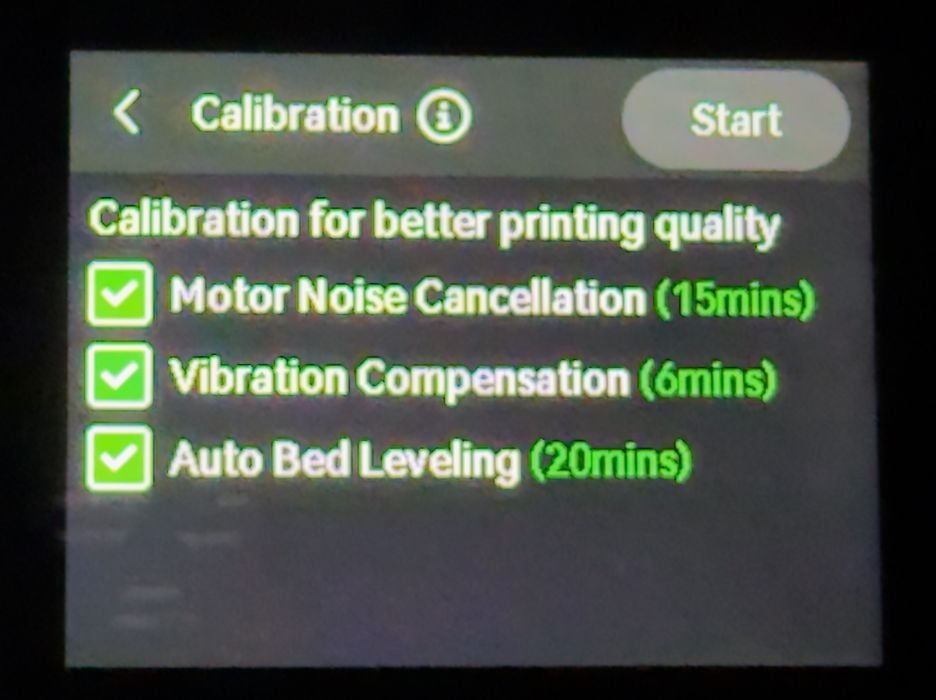
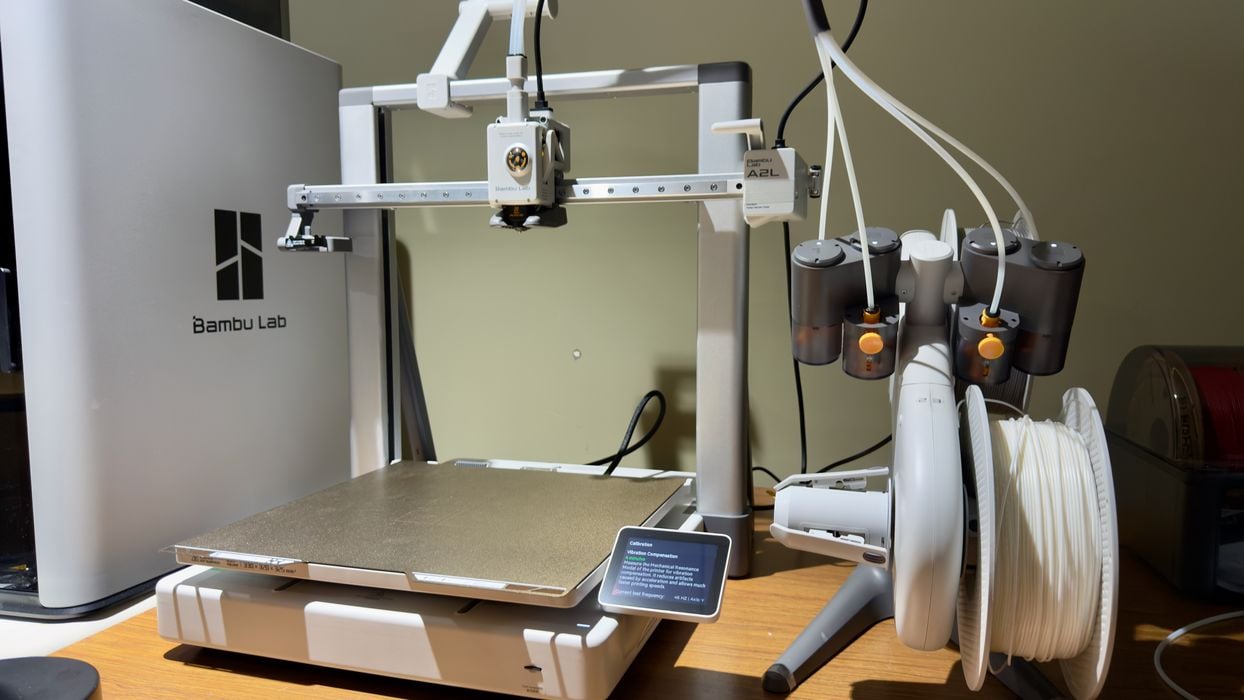
Calibration is required for proper machine operation, and the A2L is going to do that, whether you like it or not. Note that the calibration process is quite lengthy. Here we can see a total of 41 minutes. The days of “printing in 15 minutes from box opening” are no longer possible.
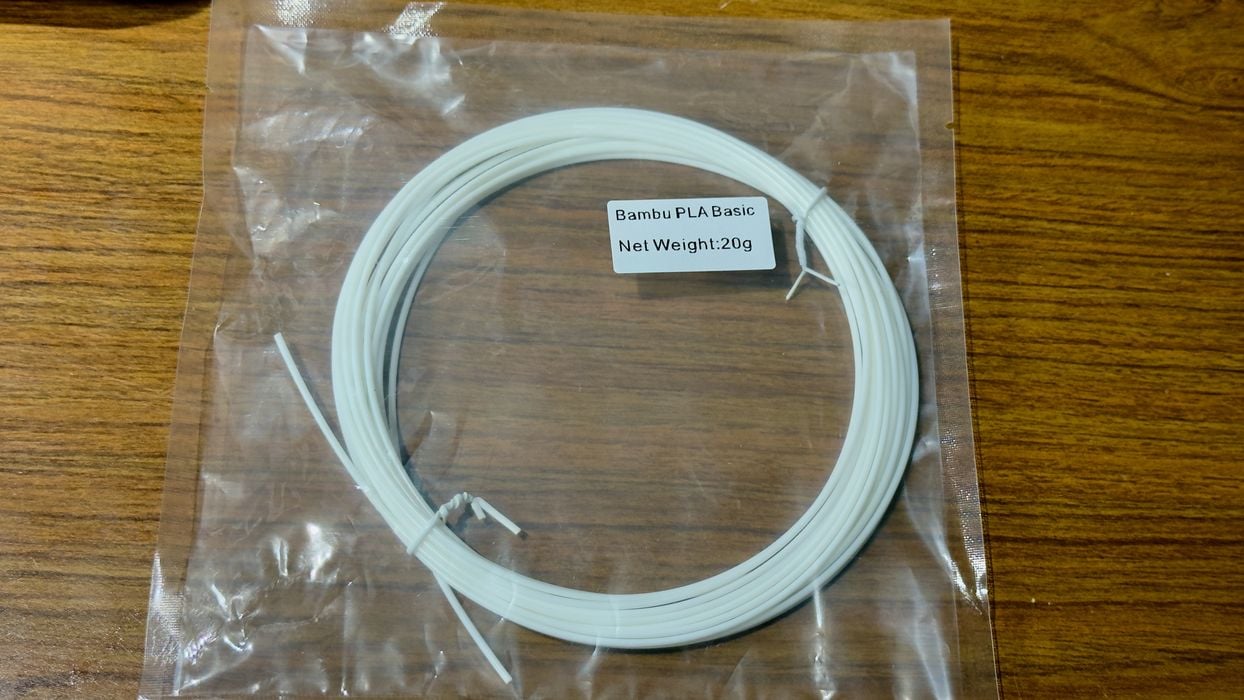
Bambu Lab still includes a tiny coil of random PLA with the A2L. I really wish they wouldn’t bother with this, as it is too small to print much and doesn’t really have a use. Into the trash, along with all the other tiny coils.
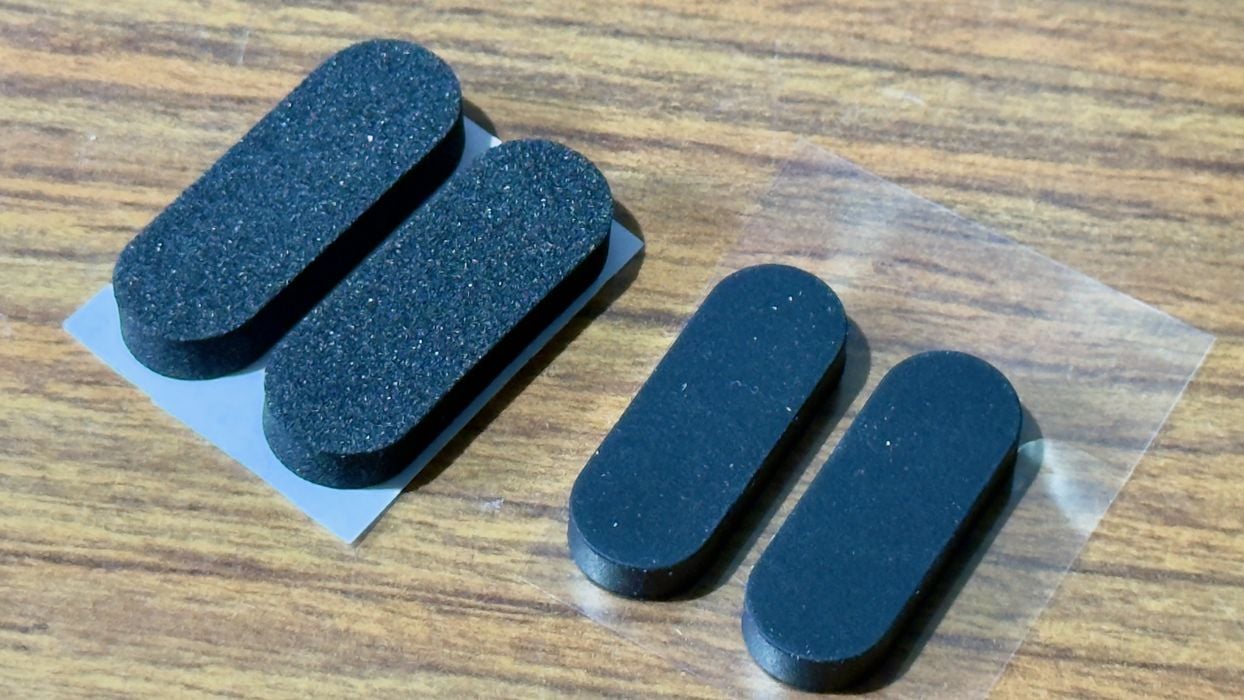
I realized there were some leftover rubber feet. They didn’t seem to be mentioned in the instructions, so I don’t know if they are for the A2L or the AMS Lite. Perhaps they are optional for jiggly surfaces?
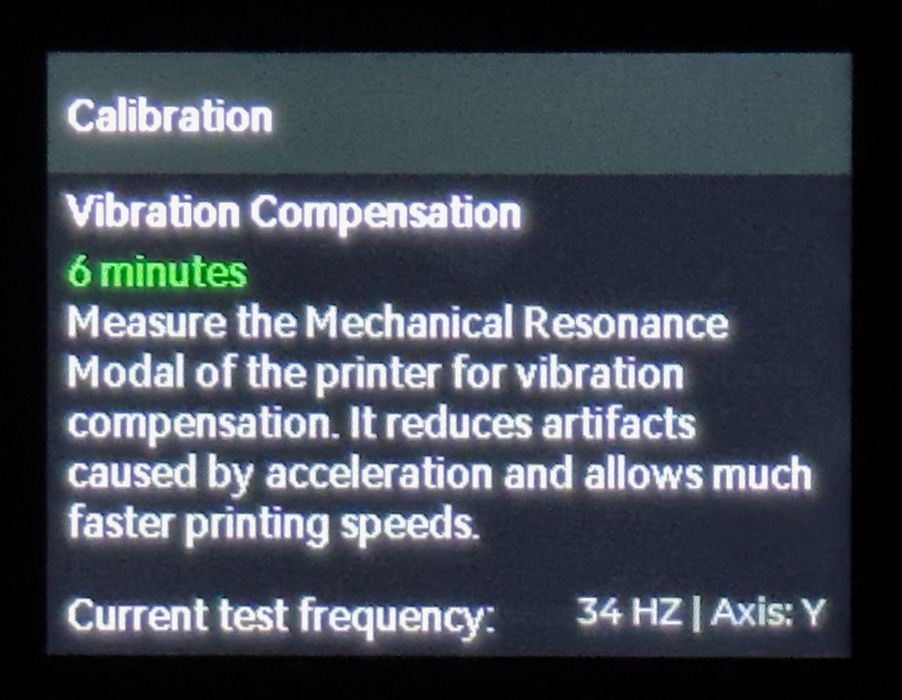
During the tedious calibration period, I noticed that the A2L would report the Hz of the current vibration test. I hadn’t noticed this previously, and it is interesting.
One very interesting feature of the A2L’s calibration is that it performs the vibration test not only at bed level, but also at several higher levels. The A2L is quite a tall machine, and so vibration effects can be different depending on the height. That’s one reason the calibration takes longer — it is doing a lot more.
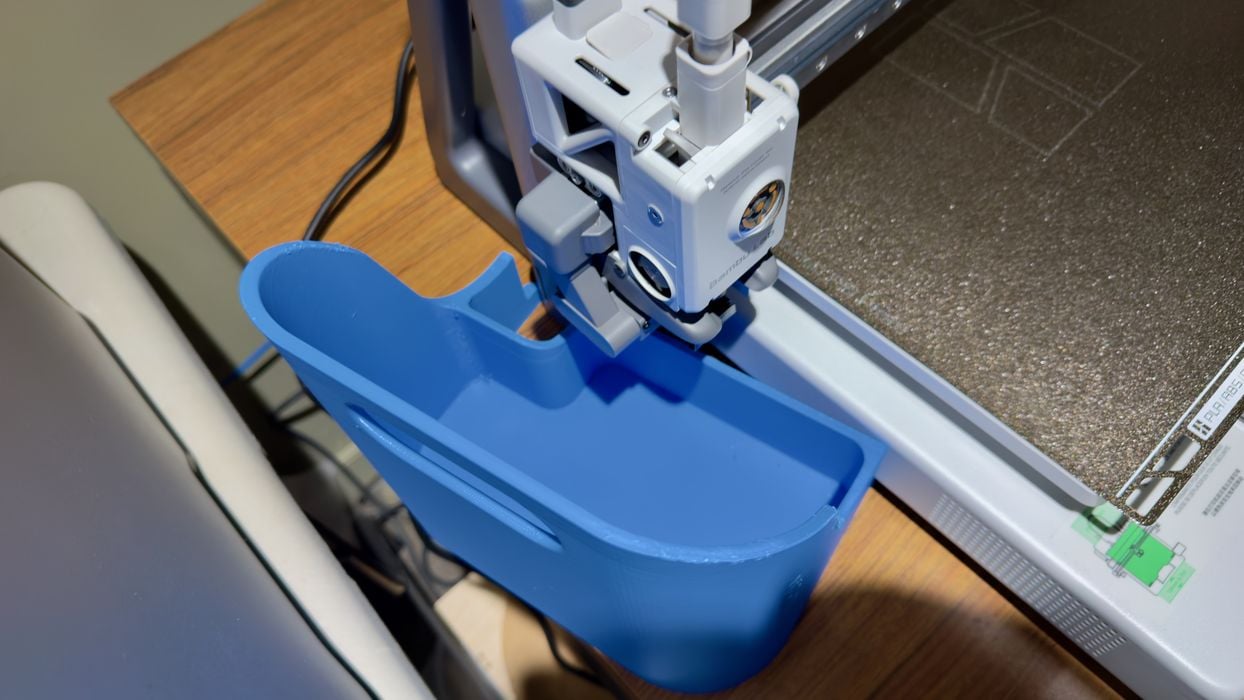
The A2L is so similar to the A1 that I thought of using my custom A1’s poop bucket. Nope, it does not fit. You will have to get a new poop bucket design for the A2L.

Buried in the pre-sliced GCODE files is the usual speed #3DBenchy job, so I ran that one. The machine completed the boat very quickly and in decent quality. At this point I declared the A2L operational.
Bambu Lab A2L Software
What software do you use to run the A2L? It turns out that it is all exactly the same as the other Bambu Lab machines:
- On mobile, Bambu Handy
- On desktop, Bambu Studio
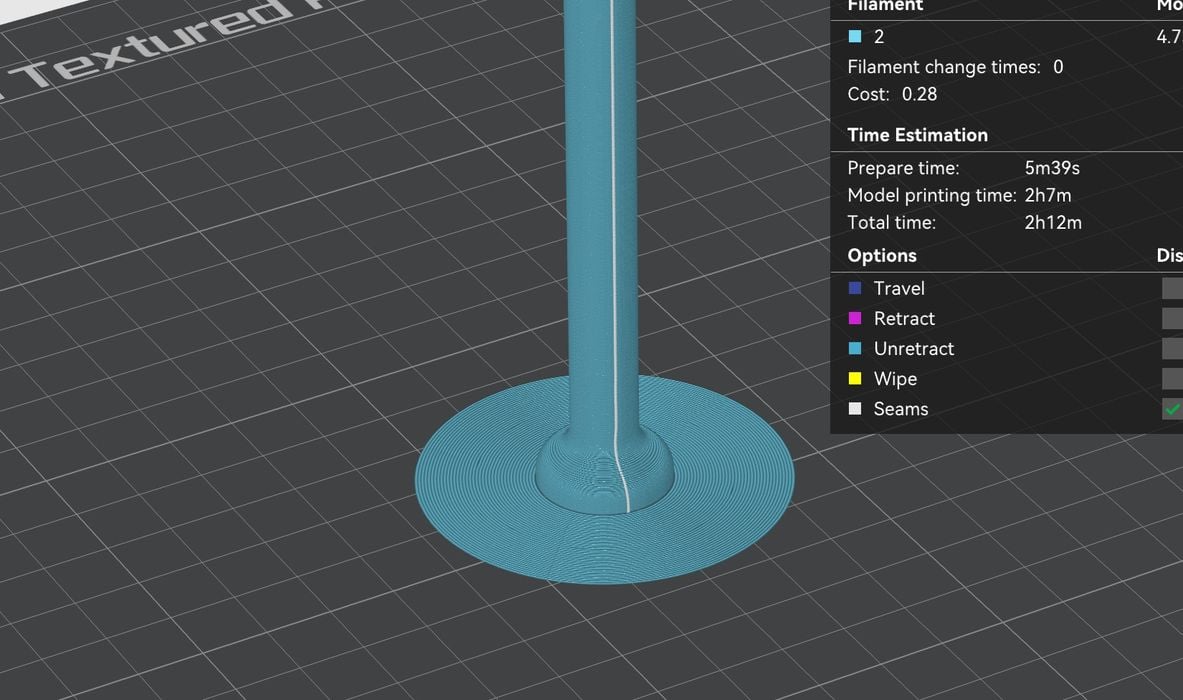
I found that these apps supported the A2L immediately, so there was no issue in getting my own prints prepared.
If you run any Bambu Lab machine you will have absolutely no trouble using the A2L. It’s all exactly the same.
For those using any variation of PrusaSlicer, OrcaSlicer or similar software, BambuStudio will look very familiar.
This is part two of a three part series, please read parts one and three.
Via Bambu Lab