
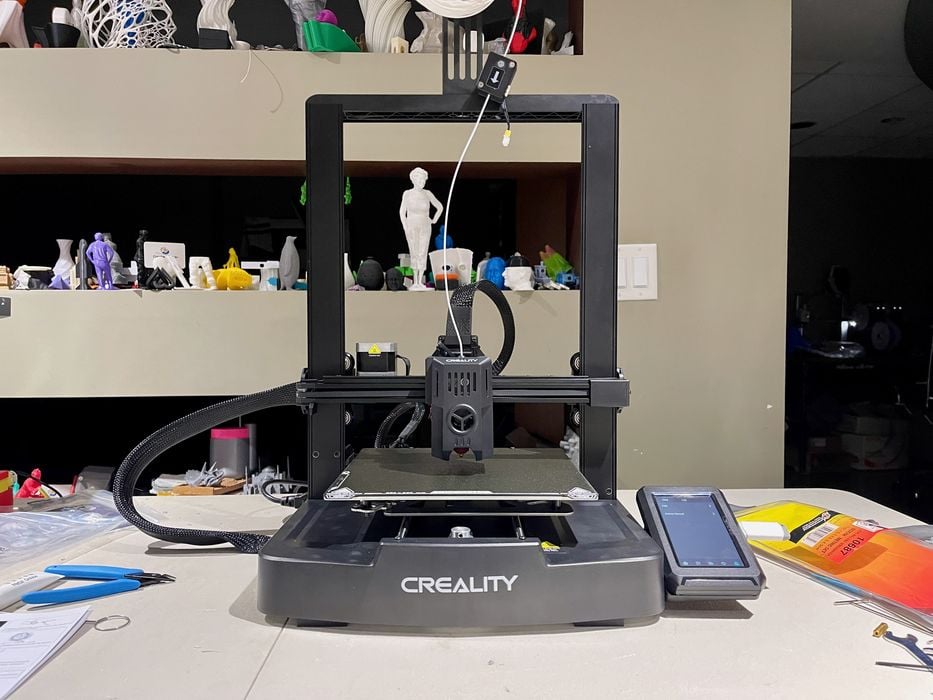
We got our hands on the brand new Creality Ender-3 KE desktop 3D printer and gave it a good test.
This is part one of a three part series, please read parts two and three.
Creality Ender-3 KE 3D Printer Background
Creality has to be the most prolific manufacturer of desktop 3D printers on the planet. Over the past ten years they’ve produced countless models, announcing new versions every few months. They have so many devices it’s actually challenging to keep up with their product line.
Their latest release is the Ender-3 KE desktop 3D printer. As you might expect, it’s a gradual evolution over prior Ender-3 models. The Ender-3 is one of the most popular devices, but the KE is far more advanced than the earliest models, showing the progress Creality has made.
Creality Ender-3 KE 3D Printer Specifications and Features
The KE is an open-gantry bedslinger-style desktop 3D printer using 1.75mm for a single toolhead, similar to other Ender-3 models.
There are several very intriguing features on the KE, but the three most prominent are: high speed 3D printing, connectivity and fully automated calibration.
The high speed 3D printing is something we’ve seen before on Ender-3’s, but it’s so important it deserves a strong mention. Once you experience high speed 3D printing, you will never look at a “normal” 3D printer again.
The high speed printing is enabled by a series of hardware and software features. Above, for example, is the rear view of the toolhead. This shows the more advanced air ducting that can very rapidly cool prints during high speed operations.

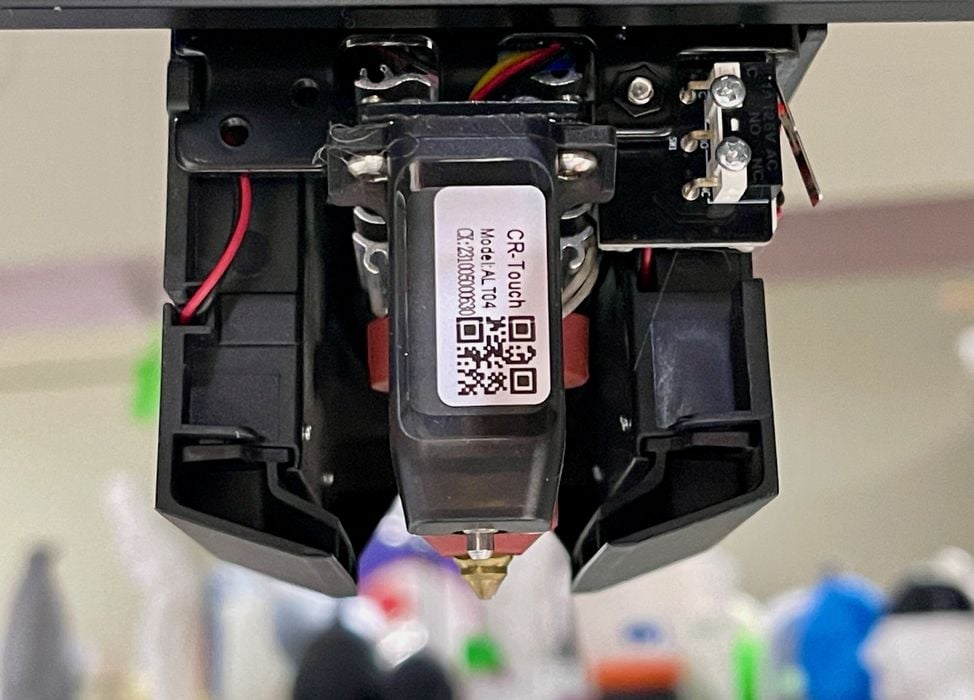
The hot end now includes a 60W ceramic heater that rapidly warms up the nozzle. I’m not sure, but it could be that this nozzle is a bit longer, which is a feature that boosts high speed 3D printing: there is more area for rapidly passing material to absorb heat.
The all-metal hot end is able to reach 300C, enabling the use of additional materials. Creality lists PLA, PETG, ABS, TPU and ASA as certified materials.
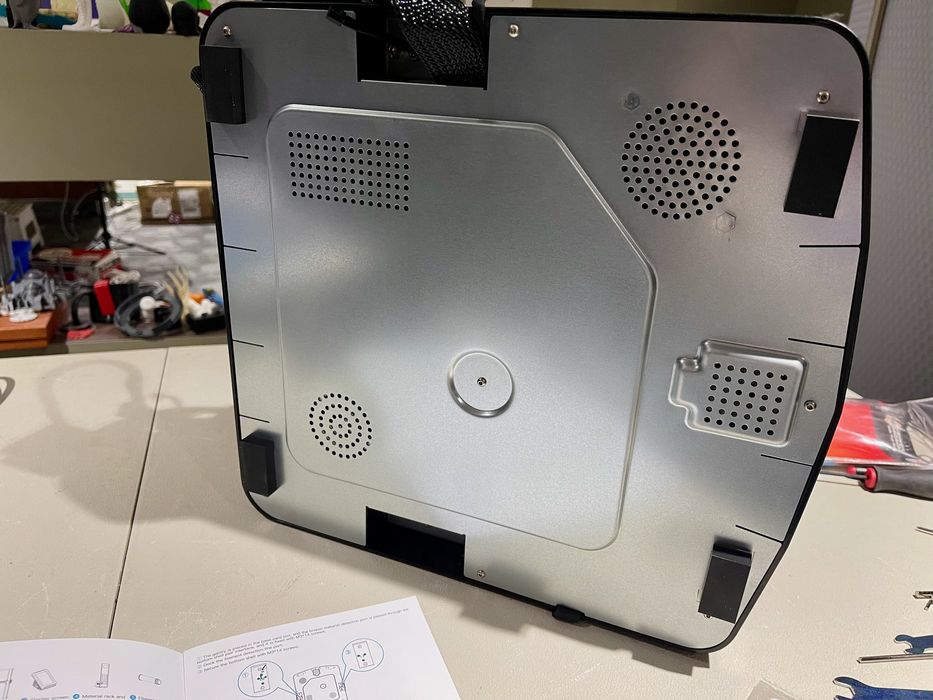
Creality has been gradually improving the industrial design of the Ender-3 line, and the KE has to be the best yet. As an example, this view of the bottom of the machine shows how it has been designed as a whole system, rather than just an assembly of standard parts.
The calibration is now fully automated, and there’s basically nothing much for the operator to do — unless one wishes to tinker to squeeze more performance from the KE.
Finally, the build volume on the KE is about the same as most other Ender-3s: 220 x 220 x 240 mm.
Creality Ender-3 KE 3D Printer Unboxing and Assembly
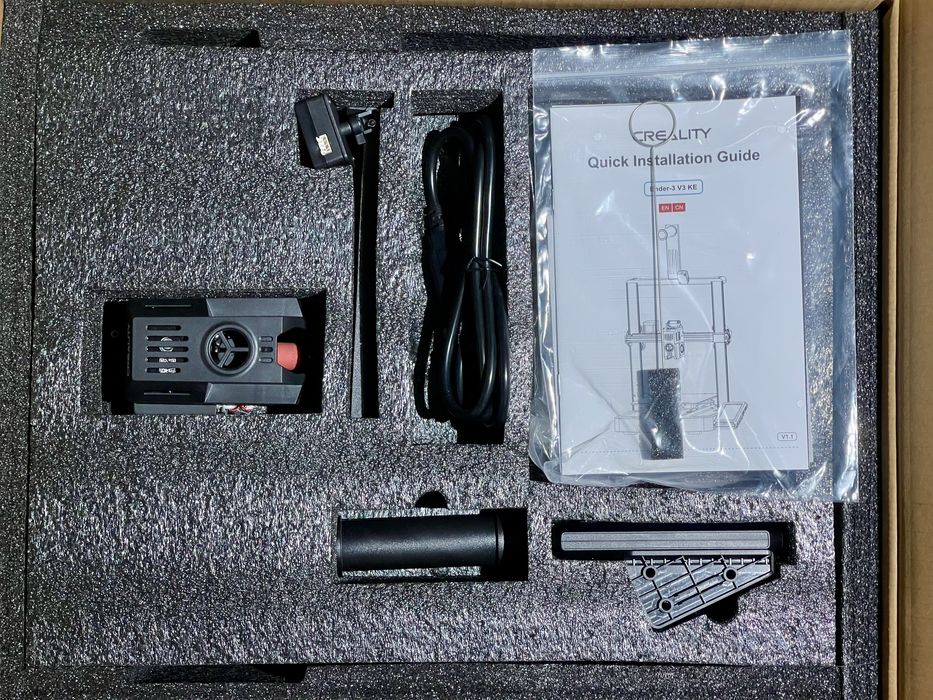
As usual, Creality has done a wonderful job packing this 3D printer for shipment. All pieces are very snugly placed in form-fitting foam that ensures undamaged shipments.
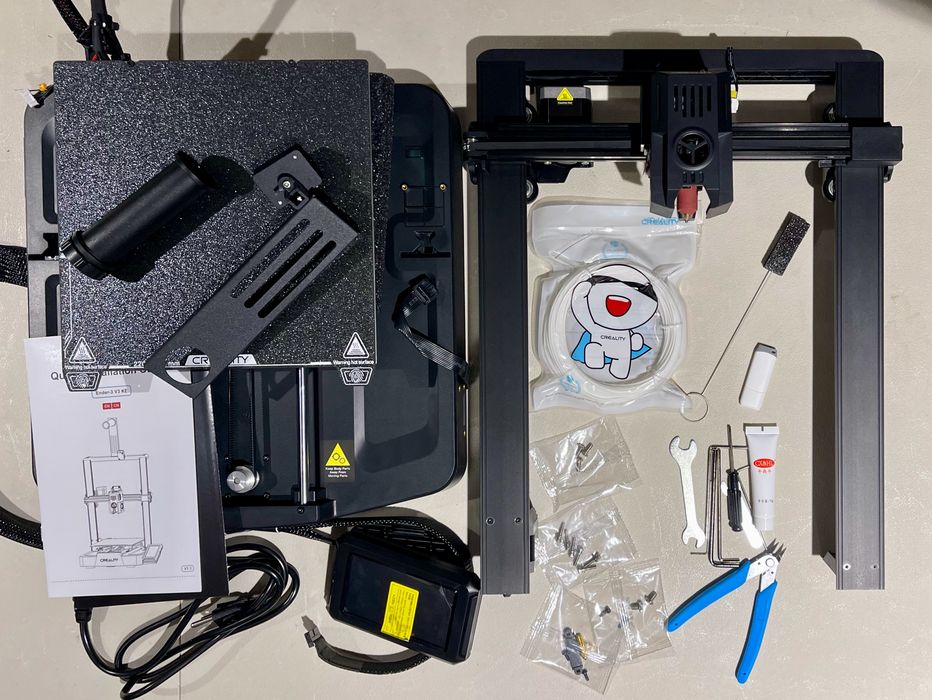
Here we see the parts after unboxing, which must be assembled. This follows the standard approach: the machine is basically fully assembled, except that the gantry is detached to reduce shipping box volume. The main tasks are to attach the gantry and plug in everything.
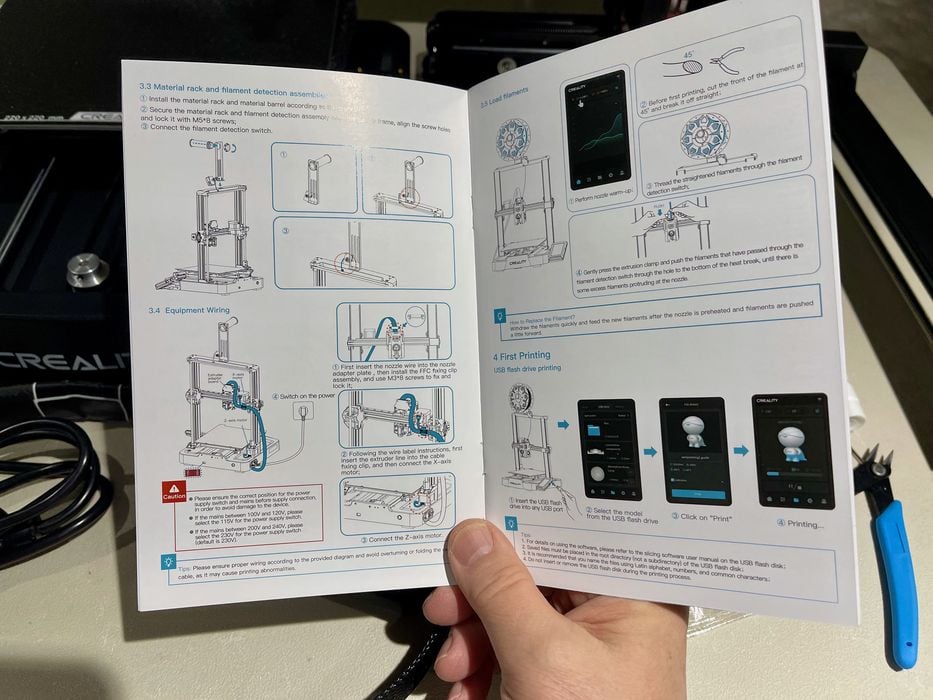
Creality has included a nice booklet of instructions with the KE, which are easily found right at the top of the box. I should point out that Creality has, like their hardware, gradually improved the quality of their instructions over each product release.
Here the instructions are actually large enough to easily read, and fairly straightforward to follow.
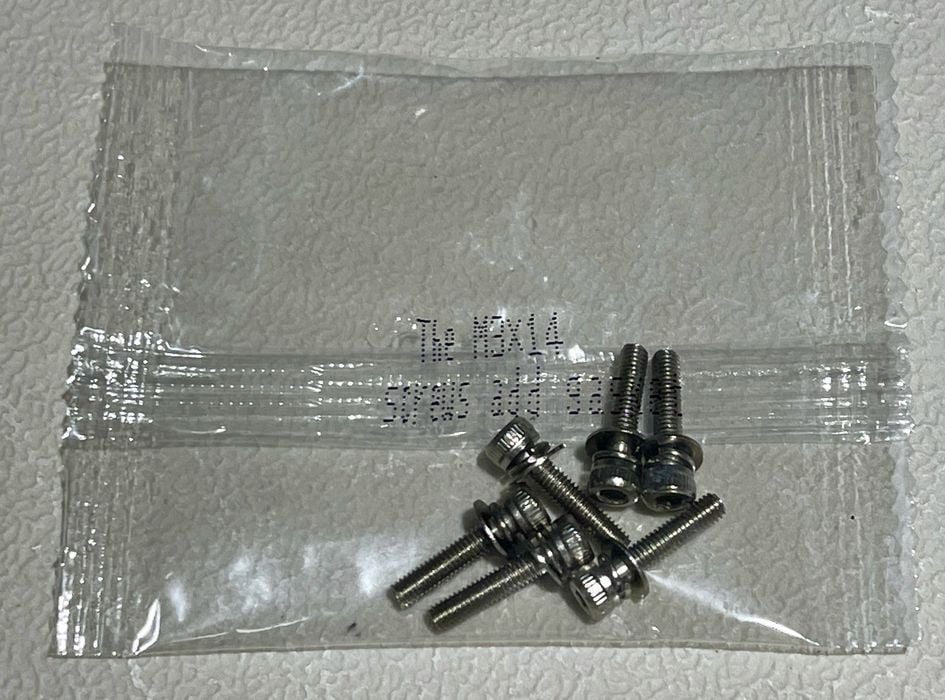
Creality has separated the bolt types in bags, and they are labeled if you look closely. Sometimes I found the labels a bit hard to read.
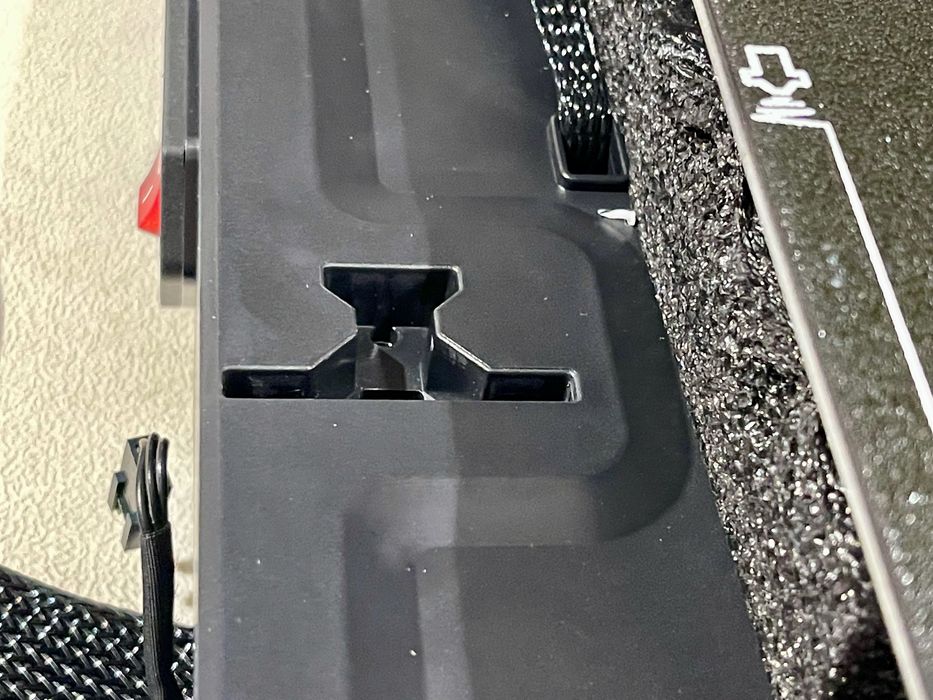
Normally attaching the gantry is to slide the hardware over some holes and push through bolts. But on the KE it’s a bit different. Above you can see some “T-holes” cut into the base. The idea is to slide the t-shaped gantry arms into these holes.
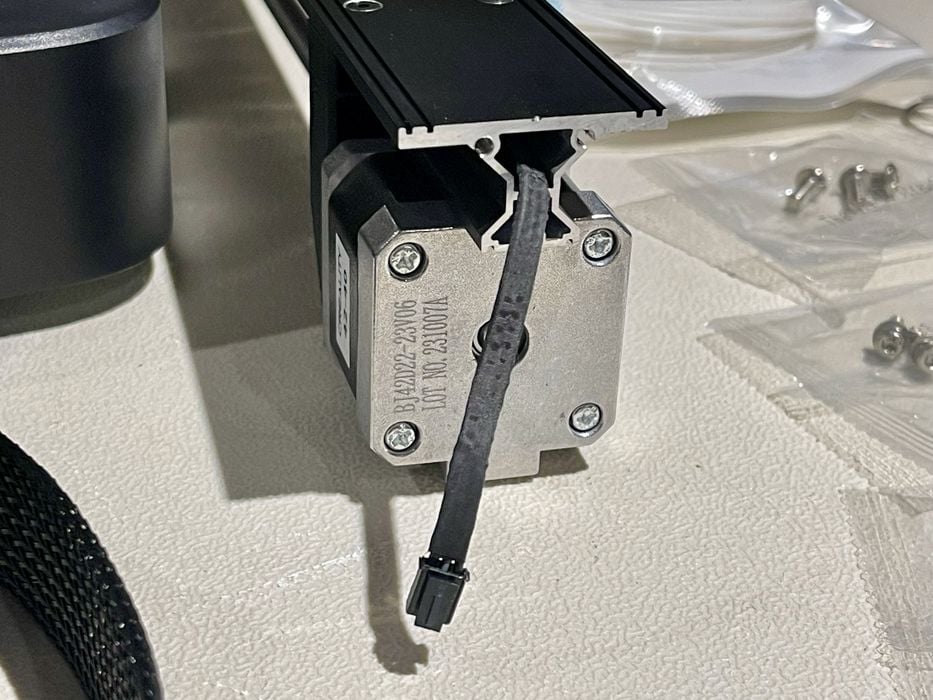
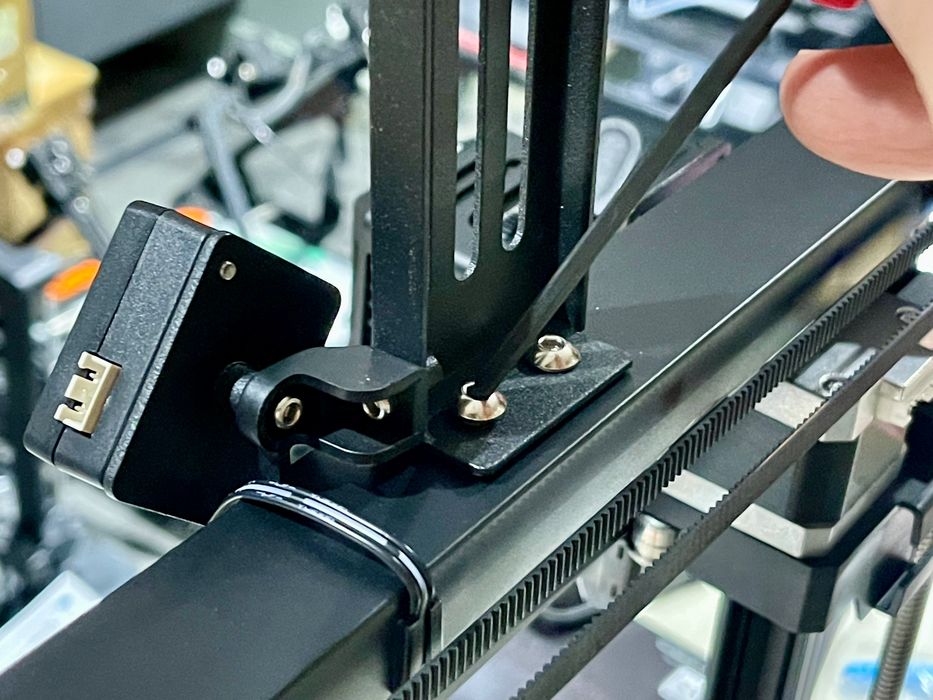
Why do it this way? I think it’s because of this very unusual cable arrangement, where the cable from the gantry goes through the T-hole! I have not seen this before on other machines. It could be that Creality has begun a design process to gradually remove visible cables in their products.
However, it is a bit tricky to feed this cable through the hole, and you may require an assistant to hold things.
If you feed it correctly, it will show up at the bottom like this.
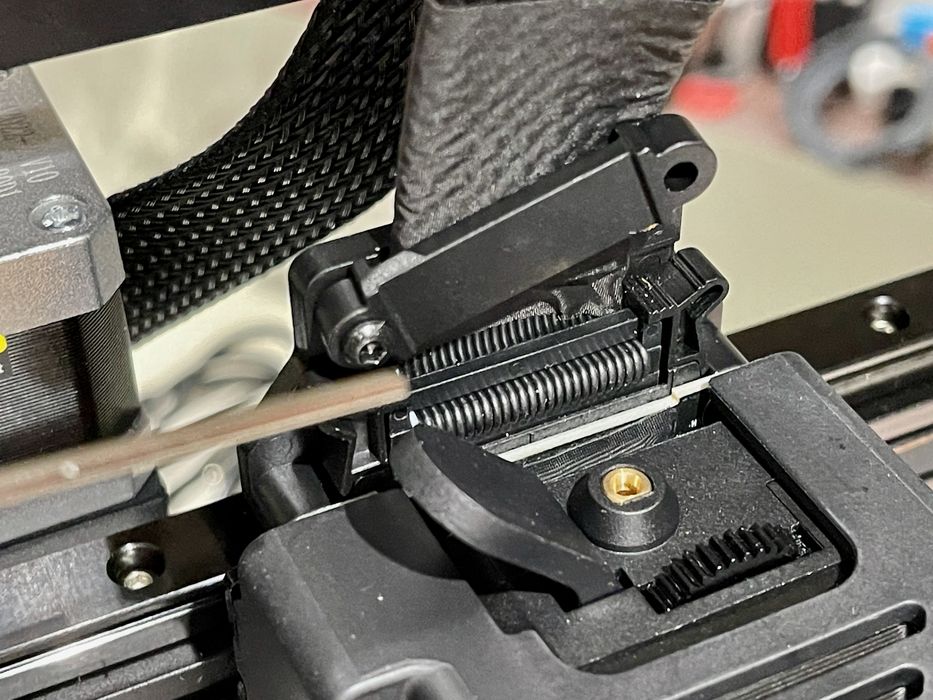
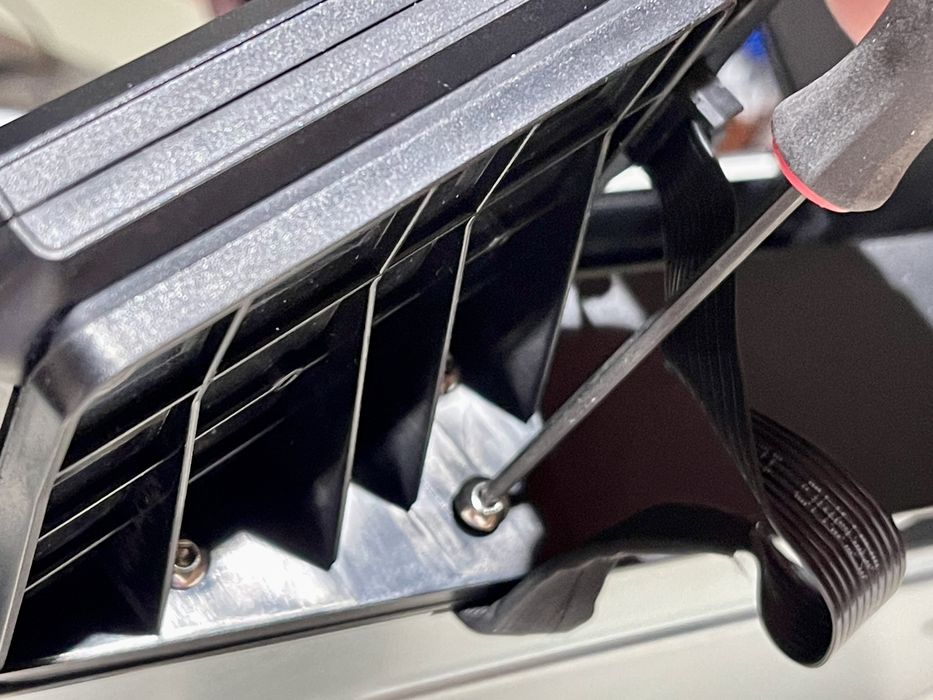
A ribbon cable must be attached to the toolhead for power and signal. It’s a bit loose on its own, so Creality has a clamp you must attach to keep it secure. I found this a bit challenging to install. The best way to do this is to hold one end of the clamp and bolt in the other. Then rotate the clamp over to the other side and bolt it down.
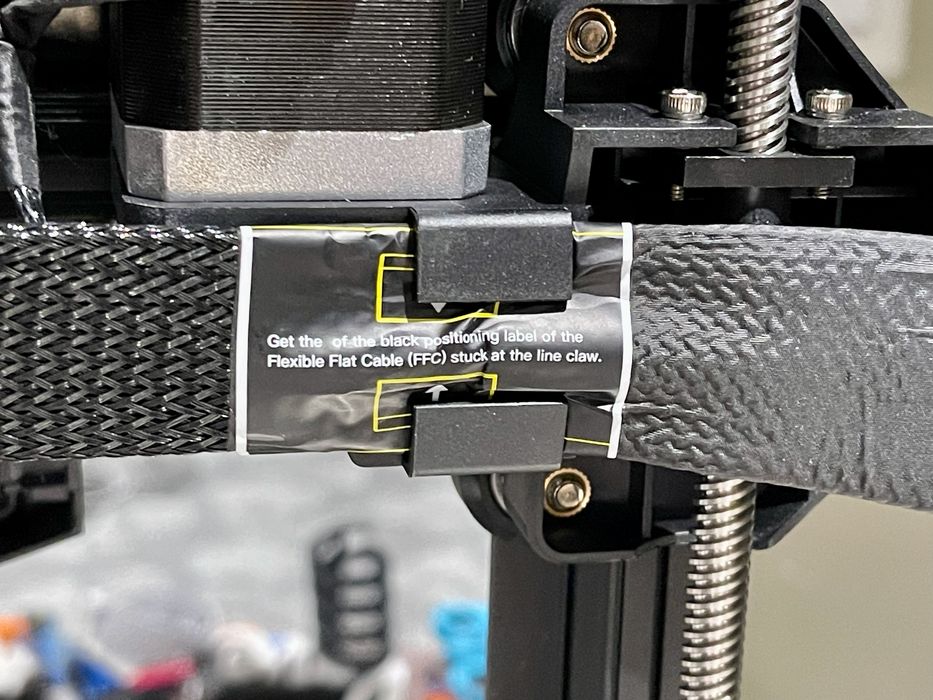
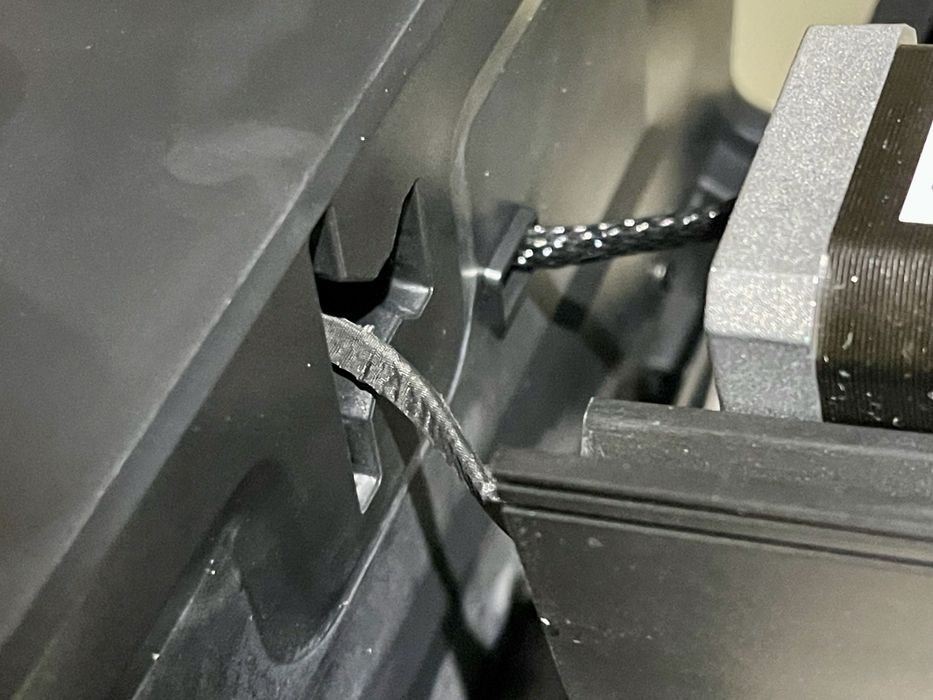
Here we have a clip that secures the ribbon cable as it travels from the toolhead. Creality is still using the strange term “line claw” to refer to this clip, which might confuse some. It is a bit challenging to squeeze the cable into the clip, but once done it’s quite secure.
The spool mount attaches to the top of the gantry in the usual position. There’s also a filament out sensor that is nearby, and it is supposed to be loose to allow for different angles of filament from the spool.
The KE’s control panel must be attached, and it’s straightforward to do so.
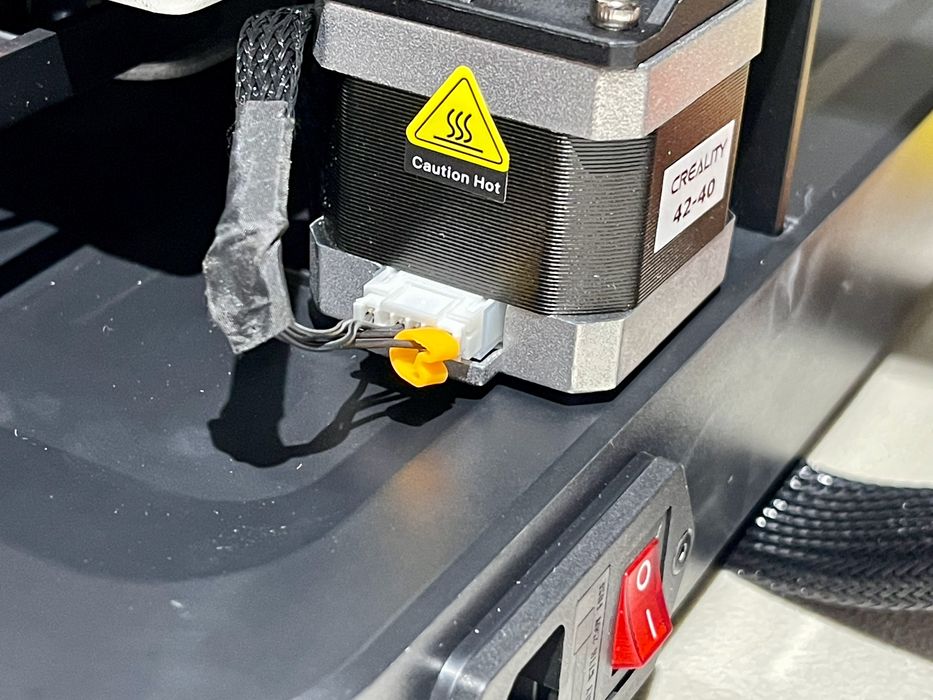
The only other cable to deal with is to attach the Z-motor cables, which are easy to do.
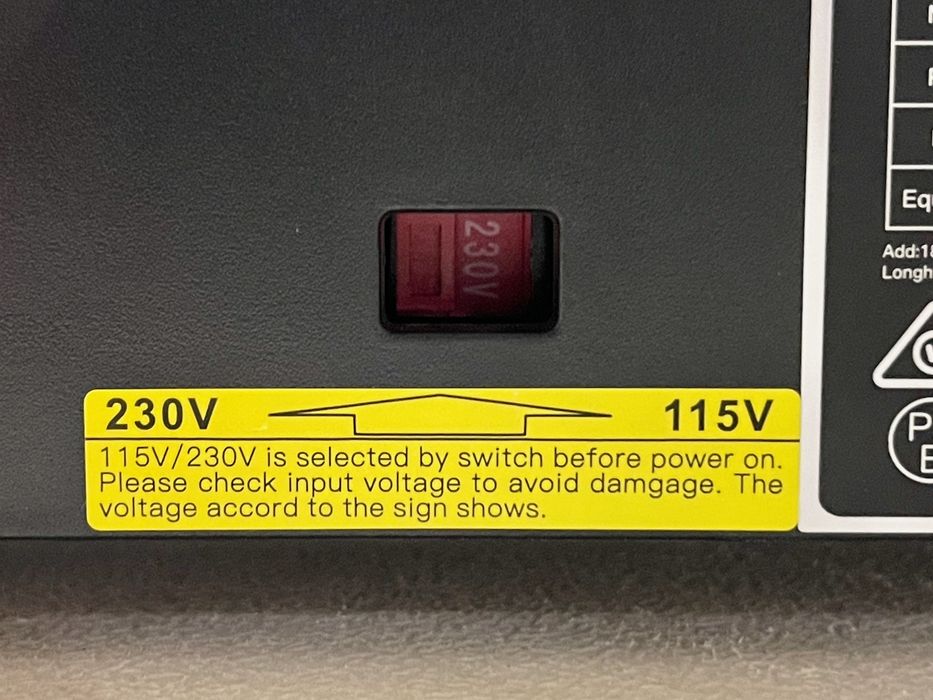
Finally, you absolutely must check the voltage setting on the back of the machine. I found my unit to be set to 230V, which is incorrect for my area. Do not assume it’s correct before you power up.

At this point, I powered up the machine successfully.
This is part one of a three part series, please read parts two and three.
Via Creality