
We had the opportunity to test Creality’s latest extremely low cost 3D printer, the Ender-3 V3 SE.
This is part one of a three part series, please read parts two and three.
Creality Ender-3 V3 SE Background
Creality’s slogan is to provide access to 3D printing for all, and they’re succeeding by offering usable equipment at ever-decreasing price points.
Their Ender-3 series has been extremely popular among hobbyists, and it has seen a long cascade of versions over the past few years.
The latest version is the Ender-3 V3 SE, which is perhaps most notable for its price: only US$199. This is one of the lowest cost 3D printers we’ve ever tested, so I was very interested to see how it would fare.
Typically low cost devices skimp on component quality and design, achieving the cost target but losing out on other features. Would the Ender-3 V3 SE follow this pattern? Let’s find out.
Creality Ender-3 V3 SE Specifications and Features
The Ender-3 V3 SE is similar in basic specifications to most of the Ender-3 line. Its single extruder, 0.4mm nozzle FFF device. It has a standard build volume of 220 x 220 x 250 mm.

Those are features you’d see on any low cost 3D printer. However, the V3 SE has some interesting additional features. The most notable is said to be fully automatic calibration. That’s quite important, because poor calibration is one of the prime causes of print failure.
Something else I noticed that isn’t being hyped by Creality is the overall design of the V3 SE.
For example, take a look at the top of the base unit:
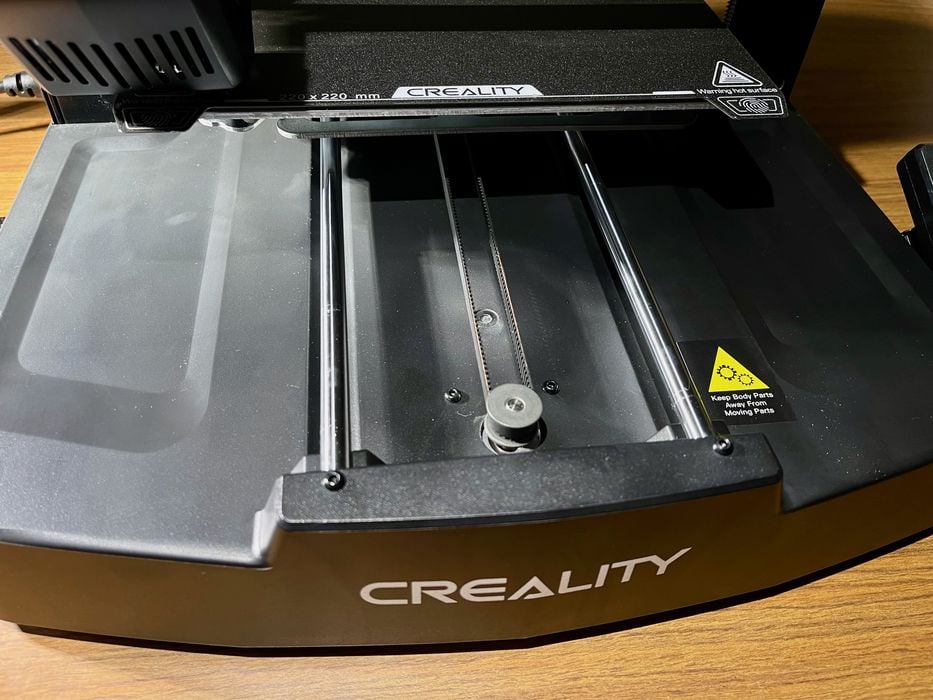
This is quite smooth, and very different from most of the desktop units we test. Typically there are parts bolted together with lots of niches where stray bits of filament get lodged. Here someone has designed the V3 SE to easily handle cleaning up of stray bits. This is the first machine we’ve seen that does this, and it should be standard on all devices.
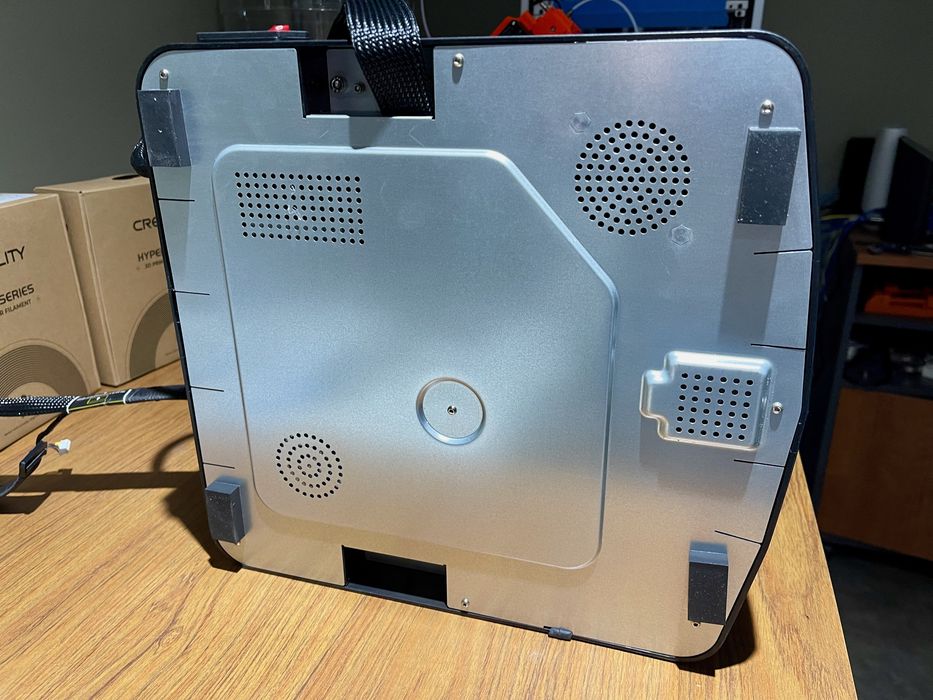
The bottom of the machine is also different. You can see above that there is a single plate covering the entire bottom of the base. This is very different from most machines, which have all kinds of panels and parts visible. The V3 SE almost looks like a consumer product because of this.
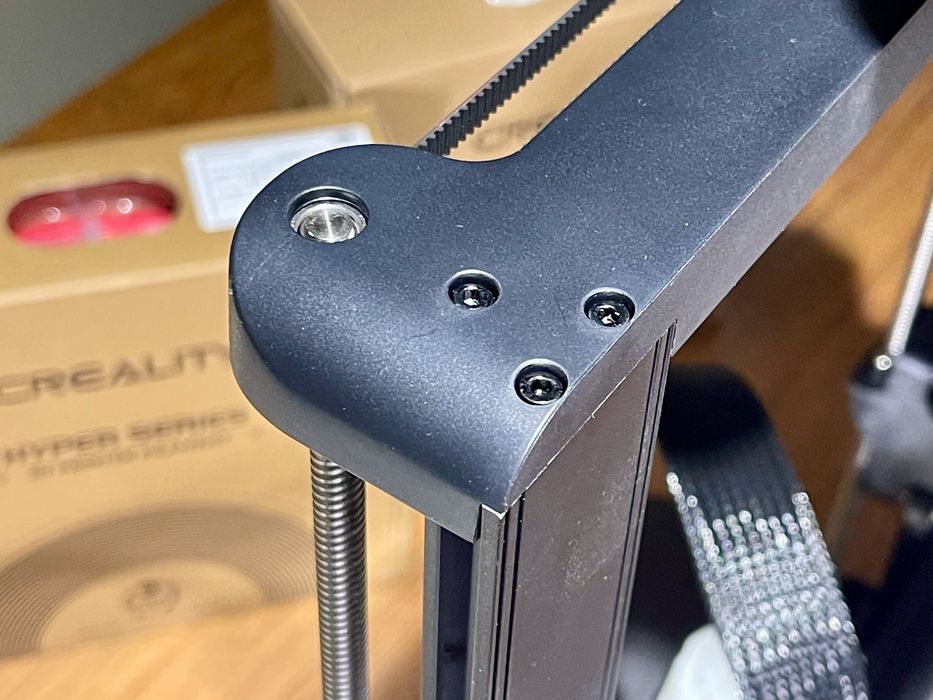
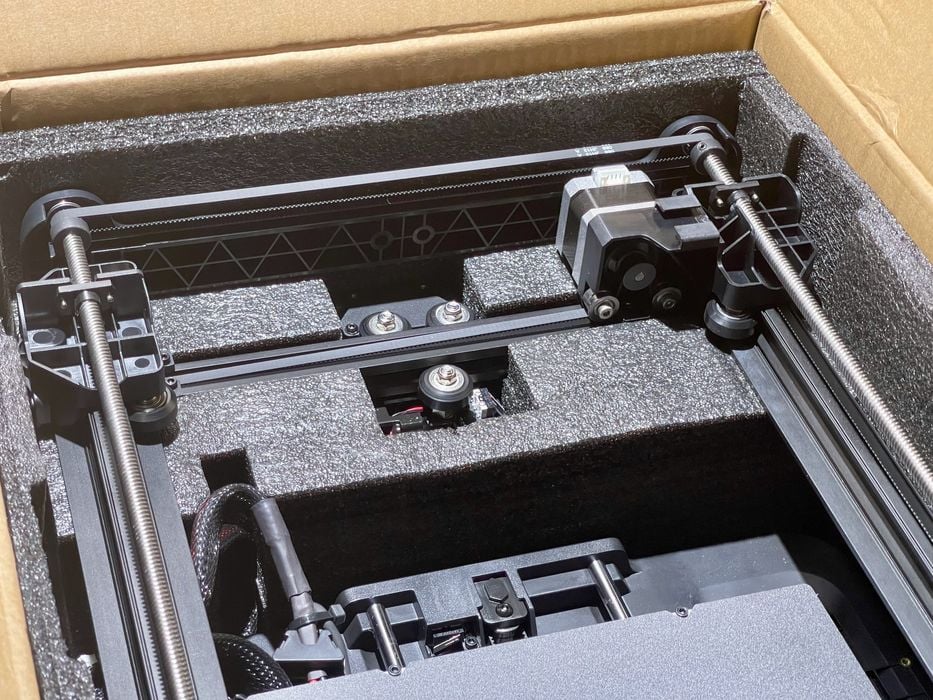
The design ethos extends to the rest of the machine, too. Above you can see the tops of the gantry. Creality has designed these components to be smooth to match the design of the remainder of the machine, whereas other machines we test just have a functional part that looks like it should be “inside the machine”.
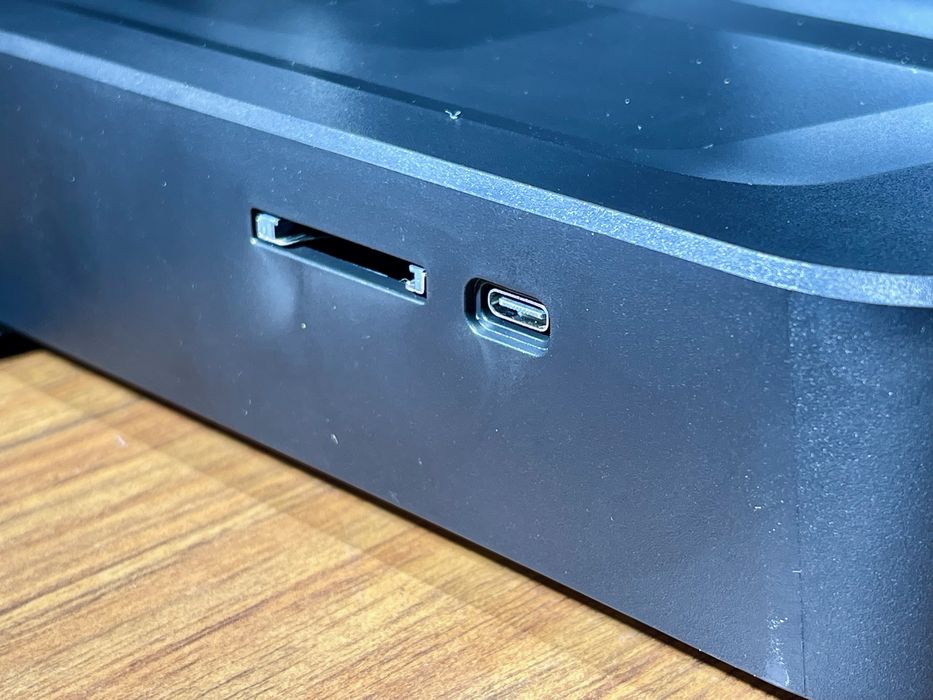
For input ports the V3 SE includes an SD card slot, as well as a USB-C port for remote control and set top box connections. We didn’t test the USB-C port, but made quite a bit of use of the SD card.
Creality Ender-3 V3 SE Unboxing and Assembly
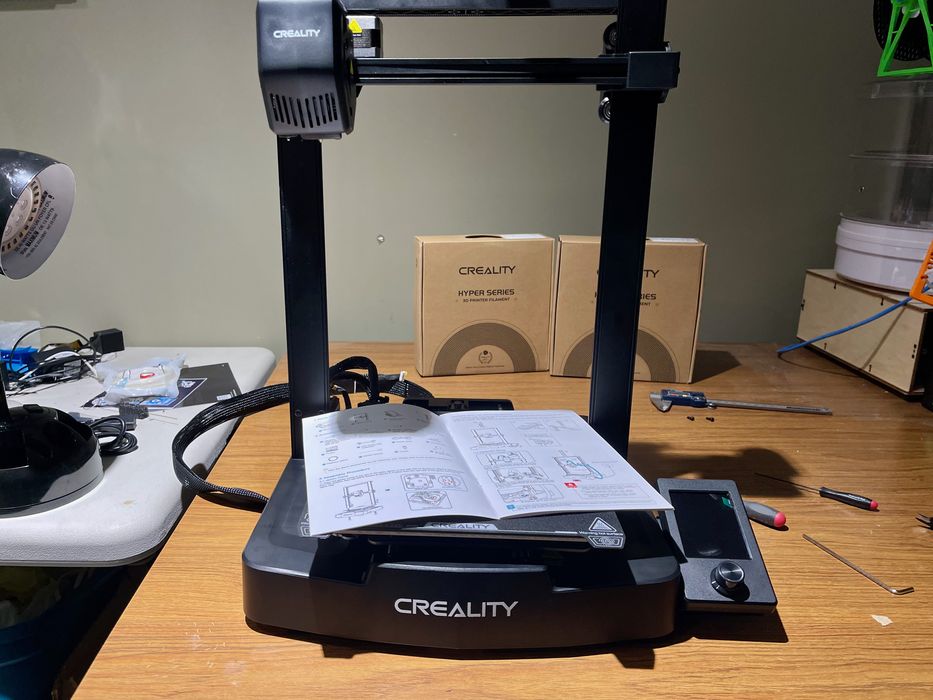
As always, the V3 SE was packed extremely well. Creality has shipped (probably) millions of machines, and they have packaging figured out.
The shipping box was actually slightly smaller as well. (How do I know? I have a stack of recently shipped printer boxes so I can compare.) While this sizing change won’t make much difference to you, it means that Creality can stuff a few more units into shipping containers, thus helping lower the cost.
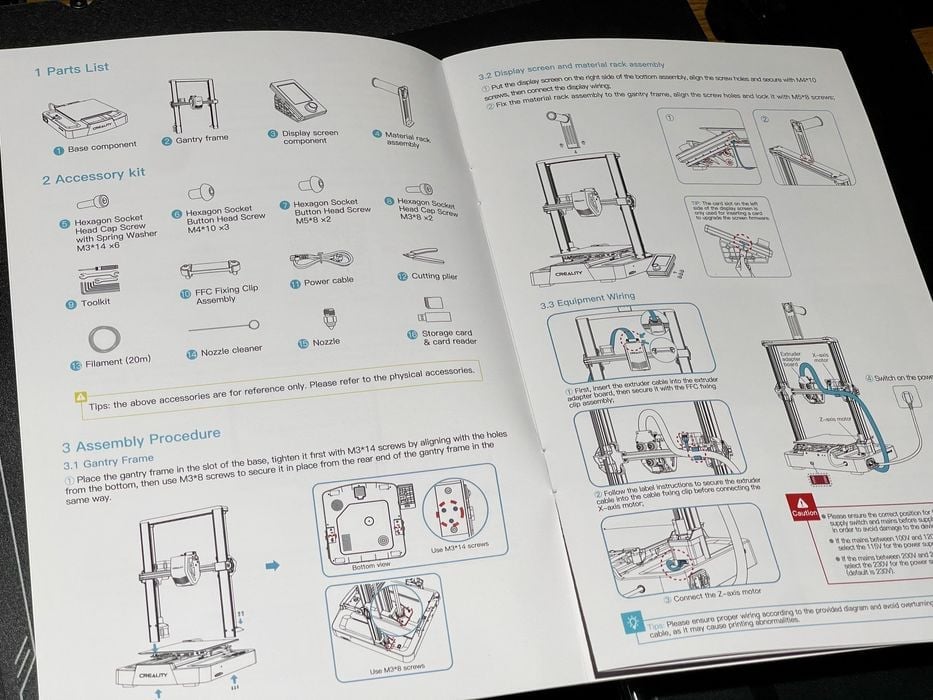
The instruction booklet was quite good, and it includes images that are actually large enough to read. I didn’t have any difficulty following the instructions. I think this is quite an important aspect because many V3 SE operators could be new to 3D printing, and they’ll need help to get things going.
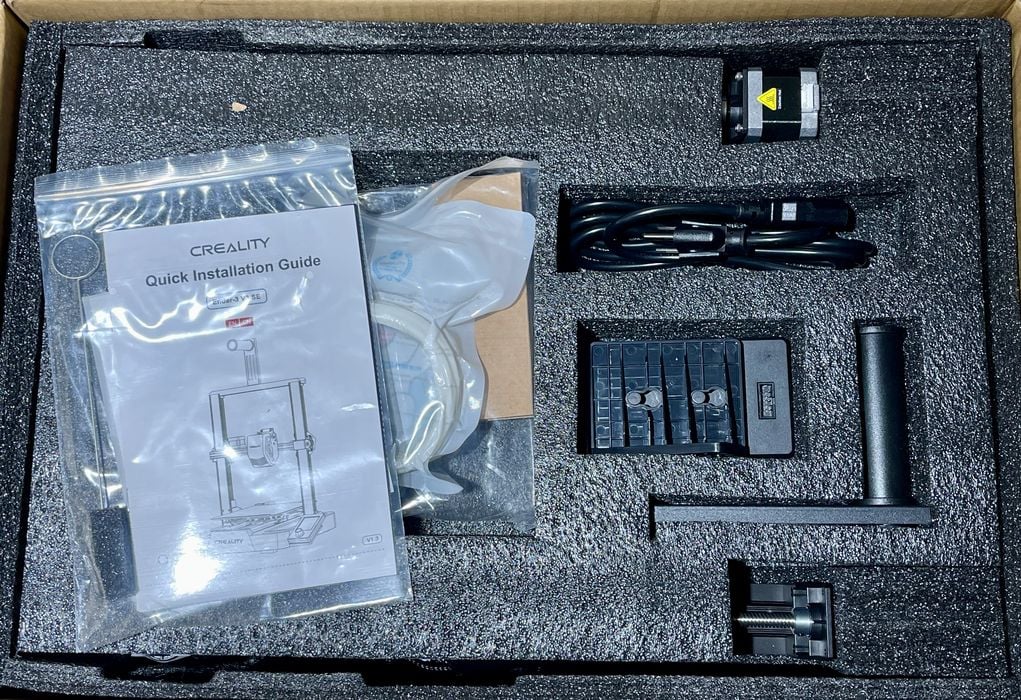
One very impressive feat was the complete lack of tie wraps and other mechanisms to hold the components stable during shipping. Instead Creality uses an ingenious design of copious packing foam to hold everything together. This means that you just lift the parts out of the box and they are ready for use. No tie wraps to find or cut.
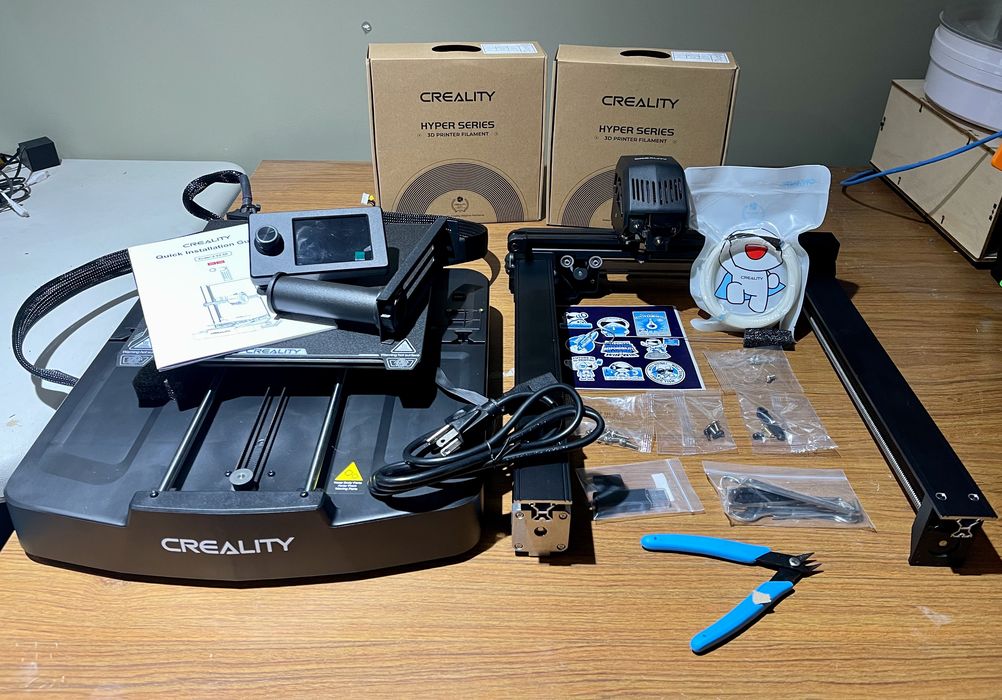
When laid out there aren’t that many parts. The machine is basically assembled, but broken into two main parts for shipping purposes.

The main assembly step is mounting the gantry onto the base, which is done with several bolts.
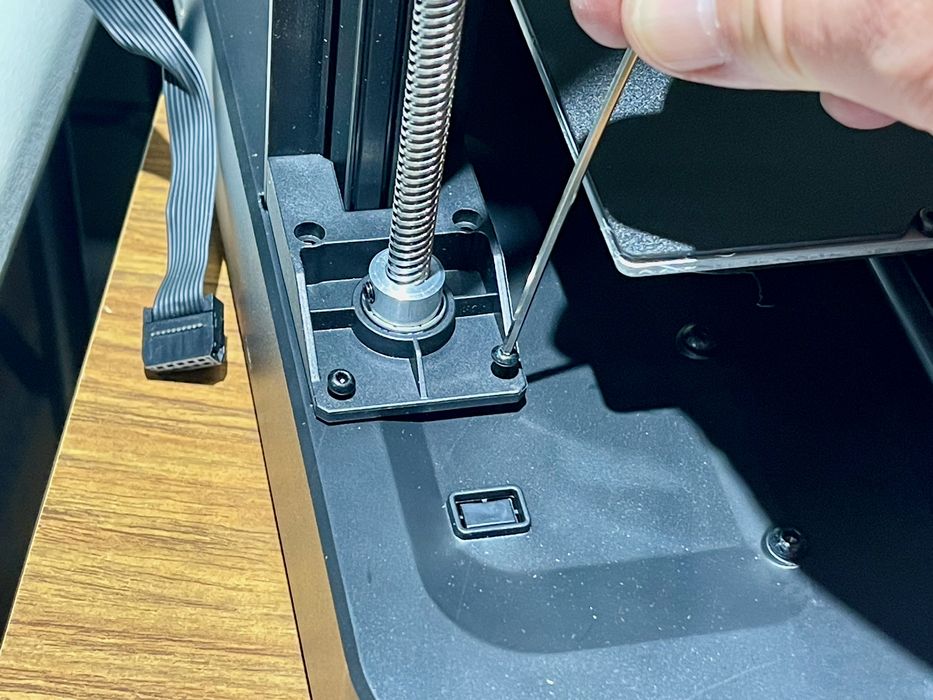
One very interesting twist is that the V3 SE has bolts for the gantry on BOTH sides! There are top and bottom bolts. I suspect this makes the gantry more rigid, and more able to handle higher speed prints.
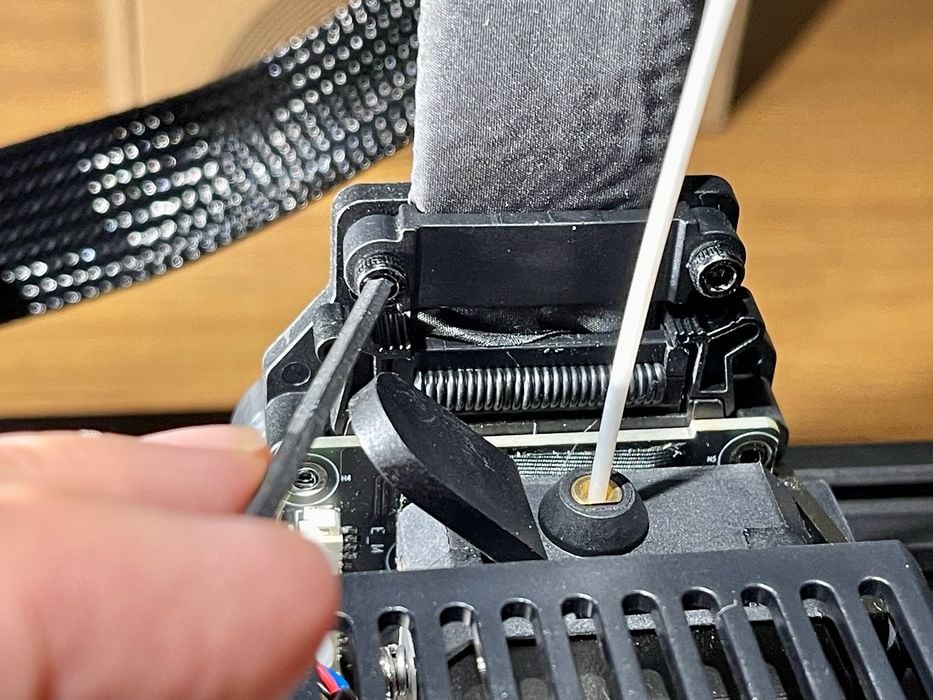
After plugging in the extruder cable, I noticed “extra” bolts. After a few moments I realized I missed a step: you have to bolt down the extruder cable so it is firmly attached. Don’t forget to do this!
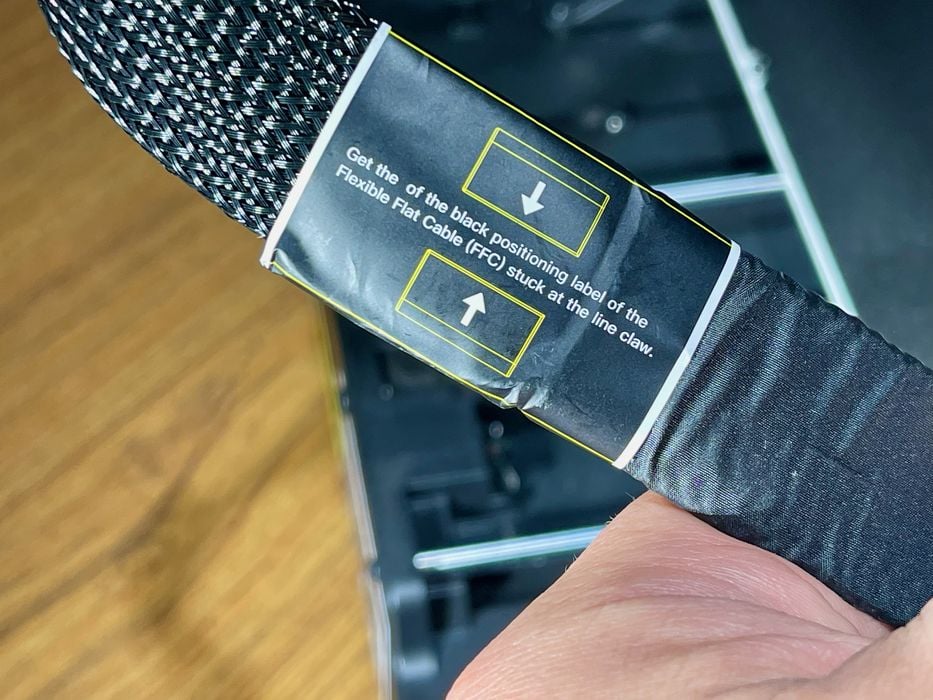
Then I noticed this step, which is a bit confusing. What the heck is a “line claw”? This is another example of translation issues between Chinese and English, and I wish Creality and other Asian manufacturers could spend a bit more time on this, particularly if they wish to sell to novices.
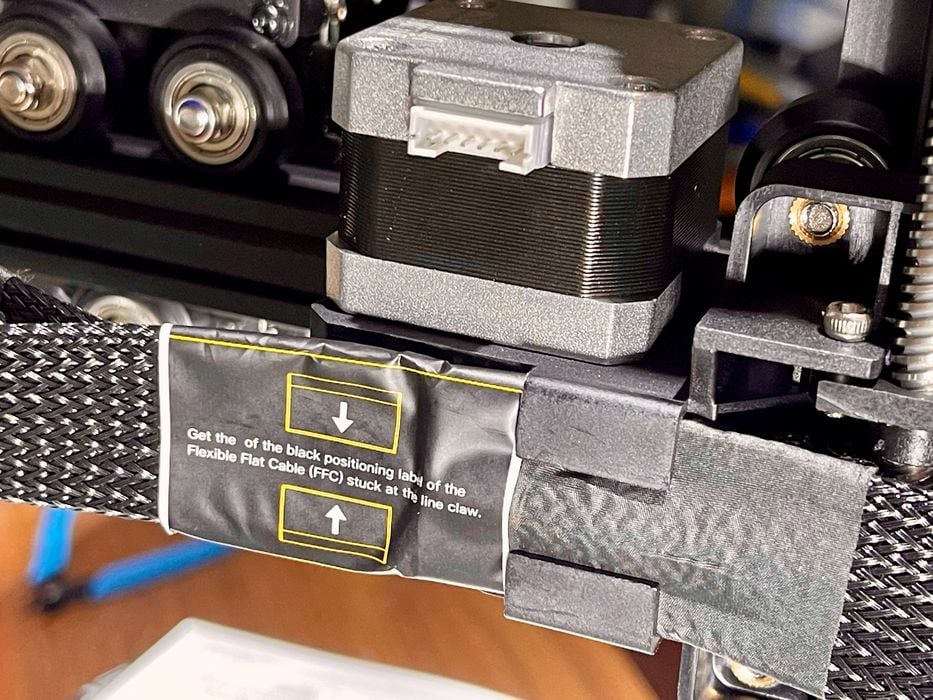
Eventually, I realized that the “line claw” is a clip that holds the ribbon cable secure. It’s easy to install once you figure out what they mean.
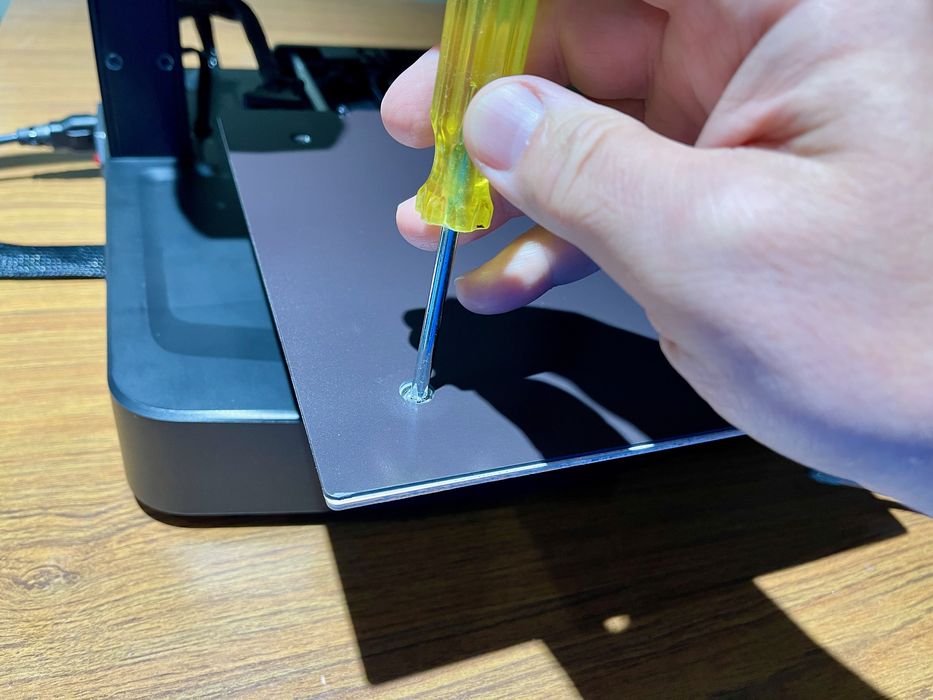
After the assembly I noticed that the build plate was a bit loose. This is never good, as it means the plate might not be in the position the software expects it to be. To fix this I removed the print plate and tightened two loose bolts. After that the plate was very stiff.
Creality Ender-3 V3 SE Setup and Calibration
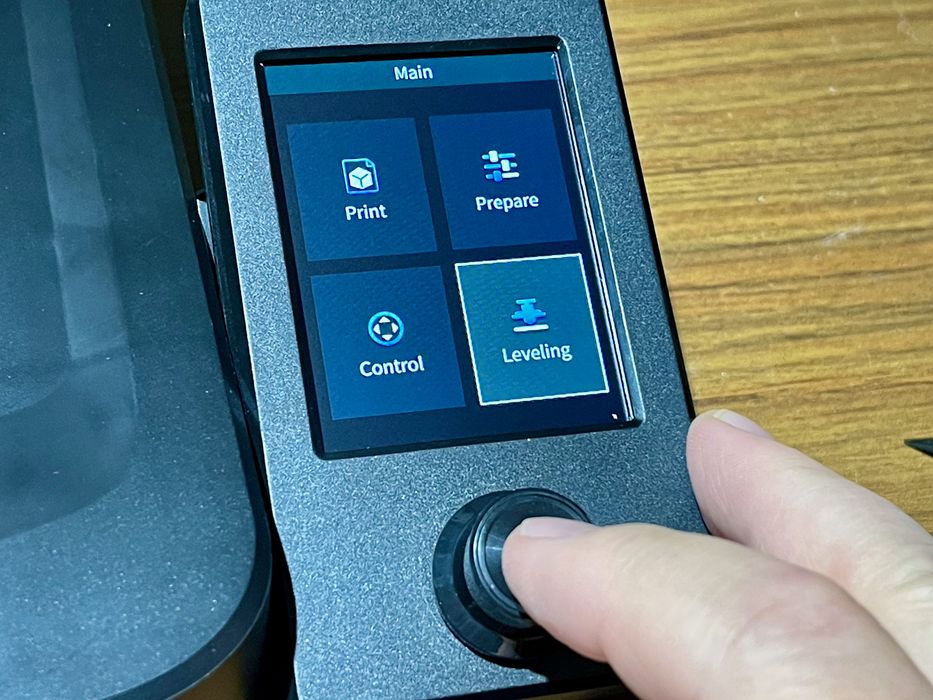
After power on the first task is to level the V3 SE. This is one of the system’s key features. The process was entirely automatic, but it took several minutes to complete.
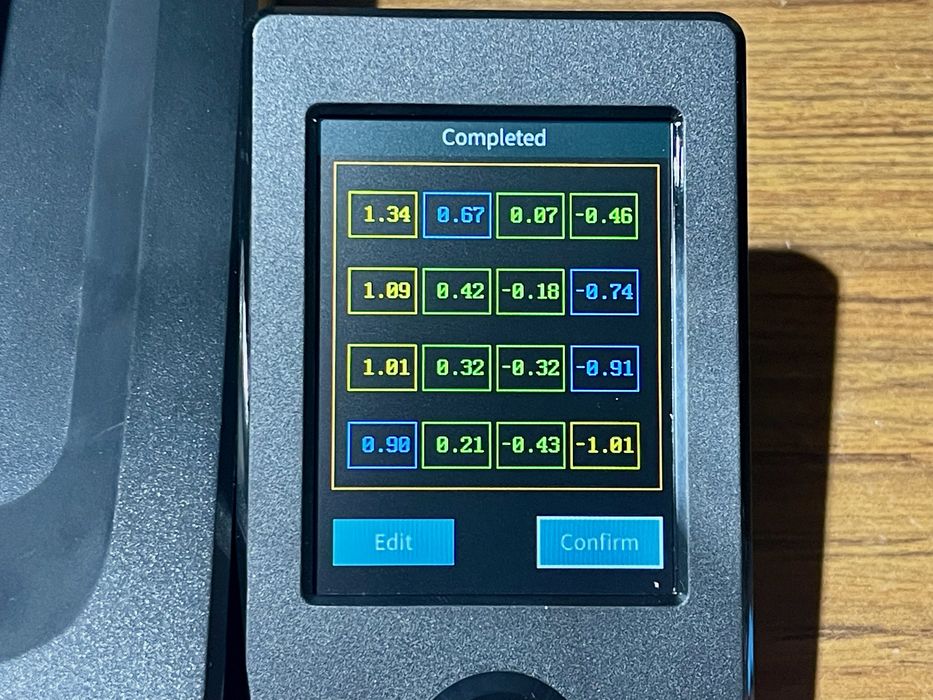
One complete, the leveling displayed the results! Here you can see the measurements obtained by the CR-Touch sensor as it tested the depth of various points on the build surface. I wish more 3D printers would do this, as it helps show how the machine works.
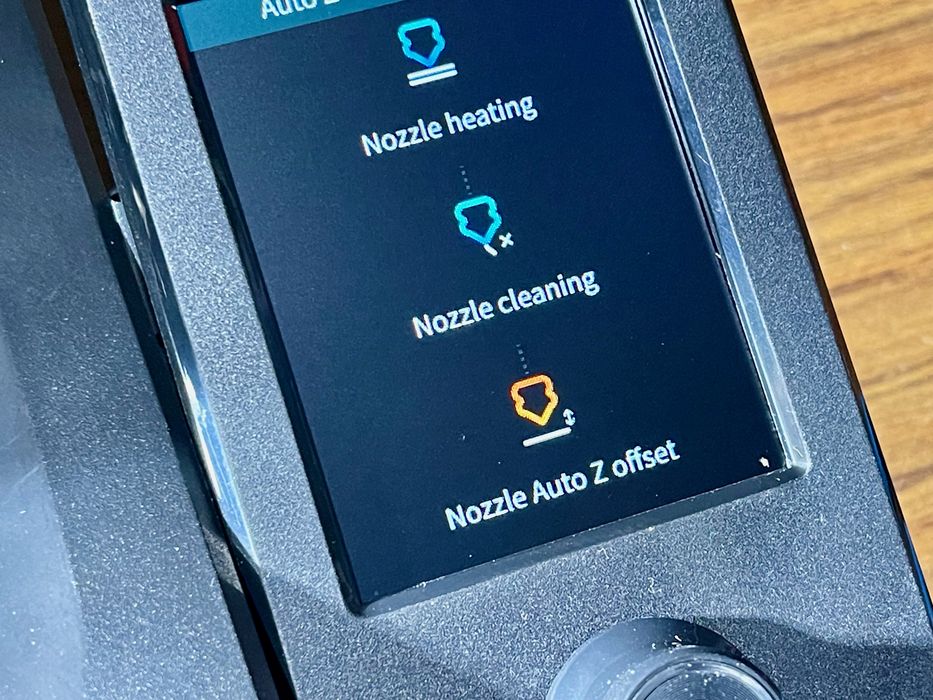
The next step was more interesting: automatic Z-gap setting. While most machines perform leveling, few set the Z-gap automatically. If not set correctly, you will be doomed to bad adhesion and other quality issues.
The process went through quickly enough, but I couldn’t tell if it worked until later when I started printing.
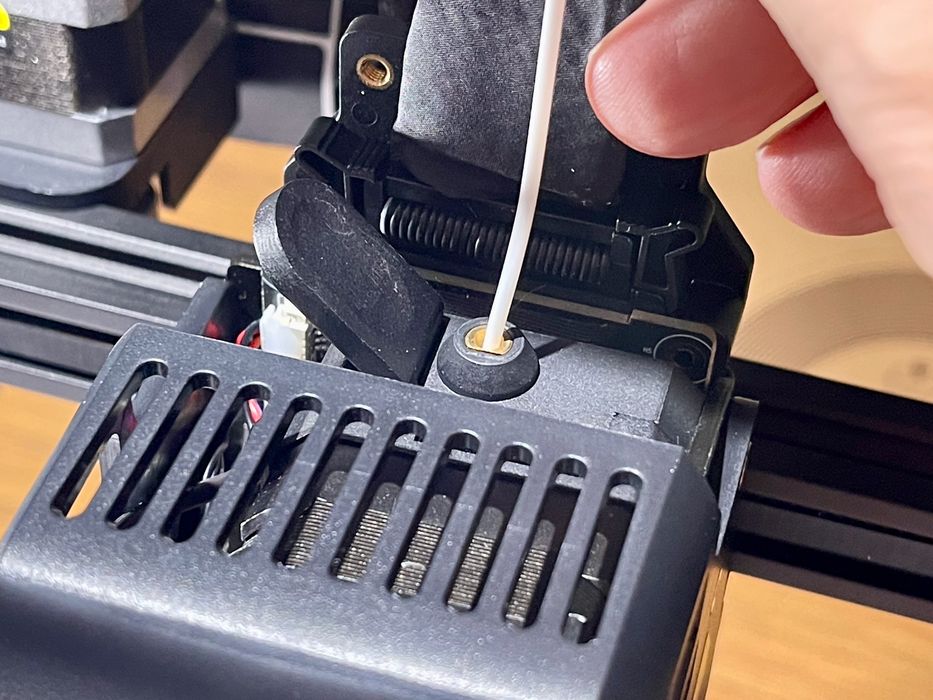
The final setup task was to load filament. The V3 SE includes Creality’s famous Sprite extruder, which is incredibly easy to use. The process is as follows:
- Push a filament into the hole until it hits the end
- Pull the lever on the extruder
- Push the filament all the way down to the bottom
- Release the lever
It’s as simple as that, and I was able to easily load all the materials that follow, including TPU. Unloading is simply the reverse.
This is part one of a three part series, please read parts two and three.
Via Creality