
Our review of the Creality Ender-3 V3 SE concludes with a look at software, print results and final thoughts.
This is part three of a three part series, please read parts one and two.
Creality Ender-3 V3 SE Software
Many inexpensive 3D printers don’t really provide a software tool for printing and instead simply suggest using UltiMaker Cura, PrusaSlicer or Simplify3D. You can do that with the V3 SE, if you have proper profiles installed.
Here Creality recommends using their Creality Print software tool, so that’s what we used. As this machine is targeted at novices, that is no doubt the tool they will start with.
The first issue we had was this.

The software defaults to Chinese, which I suppose is OK for Chinese users. But if you look closely there is no English button or even English characters. This will certainly confuse many people in the West. I actually used an image-based translator to find out what’s going on. The message says:
“Please select the language and server”
“Choose a language”
“Choose a server”
From there it’s easy to pick English and proceed. Note that the “server” choice relates to whether you’re on the inside or outside of China.

Using Creality Print to prepare jobs is fairly straightforward. The software appears to be very, very similar to open source UltiMaker Cura, but I saw no acknowledgements of that. UltiMaker Cura is often used by Asian 3D printer manufacturers for their equipment, but here Creality has customized it for their own environment. Nevertheless, if you are familiar with UltiMaker Cura, using Creality Print is easy.
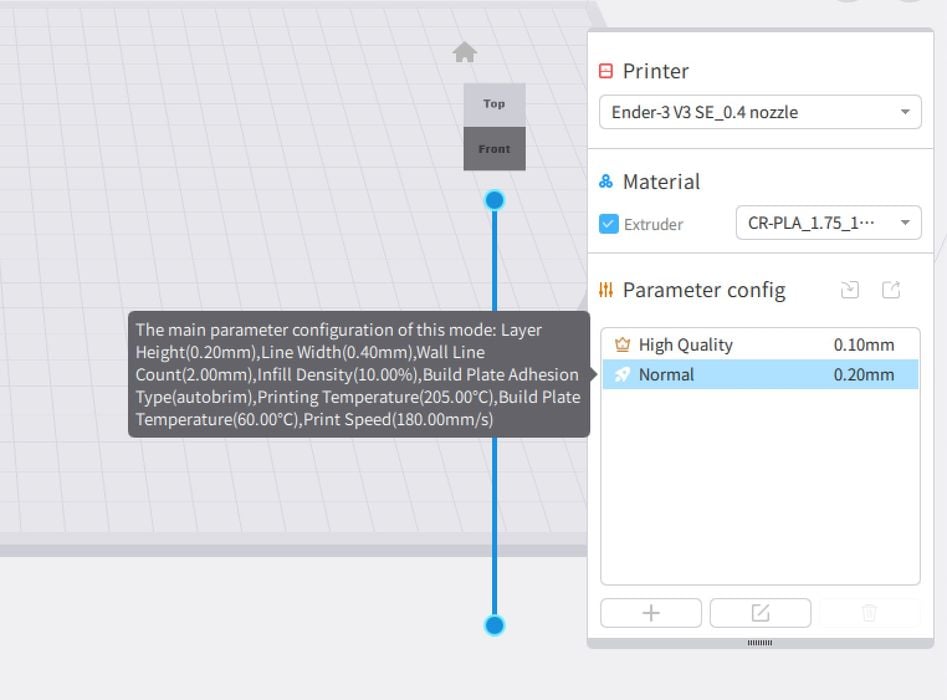
This is interesting: a kind of tooltip showing the key parameters in a specific selected print profile. That’s handy, and you can double click on the profile to edit specific parameters if required.
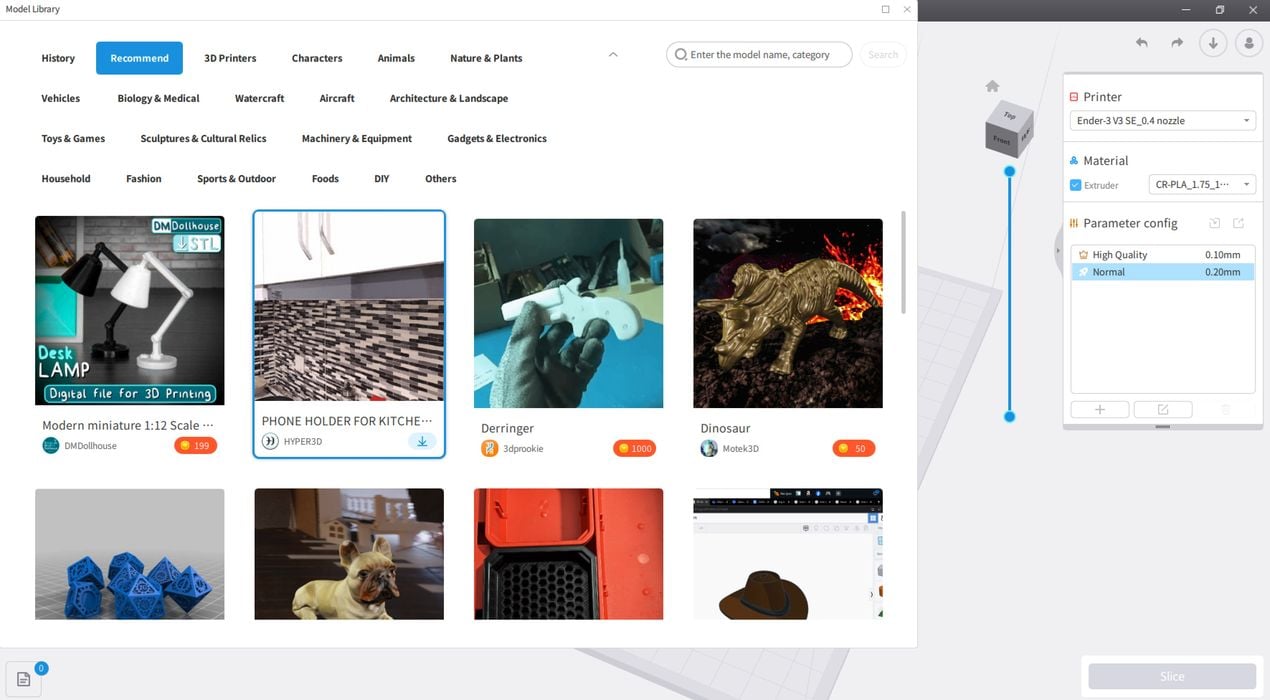
One of the modifications Creality has done is to integrate Creality Print with their Creality Cloud, which contains a large number of printable 3D models. I guess the idea is that you can import them into Creality Print directly.
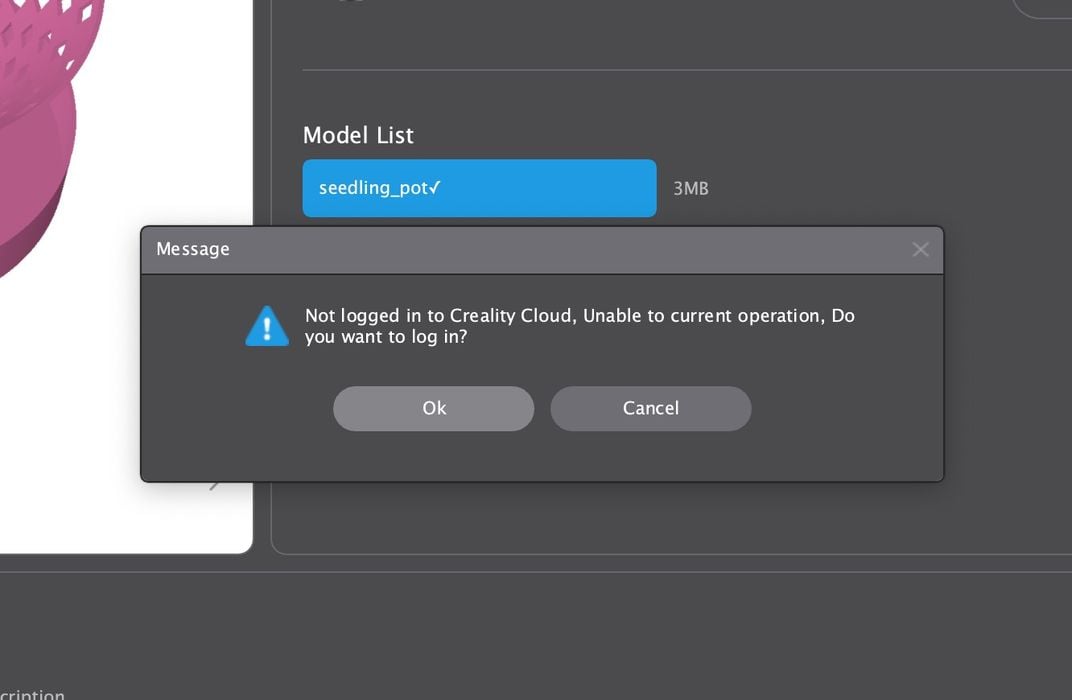
However, this isn’t as easy as it sounds. It requires a login to Creality Cloud. I didn’t have an id there, so I had to create one, which took several steps. This all happens outside of Creality Print, as it bounces you to a web page for this activity.
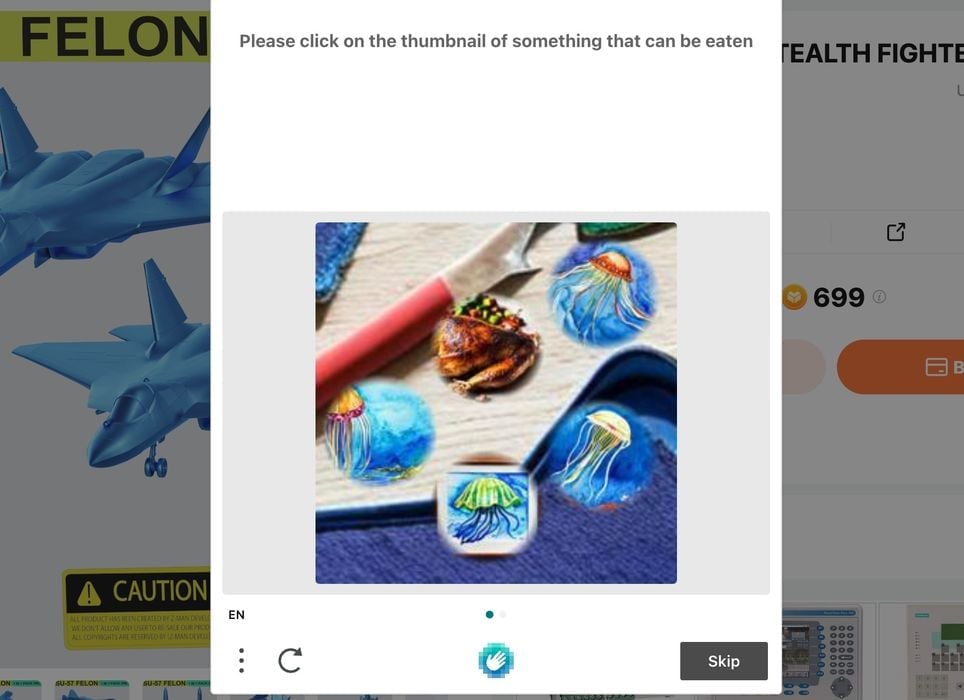
Along the way I encountered this very unusual Captcha. I’m used to selecting buses, signal lights or such in Captchas, but here we have to select “something that can be eaten”. There are several jellyfish. Can you eat jellyfish? I know some are poisonous, but can you eat others? I don’t know! Then there’s the other “edible” image: what is it? Is it a roast chicken? A baked clam? An overly-toasted Kaiser Roll? Something else? I don’t know.
I clicked the single non-jellyfish image and it seemed to work. This is another example of cultural non-equivalence that Creality might want to look at.
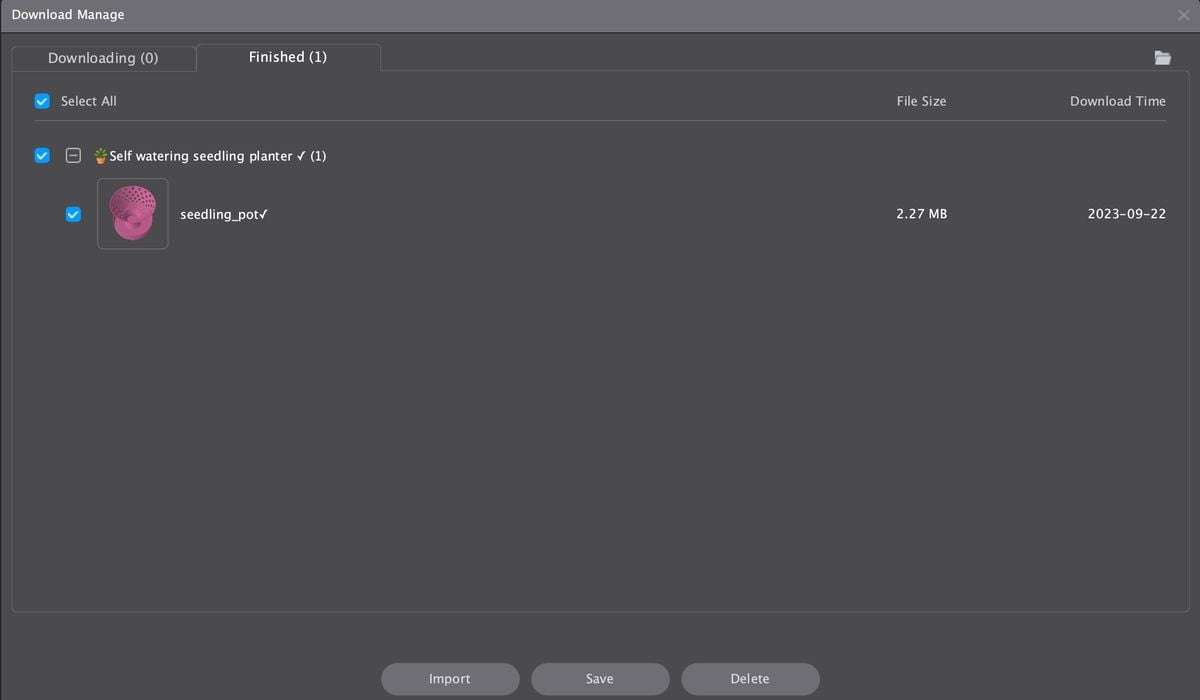
I selected a 3D model and it set me up with this screen, but there was no model to download? I tried various things but couldn’t convince the system to give me the file. Eventually I had to select another version of the model and I was given the download. I found this quite confusing and I’m sure novices will be totally lost if they encounter the same issue.
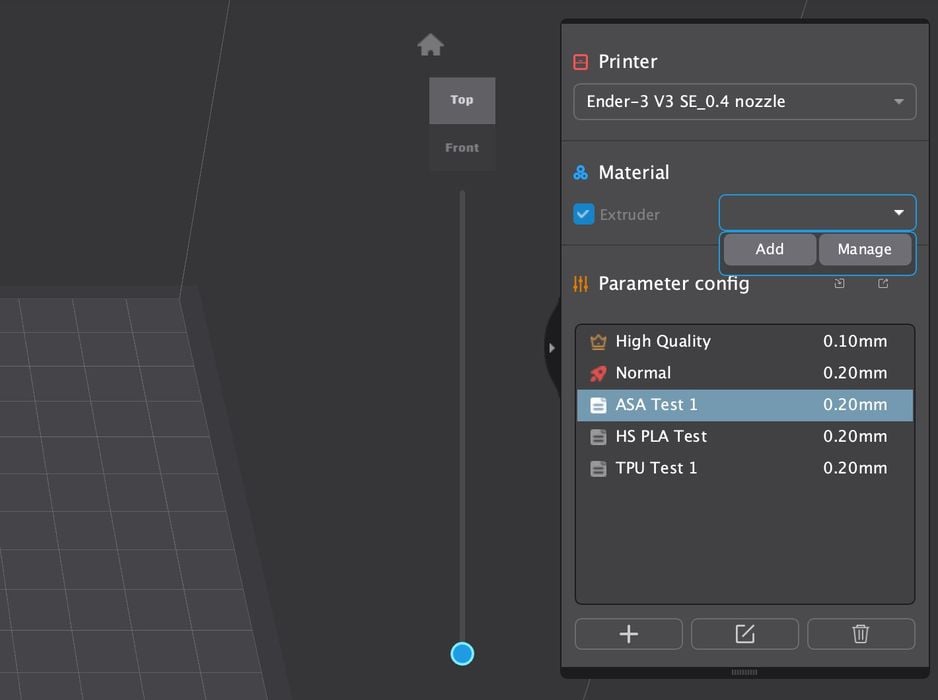
Before I realized the machine was intended only for PETG, PLA and TPU, I fiddled around trying to make profiles for other materials in Creality Print. This is a losing proposition. You have to duplicate an existing profile and then mess with ALL of the settings. Worse, there doesn’t seem to be a way to create additional material profiles beyond the three standard materials. I tried making an “ASA” profile, but it just won’t work.
I then thought I would resort to using UltiMaker Cura instead. However, there doesn’t seem to be an easy way to export the Creality profiles from Creality Print for import into UltiMaker Cura.
I realized this was not the way forward with the V3 SE: It is a machine for those three materials with Creality Print, only. Sure, you could figure out how to do other materials on the machine, but if that’s what you need, buy a different machine.
The profiles made by Creality are very powerful, but I believe they have some work to do on the software environment to make it truly welcoming to operators.
Creality Ender-3 V3 SE Print Results
The print quality on the V3 SE is outstanding. I had no print failures whatsoever, and the quality of the prints was excellent each time — with the exception of the blobs on the vase mentioned above.
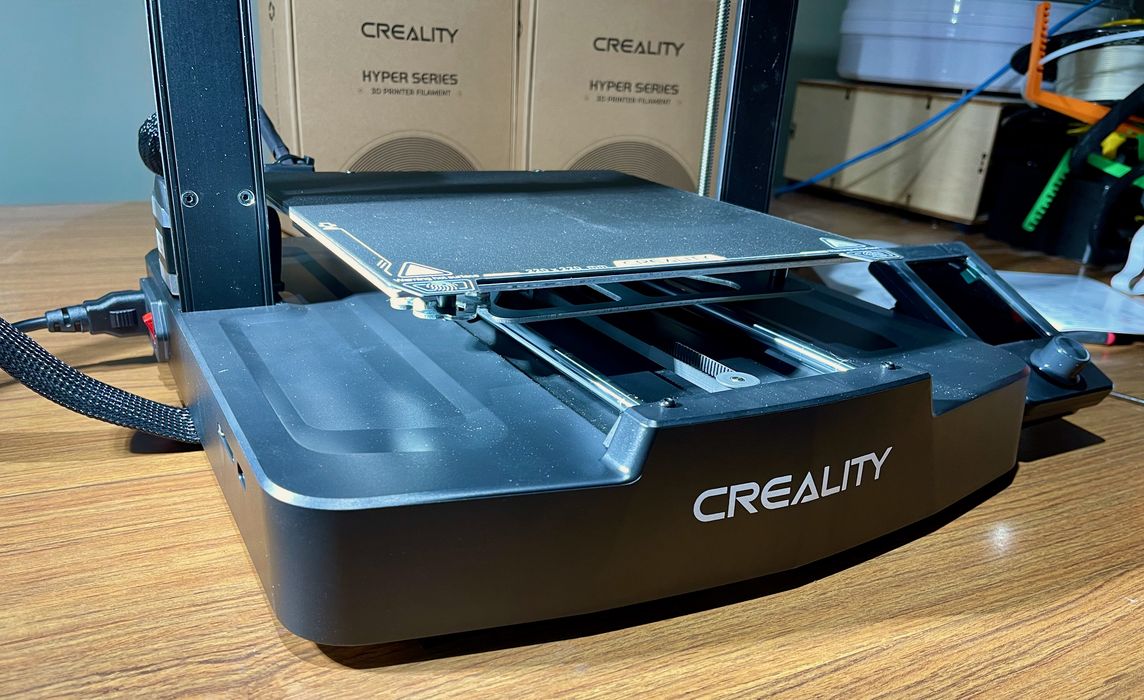
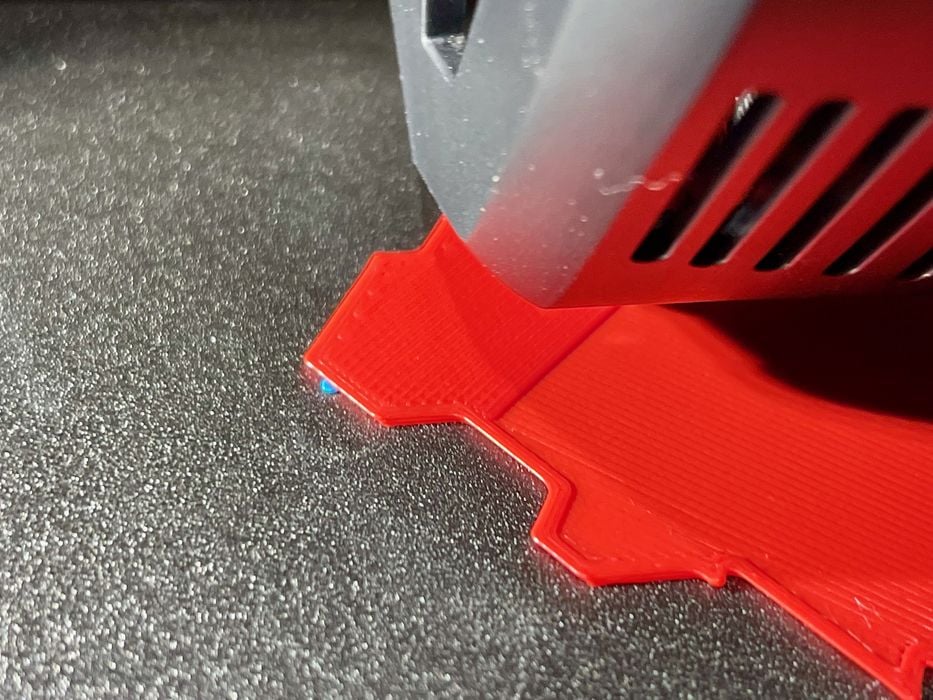
Above you can see a typical first layer experience on the V3 SE: totally smooth and crisp. The automatic calibration, in particular the automatic Z-gap setting, seems to work extraordinarily well. Every first layer looks like this.
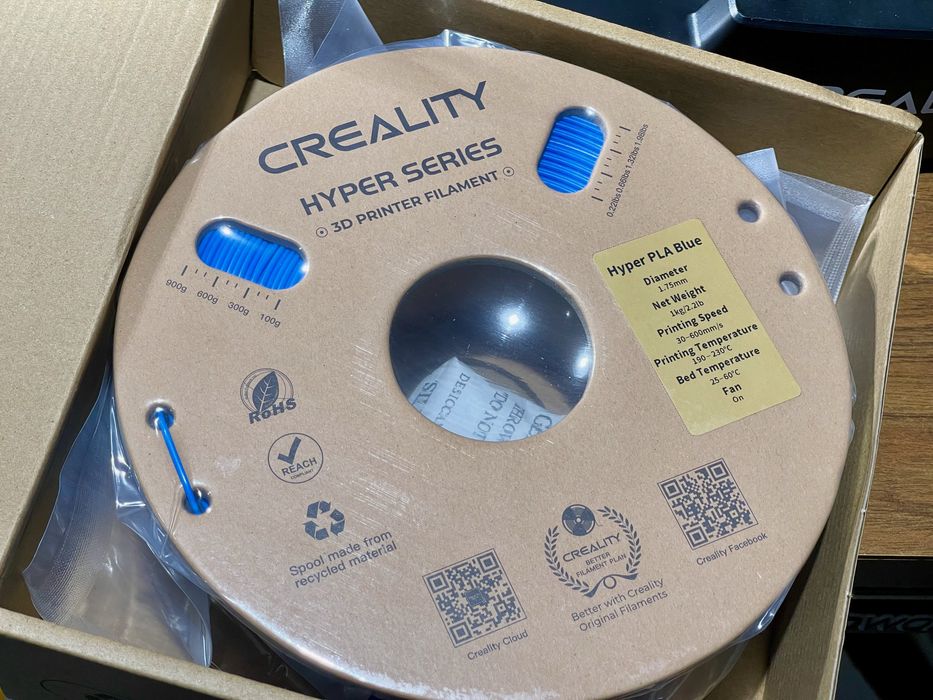
For my tests I used Creality’s “Hyper PLA”, which is a material designed for high speed 3D printing. Originally intended for the company’s K1 series, this material also works on the V3 SE and I had no issues with it — aside from the lack of a resealable bag for the spool.
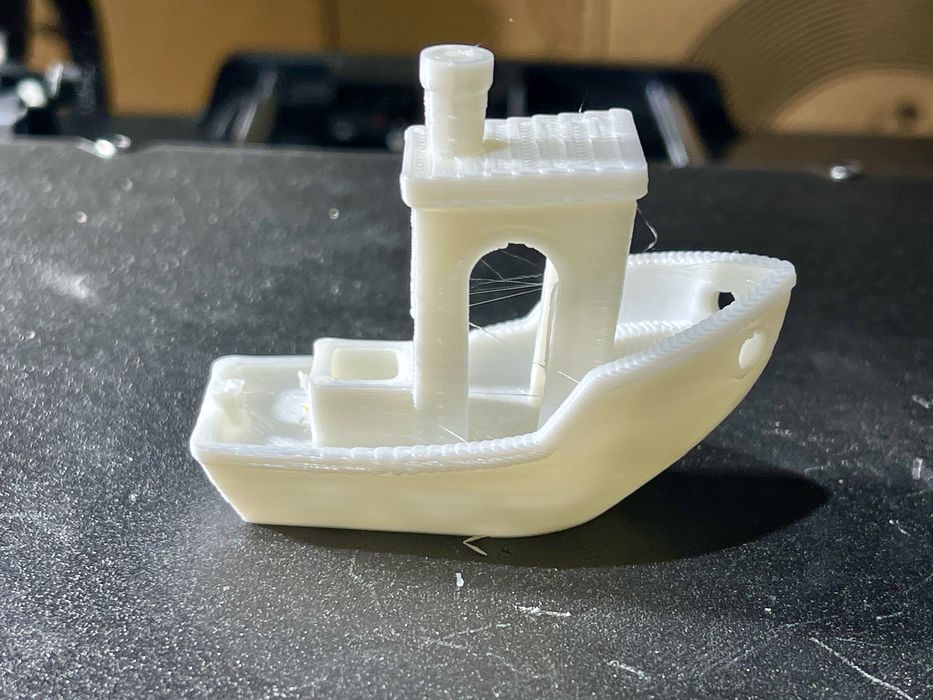
I printed a #3DBenchy and it came out quite well.
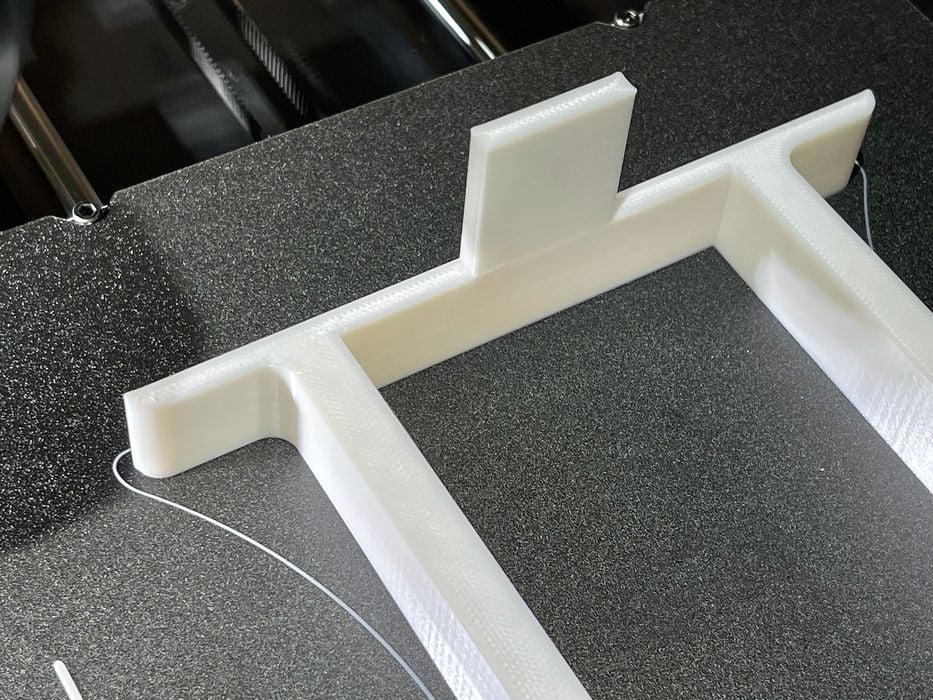
Mechanical parts in PLA also come out very clean.

Here you can see some detail on a print where the extruder had to stop and start quite a bit. There was negligible stringing, but the layers were not quite perfectly aligned. However, the part turned out very well otherwise.
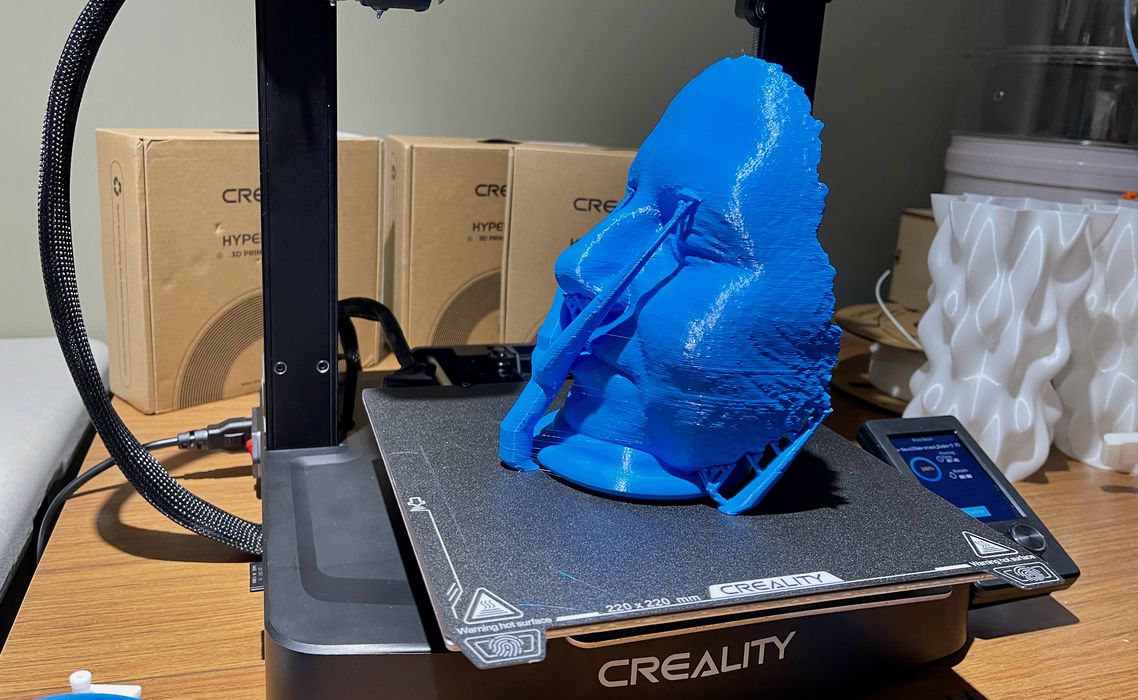
Here’s another large print that came out perfectly. The rough section on the face was due to the 3D model, not the V3 SE.
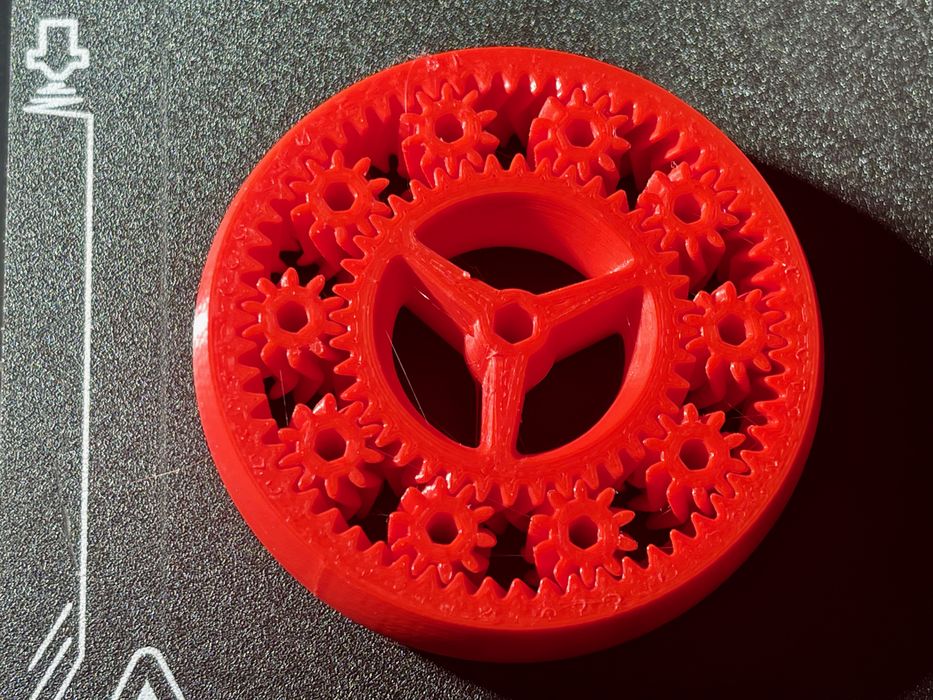
I printed the planetary gears model with stock settings, and it came out very well. It took a bit of a twist to break the slight connections but then the gears worked perfectly.
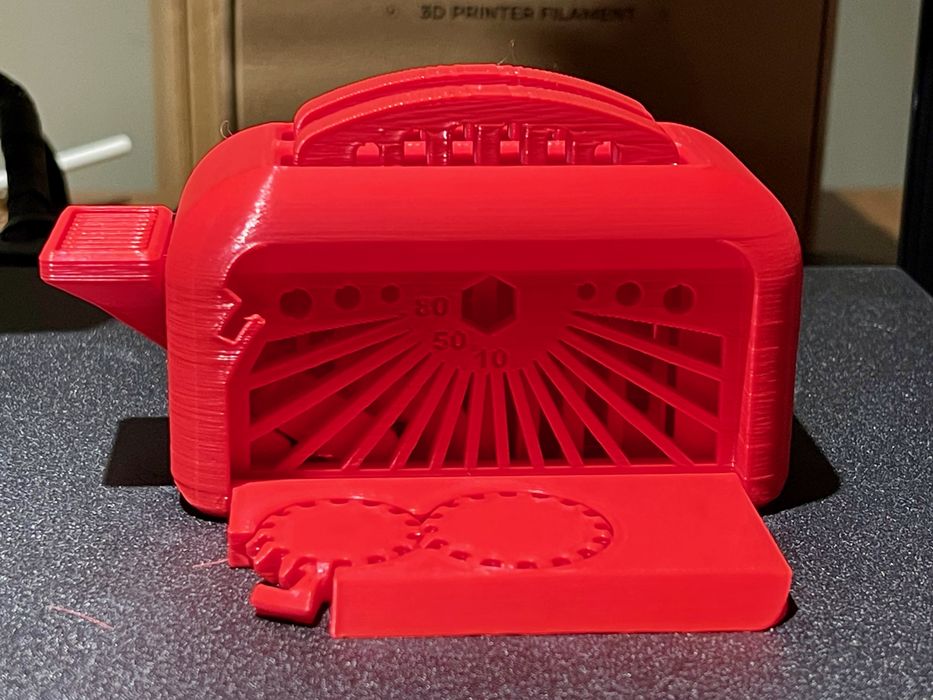
Here is the famous Torture Toaster 3D model. Incredibly it came out perfectly with standard settings and worked immediately.
It seems that Creality has done a lot of work tuning the settings for this machine, and it pays off as the prints are nearly perfect each time.
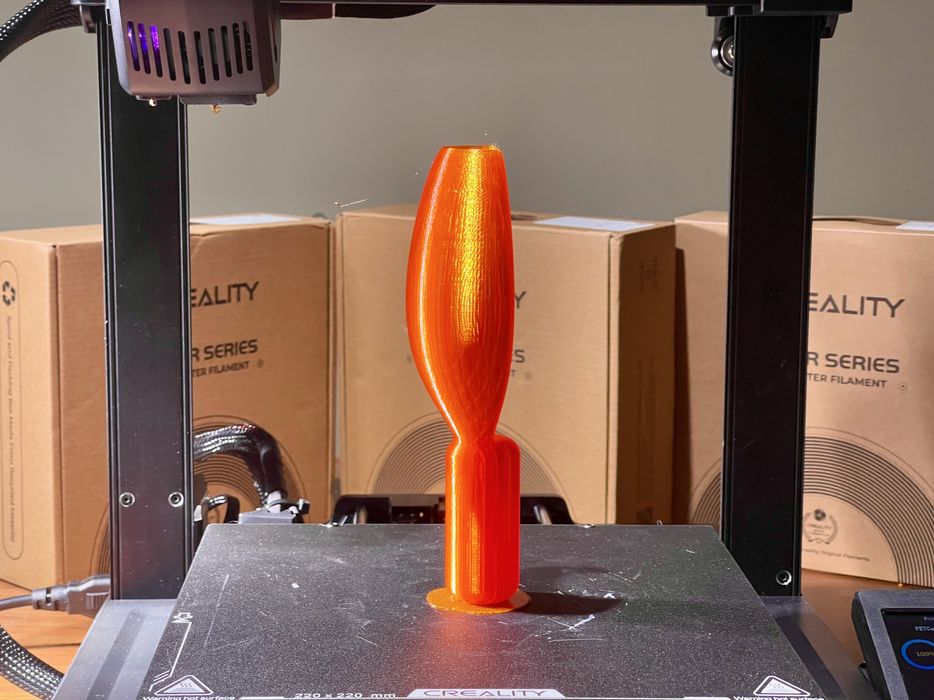
I moved on to PETG and was able to print this scoop of my own design. I used 0.1mm layers and the surface quality was very smooth. Note that the print surface stuck the PETG sufficiently to keep it from toppling during the entire job. Also, there were no motion artifacts found at the top of the print.
Finally, I tried TPU, which is one of the three supported materials on the V3 SE. TPU is one of the most difficult materials to print due to the wet spaghetti-like aspects of the filament. It tends to wrap around extruder gears instead of being properly pushed forward in many machines.
I looked at the Creality TPU profile and found it to use 180mm/s as the print speed. Ridiculous! No printer is going to print TPU at 180, I thought.
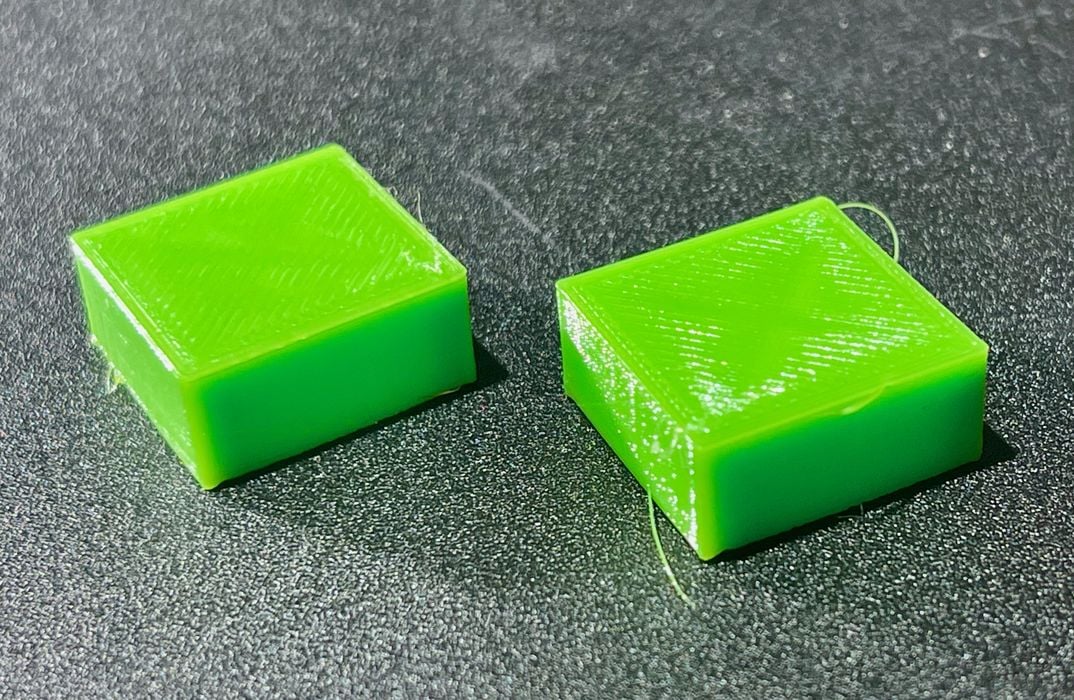
Instead I printed these two boxes, one at 40mm/s and one at 80mm/s. I’ve had plenty of experience printing TPU at even 30mm/s and having jams. But here, both came out ok. Hm?

I then tried printing this bracelet at the full 180mm/s standard TPU profile, and look at that, it came out perfectly.
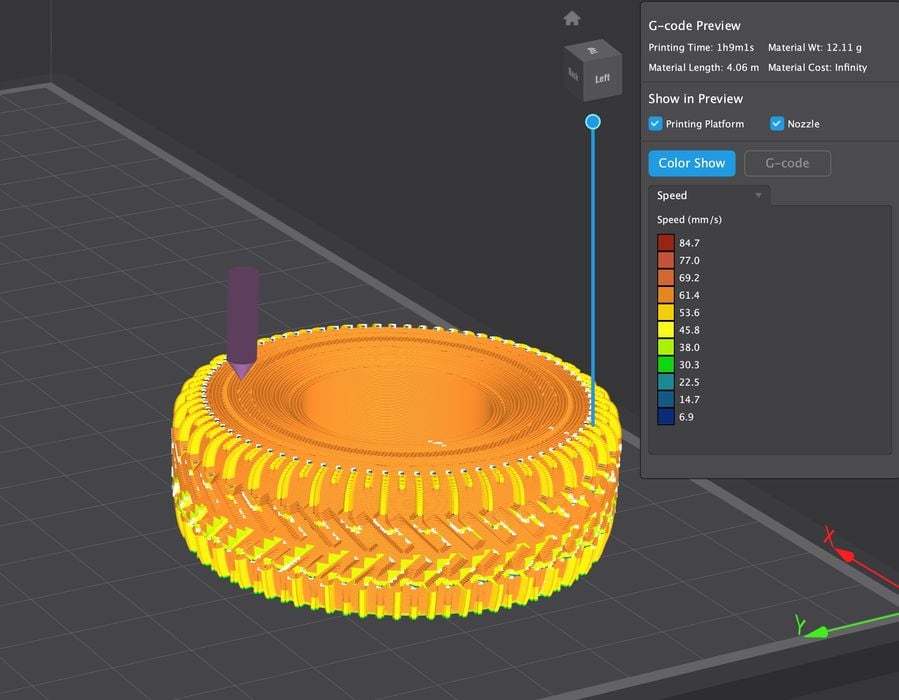
What’s really happening here is a bit more complex, however. If we look at this sliced preview of a tire print, we can see that the actual maximum speed achieved by the printer will only be around 70-80mm/s due to the shorter movements. It never actually comes close to 180mm/s, at least on the models I tried.
I tested the V3 SE at full speed with this tire 3D model using some Fibrology TPU 40D, which is extremely floppy. This material can’t be printed on several of my machines, so I was curious to see how it came out on the V3 SE.
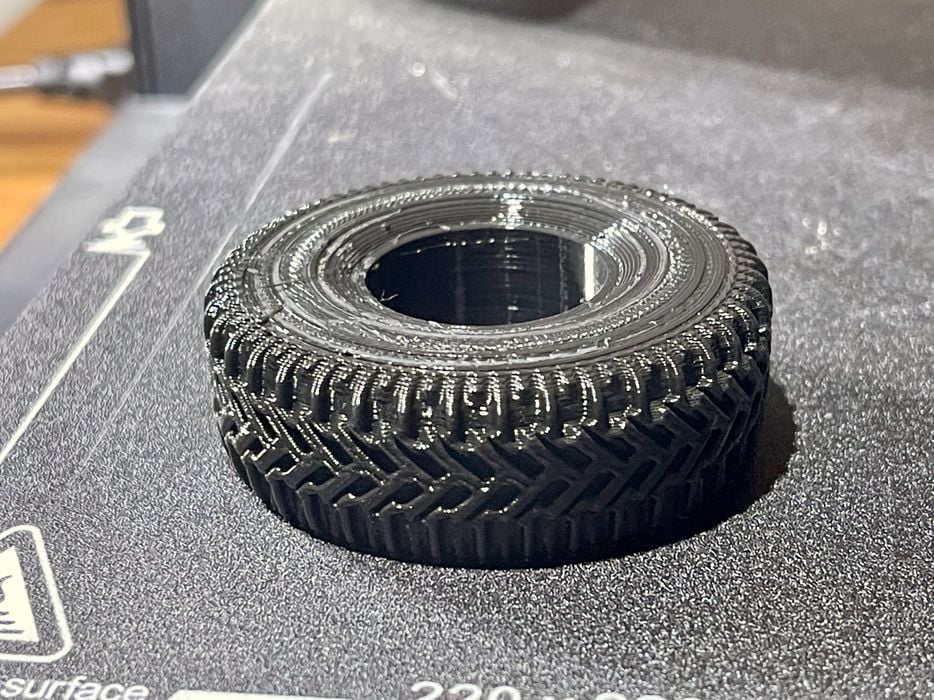
As you can see, the tire came out perfectly, and in just over an hour. This is extremely impressive, as the Sprite extruder does an outstanding job with TPU as well as the more rigid materials.
Creality Ender-3 V3 SE Final Thoughts
The Ender-3 V3 SE is a very intriguing machine. It is very low cost, which will no doubt attract many to the equipment.
However, it’s important to keep in mind that Creality is definitely targeting operators that don’t intend on messing with the materials or parameters. The entire set up is built to keep the operator safely in a particular environment that Creality has organized to print PLA, PETG and TPU perfectly.
If you’re looking to the V3 SE for experimental printing, this probably isn’t the right machine for you.
That said, the machine is an incredible value if it fits your needs. It works very well, produces great prints very reliably.
CREALITY
ENDER-3 V3 SE 3D PRINTER
★ BEGINNER 9/10
★ ENTHUSIAST 7/10
★ PRODUCTION 5/10
BEST FEATURES
✔︎ Outstanding print quality
✔︎ Great hardware design
✔︎ Lowest cost machine
QUESTIONS
✖︎ Software environment
✖︎ Other materials
✖︎ Faster, not fast
This is part three of a three part series, please read parts one and two.
Via Creality